If you are ready to plant pumpkin seeds this season, working from a store packet or from seeds rescued out of a jack-o-lantern, here is what actually matters for timing, soil, and the small habits that separate a few sad vines from a real harvest.
When Should You Plant Pumpkin Seeds?
Timing comes down to two things: your last frost date and how warm the soil has gotten since then. The table below covers the fast answers, and the sections after it explain the reasoning behind each one.
|
Question |
Answer |
|---|---|
|
Best planting time |
After the last frost, once soil reaches 70°F |
|
Planting depth |
About 1 inch |
|
Germination time |
5 to 10 days at ideal soil warmth |
|
Sun requirement |
Full sun, at least 6 hours of direct light |
|
Soil pH |
6.0 to 6.8 |
|
Seeds per hole outdoors |
3 to 5, thinned to the strongest seedling |
Plant pumpkin seeds outdoors once the soil has warmed to at least 70°F. Germination speeds up between 77°F and 95°F, so the warmer the soil within that range, the sooner seeds sprout. A soil thermometer gives a more reliable reading than the calendar alone.
Your realistic planting window also depends on your local frost date, which follows your USDA Plant Hardiness Zone, the government map that groups regions by their typical coldest winter temperatures.
If your season is short, start seeds indoors in individual pots 3 to 4 weeks before your last frost date instead of sowing directly. Check your seed packet for the variety’s days to maturity, and compare that with your frost-free window to choose the right method.
Direct sowing is still the better choice whenever your season allows it, since pumpkin roots resent being disturbed once established, and plants moved too young or grown too large indoors tend to struggle after transplanting.
Store-Bought Seed vs. Seed Saved From a Pumpkin

Choosing between packet seed and seed saved from a pumpkin comes down to a few real differences, mainly around reliability and what the fruit will actually look like. Here is a side-by-side comparison:
|
Point |
Packet (Store-Bought) Seed |
Carved or Grocery-Store Pumpkin Seed |
|---|---|---|
|
Germination |
Higher reliability, known variety |
Possible, but depends on seed health |
|
Variety |
Known and labeled |
Usually unknown |
|
Expected fruit |
Predictable size, shape, and flavor |
May not match the original pumpkin |
|
Preparation |
None, ready to sow |
Needs rinsing and drying before planting |
Soil, sunlight, watering, and planting depth stay the same either way. The real differences are germination reliability, known variety, and the extra rinsing-and-drying step for fresh seed.
Choose the Right Spot and Soil for Planting
Pumpkins need full sun, meaning at least 6 hours of direct sunlight a day, along with fertile soil, good drainage, and room for vines to spread. Work compost or well-rotted manure into the soil before planting to give plants a strong nutrient base.
A low mound at each planting spot improves drainage and lets soil warm faster in the sun. Aim for a soil pH of about 6.0 to 6.8, a range Texas A&M AgriLife Extension lists for healthy pumpkin production; outside that range, plants can struggle to take up nutrients even from rich soil.
Spacing varies widely by variety, so check your seed packet before digging in. If garden space is tight, you can train smaller varieties up a sturdy trellis instead of letting them sprawl.
How to Plant Pumpkin Seeds: Step by Step
Starting seeds indoors and sowing them straight into the ground share the same basics: loose soil, the right depth, steady moisture, and enough space as plants grow.
Step 1: Prepare the Soil and Planting Area

For indoor starts, fill individual biodegradable pots with pre-moistened seed-starting mix rather than a shared tray, since separate pots make transplanting gentler on the roots later.
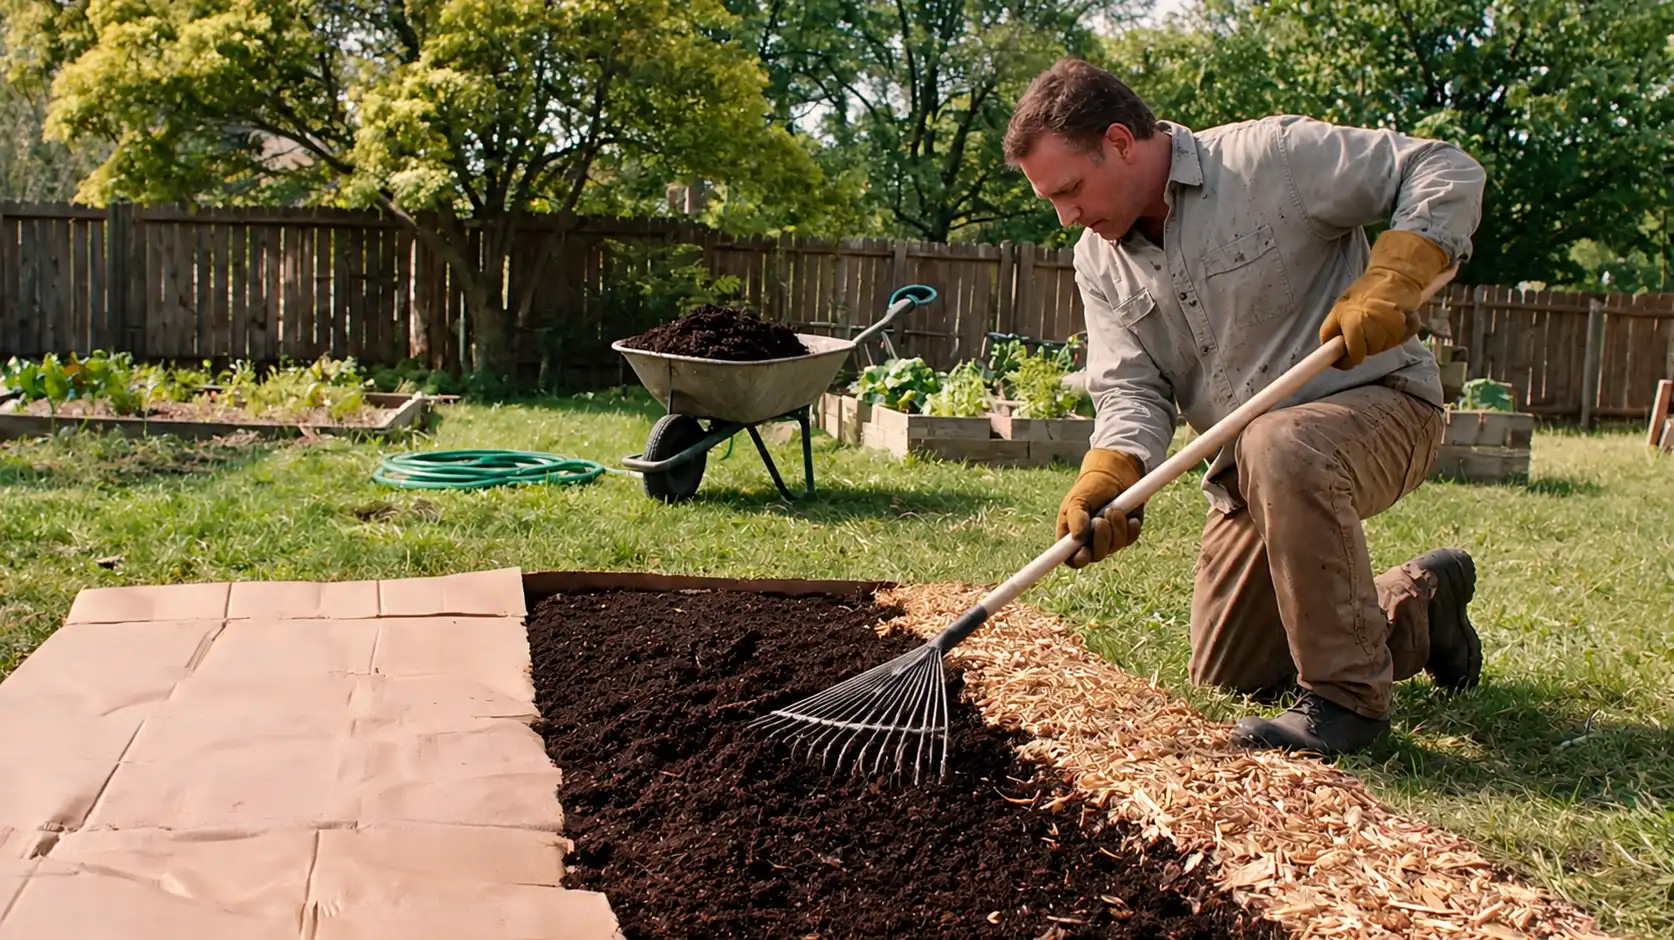
For outdoor planting, work compost into loose, well-drained soil and shape it into a mound, which warms faster and gives seeds a better start.
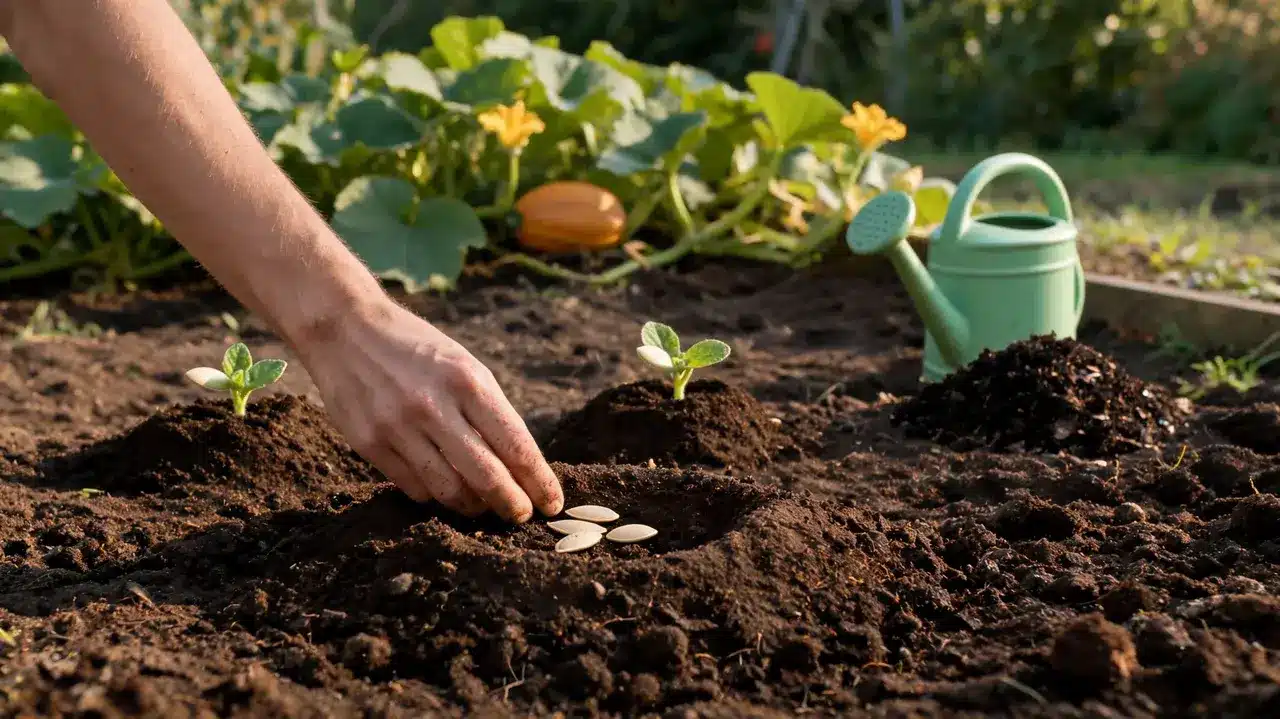
Step 2: Make 1-Inch Planting Holes and Add the Seeds

Make each hole about 1 inch deep. For indoor sowing, drop one or two seeds per pot. For outdoor sowing, plant three to five seeds per hole, then keep only the healthiest seedling once it sprouts.
Give each outdoor hole plenty of room from the next, based on your variety’s spacing needs.
Step 3: Cover, Water, and Keep the Soil Warm

Cover the seeds with a thin layer of soil, then water gently to settle the soil around them without washing them away. Keep the planting area evenly moist while the seeds begin developing.
Avoid overly wet conditions, as excess moisture can affect growth. Continue checking the soil until sprouts appear.
Step 4: Thin or Harden Off the Seedlings

If planted outdoors, thin the group once seedlings emerge. Snip the weaker seedlings off at soil level with scissors instead of pulling them, so you do not disturb the roots of the one you are keeping.
For indoor seedlings, start hardening off about a week before transplanting: set them outside for short stretches each day, gradually extending the time.
Step 5: Transplant Into Warm, Moist Soil

Water seedlings well before and after the move, then plant into warm, moist soil with minimal handling of the roots.
Firm the soil gently around the base, keep proper spacing, and do not let the plant dry out during its first week outside.
Can You Plant Seeds From a Carved or Store-Bought Pumpkin?
Yes, you can plant seeds saved from a carved pumpkin or one bought at the store. Rinse off the pulp, let the seeds dry for a few days, then plant once the soil warms up in spring.
There is a catch, though. Many store-bought pumpkins are hybrid varieties, and saved seeds may not produce fruit identical to the parent plant.
You might get smaller fruit, a different shape, or a mix of traits from other squash growing nearby, since squash cross-pollinates easily in a home garden.
For a pumpkin that looks and tastes like the one you started with, buy fresh seeds from a trusted seed company, or check the spread and days to maturity listed for different pumpkin varieties before choosing one.
If you are curious to see what grows, planting saved seeds is still a low-cost experiment, and the surprise result is often half the fun.
How to Care for Pumpkin Plants After They Sprout
Once seedlings are established, plants move through fairly predictable pumpkin growth stages on the way to mature fruit, and they need steady water, fertile soil, help with pollination, and enough room for vines and fruit along the way.
1. Water at the Soil Level
Water near the base of each plant rather than over the leaves. Powdery mildew is a fungus that spreads more easily on damp foliage, so watering at the soil line helps reduce the risk. A layer of mulch holds moisture in and suppresses weeds.
2. Feed Growing Pumpkin Plants
Pumpkins pull heavily on soil nutrients as they grow. Fertile soil at planting is a good start, but top-dressing with compost or aged manure around the base every few weeks keeps growth going without disturbing the roots.
3. Help Flowers Get Pollinated
Pumpkin plants produce separate male and female flowers, and only the female flowers, identifiable by the small fruit already forming at the base, turn into fruit. Encourage bees by planting nearby flowers and skipping pesticides during bloom; without good pollination, fruit often comes in small or misshapen.
4. Give Vines and Fruit Room
Let vines spread out where you have space, and handle them gently once fruit begins to form so you do not damage the developing pumpkin. Steady care through this stage is what turns healthy vines into a real harvest.
Common Problems From Germination to Fruit Set
Even with good care, pumpkin plants run into a few common snags. The table below covers what to watch for and how to fix each one before it slows your plants down.
|
Problem |
What to Look For |
What to Do |
|---|---|---|
|
Seeds are slow to sprout |
Cool soil, or old seed of unknown age |
Wait for warmer soil, keep moisture steady, and use fresher seed if trying again |
|
Seed or root rot |
Soil that stays soggy, seeds turning soft or moldy |
Let soil dry slightly between waterings and improve drainage before replanting |
|
Transplant shock |
Wilting soon after moving plants outdoors |
Harden off first, keep roots undisturbed, and transplant into warm, moist soil |
|
Powdery mildew |
White or gray coating on leaves |
Water at soil level to reduce risk; treat confirmed mildew with a suitable fungicide |
|
Poor fruit formation |
Small or misshapen young pumpkins |
Improve access for bees and other pollinators |
Take a moment to confirm what is actually causing the problem before treating it, since several of these symptoms can look alike at first glance.
Frequently Asked Questions
How long does it take for pumpkin seeds to sprout?
Most pumpkin seeds sprout within 5 to 10 days once the soil is consistently warm. Cooler soil slows this down considerably. If nothing has emerged after two weeks, check the soil temperature and moisture level before assuming the seed failed.
How much space do pumpkin vines need in a garden?
Traditional vining varieties can need 50 to 100 square feet per plant once fully grown, while compact bush types manage in a fraction of that space. Trellising a smaller variety also reduces the space it needs on the ground.
Can pumpkins be grown successfully in containers?
Yes, especially compact pie pumpkin varieties. Use a container of at least 10 gallons, since smaller pots limit root growth and moisture retention; larger varieties do better in 20 to 25 gallons or more for healthy production.
Can pumpkin vines be trained on a trellis?
Yes. Smaller pumpkin types train upward easily since their lighter fruit will not strain the support, and cloth or mesh slings can hold the fruit as it grows. Larger varieties need sturdier structures, making trellising less practical.
Do pumpkin seeds need to be soaked before planting?
It is optional. Some growers soak seeds in warm water for a few hours before planting to soften the seed coat, though it does not reliably speed up germination. Skipping the soak will not hurt your results either way.
Final Thoughts
Getting pumpkins started really comes down to a few basics: warm soil, about an inch of planting depth, steady moisture, and room for vines to spread.
Seeds saved from a carved or grocery-store pumpkin may still sprout, but hybrid genetics can mean the plant turns out nothing like the one it came from, so start with named packet seed if you want a known size or flavor.
Once you plant pumpkin seeds this season, the rest is mostly patience and a bit of Gulf Coast humidity. If you run into a problem along the way, work back through the troubleshooting notes above before you decide something has gone wrong.