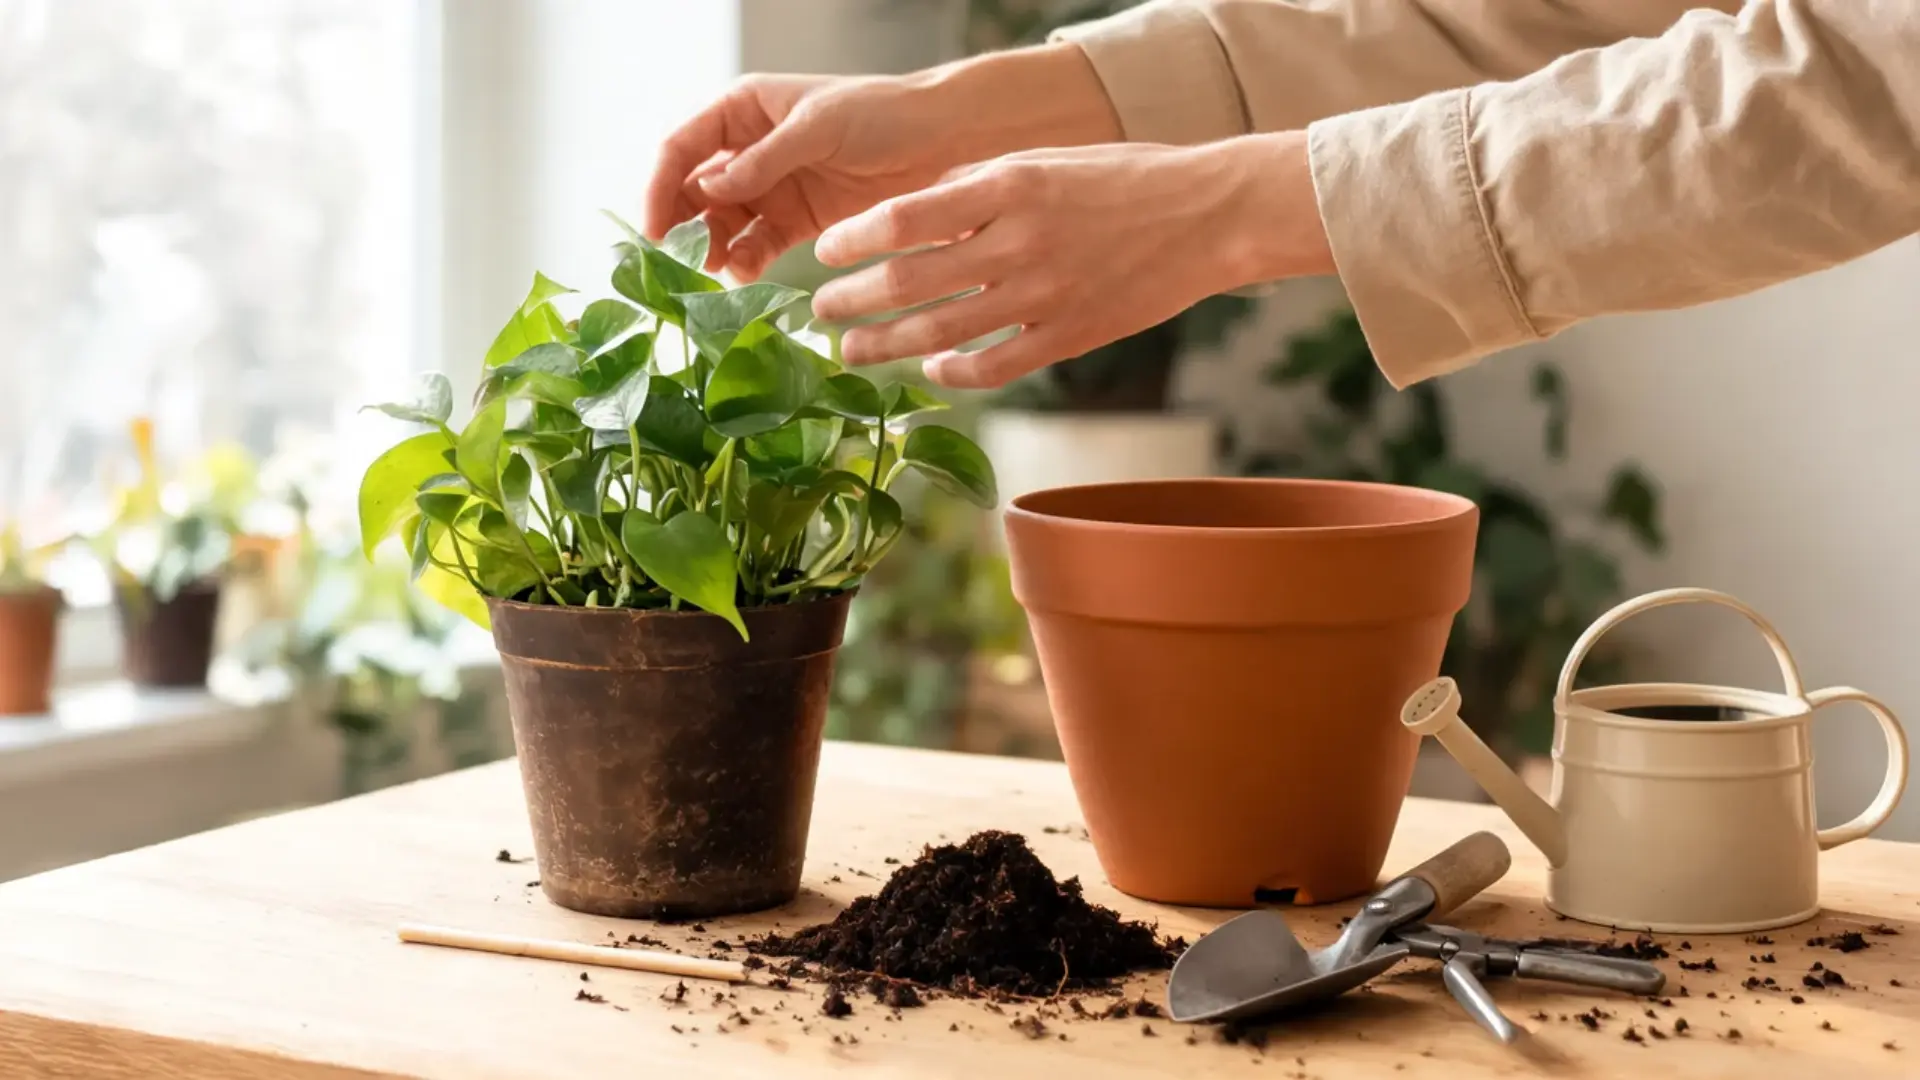
Your snake plant looks like it might tip over, and the soil dries out within a day of watering it. Those are usually the first clues that a plant has outgrown its container.
In my years fielding calls, crowded roots and tired soil are two of the most common problems Houston gardeners bring to me, and both have the same fix.
Learning how to repot a plant comes down to three things done in the right order: picking a container that actually fits the plant, using a potting mix suited to its needs, and handling the roots without tearing them.
Get those three right and the plant barely notices the move. Here is what those crowded roots are trying to tell you, and the exact order to follow next.
Why Repotting a Plant Matters
A plant growing in a container only has as much room as that container gives it.
As the plant grows, its roots can become crowded, and the potting mix around them breaks down and loses structure over time. Left alone too long, this slows the plant instead of helping it grow.
Repotting deals with several of these problems at once.
It gives crowded roots more room to spread, replaces old or compacted soil with something fresher, and improves drainage so water reaches the roots properly again.
It also makes an unstable plant more secure and gives you a chance to check the roots for damage or pests before things get worse.
Tools Required for Repotting
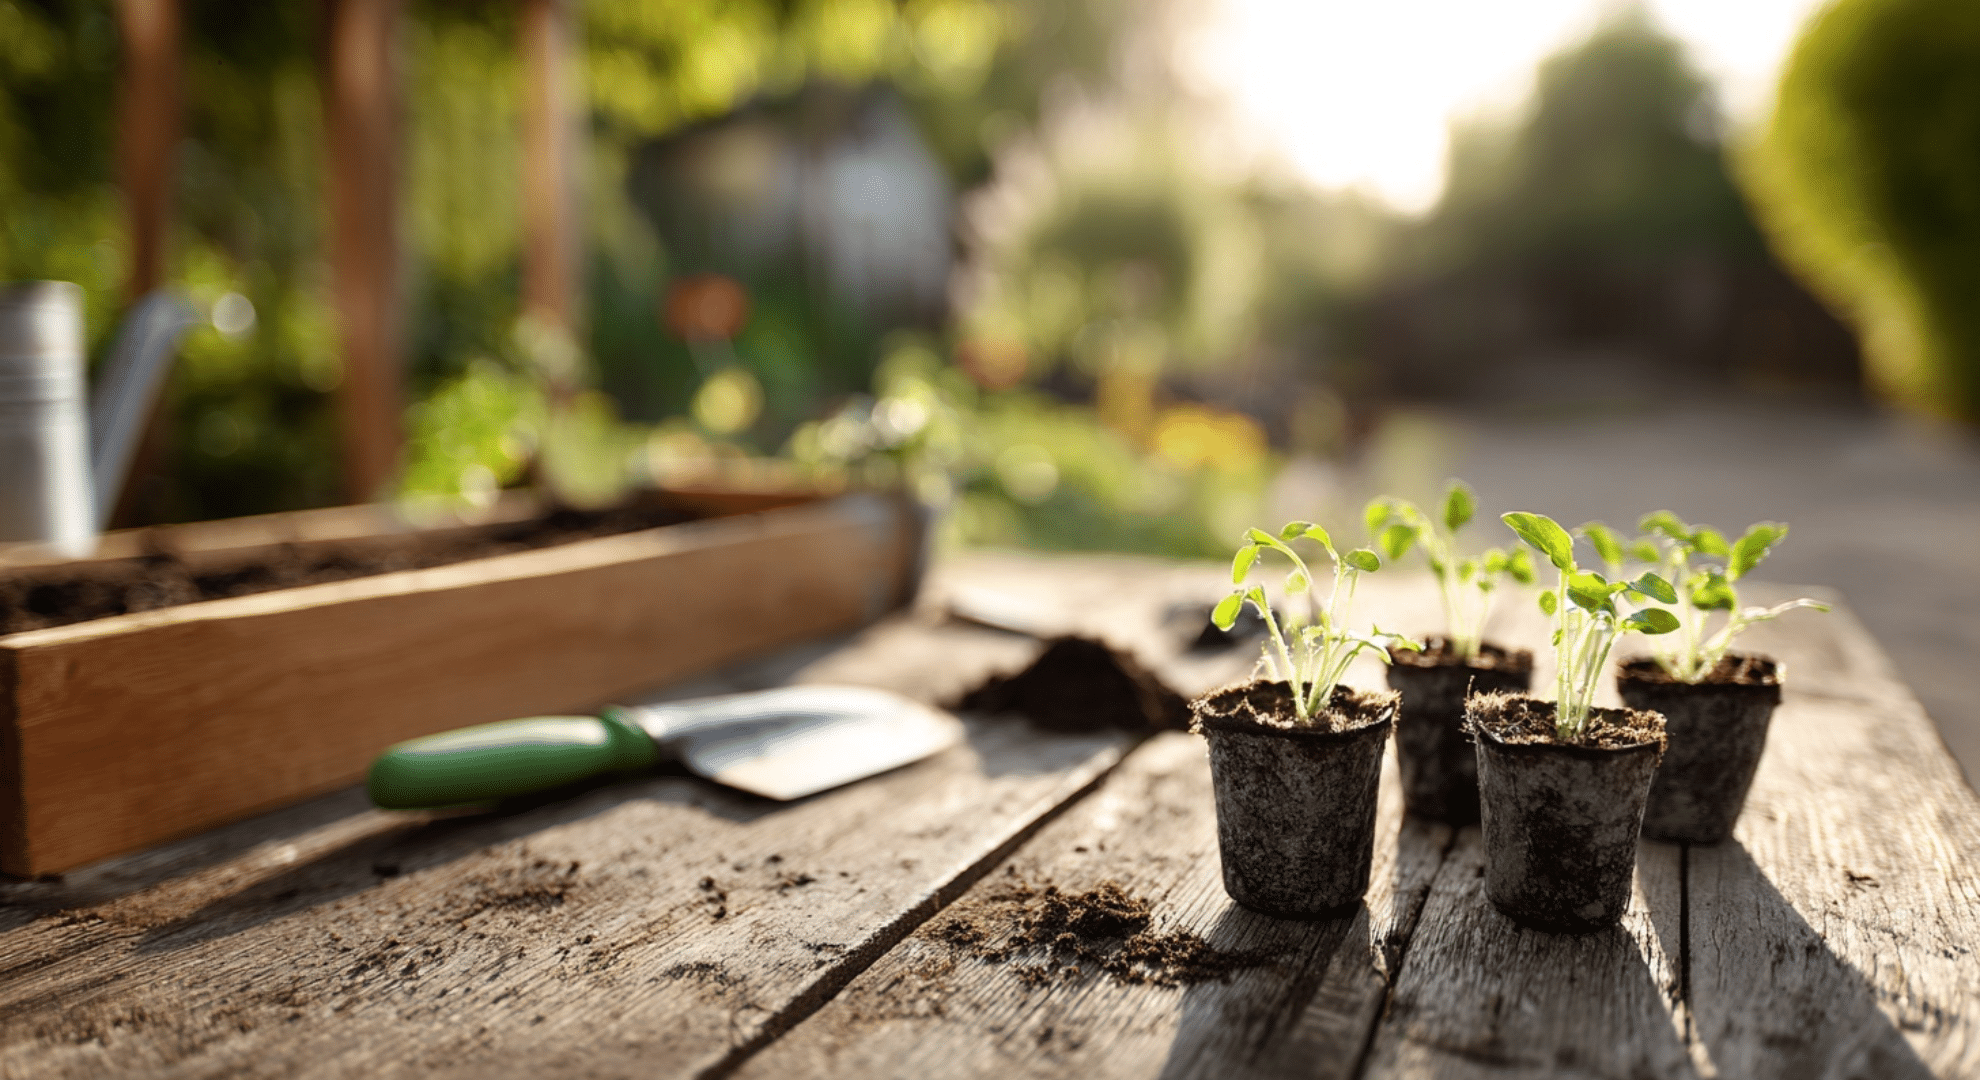
You do not need much to figure out how to repot a plant properly.
A handful of basics covers almost every situation, and most of them are things you likely already own or can pick up cheaply from any garden shop, without needing anything specialized.
- A new pot
- Fresh potting mix
- Small trowel or scoop
- Watering can
- Clean pruning scissors or snips
- Gardening gloves
- Newspaper, tray, or potting mat
- Chopstick or narrow tool
- Mesh or coffee filter
- Plant label
How to Repot a Plant: Step-by-Step Guide
Repotting goes smoothly when you treat it as a sequence instead of jumping between tasks. Each step below covers one part of the job, in the order you should actually do it.
Working through them one at a time also makes it much easier to catch problems, like damaged roots or poor drainage, before they turn into something worse for the plant later on down the line.
Step 1: Remove the Plant From Its Current Pot
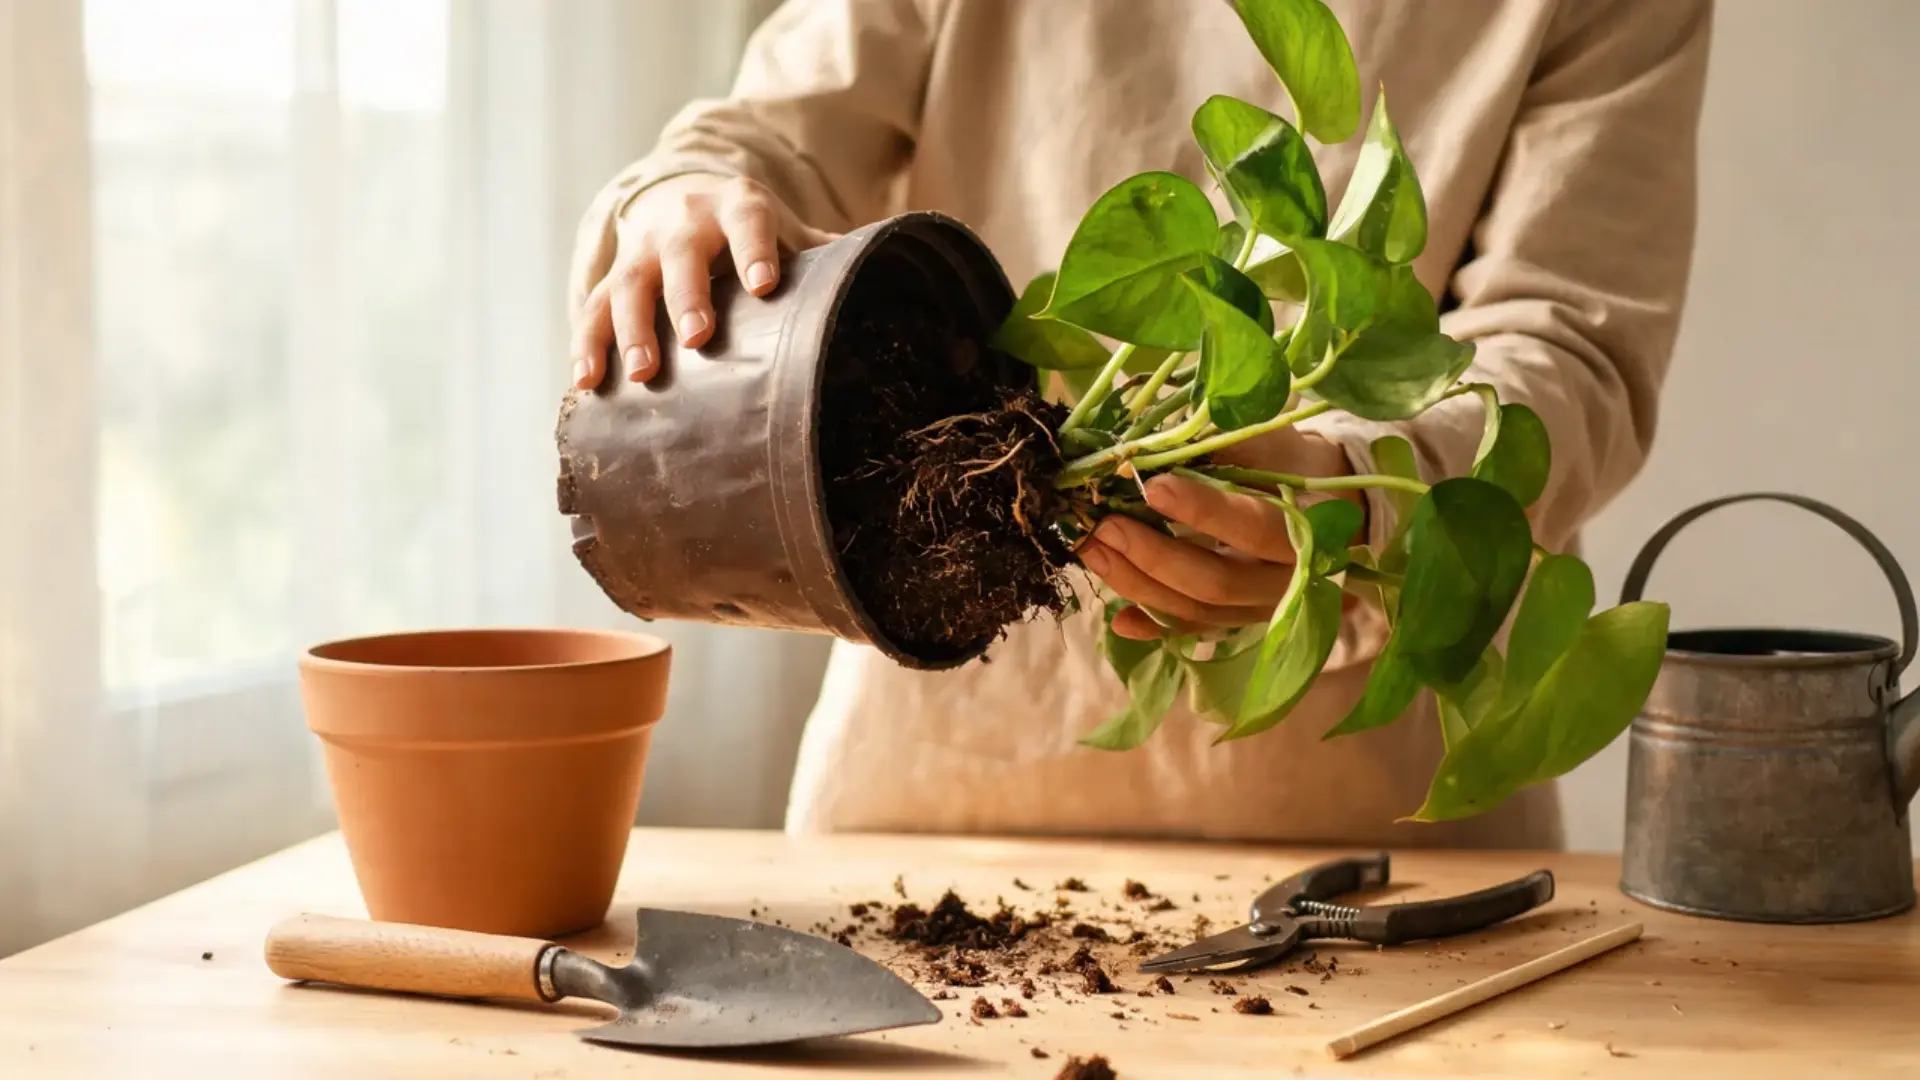
Watering the plant a day or two beforehand makes the root ball easier to slide free and puts less strain on the roots during the move.
Hold the plant gently near its base, then tip the pot slightly to the side.
If it is a flexible nursery pot, squeeze the sides to loosen the soil inside. Tap the pot if the root ball does not slide out.
Support the root ball as it comes free. Never pull the plant out by its stems or leaves, since these can snap or tear under pressure.
Step 2: Loosen the Roots and Remove Loose Old Soil
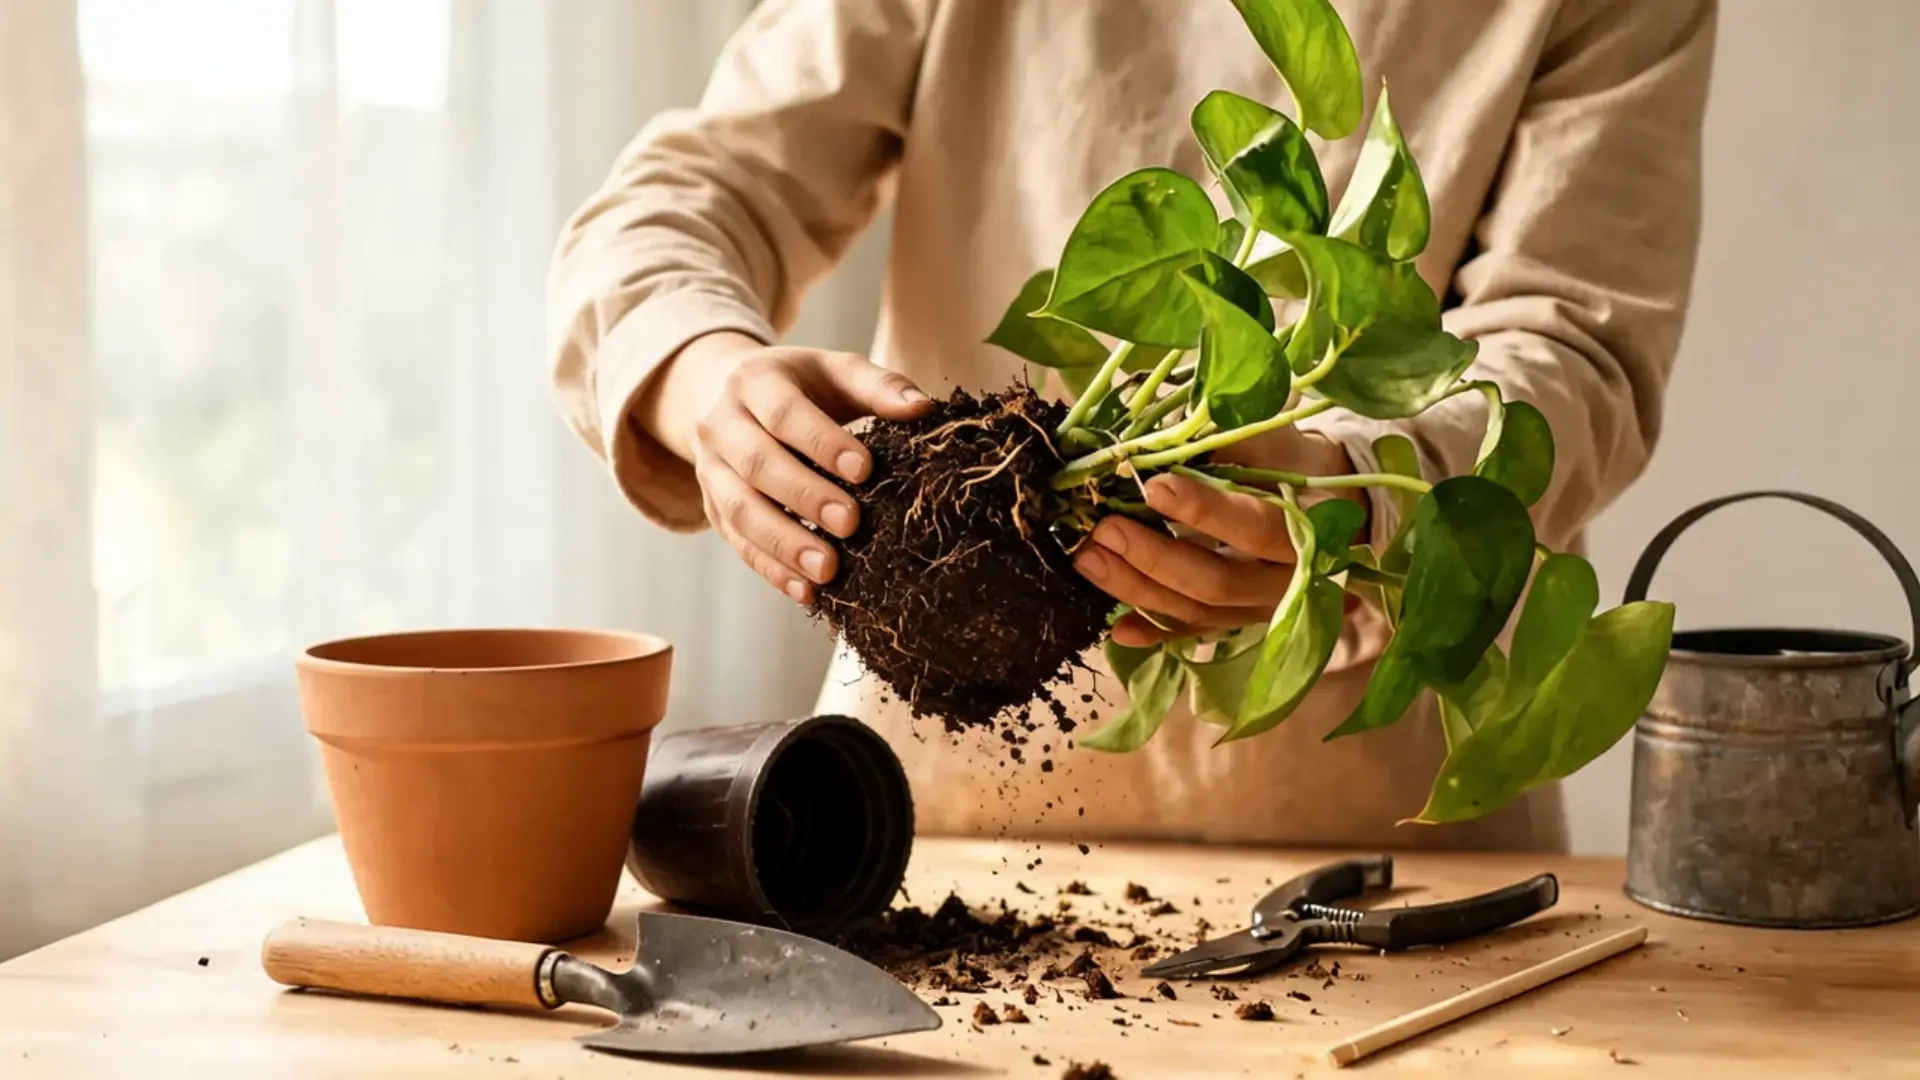
Gently loosen any roots that have become tightly packed around the outside of the root ball, using your fingers rather than pulling them apart with force.
Remove soil that is loose or heavily compacted, but do not try to strip every bit of it away from healthy roots. A little leftover soil is fine. Be extra careful with thin roots, since these are the easiest to damage during this step.
Step 3: Inspect the Roots

With the plant out of its pot, this is the easiest time to check root health.
Look for soft or rotten roots, dead or badly damaged sections, roots circling tightly around the root ball, signs of insects, or soil that looks contaminated.
Trim away anything clearly dead or damaged using clean pruning scissors. Wiping the blades between cuts helps stop rot from spreading to otherwise healthy tissue.
Step 4: Prepare the New Pot and Position the Plant
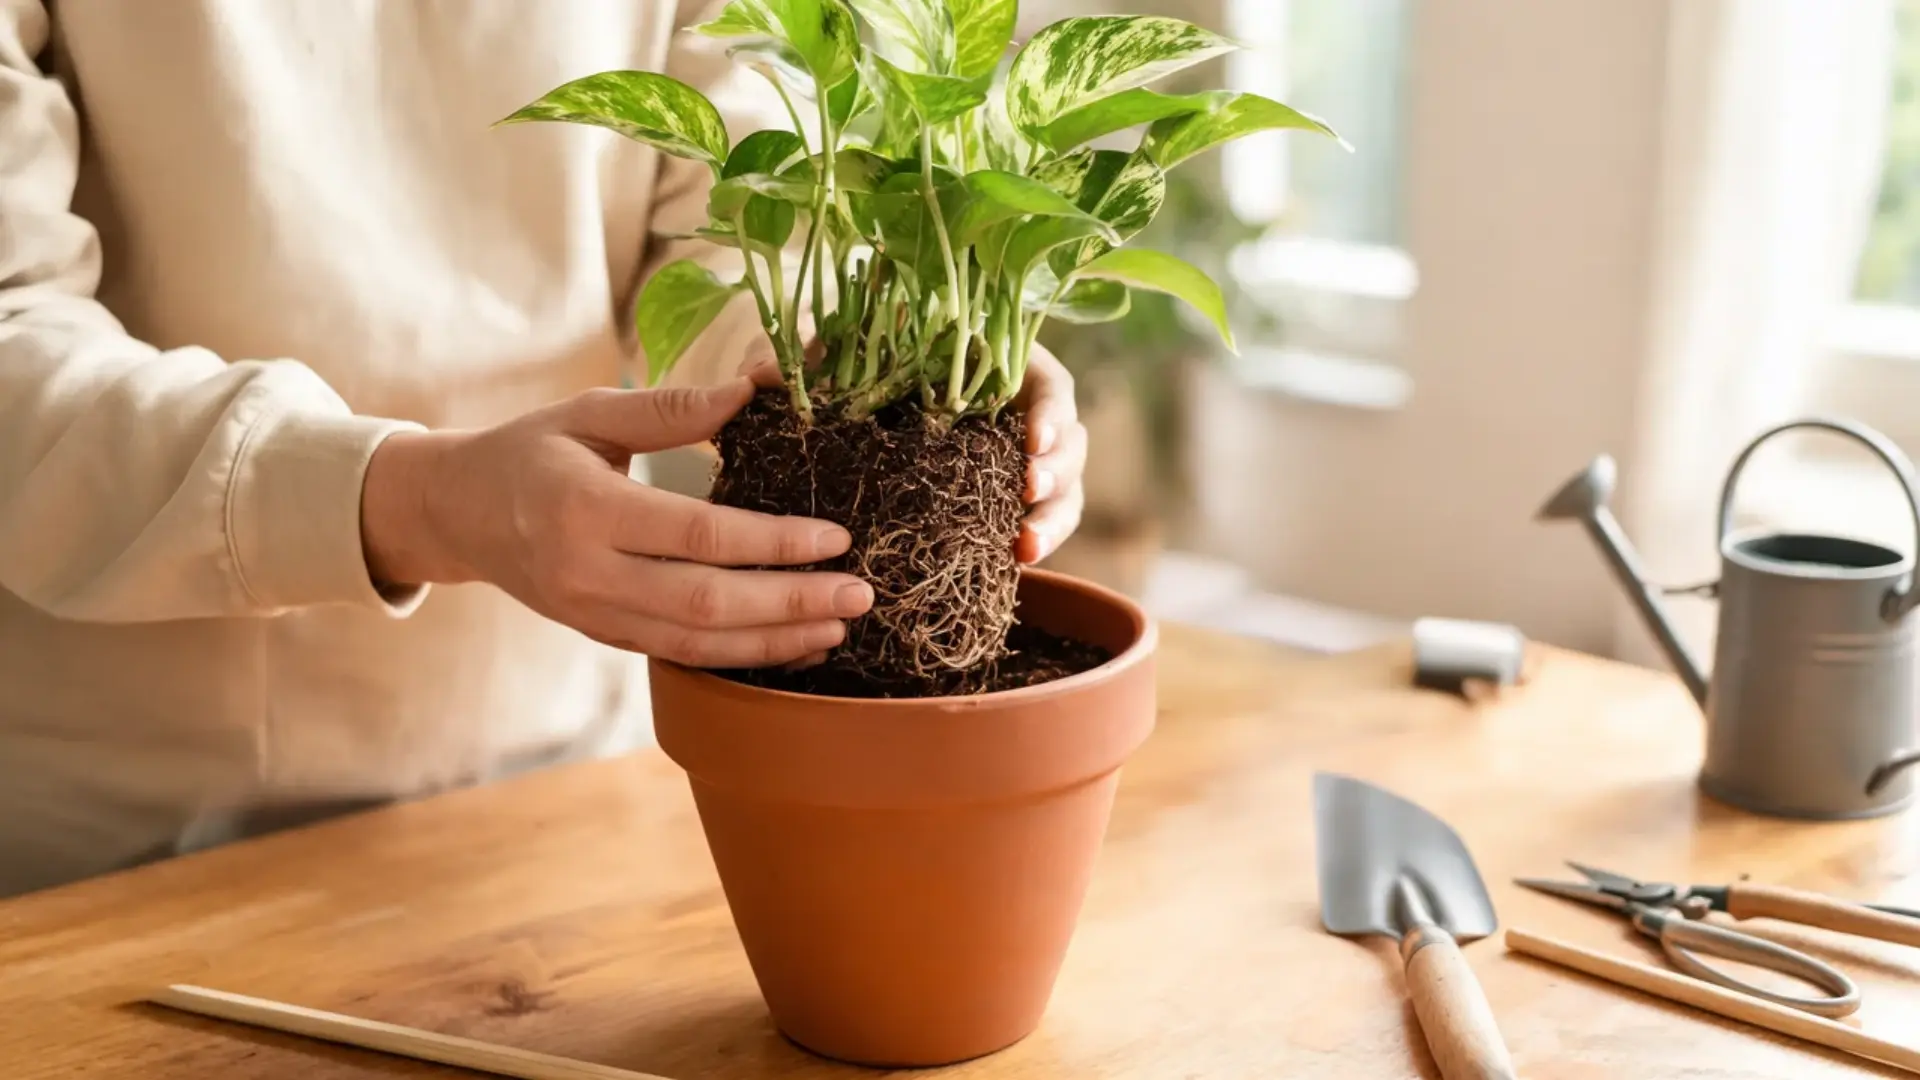
Make sure the new pot has working drainage holes, then add a layer of fresh potting mix to the bottom. Set the plant in the center and check its height before adding more soil.
Keep the plant at roughly the same planting depth it had before, and leave a bit of space between the soil surface and the rim for watering later.
The plant should sit securely without being buried too deep.
Step 5: Fill Around the Roots With Fresh Soil
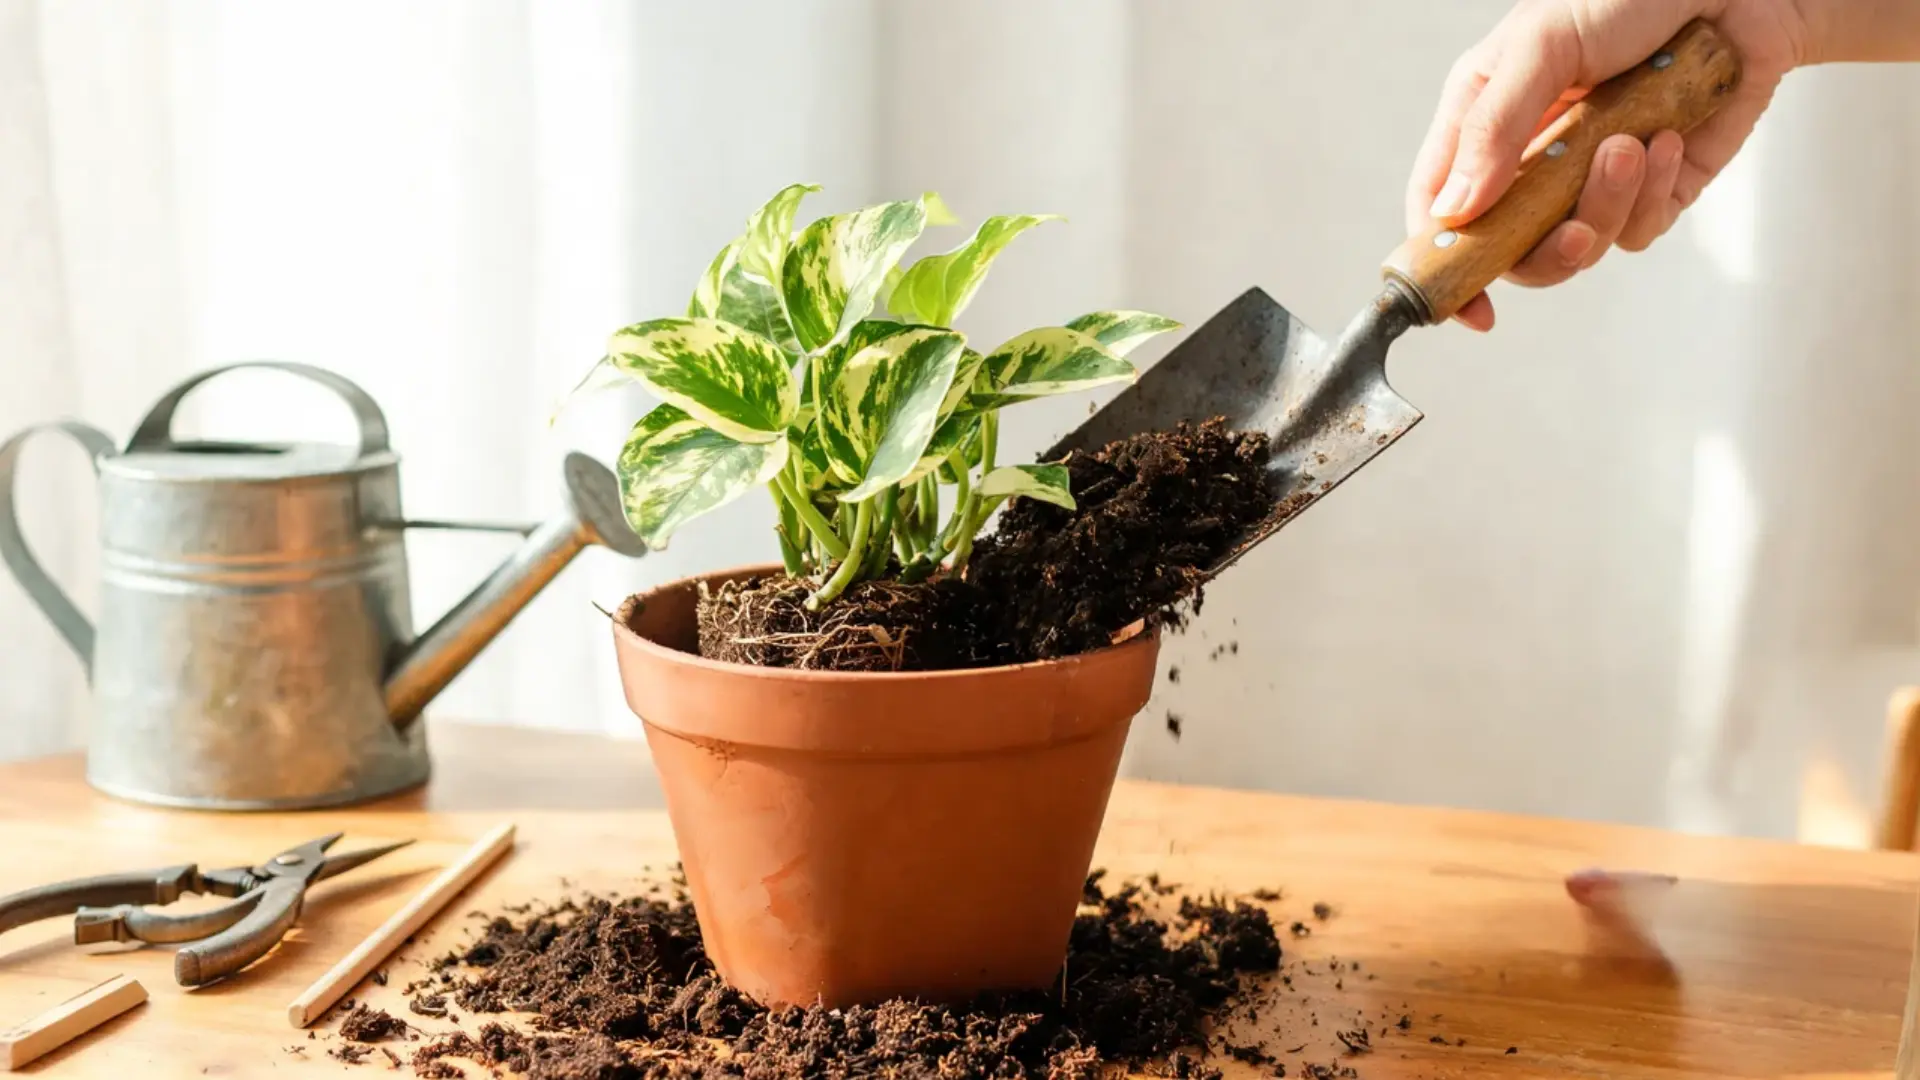
Add fresh potting mix gradually around the root ball, working evenly around the pot rather than filling one side first. Use your fingers or a narrow tool to work soil into any larger gaps.
Firm the soil gently as you go and check that the plant stays upright.
Filling the gaps gives good support, but avoid packing the soil too tightly, since compacted soil leaves less air around the roots.
Step 6: Let the Plant Settle
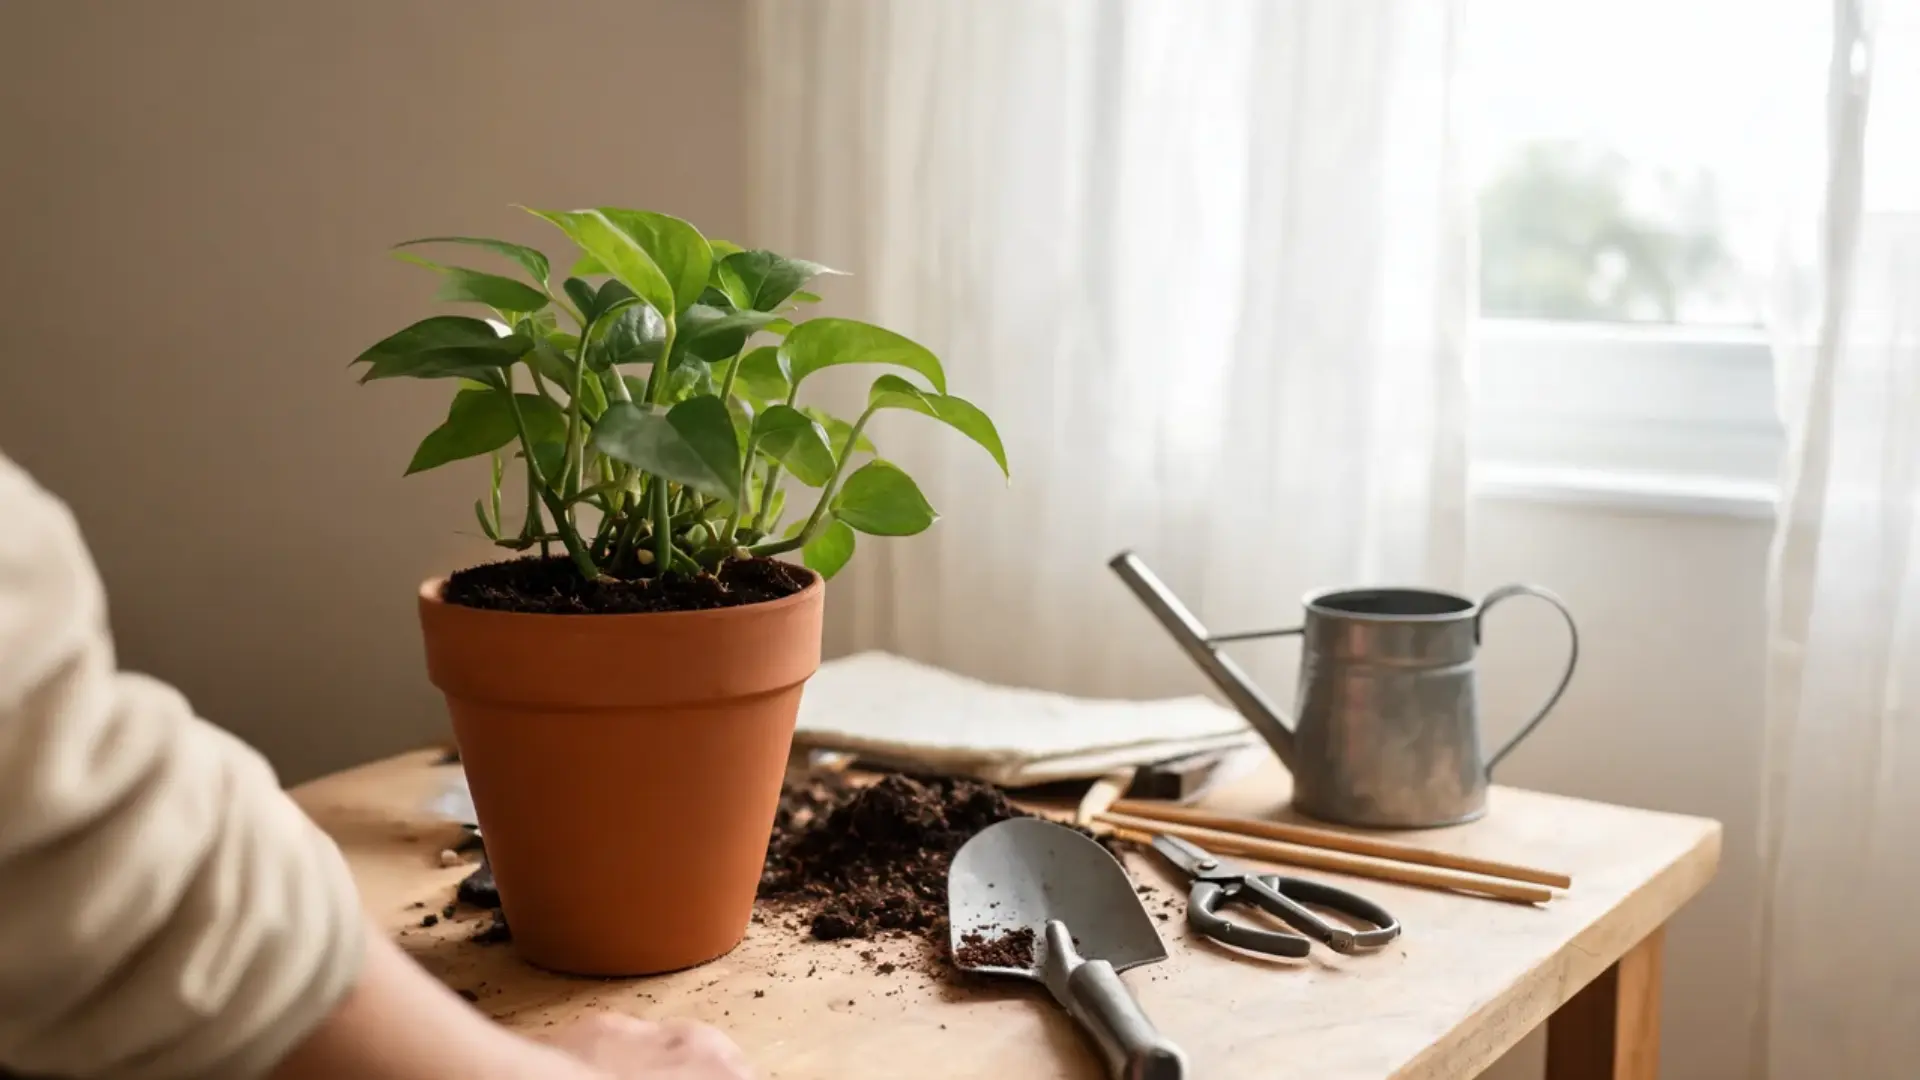
Place the plant back in a spot with suitable light and try not to change too much about its environment all at once.
Its roots have just been disturbed, so it is worth protecting the plant from harsh conditions for a little while and letting it adjust at its own pace.
Different plants settle in at different rates, so there is no single waiting period that applies to every species equally.
Step 7: Water After Repotting
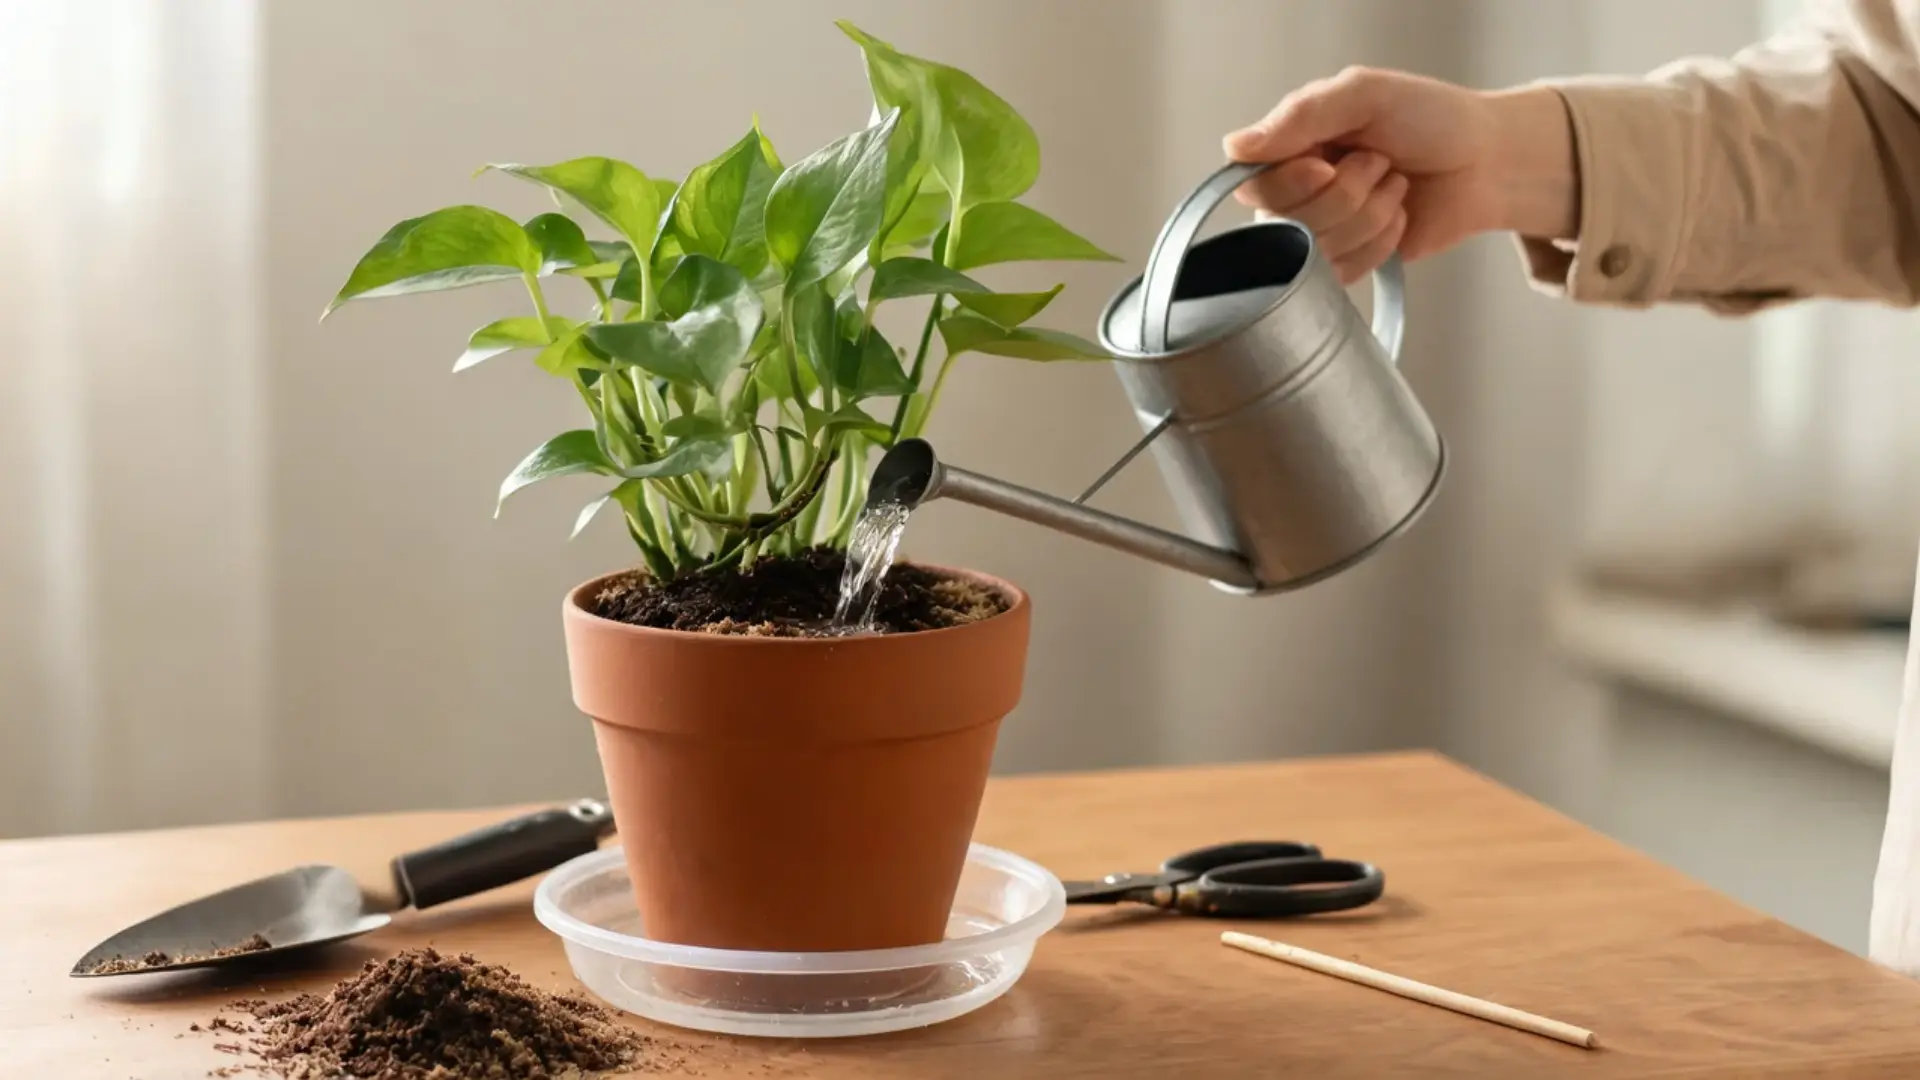
Water the potting mix evenly and let the excess drain through the bottom of the pot.
Empty out any water left sitting in the saucer or a decorative outer pot, and avoid keeping the fresh soil constantly wet in the days that follow.
A quick note: succulents, cacti, and a few other specialist plants often need different cactus watering basics after repotting than typical houseplants do, so check what your specific plant prefers first.
Best Time of Year to Repot a Plant
Most houseplants repot best in spring, right as they come out of winter and start putting on new growth.
New roots form quickly during this active window, so the plant recovers faster and settles into its new pot within a couple of weeks instead of a couple of months.
Mild winters mean many houseplants barely slow down, so early spring through early summer is generally safe territory for repotting most types.
Avoid repotting in the thick of summer heat or during a plant’s dormant season, when a disturbed root system has less energy available to recover.
If a plant clearly needs help right now, such as roots rotting from standing water, repot it regardless of season.
A plant already in distress will not get better by waiting for ideal timing.
Caring Tips for a Plant After Repotting
After repotting, a few simple care habits can help the plant settle into its new container without adding extra stress.
- Check the soil first: Water only when the soil actually needs it, since fresh potting mix may hold moisture differently than the old soil.
- Keep light consistent: Place the plant in lighting suited to its type and avoid suddenly moving it into much stronger light after repotting.
- Watch the leaves: Stable leaves are a good sign that the plant is adjusting well to its new pot.
- Look for new growth: Fresh growth usually shows that the roots are settling in and the plant is recovering properly.
- Notice warning signs: Prolonged wilting, yellowing, or soft growth can point to watering problems or continued stress.
- Give it time: Some plants recover within days, while others may need a few weeks to fully adjust.
Preparing the Pot and the Soil for the Plant
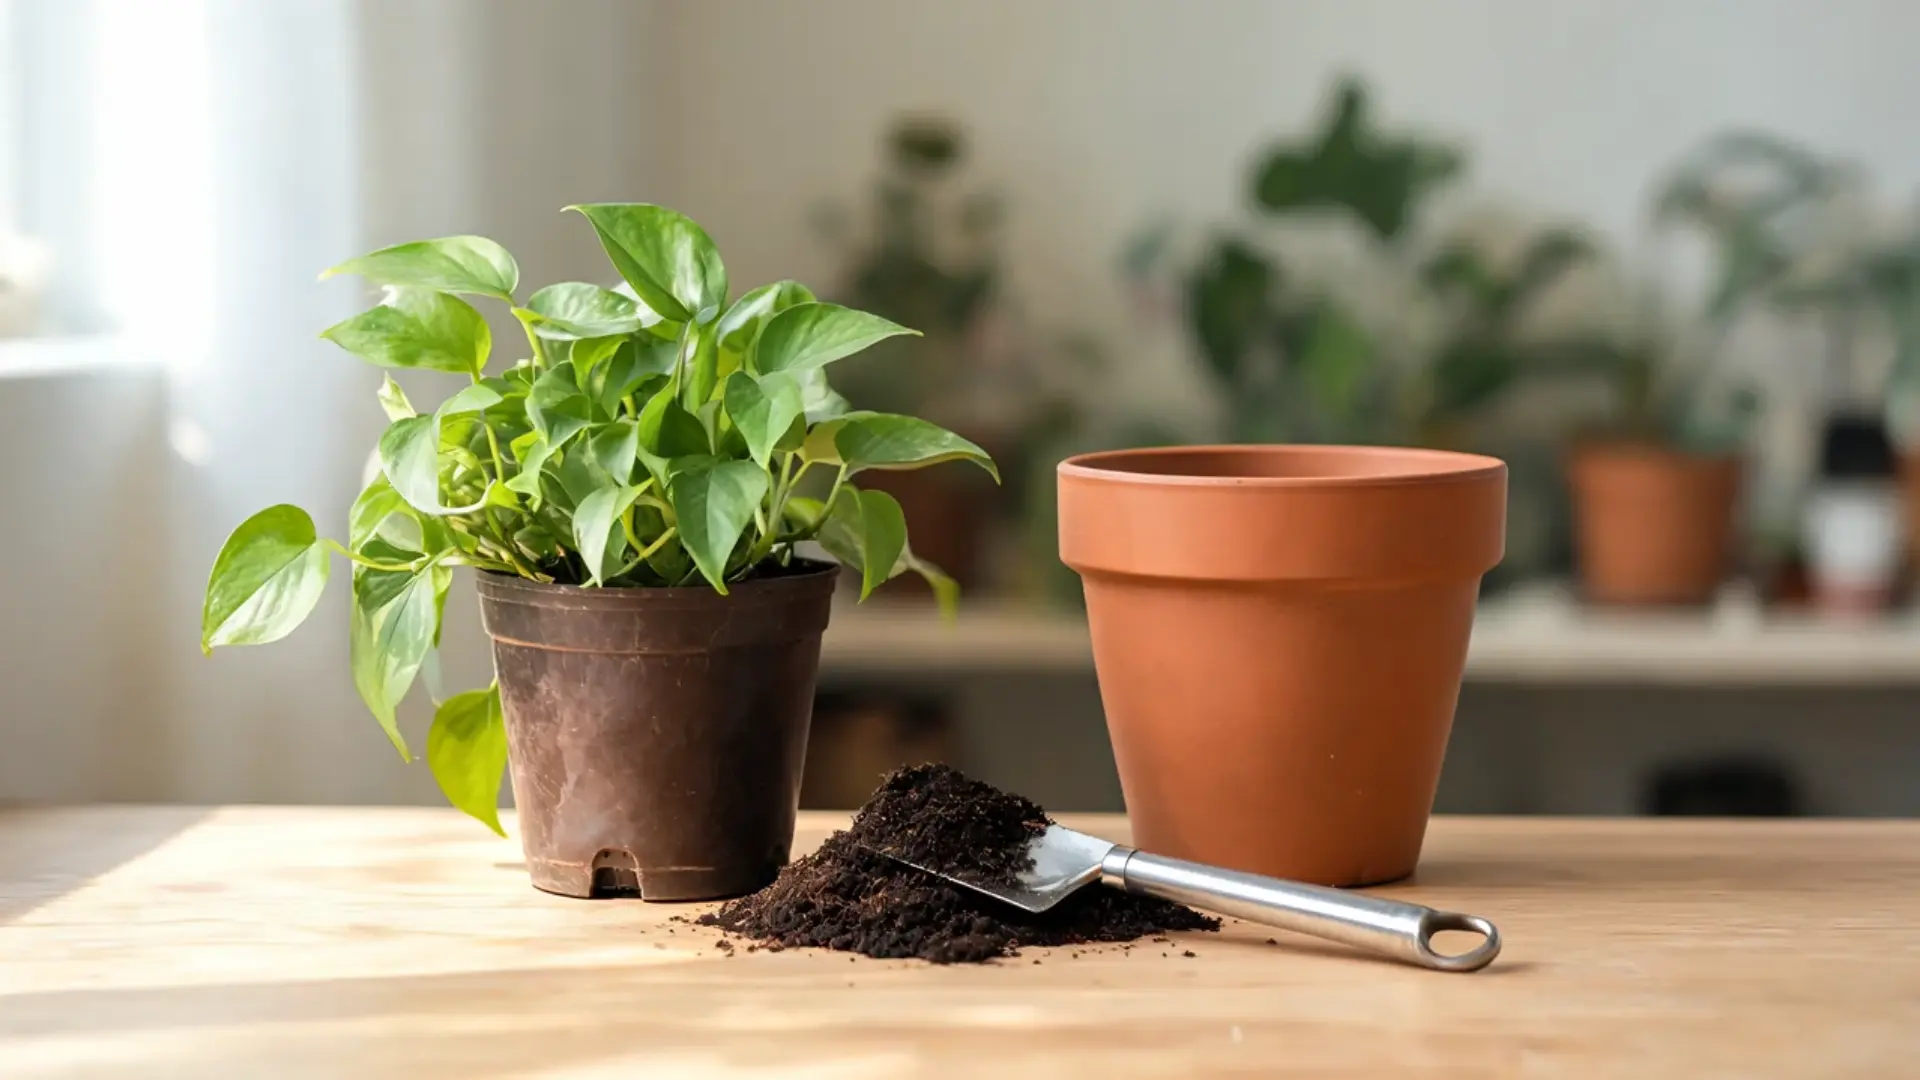
Getting the pot and soil right is really the other half of knowing how to repot a plant well, since even a careful repot struggles if either one works against the roots instead of for them.
Both need to work together from the very start, because a good pot cannot make up for the wrong soil, and the right soil cannot fix a pot with poor drainage.
Choosing the Right Pot
- Drainage: Choose a pot with working drainage holes so excess water has somewhere to go.
- Size: Move up only slightly from the current pot, rather than jumping several sizes at once.
- Oversized pots: Avoid putting a small root system into a much larger container, since the extra soil can stay wet longer than the roots need.
- Decorative pots: Keep a plant in a draining nursery pot and place that inside a decorative outer pot instead.
Choosing the Right Potting Mix
Most common houseplants do fine in a quality indoor potting mix.
Succulents and cacti need something that drains faster, and orchids or other specialist plants often need their own dedicated growing medium, since standard mixes hold onto far too much moisture for their roots.
One potting mix isn’t ideal for every plant, so choose soil based on how much drainage and moisture your specific plant needs, rather than grabbing whatever bag is closest.
A mix that drains too slowly is one of the fastest ways to keep root rot from starting in the first place.
Frequently Asked Questions
Should You Fertilize a Plant Right After Repotting?
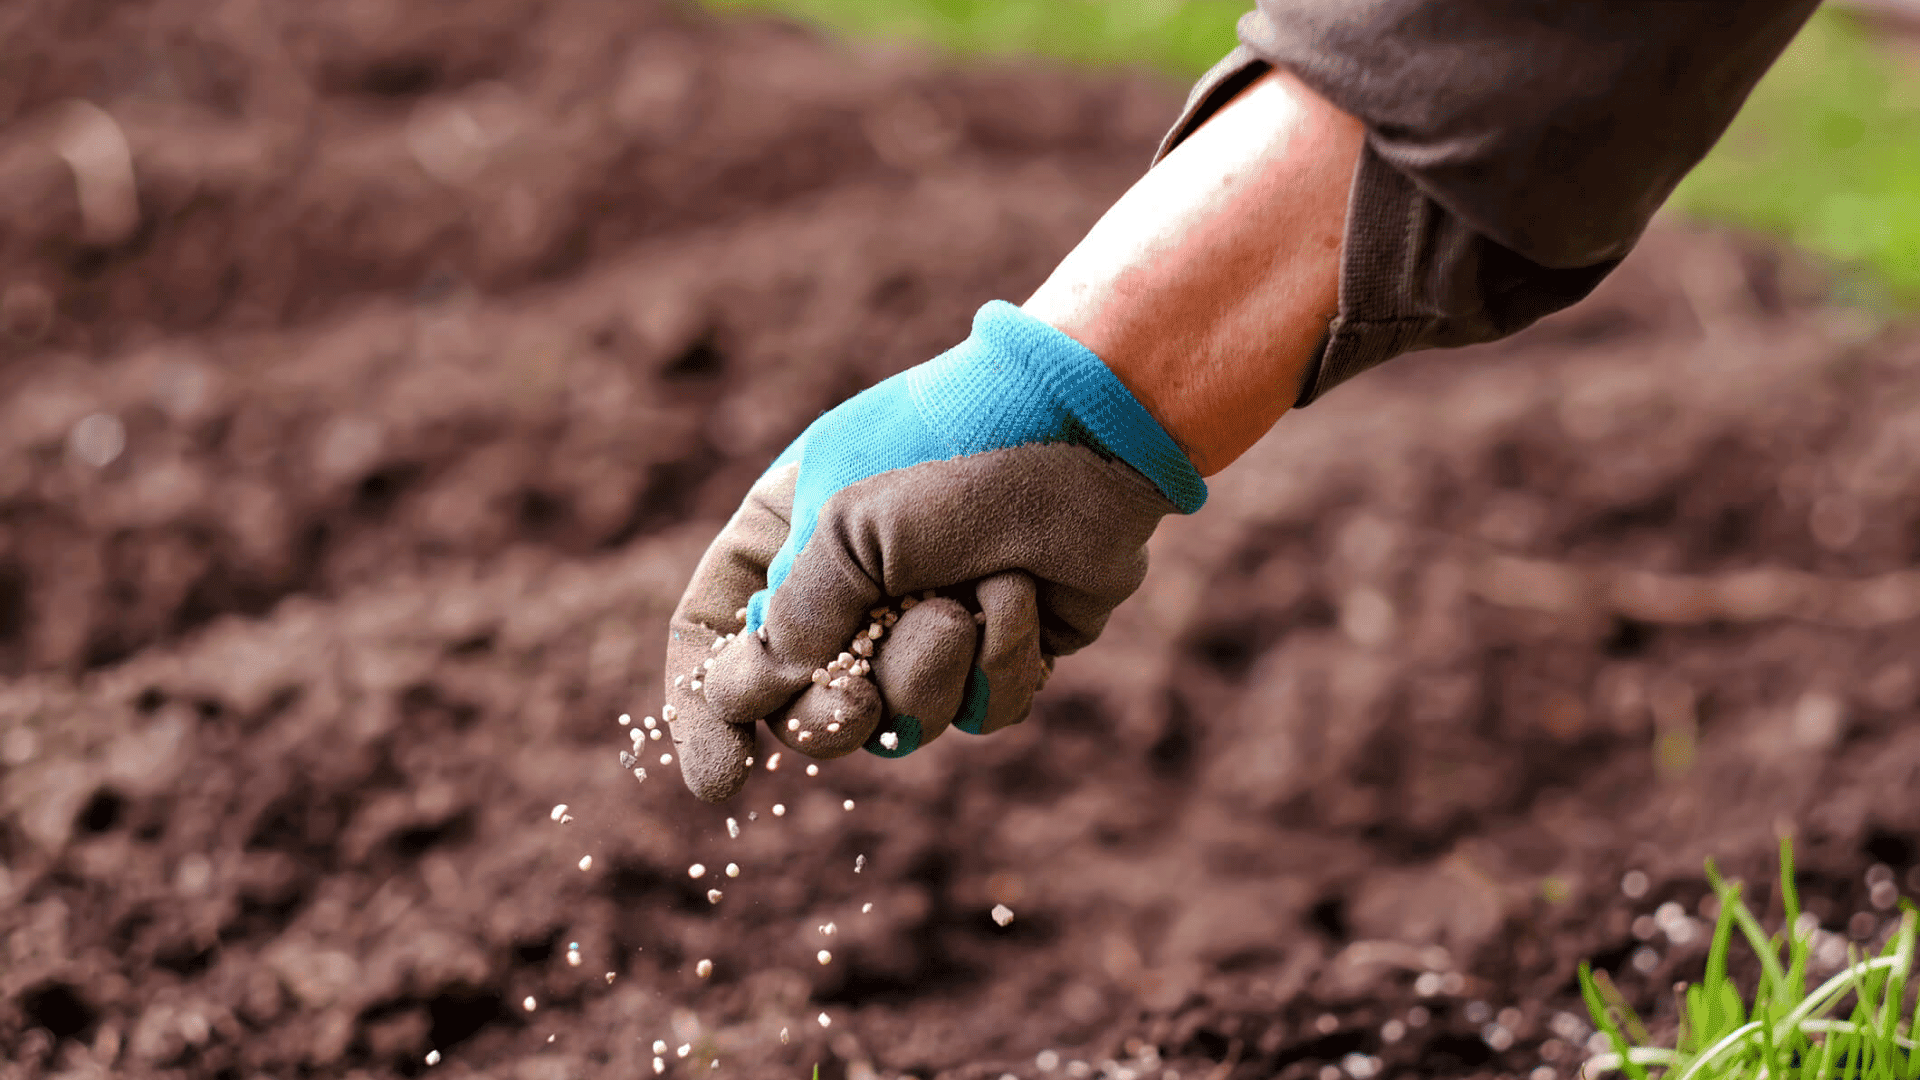
No. Fresh potting mix already has some nutrients built in, and newly disturbed roots are not ready to take up fertilizer efficiently right away. Wait four to six weeks after repotting before feeding again, giving the roots time to settle and start actively growing in their new soil first.
Can You Repot a Plant That is Blooming or Flowering?
It is possible, but not ideal. Repotting during bloom can shock the plant enough to drop flowers or buds early, wasting the current bloom cycle. Where it can wait, hold off until flowering finishes, then repot once the plant moves back into active leaf and root growth.
Do All Houseplants Need Repotting on the Same Schedule?
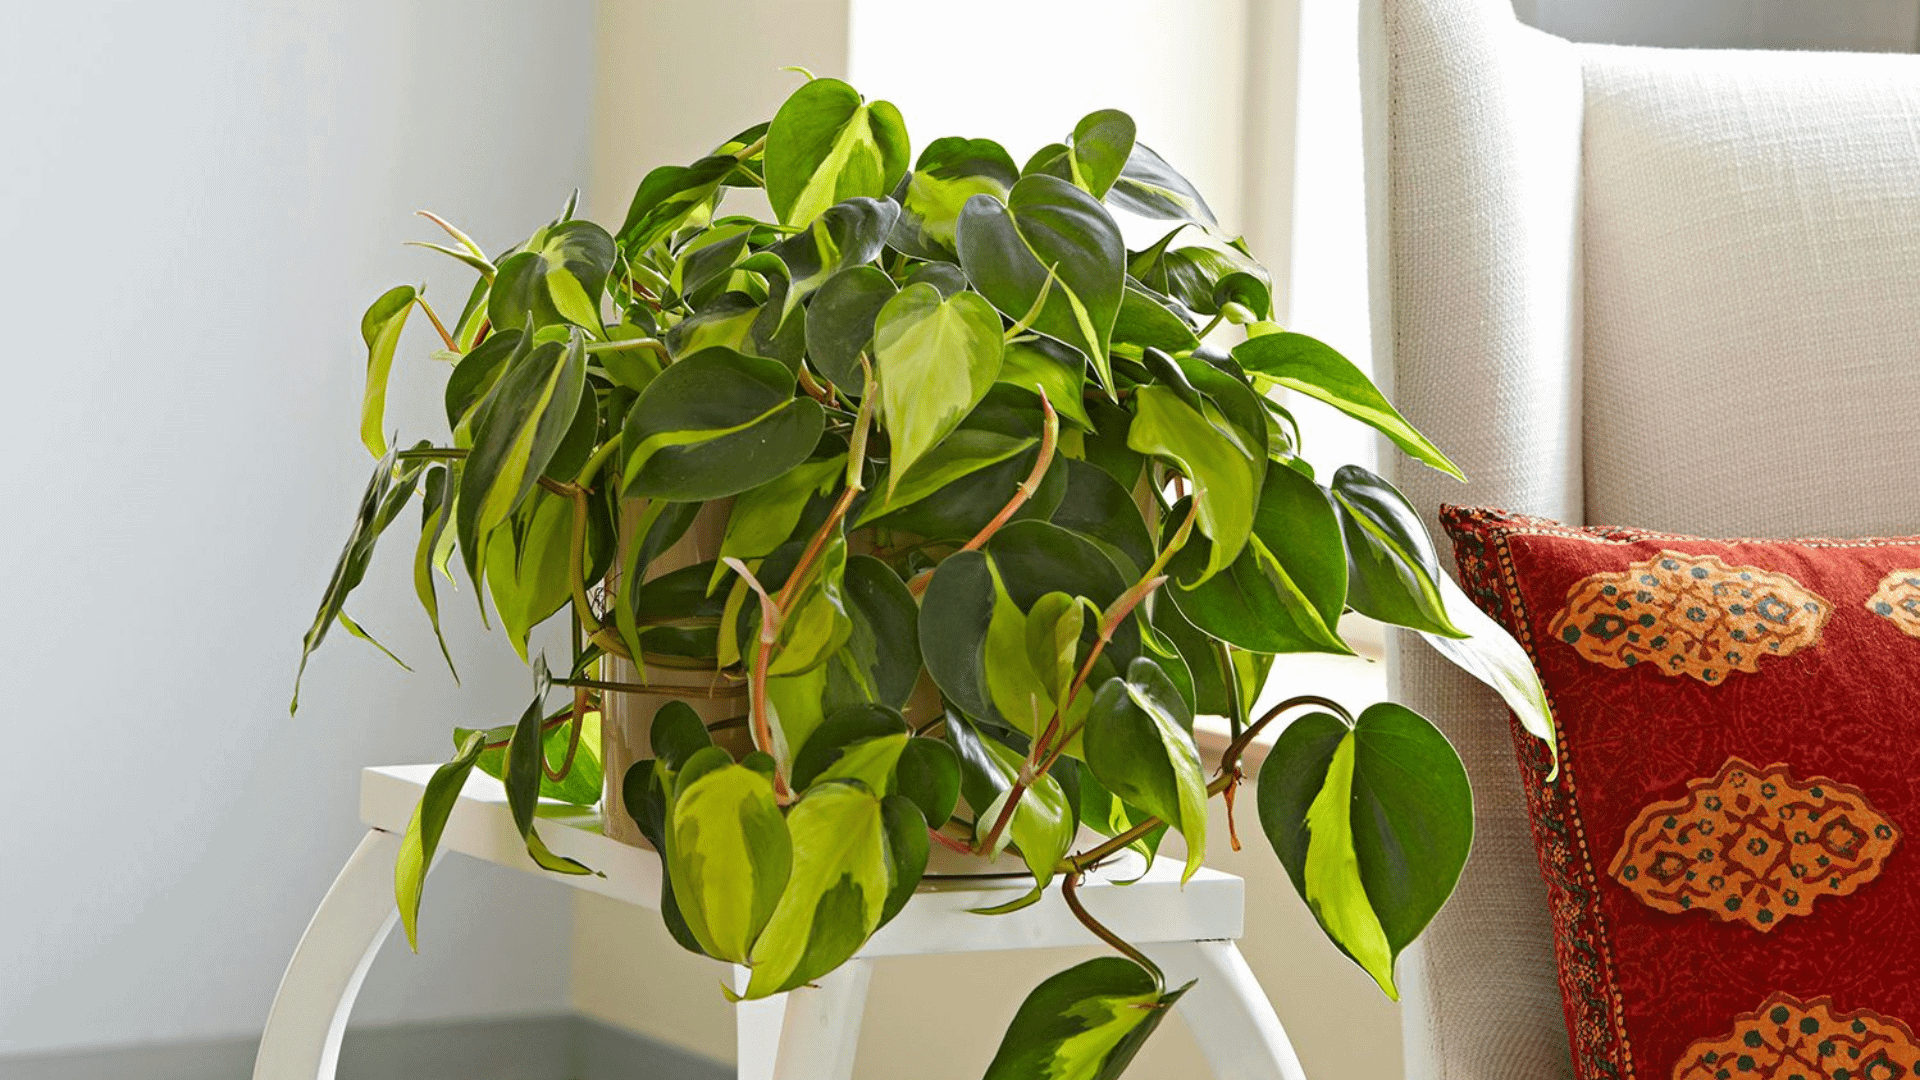
No. Fast growers like pothos may need repotting every year, while slow growers such as cacti or snake plants can go two to three years or more between repots. Base the timing on root crowding and soil condition for that specific plant, not a fixed calendar date.
Can You Reuse Old Potting Soil When Repotting?
Reusing old soil is not recommended, since it has usually lost structure and nutrients, and may carry pests or fungal spores left over from the previous pot. Fresh mix gives roots the best possible start. If cost is a concern, blend a small amount of old soil into a mostly fresh mix instead.
Can You Repot a Plant Into the Same Pot?
Yes, in some cases. Knowing how to repot a plant does not always mean sizing up. If you just want to refresh the soil or keep the plant at roughly its current size, reusing the existing pot works perfectly fine and saves you a trip to buy a brand new one.
Final Thoughts
Repotting gets easier once you choose a suitable pot, use the right soil, handle the roots gently, and keep the plant at roughly its old depth.
It gives the roots a healthier place to keep growing, and the plant itself benefits, not just the shelf it sits on.
A few careful minutes at the start really do save weeks of a sulking, stressed-out plant later.
Now that you know how to repot a plant the right way, check your plants for the signs covered above, gather your tools, and give the next crowded or thirsty one a fresh pot this weekend.
What’s the trickiest plant you’ve had to repot, and how did it turn out? Tell us about it.