Most people think growing rice needs a massive flooded field. That is not true. You can grow rice right in your backyard or even in a few containers on your patio.
This guide covers everything you need to know about how to grow rice at home, from picking the right seed to harvesting your first crop.
Whether you have a small garden or just a few buckets, this guide will walk you through each step clearly. The best part? You do not need any farming experience to get started.
Rice Cultivation: Key Facts to Know
Before you get your hands dirty, here are the basic numbers and conditions you need to keep in mind.
| Factor | Details | |
|---|---|---|
| Time to Harvest | 3 to 5 months depending on variety | |
| Minimum Temperature | 70°F (21°C) for at least 40 consecutive days | |
| Space Needed | As small as a 12-inch deep container | |
| Yield Estimate | 10 plants produce roughly 1 lb of rice | |
| Seeds to Use | Unprocessed organic seeds only, not grocery store rice | |
| Best US Climates | Southern states, California: indoors in cooler zones |
Types of Rice You Can Grow at Home
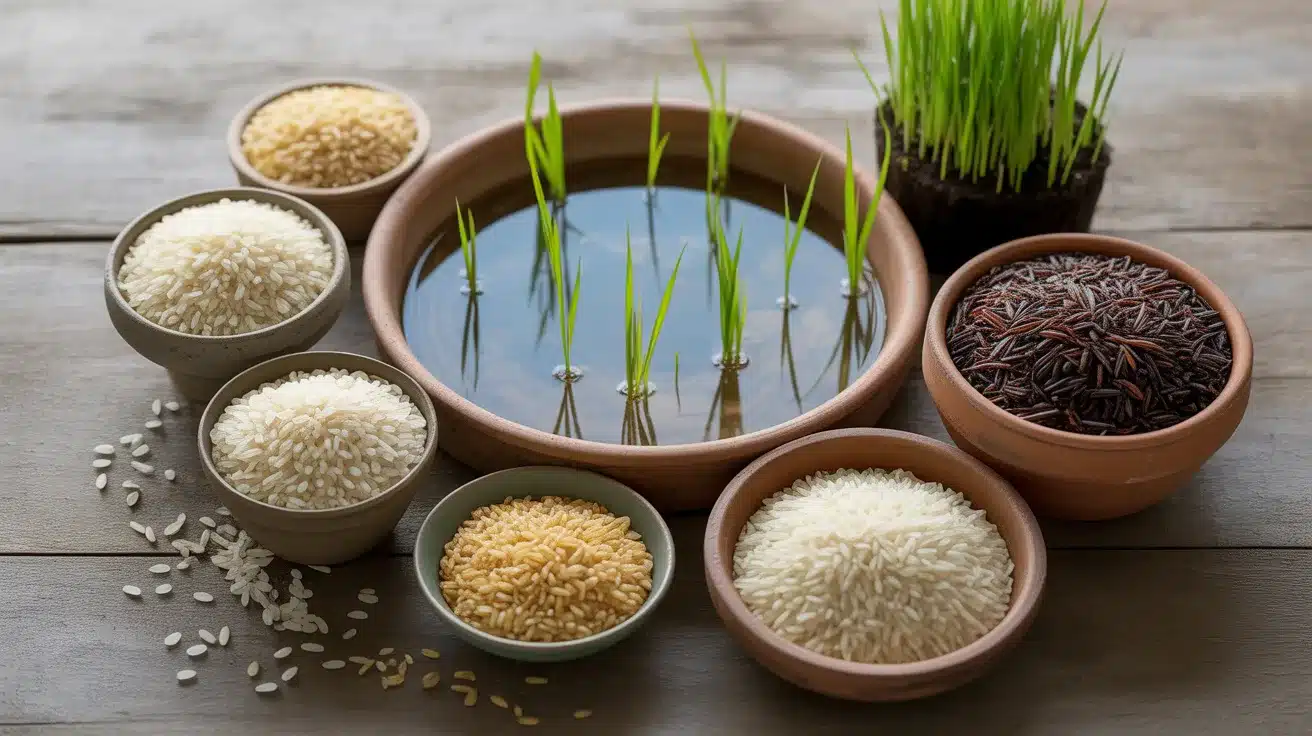
Not all rice is the same, and choosing the right type makes a real difference for home growers.
- Upland (Dry) Rice: Grows without flooding. Best for containers and backyard gardens. Duborskian is a popular beginner-friendly variety.
- Lowland (Wetland) Rice: Needs standing water throughout most of the growing period. Harder to manage at home but works in raised sealed beds.
- Short-Grain Rice: Includes varieties like Koshikari and Arborio. Prefers wetter, marshy conditions and produces sticky, soft grains.
- Long-Grain Rice: Includes Basmati and Jasmine. Grows well in warm, humid conditions with steady water supply.
- Medium-Grain Rice: Falls between the two. Good all-around option for home growers in warm climates.
- Brown vs. White Rice: Both start the same way in your garden. Brown rice keeps its bran layer after harvest. White rice goes through extra milling to remove it.
The Growth Cycle of Rice (From Seed to Grain)
Rice goes through five clear stages. It starts with germination, where soaked seeds sprout tiny roots within the first week or two.
From there, seedlings push up through the soil over the next few weeks, followed by the tillering stage where the plant branches out and grows stronger.
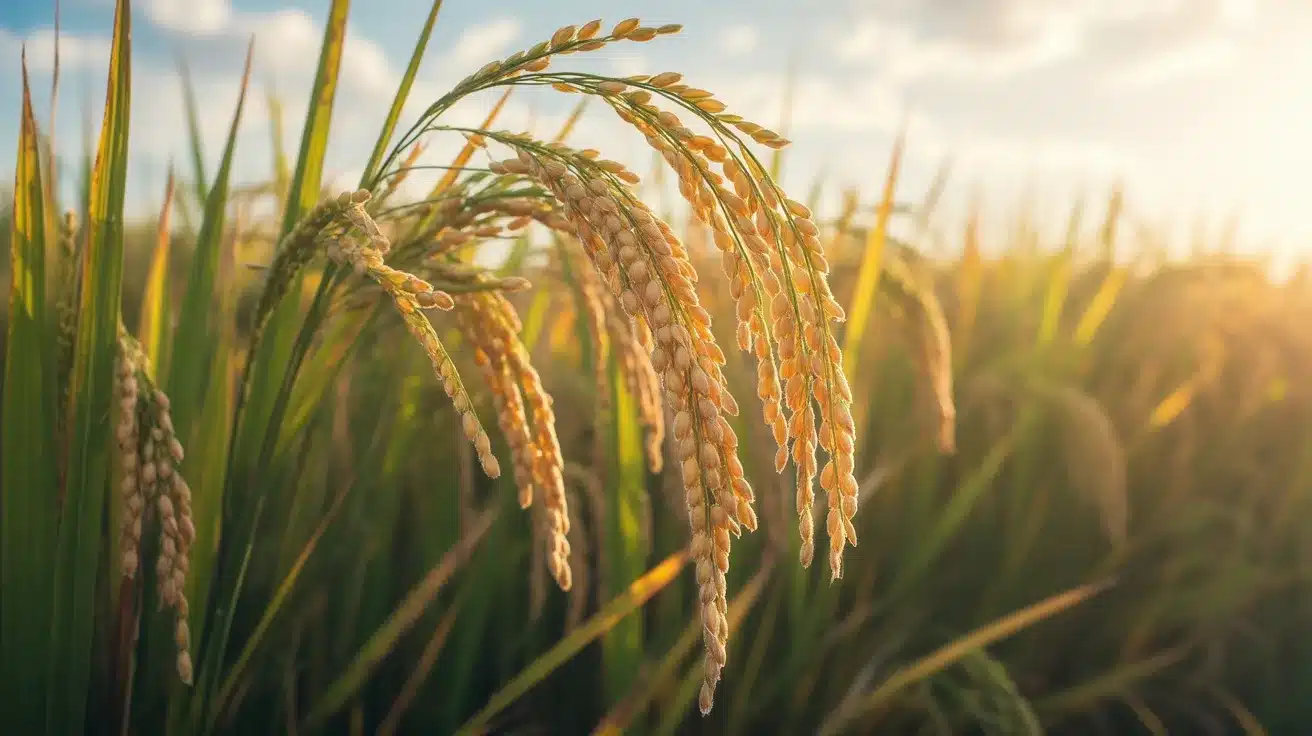
Around the two to three month mark, panicles (seed heads) form at the top of the stalks. Finally, the grains fill in, and the stalks turn from green to gold, which signals that harvest time is close.
The full cycle takes three to five months depending on your variety and climate.
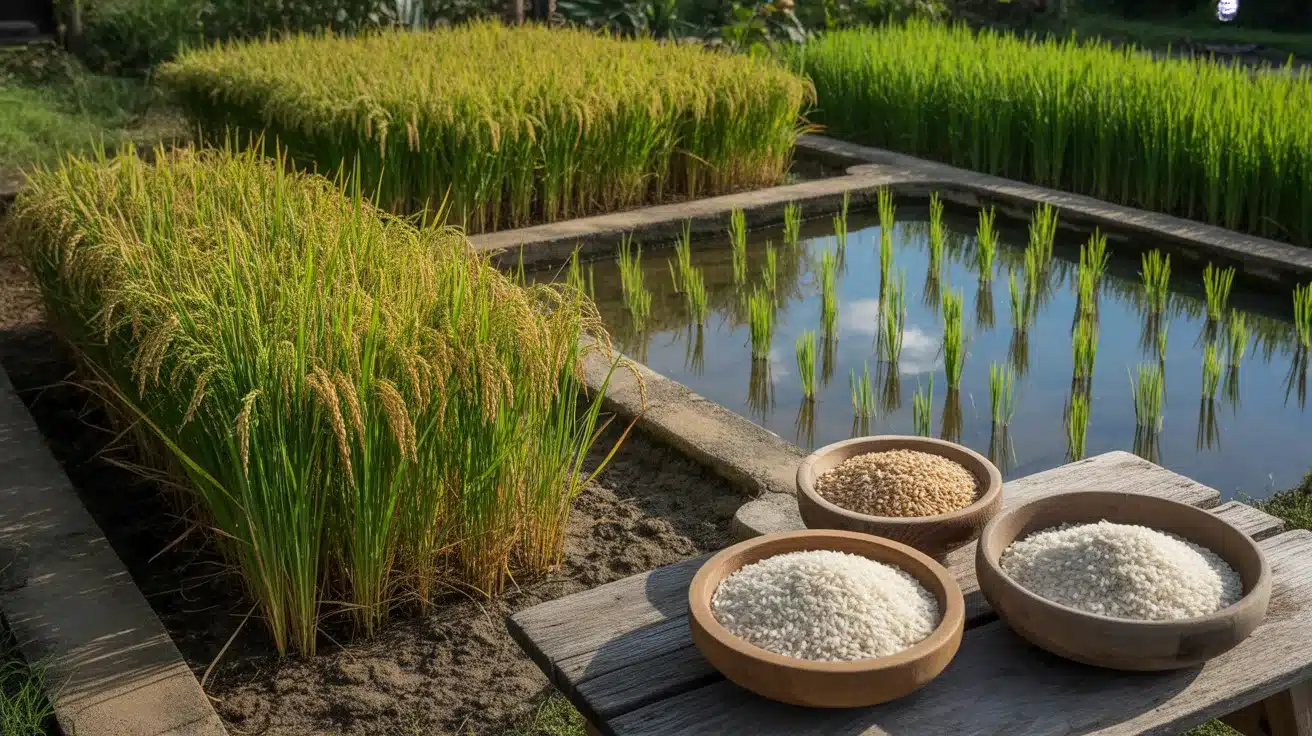
What Rice Needs to Grow: Soil, Sun & Water
Getting the growing conditions right from the start saves a lot of trouble later on.
| Requirement | What You Need |
|---|---|
| Sunlight | 6 to 8 hours of direct sun daily |
| Temperature | 70°F to 95°F (21°C to 35°C); no growth below 50°F |
| Soil Type | Heavy clay or loamy soil that holds water well |
| Soil pH | 5.5 to 7.0 (slightly acidic to neutral) |
| Nutrients | Nitrogen-rich soil: enrich with compost or aged manure |
| Water Depth | 2 inches during early growth, up to 4 inches as plants grow |
| Soil Depth | Loosen soil to at least 8 inches before planting |
How to Grow Rice Step by Step
Growing rice at home follows a clear sequence. Get each step right, and the rest of the process falls into place naturally.
Step 1: Choose Your Growing Method
Start by deciding where and how you want to grow your rice. Containers like 5-gallon buckets work well for small spaces and balconies, while raised beds or low-lying garden areas work better if you want a bigger yield.
Make sure whatever you use holds water without draining, since rice roots need to stay consistently wet throughout most of the growing period.
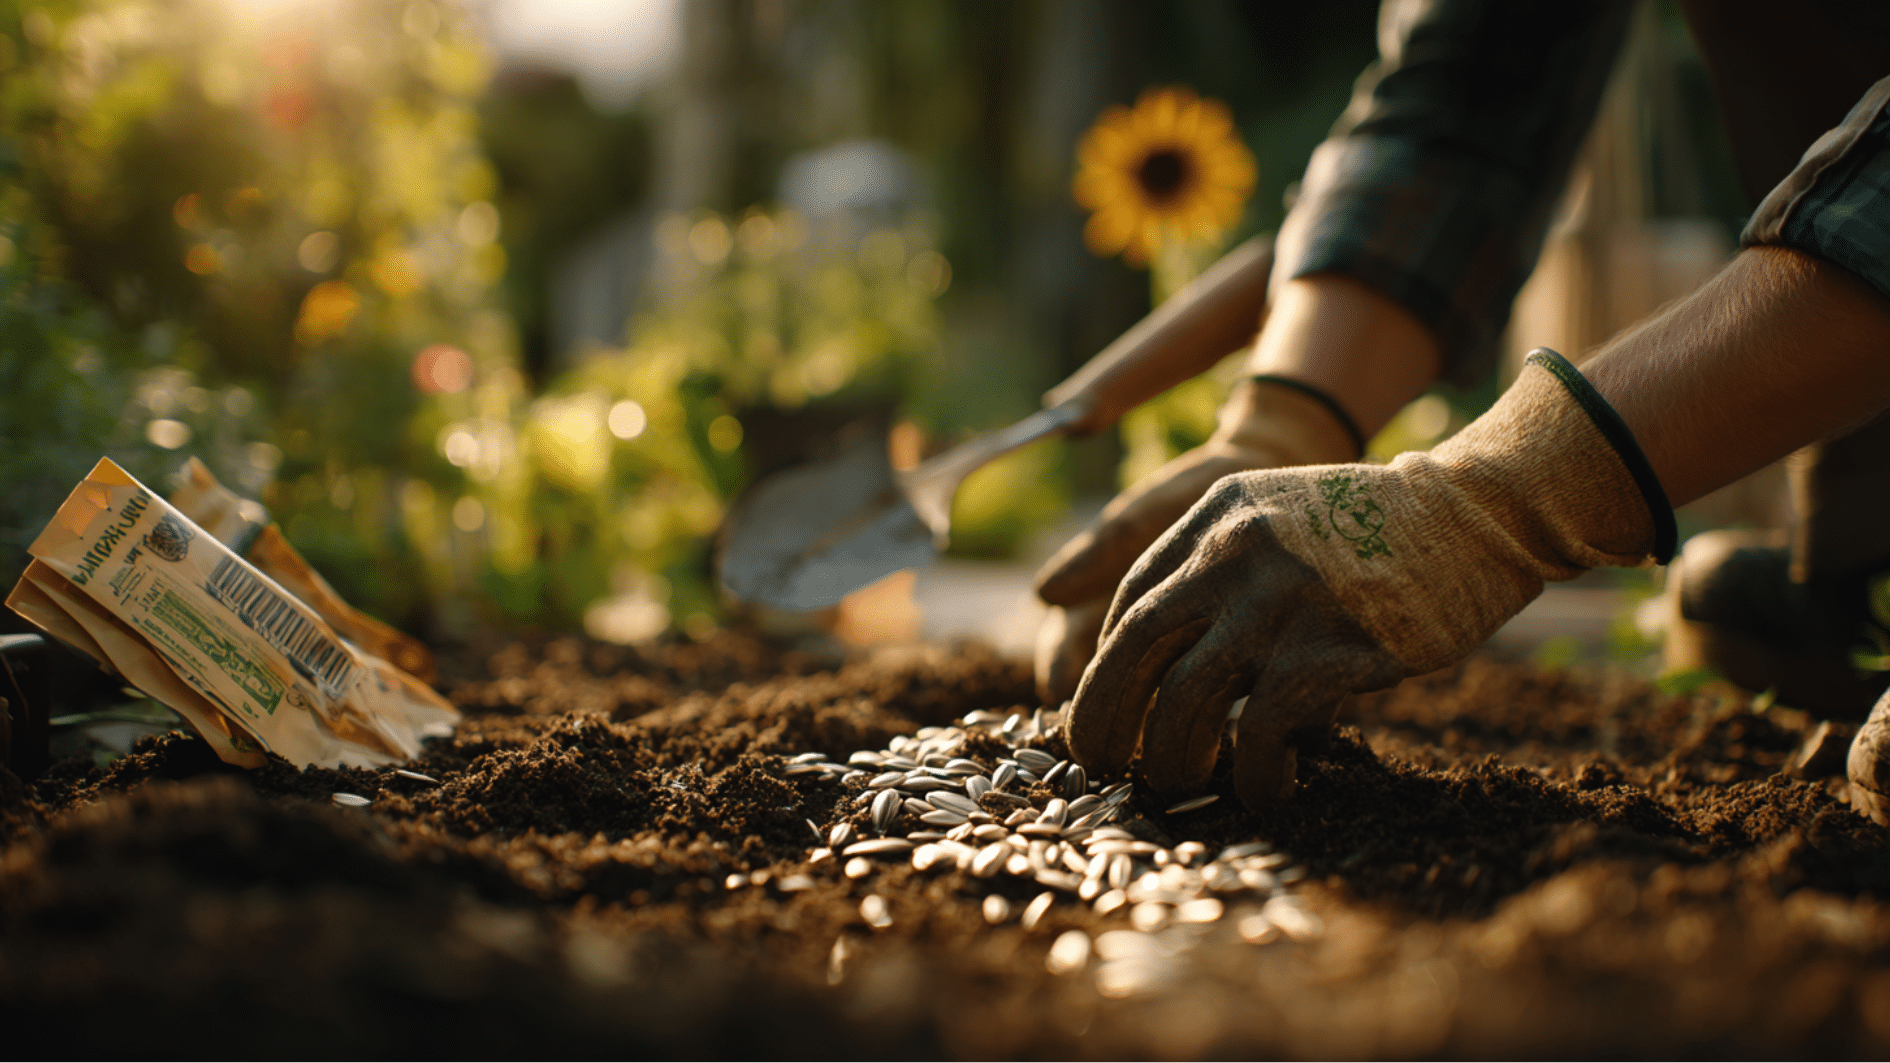
Step 2: Soak the Seeds Before Planting
Before you put any seed in the ground, soak it in non-chlorinated water for 12 to 36 hours. This softens the outer layer and kicks off germination, giving your seeds a head start.
You will notice small roots beginning to appear by the end of the soak, which means the seed is ready to go into the soil.
Step 3: Prepare Your Soil and Container
Fill your container or bed with a clay-loam mix and work in a good amount of compost or aged manure. Check that your soil pH sits between 5.5 and 7.0 before planting.
If you are using a container, make sure it has no drainage holes at the bottom, since you will need to hold standing water for most of the growing season.
Step 4: Sow the Seeds and Water
Scatter your soaked seeds over the wet soil surface and press them about half an inch deep. Cover lightly with a thin layer of mulch to help keep the moisture in.
Fill your growing area with around 2 inches of water and keep it at that level as the seedlings push up through the soil in the first week or two.
Step 5: Thin Plants and Fertilize
Once your rice plants hit around 5 inches tall, thin them out so each plant has enough room to grow. Space rows about 8 to 10 inches apart.
At this stage, apply a nitrogen fertilizer to support strong growth during tillering. Be careful not to over-fertilize, since too much nitrogen makes plants more vulnerable to pests and disease.
Step 6: Manage Water Levels Through the Harvest
As your plants grow taller, gradually increase the water depth to around 4 inches. Keep monitoring the level regularly and top it up when needed.
In the final few weeks before harvest, let the water level drop on its own without adding more.
By the time you are ready to cut, the soil should be mostly dry and the stalks should have turned from green to gold.
How to Harvest and Process Your Rice?
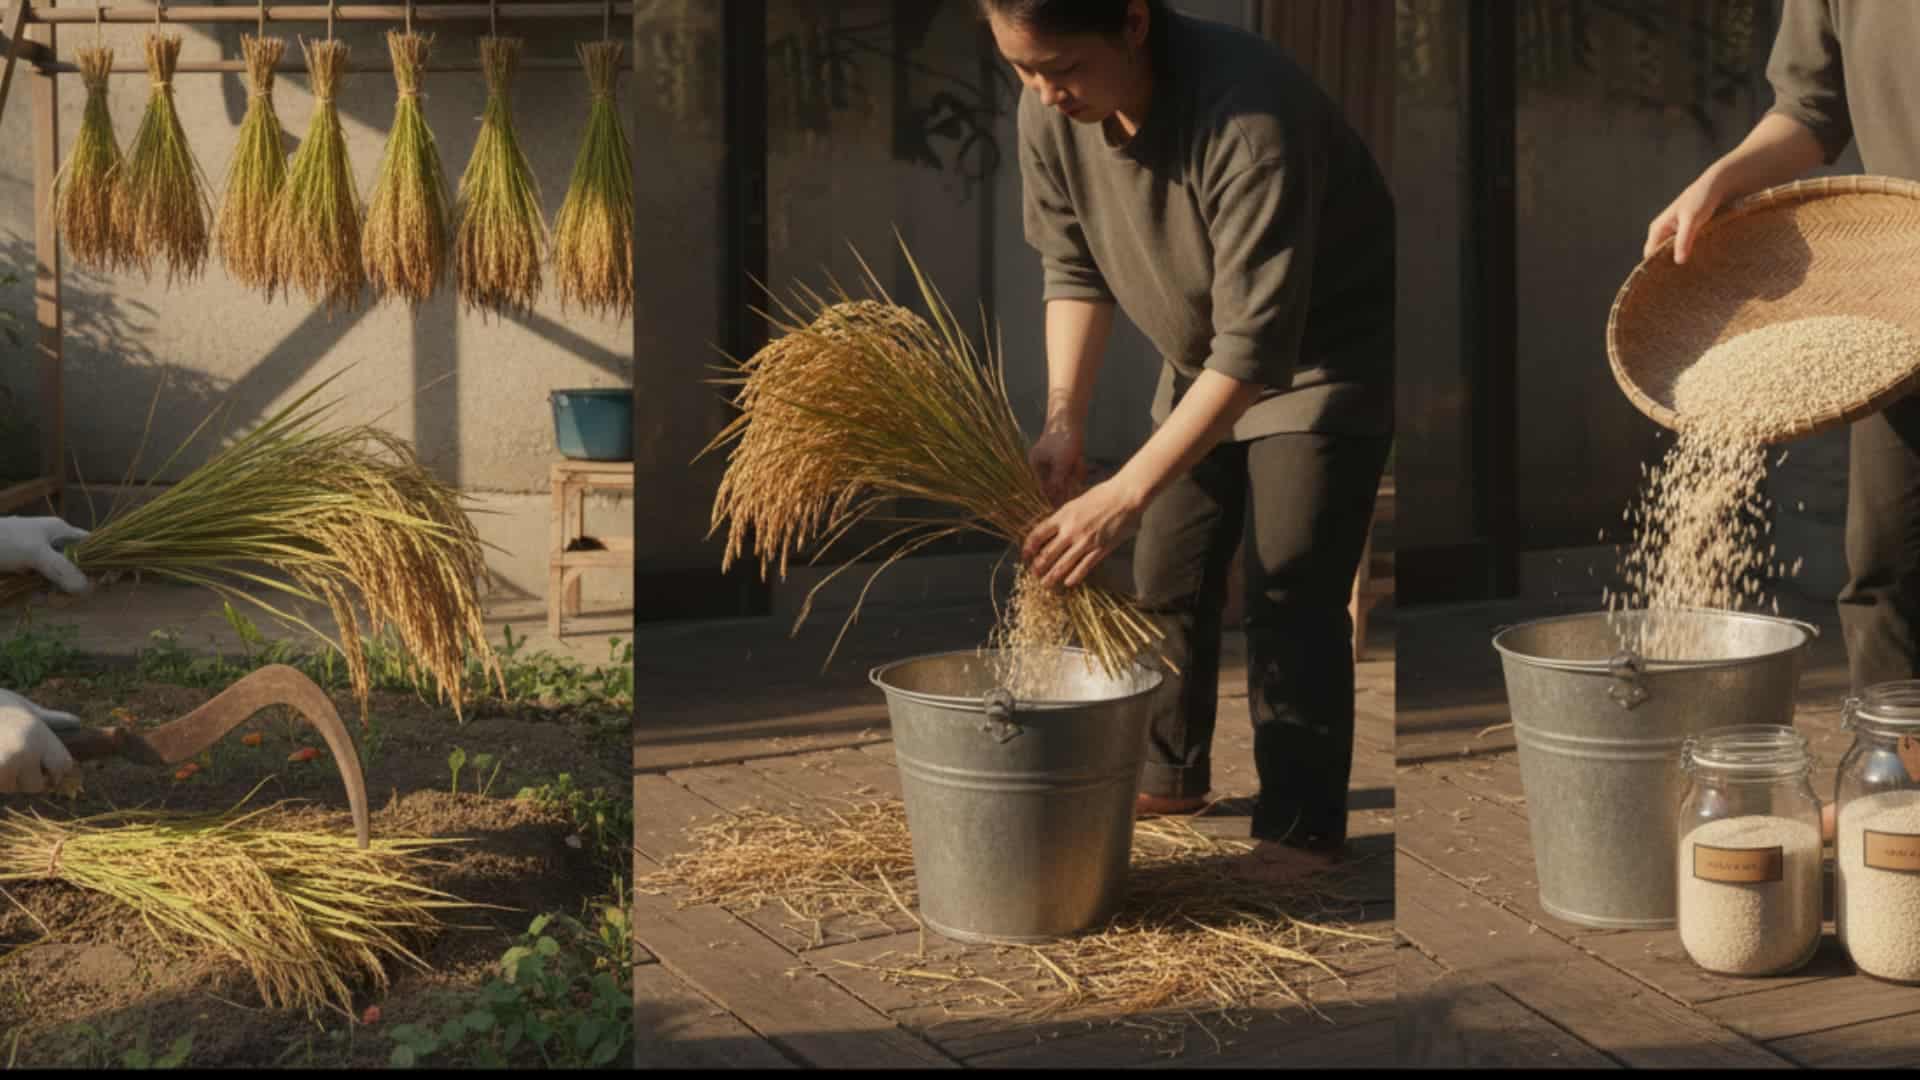
Once the stalks turn golden, your rice is ready. Here is what to do from cut to storage.
- When to Harvest: When 80 to 90 percent of the grains have turned golden yellow, usually around month three or four.
- How to Cut: Use scissors or a sickle to cut stalks 2 to 3 inches above the ground, then bundle them loosely.
- Drying: Hang bundles or wrap in newspaper and dry in a warm, well-ventilated spot for two to three weeks.
- Threshing: Beat the dry bundles against a hard surface or bucket to separate grains from stalks.
- Winnowing: Pour grains from a height in a light breeze to blow away the leftover chaff.
- Storing: Keep grains in airtight containers below 14 percent moisture in a cool, dry place.
- Using Your Harvest: Freshly harvested rice has a stronger flavor than store-bought. Rinse thoroughly before cooking.
Common Problems, Pests & Diseases
Knowing what to look for early can save your entire crop before things get out of hand.
| Problem | What It Looks Like | Fix |
|---|---|---|
| Rice Blast (Fungal) | Dark lesions on leaves and stems | Apply copper-based fungicide and grow resistant varieties |
| Sheath Blight | Brown lesions that spread fast in humid conditions | Clean cultivation and crop rotation |
| Brown Planthopper | Patches of dried-out plants (“hopper burn”) | Apply neem oil or insecticidal soap |
| Stem Borers | Central shoot dies (“dead heart” symptom) | Cut stalks low at harvest to remove larvae |
| Apple Snails | Seedlings cut off at soil level | Hand-pick regularly or use physical barriers |
| Birds | Missing or damaged grain heads | Cover plants with mesh netting when panicles form |
| Weeds | Stunted growth from competition | Weed consistently in the first four weeks |
Care Tips to Get a Better Yield
A few simple habits through the season can push your harvest from average to solid.
Use a soaker hose for even watering across garden beds, and move containers indoors at night if temperatures dip below 60°F.
Rotate your crop each year so you don’t grow rice in the same spot twice, and always remove all stubble after harvest to stop diseases from carrying over.
If you want to improve over time, keep a short log of your planting date, water levels, and temperatures. That data makes each season noticeably better than the last.
Final Take
Growing rice at home is more straightforward than most people expect. With the right seed, warm temperatures, and consistent water, you can grow your own rice in containers or a small garden bed.
The process takes patience, but seeing those green stalks turn golden is genuinely satisfying. Start small this season, pay attention to what your plants need, and adjust as you go.
Even a 10×10 ft plot can give you a real, usable harvest by the end of the season. Have you tried growing rice before? Drop your experience in the comments.
Frequently Asked Questions
Can You Grow Rice From Rice?
Not from store-bought rice. Grocery store rice is processed and will not germinate. You need unprocessed, organic rice seeds from a seed supplier.
Why Is Rice Difficult to Grow?
Rice needs consistent warmth, steady water, and a long growing season of at least three to five months, which rules out many climates unless you grow indoors.
Is It Possible to Grow Rice in the US?
Yes. Southern states like Louisiana, Texas, and California have the best conditions. In cooler areas, upland varieties can be grown in containers indoors.
How Much Rice Can You Get From 1 Acre?
On average, one acre produces around 4,500 to 8,000 lbs of rice. Home garden yields are much smaller, roughly 6 to 10 lbs from a 10×10 ft plot.