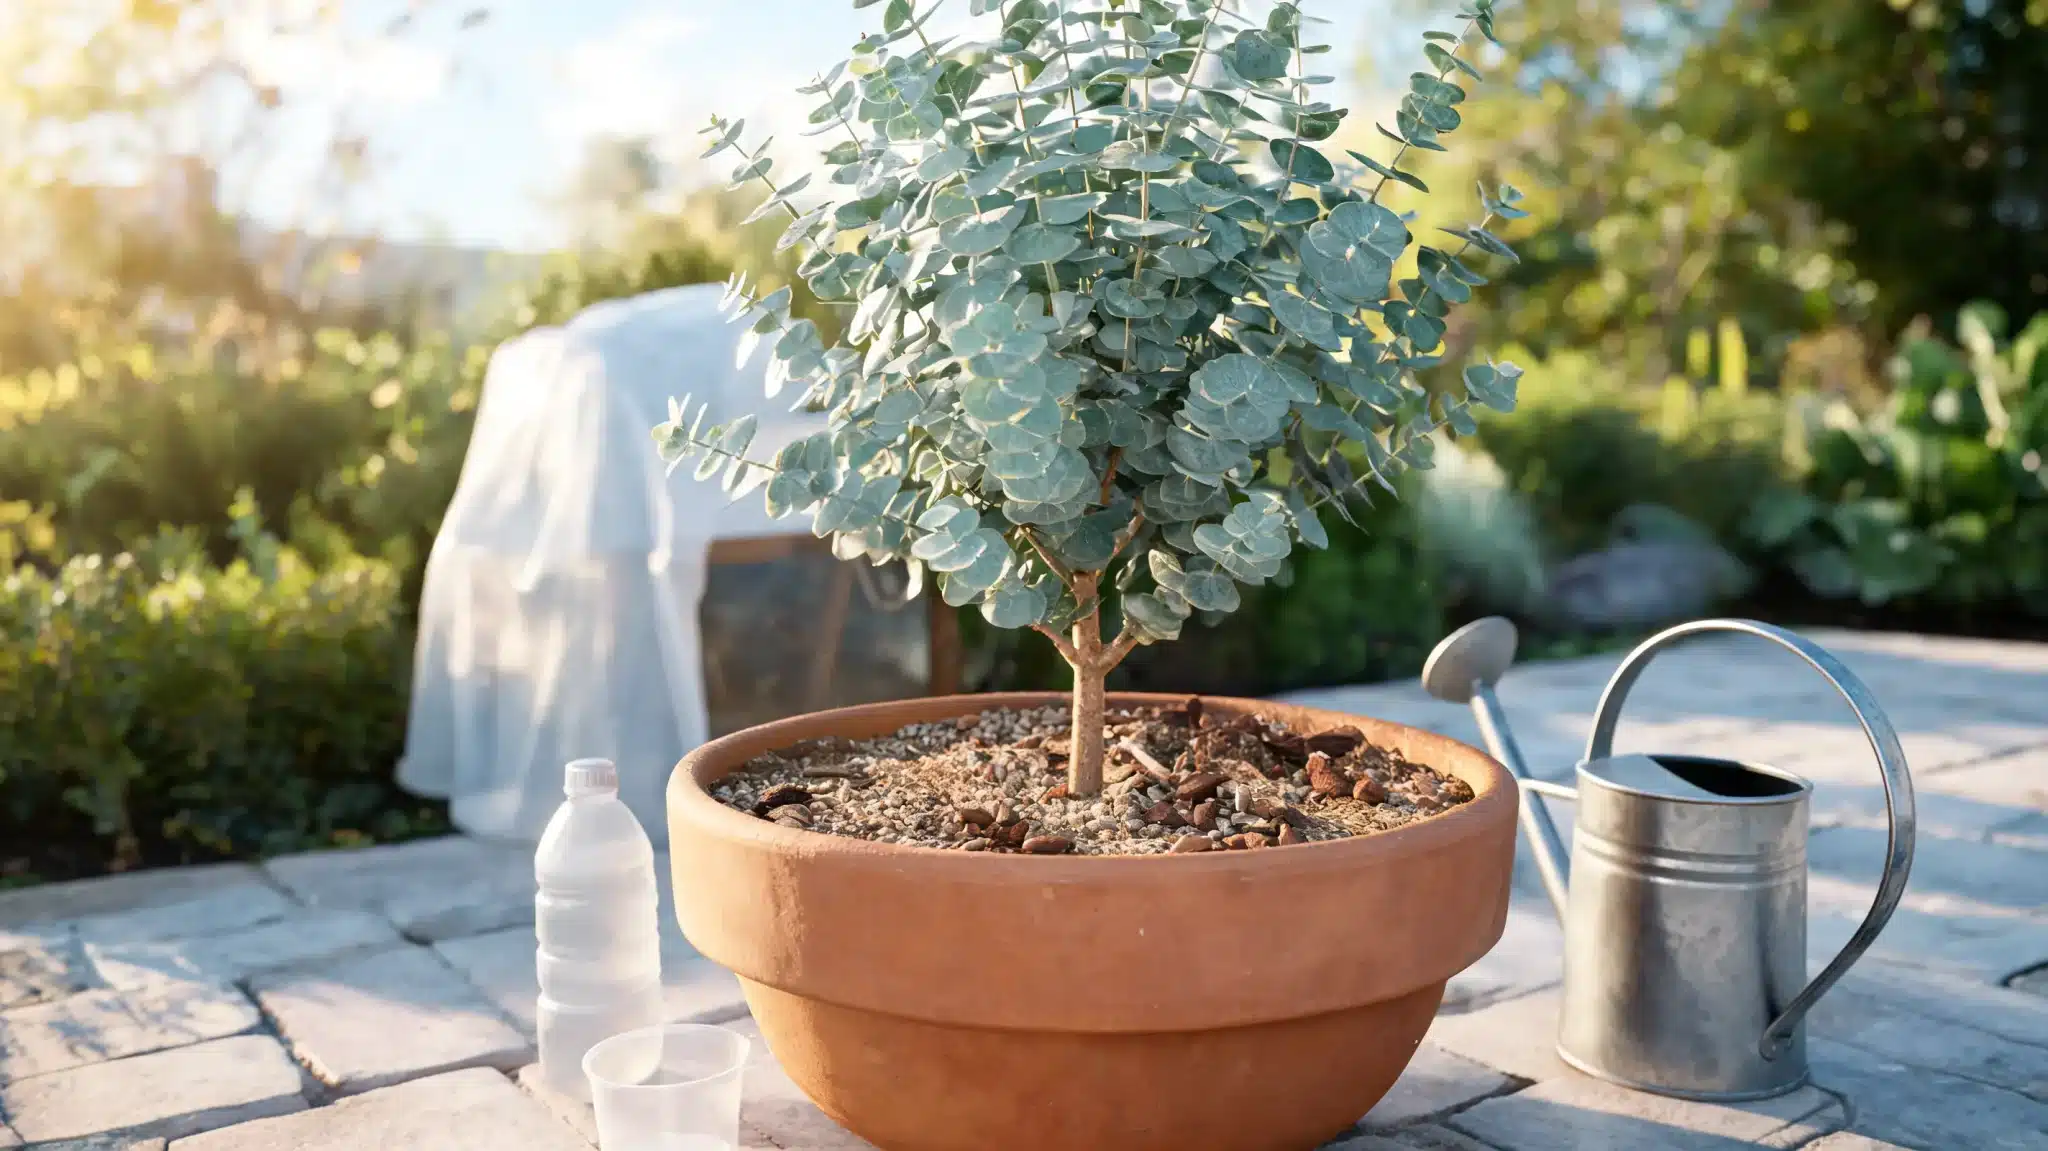
You’ve got the bulbs, the pots, and the gardening gloves, but when’s the right time to plant tulips for a stunning spring display?
Fall planting can feel a little confusing at first. You buy the bulbs, set them aside, then start wondering if the timing is right. Tulips need cool soil, good drainage, and enough time to rest before they bloom.
I will help you understand when to plant tulip bulbs without guessing. You’ll also learn how to choose healthy bulbs, plant them in pots or garden beds, water them the right way, and avoid simple mistakes.
By the end, you’ll know exactly what to do so your tulips can grow strong and look lovely at home right when spring arrives again.
Types of Tulip Bulbs
Tulip bulbs come in many types, and each one brings a different look to your spring garden. Choosing the right type helps you plan better color, height, and bloom timing.
- Single Early Tulips: Simple cup-shaped flowers that bloom early and work well in pots and borders.
- Double Early Tulips: Fuller flowers with extra petals, best for pots and protected garden spots.
- Triumph Tulips: Classic mid-spring tulips with strong stems and many color options.
- Darwin Hybrid Tulips: Large, sturdy tulips that often return better than many other types.
- Fringed Tulips: Tulips with fine, cut-looking petal edges that look best near paths or patios.
- Parrot Tulips: Late-blooming tulips with large, curled petals and strong color patterns.
- Lily-Flowered Tulips: Tall tulips with pointed petals that curve outward as they open.
- Species Tulips: Smaller, lower-care tulips that can return well in sunny, well-drained spots.
If you want tulips that return better, choose Darwin hybrid or species tulips. If you want a fuller spring look, mix early-, mid-, and late-season tulips so your garden does not bloom all at once.
How to Pick Healthy Tulip Bulbs
Healthy bulbs give you a better chance of strong spring growth. Check each bulb by hand and visually before planting.
| What to Check | What to Choose | What to Avoid |
|---|---|---|
| Feel | Firm bulbs that feel heavy for their size | Soft, mushy, or hollow-feeling bulbs |
| Shape | Plump bulbs with a solid form | Dry, shriveled, or badly damaged bulbs |
| Surface | Clean bulbs with no major cuts | Mold, deep cuts, or rotten spots |
| Smell | Bulbs with no bad smell | Bulbs that smell rotten |
| Size | Larger bulbs when possible | Very small or weak-looking bulbs |
Larger tulip bulbs often grow stronger stems and bigger flowers, so choose the best bulbs you can.
Planting Tulip Bulbs in a Pot: Step by Step
Planting tulip bulbs in pots is simple when you follow the right order. The goal is to give each bulb enough depth, good drainage, and a cold period before spring. Follow these steps to plant them the right way.
Before you start, keep your tools and supplies ready. This speeds up planting and helps you place each bulb at the right depth.
You’ll need:
- Healthy tulip bulbs that feel firm
- A deep pot with drainage holes
- Well-draining potting mix
- A small trowel or hand scoop
- A measuring stick to check planting depth
- A watering can or hose
- Plant labels to mark the variety
- A cool, sheltered spot for winter storage
- Pot feet or bricks to help extra water drain out
Step 1: Choose a Pot With Drainage Holes
Choose a pot that is deep enough for tulip bulbs, roots, and soil. A 12 to 16-inch pot works well if you want several bulbs together. Make sure the pot has drainage holes at the bottom. Tulip bulbs can rot when water stays around them, so skip any pot that cannot drain well.
This small check saves you from a common planting problem later.
Step 2: Add Potting Mix
Add a few inches of loose potting mix to the bottom of the pot. Do not use heavy garden soil, as it can hold too much water and press down on the bulbs. Tulips grow better when the soil drains well.
Level the mix with your hand, so each bulb can sit steady before you cover it.
Step 3: Place the Bulbs Pointed Side Up
Place each tulip bulb in the soil with the pointed end facing up. Keep the flat side facing down, because that is where the roots grow. Set the bulbs close together for a fuller look in spring, but do not stack them.
Leave a small gap between bulbs, so each one has room to grow.
Step 4: Cover the Bulbs With More Soil
Cover the tulip bulbs with more potting mix until they sit about 6 to 8 inches deep. If your pot is not that deep, cover them as well as the pot allows. Gently press the soil with your hands to remove large air gaps.
Do not pack it down hard, because roots need room to spread.
Step 5: Water Once After Planting
Water the pot well after planting, so the soil settles around the bulbs. Let extra water run out through the drainage holes. After this first watering, do not keep adding water through winter. Too much water can make the bulbs soft and rotten.
Check the pot only if the soil looks very dry.
For more details, refer to the video below:
How to Plant Tulip Bulbs in the Ground
Before planting in the ground, choose a sunny or partly sunny spot with well-draining soil. Avoid low areas where water sits after rain. A border, raised bed, or open garden edge can work well.
You’ll need:
- Healthy tulip bulbs that feel firm
- A trowel or bulb planter
- A garden fork to loosen the soil
- Compost for heavy or poor soil
- A measuring stick to check planting depth
- A watering can or hose
- Mulch for light winter cover
- Plant labels to mark the spot
- Chicken wire if animals dig in your garden
Step 1: Loosen and Prepare the Soil
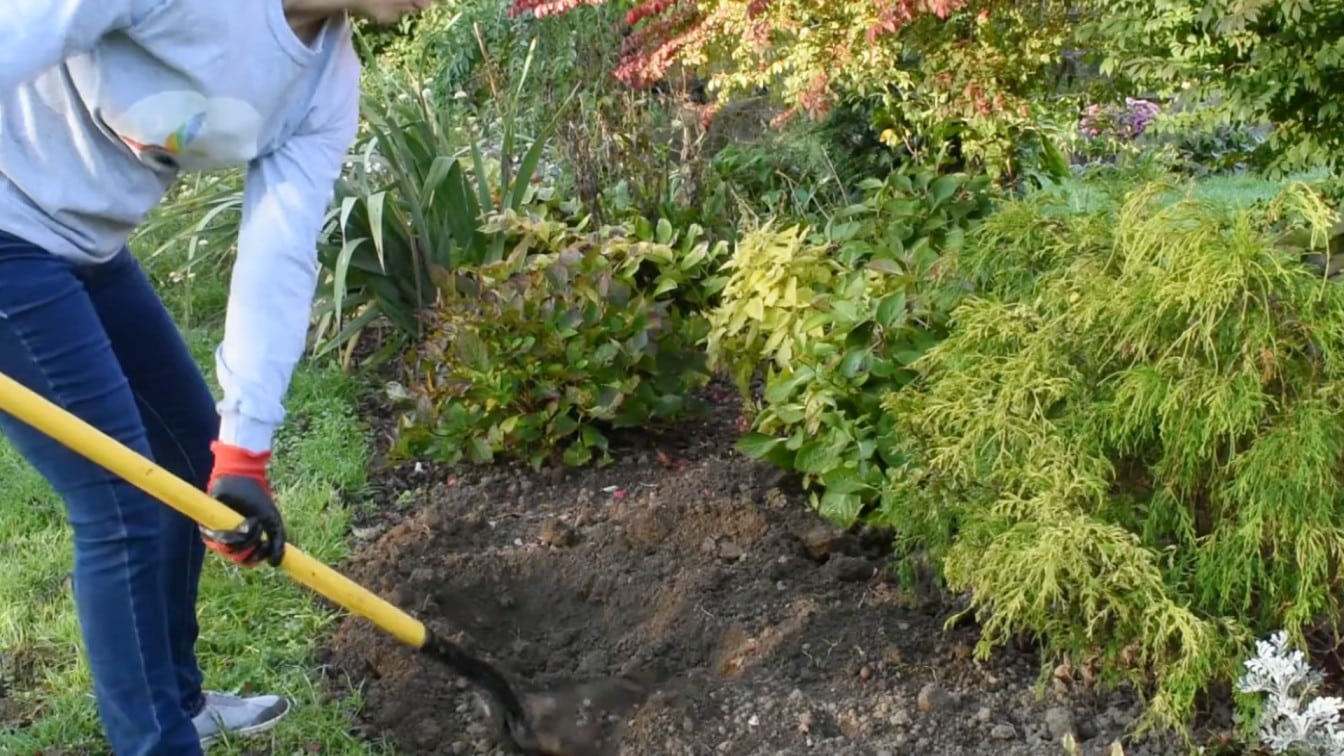
Clear weeds, rocks, and old roots from the planting spot before you dig. Use a garden fork or trowel to loosen the soil several inches deep. If the soil feels hard, mix in compost so water can drain better. Do not plant tulip bulbs in packed soil.
Loose soil helps roots spread, settle, and grow before cold weather arrives, giving your bulbs a stronger start in fall planting each season.
Step 2: Dig the Planting Holes
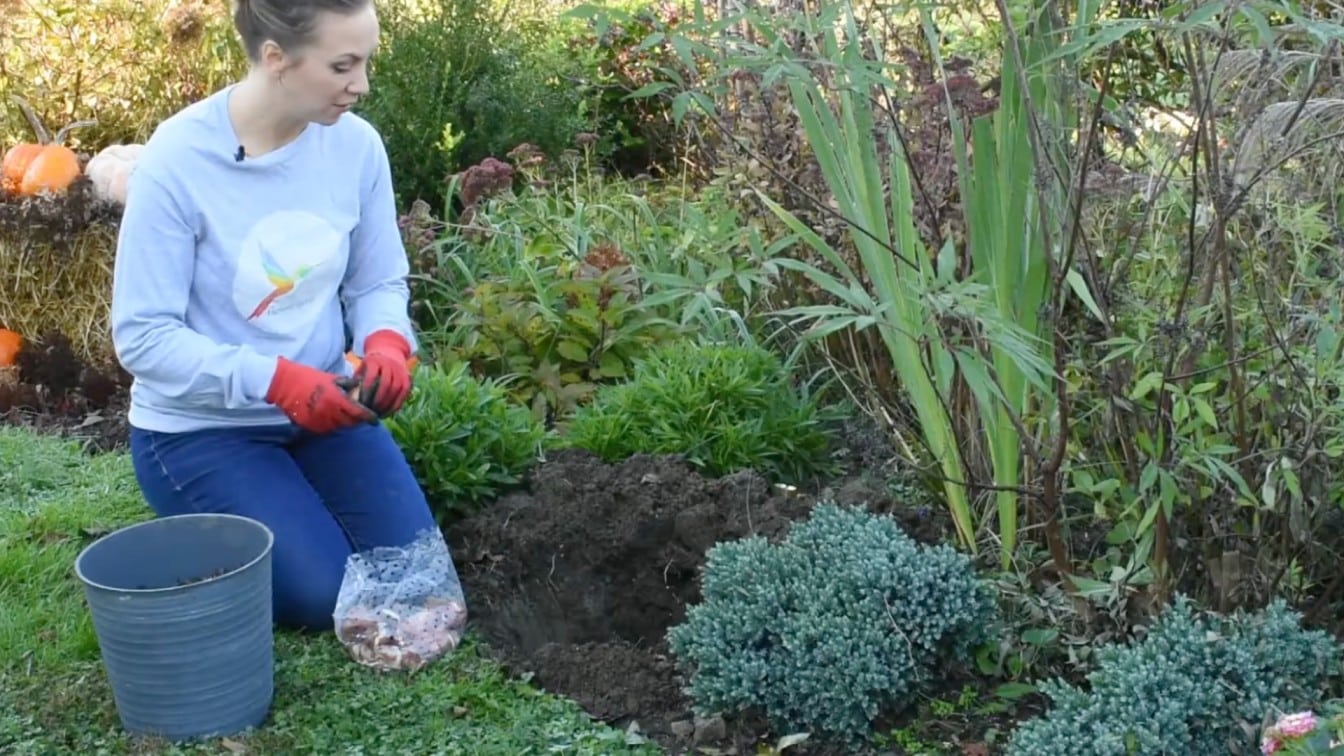
Dig holes about 6 to 8 inches deep for most tulip bulbs. You can dig one hole for each bulb or one wider hole for a small group.
Measure from the bottom of the bulb to the top of the soil, not from the tip. This depth helps protect bulbs from cold, animals, and weak stems when they grow in spring after winter ends in your garden bed each season.
Step 3: Set the Bulbs Pointed Side Up
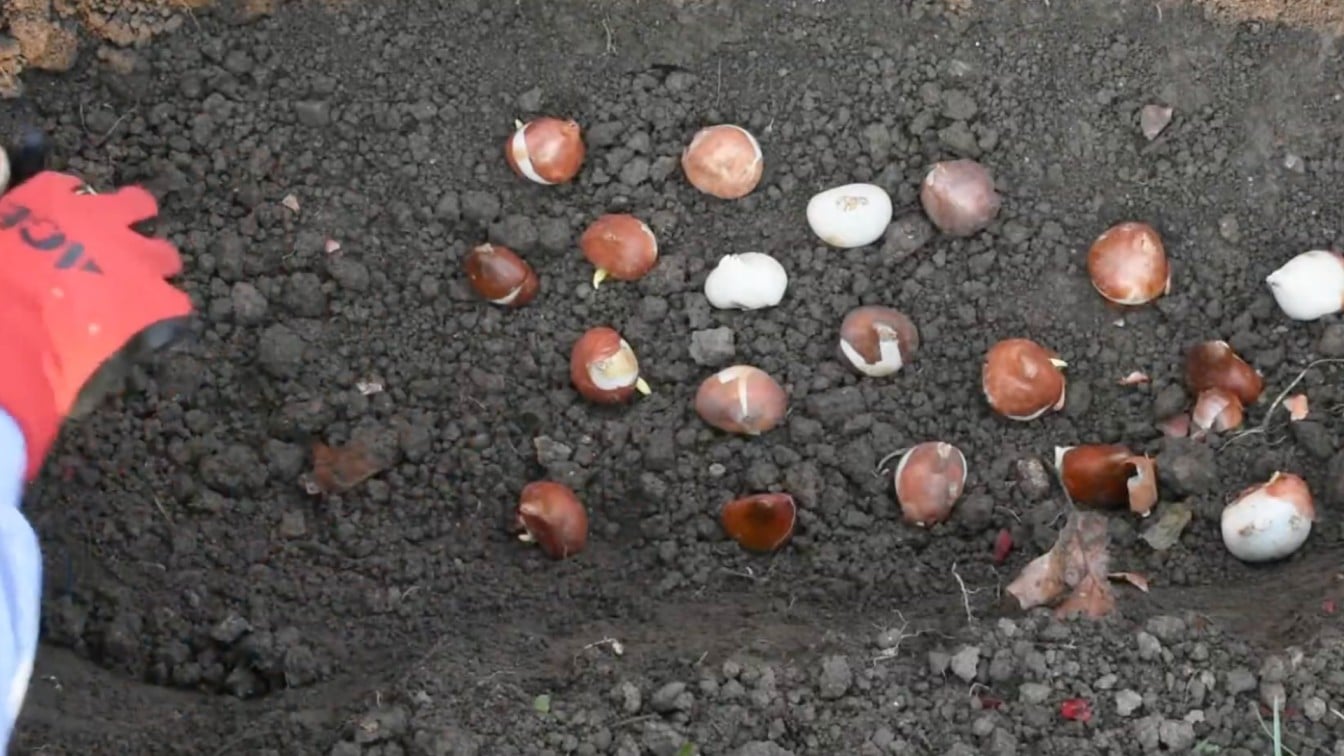
Place each tulip bulb in the hole with the pointed end facing up. The flat side should face down because roots grow from there.
Space the bulbs about 4 to 6 inches apart. Keep them close enough to look full in spring, but leave a small gap so they do not touch each other while roots begin to grow under the soil through winter months before spring comes each year.
Step 4: Cover the Bulbs With Soil
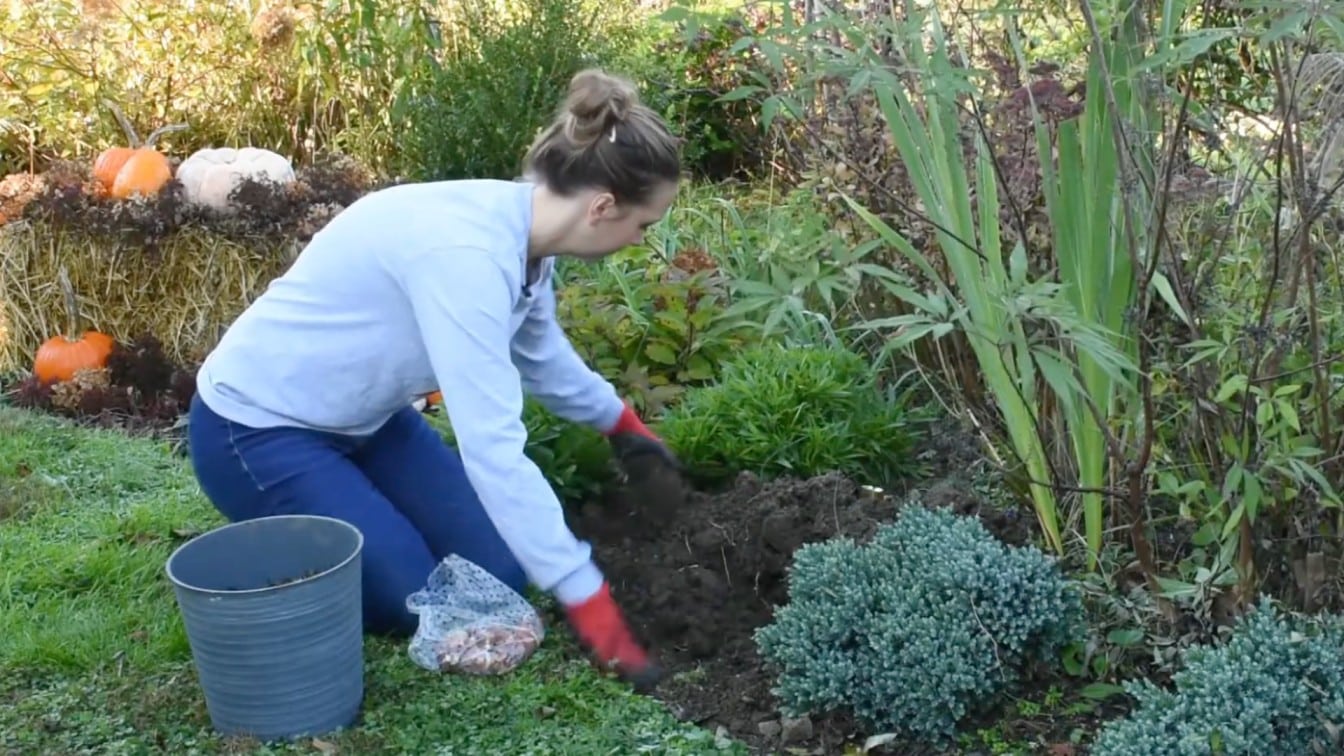
Cover the tulip bulbs with the soil you removed from the hole. Fill the space gently and make the top level again. Do not press the soil down too hard, because roots grow better in loose soil. If you added compost, mix it with the garden soil before covering the bulbs fully.
Smooth the surface lightly with your hand after planting them in place today so the bed stays neat.
Step 5: Water and Add Mulch
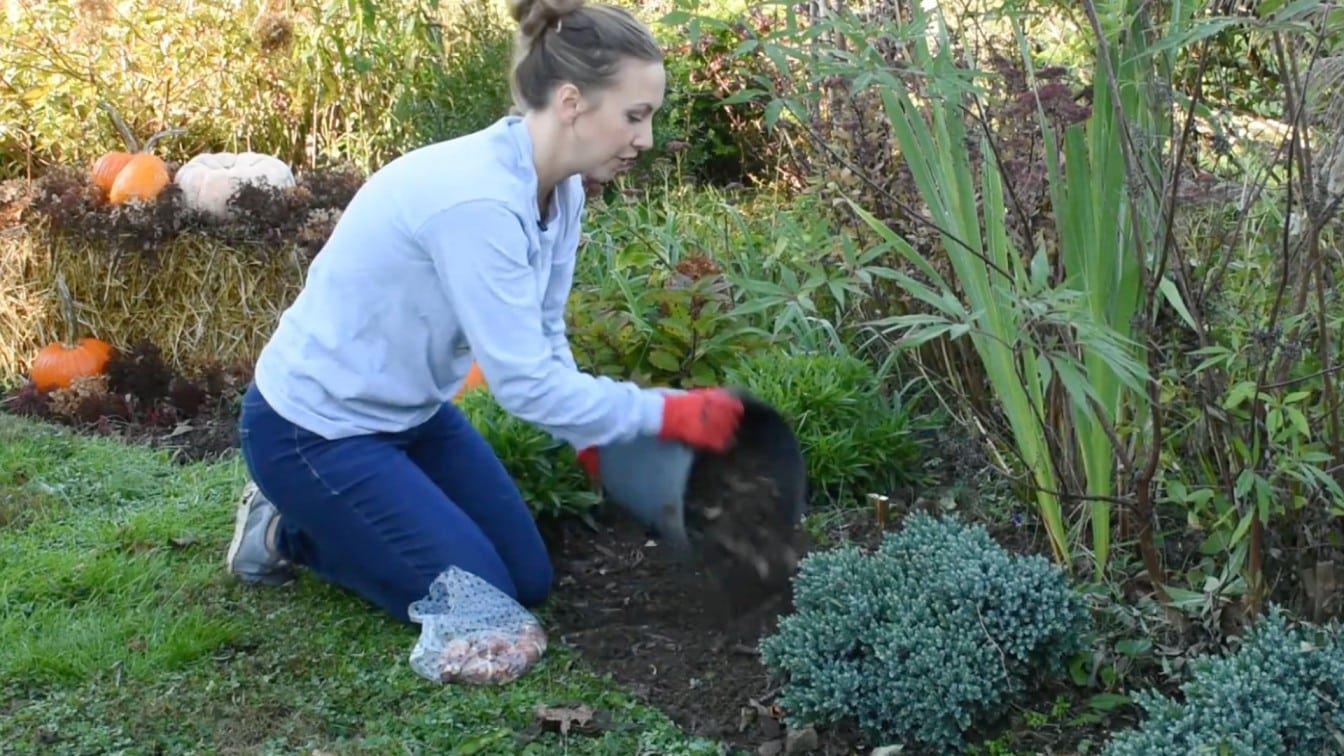
Water the planted area once to allow the soil to settle around the bulbs. After that, do not keep watering unless the fall weather is very dry. Too much water can make bulbs soft and rotten. Add a light layer of mulch after watering if your area experiences hard freezes or rapid temperature changes.
Keep the mulch light so air can still move through the soil after planting them through the winter months.
For more details, refer to the video below:
When to Plant Tulip Bulbs: Best Time
Tulip bulbs grow best when planted in fall after the weather cools down. The goal is to plant them before the ground freezes, but not while the soil is still warm.
- Best Season: Plant tulip bulbs in fall so they have enough cold time before spring bloom.
- Common Planting Months: October to November works well in many areas.
- Colder Areas: September or October may be better if frost comes early.
- Mild Areas: November or December can work if the ground stays soft longer.
- Soil Temperature: Wait until the soil feels cool, since warm soil may make bulbs grow too soon.
- Late Planting: If the soil is not frozen and you can still dig, planting late can still be worth trying.
What to Do If You Missed the Best Planting Time?
If you missed the best fall planting window, do not give up right away. Plant tulip bulbs if the ground is still soft enough to dig.
Do not wait until spring; if the bulbs can still go in the soil now. Dry bulbs can weaken if they sit too long. If the ground is frozen, try planting pre-chilled bulbs in containers instead.
You can plant tulip bulbs in December if the soil is not frozen. If you can still dig a proper hole, plant them right away and water once after planting. Spring planting is not the best choice for regular tulip bulbs. They need a cold time before blooming.
If your bulbs were already chilled, you can try planting them in pots.
Where to Plant Tulip Bulbs?
Plant tulip bulbs in full sun or part sun. Choose a spot where the soil drains well, since bulbs can rot in wet ground.
Avoid low areas where rainwater sits. If your soil stays damp, plant in a raised bed or a higher garden spot. Tulips look best in groups near walkways, borders, fences, or patio edges. Tulips grow best with plenty of spring sun.
Full sun is ideal, but part sun can also work, especially before nearby trees grow thick leaves. Loose, well-drained soil is best for tulips.
If your soil feels heavy, loosen it and mix in compost before planting.
Tips to Care for Tulips After They Bloom
After tulips bloom, give the bulbs time to store energy for next year. A few simple steps can help keep them healthier.
- Remove faded flowers once the blooms are done.
- Leave the green leaves in place until they turn yellow.
- Do not cut the leaves early, since they still feed the bulb.
- Avoid heavy summer watering, as tulip bulbs prefer drier soil after blooming.
- Replace weak bulbs in the fall if they stop blooming well.
- Keep the area clear of dead flowers and fallen plant material.
Should You Deadhead Tulips and Cut Back Leaves?
Yes, you should deadhead tulips after the flowers fade. Snip or pinch off the old flower head, but keep the stem and green leaves in place. This stops the plant from using energy to make seeds, so more energy stays in the bulb. Do not cut the leaves right after blooming.
Green leaves still collect sunlight and send food back into the bulb. If you cut them too early, next year’s growth may be weaker. Wait until the leaves turn yellow, limp, and dry. Once they look fully faded, trim them near the soil line with clean scissors.
Avoid pulling the whole plant up unless you plan to replace the bulb. This keeps the bed tidy without hurting future blooms.
Frequently Asked Questions
Are tulips better in pots or the ground?
Tulips can grow well in both pots and the ground. Pots work best for patios, balconies, and small spaces. Ground planting is better for larger groups and stronger root space. Choose based on your space, drainage, and care routine.
How many tulip bulbs should you put in each hole?
Place one tulip bulb in each small hole. If you want a fuller look, dig a wider hole and set several bulbs inside it. Keep each bulb 4 to 6 inches apart, with the pointed end facing up.
Is Miracle-Gro potting mix good for tulips?
Miracle-Gro potting mix can work for tulips if the pot drains well. The mix should not stay wet for long. Use a deep container with drainage holes, then water once after planting and let extra water drain out.
Does a shot of vodka help tulips?
Vodka is not needed for tulip bulbs in soil or pots. For cut tulips in a vase, some people use small additives, but clean water and fresh cuts matter more. Keep vodka away from planted bulbs.
Do pennies help keep tulips straight?
Pennies do not help planted tulips stand straight. Stem strength comes from healthy bulbs, enough depth, and good light. For cut tulips, pennies are not a reliable fix. Use a clean vase and trim stems instead.
Final Thoughts
The best time to plant tulip bulbs is fall, once the soil cools but before it freezes. This gives the bulbs time to settle in before spring growth begins.
Timing matters, but the small details matter too. Plant at the right depth, use well-draining soil, and water once after planting. Too much water can harm the bulbs, so keep the soil from staying wet.
Now that you know when to plant tulip bulbs, use the checklist before you start. It will help your bulbs get a stronger start and give you a better chance of healthy spring growth.