Fresh raspberries just hit different. Sweet, juicy, and honestly a little expensive at the store. But do you know that they’re not that hard to grow at home? You dont need any fancy setup to grow them.
Just the right steps and a little patience, and those bright red berries start showing up season after season. A lot of people overthink it. They worry about soil, spacing, and sunlight, and end up doing nothing.
But the question coming to your mind again and again: how to grow raspberries, is way simpler than most guides make it sound. And that’s exactly what’s coming up next for you.
Why Raspberries are One of the Best Fruits for Home Gardens
Raspberries are one of those fruits that make gardening feel exciting almost instantly. Fresh homegrown raspberries taste sweeter, softer, and far more flavorful than store-bought ones.
They’re also pricey at many grocery stores, so growing your own can feel rewarding in more than one way. Raspberry plants return every year, giving you fresh berries season after season.
They also fit nicely in small backyards, raised beds, and patios, making them a great choice for many homes.
Seeing bright berries slowly ripen on the plant is satisfying, and picking a handful for breakfast or dessert simply feels special.
Materials Required
Before getting hands in the soil, it helps to know what’s actually needed. Nothing complicated – mostly simple garden basics.
| Material | Task | Purpose |
|---|---|---|
| Bare-root canes or potted raspberry plants | Choose the right Variety | Starting healthy plants from the beginning |
| Measuring tape | Pick the Spot | Checking space and sunlight coverage |
| Compost or aged manure | Prepare Soil | Adding nutrients to the soil |
| Soil pH testing kit | Prepare Soil | Checking acidity levels before planting |
| Garden fork or tiller | Prepare Soil | Loosening and turning compact soil |
| Garden trowel or spade | Plant Canes | Digging planting holes correctly |
| Watering can or hose | Plant Canes | Settling soil after planting |
| Wooden posts and wire | Add Support | Building row support structure |
| Garden trellis | Add Support | Keeping canes upright as they grow |
| Soft garden ties or twine | Add Support | Loosely securing leaning canes |
| Straw, bark, or wood chips | Spread Mulch | Protecting roots and blocking weeds |
| Drip irrigation system or garden hose | Water Plants | Delivering steady deep watering |
| Balanced berry fertilizer | Feed Plants | Supporting healthy balanced growth |
| Pruning shears | Monitor Growth | Removing dead or weak canes cleanly |
How to Grow Raspberries at Home for a Healthy Harvest
Healthy plants, the right location, and proper spacing can make a big difference in how productive your raspberry patch becomes over time.
Step 1: Choose the Best Raspberry Variety
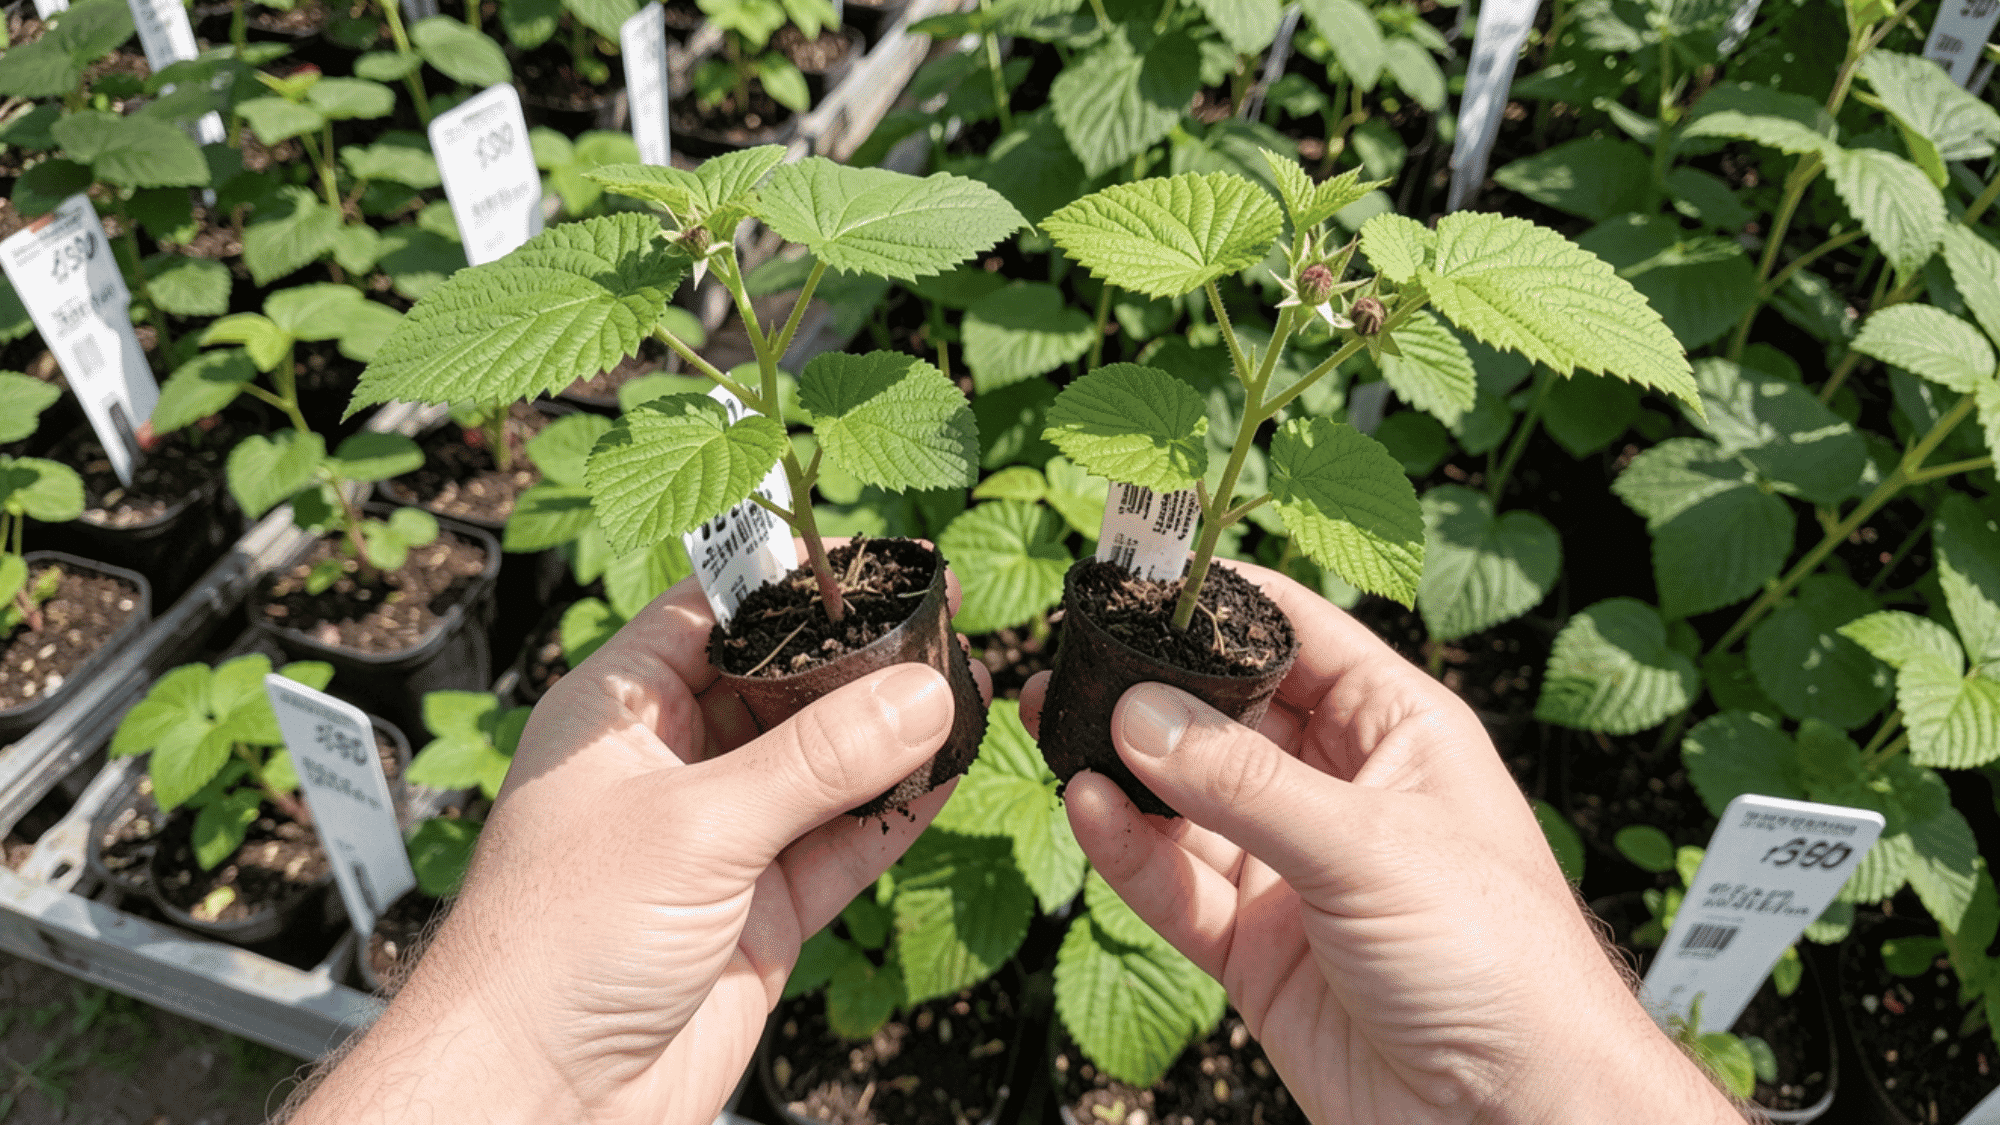
Picking the right raspberry type helps your plants handle local weather conditions and produce fruit more reliably. Different varieties also grow at different rates and have different harvest times.
This first step helps you avoid common growing problems before planting even begins.
- Pick summer-bearing raspberries for one larger harvest during summer.
- Choose everbearing raspberries for smaller harvests in summer and fall.
- Select varieties suited to your USDA hardiness zone to better handle local temperatures.
- Buy disease-resistant plants to lower the risk of common raspberry issues.
- Purchase healthy bare-root canes or potted plants from trusted nurseries.
- Avoid plants with dry roots, weak stems, yellow leaves, or visible damage.
Tip: If you want easier harvesting later, thornless raspberry varieties can make picking fruit much more comfortable.
Step 2: Pick a Sunny Planting Spot
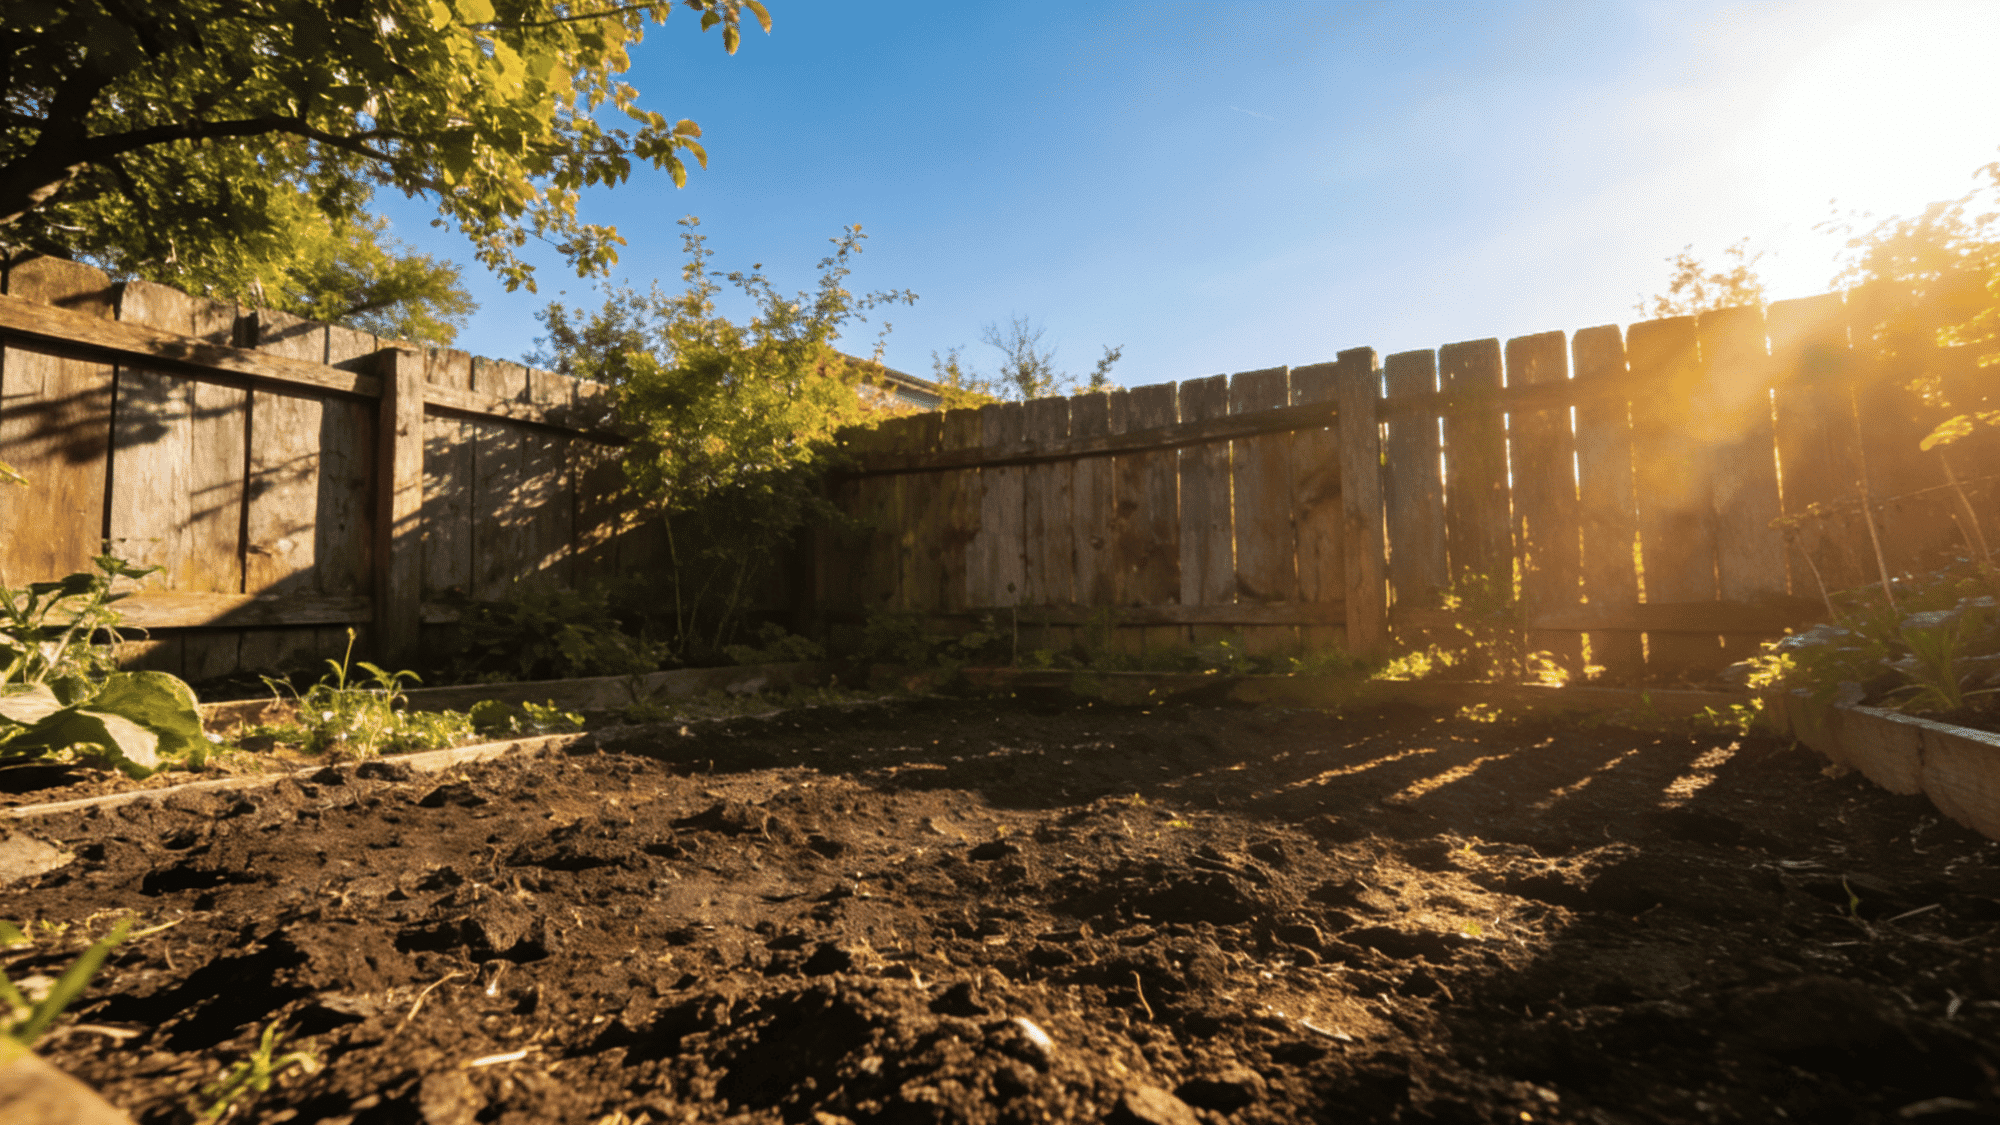
Raspberry plants grow best in bright, open areas with steady sunlight and good air circulation. The planting location affects berry production, plant strength, and future maintenance.
Choosing the right spot early makes the rest of the process much smoother. Here’s how to pick the right one:
- Choose a location with at least 6–8 hours of direct sunlight daily.
- Avoid shaded areas because low sunlight can reduce berry production.
- Pick a space with enough openness to reduce excess moisture around the plants.
- Stay away from soggy spots where rainwater collects after storms.
- Keep raspberry plants away from wild berry bushes carrying pests or diseases.
- Leave enough room for walking, pruning, harvesting, and plant supports later.
Tip: Planting raspberries near a fence can help protect tall canes from strong winds in open yards.
Step 3: Prepare the Soil Properly
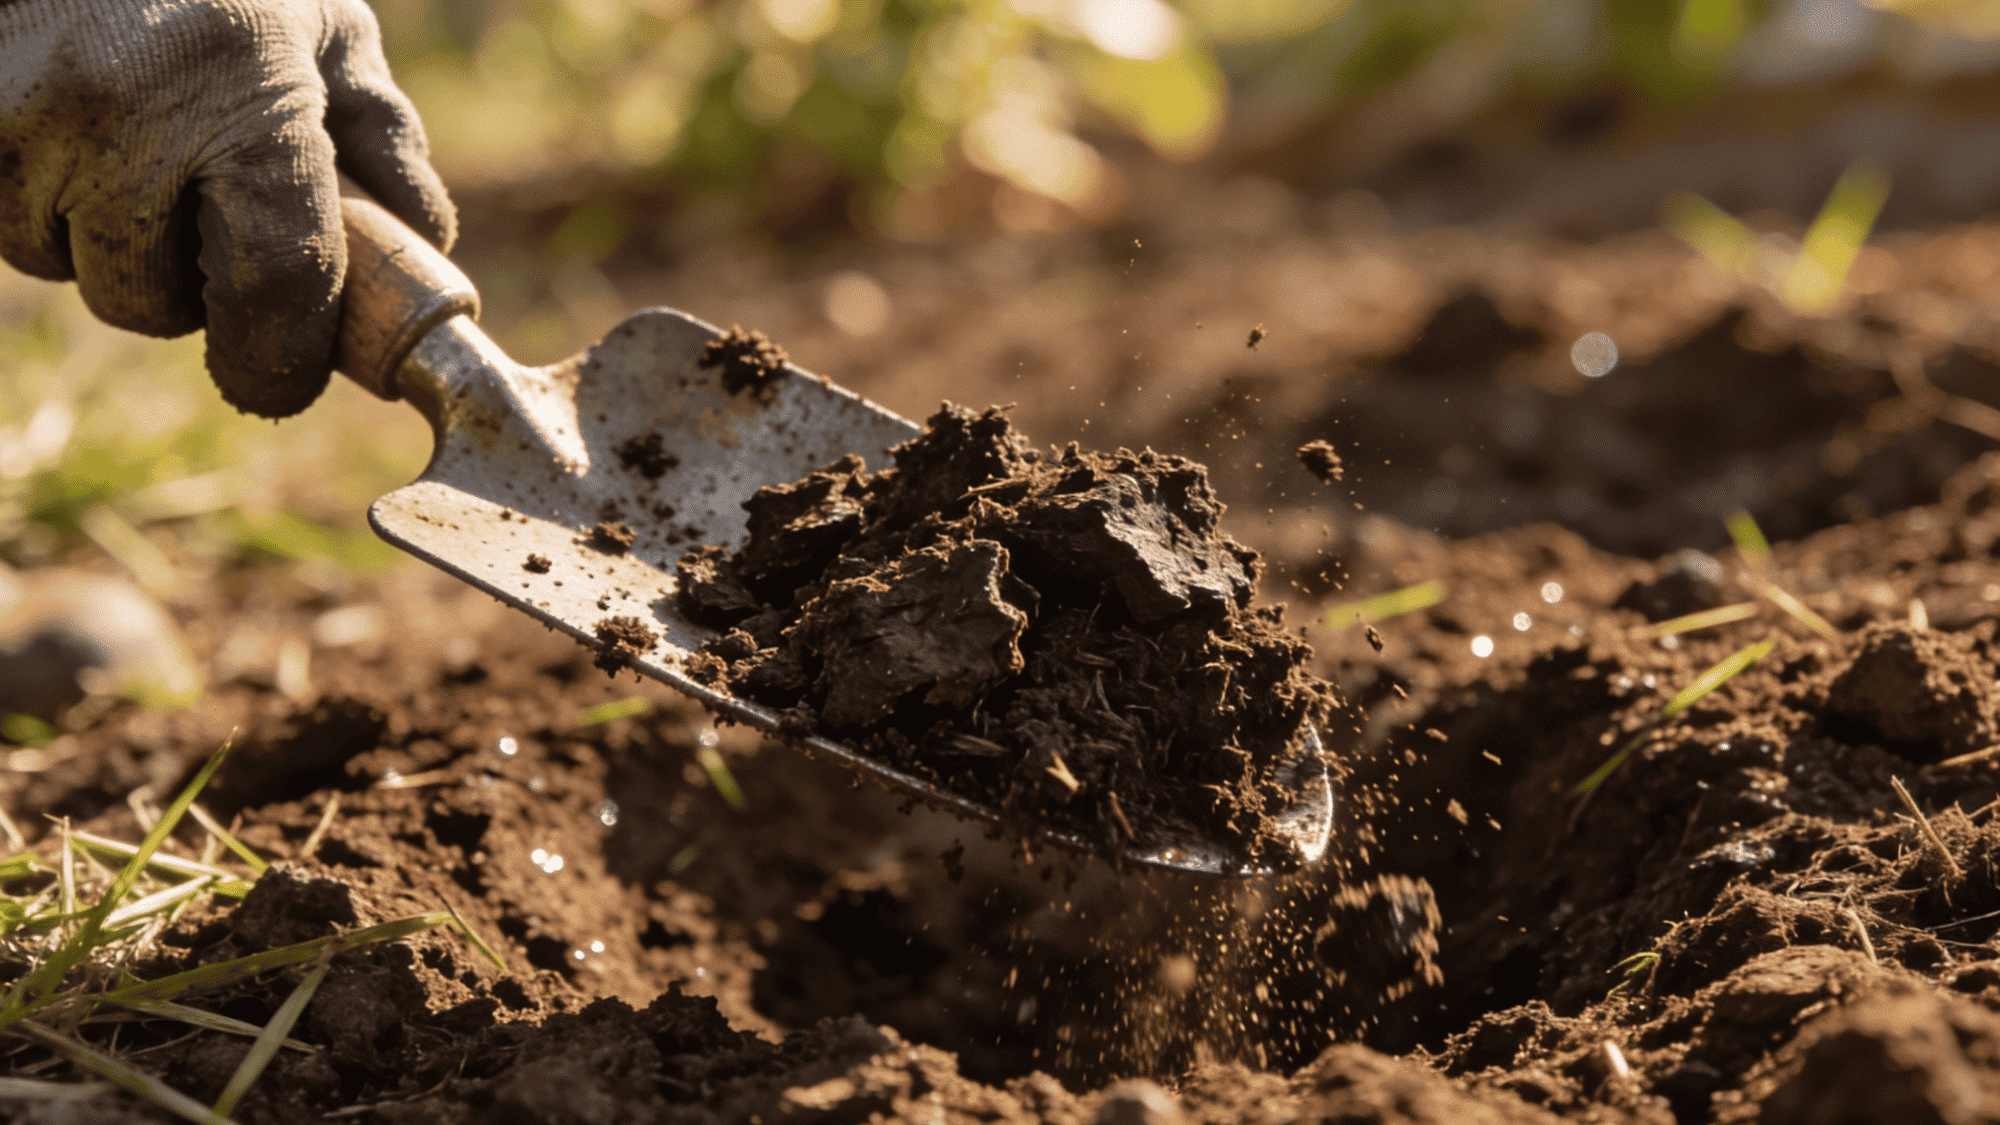
Healthy soil helps raspberry plants establish more quickly and supports stronger, long-term growth. Soil that drains well while holding some moisture gives plants the balance they need.
Carefully preparing the ground can improve berry production for years. Here’s how to do it:
- Remove weeds, grass, stones, and old roots from the planting area.
- Loosen compact soil deeply so underground growth can spread more easily.
- Mix compost or aged manure into the soil for added nutrients.
- Aim for slightly acidic soil with a pH between 5.5 and 6.5.
- Use raised beds if your garden soil stays heavy, wet, or clay-like.
- Avoid planting where tomatoes, potatoes, peppers, or eggplants have recently grown.
Tip: Testing your soil before planting can help you avoid nutrient problems that are harder to fix later.
Step 4: Plant Raspberry Canes Correctly
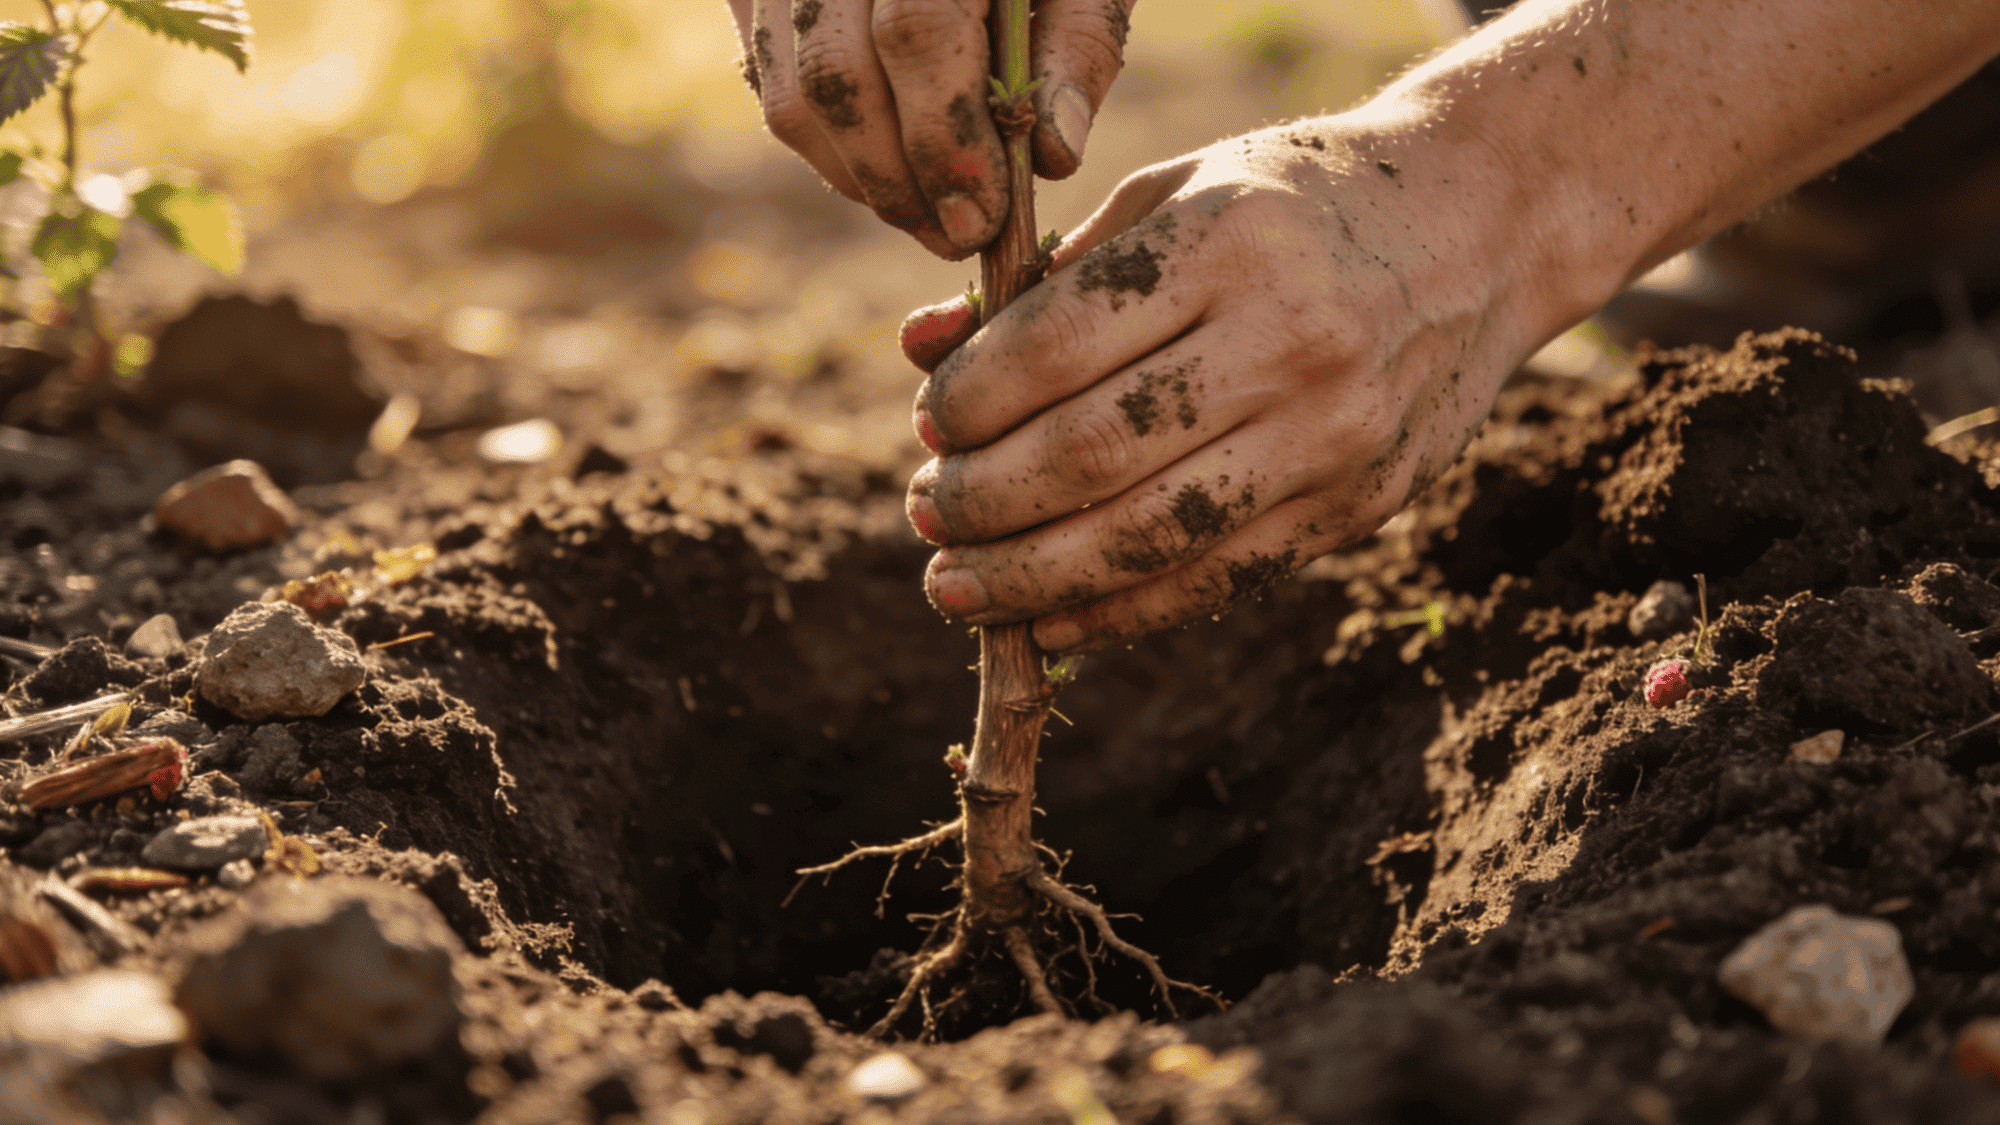
Correct planting depth and spacing help raspberry canes settle quickly and grow evenly. Crowded plants can struggle with moisture buildup and later develop disease. This step gives the root system the best possible start:
- Dig holes wide enough to spread the roots without bending them tightly.
- Plant bare-root canes with the crown about 1–2 inches below the soil.
- Place potted raspberries at the same depth they grew in the container.
- Space plants about 2–3 feet apart within each row.
- Leave 6–8 feet between rows for easier movement and maintenance.
- Press soil gently around the roots to remove large air pockets.
- Water immediately after planting to help settle the soil around the roots.
Tip: Planting during cooler morning hours can reduce stress on freshly planted raspberry canes.
Step 5: Add Plant Support Early
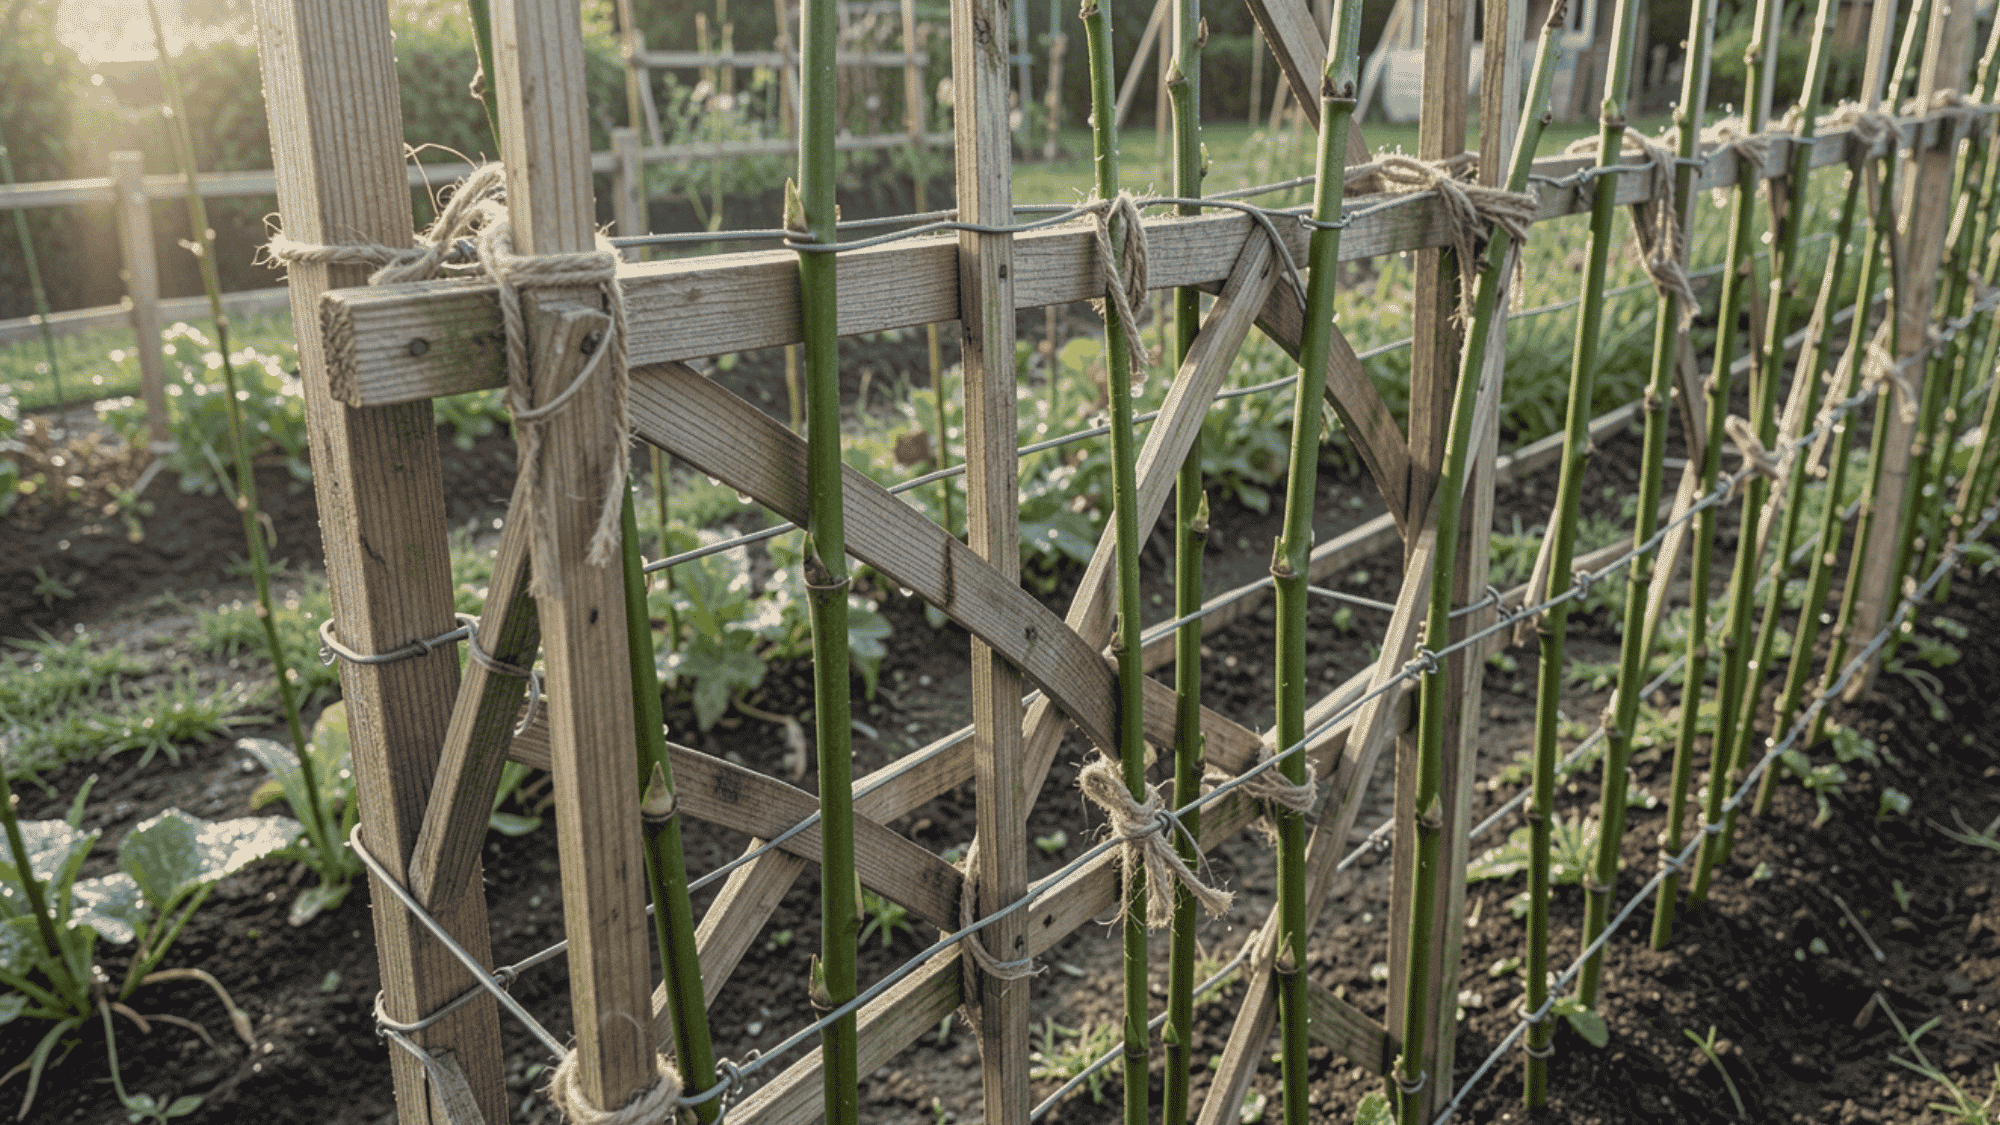
Raspberry canes can become heavy and messy as they grow taller and start producing fruit. Simple supports help keep the patch organized and easier to maintain. Installing support early also prevents accidental damage later.
Follow these simple steps:
- Use posts and wires if you are planting raspberries in rows.
- Install a simple trellis to help canes stay upright as they grow.
- Add supports before roots spread deeply through the soil.
- Tie the leaning canes loosely with soft garden ties if needed.
- Keep canes organized so harvesting and pruning stay easier later.
- Use strong stakes for smaller raspberry patches or container plants.
Tip: Tall raspberry canes loaded with fruit can snap more easily during storms without proper support.
Step 6: Spread Mulch Around the Plants
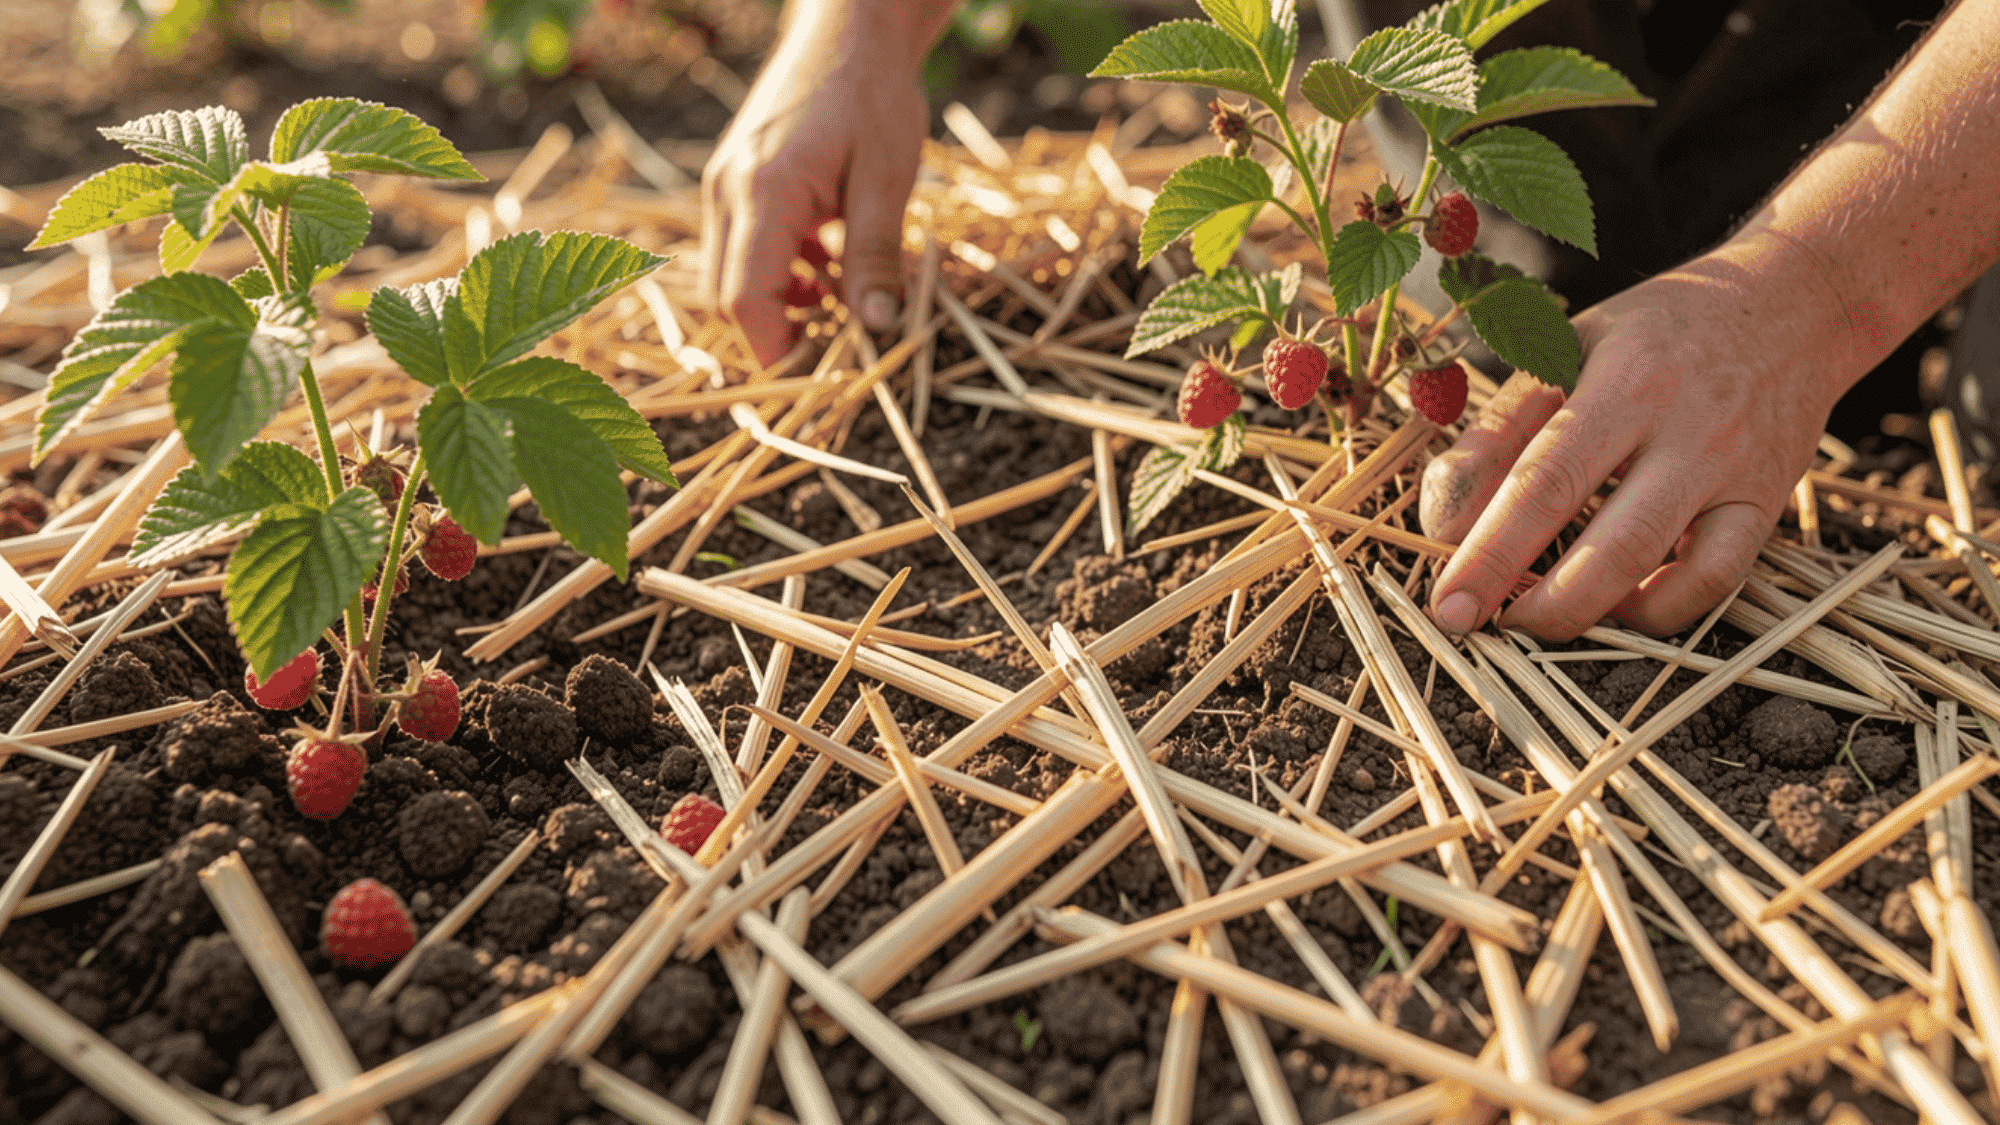
Mulch helps protect shallow raspberry roots from heat, dryness, and sudden temperature changes. It also keeps weeds from taking over the growing area.
A good mulch layer makes raspberry beds easier to manage throughout the season. Here’s what you need to do:
- Spread about 2–3 inches of mulch around the base of the plants.
- Use straw, bark, pine needles, shredded leaves, or wood chips as mulch.
- Keep mulch a few inches away from the canes to prevent rotting.
- Cover the root zone well because raspberry roots stay close to the surface.
- Replace old mulch once it becomes thin or starts breaking down heavily.
- Remove weeds before mulching so they do not continue growing underneath.
Tip: Mulch can also help keep berries cleaner by reducing soil splashing during rain or watering.
Step 7: Water Deeply and Consistently
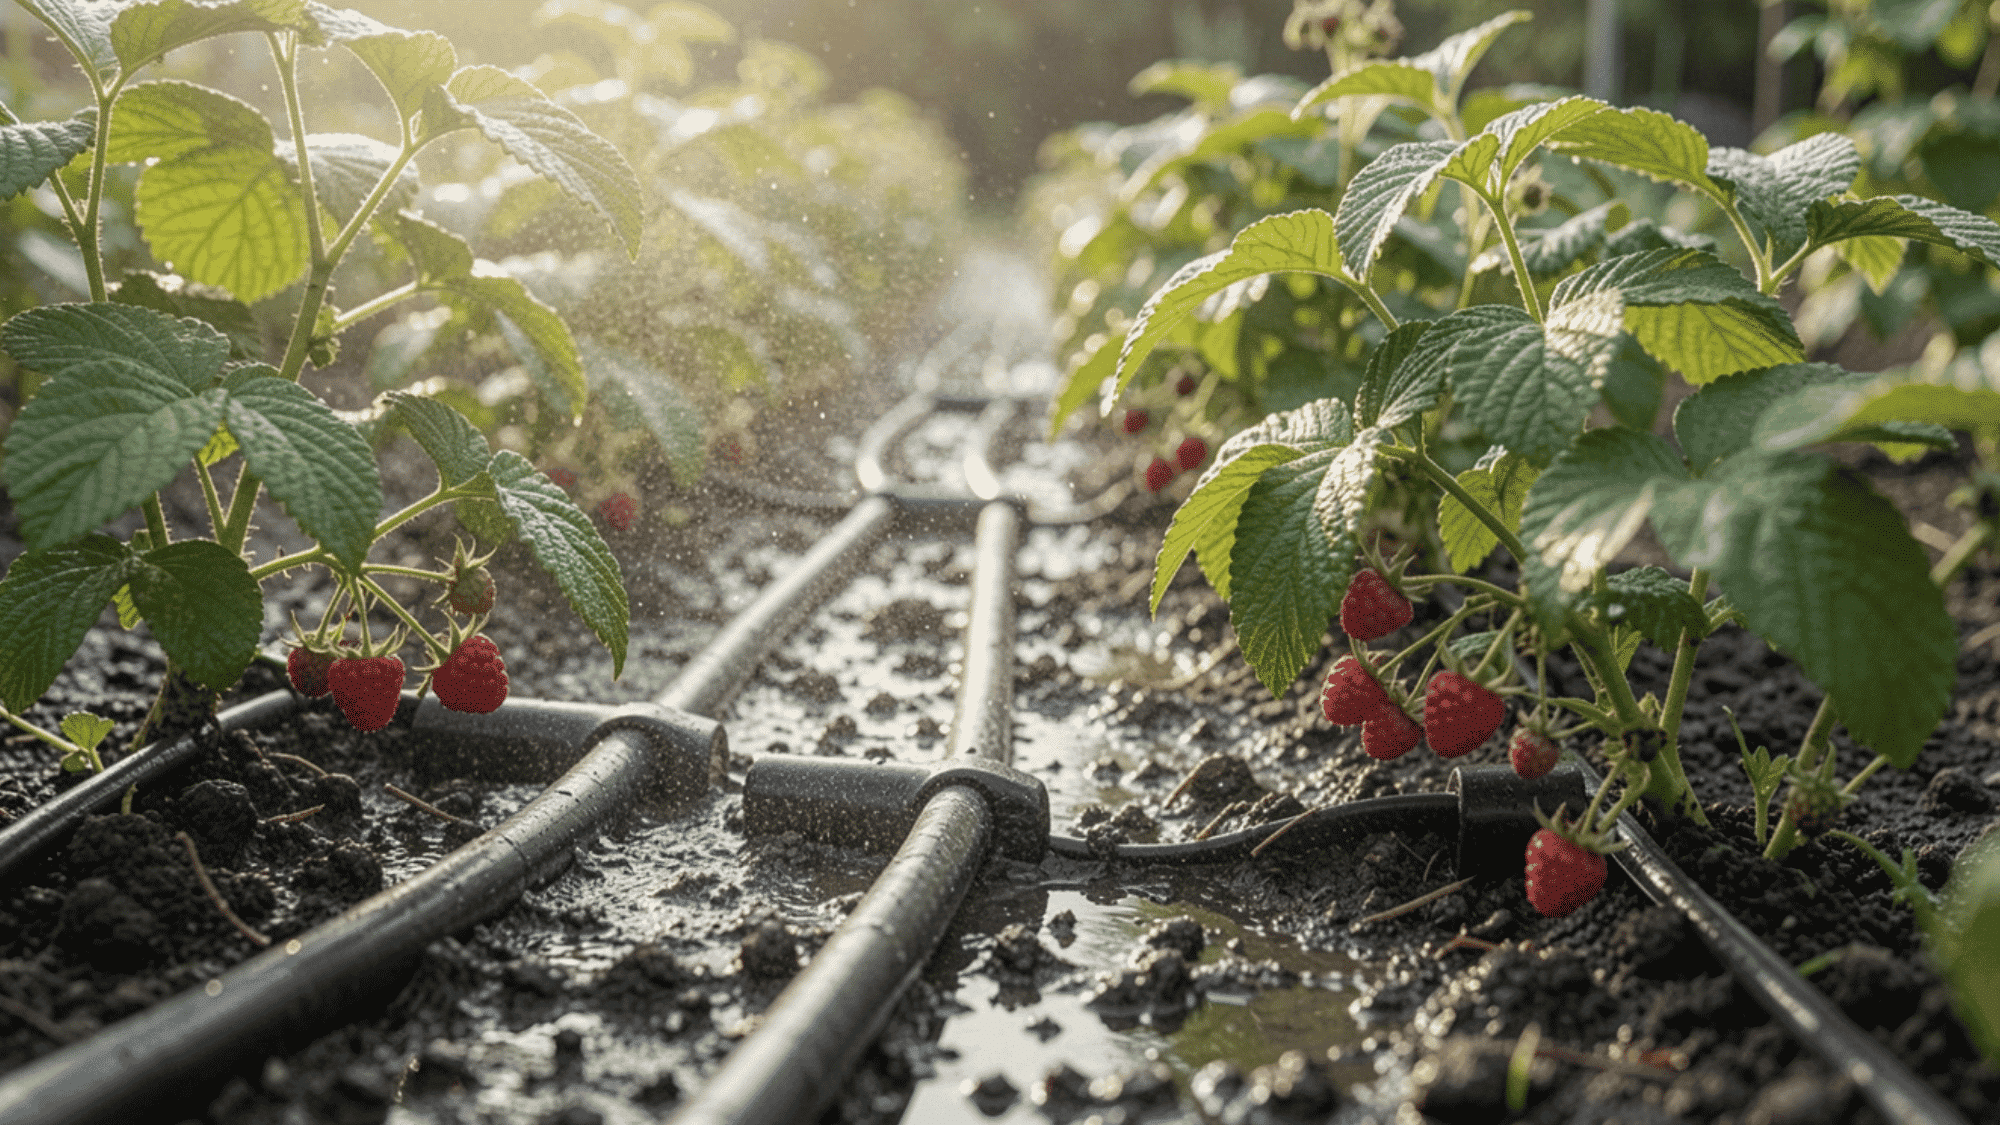
New raspberry plants need steady moisture while they settle into the soil. Dry conditions can slow growth, while overly wet soil can damage the root system.
Consistent watering helps plants stay balanced during the first growing season. Follow the given steps:
- Give raspberry plants around 1–2 inches of water weekly, including rainfall.
- Water deeply so moisture reaches the entire root zone.
- Keep the soil evenly moist rather than letting it fully dry out.
- Water near the base of the plant to keep leaves drier.
- Check soil moisture more often during hot or windy weather.
- Reduce watering if water puddles around the plants after irrigation.
Tip: A drip irrigation system can save time and keep moisture levels more even during summer.
Step 8: Feed Plants Without Overdoing It
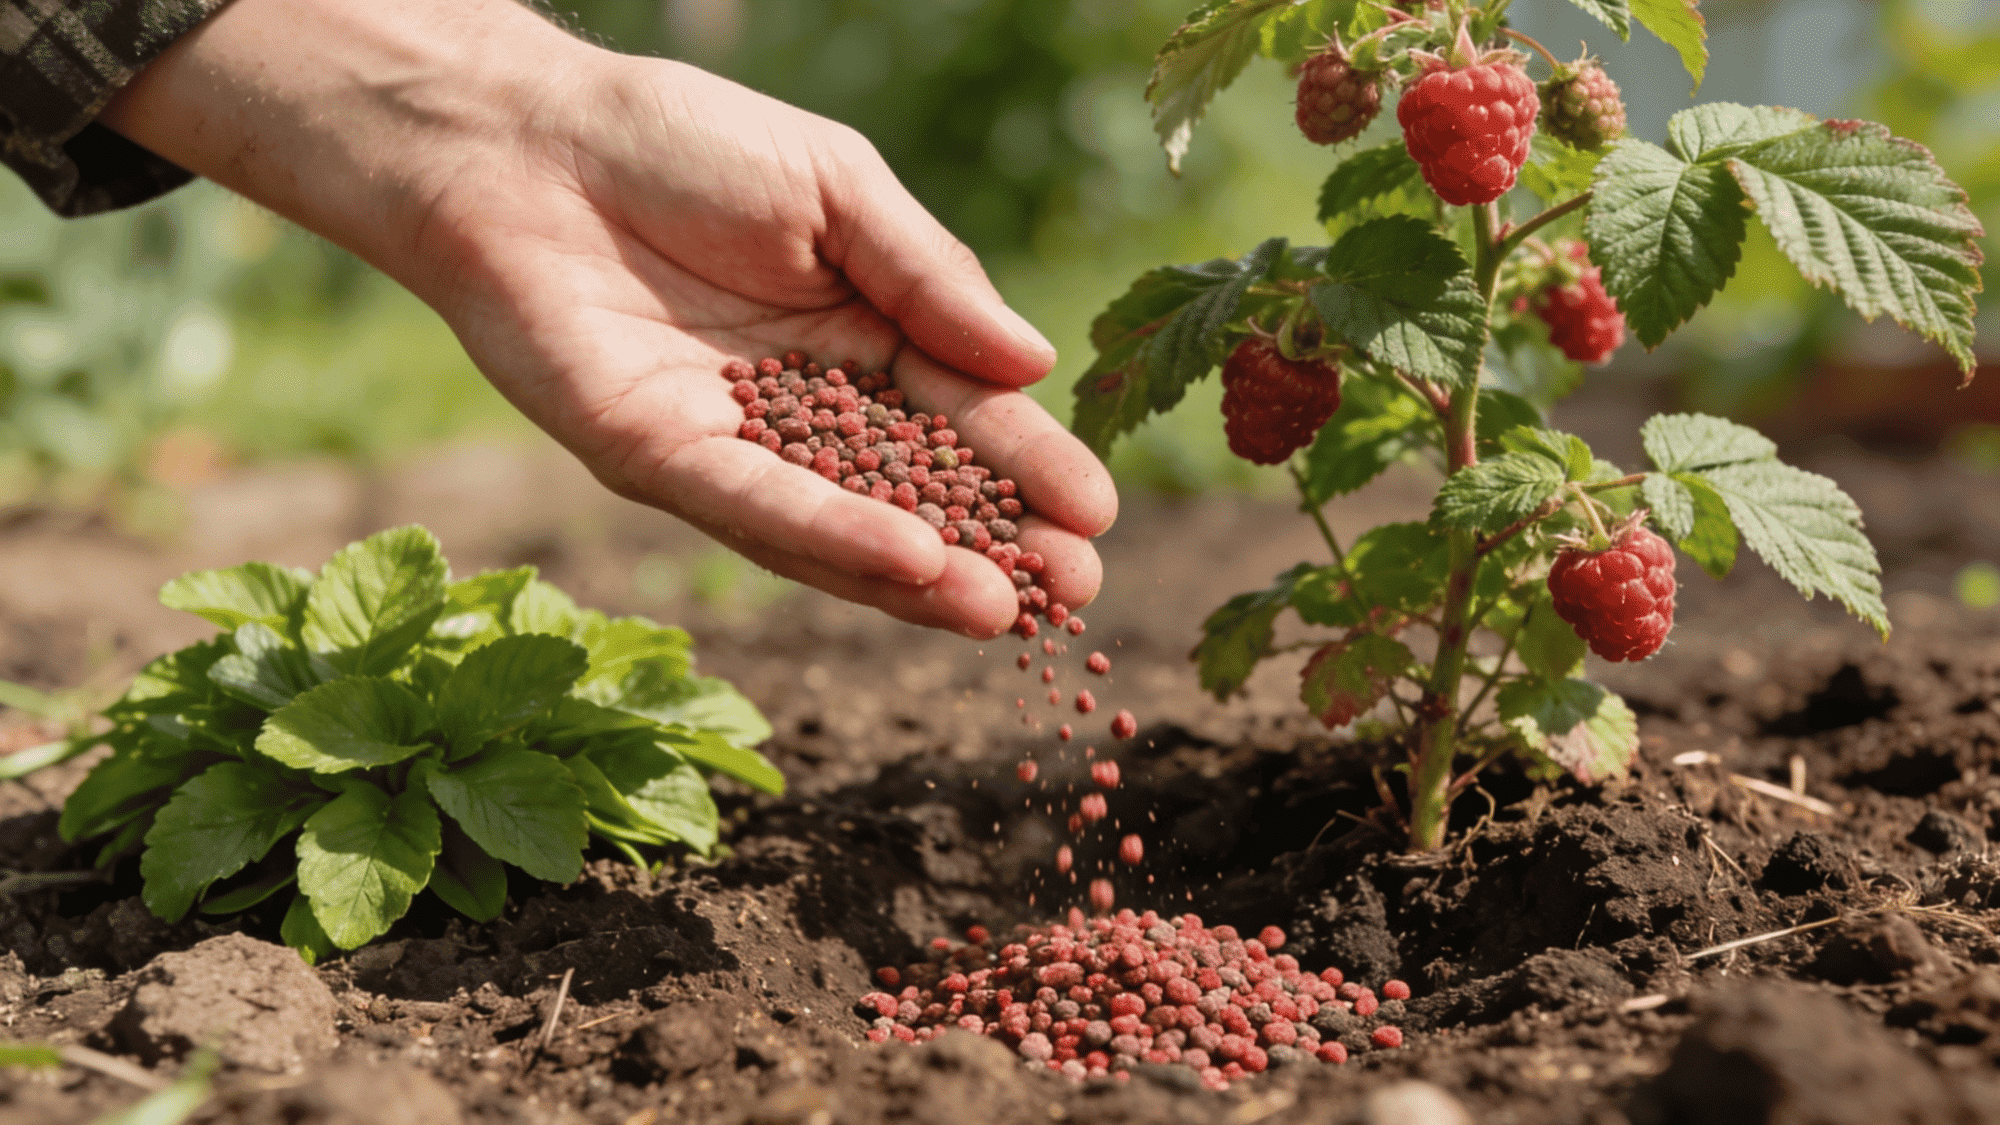
Raspberry plants grow best with light feeding instead of heavy fertilizing. Too much fertilizer can lead to leafy growth with fewer berries later. Gentle feeding supports stronger roots and more balanced growth.
Here’s what you need to do:
- Add compost around plants during spring for slow natural feeding.
- Use a balanced berry fertilizer once new growth begins appearing.
- Follow fertilizer directions carefully to avoid overfeeding the plants.
- Keep fertilizer away from direct contact with the canes and roots.
- Avoid fertilizers high in nitrogen because they can reduce fruit production.
- Stop fertilizing late in the season to avoid weak late growth before winter.
Tip: Slow-growing raspberry plants often improve once soil nutrients become more balanced over time.
Step 9: Monitor Growth During the First Season
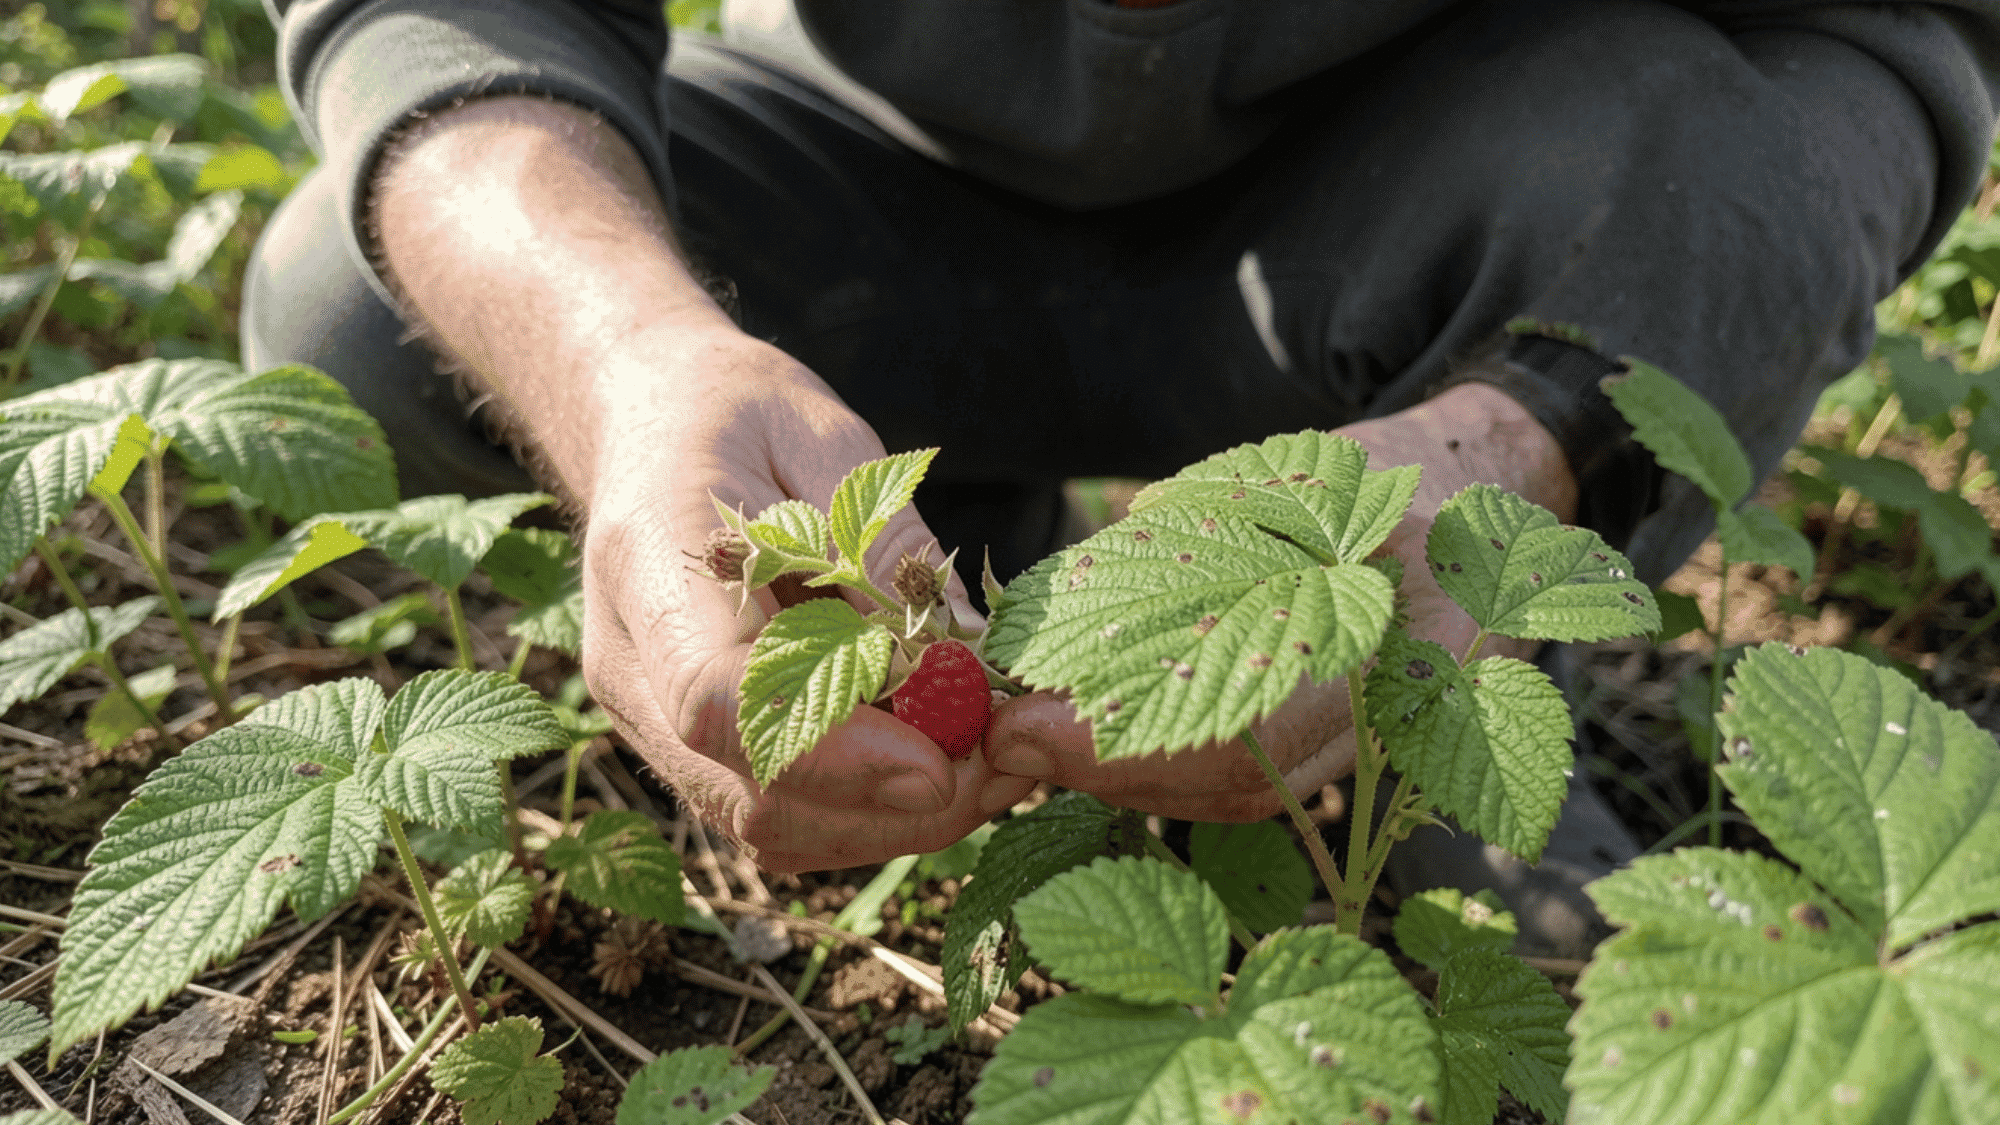
Young raspberry plants change quickly during the first growing season. Regular checks help you spot weak growth, crowding, or early plant stress before it spreads. This final step helps the patch stay productive as it matures:
- Look for fresh green shoots growing from the base of the plants.
- Remove dead, damaged, or weak canes near the soil line.
- Keep rows narrow, so raspberry plants do not spread uncontrollably.
- Pull weeds regularly because they compete with raspberry roots for moisture.
- Check leaves for spots, holes, yellowing, or signs of pests.
- Leave the strongest canes to support better berry production over time.
Tip: Taking quick weekly photos of your plants can make it easier to notice growth changes or early problems.
Expert Tips and Trusted Resources on How to Grow Raspberries
Learning how to grow raspberries becomes much easier when you follow advice from experienced growers, university extension, and horticulture experts.
If you want to read more about the topic, the expert quotes and trusted sources below are also great resources for more detailed raspberry-growing guidance.
“Raspberries prefer full sunlight and grow best in well-drained, sandy loam soils rich in organic matter.”
Source: University of Maine Cooperative Extension“Raspberries must be trellised if growing in a high tunnel.”
Source: University of Minnesota Extension“Bird netting may be needed as berries begin ripening to protect fruit from birds.”
Source: Cornell Cooperative Extension“Excessive nitrogen fertilizer can produce too much leafy growth and fewer berries.”
Source: North Carolina State Extension
Wrapping It Up
And that’s really all there is to it. No complicated tricks or expensive tools. How to grow raspberries: this question comes down to starting smart and staying patient.
The plants do most of the heavy lifting once they’re settled in. And season after season, those berries just keep coming back.
It’s one of those things that feels small at first, a few canes in the ground. But give it time, and it turns into something genuinely rewarding.
So all that is left for you to do is take one step. Then the next. Before long, there’ll be fresh raspberries ready to pick right outside for you.