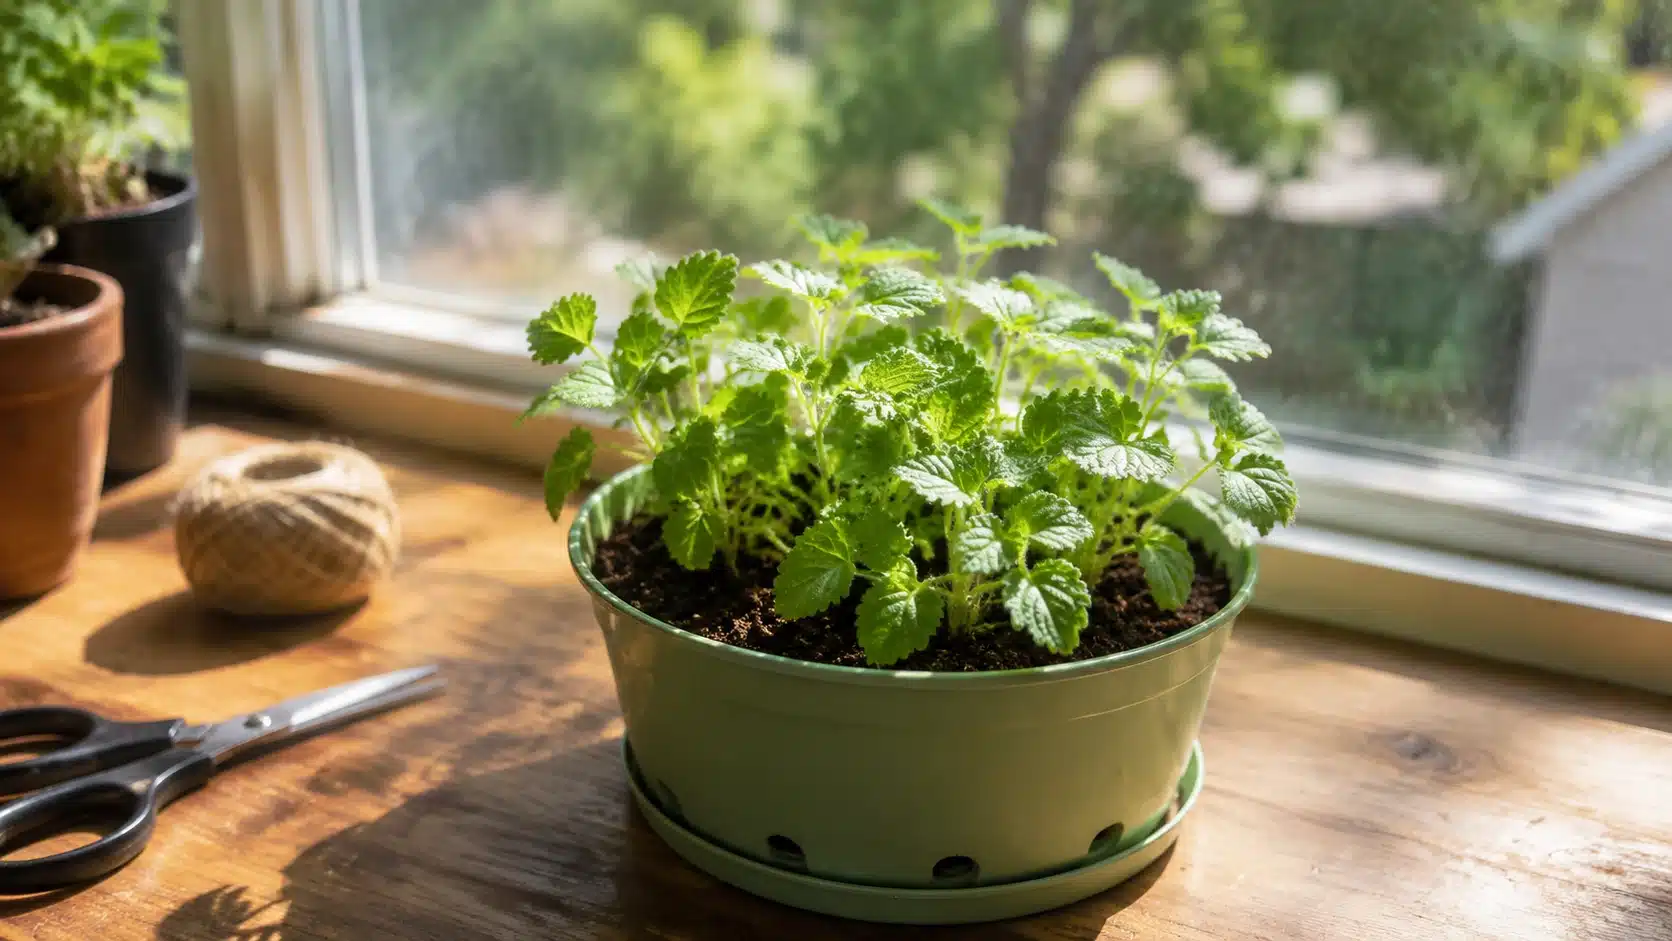
Many people begin growing catnip expecting it to behave like any ordinary herb, only to face yellow leaves, weak stems, or plants flattened by playful cats. The confusion about how to grow catnip often comes from scattered advice online, where some guides discuss watering, others focus on sunlight, and few explain the complete setup clearly.
Catnip is genuinely easy to grow once the basics are in the right order. The problem is that most guides scatter that information across too many pages.
Here, the full process is in one place, from setup to harvest, with the common mistakes included. If you have a sunny spot, a pot with drainage holes, and a little patience, this plant is very much within reach.
What Is Catnip and Why Is It Beginner-Friendly?
Catnip, known botanically as Nepeta cataria, is a perennial herb from the mint family. It grows fast, tolerates dry spells, spreads aggressively if left unchecked, and handles moderate neglect better than most kitchen herbs.
A few things worth knowing before planting:
- It is a perennial in most climates, meaning outdoor plants die back in winter and return in spring in USDA zones 3 through 9.
- It spreads like mint, so planting directly in open garden beds can lead to it taking over neighboring plants within a season or two.
- Containers work best, especially for beginners. A pot gives you control over soil quality, drainage, and placement.
- Cats are drawn to it by scent, which means young plants are vulnerable to being rolled on or chewed before they establish properly.
- It grows well indoors with enough light, making it a practical year-round option for apartment growers.
The biggest mistake beginners make with catnip is not watering it enough or not providing enough sunlight. It is treating a mint-family plant like a basil plant and watering it on a daily schedule. Catnip actually prefers slightly dry conditions between waterings. The moment roots sit in consistently wet soil, the plant weakens fast.
What a Catnip Plant Needs Before You Plant It
A healthy catnip plant starts with the right conditions, not the seed packet. Sunlight affects oil production and stem strength. Drainage affects root health directly. Getting these right before planting prevents most of the problems that show up later in the season.
| Growing Need | Best Condition | What Happens if Ignored |
| Sunlight | 6+ hours of direct sun daily | Thin, stretched, weak stems |
| Soil type | Well-draining potting mix or average garden soil | Soggy roots, root rot |
| Pot size | 10 to 12-inch container minimum | Crowded roots, slow growth |
| Watering | The top inch of soil dries before watering again | Yellow leaves, drooping |
| Airflow | Open area with good circulation | Mold on the soil surface |
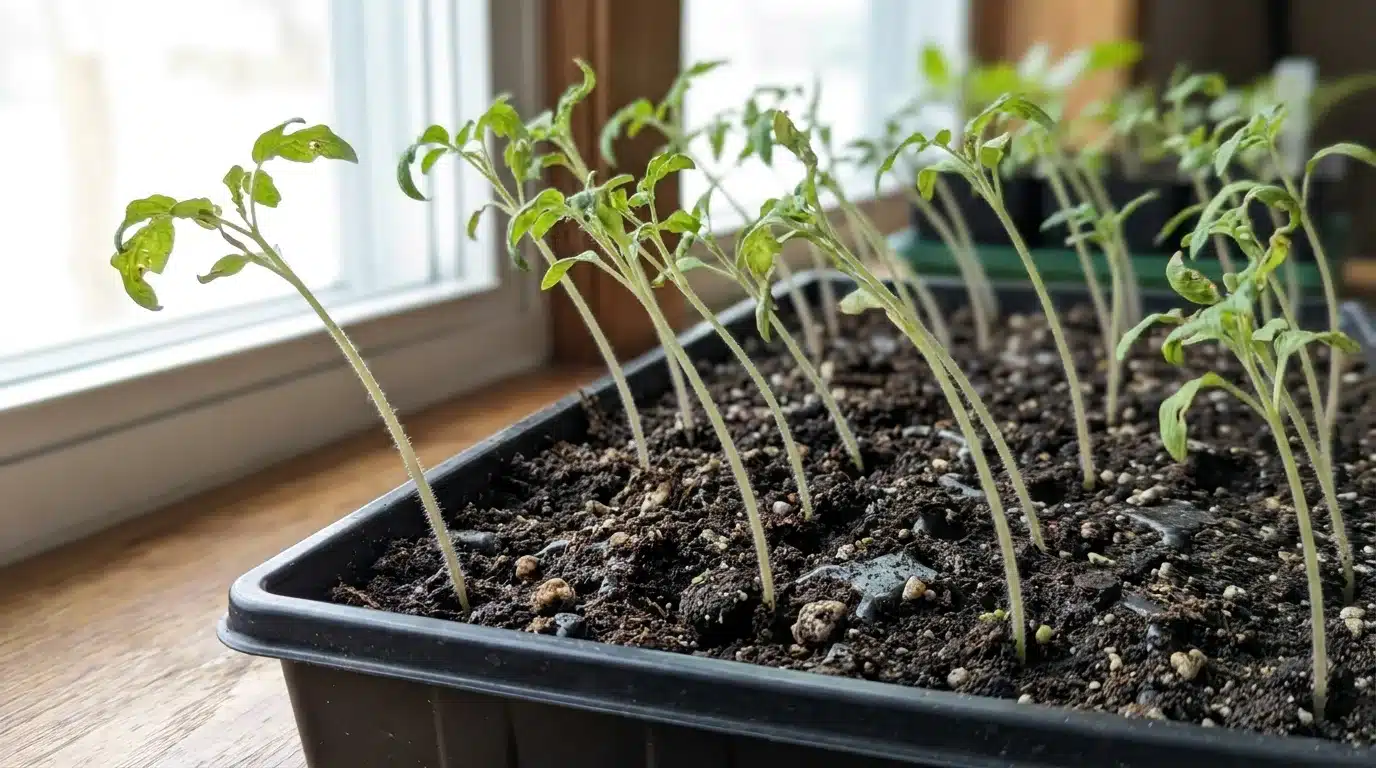
A note on indoor setups: A window that looks bright to humans may not be enough for catnip. South or southwest-facing windows work best. If stems start growing tall and thin toward the light source within a few weeks, that is a sign the plant is not getting enough direct sun, and a grow light would help.
Kitchens and bathrooms tend to fail because they often lack the direct light intensity catnip needs, even when the space feels well-lit.
On soil richness: catnip grows well in average and even slightly poor soil. Heavily fertilized or very rich potting mixes can push leafy growth that actually smells weaker. Average, well-draining soil is the goal here.
Seeds or Starter Plant: Which One Should You Choose?
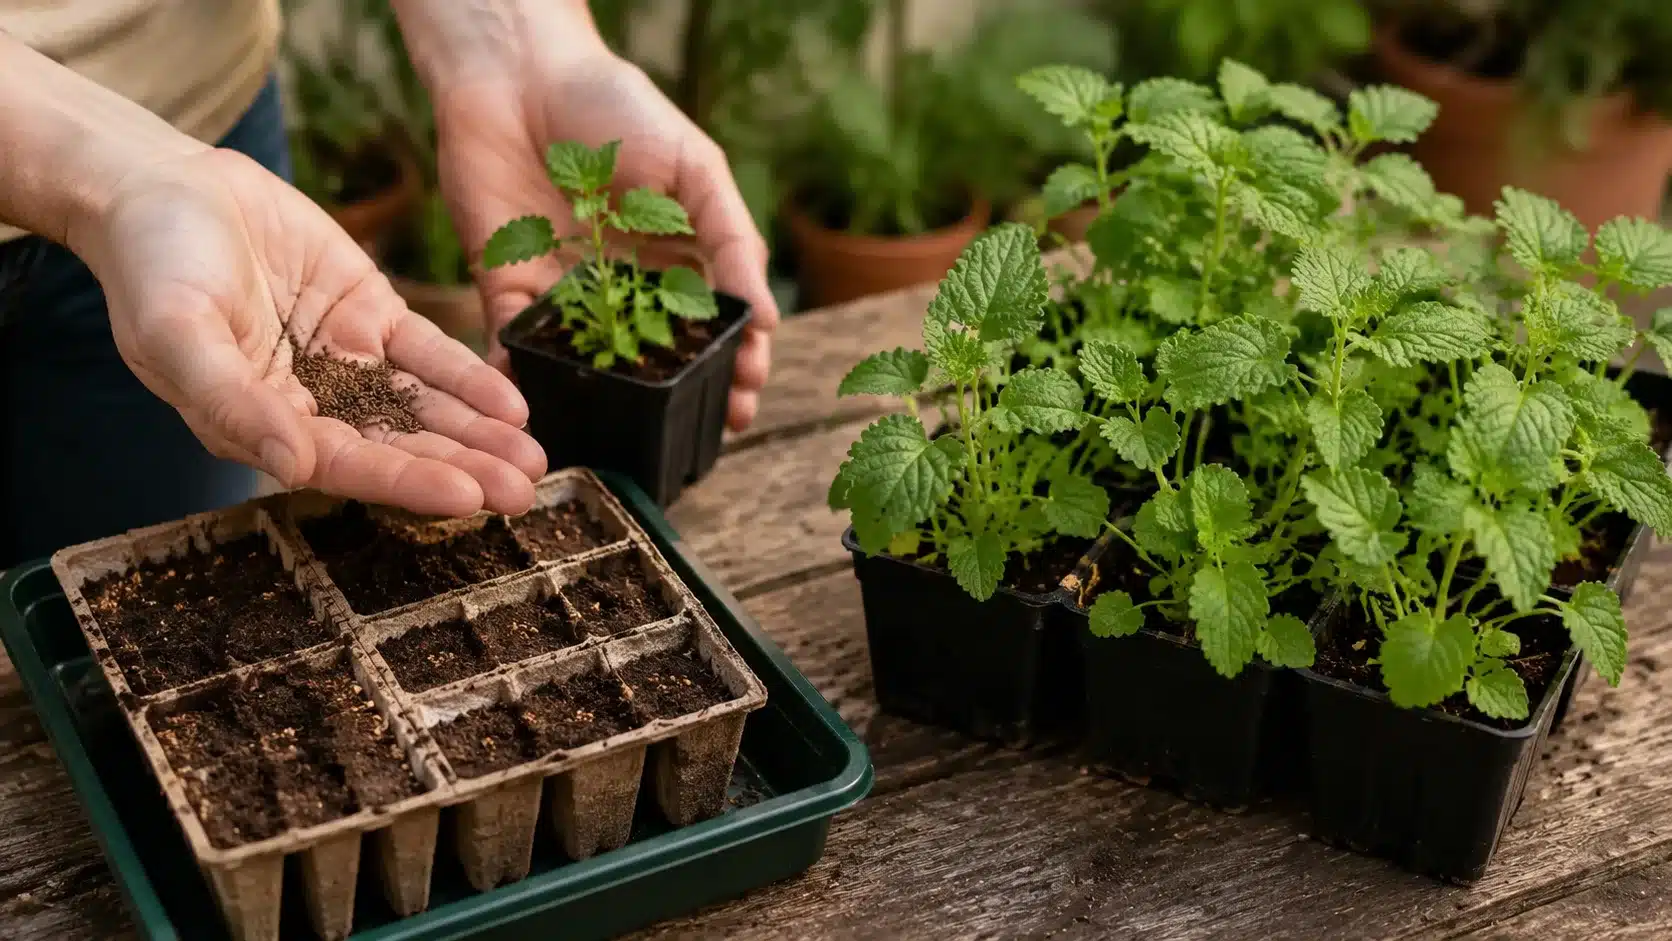
Both methods work. The choice mainly comes down to how quickly you want results and how comfortable you are with early-stage seed care.
Seeds: Cost-effective and offer more plants per packet, making them ideal for gardeners who want to grow multiple plants. For better germination, seeds can be frozen overnight and soaked in water for 24 hours. Sow them one-eighth to one-quarter inch deep in moist, well-draining soil for healthy early growth.
Starter Plants: Starter plants offer faster results and are less fragile during early growth, making them perfect for beginners.
A nursery starter can be transplanted directly into a container or garden bed after the last frost, allowing quicker access to usable catnip leaves without the challenges of caring for delicate seeds in their initial stage.
Once you have decided on seeds or a starter plant, the planting steps themselves are straightforward.
How to Grow Catnip Step by Step
Growing catnip successfully depends on proper steps, from starting seeds or using starter plants to indoor or outdoor care. Following a clear process ensures strong roots, healthy leaves, and fragrant plants while avoiding common beginner mistakes.
Tools You Need
- Small planter or pot with drainage holes
- Organic potting mix
- Water
- Catnip seeds
- Optional: light fertilizer (avoid heavy feeding to maintain aroma)
- Well-lit window or grow light
Step 1: Preparing the Seeds
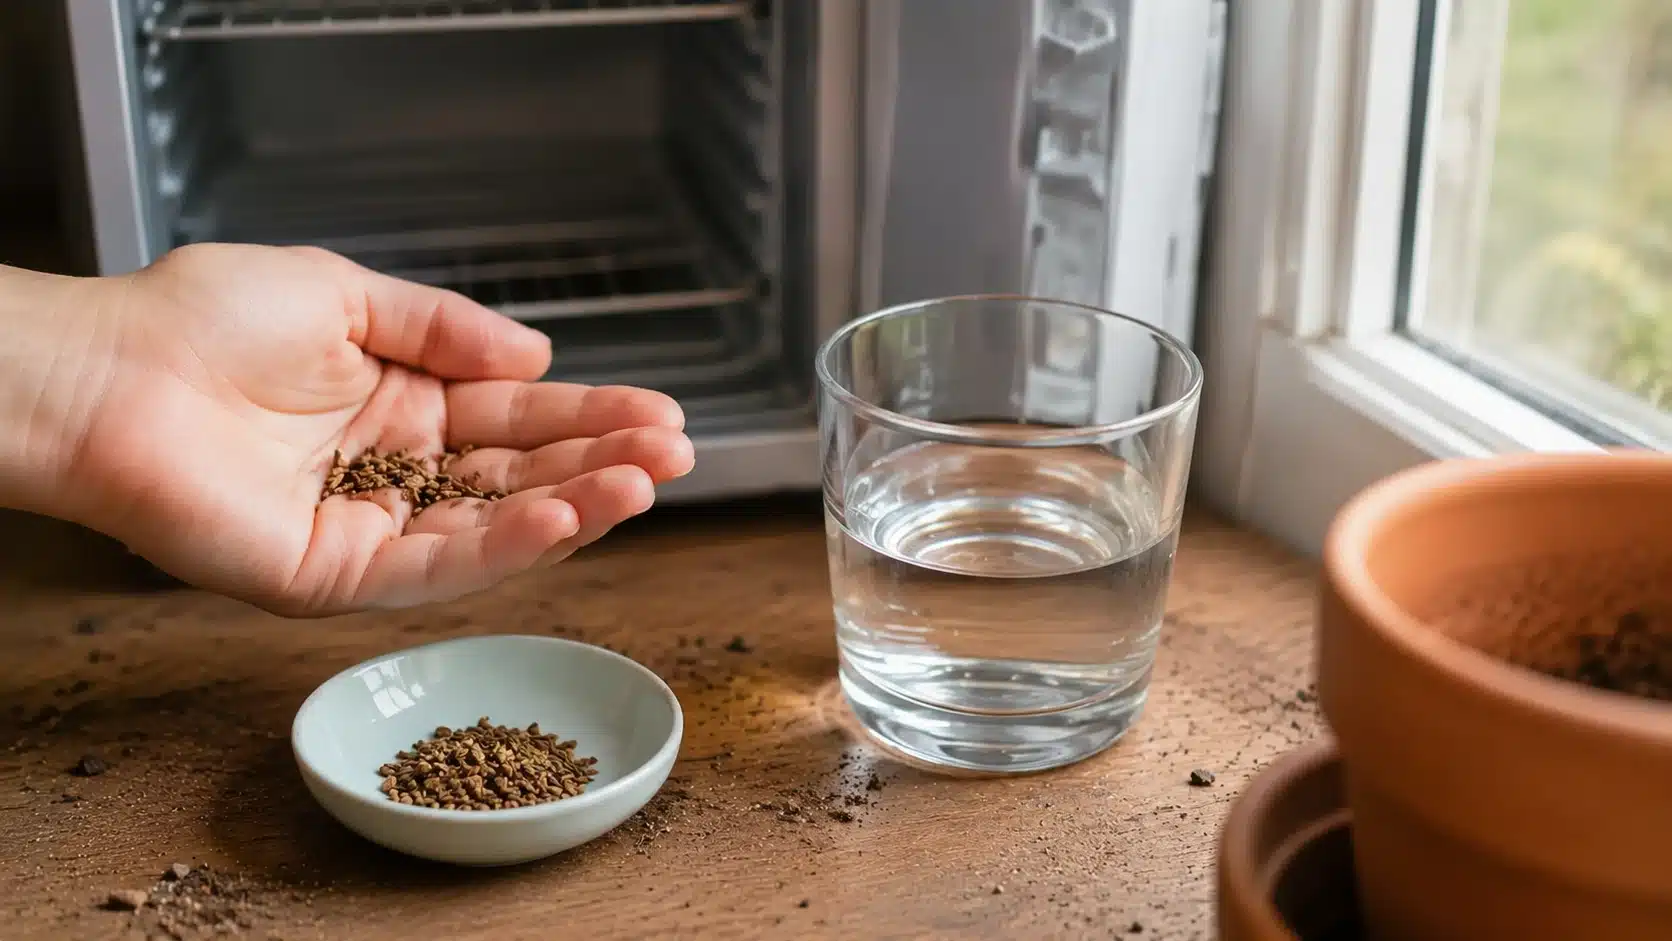
Catnip seeds can benefit from aquick chill in the freezer overnight and a soak in water for a day to soften the seed coating. This can improve germination, but it’s optional. You can also plant seeds directly in a small planter or pot filled with moist potting mix and still get healthy sprouts.
| Tip: Soaking seeds can speed up germination. Caution: Do not leave seeds soaking for more than 24 hours, or they may rot. |
Step 2: Preparing the Planter
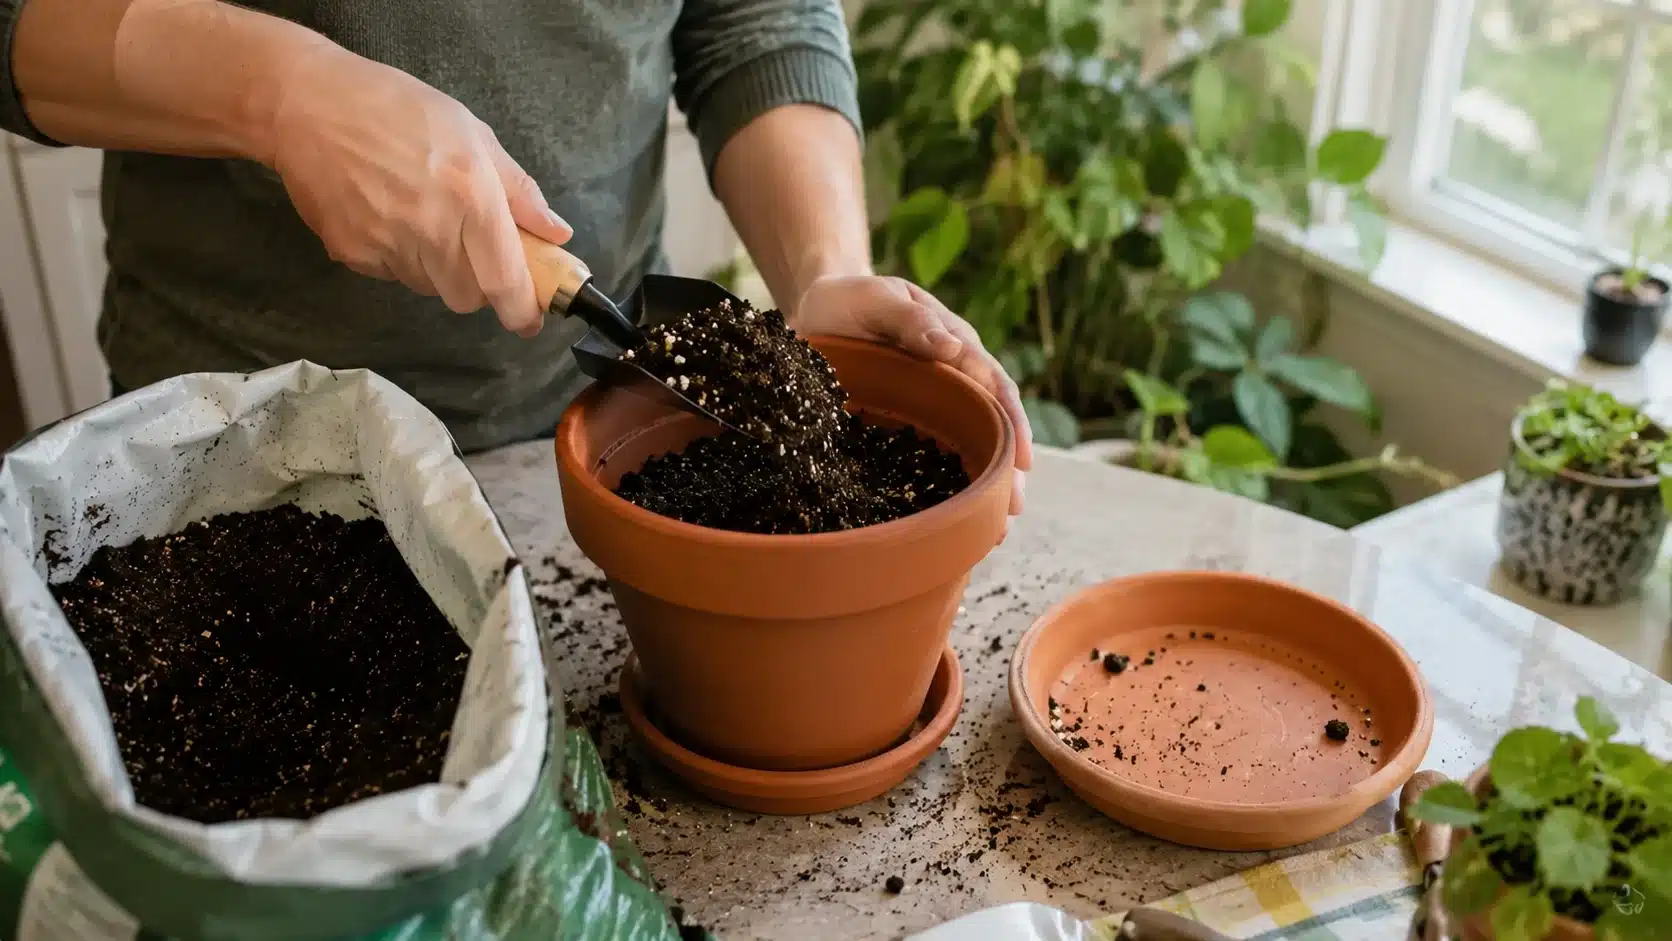
Select aplanter with proper drainage to prevent water from pooling around roots. Fill it with organic potting mix, leaving room for the seeds. Planters designed for bottom watering are ideal because they allow the soil to absorb moisture gradually, keeping roots healthy and reducing the risk of overwatering or soggy soil.
| Tip: Use a light, well-draining mix to avoid root problems. Caution: Avoid planters without drainage; standing water causes root rot. |
Step 3: Sowing the Seeds
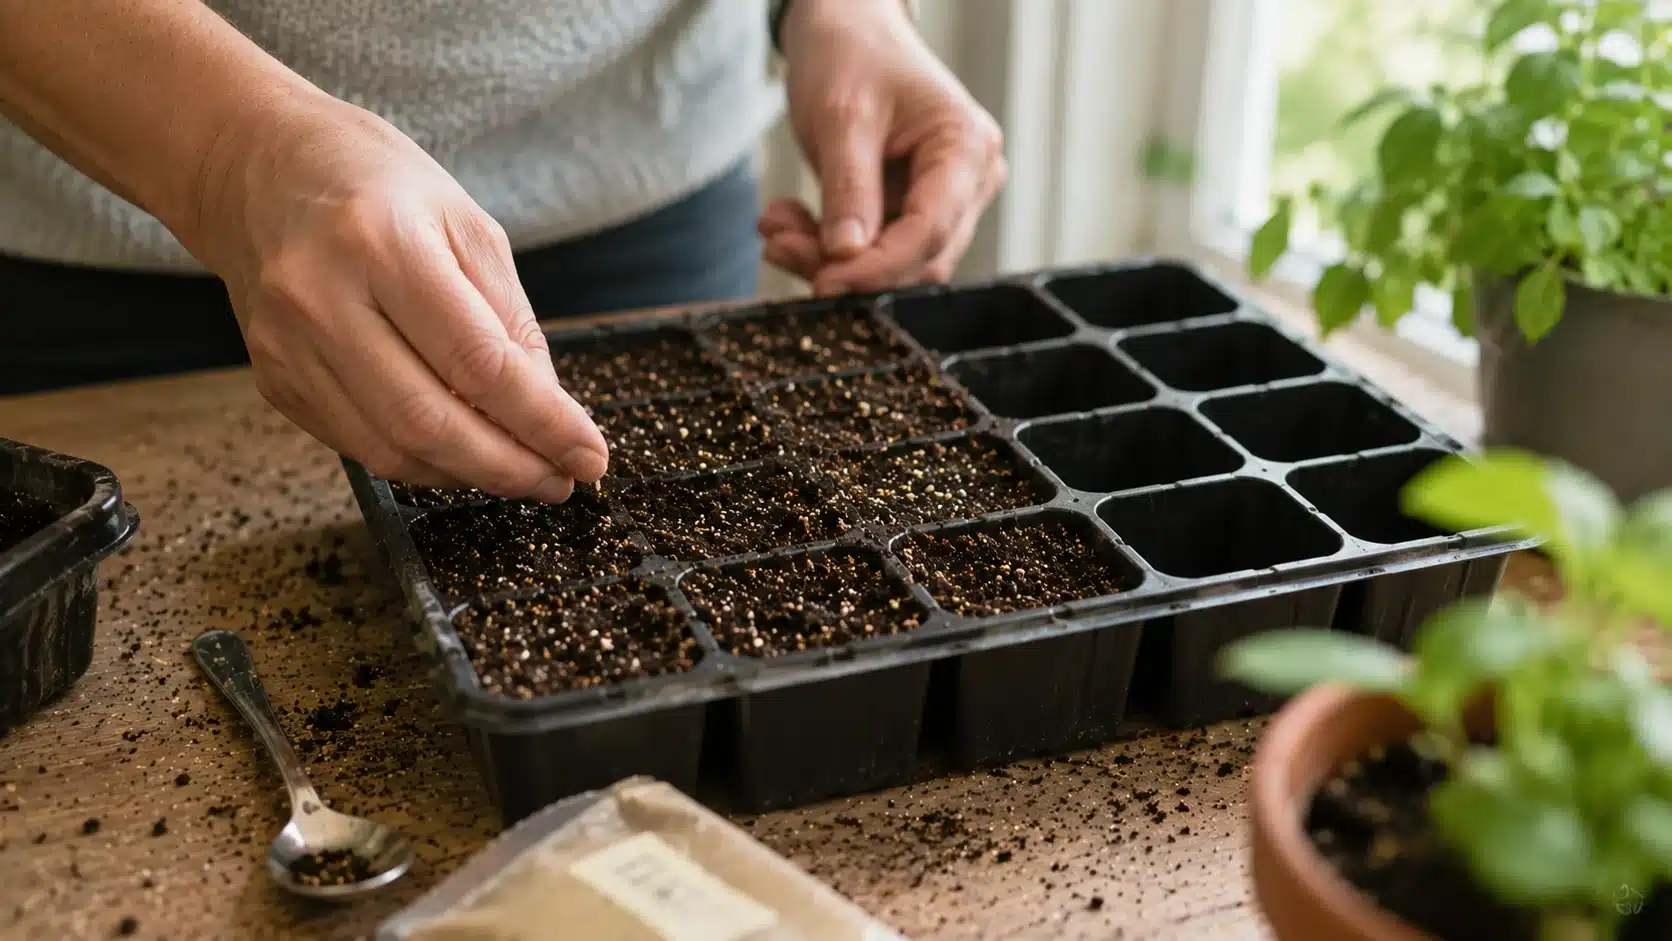
Place your catnip seeds on top of the potting mix and cover with a thin layer of soil; do not bury deeply. Seeds need light to germinate. For multiple plants, leave space to allow airflow and reduce competition. This step ensures the young seedlings have enough room and sunlight for strong, healthy growth.
| Tip: A thin soil cover helps seeds get enough light. Caution: Don’t bury seeds too deep; they may never sprout. |
Step 4: Watering and Light
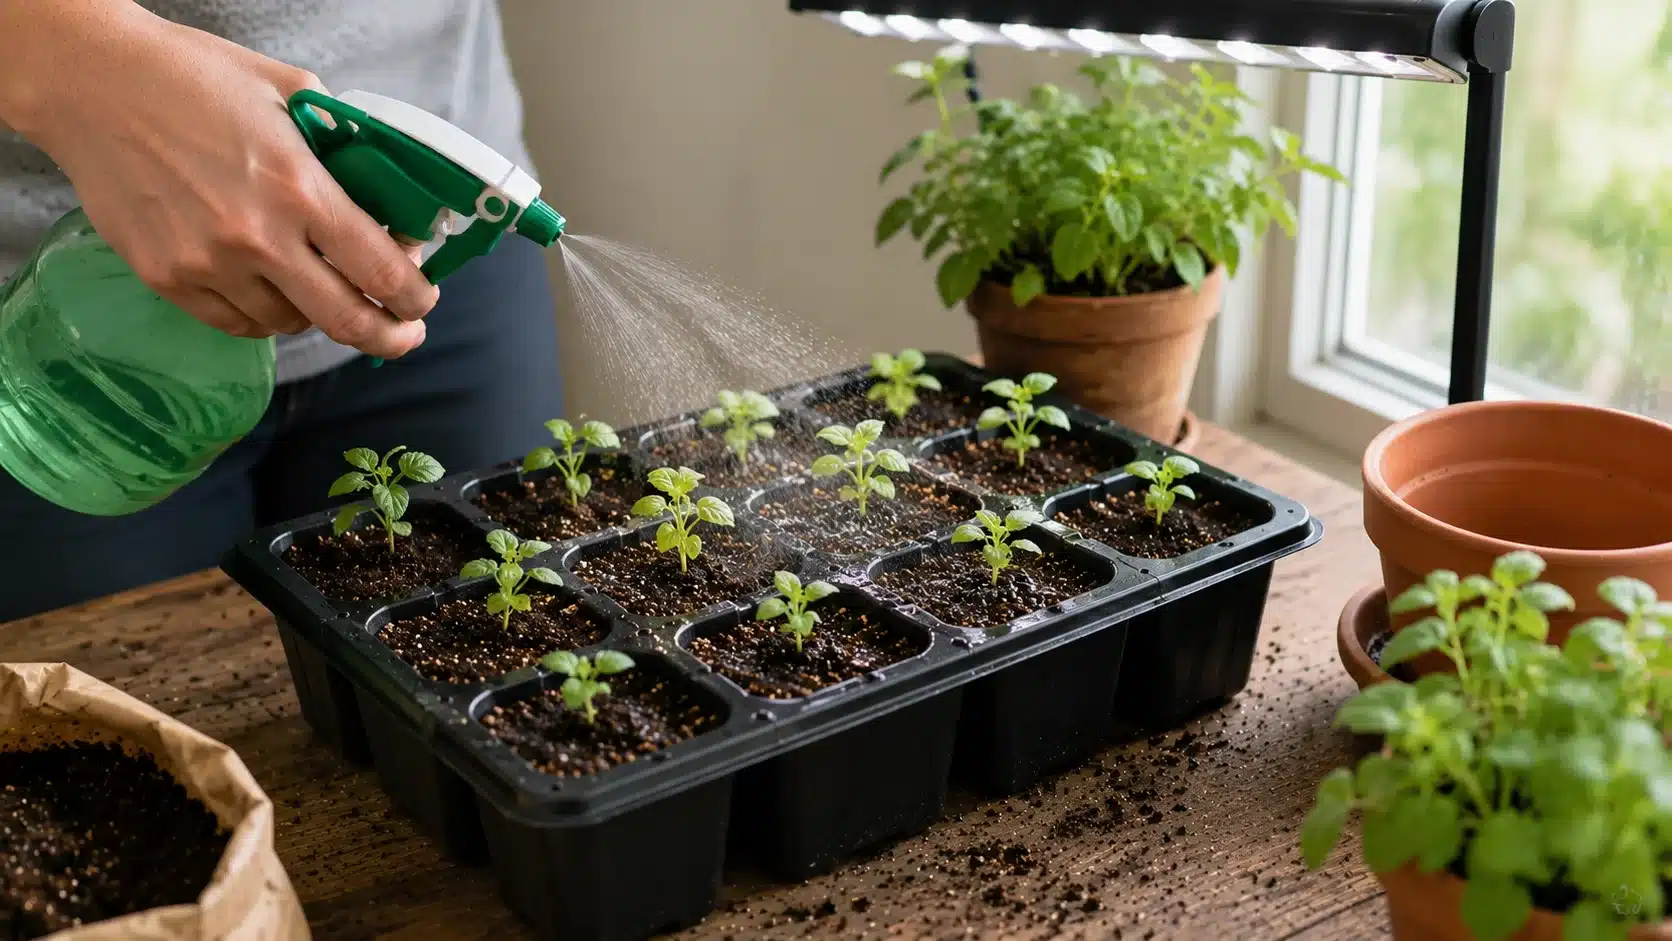
Water the planter lightly, keeping the soil consistently moist but not soggy. Position it near a bright, sunny window or under a grow light for 12–14 hours daily if sunlight is limited. Proper light is critical for strong stems, bushy leaves, and overall healthy growth, while overwatering or low light can weaken the plants.
| Tip: Rotate the planter weekly for even light exposure. Caution: Overwatering or low light weakens plants and slows growth. |
Step 5: Watching for Sprouts
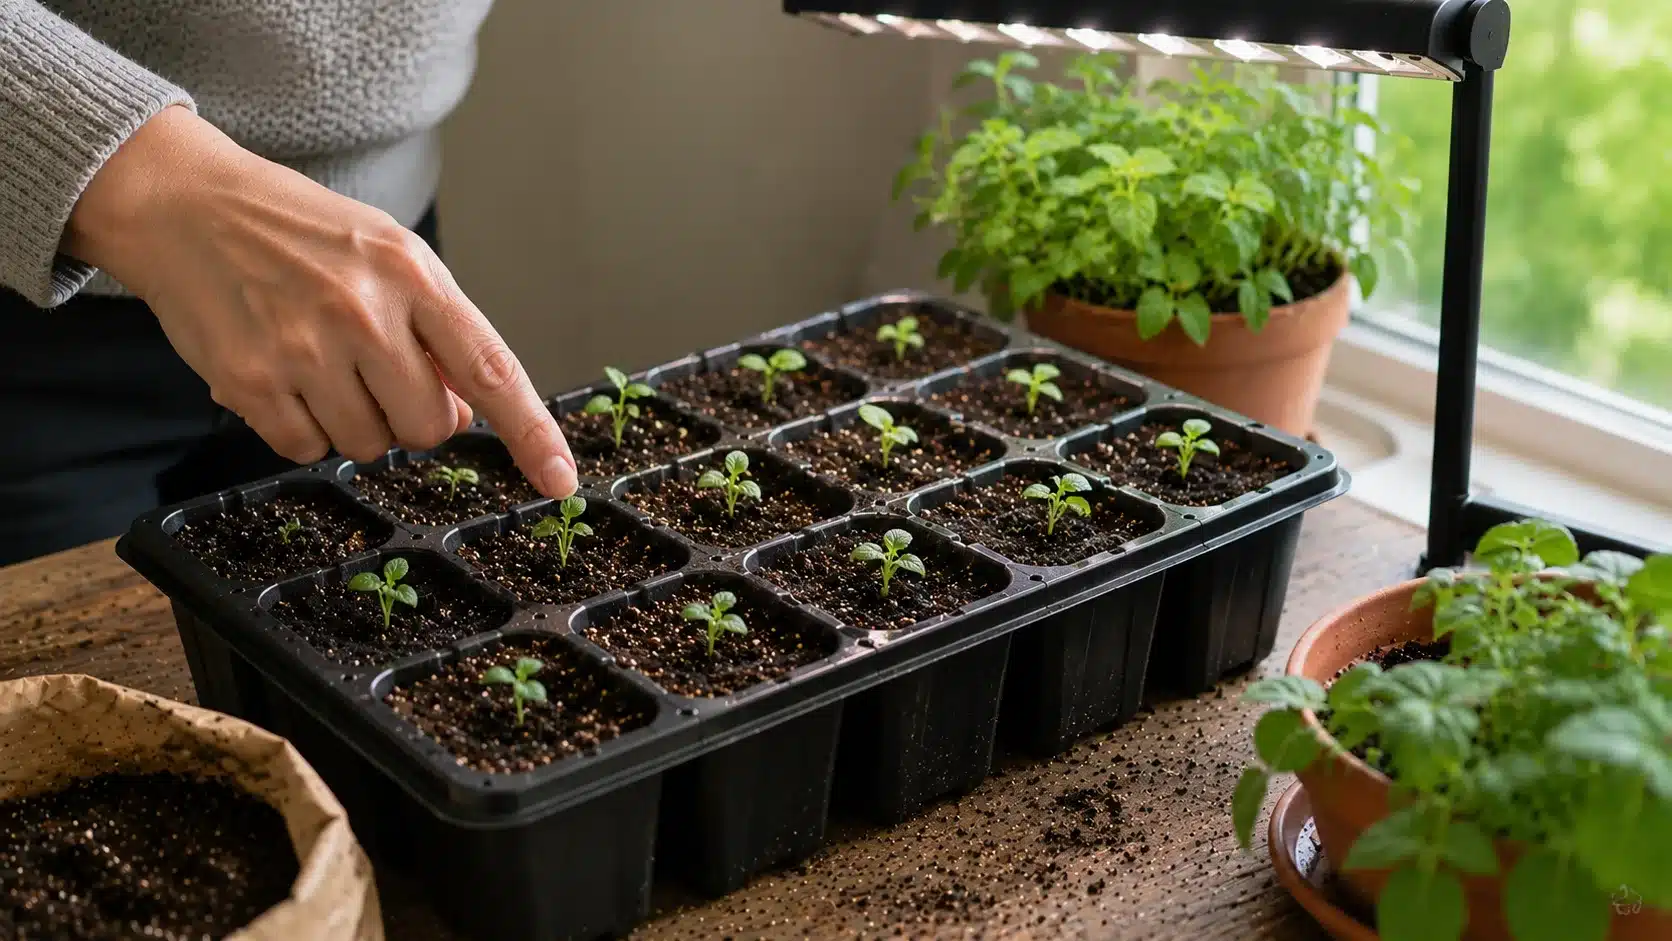
Seeds typically sprout in 7–14 days, producing tiny green shoots. Continue gentle, consistent watering as soil begins to dry on top. After a few weeks, pinch a leaf and rub it between your fingers, the aroma indicates healthy growth. Early observation ensures your catnip thrives before transplanting or harvesting small leaves.
| Tip: Early observation allows you to catch issues before they spread. Caution: Don’t over-handle tiny sprouts; their stems are fragile. |
Step 6: Using and Maintaining
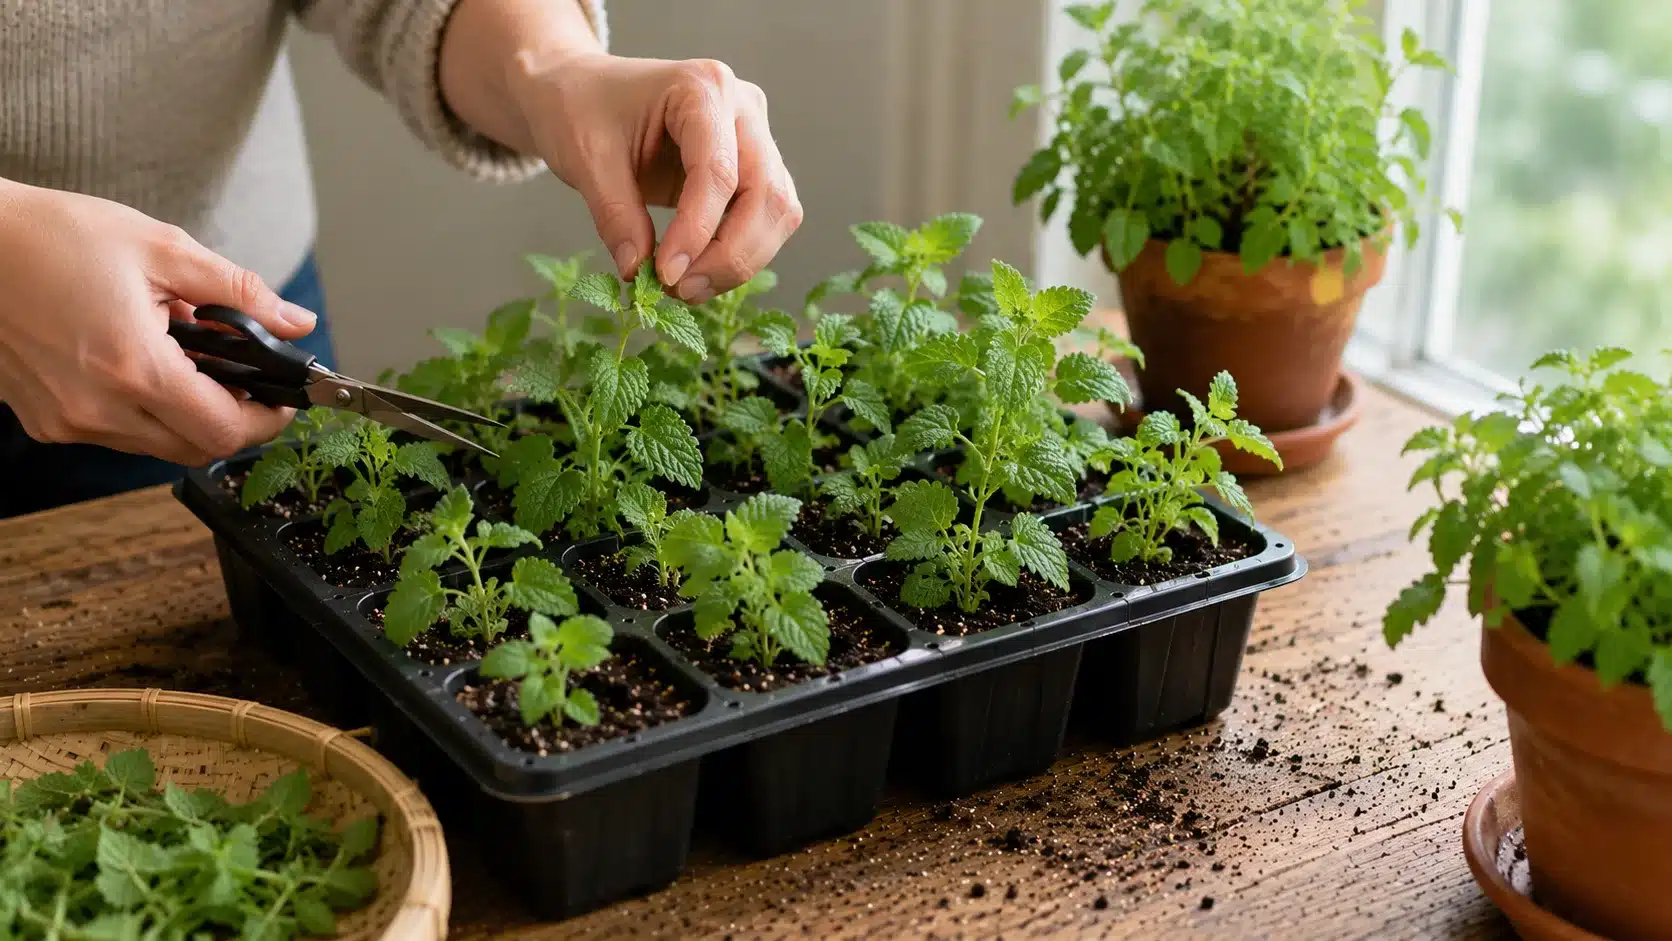
Once leaves are thicker and stems sturdy, you can harvest small amounts for your cat or drying. Avoid heavy fertilizer, which can reduce aroma. Continue moderate watering, pruning, and providing sufficient light. Regular maintenance ensures catnip remains fragrant, bushy, and healthy, producing more leaves and essential oils over time for both you and your cat.
| Tip: Regular pruning encourages bushy growth and more aromatic leaves. Caution: Too much fertilizer reduces aroma and flavor, making it less appealing to cats. |
Watch the video for a detailed overview:
Caring for Catnip After It Starts Growing
Once established, catnip grows quickly with simple care habits. Proper watering, light pruning, and basic protection help the plant stay healthy and productive for much longer.
- Watering Properly: Let the topsoil dry slightly before watering again. Constantly wet soil weakens roots and causes yellow leaves. Outdoor pots dry faster in summer, while indoor plants usually need less water during colder months.
- Pruning for Fuller Growth: Pinch growing tips regularly to encourage bushier stems instead of weak upward growth. Removing flower buds also helps the plant focus more energy on producing healthy leaves throughout the growing season.
- Fertilizer Needs: Catnip grows well in average soil and rarely needs heavy feeding. Too much fertilizer creates soft, weak stems. Refreshing the topsoil occasionally or adding light compost is usually enough for steady growth.
- Protecting Plants From Cats: Young plants can get flattened before roots settle properly. Raised planters, hanging baskets, or simple wire cages help protect stems while still allowing cats to enjoy the plant safely later.
Simple maintenance keeps catnip growing steadily for months. Once care routines feel manageable, it becomes much easier to spot and fix common growing problems before the plant starts declining.
When and How to Harvest Catnip
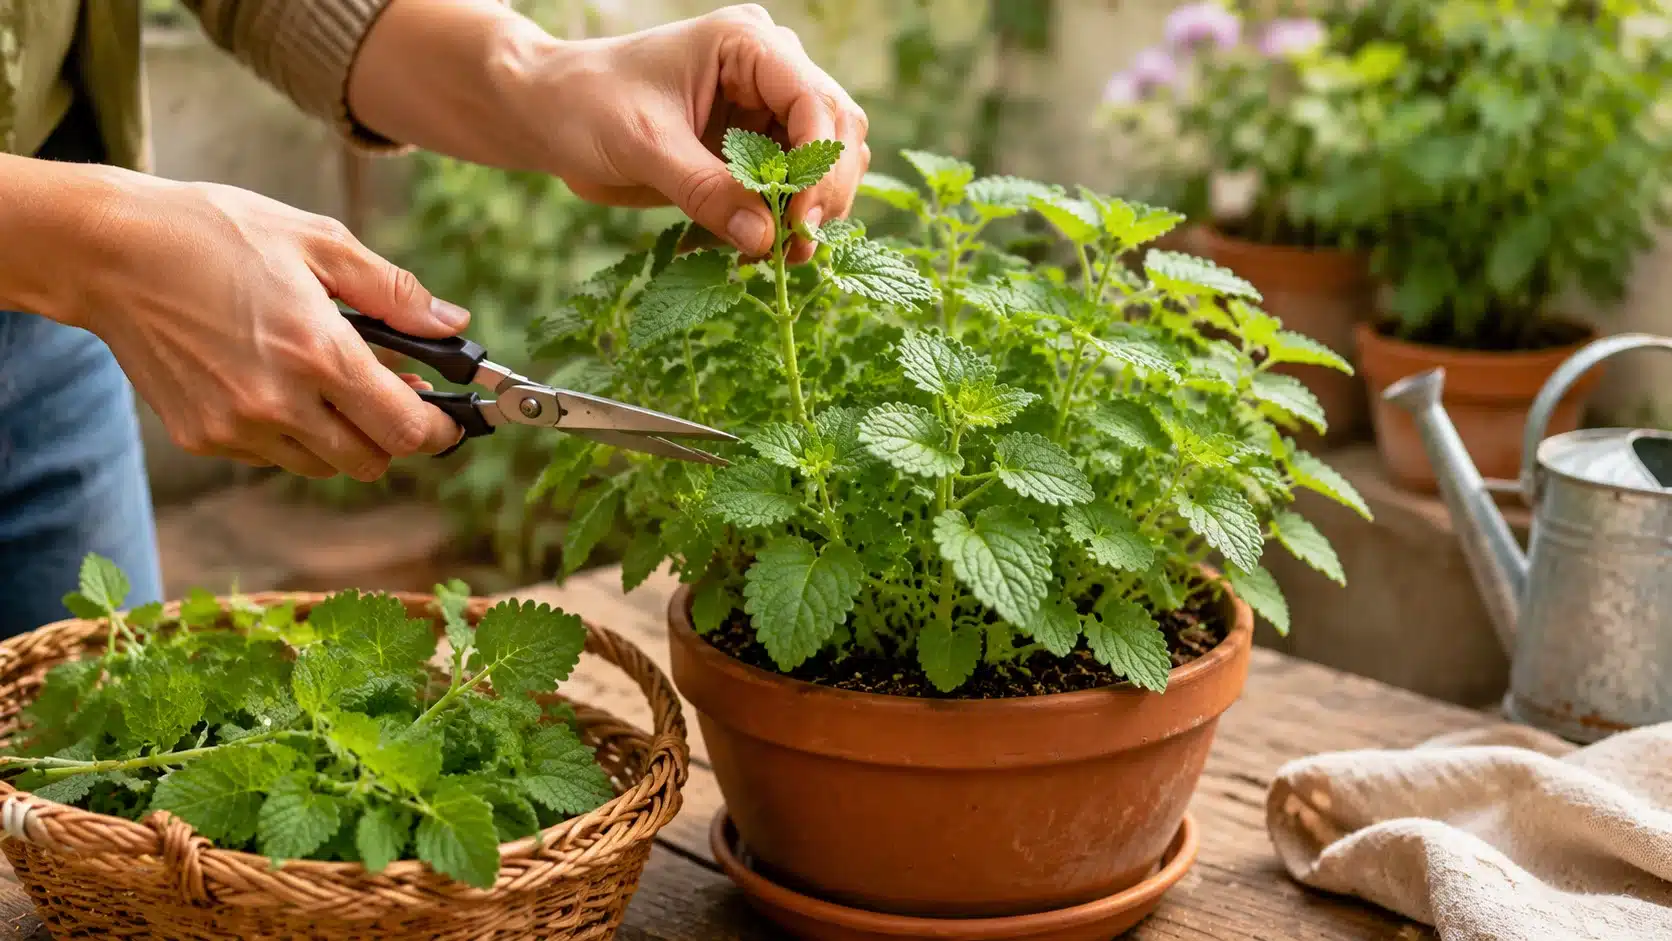
Harvesting at the right stage matters because oil potency peaks just as flower buds start forming, before full flowering begins. Leaves harvested too early are smaller and less fragrant. Leaves harvested after heavy flowering can be less potent.
- Best time to harvest: late morning, after any dew has dried from the leaves, when oil content is at its daily peak. Aim for just before or at early flowering.
- How to cut: Use clean scissors or pruning shears. Cut stems just above a leaf node, which is the point where a leaf meets the stem. This encourages the plant to branch from that point and keeps growth moving. Take no more than one-third of the plant in a single harvest to allow steady regrowth throughout the season.
- Fresh use: Fresh catnip leaves can be offered directly to cats or used immediately.
Harvesting small amounts regularly, rather than one large cut at the end of the season, keeps the plant producing steadily and prevents it from becoming woody or exhausted too early.
Drying and Storing Catnip
Proper drying and storing keep catnip potent and aromatic for months. Hanging stems in small bundles in a cool, dry, and shaded area preserves its essential oils, aroma, and flavor, ensuring it stays fresh and usable.
| Step | Description |
| Bundle Stems | Tie stems into small bundles for uniform drying. |
| Hang Upside Down | Dry in a cool, ventilated area out of direct sunlight. |
| Avoid Sunlight | Sunlight weakens essential oils; keep bundles shaded. |
| Check Brittleness | When leaves are dry and brittle, remove from stems. |
| Store Airtight | Use sealed containers away from heat and moisture for lasting freshness. |
Once leaves are brittle, remove them from stems and store in airtight containers. This method maintains catnip’s potency, aroma, and flavor for months, keeping it ready for use without losing quality or effectiveness for both culinary and herbal purposes.
Common Problems When Growing Catnip and How to Fix Them
Most catnip issues develop slowly, usually due to watering habits, sunlight gaps, or poor airflow, rather than pests or disease. Paying attention to these factors prevents most problems and keeps your plant thriving.
- Yellow leaves: Often caused by overwatering or soggy roots. Let the topsoil dry more between watering sessions to allow roots to breathe.
- Thin, stretched stems: Indicates not enough direct sunlight. Move the plant to a sunnier window or use a grow light for 12–14 hours daily.
- Mold on soil surface: Triggered by poor airflow and excess moisture. Increase air circulation and reduce watering frequency.
- Wilting despite moist soil: Usually root rot from chronic overwatering. Check drainage holes and repot if roots appear brown or mushy.
- Flattened or chewed plants: Young stems are vulnerable to cats. Protect with a wire cage, hanging basket, or raised planter.
- Slow indoor growth: Caused by insufficient light. Move to a south-facing window or supplement with a grow light.
| During winter, soil dries more slowly indoors due to cooler temperatures and reduced airflow. Reduce watering frequency to prevent root issues during this period. |
With these adjustments, your catnip should stay healthy and productive, ready for harvesting when leaves are thick and fragrant.
Pests and Diseases in Catnip
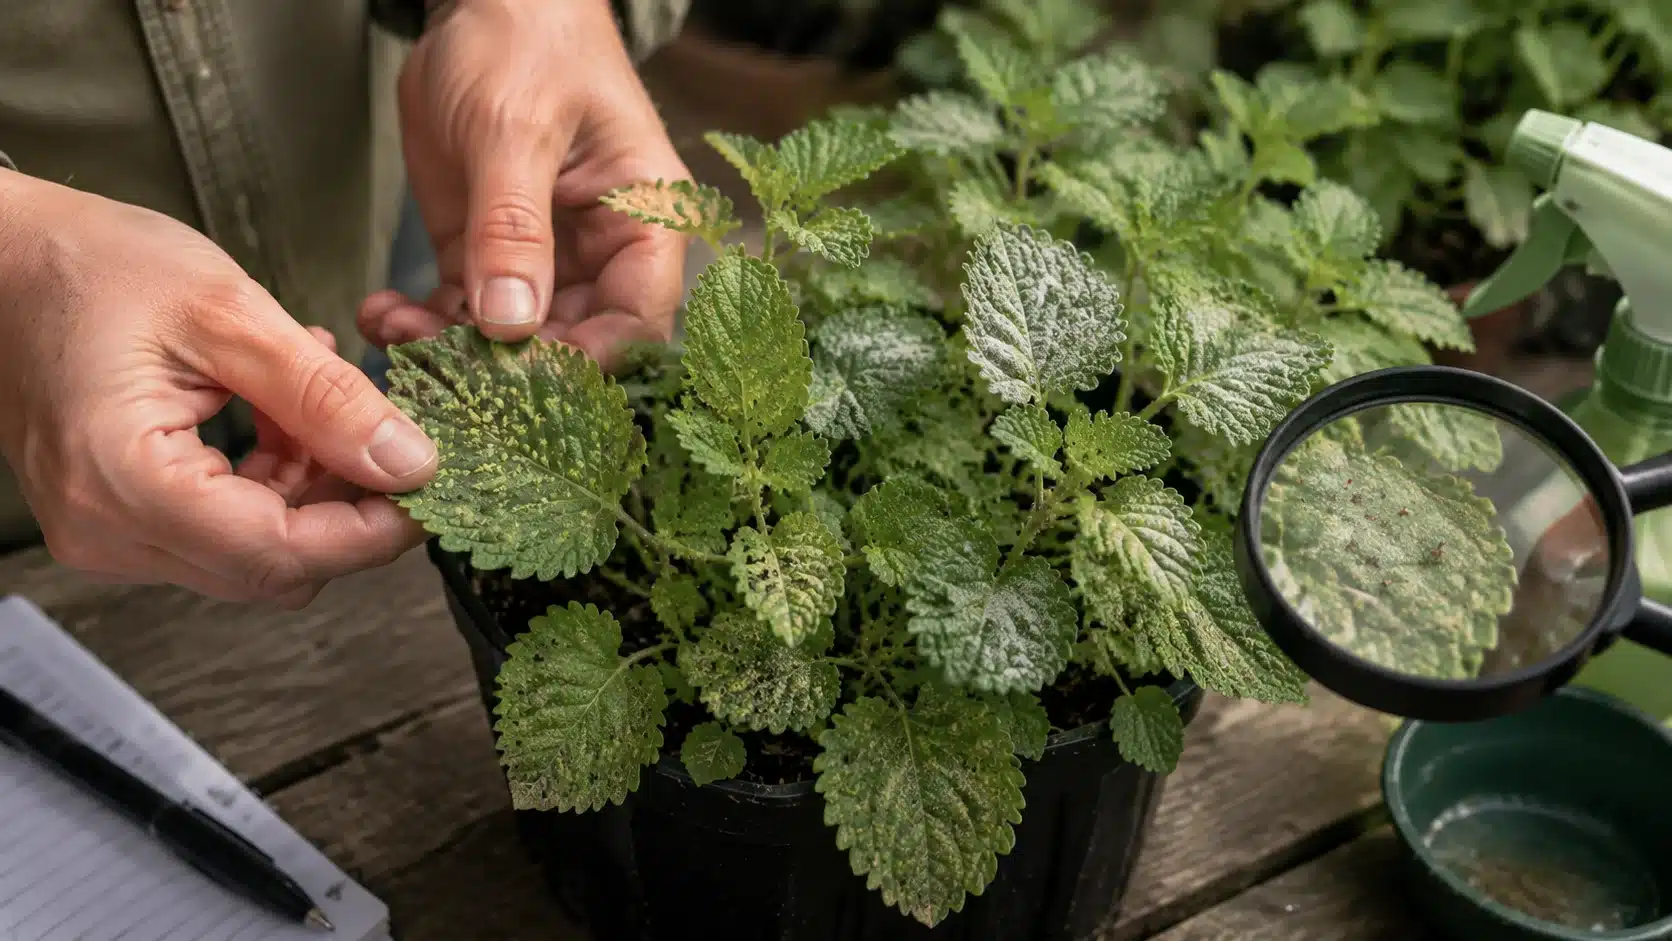
Even though catnip is a hardy plant, it can still face occasional pests and diseases. Being aware of the signs and taking preventive measures helps keep your plants healthy and productive.
Aphids are small insects that cluster on stems and can cause leaves to curl. They can be controlled by rinsing the leaves with water or applying insecticidal soap.
Spider mites leave fine webbing and cause speckled leaves, especially in dry indoor air; increasing humidity and rinsing the leaves regularly help prevent infestations.
Root rot develops when the soil stays too wet, showing as yellowing leaves and soft, mushy roots. Ensuring proper drainage and letting the soil dry slightly between waterings prevents this issue.
Powdery mildew appears as white powder on leaves in humid conditions; improving airflow and avoiding overhead watering helps prevent it.
Regular monitoring, combined with good airflow, proper watering, and well-draining soil, keeps catnip strong, fragrant, and productive throughout the growing season.
Frequently Asked Questions
Can catnip grow in partial shade?
Yes, catnip tolerates partial shade but grows noticeably weaker compared to plants in full sun. Stems tend to get taller and thinner in lower light conditions. If full sun is not available, aim for at least four to five hours of direct light and supplement with a grow light indoors if needed.
How often should you repot a catnip plant?
Repot when roots start growing out of the drainage holes or when growth slows noticeably despite good watering and light. For most container-grown catnip plants, repotting every one to two years into a slightly larger pot with fresh potting mix keeps root development on track.
Does catnip repel any insects in the garden?
Yes, catnip contains a compound called nepetalactone that has been found to repel certain insects, including mosquitoes and aphids. Growing catnip near vegetable beds or herb gardens may reduce insect pressure in those areas. Its flowers also attract pollinators like bees, making it a practical companion plant.
Can you grow catnip from a cutting?
Yes, stem cuttings from an existing plant root well in water or moist potting mix. Take a cutting about four to six inches long, remove the lower leaves, and place it in a glass of water or directly into moist soil. Roots typically develop within two to three weeks.
Summing Up
Many plant failures stem from adding too many inputs rather than too few. Catnip does not want rich soil, constant water, or frequent fertilizing. It wants sunlight, drainage, reasonable airflow, and some attention when it starts flowering.
Starting with one pot, getting the conditions right, and learning how that specific plant responds is more useful than trying to scale up immediately. How to grow catnip successfully is less about expertise and more about not overcomplicating a plant that genuinely wants to grow.
If you have tried growing catnip before and hit a problem at some stage, share what went wrong in the comments.
Whether it was an overwatered container, a window that turned out to be too dim, or a cat that found the plant before it was ready, other growers have been there too. Your experience might save someone else a few weeks of confusion.