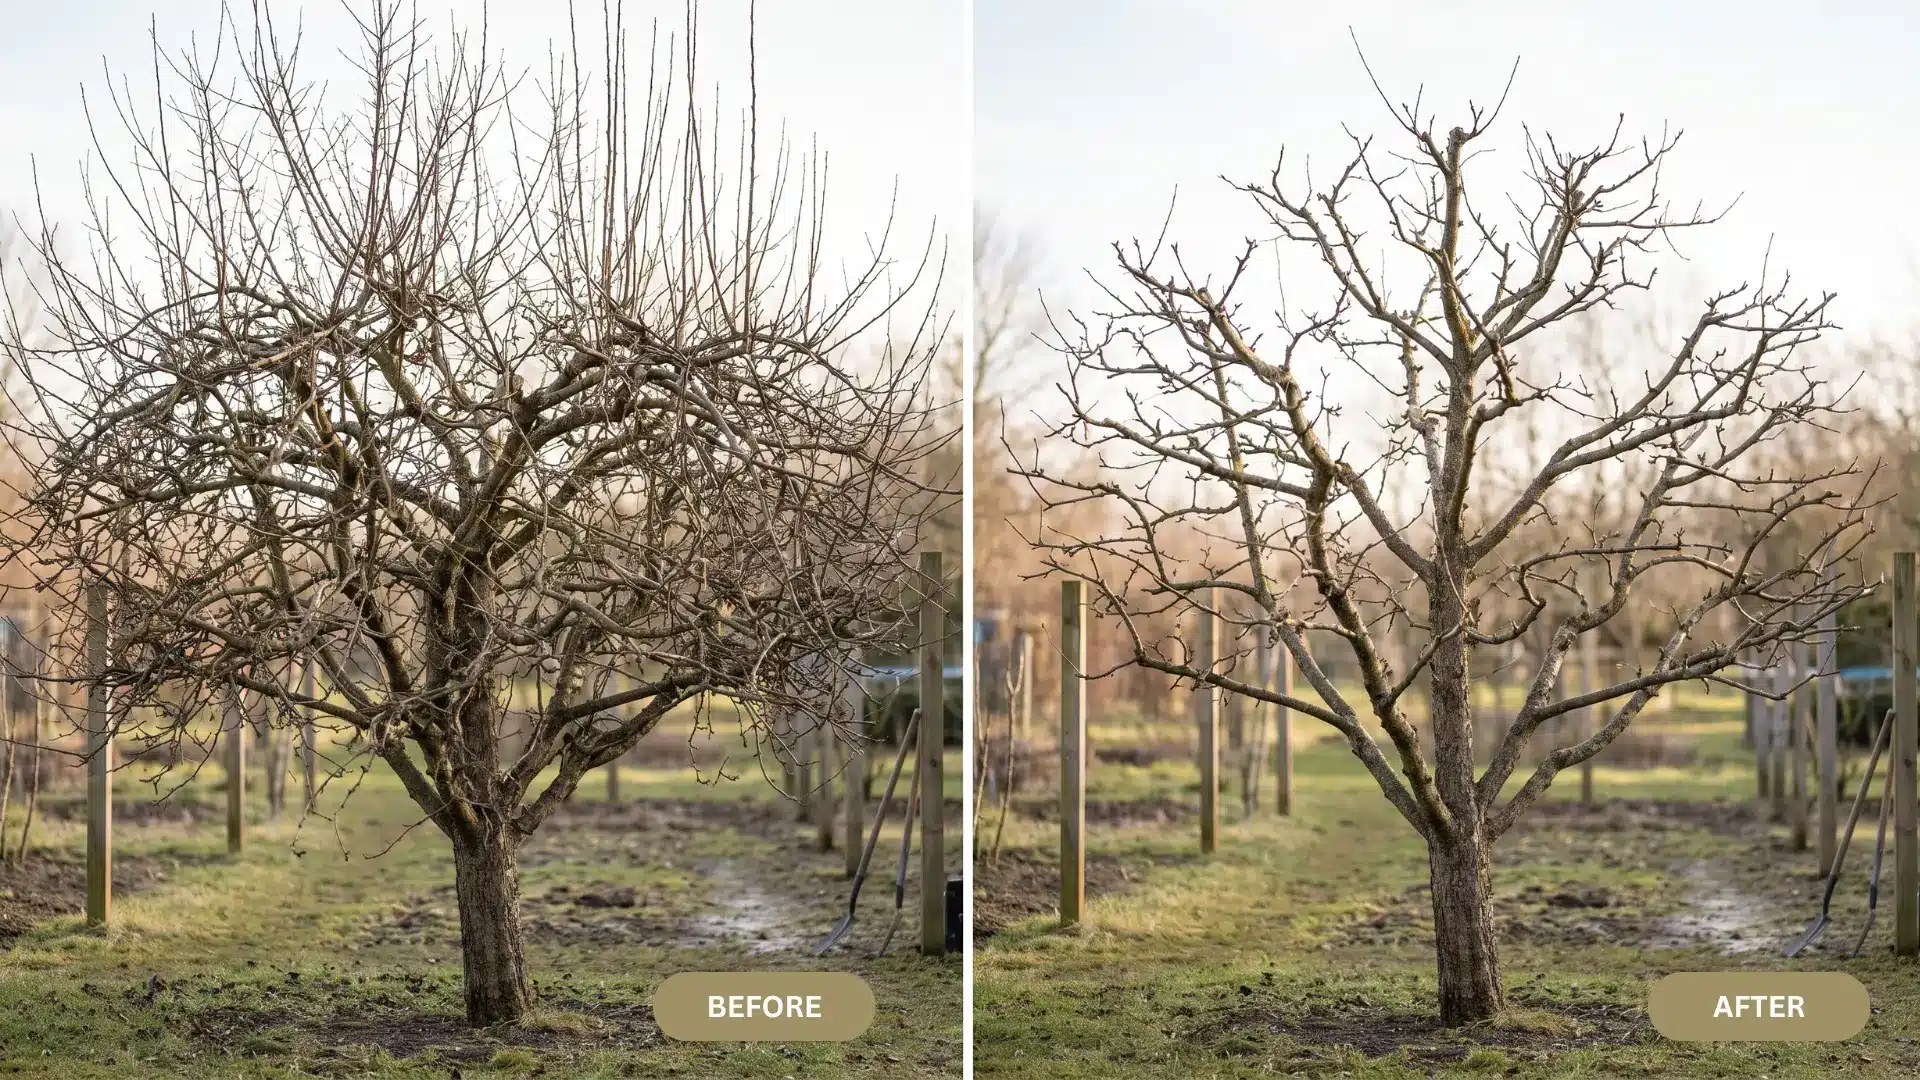
If your apple tree looks healthy from a distance but still bears low fruit, this can be a sign of dense growth. This excess growth blocks sunlight, cross branches create weak points, and upright water sprouts take up space that doesn’t contribute much to the crop.
Learning how to prune an apple tree can solve these problems, but not knowing the right approach or timing can make the problem worse.
For example, if you cut too hard, the tree will respond with excessive growth, which defeats the goal. If you cut in the wrong place, you remove fruiting wood and reduce the crop. To solve this, I advise pruning an apple tree in the correct order.
Pruning in the right season and weather supports new growth and makes it easier to manage the tree. Learn the best time to prune, the steps involved, proper cutting techniques, young-tree training, and care for mature or overgrown trees.
When Is the Best Time to Prune an Apple Tree?
Late winter or early spring is the best time to prune an apple tree. Nicole Sanchez, a horticulturist with Oregon State University Extension, says dormant pruning gives the tree the best chance for strong, healthy growth. Keep these timing points in mind:
Local timing: Colder regions may have a longer dormant period than areas with milder winters. Check the buds and weather forecast instead of following a fixed calendar date.
Summer pruning: Use summer pruning only for light growth control or to maintain trained forms such as cordons and espaliers. Save major structural changes for the tree’s dormant period.
Times to avoid: Avoid pruning during severe freezes, bud opening, flowering, or wet and unsafe conditions. Skip late-season pruning because it may encourage tender growth before winter.
Following these timing cues helps you prune safely and avoid unnecessary stress on the tree.
What Tools Can Help to Prune an Apple Tree
Keep these tools handy when you’re pruning an apple tree. I recommend these as they make the process efficient and precise.
- Bypass hand pruners: Small shoots, suckers, water sprouts, pencil-thin branches.
- Loppers: Medium branches, extra leverage, longer reach
- Pruning saw, or bow saw: Thick, woody limbs
- Protective gloves: Hand protection, secure grip
- Safety glasses: Protection from twigs, sawdust, and debris
- Orchard or tripod ladder: Safer access to higher branches, better stability
Tool Guide: The general rule is to match the tool to the branch size. Use hand pruners for small shoots, loppers for medium branches, and a saw for anything thicker.
Tip to Prepare Your Tools: Start with sharp, clean tools and disinfect them after cutting rotting wood or before moving to another tree. Keep stable footing, and never overreach from the ground or a ladder.
How to Prune an Apple Tree in 7 Steps
Use a clear order to protect healthy branches and avoid unnecessary cuts. Aim for a balanced canopy that allows sunlight and air to reach the fruiting wood.
Step 1: Evaluate the Tree
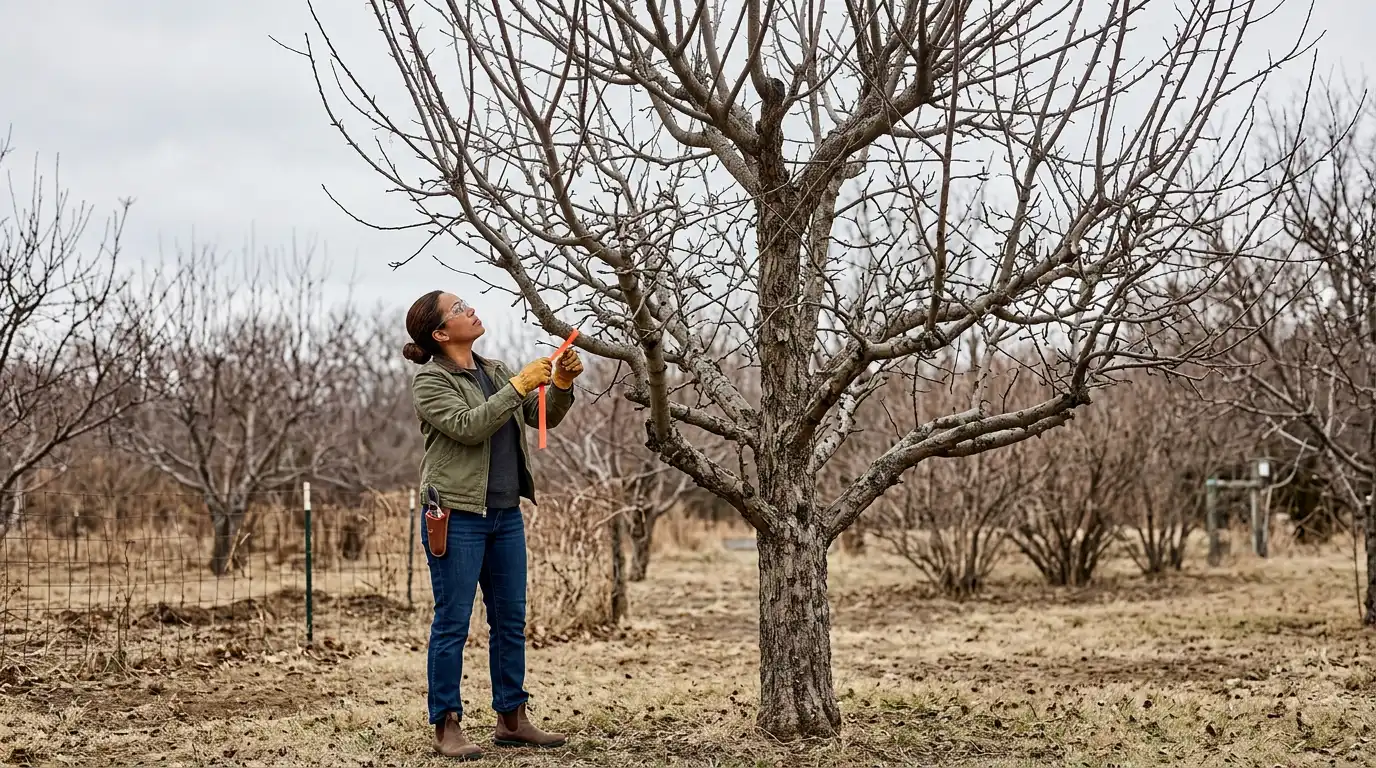
Walk around the tree and inspect it from several angles before cutting. Identify the central leader, main scaffold branches, fruiting wood, and crowded areas. Check whether upper growth shades the lower limbs.
For a central-leader tree, aim for a broad base and narrower top. Mark uncertain branches with tape, then decide which cuts will improve the structure without sacrificing productive wood.
Important: Check whether your apple variety is spur-bearing or tip-bearing before pruning. Tip-bearing trees produce fruit near shoot ends, so shortening these branches may remove much of the next crop.
Step 2: Remove Unhealthy Wood
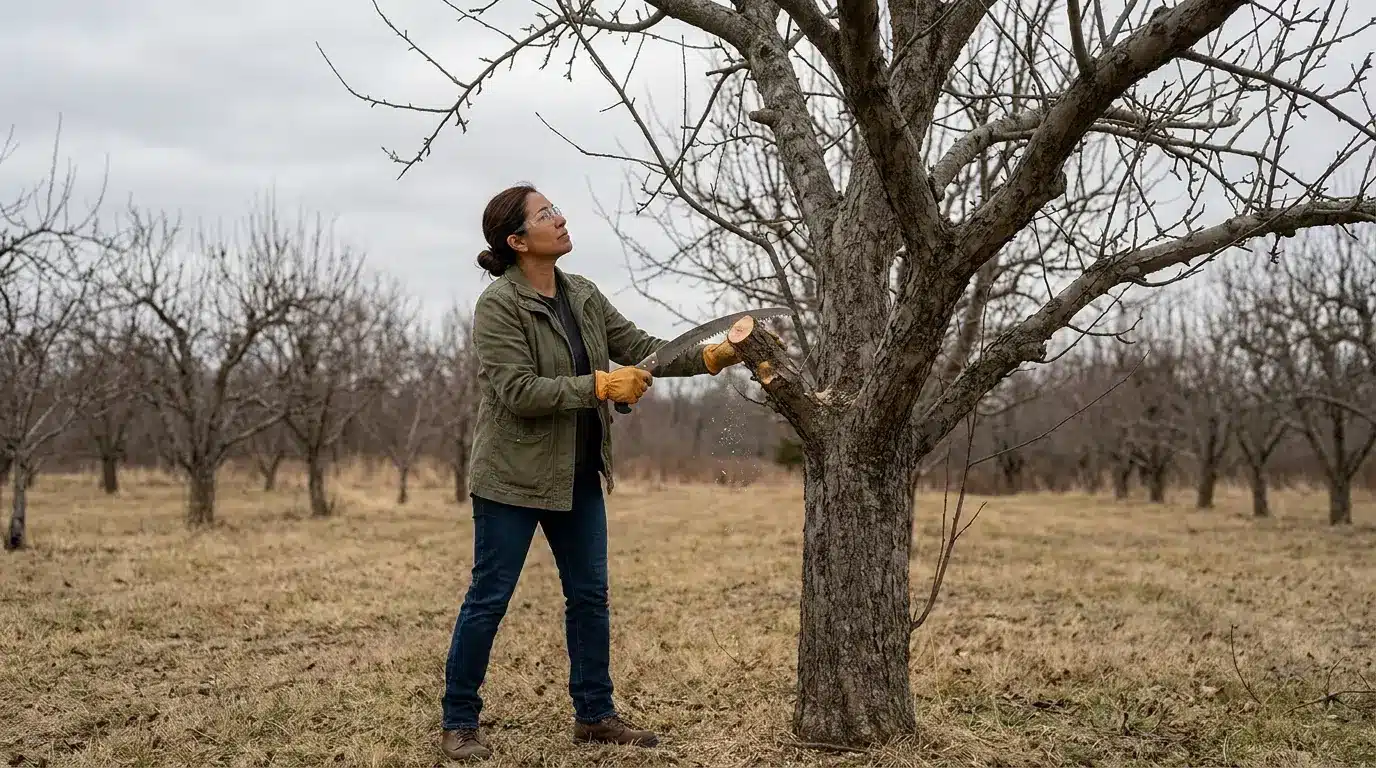
Start with branches that are dead, broken, or clearly diseased. Removing them first reveals the tree’s healthy framework and prevents damaged limbs from tearing further.
Cut small branches back to sound wood or their point of origin while preserving the branch collar. For a heavy limb, use three cuts to remove its weight gradually and prevent the falling branch from stripping bark from the trunk.
Step 3: Clear Suckers and Water Sprouts
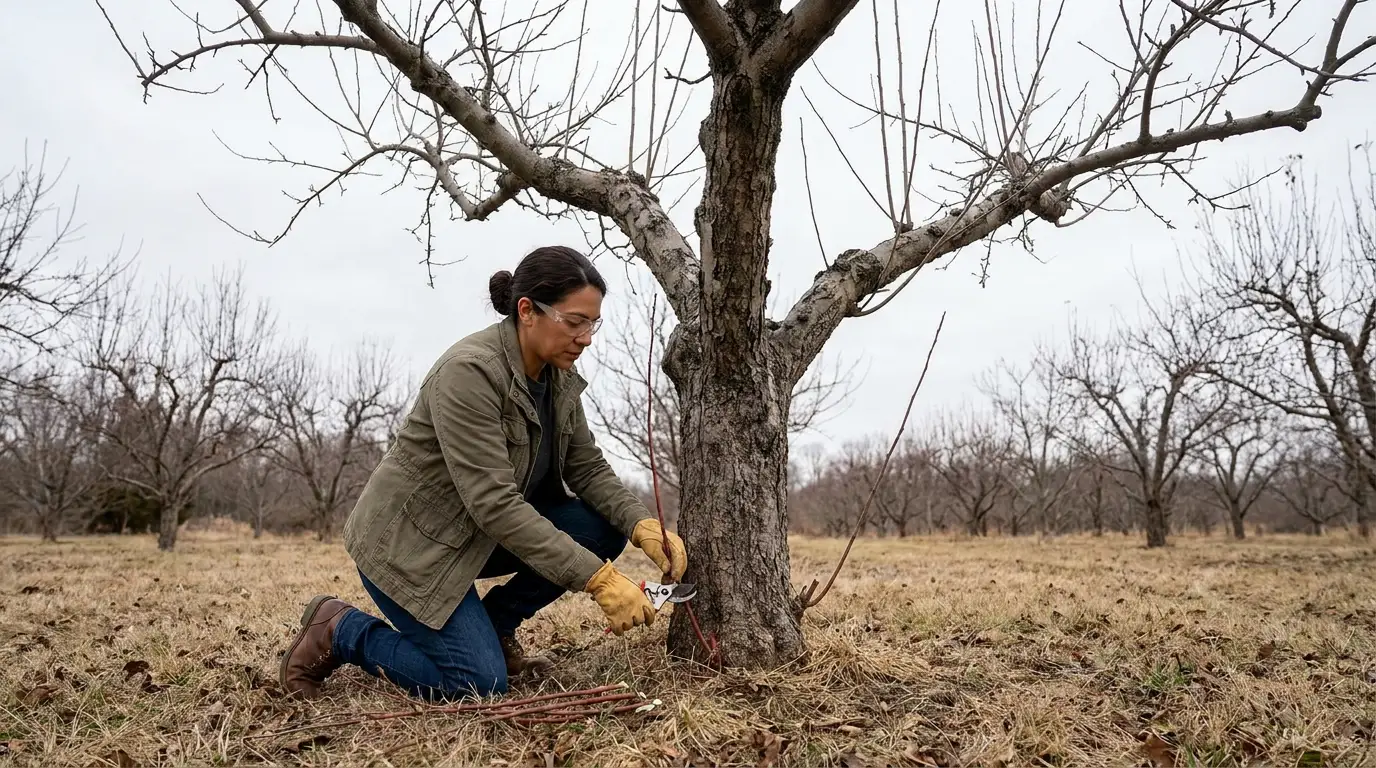
Remove suckers growing from the roots, tree base, or lower trunk because they compete with the main tree. Next, cut unwanted upright water sprouts from established branches.
Most water sprouts crowd the canopy without adding productive fruiting wood. However, you can keep a well-positioned shoot if it fills an open space or could replace a missing branch. Train the retained shoot outward as it develops.
Step 4: Correct Poorly Placed Branches
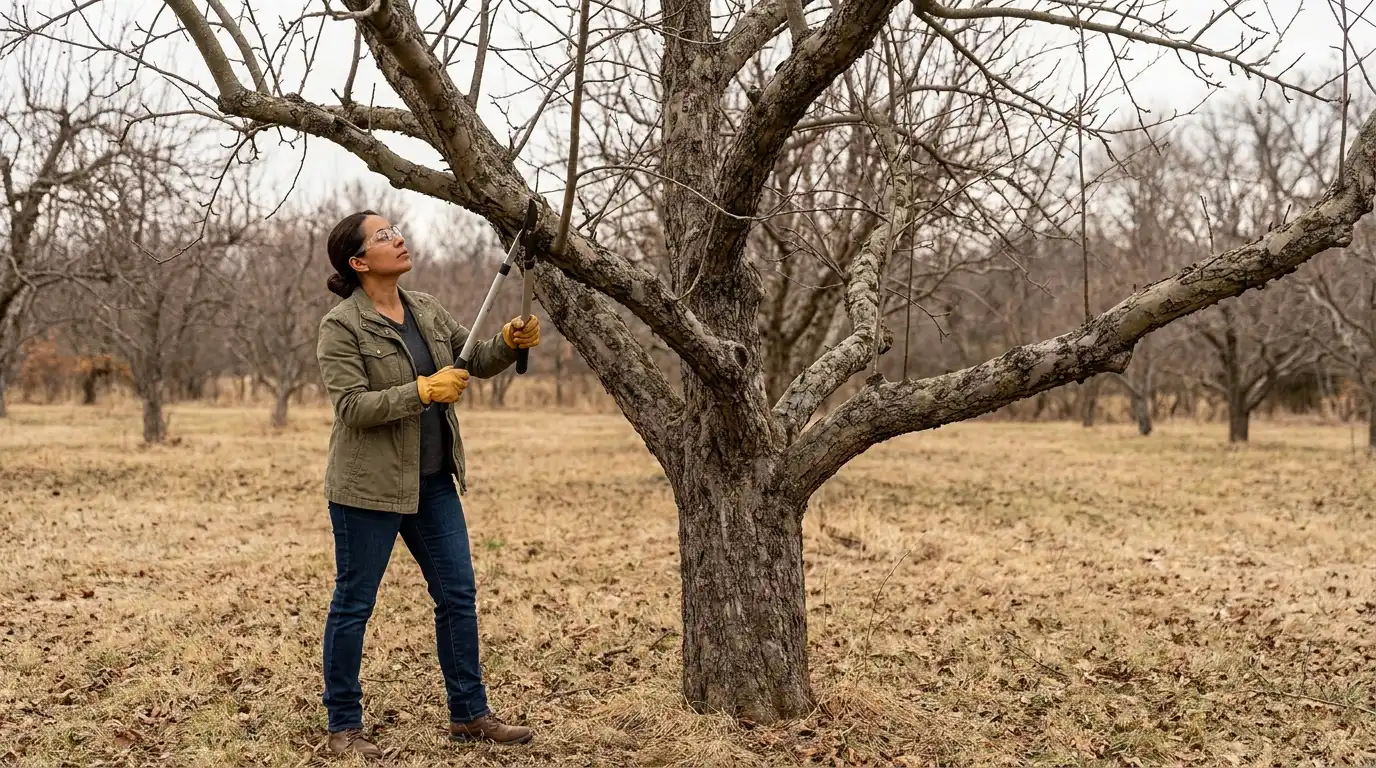
Look for branches that cross, rub, grow inward, point downward, or compete for the same space. When two branches conflict, keep the healthier one with the stronger attachment and better access to sunlight.
Wide branch angles usually create stronger connections than narrow, upright ones. Remove the unwanted growth with a thinning cut near the branch collar. This prevents rubbing damage and creates a clearer structure.
Step 5: Thin Crowded Growth
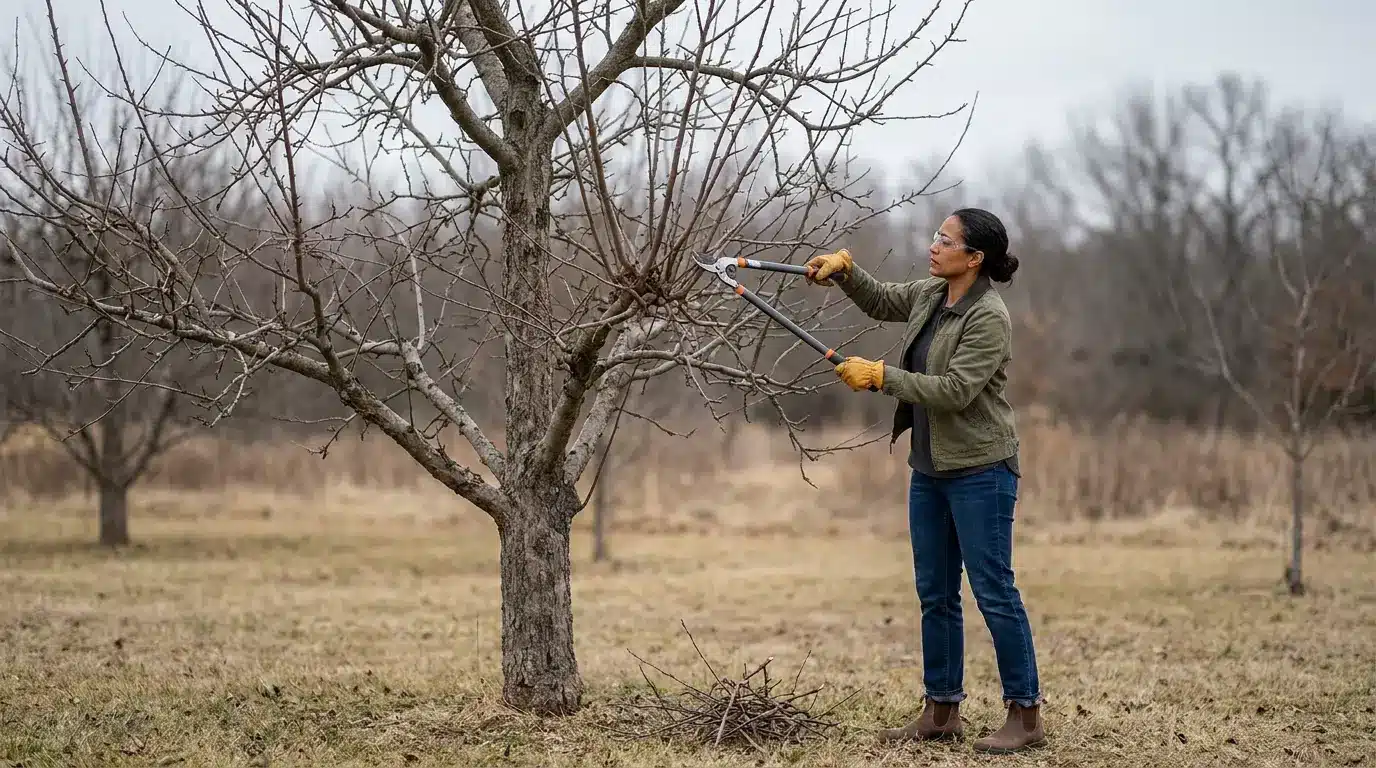
Identify dense sections where leaves and branches may block sunlight and airflow. Create several small openings throughout the canopy instead of one large gap. Remove selected branches completely with thinning cuts, but avoid shortening every shoot.
Repeated heading cuts can produce clusters of vigorous new growth. Preserve healthy fruiting spurs and enough leaf-bearing wood to support the crop. The canopy should look evenly spaced, not bare.
Step 6: Control Height and Shape
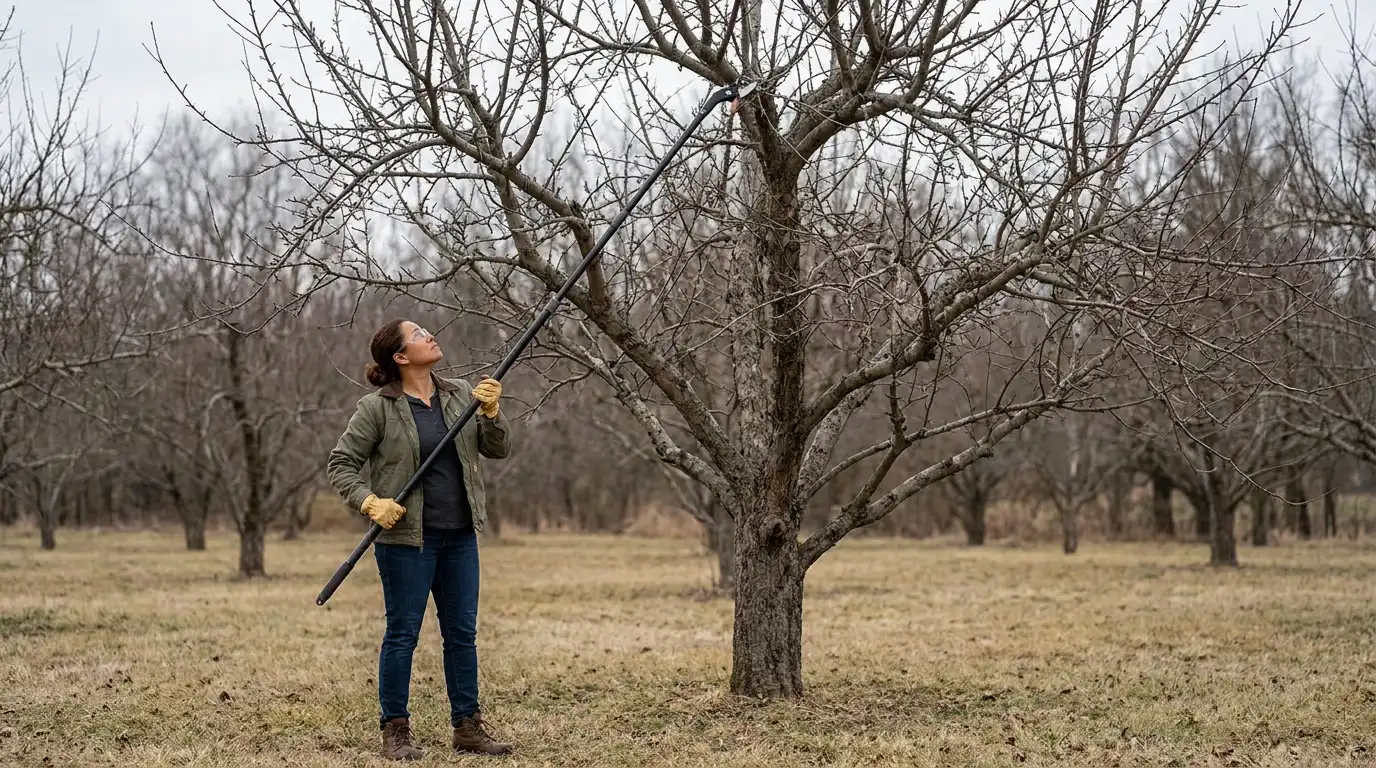
Keep upper branches shorter than the lower scaffold limbs so sunlight can reach the entire tree. Reduce excessive height by cutting tall growth back to a suitable outward-facing lateral branch.
Never cut the top straight across or leave long stubs, as this can trigger dense upright regrowth. On a young tree, maintain one dominant central leader. A manageable shape also makes future care and harvesting safer.
Step 7: Reassess Before Cutting More
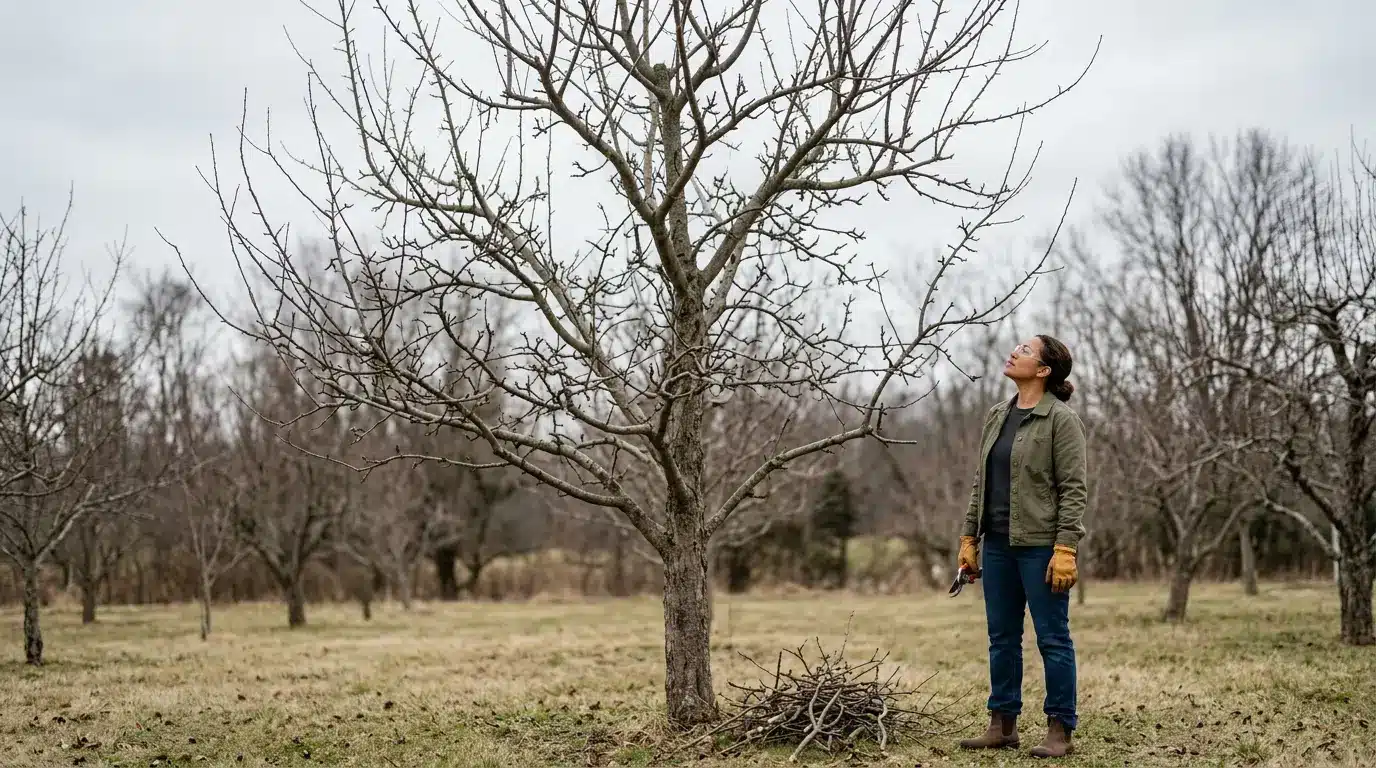
Step back after the main cuts and inspect the tree from several angles. Check that the canopy looks balanced, the central leader remains clear, and light can reach the lower branches.
Do not keep cutting simply to correct every small imperfection. Removing too much wood can cause vigorous leafy growth and reduce fruit production. If an old tree needs extensive correction, divide the work across several pruning sessions.
How to Make the Right Pruning Cuts
The type and the position of each cut affect how your apple tree responds. For most routine pruning, focus on these three techniques:
- Use Thinning Cuts: A thinning cut removes a branch at its point of origin. It opens the canopy for light and airflow without encouraging more dense regrowth, so it should be your main cut on mature trees.
- Use Heading Cuts Sparingly: A heading cut shortens part of a branch and encourages new shoots below the cut. Use it mainly to shape young trees or direct new growth.
- Cut Outside the Branch Collar: Make each cut just outside the raised collar where the branch joins the trunk or a larger limb. Avoid cutting into the trunk or leaving a long stub. For heavy limbs, use the three-cut method to prevent the bark from tearing.
Don’t rush fruit production in the first four to five years; focus on building strong roots, a clear leader, and well-spaced scaffold branches so the tree can support heavier crops later.
Which Branches Should You Keep?
Keep branches that grow outward at about a 45- to 60-degree angle from the central leader. These branches are usually strong enough to support fruit while still allowing healthy new growth.
Avoid narrow, V-shaped unions, which may split under a heavy crop, and do not force branches fully horizontal or downward.
You should also protect fruiting wood. Look for short, knobby spurs, where many apple varieties produce fruit. Some older varieties bear near branch tips, so avoid shortening every branch unless you know the tree’s fruiting habit.
The goal is simple: keep strong, well-spaced branches and remove only the growth that weakens or crowds the tree.
How to Prune an Apple Tree at Every Stage
Apple tree pruning changes as the tree matures, moving from shaping young growth to renewing an established, fruit-bearing tree.
- At planting: Stake the trunk if needed, but allow slight movement so it can strengthen. Check ties often and loosen them before they press into the bark.
- First summer: Choose three to five well-spaced shoots for the first scaffold tier. The University of Minnesota Extension recommends about 12 inches between scaffold branches, avoiding ones positioned directly above or opposite each other.
- Adjust the angles: Position upright shoots about 60 degrees from the trunk using clothespins, spreaders, weights, or soft ties, while shoots are still soft and 3 to 6 inches long.
- Years two and three: Let the first tier establish before building another above it, keeping upper growth shorter so it doesn’t shade the lower branches.
- Once bearing fruit: Shift focus to renewal, light, and height. Remove weak, damaged, or diseased wood first, then thin crowded upper growth so it doesn’t shade fruiting limbs below. The same renewal logic applies to other home fruit trees too, including citrus, where Meyer lemon tree care follows a similar pattern despite a very different climate and species.
- Renew gradually: Replace older wood over several years while keeping younger, well-placed lateral branches, leaving enough healthy fruiting wood to support the next harvest.
Spread major corrective pruning over two to three winters to limit stress and protect future fruiting, keeping the tree open, balanced, and easy to harvest.
What Are the Most Common Apple Tree Pruning Mistakes
Most pruning problems come from removing too much wood, cutting in the wrong place, or failing to protect productive branches. These problems can be tackled with a slight change in your approach.
| Mistake | Better approach |
|---|---|
| Removing too much wood | Spread major pruning over two or three years. |
| Topping the tree | Reduce height to a healthy side branch. |
| Leaving stubs or cutting the collar | Cut just outside the branch collar. |
| Shortening every shoot | Use thinning cuts to prevent dense regrowth. |
| Pruning all trees alike | Adjust cuts for the tree’s age and fruiting type. |
The safest approach is to make fewer, well-planned cuts and reassess the tree as you work. This keeps the tree’s health intact, while it continues bearing more fruit.
Frequently Asked Questions
How should a beginner prune an apple tree?
Prune in late winter or early spring. Remove dead, wilted, and crossing branches first, and then proceed to the thin crowded areas. Keep well-spaced, outward-growing branches, and avoid removing too much at once.
Should you cut the top off an apple tree?
No, it can cause stress to the plant, which can lead to dense, weak, large, upright regrowth. Instead, cut the tall branch back to a suitable side branch to control height without triggering that reaction.
How much can I remove in one year?
Keep annual pruning light, focused mainly on dead, damaged, and crowded wood. If you’re restoring a neglected tree, take 2-3 years to get this job done, to give ample time for the plant to grow without any shock and stress.
Should I remove all water sprouts?
Usually, yes. This is because water sprouts rarely produce fruit and pull energy from the rest of the tree. It is fine to keep a well-positioned sprout if you want to keep it to replace any missing wood in the tree.
The Final Harvest
Pruning your apple tree regularly every year is the one habit that makes a non-negotiable impact on the the’s growth: from neglected to a healthy, fruit-bearing tree.
‘Consistency is key in everything,’ and I believe this applies to your tree health as well.
So, prune your apple tree during dormancy, protect the branches that bear fruit, and remove unhealthy and competing growth first. Train young trees before structural problems develop, and restore neglected trees over several winters.
With this approach, your tree will remain easier to manage and better prepared to produce a reliable crop.
Now you have everything you need about how to prune an apple tree, so gather your tools, inspect your apple tree, and make your first cut with a clear plan. Drop a comment below and tell me if it worked for you.