That little leaf sitting in your soup pot? It comes from a tree you can grow in your own backyard, or right on your kitchen windowsill.
Bay laurel (Laurus nobilis) is not a fussy herb. It does not need daily attention, a big garden, or a green thumb. What it does need is a sunny spot, decent drainage, and some patience.
Most people buy a dusty jar of dried bay leaves and forget about it for two years. Growing your own means better flavor, a good-looking plant, and leaves on demand.
This guide walks you through everything, from planting to harvesting to storing, step by step.
What Is a Bay Leaf Plant?
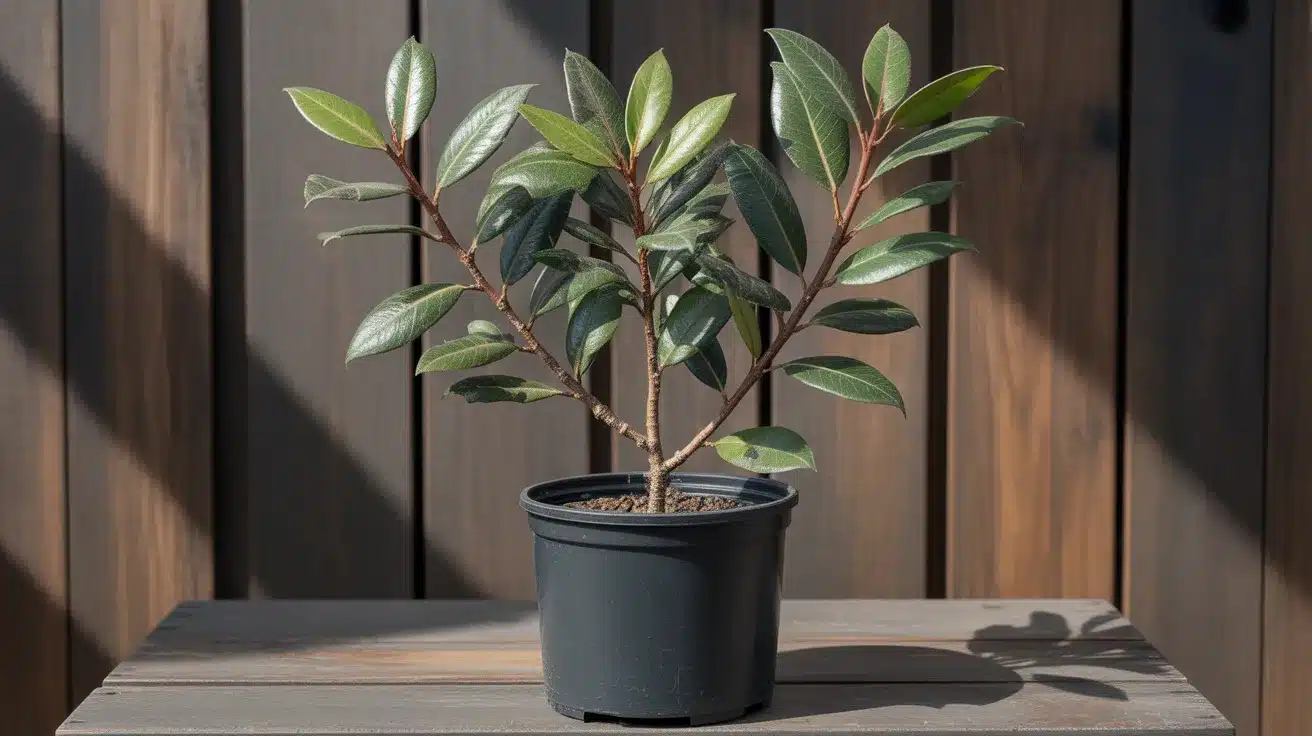
Bay laurel (Laurus nobilis) is an evergreen tree or shrub native to the Mediterranean. It belongs to the Lauraceae family, alongside cinnamon and avocado. In the wild, it can grow up to 60 feet tall.
In a home garden or container, it stays manageable with regular pruning. The leaves are dark green, glossy, and about 3 inches long. They release a strong, earthy aroma when crushed.
Historically, the ancient Greeks and Romans made crowns from bay laurel leaves to honor athletes and rulers. Today, it is grown mostly for its flavor in cooking.
Bay Laurel Varieties: Which One Should You Grow?
Not every plant sold as “laurel” is safe to eat. Before you buy, it helps to know which variety is which. The table below breaks it down clearly.
| Variety | Scientific Name | Edible? | Best Use |
|---|---|---|---|
| Sweet Bay / True Bay | Laurus nobilis | Yes | Cooking, pots, hedges |
| Red Bay | Persea borbonia | Yes (substitute) | Culinary substitute |
| Cherry Laurel | Prunus laurocerasus | No | Ornamental hedging only |
| Portuguese Laurel | Prunus lusitanica | No | Ornamental hedging only |
| Mountain Laurel | Kalmia latifolia | No | Ornamental, toxic |
The clear choice for cooking: Laurus nobilis. Always check the label when buying from a nursery.
How to Grow Bay Leaves Outdoors?
Growing bay laurel outside is very rewarding. Once established, it is one of the lower-maintenance herbs you can keep in your garden. Here is what you need to know before you plant.
1. Best Climate and USDA Zones
Bay laurel grows outdoors year-round in USDA hardiness zones 8 to 10. In zone 7, it can survive mild winters with some protection, like mulching around the roots and wrapping the trunk during cold snaps.
Below zone 7, it is safer to grow in a pot so you can bring it indoors before temperatures drop below 20°F.
2. Choosing the Right Spot
Bay laurel needs at least 6 hours of sun per day. A south-facing position in your garden works best. In zones 9 and 10, where summers are very hot, a spot that gets some afternoon shade will prevent the leaves from scorching.
Shelter from strong, cold winds matters too, especially for plants grown as single-stem standards.
3. Soil Requirements
Bay laurel does not ask for much, but it does ask for good drainage. It will not survive in waterlogged soil. The ideal pH sits between 6.0 and 7.0, though the plant can tolerate a range of 4.5 to 8.3.
If your soil is heavy clay, mix in sand and compost before planting. A well-draining base prevents root rot and supports healthy growth.
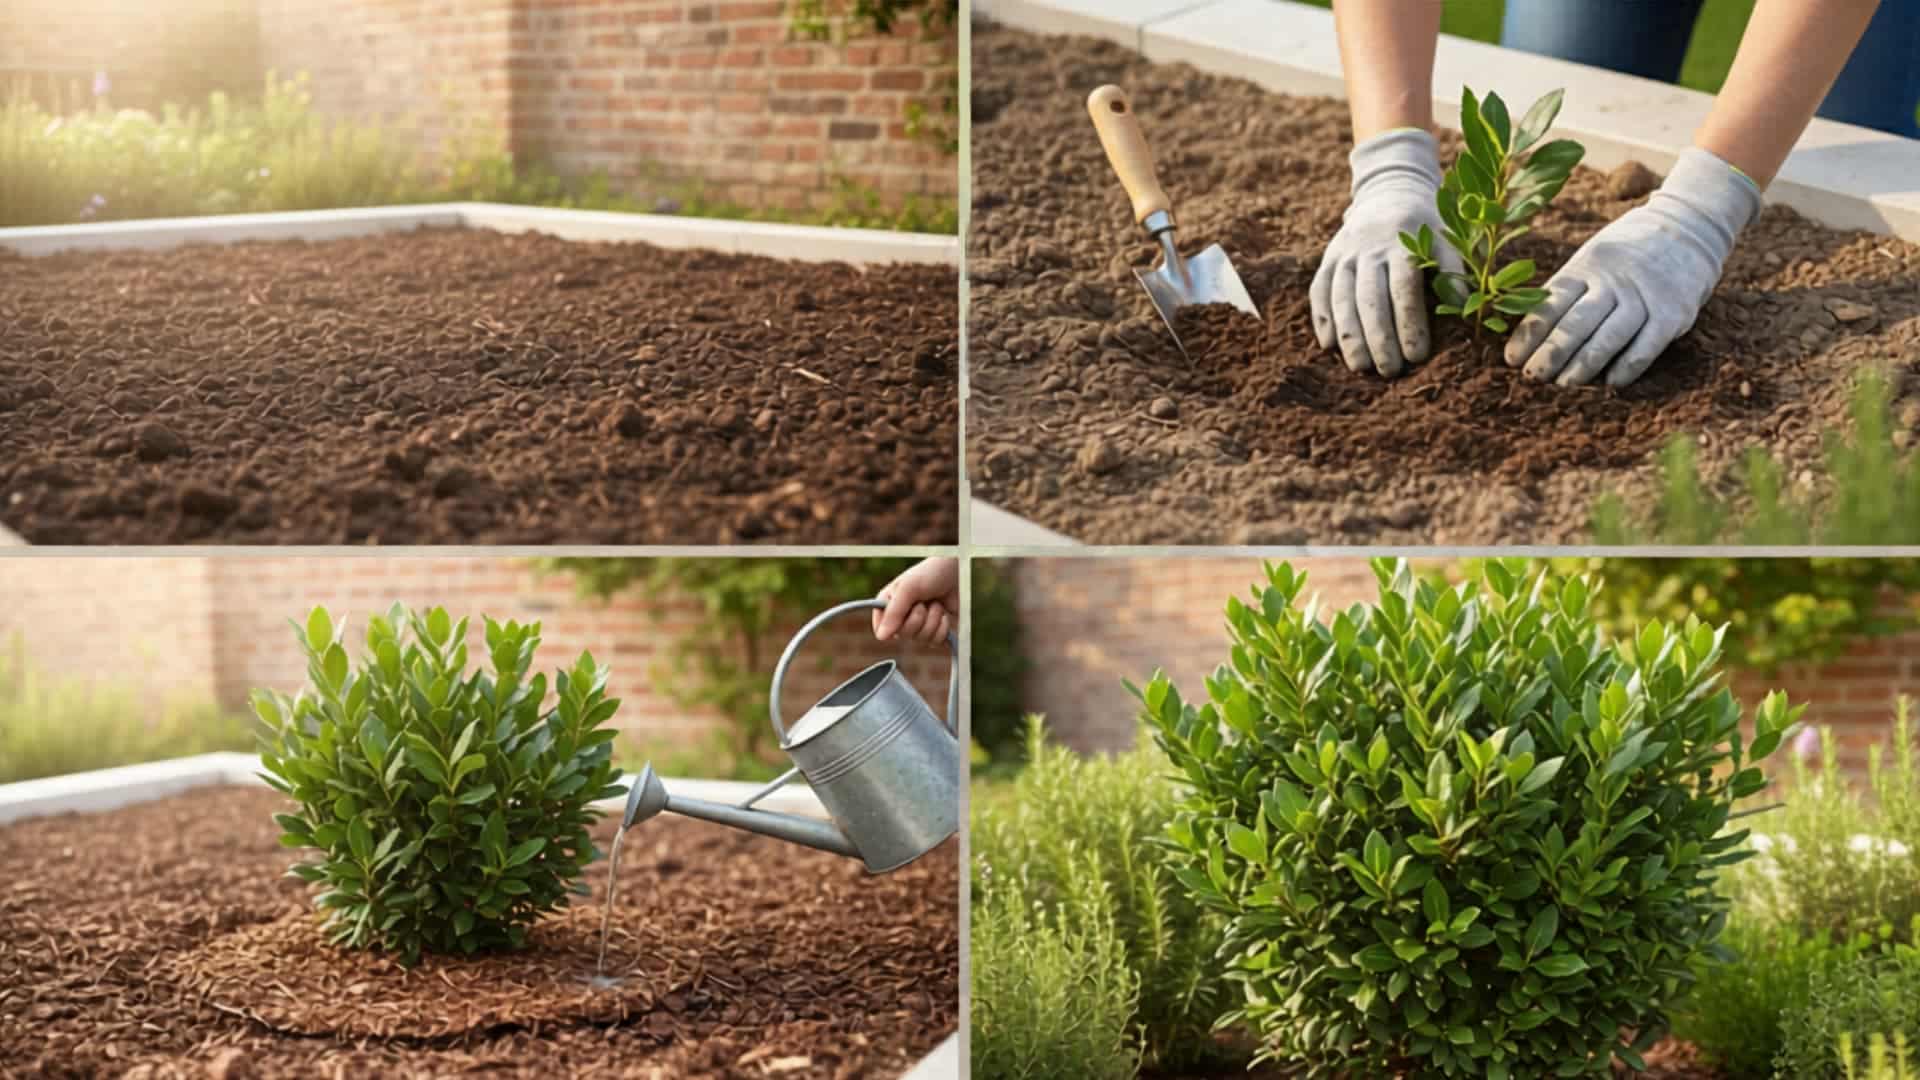
How to Plant Bay Laurel in the Ground
- When to plant: Spring, just as the growing season begins. In warmer zones (9+), fall planting also works well.
- Dig the hole as deep as the root ball and at least twice as wide. This loosens the surrounding soil and gives roots room to spread early.
- Leave at least 5 feet of space around each plant. Bay laurel grows slowly, but it does grow.
- Water thoroughly after planting.
- Spread a layer of mulch (bark chips or compost) around the base, keeping it a few inches away from the trunk.
How to Grow Bay Leaves Indoors?
Bay laurel is one of the better herb trees for indoor growing. It is slow, yes, but it is also tough, good-looking, and does not need constant attention. If you live in a cold climate, this is your main option for keeping a healthy bay leaf plant year-round.
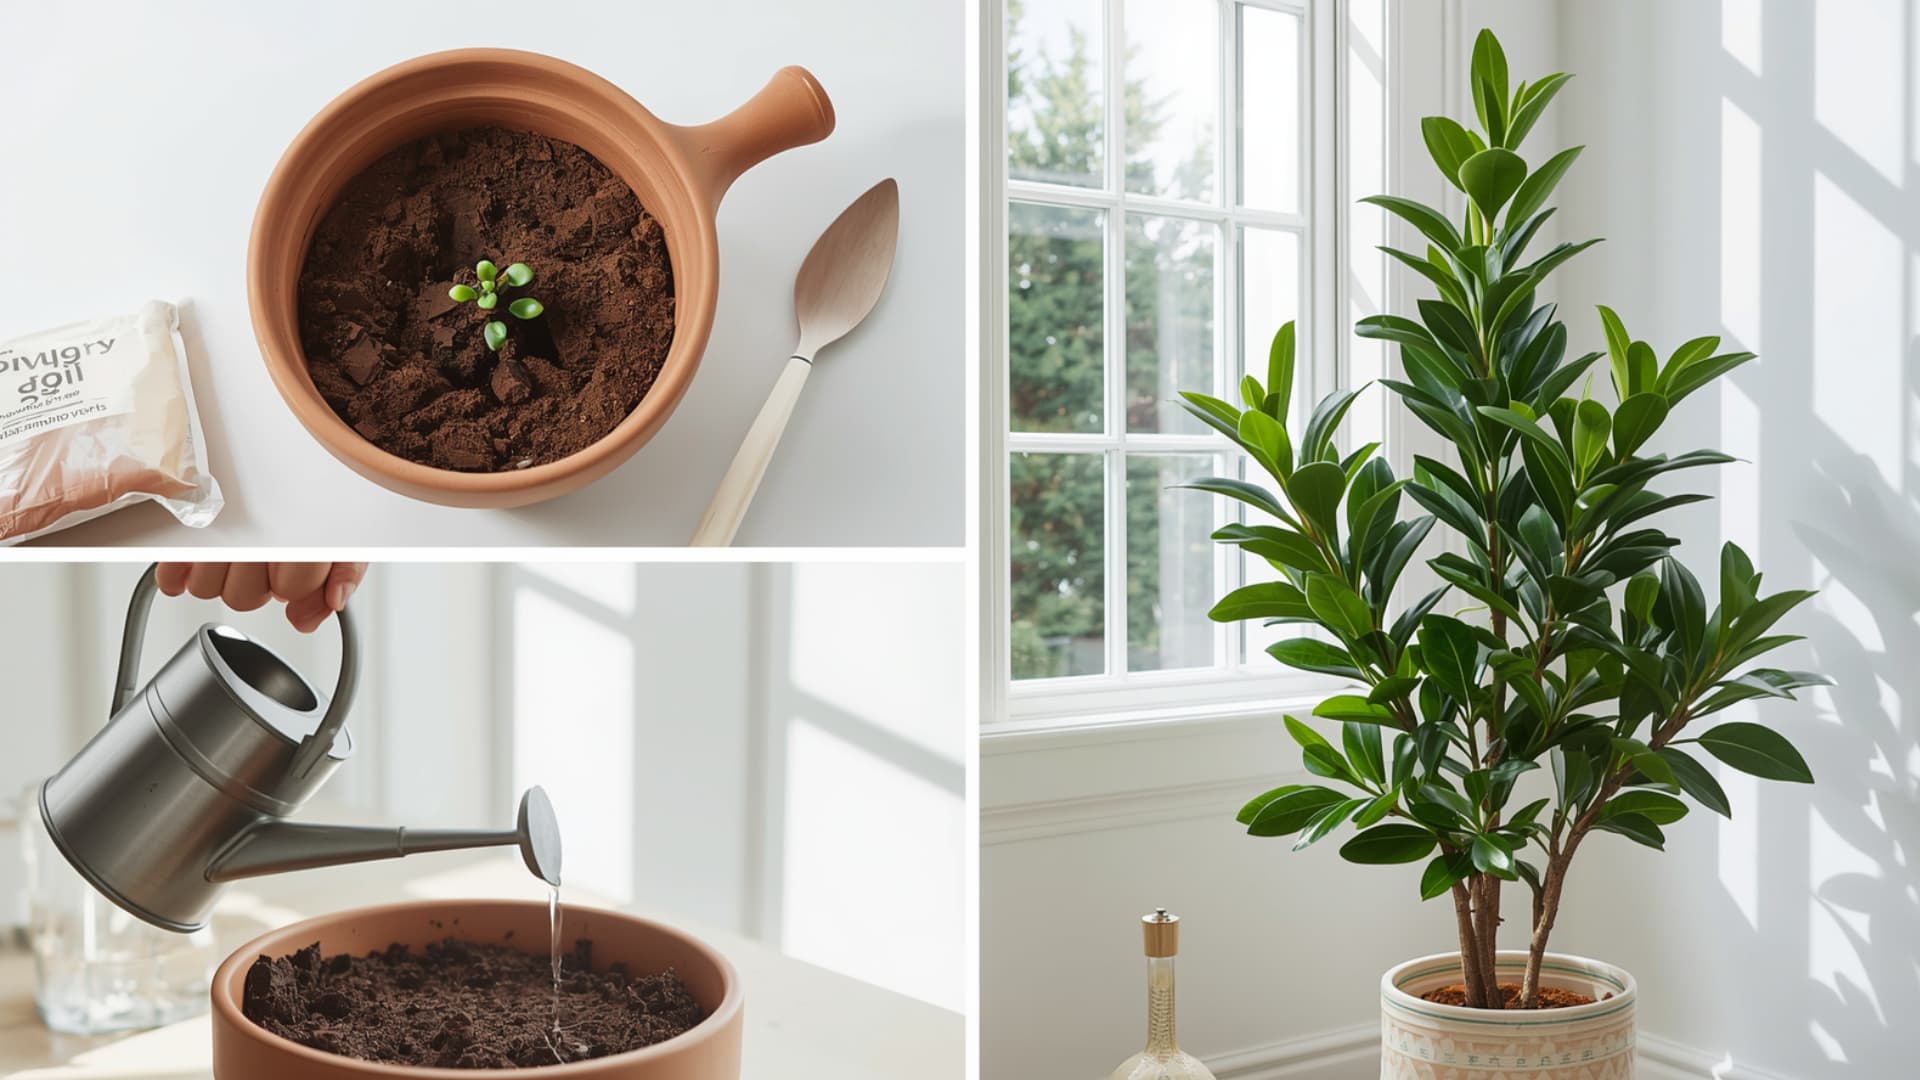
1. Choosing the Right Pot and Soil
Start with a large pot that has drainage holes. A pot that is too small will stress the roots and stunt growth. For soil, a mix of half potting soil and half cactus soil works very well.
This keeps drainage sharp while holding just enough moisture. Repot every 2 to 3 years, moving up one pot size at a time.
2. Light and Temperature Requirements
Place the plant in your sunniest window, ideally a south-facing one. Bay laurel needs several hours of bright light daily to grow well indoors.
If your home is dark in winter, a grow light helps. Keep the plant away from cold drafts and heating vents. Temperatures between 50°F and 70°F (10°C and 21°C) are fine indoors during winter.
3. Watering Indoor Bay Laurel
Water when the top inch of soil feels dry. Then water slowly and deeply until it drains from the bottom. Do not let the pot sit in a saucer of standing water.
This is the most common reason bay laurel plants fail indoors. In winter, the plant slows down. Water much less frequently during this time.
4. Fertilizing Indoor Bay Laurel
- Feed with a liquid balanced fertilizer every 7 to 10 days during the growing season (spring through summer).
- In spring, replace the top layer of soil with fresh compost or add slow-release fertilizer pellets.
- A fertilizer slightly higher in nitrogen will support leafy, green growth.
- Stop fertilizing entirely in winter. The plant is resting and does not need it.
How to Propagate a Bay Leaf Plant?
Starting a new bay laurel from scratch takes some time, but it is not complicated. There are three main methods. Here is a quick breakdown of each.
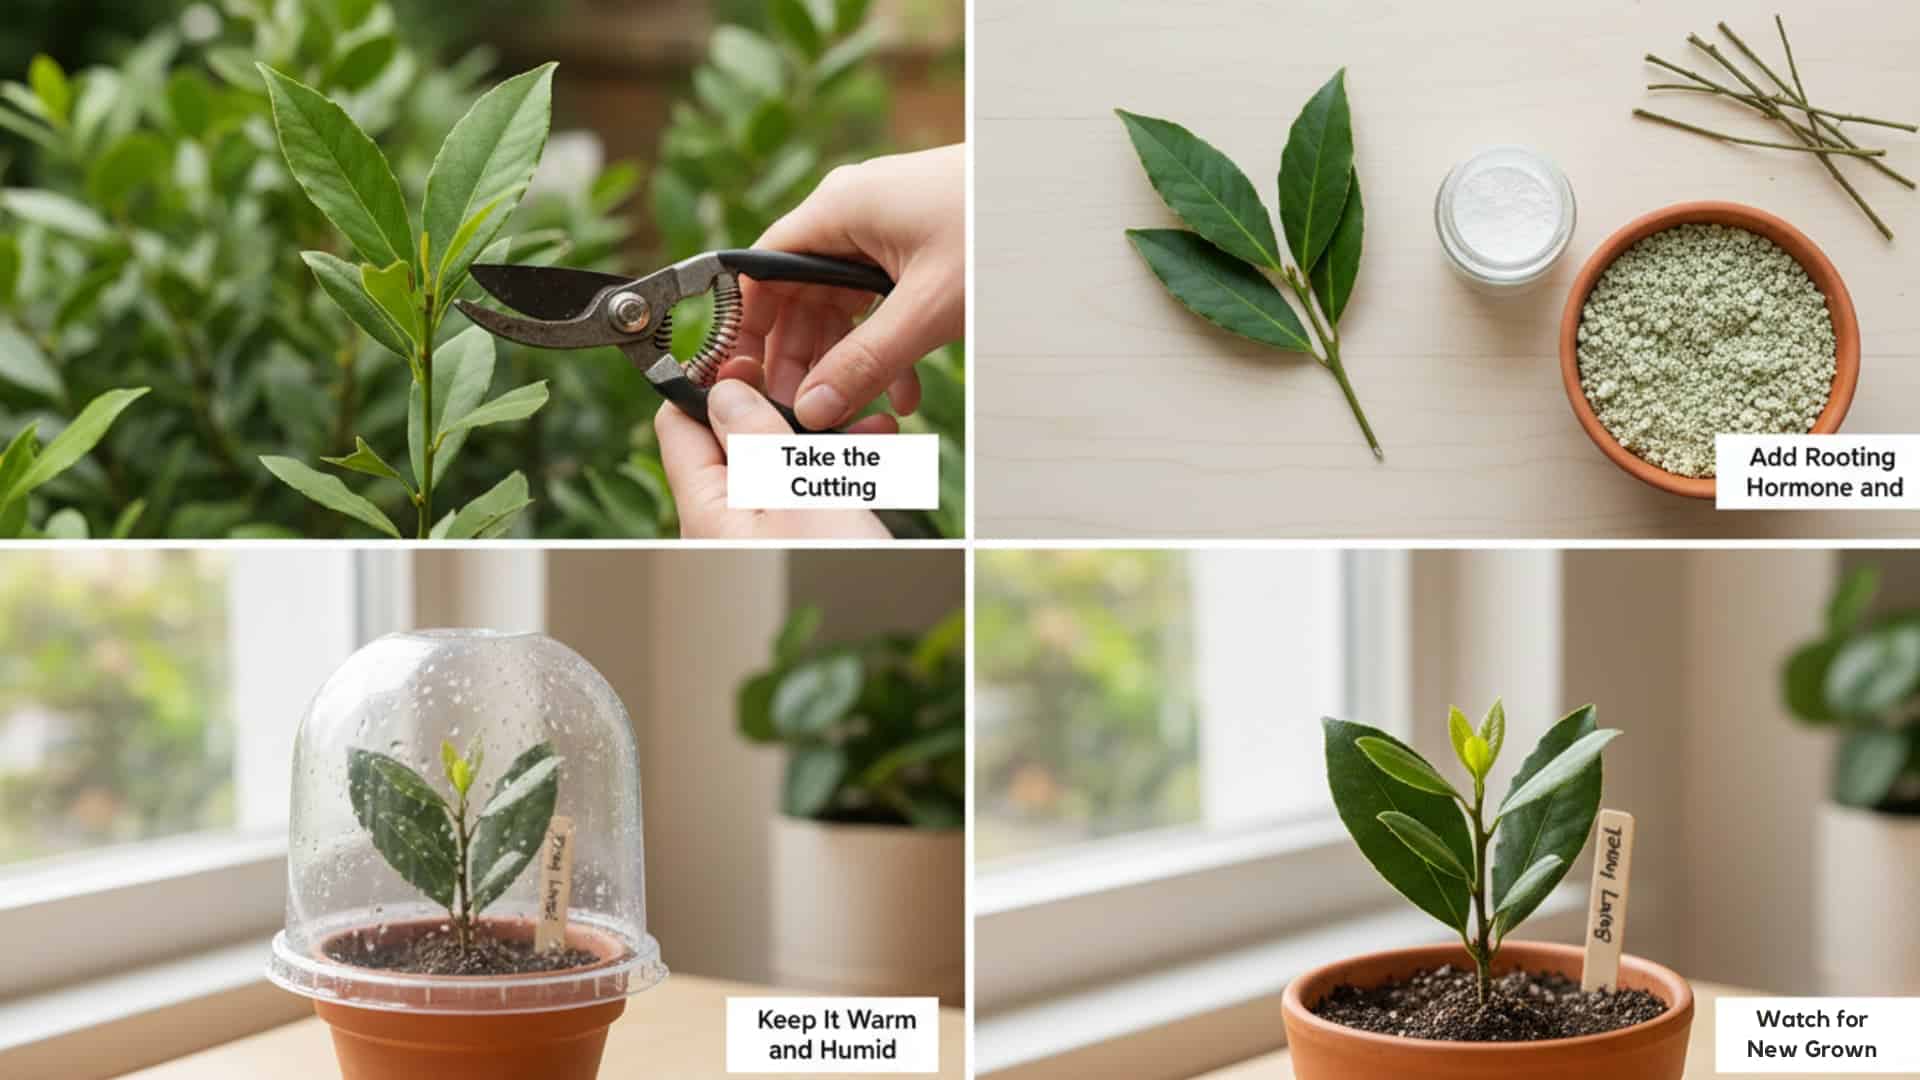
Growing from Cuttings (Recommended Method)
- Take a 4 to 6-inch stem from a healthy, mature plant in late spring or early summer.
- Remove the lower leaves. Keep 2 to 3 leaves at the top and trim those by half to reduce water loss.
- Dip the cut end into rooting hormone powder.
- Plant in a mix of peat and perlite. Keep the soil moist but not wet.
- Cover the pot with a clear plastic bag or place it in a propagator to hold humidity.
- Keep in a warm, bright spot away from direct sun.
- Roots develop slowly. Allow several weeks to a few months.
- Take more cuttings than you need. About half will successfully root.
Growing from Seed (Slow and Uncertain)
- Bay laurel takes a very long time to germinate from seed. Expect months, with no guarantee.
- Seeds must be fresh. Dried or old seeds rarely sprout.
- This method is generally not recommended unless you are very patient and do not mind some failures.
Air Layering Method
- Works well if you have access to a mature bay laurel.
- Make a small cut on a healthy stem. Wrap damp sphagnum moss around the cut and cover with clear plastic, sealed at both ends.
- Once roots grow through the moss (this takes weeks), cut the stem below the root zone and pot it up.
How to Care for a Bay Leaf Plant All Year Round
Bay laurel care shifts with the seasons, and keeping track of what to do and when makes a real difference. The table below gives you a clear snapshot of the whole year.
Bay laurel is forgiving, but it does have preferences. Matching your care routine to the season keeps the plant healthy and productive for years.
| Season | Key Tasks |
|---|---|
| Spring | Fertilize with balanced feed or slow-release pellets. Prune dead or damaged stems before new growth starts. Begin moving indoor plants outside gradually, starting in a shaded spot. |
| Summer | Water more frequently, especially for potted plants. Feed liquid fertilizer every 7 to 10 days. Watch for scale insects and aphids. Take cuttings for propagation. Harvest leaves in midsummer for peak flavor. |
| Fall | Reduce watering and feeding. Begin acclimating container plants to indoor conditions from late September. Give one final deep watering before moving indoors. |
| Winter | Keep indoor plants in a cool spot (around 50°F). Water sparingly. Do not fertilize. Mulch outdoor plants in borderline zones to protect roots. Wrap trunks with fleece during hard freezes. |
How and When to Harvest Bay Leaves?

Wait until your bay leaf plant is at least 2 years old before picking any leaves. Young plants need that time to build enough growth to handle harvesting.
Once the plant is mature, pick the largest, darkest green leaves first. Unlike most herbs, older bay leaves carry more flavor than younger ones.
The best time to harvest in bulk is midsummer, when the plant’s essential oils are at their highest level. Pick in the early morning for the strongest aroma.
Use clean scissors or pruning shears. Never pull leaves off by hand. Harvest no more than one-third of the plant’s total foliage at a time to avoid stressing it.
How to Dry and Store Bay Leaves?
Fresh bay leaves are bitter on their own. Drying them brings out the deeper, more familiar flavor most people associate with bay. Here is how to do it well.
Air Drying (Easiest Method)
- Lay leaves flat on a parchment-lined tray in a single layer, with no overlapping.
- Place in a warm, dry room away from sunlight.
- Leave for 2 weeks, flipping every few days.
- Leaves are ready when they snap cleanly when bent.
Dehydrator Method (Faster)
- Spread leaves on mesh dehydrator trays, stem side facing the center for even airflow.
- Set to 110°F and dry for 5 to 7 hours.
- Done when leaves are fully crisp and break easily.
Oven Method
- Set your oven to its lowest temperature.
- Spread leaves on a baking sheet in a single layer.
- Leave overnight or until fully dry.
Storing Bay Leaves
- Fresh leaves: Seal in a zip-lock bag and refrigerate. They last up to 2 weeks.
- Dried leaves: Store whole in an airtight glass jar in a cool, dark cupboard. They hold their flavor for up to 2 years.
- Freeze-dried leaves: Seal in a freezer bag to extend freshness even further.
How to Use Bay Leaves in Cooking?
Bay leaves go into the pot whole and come out whole. They are always removed before serving because, even after hours of cooking, they remain firm and are unpleasant to eat.
One or two leaves are enough to add a deep, earthy flavor to soups, stews, casseroles, and stocks. They are a key part of bouquet garni, a classic bundle of herbs used in French cooking.
Bay leaves also work well in marinades for meat and fish, in the water when boiling seafood like crab and shrimp, and in pickling solutions.
Dried and fresh leaves both work, though dried ones have a milder, more rounded flavor that suits most recipes.
Key Takeaways
Growing bay leaves at home is one of those things that sound harder than they actually are. Give the plant sun, well-draining soil, and some patience, and it will reward you for years to come.
Wait two years before harvesting, pick in summer for the best flavor, and dry your leaves properly for maximum shelf life.
Whether you grow it on a windowsill or in your garden, a bay leaf plant earns its place. Better flavor than anything from a store, and it looks good too.
Tried growing bay laurel at home? Run into a problem we did not cover? Drop your question or experience in the comments below. We read everyone.