Tomatoes look easy on paper. You buy a plant, put it in the ground, water it, and wait. But every summer, gardeners end up with leggy plants, cracked fruit, or a crop that just never gets going.
That gap between what you expect and what you actually get from your garden. That is exactly what this guide is here to fix.
Growing tomatoes well takes more than effort. It takes the right timing, the right soil, the right variety, and a few key habits that most people only learn after a couple of bad seasons.
This guide covers everything, from planting day to the moment you pick a ripe tomato.
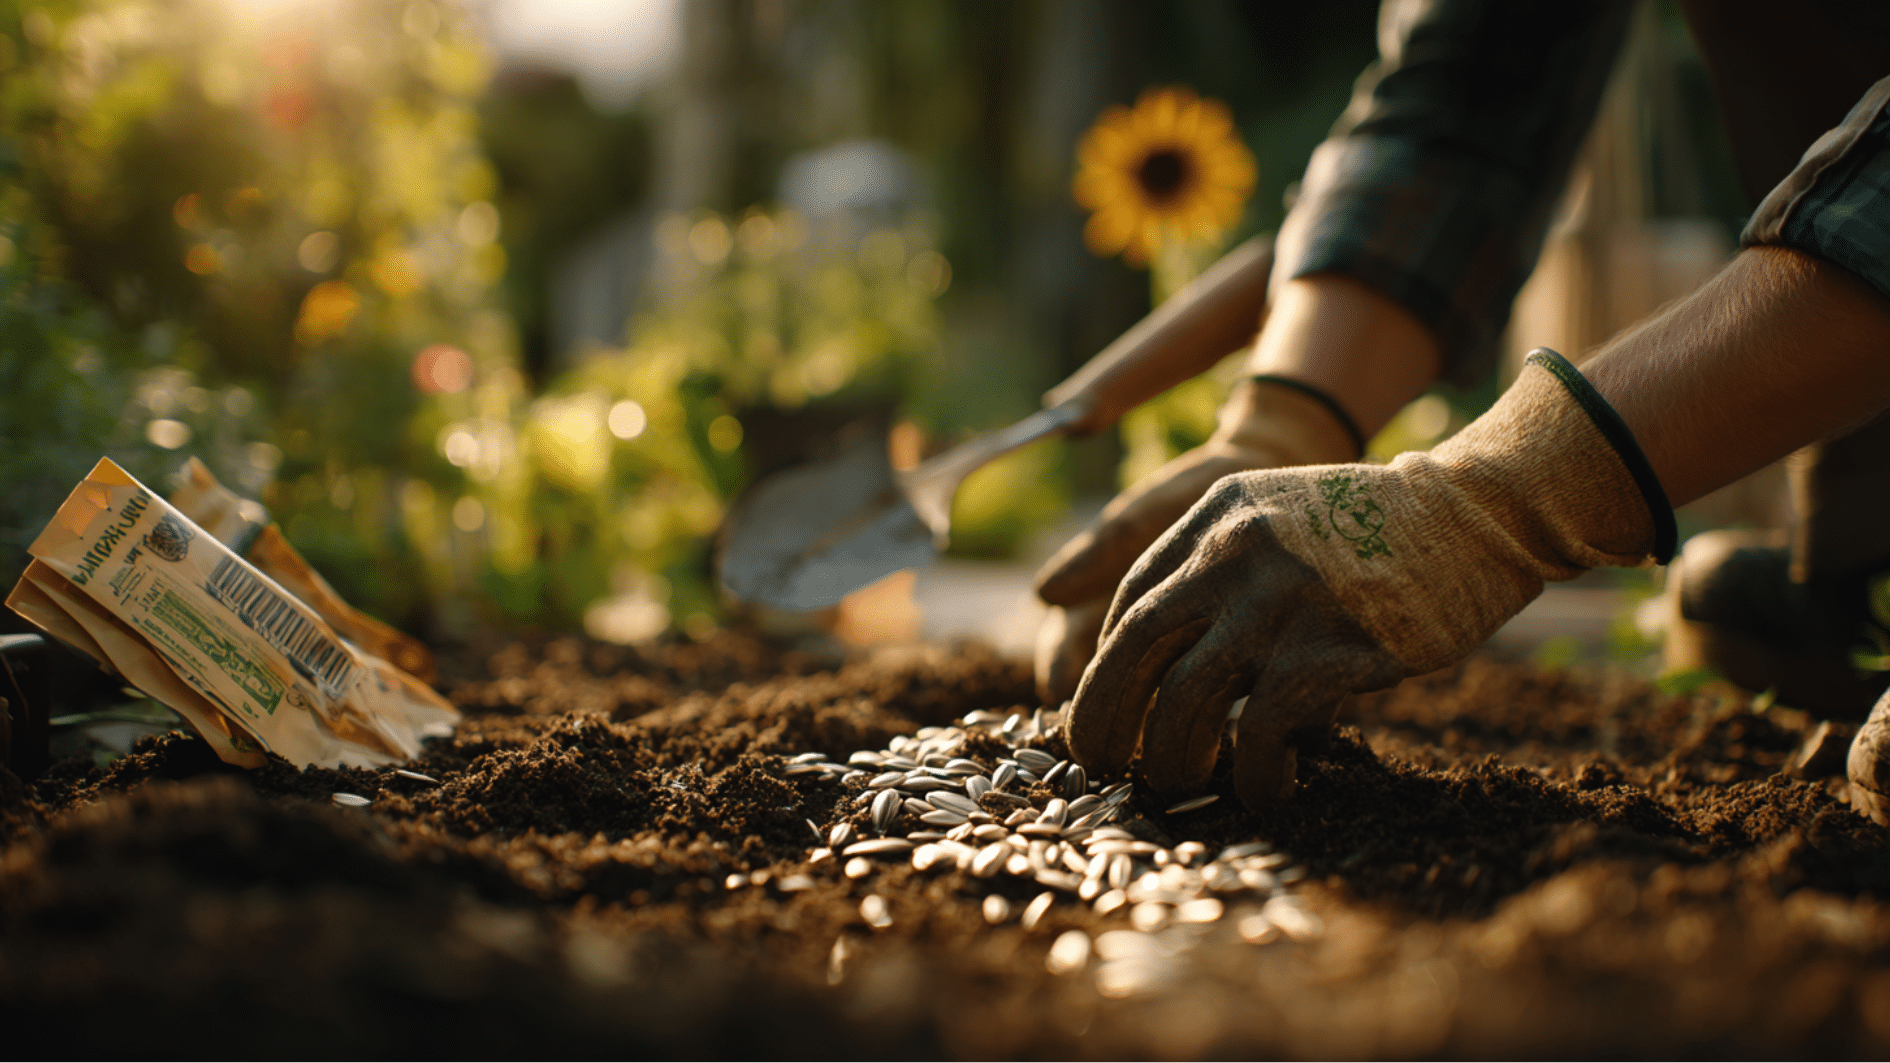
When to Plant Tomatoes?
Tomatoes are planted only after the last frost has passed, and the soil has warmed to at least 60°F. Plant too early, and cold soil stalls their growth before they even get started.
In most parts of the US, the right window falls somewhere between late April and early June, depending on your region.
Check your local last frost date and use a soil thermometer to confirm both. Calendar dates alone are not enough.
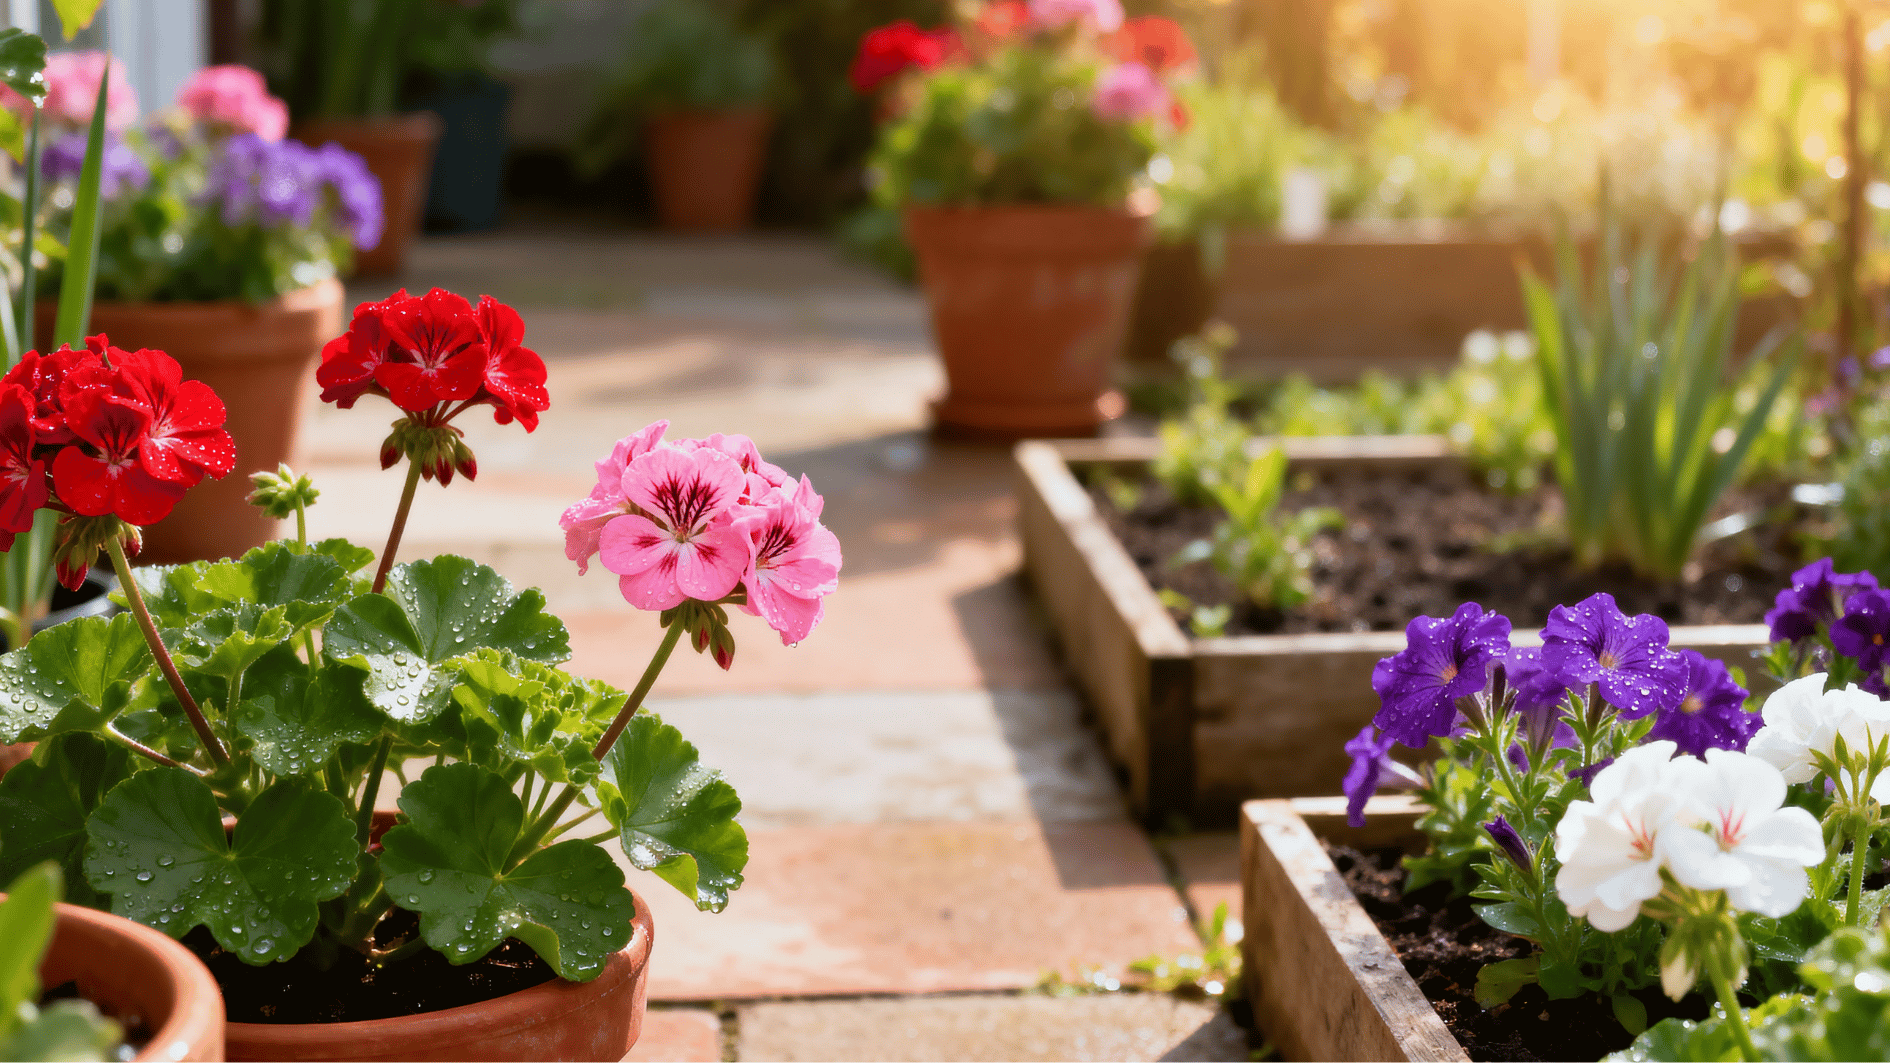
The Best Location for Tomatoes
Picking the right spot is one of the first decisions you make, and it shapes everything that follows. Tomatoes are not forgiving of bad placement, so get this right before anything else.
| Factor | What Tomatoes Need |
|---|---|
| Sunlight | 6 to 10 hours of direct sun daily |
| Soil Drainage | Well-draining; no standing water after rain |
| Spacing | 2 to 3 feet between plants |
| Airflow | Open space on all sides to reduce disease risk |
| Crop History | Avoid spots where tomatoes, peppers, or potatoes grew in the past 2 years |
How to Choose the Right Tomato Variety?
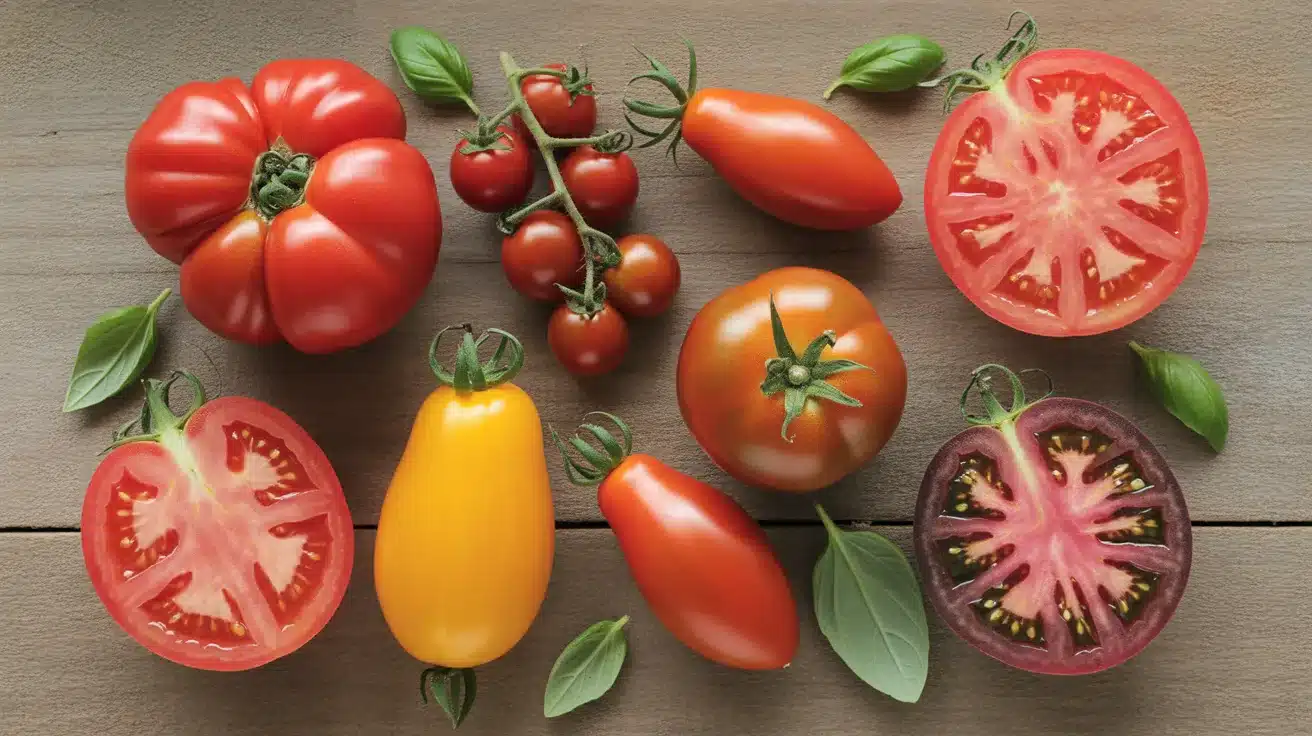
Not every tomato does well in every garden. Picking a variety that matches your climate and cooking goals saves a lot of wasted effort at the end of the season.
- Determinate vs. Indeterminate Tomatoes: Determinate varieties grow to a fixed size and ripen all at once, making them ideal for canning. Indeterminate types keep growing and fruiting all season long until frost hits them.
- Best Varieties for Hot Climates: Look for heat-tolerant varieties like Solar Fire, Heatmaster, or Celebrity that set fruit even when temperatures stay high for weeks.
- Best Varieties for Cool and Short Seasons: Early-maturing varieties like Siletz, Oregon Spring, or Stupice perform well in cooler regions with fewer frost-free days.
- What Disease-Resistance Labels Mean on Seed Packets: Letters like V, F, N, and T on the label mean the variety resists Verticillium wilt, Fusarium wilt, nematodes, and tobacco mosaic virus, respectively.
How to Prepare the Soil Before Planting?
Soil prep is the step most gardeners rush through, and it shows later in the season. Good soil at the start means fewer problems and a stronger plant all the way through harvest.
Ideal Soil Type and pH for Tomatoes
- Tomatoes grow best in slightly acidic soil with a pH between 6.0 and 6.8.
- The soil should be loose and well-draining, not compacted or waterlogged.
- Hard, clay-heavy soil slows root development and holds too much moisture.
How to Amend Soil with Compost and Fertilizer
- Dig at least 12 inches deep before planting to loosen the soil.
- Mix in aged compost or well-rotted manure at least 2 weeks before planting day.
- Add a slow-release granular fertilizer at this stage to support early root development.
- Avoid fresh manure; it can burn roots and carry harmful bacteria.
Should You Do a Soil Test?
- A soil test every 2 to 3 seasons tells you exactly what your soil needs and what it already has.
- Most local cooperative extension offices offer low-cost or free testing kits worth using.
Best Methods to Plant Tomatoes
Once your soil is ready, the planting method matters more than most people expect. The way you set a tomato plant in the ground directly affects how strong and productive it becomes throughout the season.
Before you start, here are the basic tools you will need:
| Tool | Purpose |
|---|---|
| Trowel or hand spade | Digging planting holes or trenches |
| Soil thermometer | Checking soil temperature before planting |
| Garden fork | Loosening and aerating the soil before planting |
| Watering can or hose | Watering plants right after planting |
| Pruning snips or clean scissors | Removing lower leaves before planting |
| Soft plant ties or Velcro strips | Securing stems to stakes or cages |
| Measuring tape | Spacing plants the right distance apart |
1. The Deep Planting Method
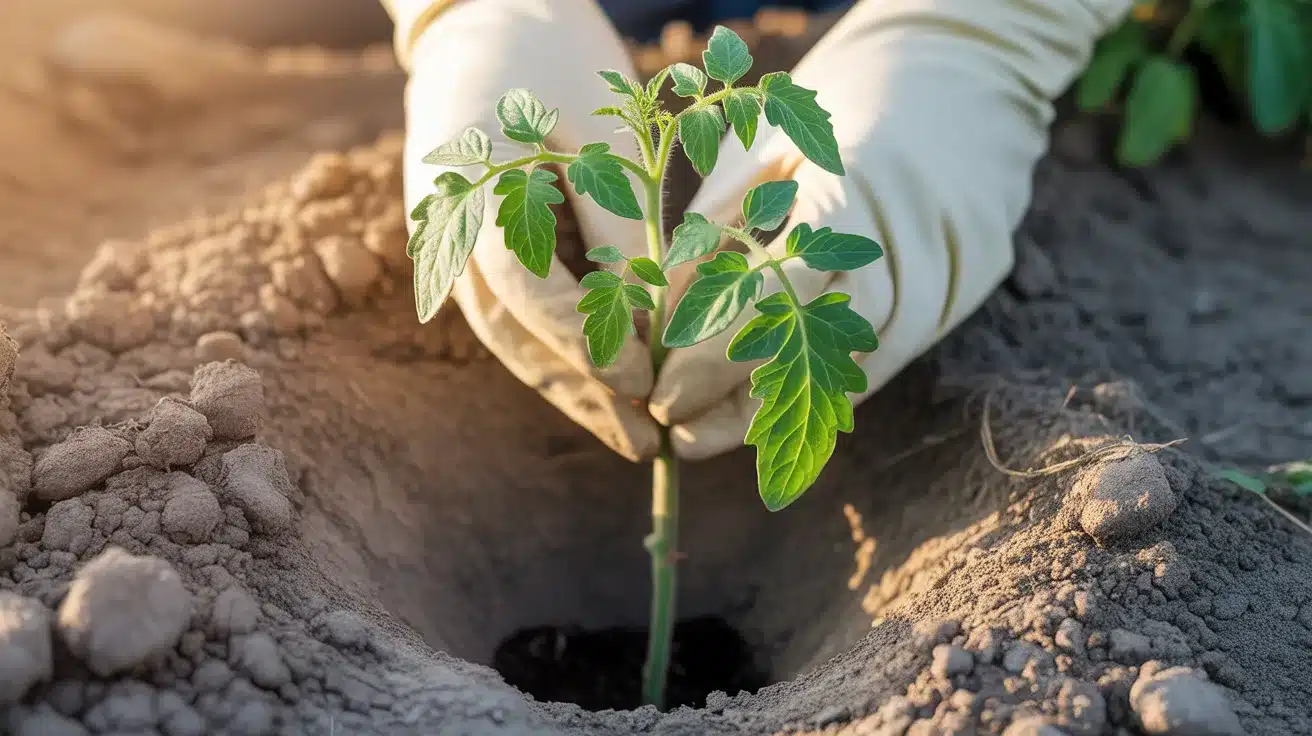
This is one of the most effective ways to give tomatoes a stronger start. Tomato stems have tiny root nodes along them. When buried, those nodes grow into real roots, which means a deeper, more stable plant overall.
Steps:
- Remove all lower leaves from the stem, leaving only the top 2 to 3 sets of leaves intact.
- Dig a hole deep enough so that only the top leaves sit above the soil surface.
- Add a handful of compost or bone meal to the bottom of the hole.
- Lower the plant in slowly, keeping the stem straight.
- Fill the hole with soil and press it down gently around the base.
- Water deeply right after planting to settle the soil around the roots.
2. The Trench Planting Method

This method works best for tall, leggy seedlings that are hard to plant upright without snapping the stem. Instead of going straight down, you lay the plant on its side in a shallow trench.
Steps:
- Dig a shallow trench about 3 to 4 inches deep and long enough to fit the stem.
- Remove all leaves along the stem except the top 2 to 3 sets.
- Lay the plant on its side in the trench with the top leaves pointing upward at one end.
- Cover the entire stem with soil, leaving only the leafy top exposed.
- Press the soil down gently along the length of the buried stem.
- Water slowly and deeply along the full length of the trench.
- The plant will straighten toward the sunlight on its own within 2 to 3 days.
3. How to Harden Off Seedlings Before Transplanting

Seedlings grown indoors are not ready to go straight into the ground. They need time to adjust to outdoor conditions, such as wind, direct sunlight, and changing temperatures. Skipping this step almost always causes transplant shock and sets the plant back by weeks.
Steps:
- Start 7 to 10 days before your planned planting date.
- On Days 1 to 2, place seedlings outdoors in a sheltered, shaded spot for only 1 to 2 hours.
- On Days 3 to 4, move them to a spot with indirect light and leave them out for 3 to 4 hours.
- On Days 5 to 6, introduce them to a few hours of direct morning sun.
- On Days 7 to 10, leave them outside for most of the day in full sun conditions.
- Bring them in each night until they are planted in the ground.
- On planting day, the plant should be able to handle outdoor conditions without stress.
4. How to Plant Tomatoes in Containers
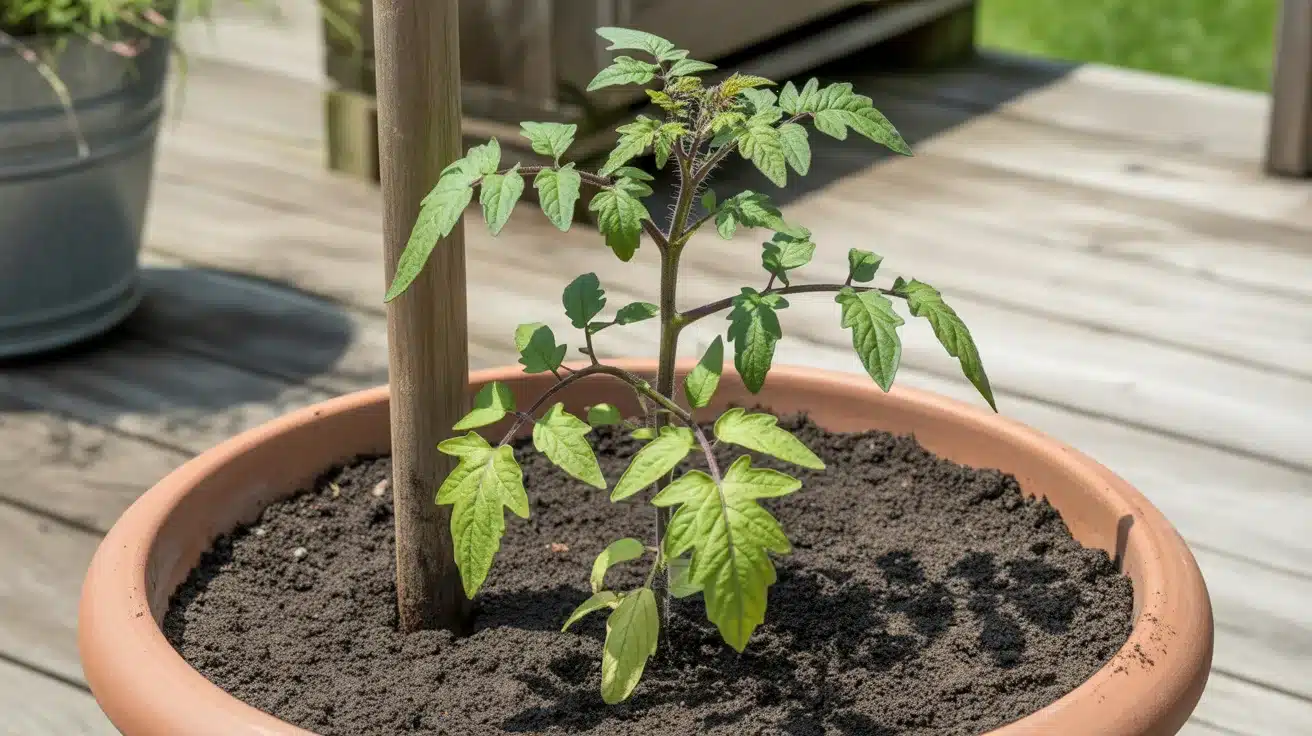
Container growing works well as long as you match the pot size to the variety and keep up with watering. Containers dry out faster than ground soil, especially in summer heat.
Steps:
- Choose a container at least 20 inches wide and 12 inches deep with drainage holes at the bottom.
- Place a tray or saucer under the pot to catch any water that drains out.
- Fill the container with a loose, nutrient-rich potting mix, not garden soil.
- Push your stake or cage into the soil before placing the plant in.
- Use the deep planting method, bury the stem, and leave only the top leaves above the soil.
- Water thoroughly until the water drains out from the bottom.
- Check the soil daily through summer and water whenever the top inch feels dry.
Pro Tip: For varieties taller than 3 feet, a 5-gallon pot is the bare minimum. Larger varieties do better in the ground where the root system has room to spread.
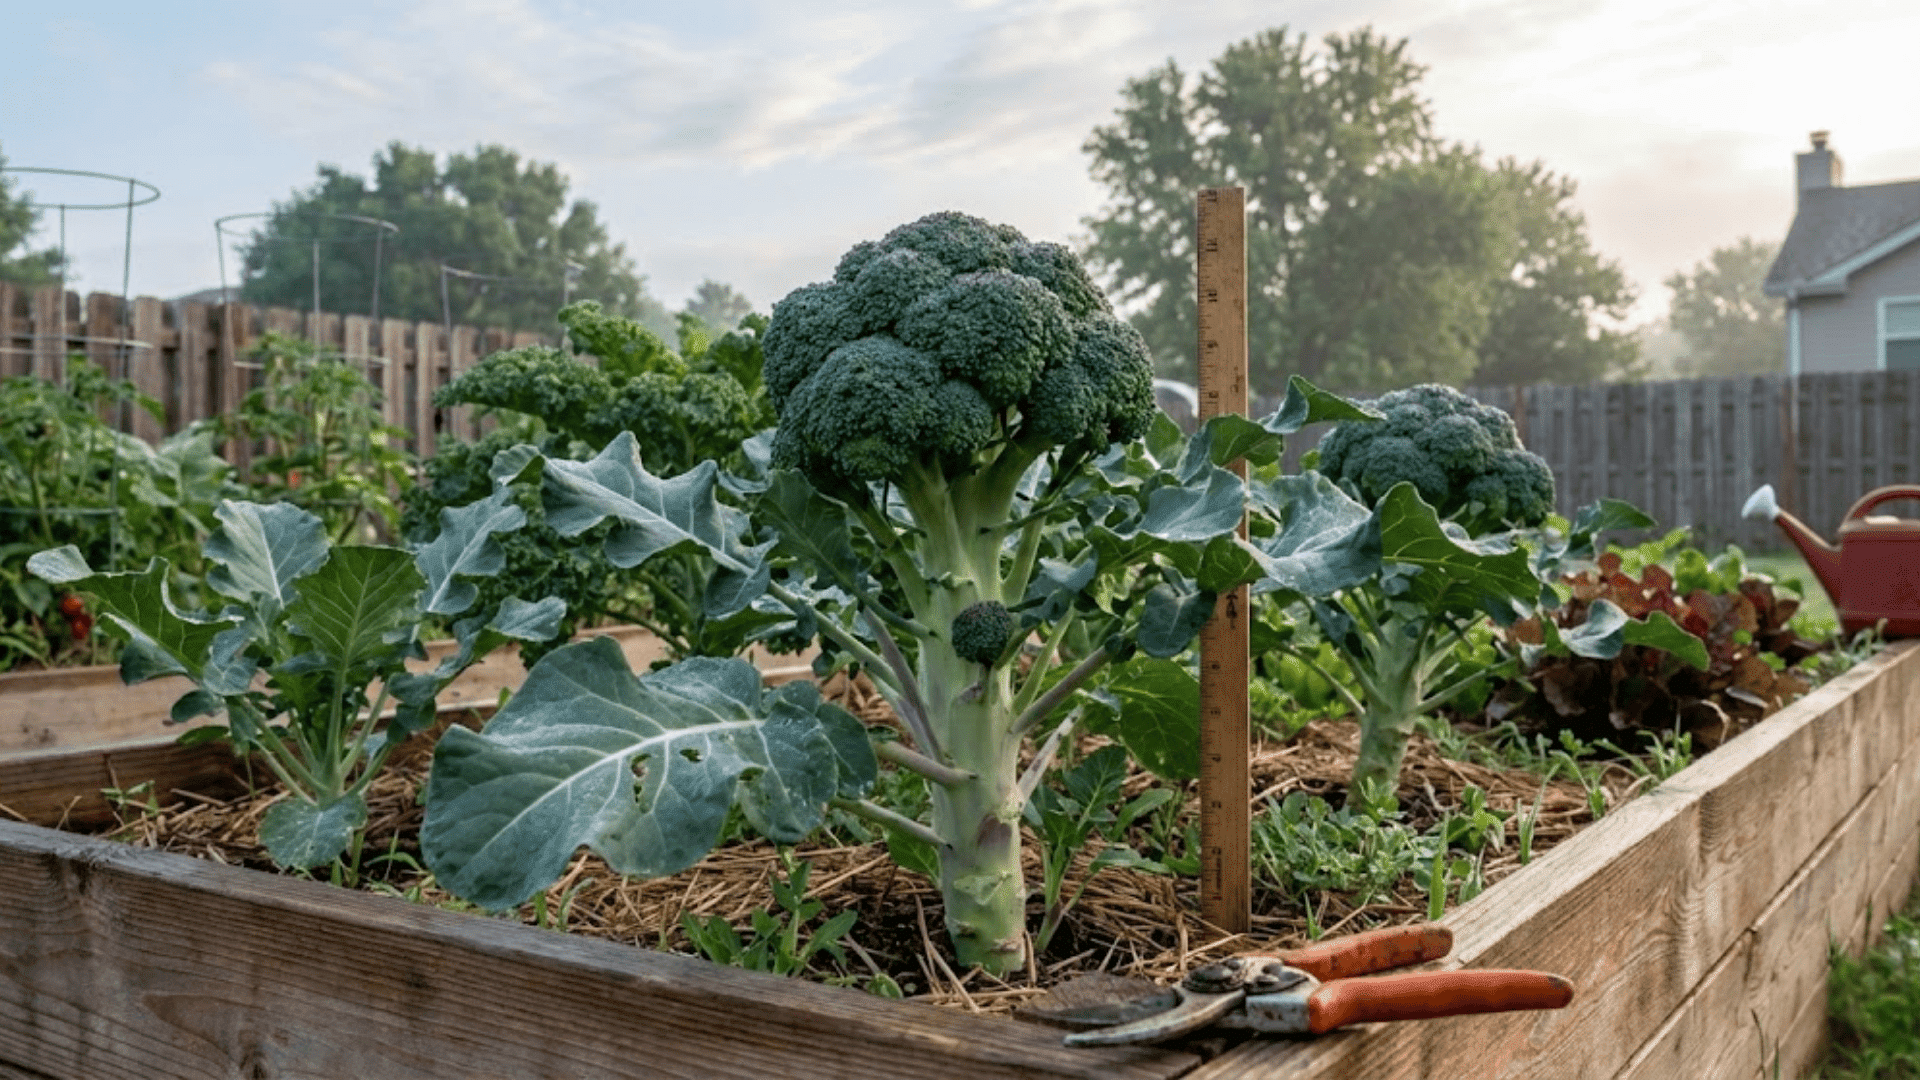
5. How to Plant Tomatoes in Raised Beds

Raised beds warm up faster in spring and drain better than most in-ground soil, which gives tomatoes an early edge. The key is making sure you do not overcrowd the bed, even when it looks like there is plenty of room.
Steps:
- Add fresh compost to the bed and mix it in at least 12 inches deep before planting.
- Check that the soil temperature in the bed has reached at least 60°F.
- Mark out planting spots at least 2 to 3 feet apart.
- Dig a hole at each marked spot deep enough for the deep planting method.
- Remove the lower leaves, place each plant in its hole, and fill the hole with soil.
- Press the soil down gently at the base of each plant.
- Set up your stakes or cages right after planting, one per plant.
- Water each plant at the base slowly and thoroughly to help settle the roots.
How to Care for Tomato Plants?
Planting is only the beginning. How you care for tomatoes in the weeks that follow is what separates a decent harvest from a truly good one.
- How to Water Tomatoes the Right Way: Water at the base of the plant, never from above, and aim for about 1 inch per week.
- How and When to Fertilize Tomato Plants: Feed every 2 to 3 weeks with a fertilizer higher in phosphorus and potassium than nitrogen to push fruiting over leaf growth.
- How to Prune and Remove Suckers: Pinch off suckers that grow at a 45-degree angle between the main stem and a branch to keep the plant focused on producing fruit.
- Best Support Systems for Tomato Plants: Put cages, stakes, or trellises in at planting time to avoid disturbing the root system later in the season.
- How to Mulch Around Tomato Plants: Lay 2 to 3 inches of mulch around each plant, keeping it at least 1 inch away from the stem to prevent rot at the base.
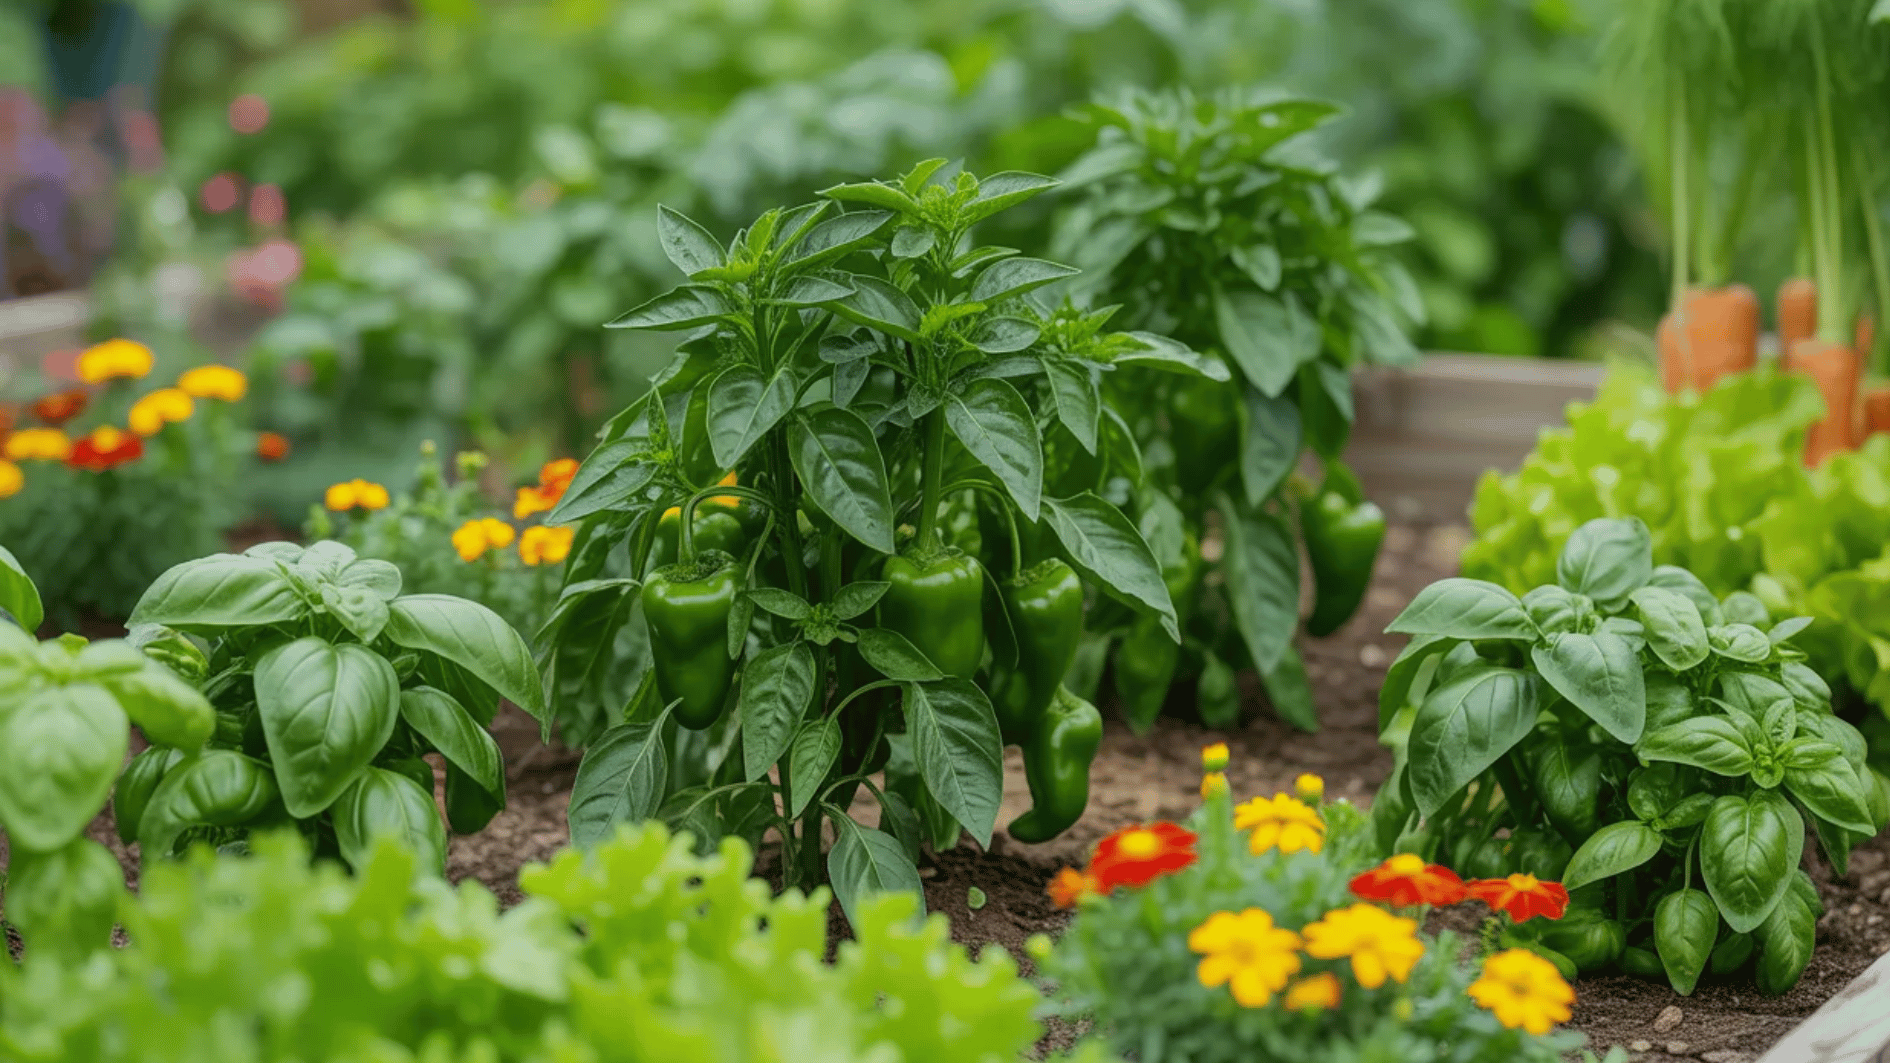
- Companion Plants That Help Tomatoes Grow Better: Basil, marigolds, and nasturtiums are useful neighbors that may deter common pests and pull in helpful insects throughout the season.
How to Protect Tomatoes from Common Problems
Even well-planted tomatoes run into problems during the season. Knowing what to look for and acting fast can save your crop before things go too far.
| Problem | Signs | Fix |
|---|---|---|
| Blossom End Rot | Dark, sunken patch at the base of the fruit | Water consistently; avoid irregular, heavy soaks |
| Blight | Brown spots on leaves that spread quickly | Remove affected leaves, water at the base, and improve airflow around plants |
| Nematodes | Yellowing, stunted growth, and small knobs are visible on the roots | Rotate crops each season; plant marigolds nearby, and let the soil rest if needed |
| Aphids | Sticky residue, curled leaves, clusters of small insects on stems | Spray affected areas with water; use neem oil, and introduce ladybugs |
| Cracking | Skin splits on ripe or near-ripe fruit | Keep watering steadily; use mulch to hold soil moisture between waterings |
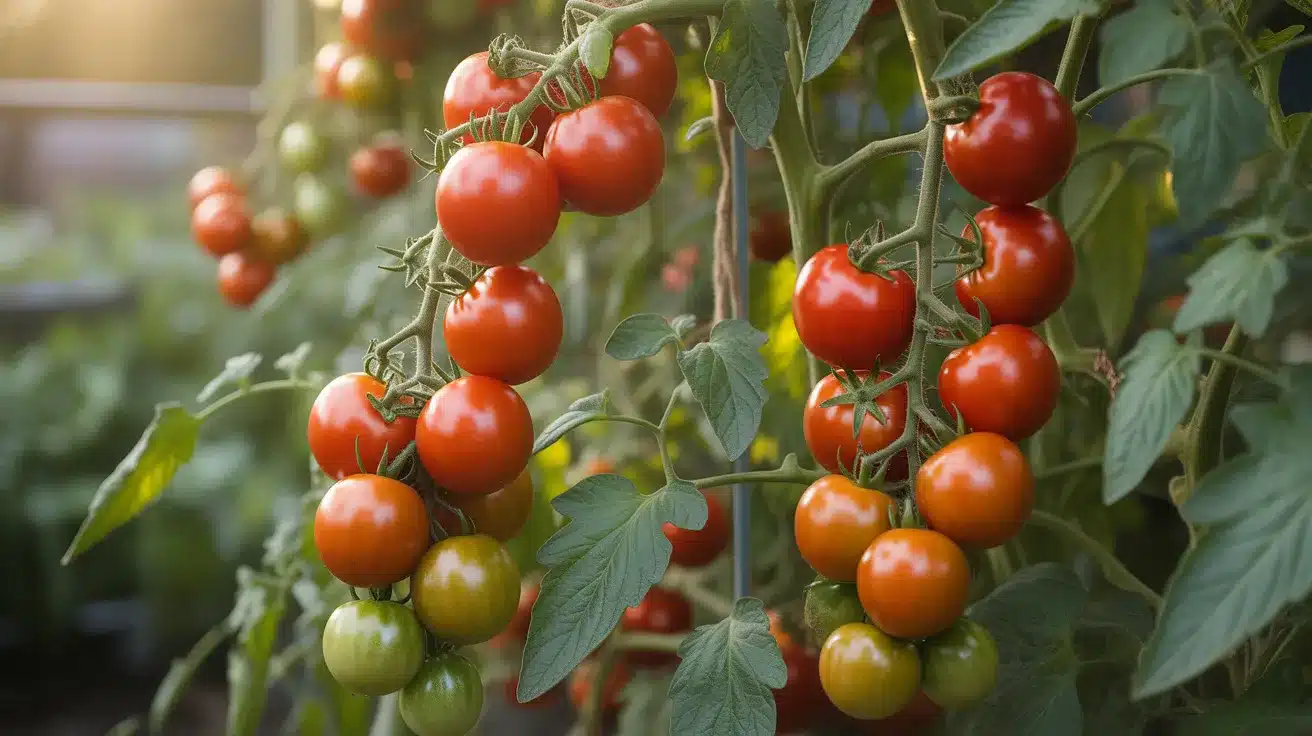
When and How to Harvest Tomatoes?
Most tomatoes are ready when they give slightly under gentle pressure and show the color described on the seed packet. Harvest in the morning when the fruit is firm and cool to the touch.
Picking every 2 to 3 days during peak season keeps the plant producing steadily. If the season is ending and you still have green tomatoes on the vine, bring them inside.
Any fruit that has started to change color will finish ripening on the counter at room temperature.
Key Takeaways
Growing tomatoes well comes down to a handful of decisions made early in the season.
The right variety, warm soil, a smart planting method, steady watering, and timely pruning do most of the heavy lifting. None of it is complicated. But it does take attention.
The gardeners who get the best results are not necessarily the most experienced. They are the ones who pay close attention to what their plants are telling them and make small adjustments along the way.
Try one or two new techniques from this guide this season and see what changes in your harvest. We would love to know what worked for you. Comment down below.