Carrots are one of those vegetables that look simple to grow but quietly humble even the most enthusiastic gardeners.
You sow the seeds, water faithfully, and wait, only to pull up stubby, twisted little things that barely resemble what you imagined.
Frustrating, right? It almost always comes down to a few easy-to-fix details like soil prep, spacing, and consistent moisture.
Get those right, and you will be harvesting long, smooth, garden-fresh carrots that actually look as good as they taste.
Best Time to Plant Carrots
Carrots are cool-season crops, meaning they genuinely thrive when the weather is mild and struggle once real heat sets in.
For most gardeners, early spring is the sweet spot, sowing seeds a few weeks before your area’s last frost date.
If spring slips by, late summer is your next window, giving carrots enough time to mature into a fall harvest.
Gardeners in warmer southern states actually find that fall and winter plantings yield the best results, since the scorching summer months tend to affect both growth and flavor.
Choose the Best Carrot Variety
Not all carrots are built the same, and picking the right variety for your soil and space makes a bigger difference than most gardeners expect.
| Variety | Best For | Why it Works |
|---|---|---|
| Nantes | Beginners | Sweet, straight roots that grow reliably |
| Danvers | Heavier soils | Sturdy and adaptable to denser ground |
| Chantenay | Shallow or clay soil | Shorter roots that don’t need much depth |
| Baby / Round Types | Containers | Compact growth, perfect for smaller spaces |
Prepare Soil for Straight, Healthy Carrots
Carrots are all about what’s happening underground, and the soil you give them shapes everything from root length to texture.
- Loose, sandy loam is the ideal base for long, straight roots.
- Clear out any rocks or hard clumps, as these are the main culprits behind forked and misshapen carrots.
- Work in well-aged compost to improve both texture and fertility.
- Avoid fresh manure entirely, as it tends to cause hairy, split, or distorted roots.
Free-draining, light soil is really the foundation of a good carrot harvest, and it is worth taking the extra time to get it right before you even think about sowing.
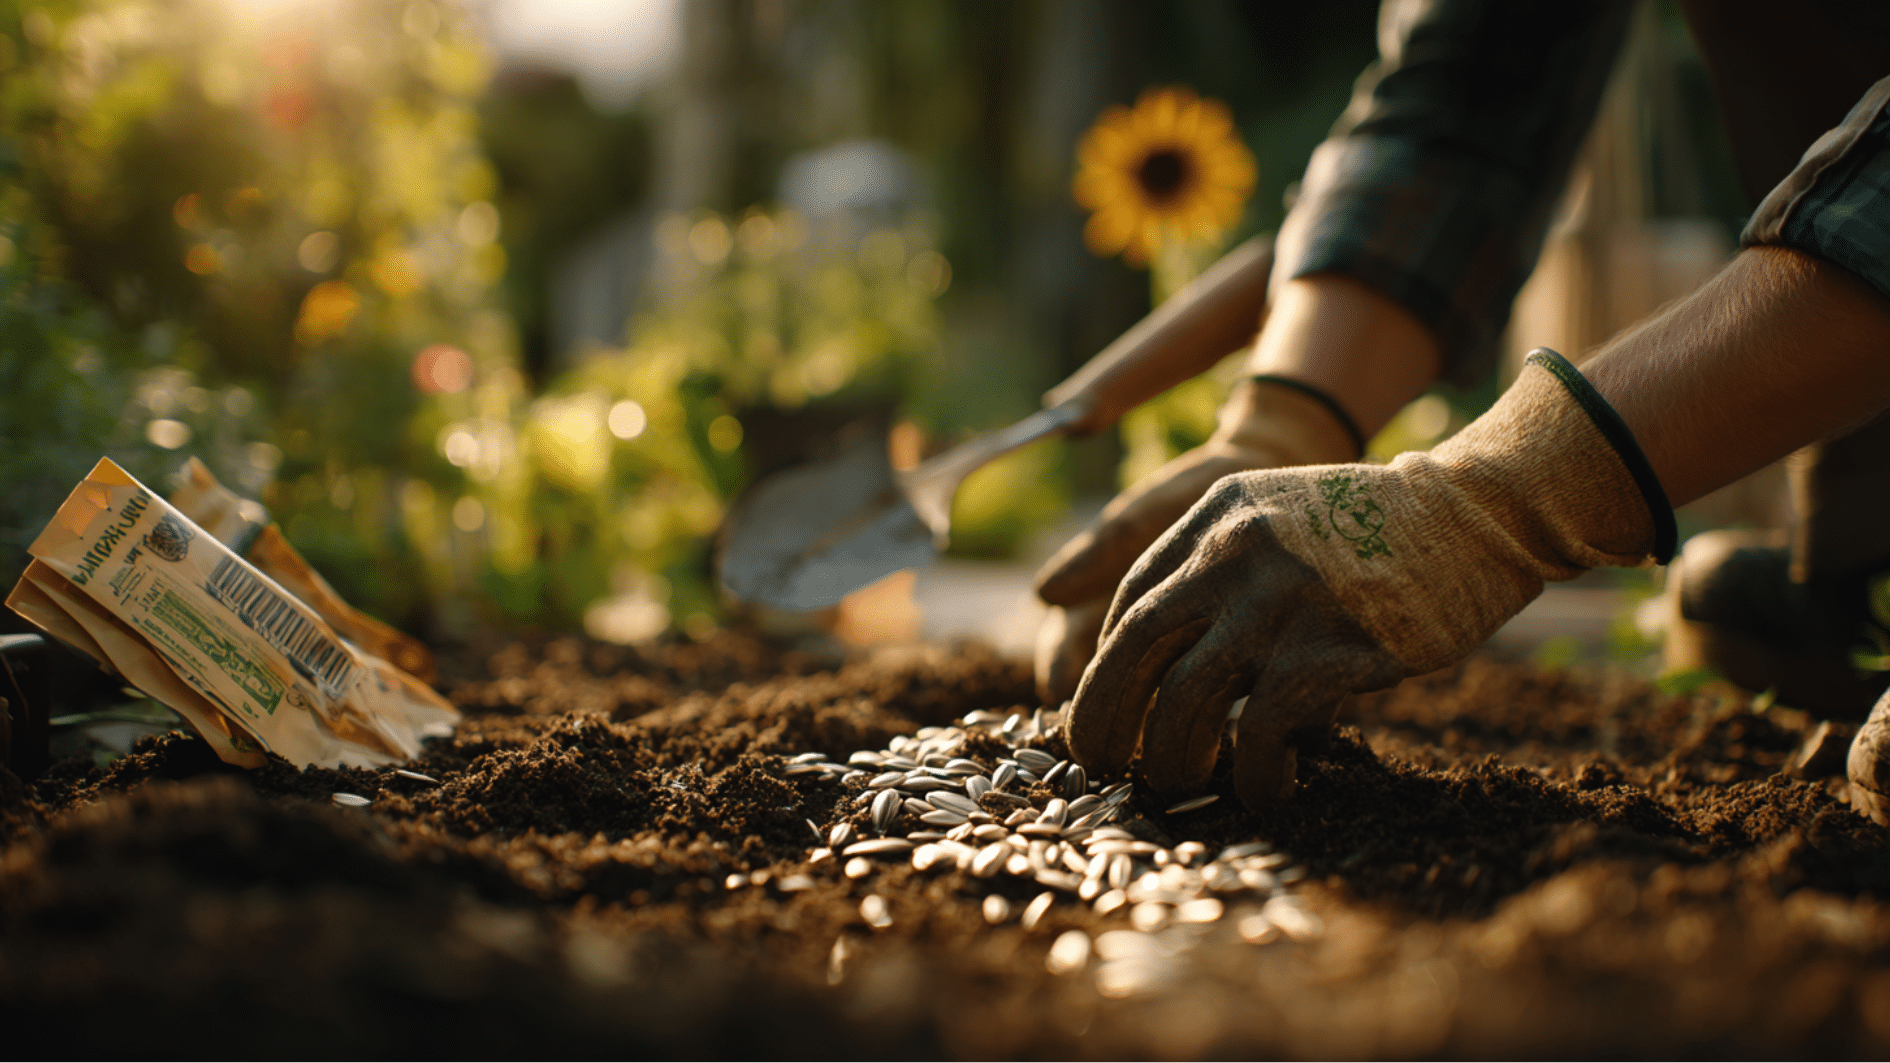
Step-by-Step: How to Plant Carrot Seeds?
Planting carrots is less about effort and more about attention to detail. Follow these steps, and you will set your seeds up for the strongest possible start.
Step 1: Rake a Smooth Seed Bed
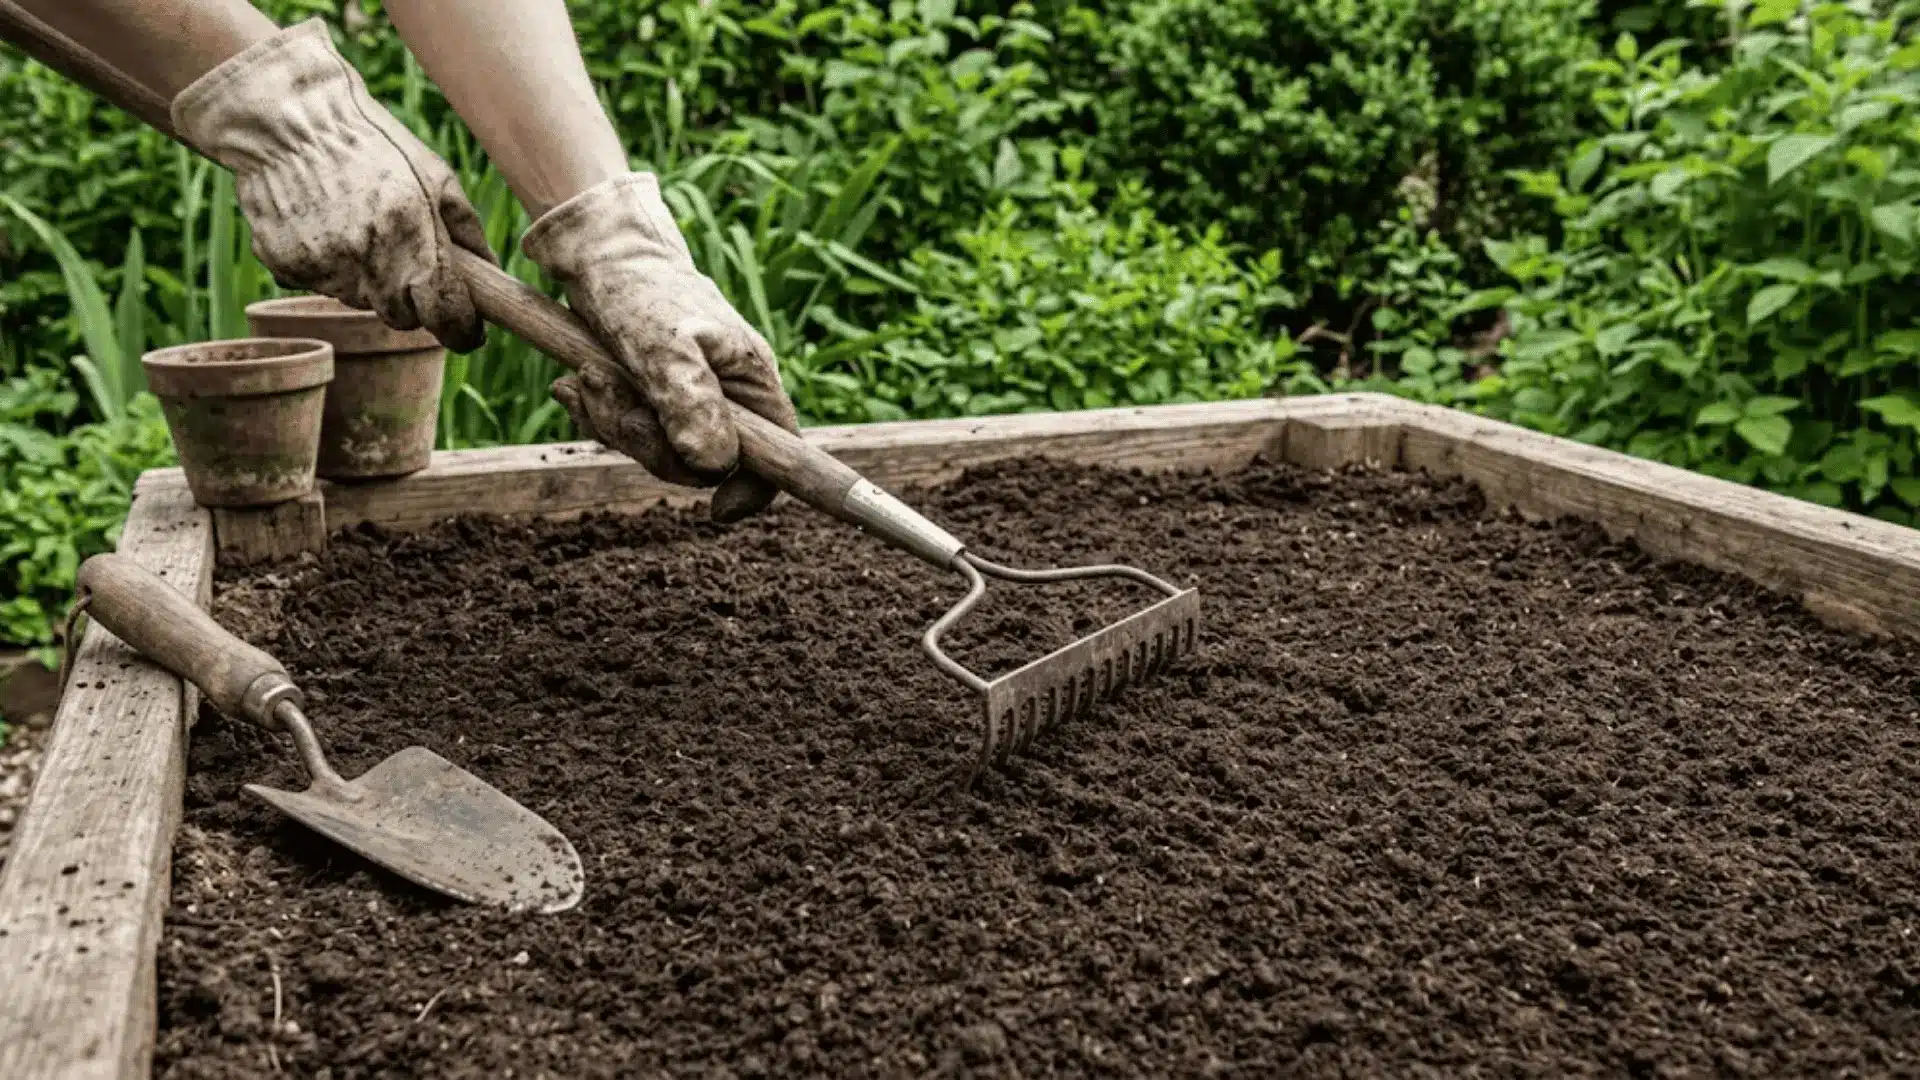
Before anything goes into the ground, your soil surface needs to be fine and crumbly.
Large clods or uneven patches make it hard for tiny carrot seeds to make good contact with the soil, which directly affects how evenly they germinate. Take your time raking until the top layer feels almost like coarse breadcrumbs.
Step 2: Make Shallow Rows
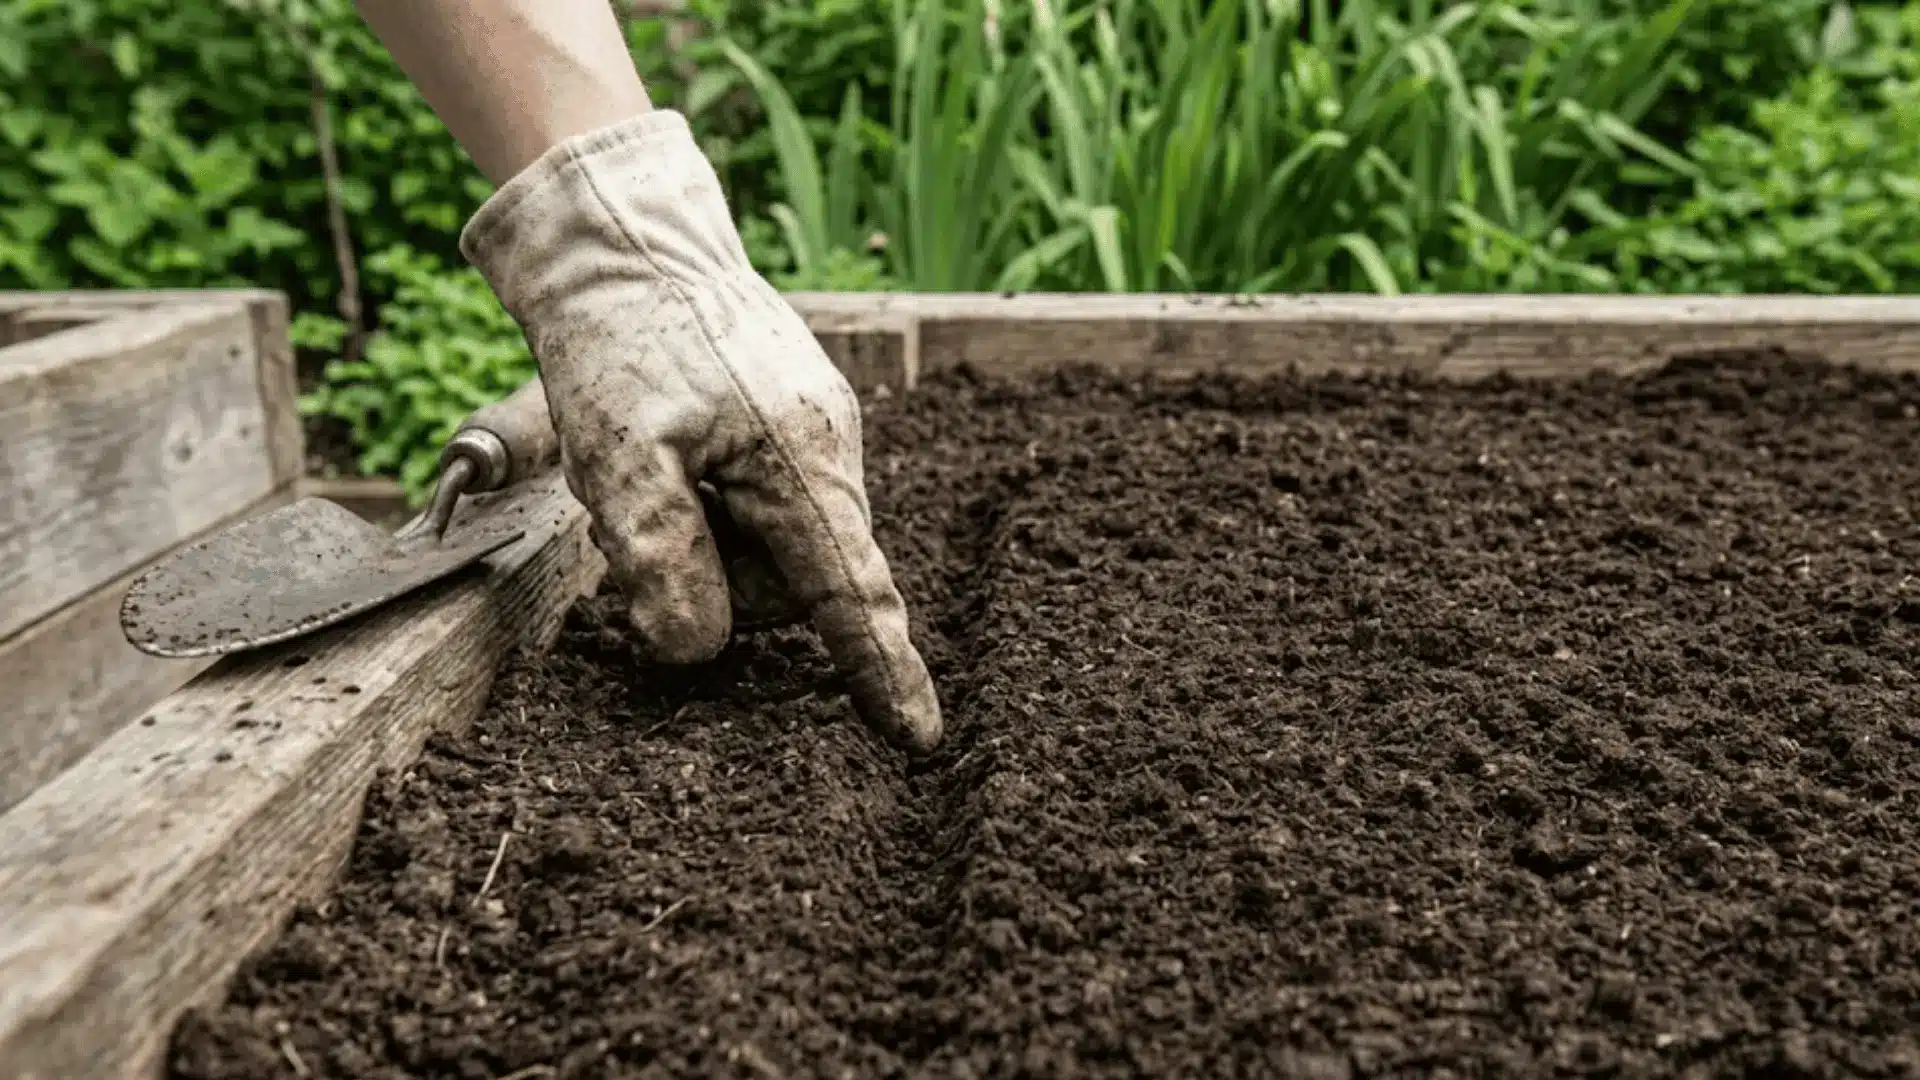
Carrot seeds only need to be sown at a shallow depth.
Press your finger or a stick lightly into the soil to create a gentle row, just enough to give the seeds a defined place to settle without burying them too deep.
Step 3: Sow Seeds Thinly
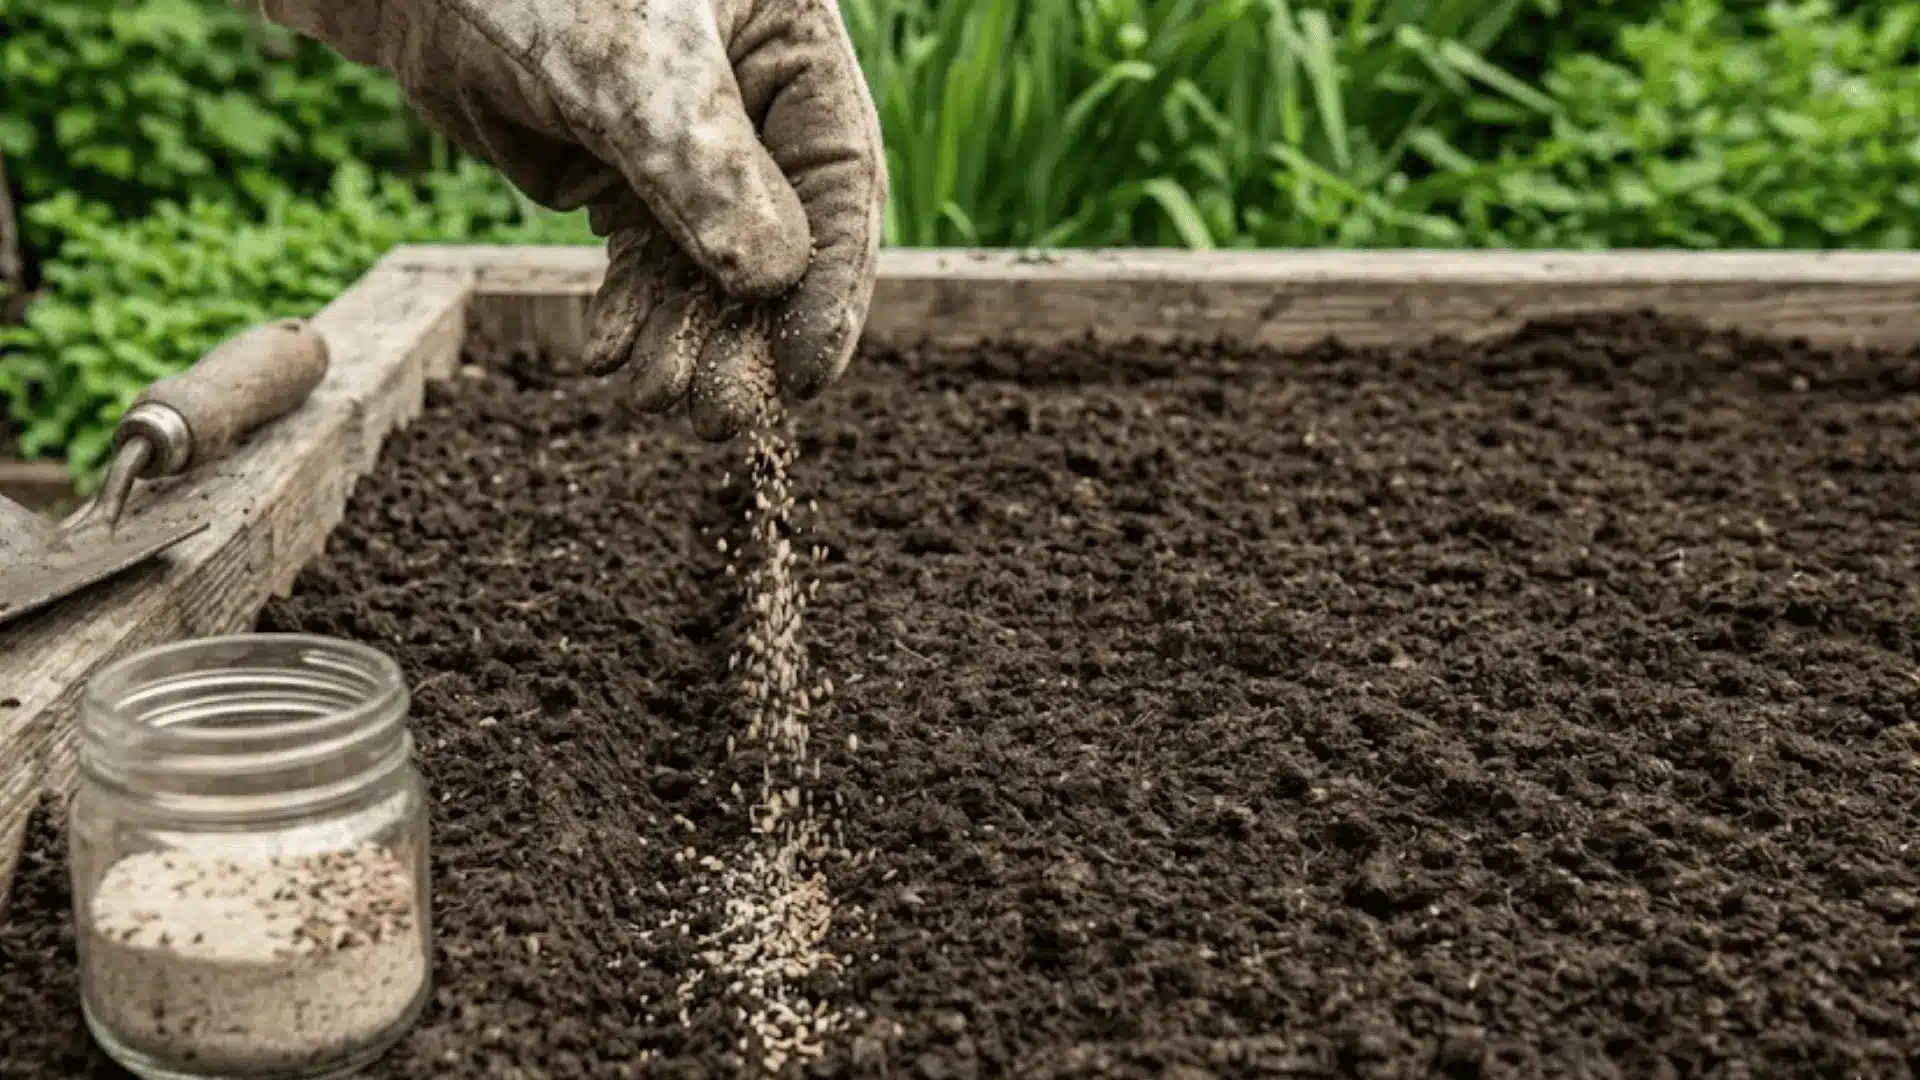
Carrot seeds are tiny and easy to oversow without realizing it.
A simple trick is mixing them with a pinch of dry sand before sowing, which helps distribute them more evenly along the row and saves you a lot of thinning work later.
Step 4: Cover Lightly
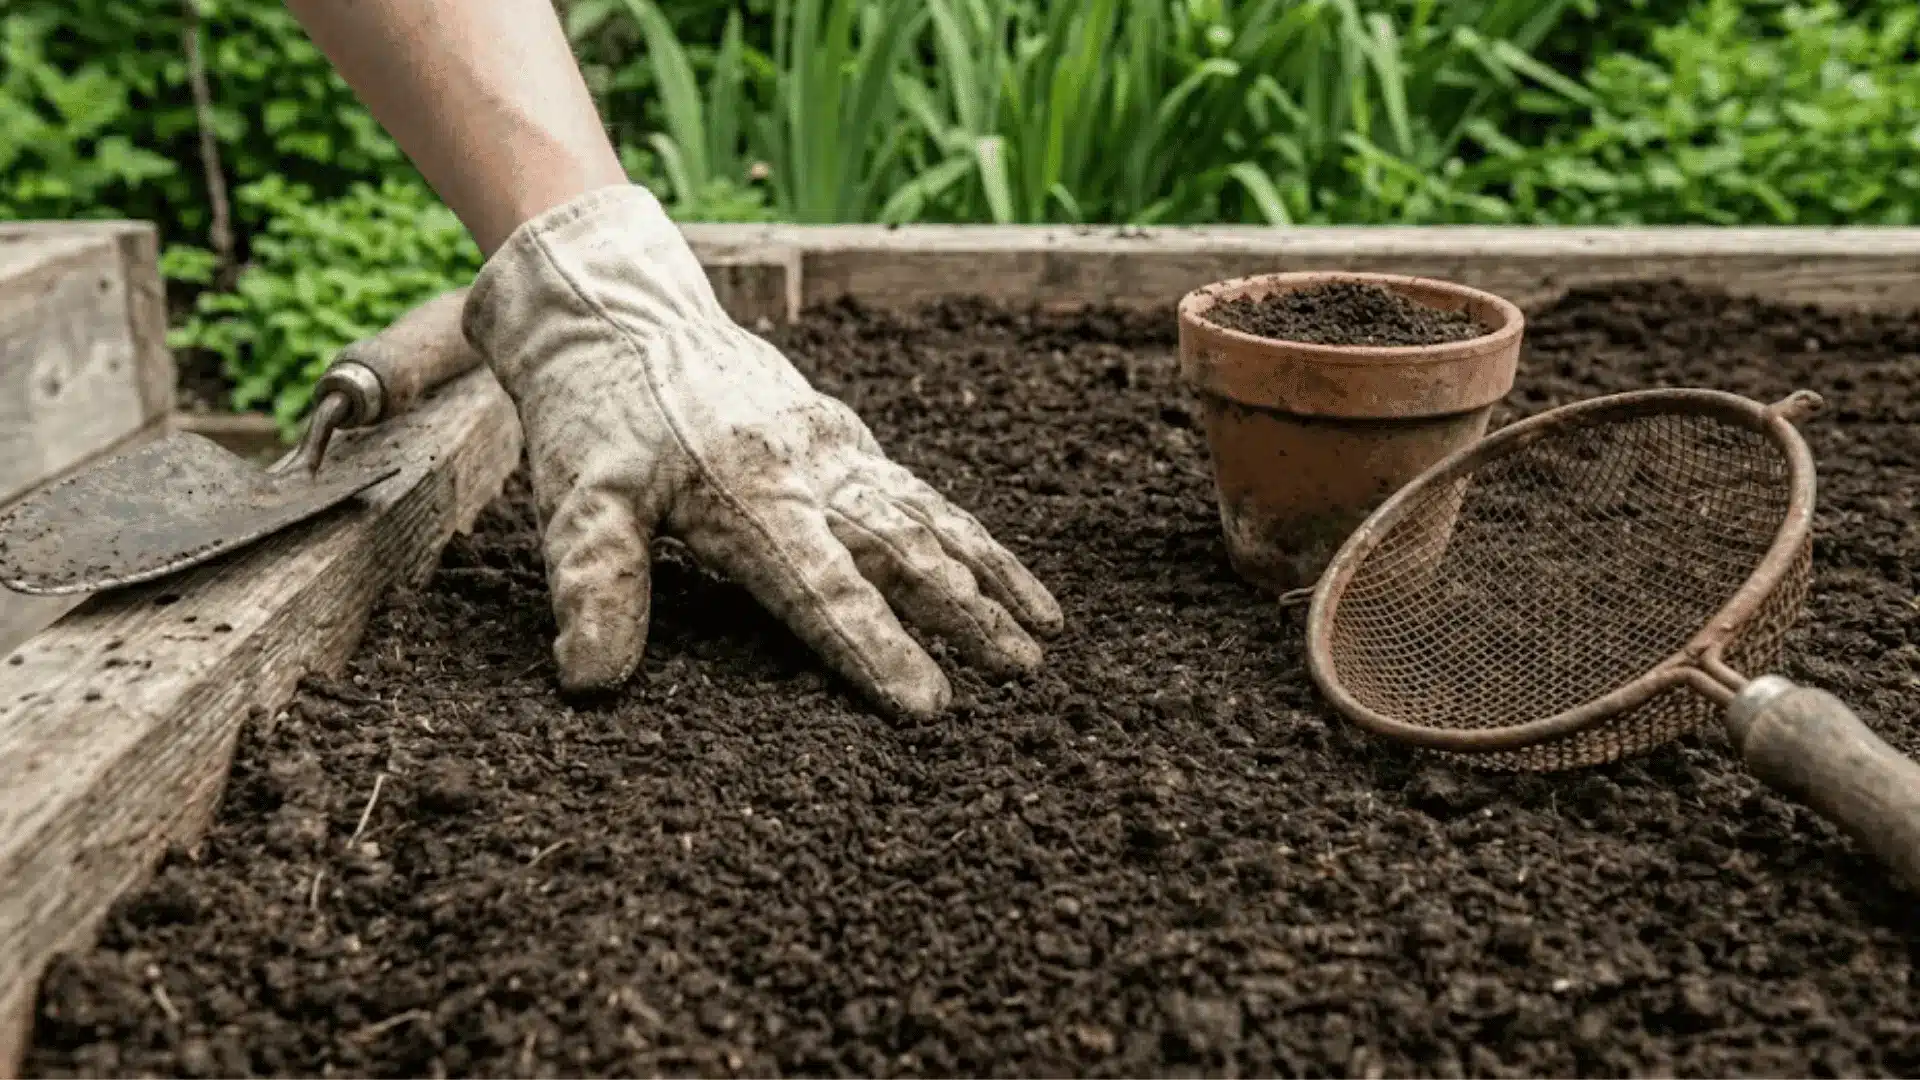
Once your seeds are in place, cover them with a thin layer of sifted soil or fine compost.
The covering should be just enough to protect the seeds without weighing them down or creating a crust that blocks sprouting.
Step 5: Water Gently
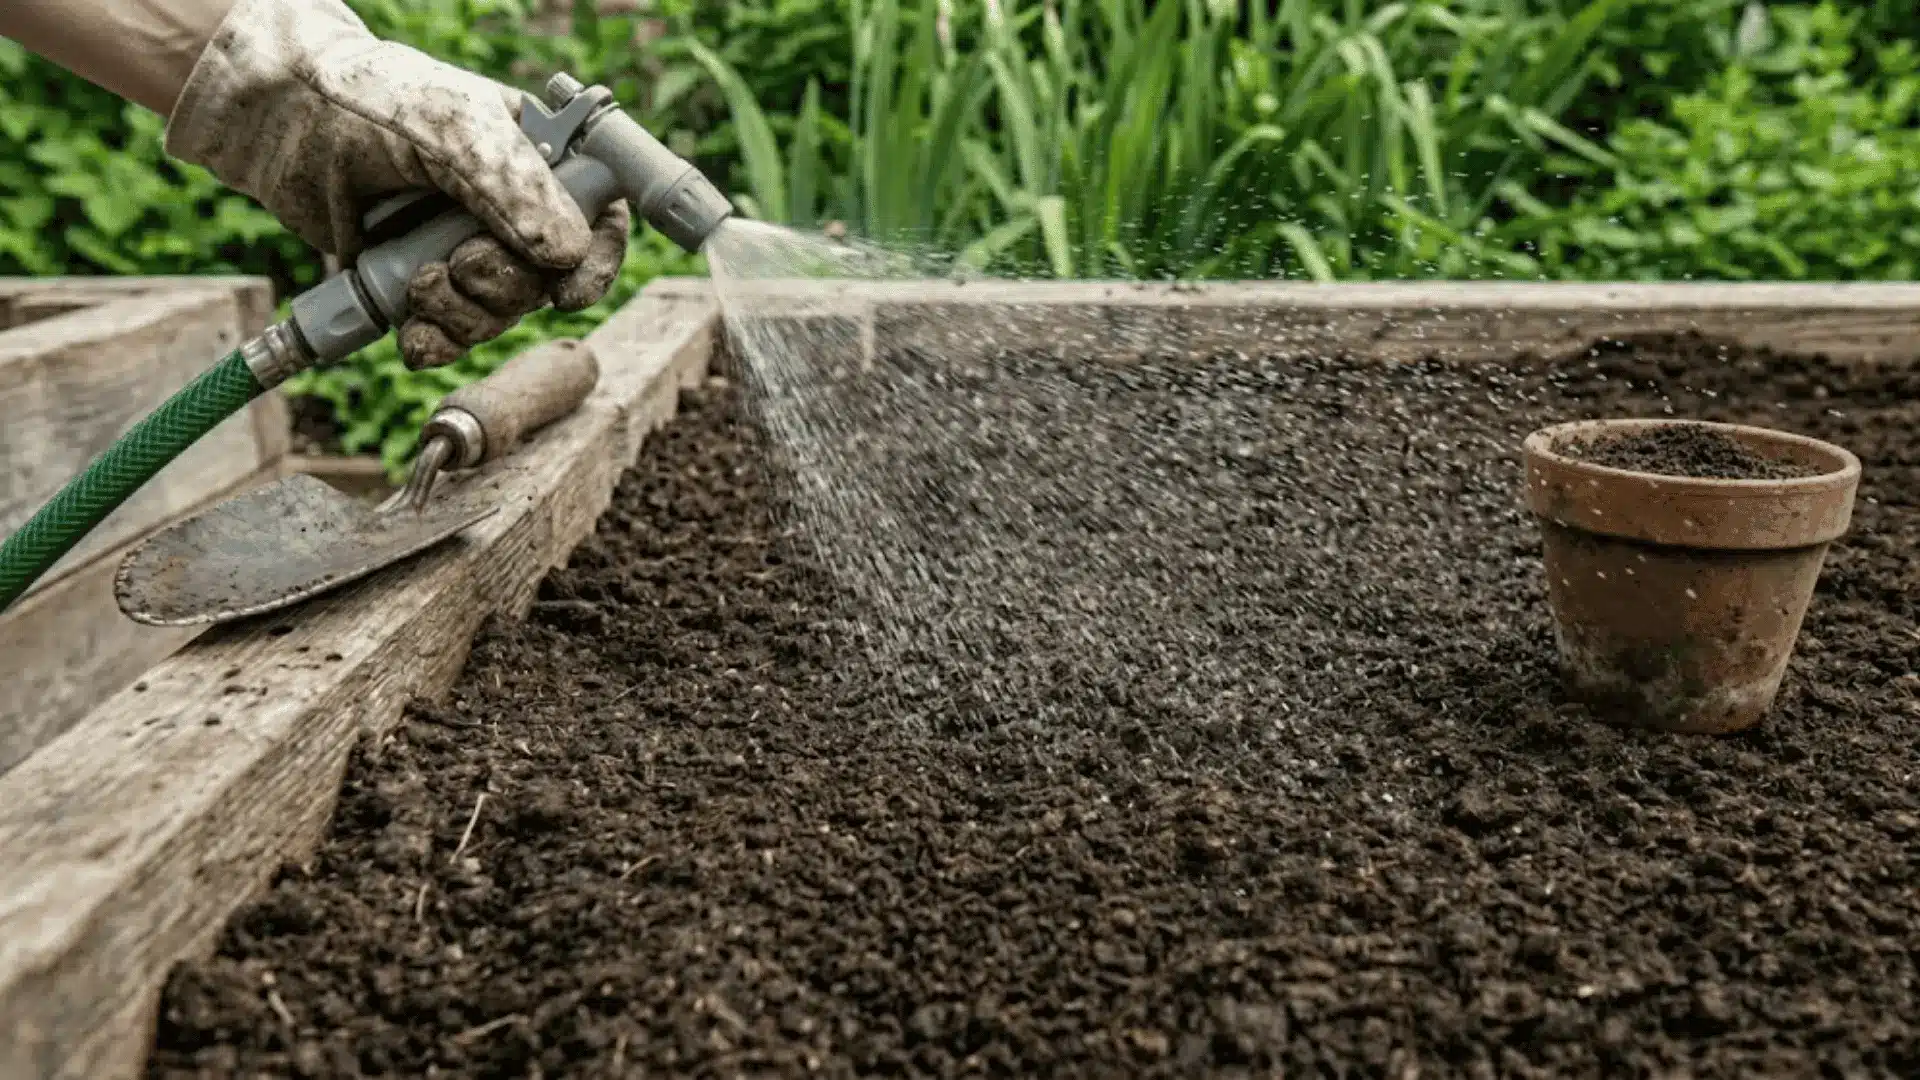
A strong stream of water can shift or wash seeds out of place before they have had a chance to settle.
Use a misting setting or a soft spray to water evenly across the bed, keeping everything in place while giving the soil the moisture it needs.
Step 6: Keep Soil Moist Until Sprouting
This step is where a lot of gardeners lose momentum, but it is genuinely important.
Carrot seeds can take anywhere from one to three weeks to sprout, depending on the temperature, and the soil needs to stay consistently moist throughout that entire window for germination to succeed.
Spacing & Thinning for Bigger Carrots
Skipping thinning is one of the most common reasons carrots end up small and crowded, so it is worth doing properly.
Once the leafy tops are a few inches tall, go through your rows and thin seedlings out, giving each plant enough room to develop a full, healthy root.
Spacing will vary slightly depending on the variety you are growing.
If you are worried about disturbing nearby roots, snipping the tops with small scissors rather than pulling is a gentler approach that keeps surrounding seedlings undisturbed.
Watering Tips for Better Germination & Yield
Water is one of those things that looks simple on the surface but quietly determines how well your carrots actually grow.
- Keep the seedbed consistently moist from day one, as dry soil is one of the leading causes of poor germination.
- Avoid letting the soil dry out completely between waterings once seeds are in the ground.
- Irregular or uneven watering later in the season is a common trigger for cracked, split roots.
- Laying mulch over the bed helps retain soil moisture, especially in warmer climates where the surface dries out quickly.
- Always water gently and evenly, never with heavy pressure directly over the bed.
Getting your watering rhythm right from the very beginning gives your carrots the stable, consistent environment they need to grow long, smooth, and crack-free.
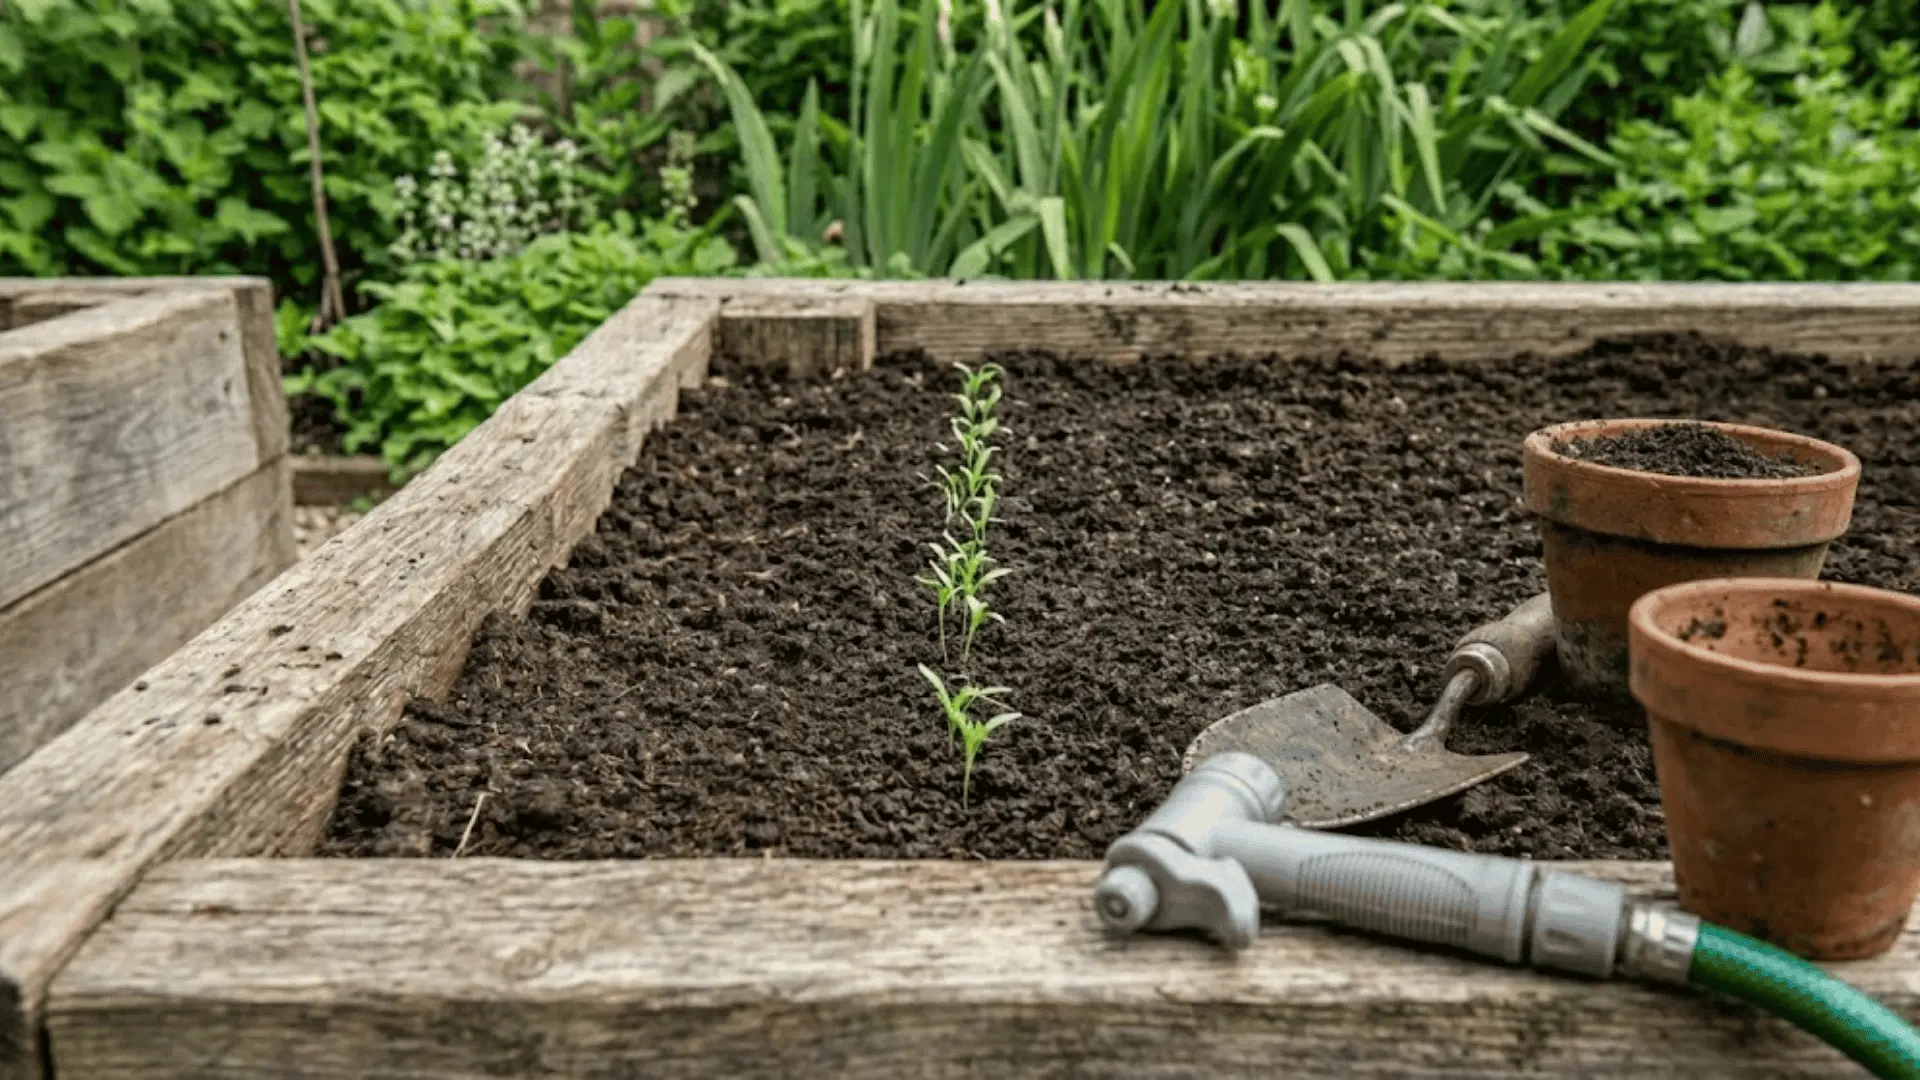
How to Grow Carrots in Raised Beds?
If your native soil is heavy or compacted, a raised bed can genuinely change your results without requiring you to overhaul your entire garden.
- Step 1: Build or use a raised bed for better drainage and easier soil control than ground-level planting.
- Step 2: Fill with loose, well-amended soil that you can fully control from the start.
- Step 3: Enjoy naturally straighter, cleaner roots since there are no rocks or compaction working against growth.
- Step 4: Maintain the bed between seasons to keep the soil structure light and workable.
Note: Bed depth matters more than most gardeners realize. Make sure your bed is deep enough to comfortably accommodate the full root length of your chosen carrot variety.
How to Grow Carrots in Containers?
Container growing is a great option when garden space is limited, and carrots actually adapt well as long as you get the setup right.
- Step 1: Choose a container with sufficient depth to give roots the vertical space they need to develop fully.
- Step 2: Fill with a lightweight, well-draining potting mix rather than dense garden soil, which tends to compact and restrict growth.
- Step 3: Water more frequently than you would in a ground bed, as containers dry out faster, and consistency matters just as much here.
Note: Standard carrot varieties generally need a container at least twelve inches deep. Shorter and baby varieties are naturally better suited to pot growing and will reward you with far less effort.
Best Carrot Varieties for Containers
Not every variety thrives in a container, so choosing the right one makes a real difference.
| Variety | Root Type | Best For |
|---|---|---|
| Parisian | Round, compact | Very shallow pots |
| Thumbelina | Short, stubby | Small or narrow containers |
| Little Finger | Slim, petite | Tight or medium-depth pots |
| Chantenay | Shorter, broader | Standard depth containers |
Secrets for Growing Bigger, Sweeter Carrots
A few small, intentional choices during the growing process can make a noticeable difference in both the size and flavor of your final harvest.
- Grow carrots during cool weather for the best flavor, sweetness, and overall root texture.
- Use a low-nitrogen fertilizer since too much nitrogen pushes leafy top growth at the expense of the root.
- Succession sow every few weeks to keep a steady, continuous harvest coming rather than one large batch.
- Harvest at the right time, as leaving roots in the ground too long can cause them to turn woody and lose their sweetness.
Carrots are genuinely one of those crops where a little extra attention to timing and feeding pays off in ways you can actually taste.
Common Problems & Fixes
Even with the best intentions, carrots can throw a few surprises your way. Here is what might be going wrong and how to fix it.
Problem 1: My Carrots are Coming out Forked and Twisted.
Fix: This usually points to something physical blocking root growth, like rocks, compacted soil, or fresh manure worked into the bed. Clear obstructions before sowing and always use well-aged compost instead of fresh organic matter.
Problem 2: My Carrots are Staying Tiny No Matter What
Fix: Overcrowding is almost always the culprit, so go back and check your spacing and thinning. Low soil fertility can also stunt root development, so a light feed with a balanced low-nitrogen fertilizer can help.
Problem 3: My Carrots Taste Bitter, and the Texture Feels Woody
Fix: Heat stress during the growing period or leaving roots in the ground past their prime are the two most common reasons. Aim to harvest on time and stick to cool-season sowing windows for the sweetest results.
Problem 4: My Carrot Seeds are Not Germinating
Fix: A seedbed that dries out even once during the germination window can interrupt the whole process. Keep the soil consistently moist from sowing right through until the first shoots appear.
Pests & Protection
Carrots are relatively low-maintenance, but a few common pests can quietly undo a lot of your hard work.
Rabbits tend to go straight for the leafy tops, so a simple wire barrier around your bed goes a long way. The carrot rust fly is another one to watch, as its larvae damage roots from below with no visible warning.
Slugs are most active around young seedlings, particularly in damp conditions.
Covering your beds with fine mesh row covers or netting from the start offers reliable, chemical-free protection against most of these issues.
When and How to Harvest Carrots?
Knowing when to pull your carrots is just as important as how you grew them. Getting the timing and technique right means the difference between a clean harvest and broken roots.
Signs Your Carrots are Ready
A few simple visual cues will tell you when your carrots are genuinely ready to come out of the ground.
- The shoulder of the carrot becomes visible just at the soil line.
- The root has reached your variety’s expected thickness.
- The color looks deep, even, and fully developed along the visible portion.
- There are no signs of cracking or splitting, which usually means you are still within the right window.
How to Harvest and Store?
If your soil is at all firm or compacted, loosen it gently around the roots before pulling to avoid snapping them mid-harvest.
Once out of the ground, twist or cut the leafy tops off straight away rather than leaving them on, as the tops continue drawing moisture from the root and shorten shelf life considerably.
Stored properly in the refrigerator, fresh carrots can last well.
The Closing Note
Learning how to plant carrots well is really just about giving them the right conditions and then trusting the process.
Loose soil, good spacing, consistent moisture, and a little patience go further than any shortcut ever could. Once you get your first proper harvest, those long, smooth, homegrown carrots make every careful step feel completely worth it.
Garden bed, raised bed, or container, the results can genuinely surprise you, no matter the setup.
Tried any of these tips in your own garden? Drop your experience in the comments below.
Frequently Asked Questions (FAQs)
Can You Start Carrots Indoors?
Carrots do not transplant well, and even minor root disturbance can cause forking or stunted growth. Always sow directly into your final growing spot.
Why are My Carrots Skinny?
Overcrowding is usually the first thing to check, as roots cannot spread without enough space. Poor soil fertility and inconsistent watering can also be contributing factors.
How Long Do Carrots Take to Grow?
Most varieties reach maturity between two and four months from sowing, depending on the type and growing conditions. Cooler temperatures often slow things slightly but tend to produce sweeter roots in return.