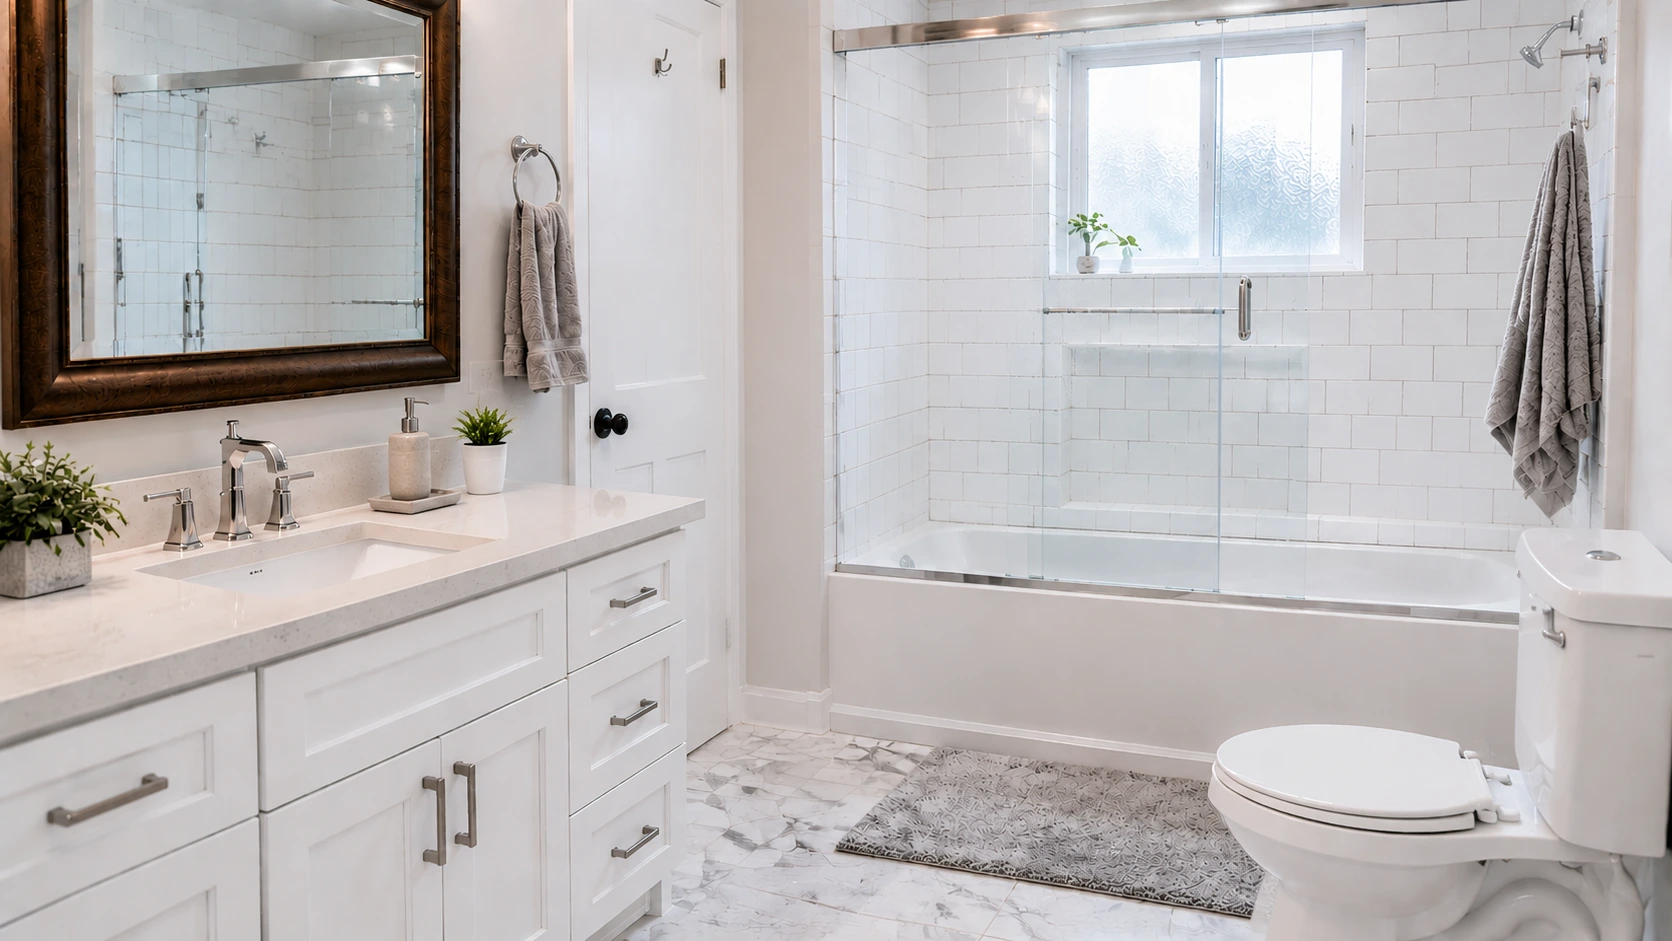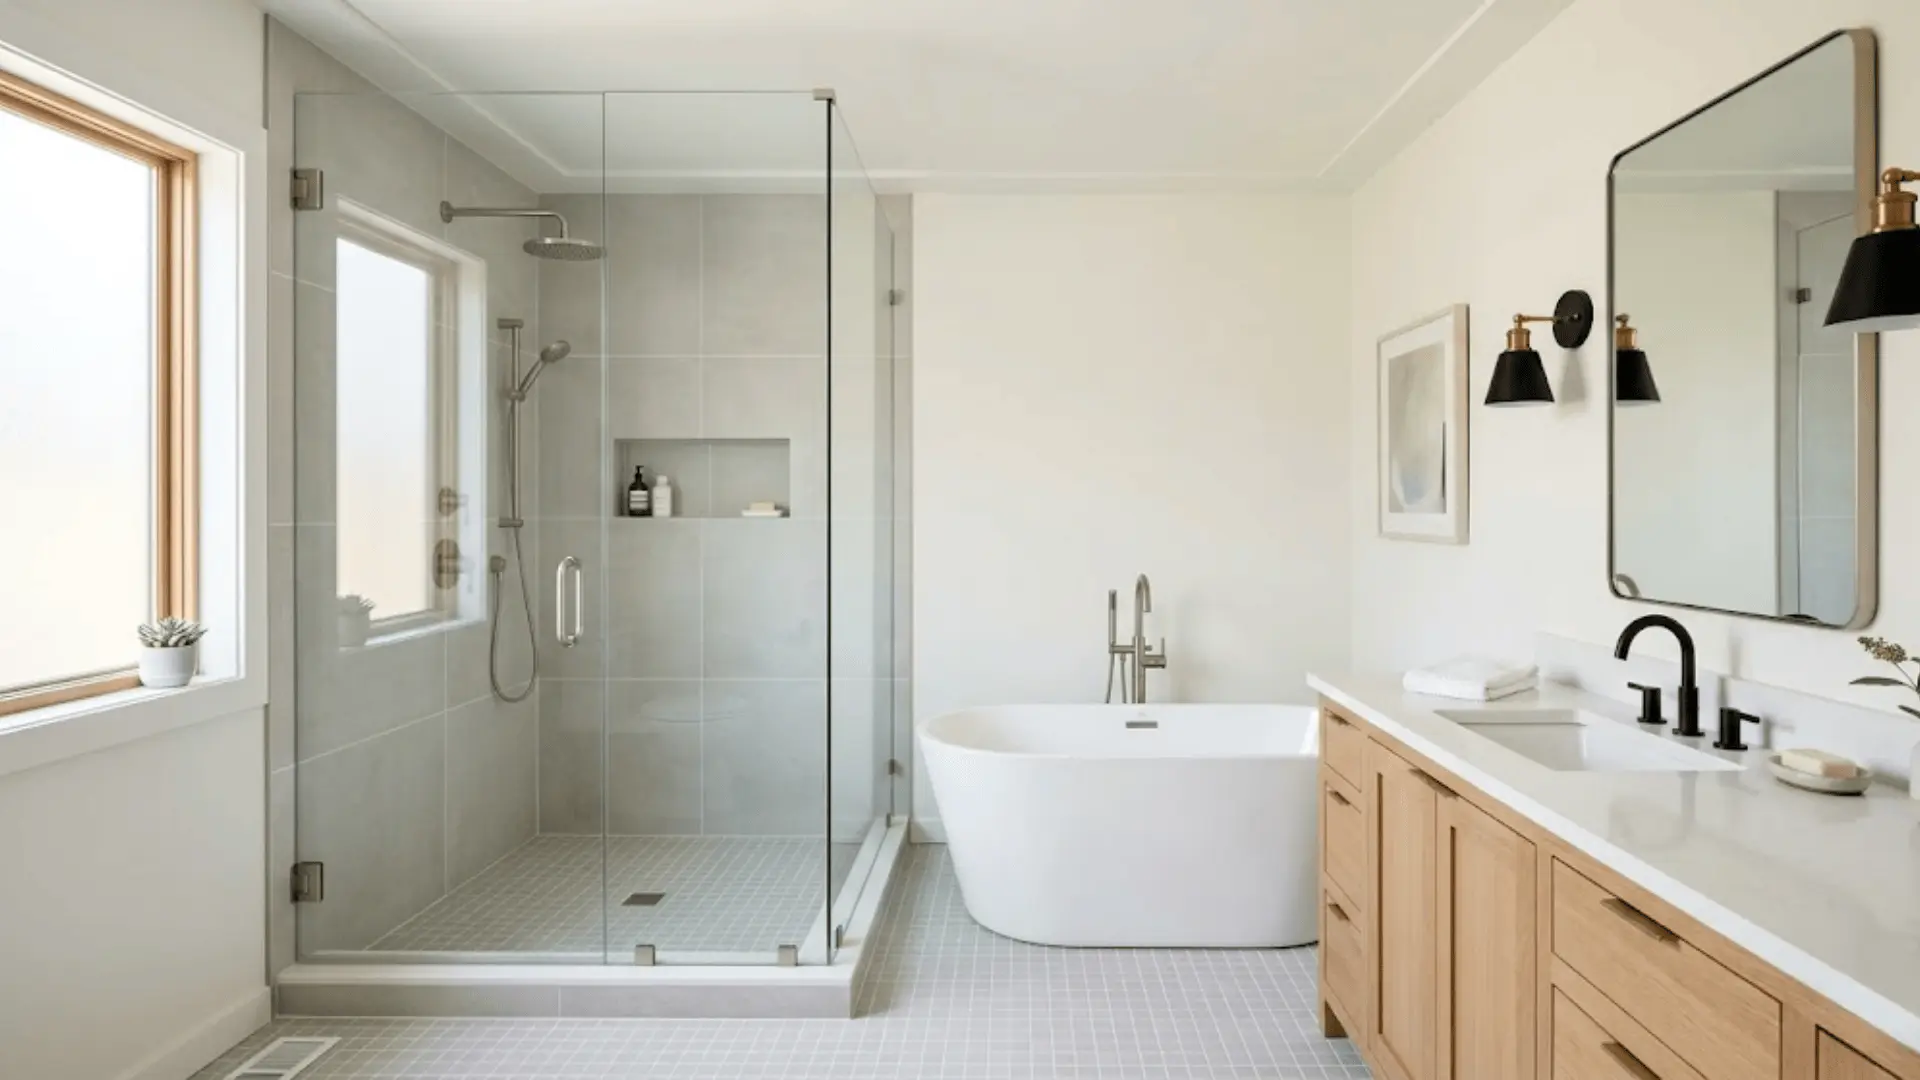
Tiling a shower feels intimidating until you actually break it down. What looks like a contractor-only job is honestly something you can pull off yourself, and the results?
Completely worth it.
You save a good chunk of money, get to choose every little detail, and end up with a finish that holds up beautifully for years. First-timers and seasoned DIYers alike have tackled this exact project with great success.
Stick around because everything from the right tools and proper prep to a tiling process that actually makes sense is all covered ahead.
Before You Start: What to Know About Shower Tiling?
Shower tiling is absolutely beginner-friendly, and proper planning is what separates a smooth project from a stressful one.
It does span multiple days since mortar and grout both need adequate drying time, so patience is just as important as technique here.
| Tile Type | Best For | Maintenance | Durability |
|---|---|---|---|
| Ceramic | Budget builds, first-time DIYers | Low | Moderate |
| Porcelain | High-moisture walls and floors | Very low | High |
| Natural Stone | Luxury, spa-style aesthetics | Requires sealing | Very high |
Tools and Materials You’ll Need
Getting your supplies sorted before starting saves a lot of back-and-forth mid-project.
Here’s everything you’ll want to have on hand:
- Waterproof foam tile backer board
- Approved backer board screws
- Waterproof sealant
- Thin-set mortar
- Margin trowel and notched trowel
- Grout float
- Spacers
- Level
- Ledger board
- Snap cutter or wet saw
- Angle grinder
- Diamond hole saw bit
- Grout brush and toothbrush
- Putty knife
- Clean sponge and microfiber towel
- Silicone caulk and caulking tool
- Two buckets
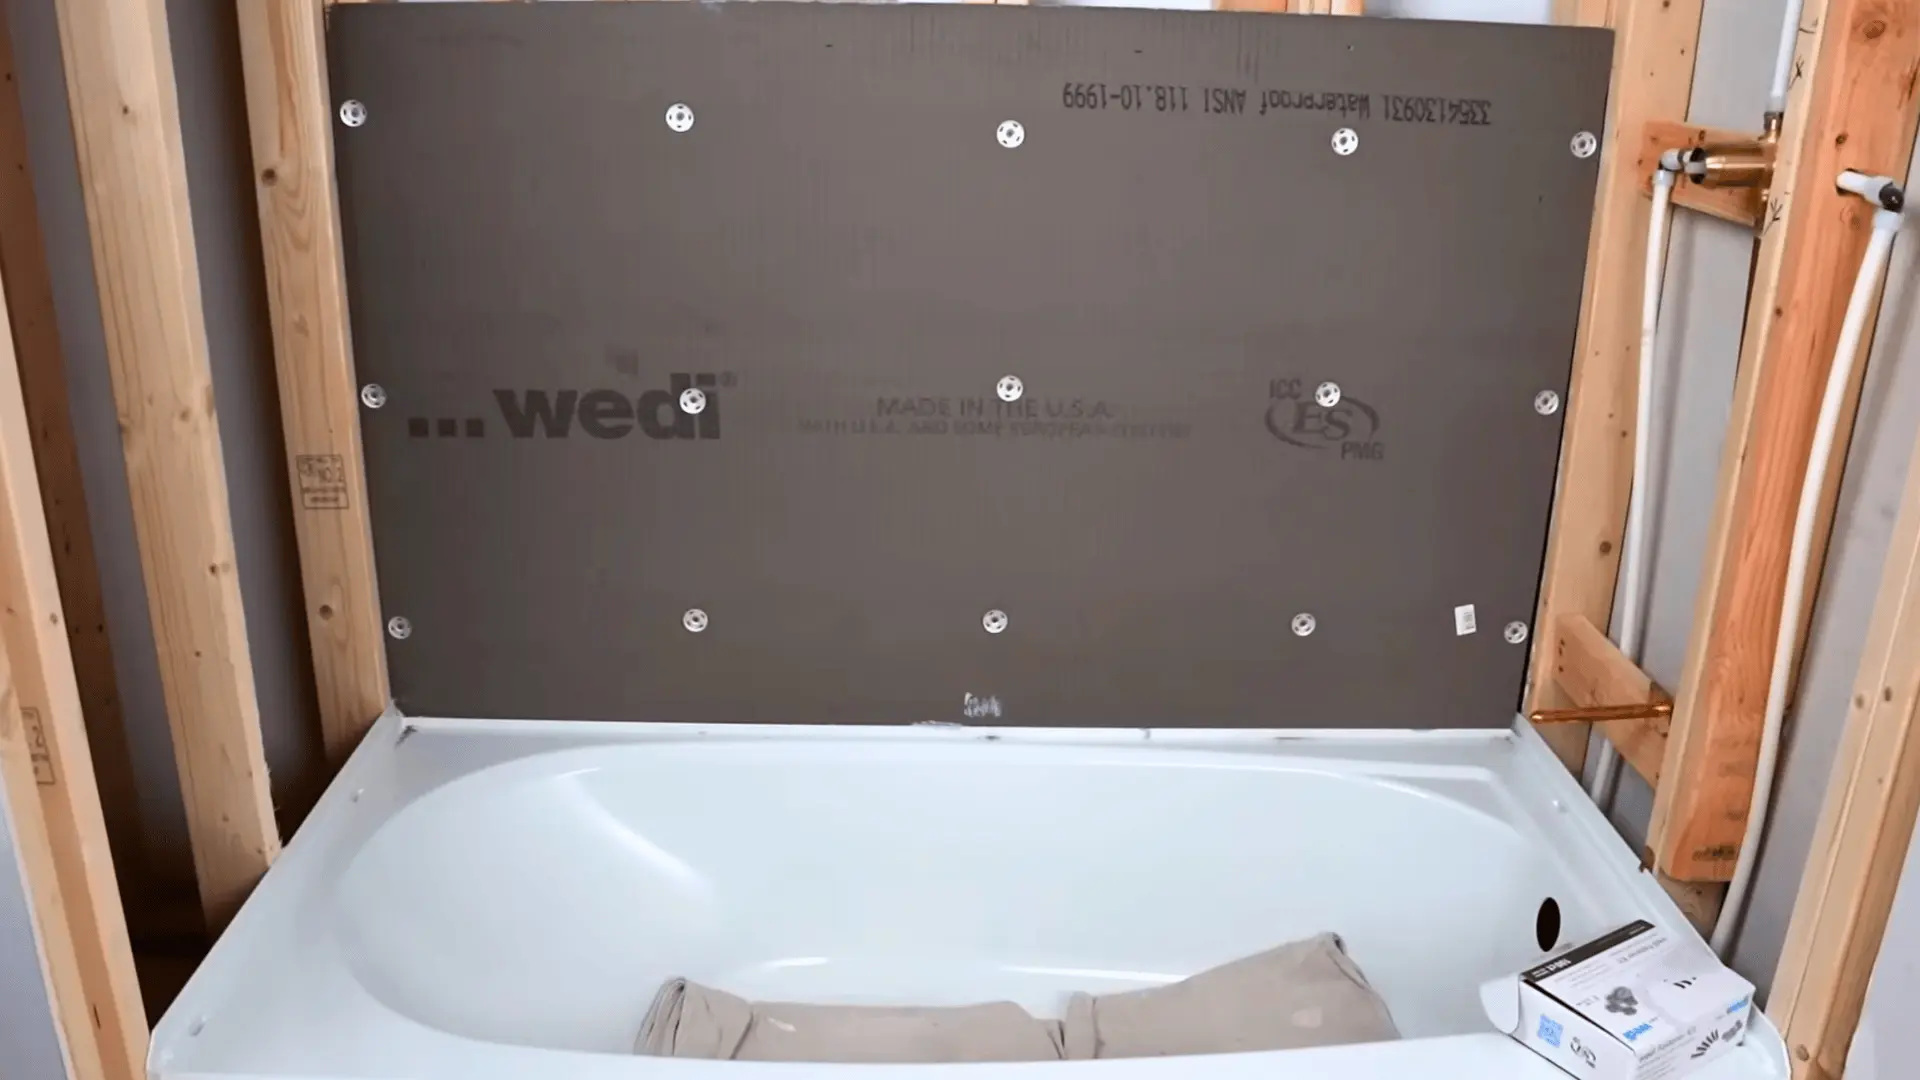
Preparing the Shower Area
Start by covering the tub with plywood and protecting finished floors with a tarp or construction paper.
Check that all studs are touching the back of the tub flange, screwing in a new stud alongside any that aren’t flush.
Once framing is solid, measure and cut your waterproof backer boards, notching around the tub flange so everything sits flat.
Hang boards with screws, applying sealant along seams, inside corners, and screw holes to create a fully watertight surface before any tile goes up.
Step-by-Step: How to Tile a Shower?
Getting the prep right makes the actual tiling process feel almost effortless. Follow these steps carefully, and the results will speak for themselves.
Step 1: Waterproof the Backer Board
Once all boards are hung, seal every screw hole, seam, and inside corner with waterproof sealant and spread flat using a putty knife.
Add a final bead where the backer board meets the tub. Before moving forward, do a thorough visual check to confirm nothing was missed.
Step 2: Plan Your Layout and Prep Your Tools
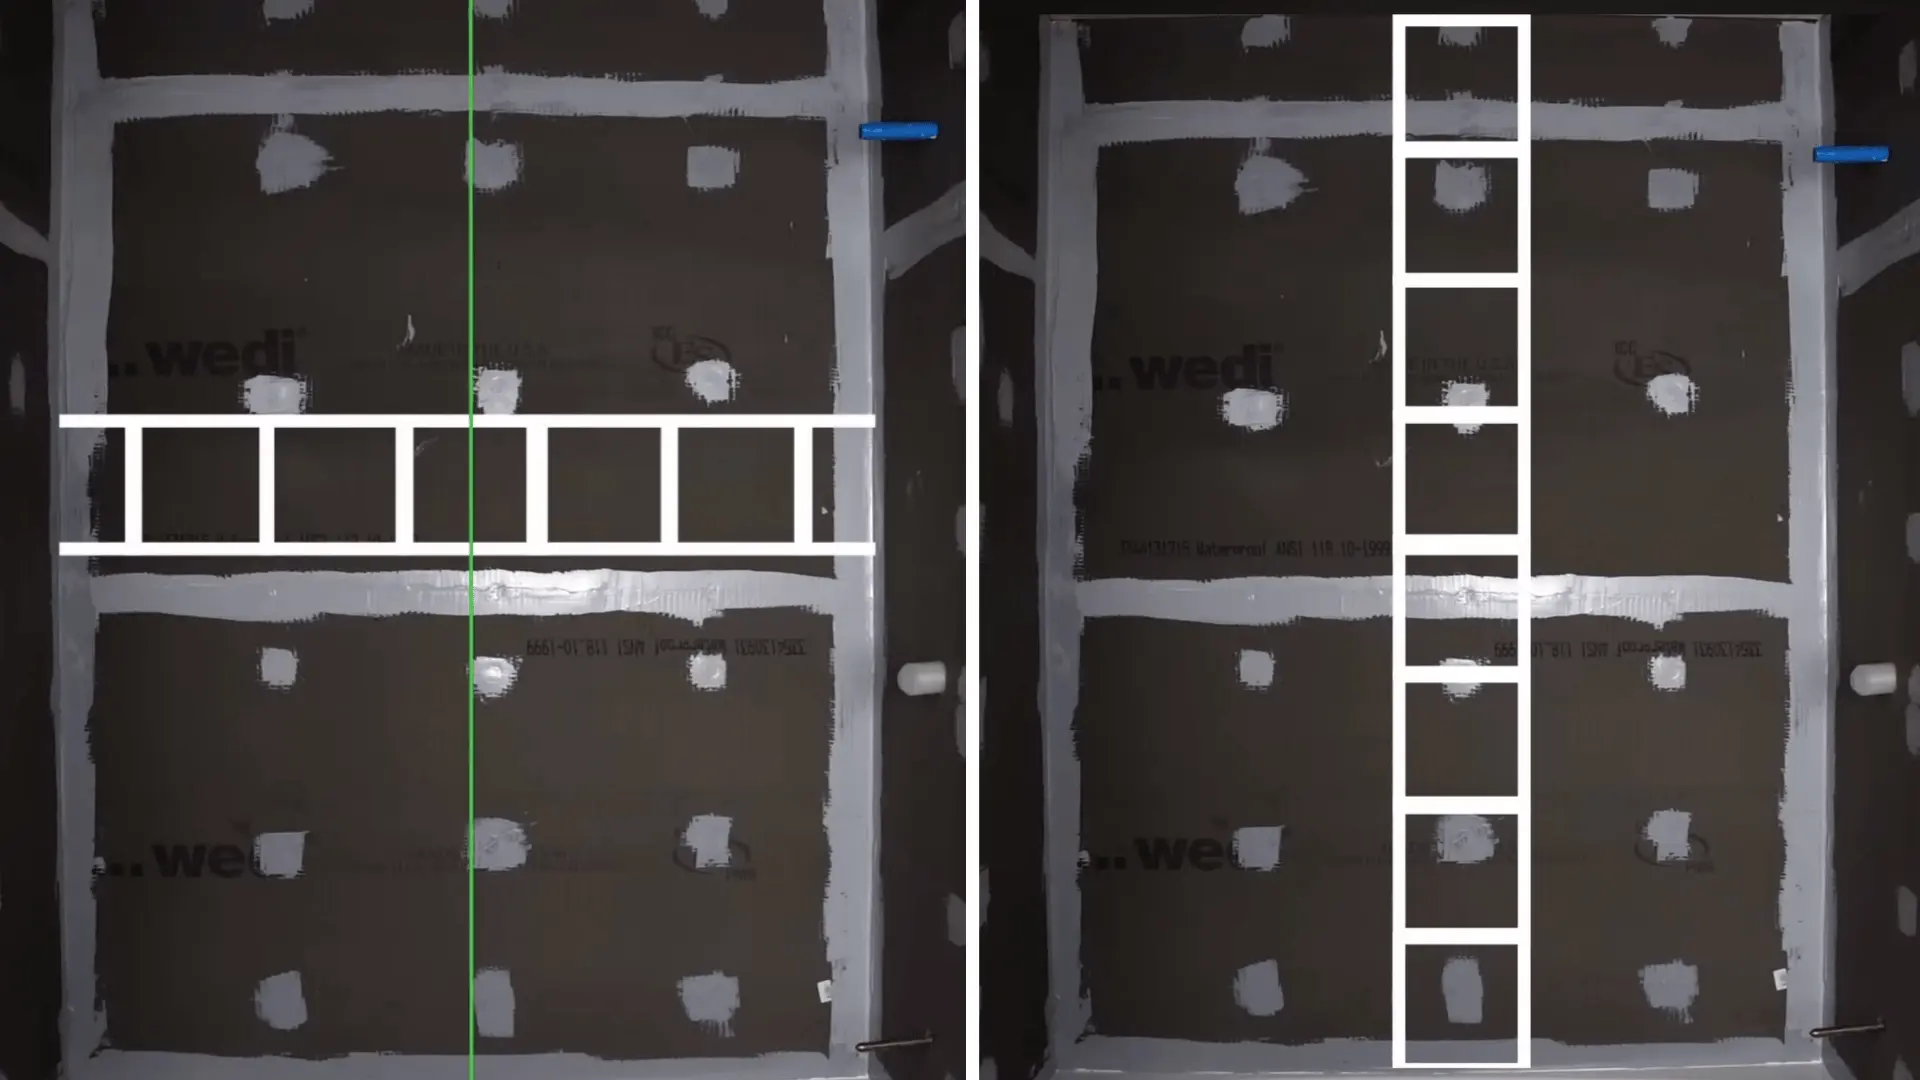
Center the tile horizontally along the back wall by measuring and dividing by tile size plus spacer size. Do a dry fit to avoid awkward cuts in corners.
Meanwhile, match your trowel size to your tile: a 1/4″ notch for smaller tiles, up to a 1/2″ square notch for anything 16″ and larger.
Step 3: Mix, Apply, and Set the Tile
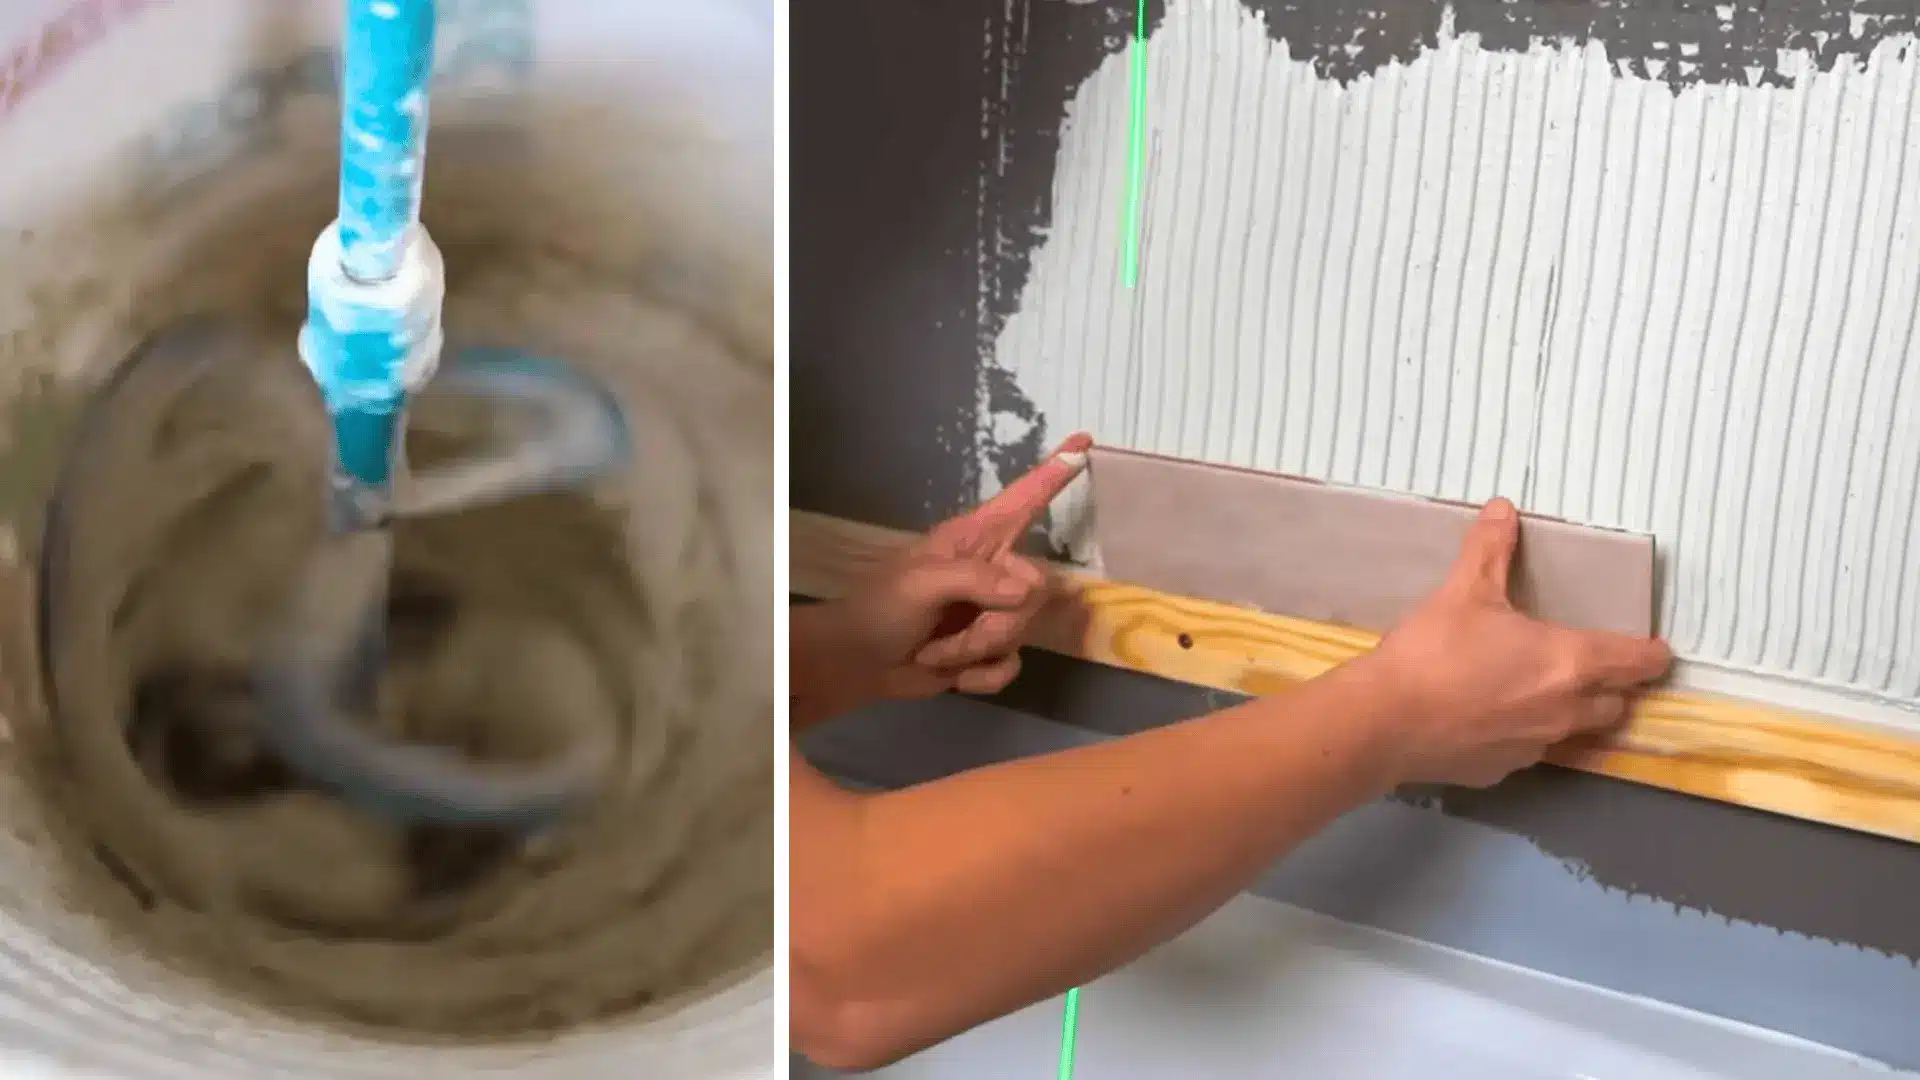
Mix thin set to a smooth, creamy consistency, burn it into the wall with the flat side of the trowel, then comb through with the notched side.
Burn a thin layer onto each tile’s back, too. Set tiles along your layout line, moving each one back and forth to eliminate air pockets and hit that 95% coverage target.
Step 4: Cut Tiles and Grout
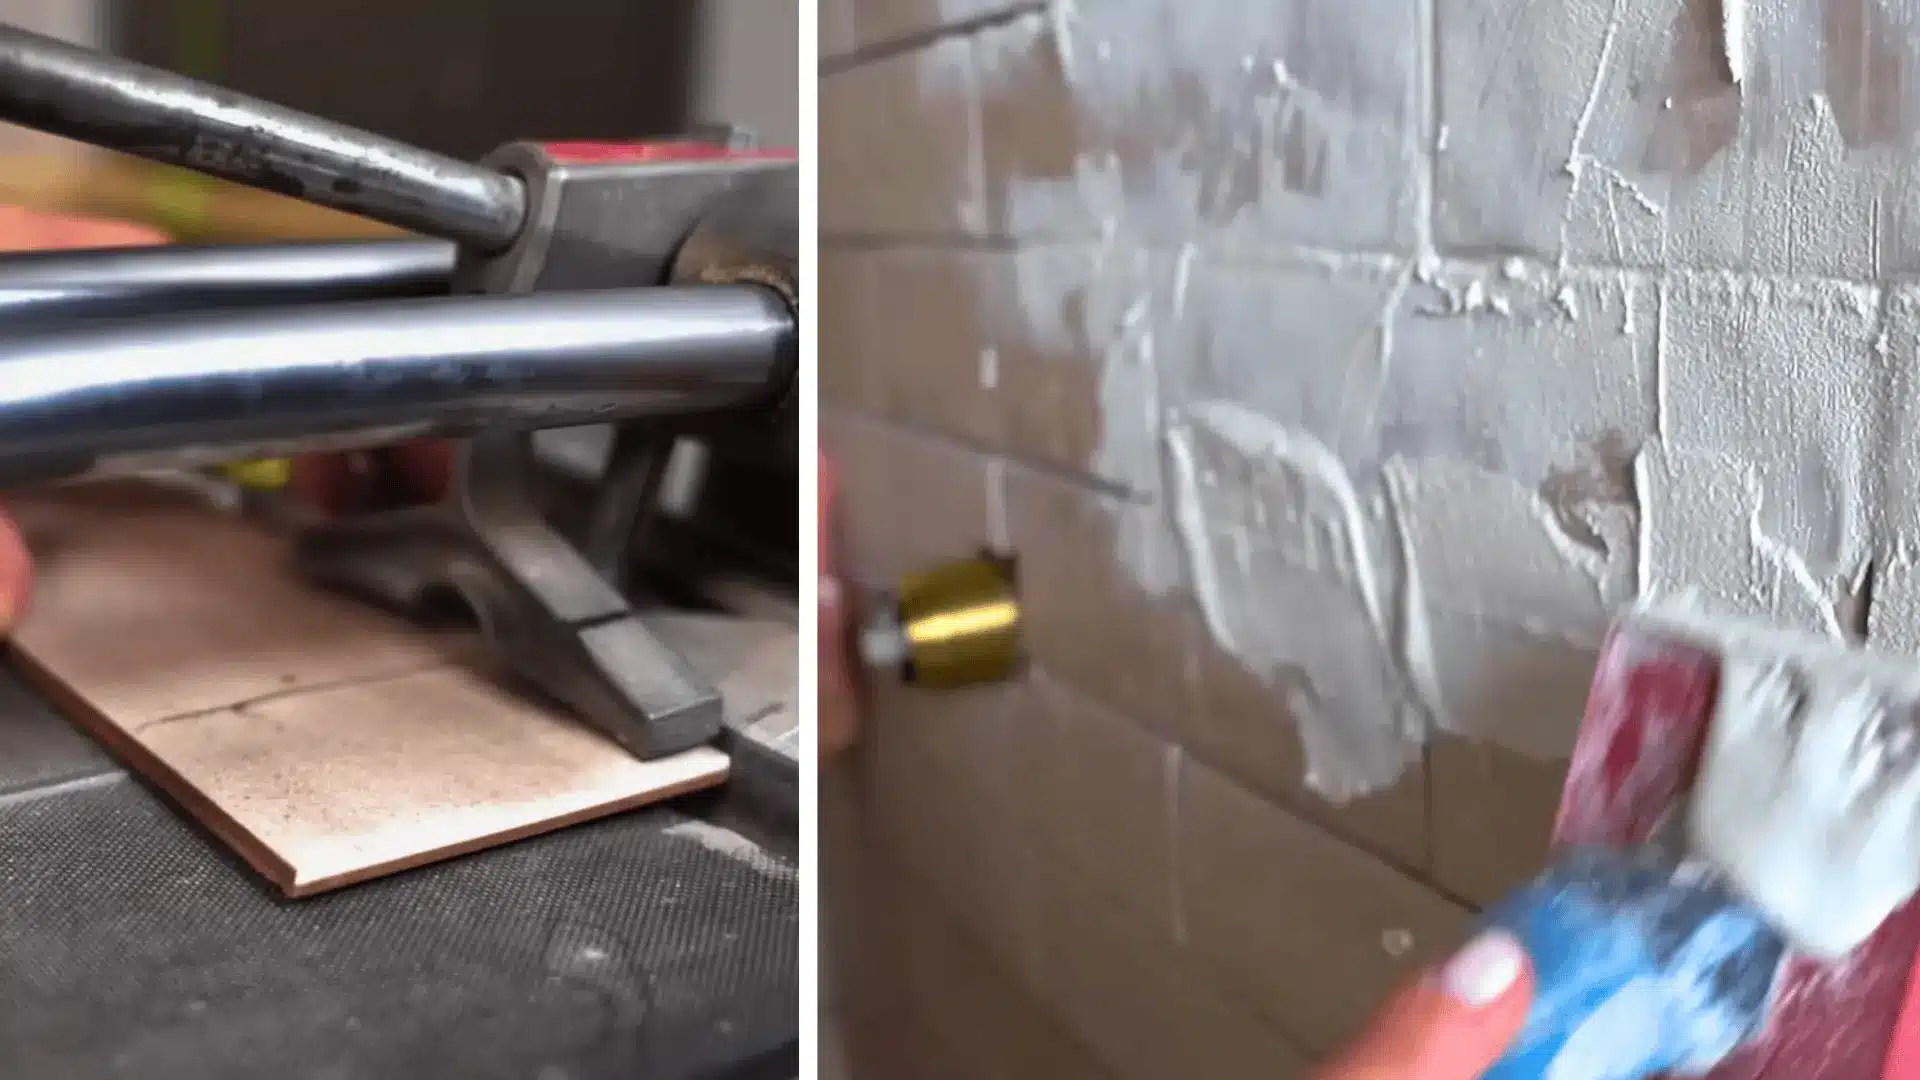
Use a snap cutter for straight cuts and a wet saw or angle grinder around fixtures. Once tiling is complete, remove spacers, do a final clean, and apply grout using a float.
Keep inside corners completely clear since those get silicone, not grout. Clean off excess with a damp sponge and follow up with a dry microfiber towel.
Step 5: Seal with Silicone Caulk

Finish by siliconing all inside corners and where the walls meet the tub. Apply a generous bead, spritz with ammonia-free glass cleaner to prevent sticking, then press into the joint with a caulking tool.
Wipe the tool often to keep edges clean and avoid smearing onto the tile surface.
For a more detailed walkthrough of the process, check out the complete video tutorial below by That Tile Chick
Tips for a Professional Finish
Small habits make a big difference between a finish that looks DIY and one that looks done by a pro.
- Start one full tile row up from the base and save the bottom cuts for last to keep alignment clean throughout.
- Check with a level frequently, especially across the first few rows, where any drift compounds quickly.
- Work in small sections so the thin set never skins over before tiles are placed.
- Clean grout joints as you go while the thin set is still soft; dried mortar is significantly harder to remove.
- Leave inside corners free of grout and fill them with silicone instead to allow for natural expansion.
None of these is complicated, but skipping even one can show up in the final result in ways that are hard to fix after the fact. Stay consistent with each step, and the finished shower will reflect exactly the effort put into it.
How Long Does it Take to Tile a Shower?
Tiling a shower is genuinely a multi-day commitment. Prepping the walls and hanging backer board typically takes a full day on its own.
Tiling the walls comes next and can run another one to two days, depending on the size of the shower and the complexity of the layout.
From there, thin set needs at least 24 hours to cure before grouting, and grout itself needs additional drying time before silicone goes in.
Realistically, budget 3 to 5 days from start to finish and avoid rushing the drying stages, as that’s where most mistakes happen.
Maintenance Tips for Tiled Showers
A well-tiled shower stays that way only with a little regular attention.
- Wipe down tiles after each use to prevent soap scum and moisture buildup from settling in.
- Clean grout lines weekly with a mild cleaner to keep mold and mildew from taking hold.
- Reseal grout once a year to maintain water resistance and prevent long-term moisture damage.
- Inspect silicone corners periodically and re-caulk any areas that show cracking or separation.
- Avoid harsh chemical cleaners as they gradually break down grout and sealant over time.
Consistent upkeep is what keeps a tiled shower looking just as good years down the line as it did on day one.
The Bottom Line
Tiling a shower is one of those projects that genuinely rewards the effort put into it.
Done right, it adds lasting value, holds up beautifully against daily moisture, and looks like a space worth stepping into every morning.
Prepping the walls, setting each tile with care, and sealing the corners properly all build toward a result that feels solid and intentional. Give it the time it deserves, and the outcome will more than justify it.
Tried this project recently or have questions along the way? Drop them in the comments below.