That white, chalky crust around your faucet. The cloudy ring in your toilet bowl keeps coming back, no matter what you do. The glass shower door looks dirty even right after cleaning.
Hard water stains are genuinely one of the most stubborn bathroom problems to deal with. They come back fast, they build up quietly, and regular cleaning products barely make a dent.
The good part? Once you know what actually works on each surface and why, the whole process gets a lot easier.
This guide covers everything, from quick home fixes to long-term solutions, so you can stop scrubbing and start seeing results.
What Are Hard Water Stains?
Hard water contains high levels of calcium and magnesium, which are picked up as it moves through rock and soil. When this water sits on a surface and dries, the minerals left behind form white, chalky deposits.
These deposits go by several names, including limescale, mineral buildup, and calcium deposits, but they all mean the same thing. The longer they sit, the harder they are to shift.
How Do You Know If You Have Hard Water?
Before you start cleaning, it helps to confirm hard water is actually what you are dealing with. Some of these signs are easy to miss until you know what to look for.
Check for these signs:
- White spots on dishes after the dishwasher runs: The minerals dry on the surface and leave a cloudy film
- Chalky crust around the base of faucets: Calcium builds up where water drips and dries repeatedly
- Soap that does not lather well: Hard water minerals reduce the effectiveness of soap and shampoo
- Stiff, rough clothes after washing: Mineral residue stays in the fabric after each wash cycle
- Permanently cloudy glassware: Once glass is etched by mineral deposits, that cloudiness does not clean off
- Low water pressure from the showerhead: Mineral buildup clogs the nozzle openings over time
- Orange or brown ring in the toilet bowl: Iron in the water leaves this color; calcium leaves white or gray rings
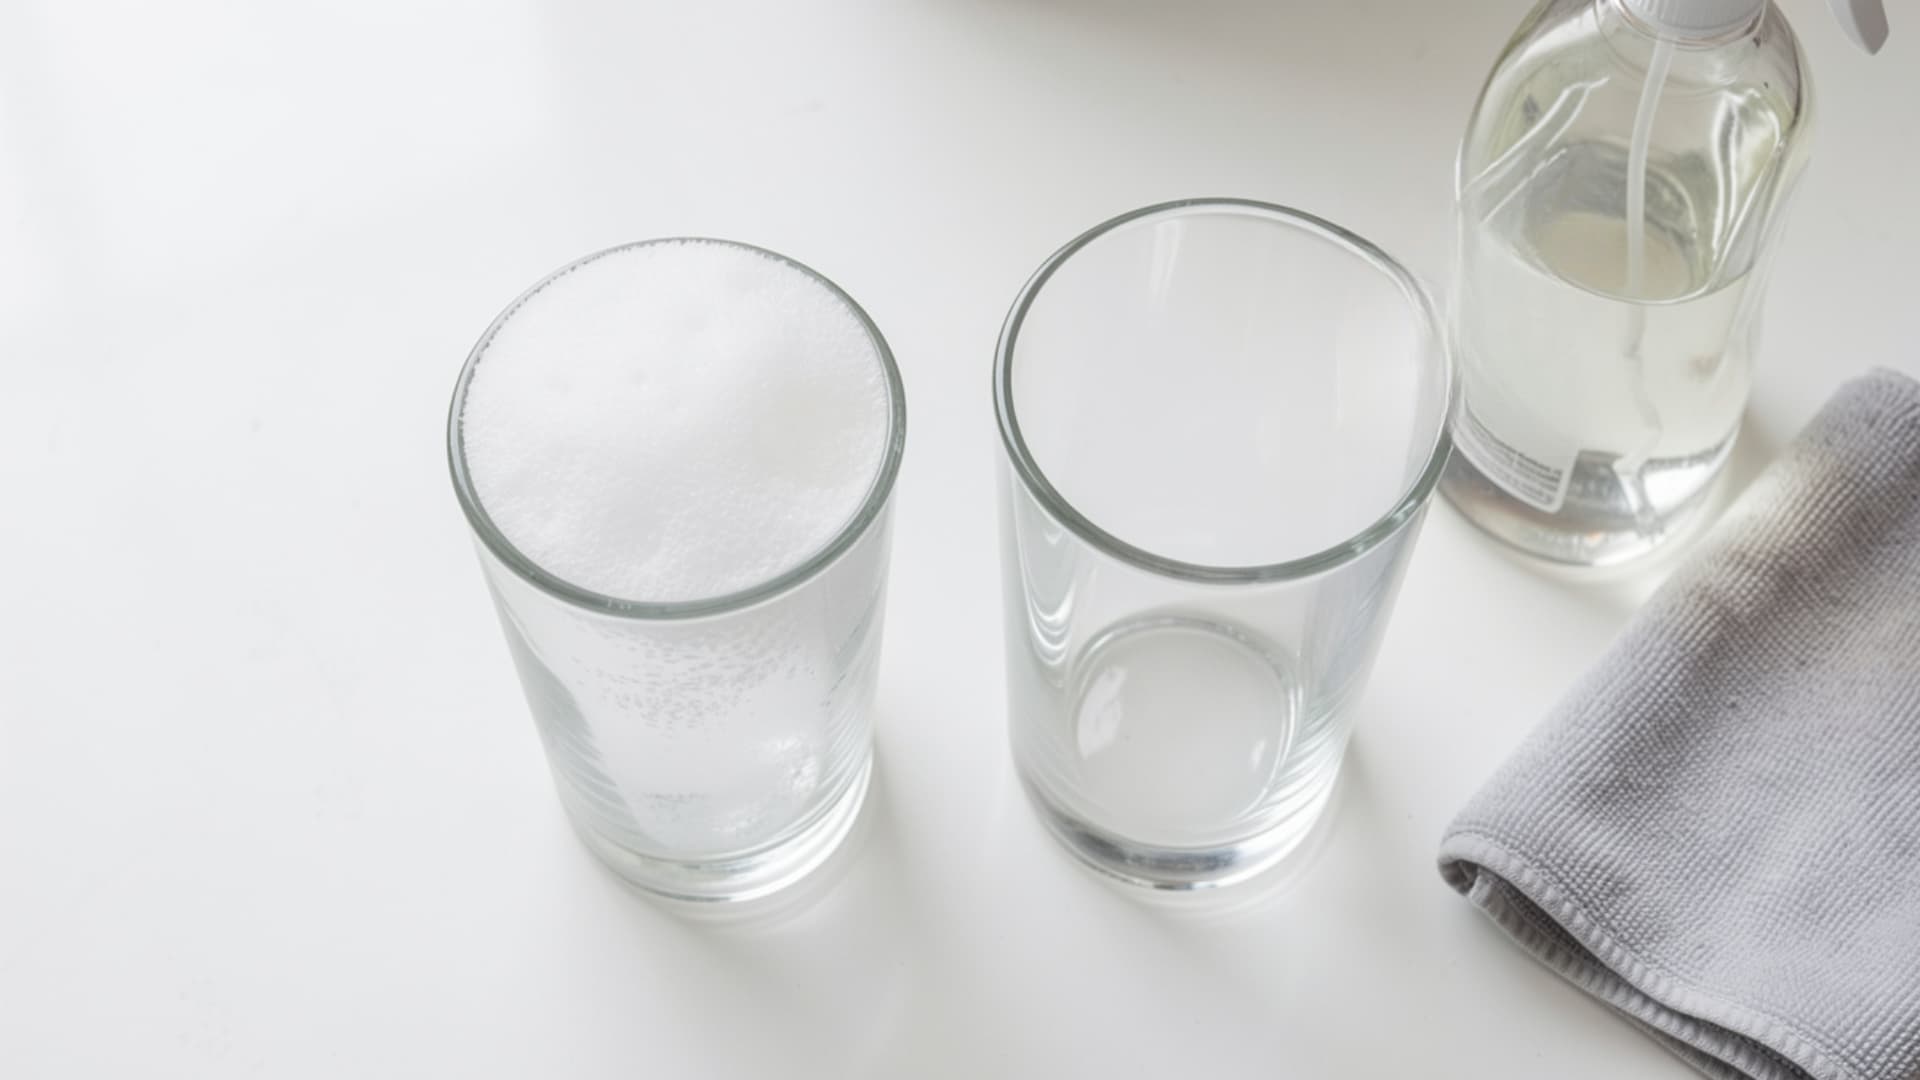
Quick home test: Fill a clear bottle one-third of the way with tap water. Add a few drops of liquid soap and shake for 10 seconds. If the water remains cloudy and does not foam, it is likely hard.
Pro Tip: Many local water utilities offer free water hardness testing. A basic test kit is also available online for just a few dollars.
Where Do Hard Water Stains Show Up Most?
Hard water does not pick one spot and stop there. It follows the water, and that means it turns up in more places than most people expect.
| Surface | What It Looks Like |
|---|---|
| Toilet bowl | White or gray ring at the waterline; brown rings if iron is present |
| Shower walls and tubs | White or light gray mineral film across the surface |
| Glass shower doors | Cloudy, streaky buildup that looks dirty even when clean |
| Faucets and showerheads | Crusty white deposits around the base and nozzle openings |
| Tiles and grout | Discolored grout lines and spotted tile surfaces |
| Dishes and glassware | Cloudy white spots after dishwasher cycles |
| Clothes | Stiff fabric, faded colors, and white mineral residue on the fabric |
| Appliances | Scale inside dishwashers, washing machines, and coffee makers |
| Pipes | Gradual narrowing inside that causes low pressure and slow drainage |
How to Remove Hard Water Stains from Different Surfaces
Each surface responds differently to the same cleaner. What works fast on a toilet can damage a fiberglass tub. Knowing the right method for each surface saves time and prevents accidental scratching or etching.
1. Toilets
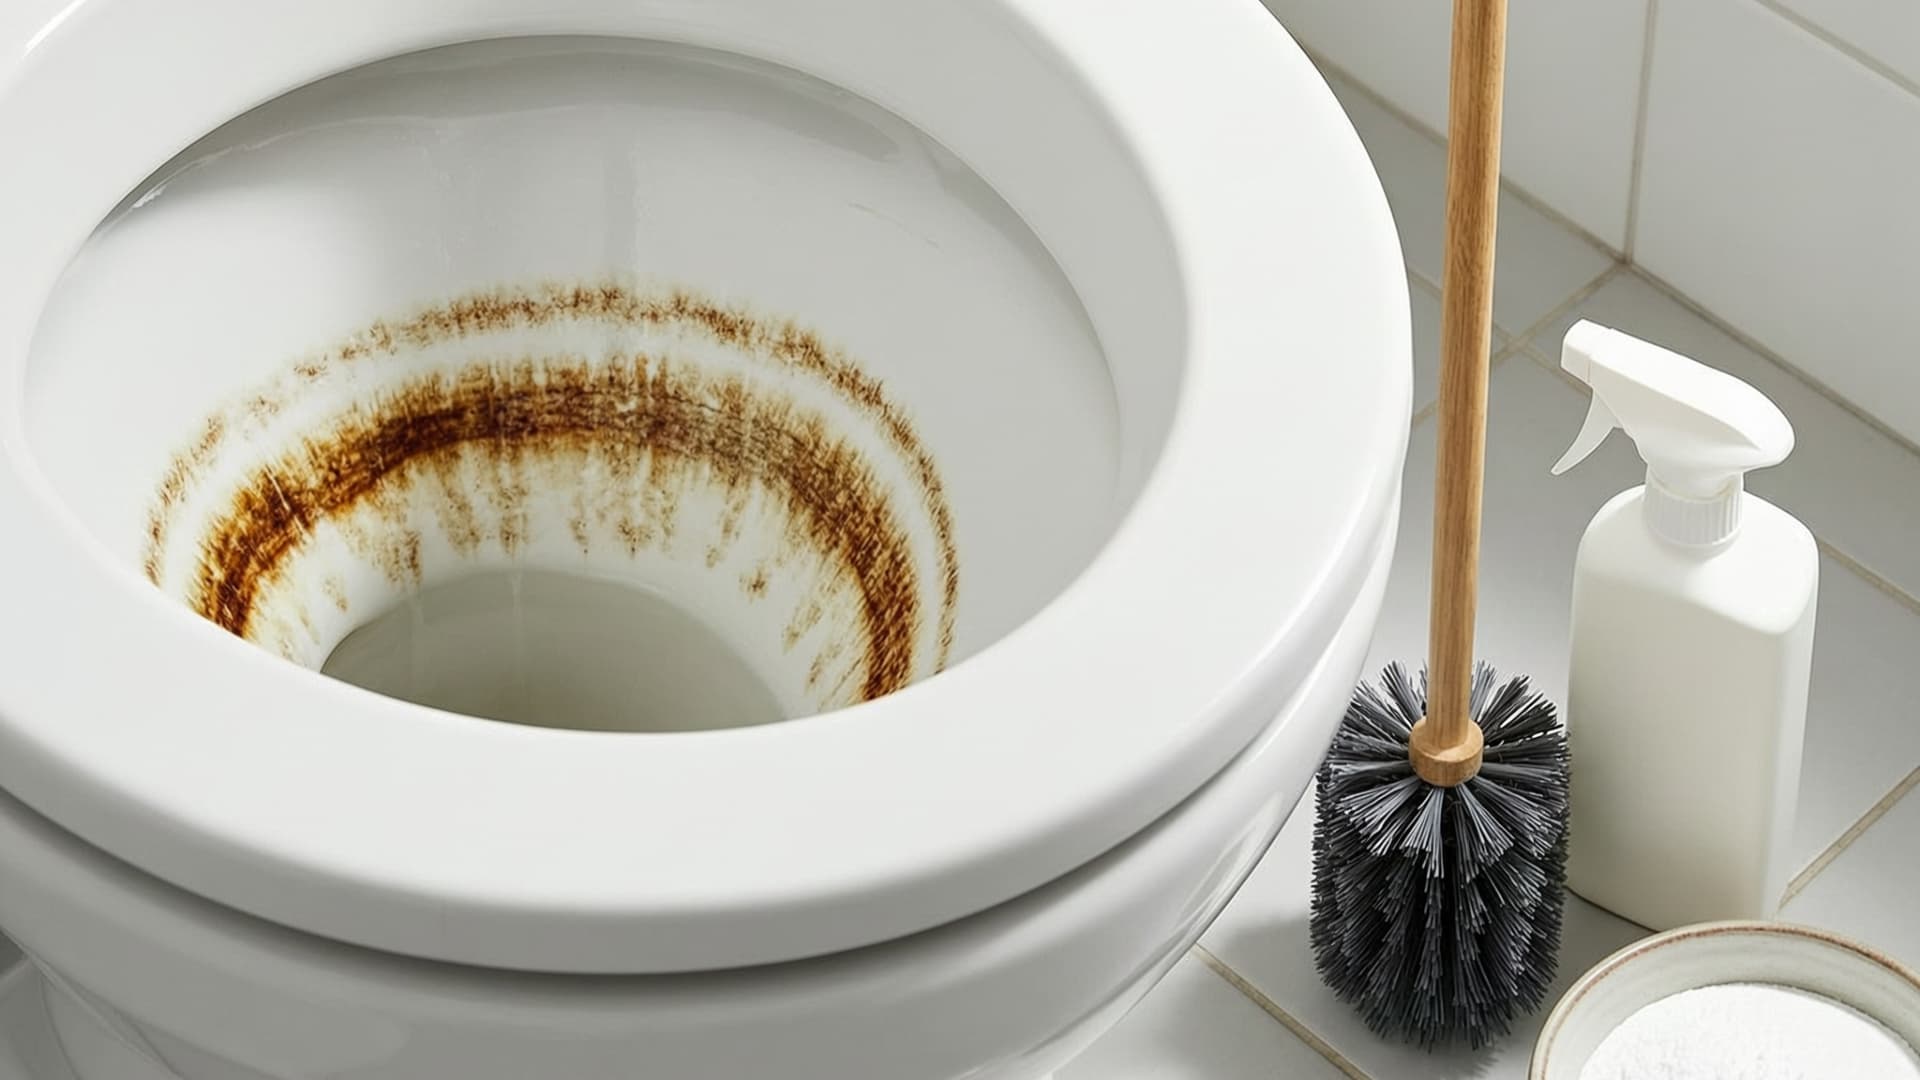
The toilet bowl is one of the first places hard water stains show up, and also one of the easiest to ignore until the ring gets bad. That waterline ring is pure mineral buildup from water sitting and evaporating repeatedly.
The good news is you do not need heavy chemicals to break it down. Vinegar and baking soda handle most cases just fine, even when the staining looks stubborn.
Tools and materials needed: White vinegar, baking soda, borax, rubber gloves, stiff toilet brush, old toothbrush
- Step 1: Pour one to two cups of undiluted white vinegar directly into the toilet bowl, making sure it coats the waterline ring.
- Step 2: Let the vinegar sit for 30 to 60 minutes. For stubborn buildup, turn off the water supply, flush the bowl empty, and apply a thick paste of baking soda and vinegar directly to the stained areas.
- Step 3: Sprinkle baking soda over the vinegar still in the bowl. The fizzing action helps lift the mineral deposits off the surface.
- Step 4: Scrub with a stiff toilet brush, paying extra attention to the waterline. Use an old toothbrush for the rim holes under the bowl edge.
- Step 5: Turn the water back on and flush. Repeat if any staining remains.
Note: Pink or orange stains inside the toilet are usually caused by a bacterium called Serratia marcescens, not hard water. These need a disinfecting cleaner, not a mineral remover.
2. Showers and Tubs
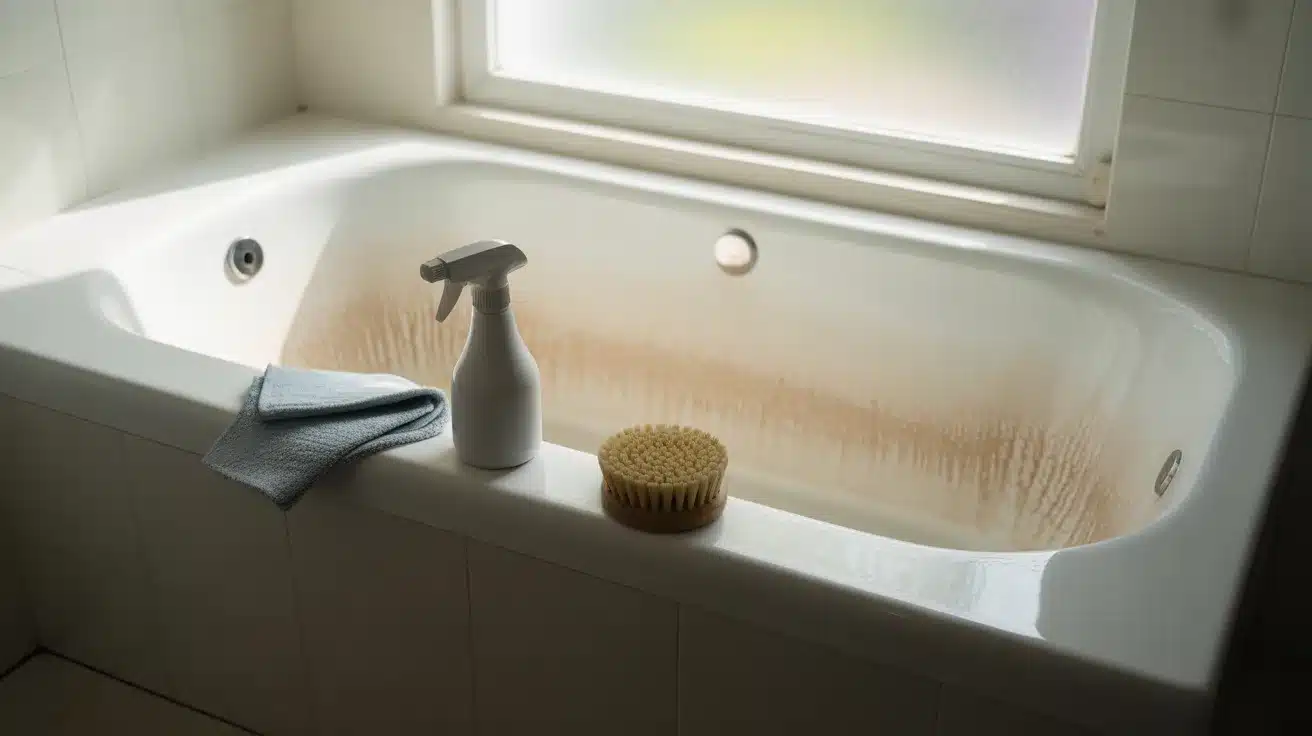
Shower walls and tubs take a beating every single day. Water sprays, sits, and dries on the same spots repeatedly, which is exactly how mineral film builds up into a thick, grimy layer over time.
The cleaning method here depends heavily on the material. Porcelain is fairly tough. Fiberglass needs a much softer approach, or you risk scratching the surface.
Tools and materials needed: White vinegar, baking soda, hydrogen peroxide, cream of tartar, spray bottle, stiff brush, soft sponge, rubber gloves
- Step 1: Identify the surface type before applying anything. Porcelain handles vinegar well. Fiberglass does not.
- Step 2 (Porcelain): Spray undiluted white vinegar across the stained areas and let it sit for 10 to 15 minutes.
- Step 2 (Fiberglass): Mix baking soda with just enough water to make a paste. Apply it only with a soft cloth. Skip vinegar entirely on fiberglass as it can cause surface damage over time.
- Step 3: For porcelain, sprinkle baking soda directly over the wet vinegar surface. The two react and lift the mineral film.
- Step 4: Scrub with a stiff brush on porcelain. Use a soft sponge on fiberglass. Work in small circular motions.
- Step 5: Rinse with cool water and dry the surface with a microfiber cloth.
Caution: Never use vinegar on granite, marble, or other natural stone. The acid etches the surface permanently.
3. Glass Shower Doors
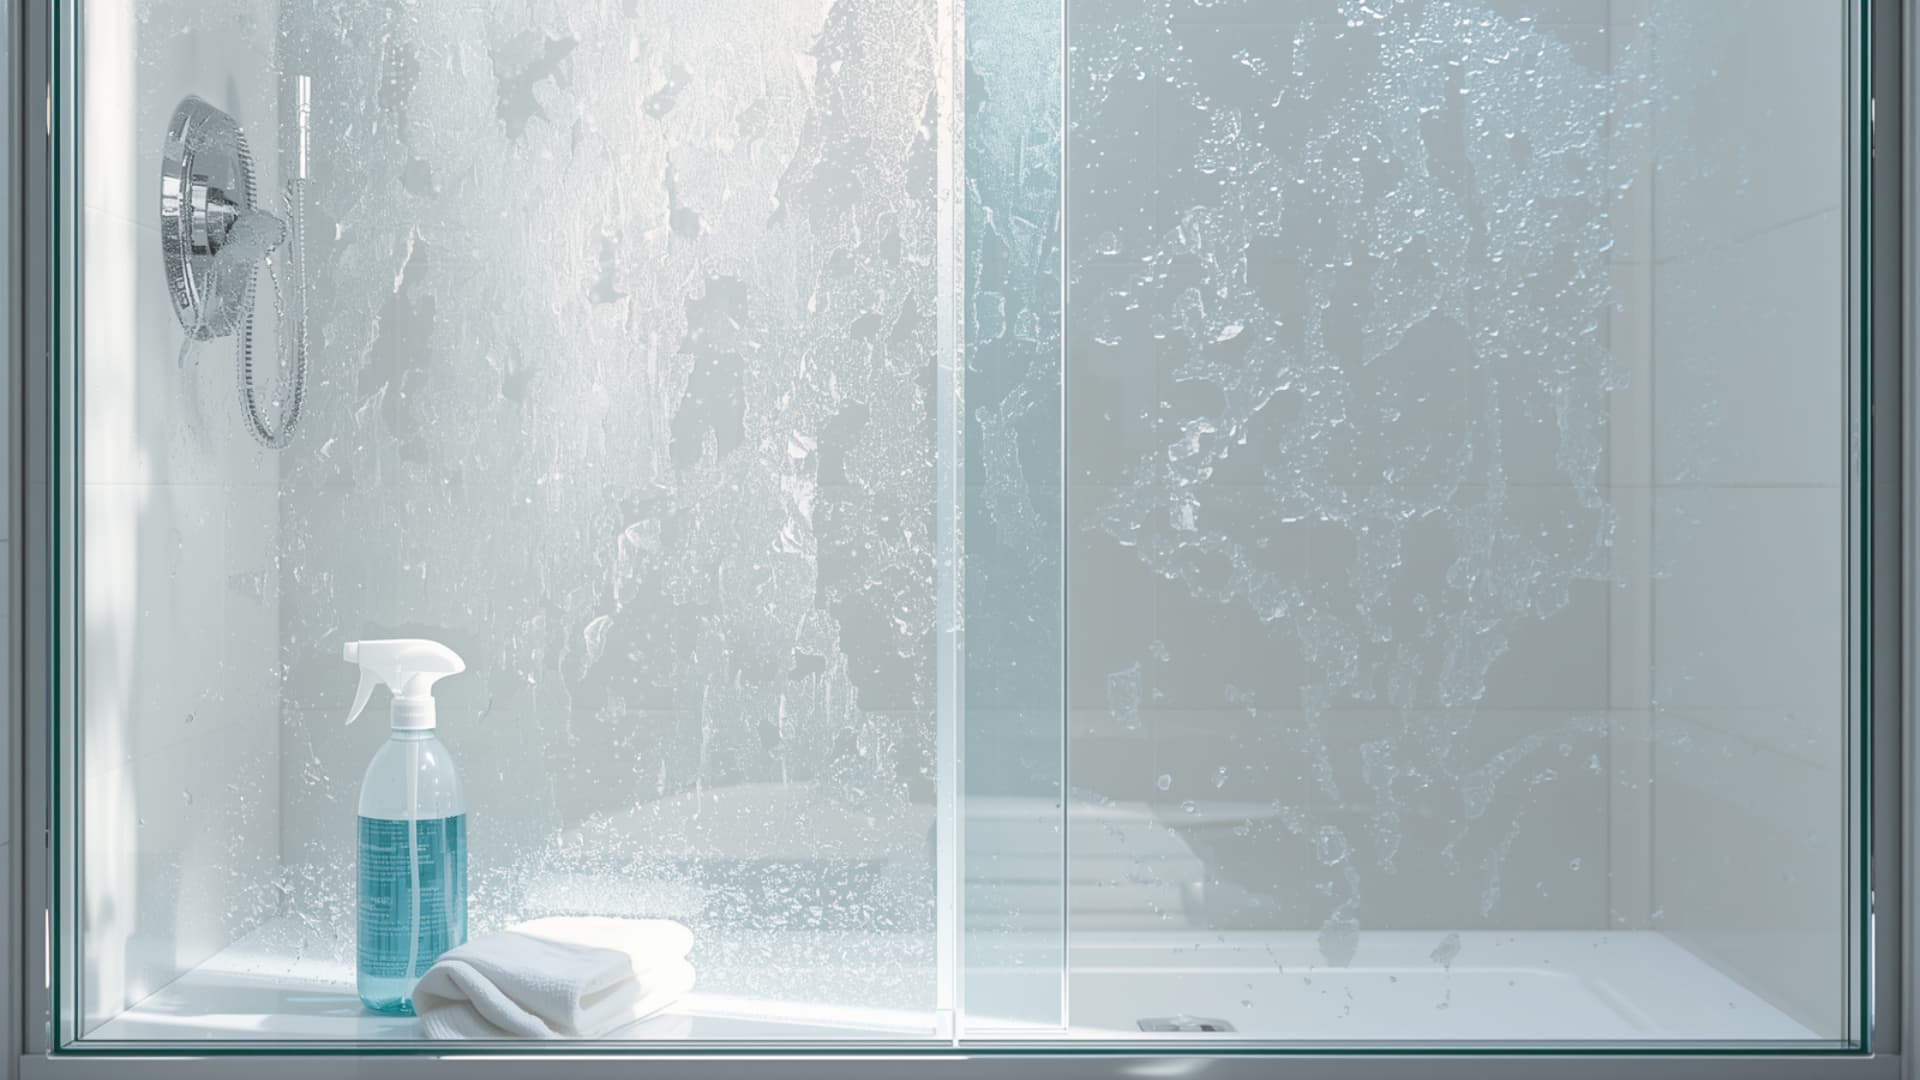
Glass shower doors show hard water stains faster than almost any other surface in the bathroom. The cloudy film that builds up is not dirt; it is a layer of dried mineral deposits that gets worse every time water hits the glass and evaporates.
Most people scrub harder and wonder why it is not working. The issue is not the effort; it is using the right acid-based cleaner and giving it enough contact time to actually break the deposits down.
Tools and materials needed: White vinegar, lemon juice, spray bottle, soft bristle brush, microfiber cloth, commercial CLR remover (for tough cases), rubber gloves
- Step 1: Mix equal parts white vinegar and water in a spray bottle for light to moderate buildup. For heavy staining, use straight vinegar without diluting.
- Step 2: Spray the entire glass surface thoroughly. Keep it wet for 10 to 15 minutes, re-spraying the surface if it starts to dry.
- Step 3: For stubborn spots, apply fresh lemon juice directly and let it sit for a few minutes. The citric acid in lemon juice breaks down mineral residue where vinegar alone falls short.
- Step 4: Scrub the surface with a soft-bristle brush or a non-scratch sponge. Do not use steel wool or abrasive pads on glass.
- Step 5: Rinse the door thoroughly with cool water, then immediately wipe it dry with a microfiber cloth. Leaving it wet speeds up the return of new deposits.
Aftercare tip: Apply a water-repellent glass spray after cleaning. This significantly slows the buildup of new minerals between cleaning sessions.
4. Faucets and Showerheads
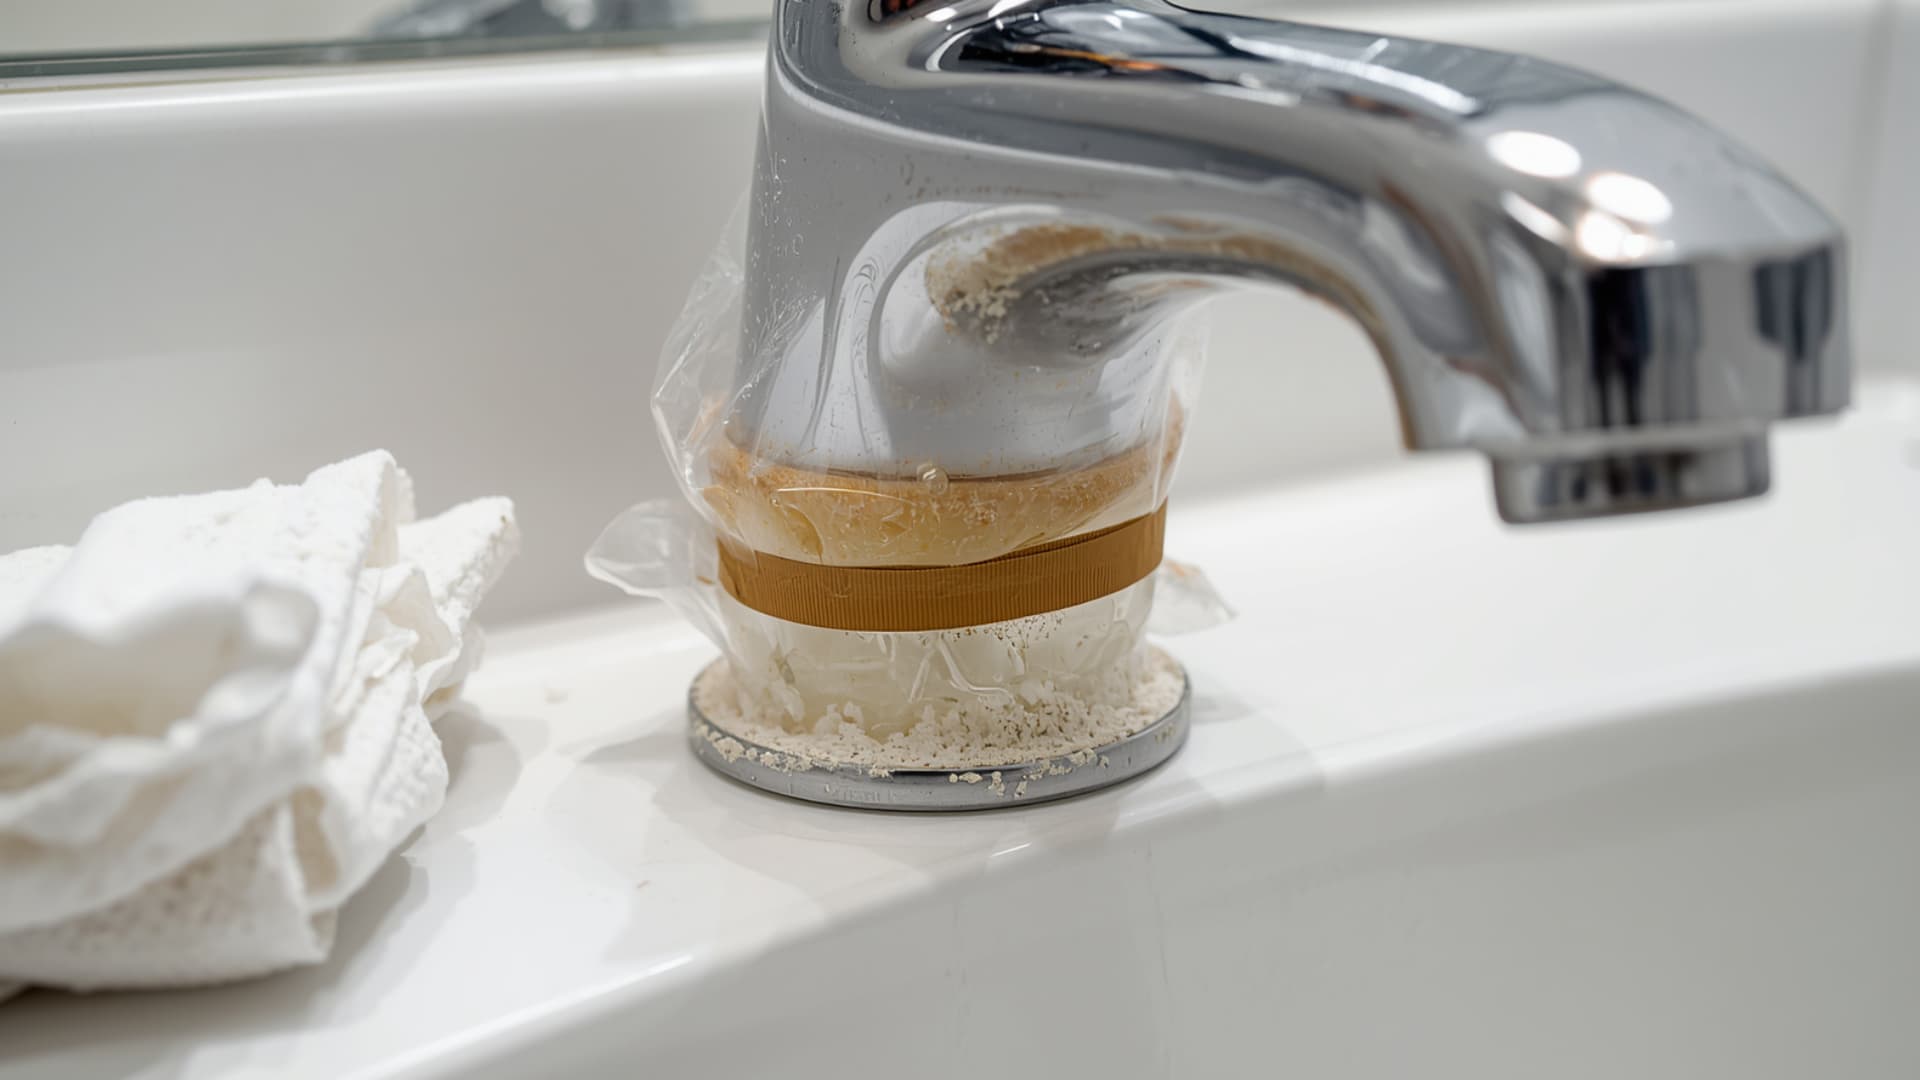
Faucets and showerheads collect mineral deposits right where water exits, which means the buildup can actually block flow over time.
That crusty white ring at the base of your faucet and the reduced spray from your showerhead are both the same problem at different stages. Neither requires special tools. A vinegar soak does most of the work with very little scrubbing involved.
Tools and materials needed: White vinegar, paper towels, plastic zip bag, rubber band, old toothbrush, standard toothpaste, microfiber cloth
- Step 1 (Faucets): Soak paper towels in white vinegar and wrap them tightly around the faucet base and neck, covering all stained areas.
- Step 2: Leave the wrapped towels in place for 30 to 60 minutes. For brushed nickel or brass finishes, use a diluted vinegar solution (half vinegar, half water) to avoid finish damage.
- Step 3: Remove the paper towels and wipe the faucet clean with a dry cloth. For the remaining spots, scrub with an old toothbrush dipped in vinegar or apply a small amount of standard toothpaste and scrub for one minute.
- Step 4 (Showerheads): Fill a plastic zip bag with undiluted white vinegar and submerge the showerhead in it. Secure the bag with a rubber band so the showerhead stays fully covered.
- Step 5: Leave the bag on for one hour, then remove it and run hot water through the showerhead for 30 seconds to flush out the loosened deposits.
Maintenance schedule: Clean for water spots monthly. Do a full soak every four months.
5. Tiles and Grout
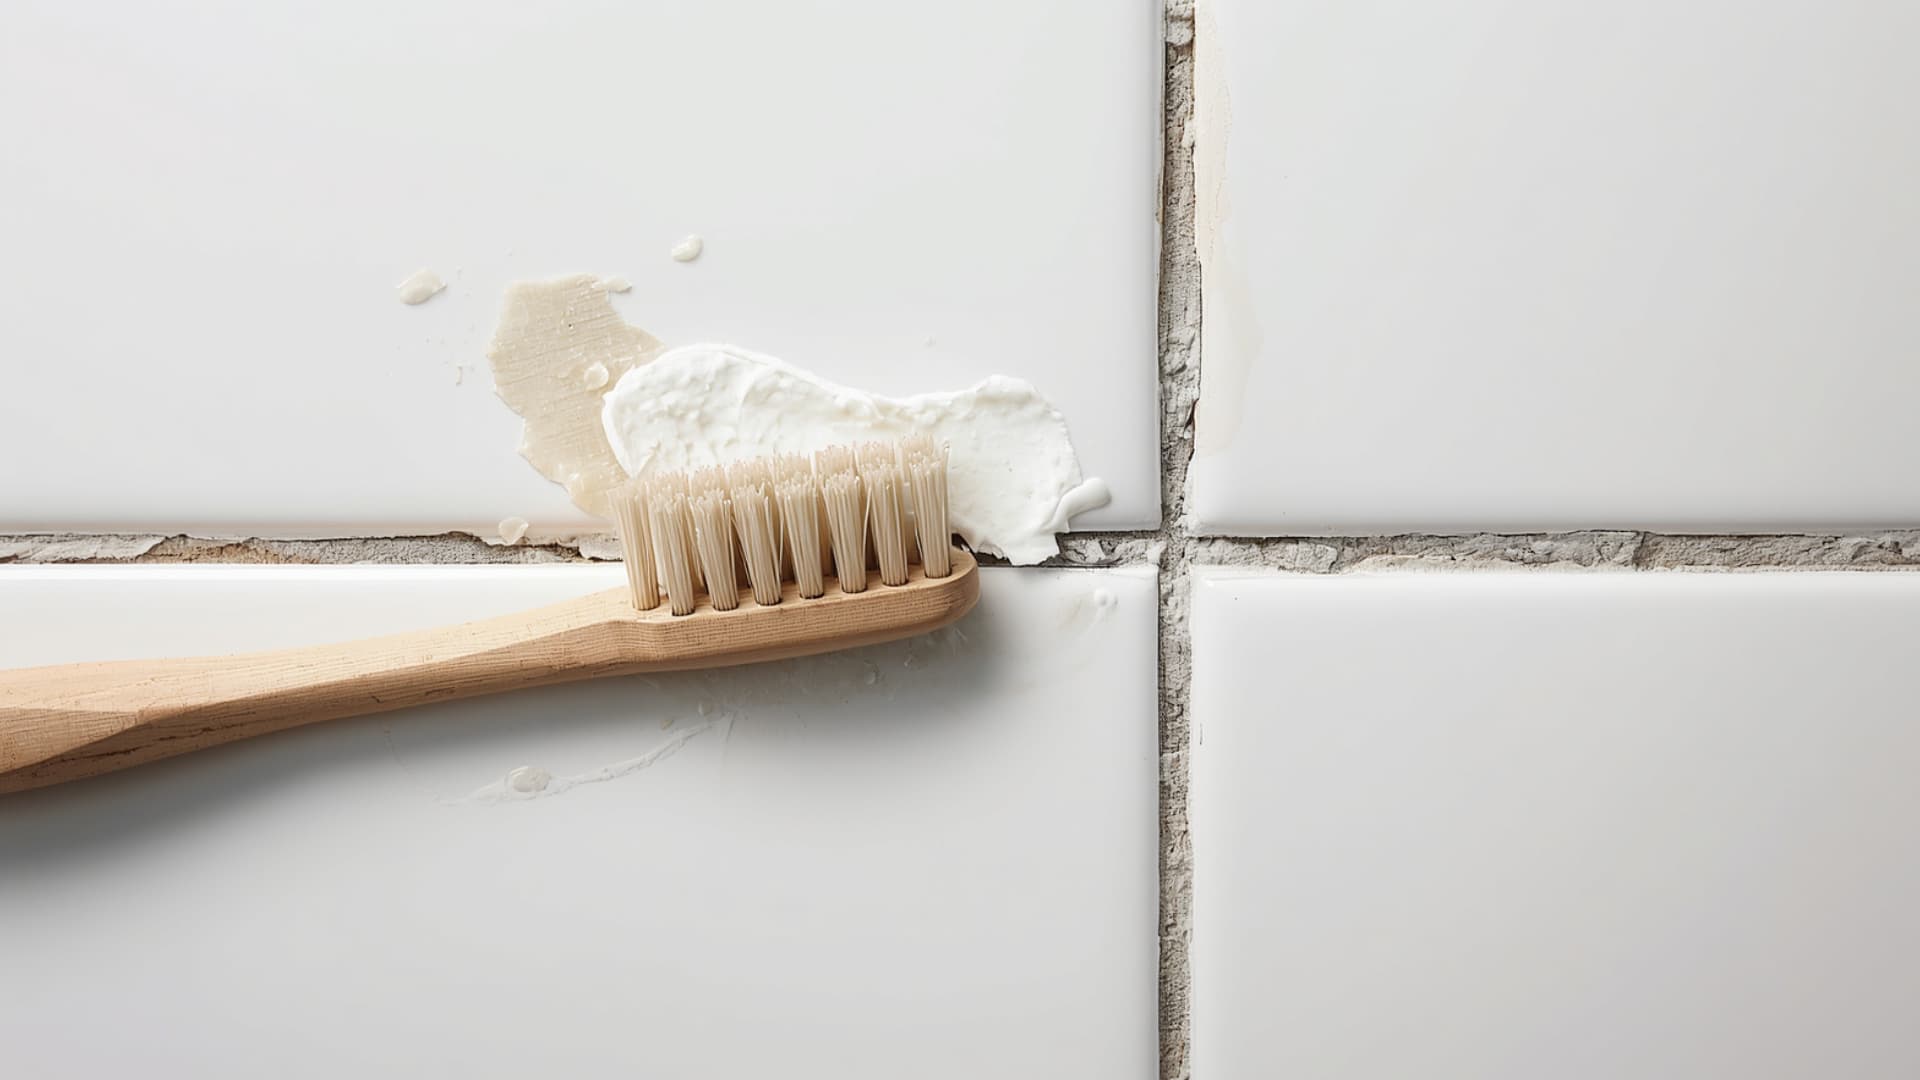
Tiles are easy to overlook because the staining tends to blend into the surface at first. But grout lines are the real problem area.
They are porous, which means mineral deposits and soap scum sink in rather than just sitting on top. By the time grout looks visibly discolored, the buildup has usually been there for a while.
A baking soda paste gets into those lines in a way that sprays simply cannot.
Tools and materials needed: Baking soda, white vinegar, hydrogen peroxide, cream of tartar, grout brush, old toothbrush, spray bottle
- Step 1: Mix baking soda with a small amount of water to form a thick paste.
- Step 2: Spread the paste across stained tile surfaces and directly into discolored grout lines.
- Step 3: Let it sit for 10 to 15 minutes. For grout that has deep staining, mix hydrogen peroxide with cream of tartar instead and apply the same way.
- Step 4: Scrub tiles with a stiff nylon brush. Use a grout brush or an old toothbrush along grout lines. Work in short, firm strokes.
- Step 5: Rinse the area thoroughly with cool water. Dry with a cloth to prevent new deposits from forming immediately.
Tip: Always use a nylon brush on tiles. Steel wool can scratch the surface, leaving rust marks.
6. Dishes and Glassware
Dishes and glasses that come out of the dishwasher looking spotty or cloudy are not dirty; they are coated in mineral residue left behind by hard water during the drying cycle.
It is a frustrating problem because the dishwasher is supposed to be doing the cleaning. A few small changes to how you rinse and dry, plus one addition to the rinse-aid compartment, can make a noticeable difference without any extra scrubbing.
Tools and materials needed: White vinegar, spray bottle, microfiber cloth, rinse aid compartment access
- Step 1: Spray white vinegar directly onto cloudy glasses or spotted dishes. If the vinegar is stronger than 8% acidity, dilute it with equal parts water first.
- Step 2: Let it sit for 5 to 15 minutes so the acid can work through the mineral film.
- Step 3: Wipe with a microfiber cloth rather than a regular dish towel. Microfiber picks up the residue instead of spreading it.
- Step 4: For ongoing results, add white vinegar to the rinse-aid compartment of your dishwasher. This reduces spotting during every cycle.
- Step 5: Dry dishes and glasses immediately after washing rather than leaving them to air dry. Water that evaporates on the surface is what leaves the spots behind.
Note: If glassware still looks cloudy after cleaning, the glass may already be permanently etched. Mineral etching cannot be reversed.
Best Ways to Remove Hard Water Stains
Some of the most effective options are already in your kitchen. Others come in a bottle from the store. Here is a clear breakdown of both, so you can pick what fits your situation.
Natural and Diy Options
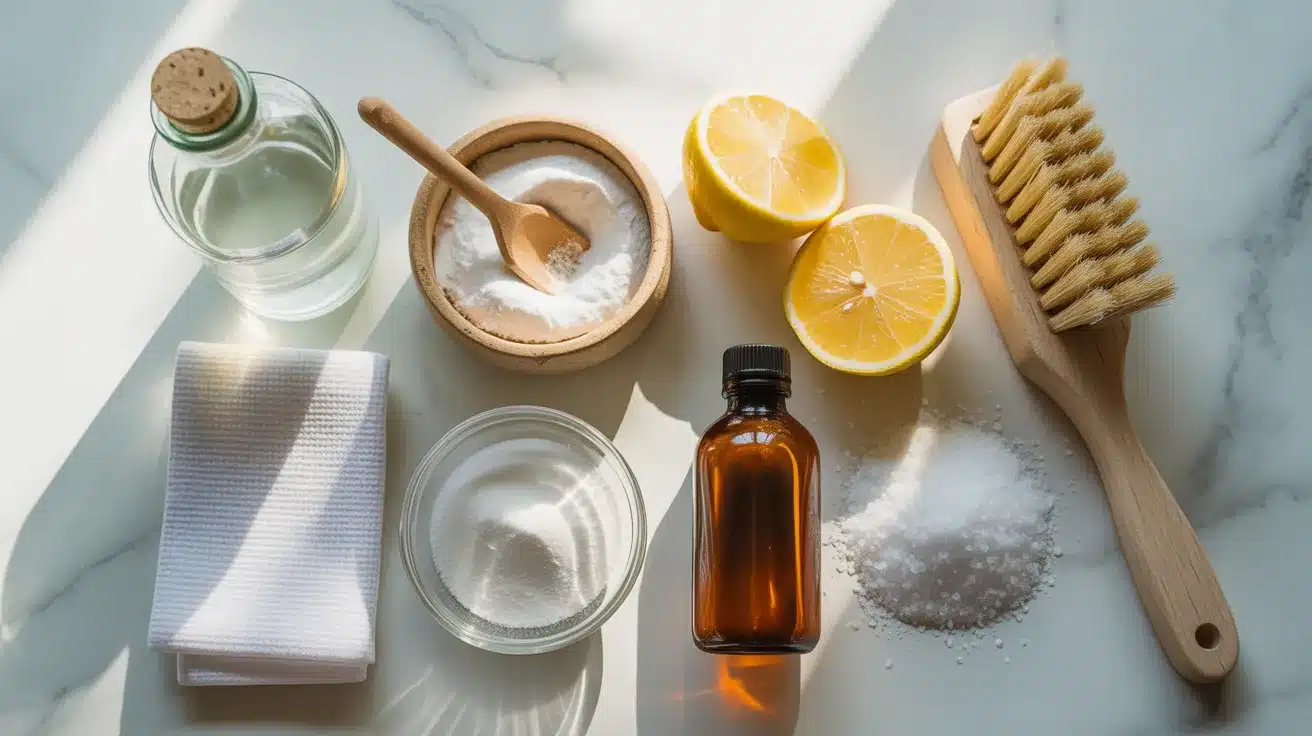
- White vinegar: Works on most surfaces. The acetic acid dissolves calcium and magnesium deposits without damaging most finishes. A gallon costs around $4, compared to $25 or more for most commercial alternatives.
- Baking soda: A mild abrasive that scrubs away buildup without scratching. Most effective when combined with vinegar for a fizzing action that lifts deposits off the surface.
- Lemon juice: The citric acid in fresh lemon juice breaks down light to moderate mineral deposits on glass and ceramic. It also leaves a clean scent, free of any chemical odor.
- Hydrogen peroxide: Good for tile, porcelain, and ceramic. Works well on soap scum and mineral residue without strong fumes.
- Borax: Stronger than baking soda and good for resilient surfaces like porcelain. Mix with water to form a paste or sprinkle it directly onto stains.
Commercial Options
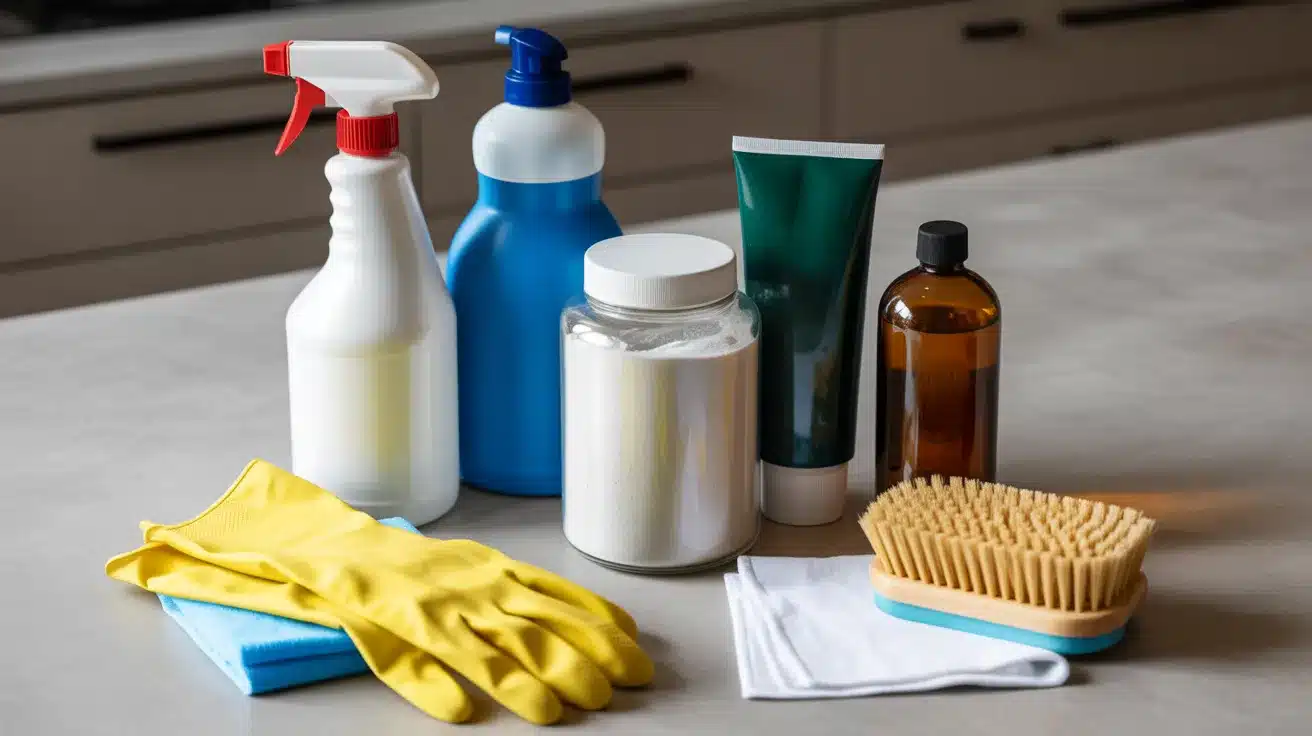
- CLR (Calcium, Lime, and Rust Remover): One of the most recognized options for tough stains on sinks, tubs, and tile. Works fast on old, built-up deposits.
- OxiClean Foam-Tastic: The foam clings to vertical surfaces like shower walls, giving it time to break down mineral buildup.
- Bar Keepers Friend: Safe for tile, porcelain, and stainless steel. Good for regular upkeep and light to moderate staining.
- Shaklee Scour Off Heavy Duty Paste: Made with cherry pits and requires very little scrubbing. Works well on hard water stains in showers and around faucets.
- Winsol Crystal Clear 550: Used by professional window and glass cleaners for severe hard water staining on glass surfaces.
Always check product labels before use. Some commercial cleaners are not safe on specialty finishes, natural stone, or coated glass surfaces.
|
When to Call a Professional If water pressure has dropped, drainage is slow with no blockage, or your water heater is using more energy than usual, mineral buildup in pipes is likely the cause. A licensed plumber can inspect, assess the damage, and recommend the right fix, whether that is descaling, pipe repair, or installing a water softener. |
How to Prevent Hard Water Stains from Coming Back?
The fastest way to deal with hard water stains is to prevent them from forming.
Wipe down wet surfaces right after use, use a squeegee on glass and tiles after every shower, and dry faucets with a microfiber cloth daily.
These three habits alone significantly reduce cleaning time. For a longer-term fix, a salt-based water softener removes the calcium and magnesium at the source through an ion exchange process, stopping mineral deposits from forming across every tap and appliance in the house.
Salt-free conditioners are a more eco-friendly option for homes with moderately hard water.
Wrapping It Up
Hard water stains are not a sign of a dirty home. They are a mineral problem, and once you treat them as such, they become much more manageable.
Vinegar handles most of it. A squeegee handles the rest. And if the stains keep winning no matter what you try, the water itself is the issue, not your cleaning routine.
Start with the surface that bothers you most and work through the steps in this guide. Small, regular habits make a bigger difference than one big weekend scrub session.
Tried any of these methods at home? Drop a comment below and tell us what actually worked for you.
Frequently Asked Questions
Does CLR Work on Hard Water Stains?
Yes. CLR is one of the strongest options for tough, old mineral buildup. It works fast on sinks, tubs, tiles, and glass where vinegar alone has not made a dent.
What Does a Hard Water Stain Look Like?
Hard water stains show up as white, chalky spots or a cloudy film on surfaces. On toilets, they form a gray or brown ring at the waterline. On glass, they leave a streaky, hazy buildup that does not wipe off with a damp cloth.
Does Hydrogen Peroxide Get Rid of Calcium Buildup?
Yes, but it works best on light to moderate buildup. Mix it with cream of tartar to make a paste for better results on tile, grout, and porcelain surfaces.
Which Is Better, CLR or Vinegar?
It depends on the stain. Vinegar handles fresh or mild mineral deposits well and is safe for most surfaces. CLR is stronger and works better on old, heavy buildup, but always check the label before using it on specialty finishes or natural stone.