Fresh lavender in full bloom is one of those simple pleasures that feels almost too good to be true.
And honestly? Drying lavender is what makes that pleasure last.
Bundling stems for a sun-drenched windowsill, tucking dried flowers into homemade sachets, saving a handful for your next baking project… learning how to dry lavender flowers opens up a whole world of slow, intentional living.
We’re covering every method, helpful tip, and common mistake worth knowing before you hang your first bunch.
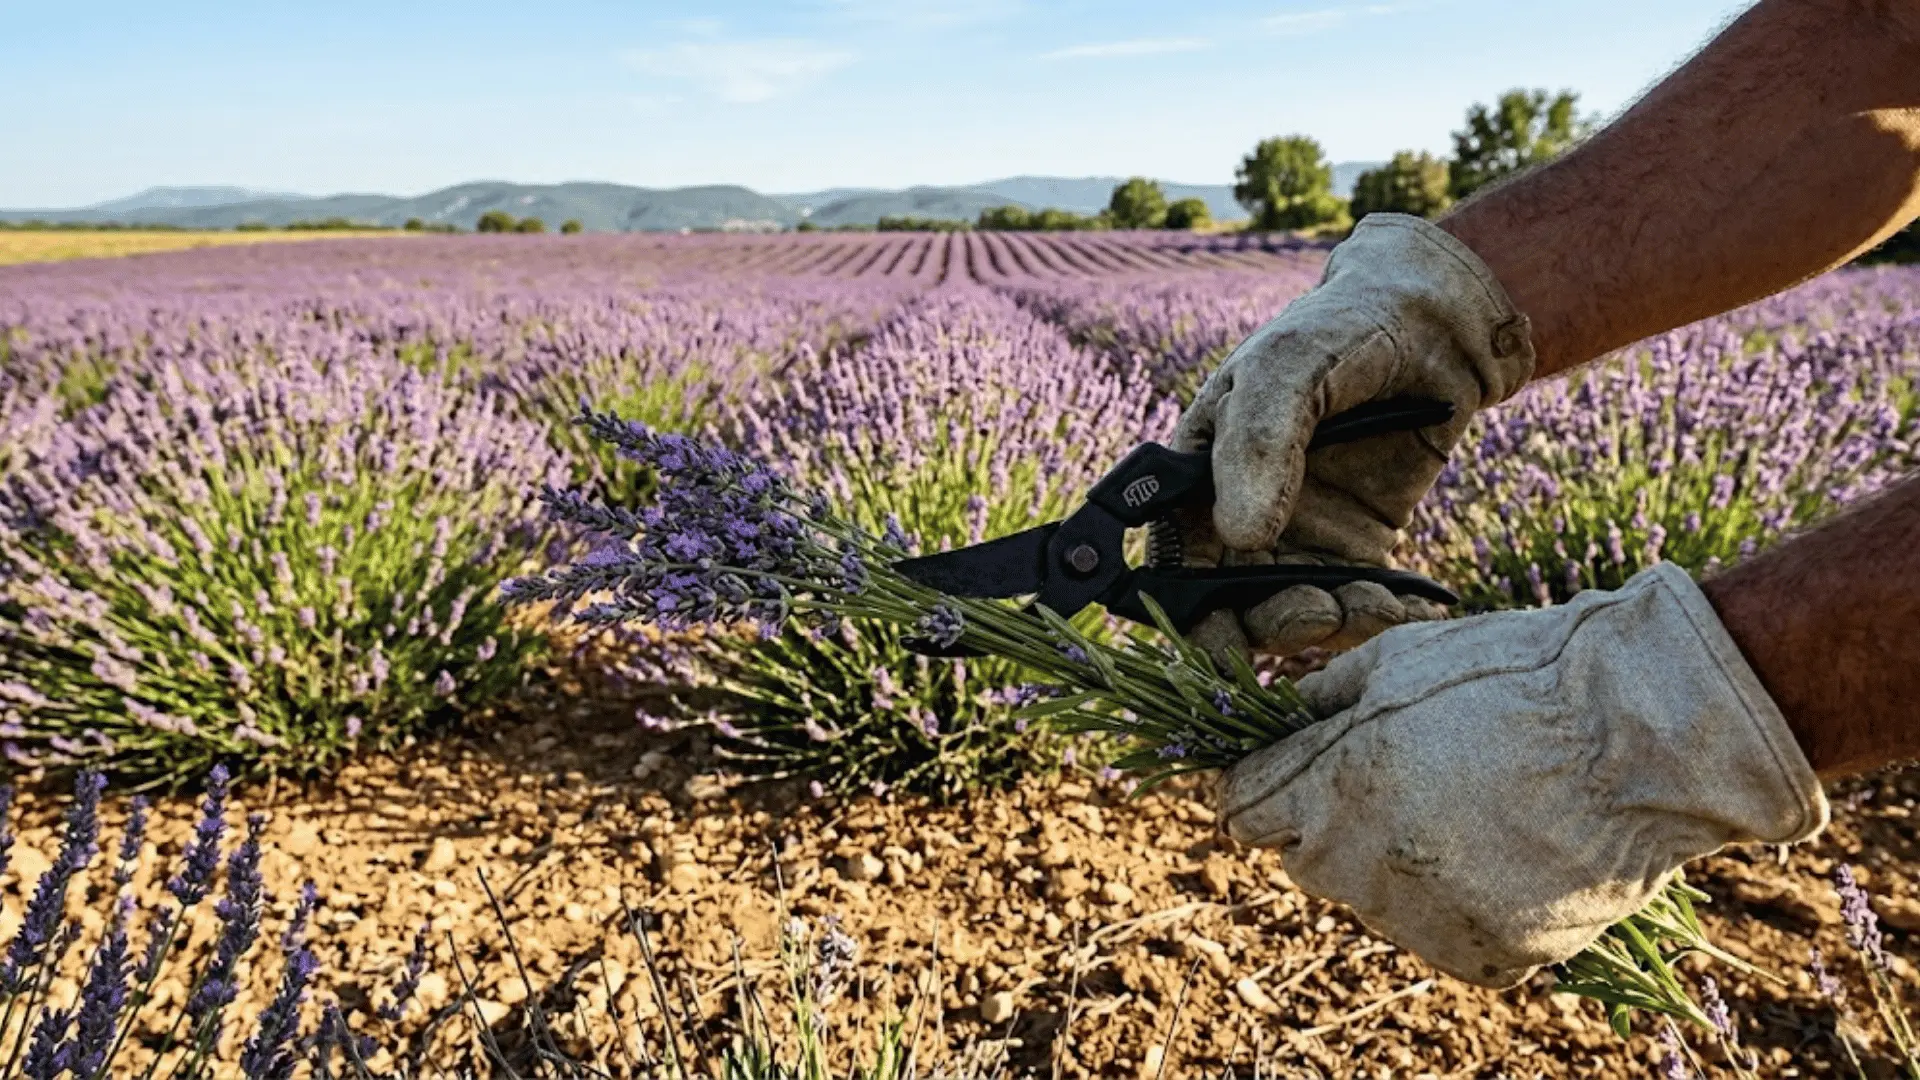
When to Harvest Lavender for Drying?
Timing matters more than most people realize when it comes to drying lavender.
The best time to harvest is just before the flowers reach full bloom, when the buds are still mostly closed, and the oils are at their peak concentration.
This is what gives dried lavender that long-lasting fragrance and rich purple color you see everywhere on Pinterest.
Harvest in the morning, once the dew has dried but before the afternoon heat sets in. Waiting too long into the bloom means faster color fade and a lighter scent once dried.
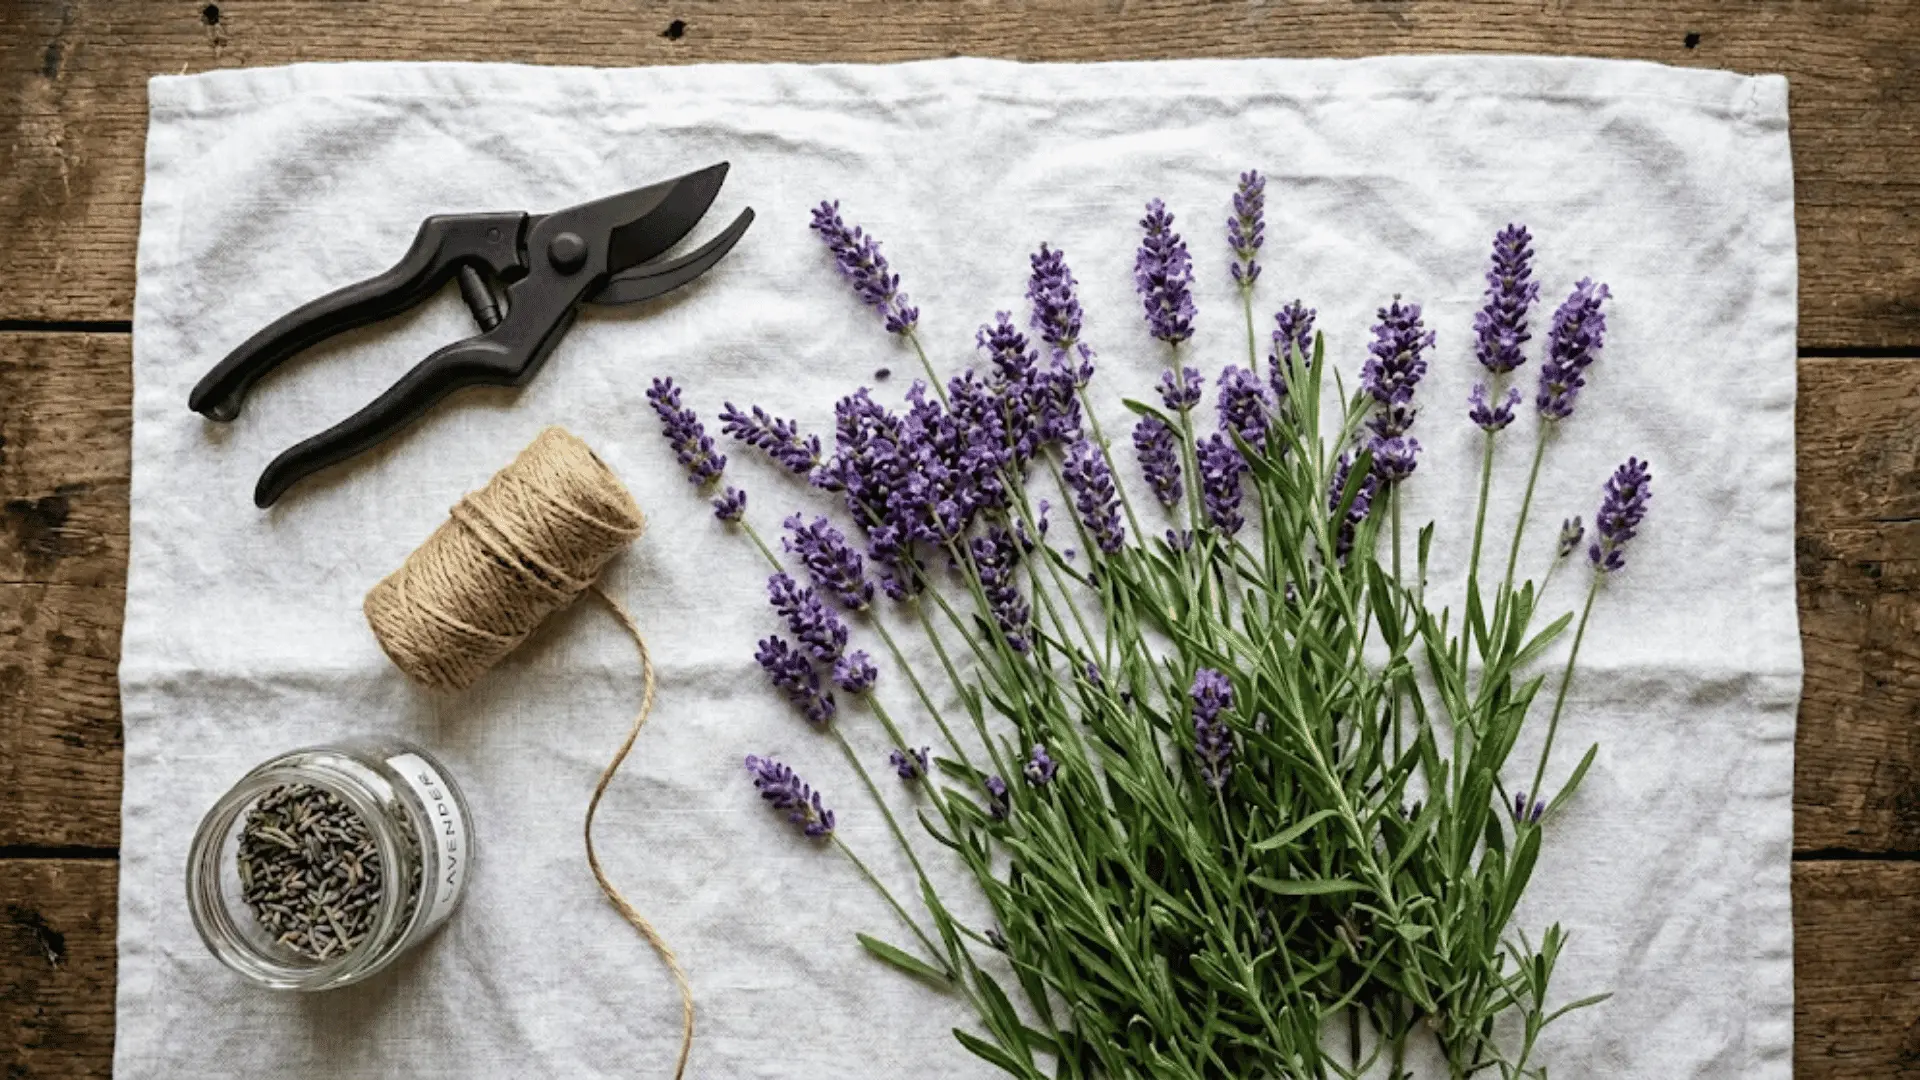
What You’ll Need for Drying Lavender?
Before jumping into the actual drying process, gathering everything beforehand makes it so much smoother.
- Fresh lavender stems, harvested at the right stage for the best scent and color.
- Twine or rubber bands to bundle the stems together snugly.
- Scissors or pruning shears for clean, precise cuts at the base.
- A dry, dark, well-ventilated space like a closet, shed, or spare room where air can circulate freely.
That’s really all it takes. No fancy equipment, no complicated setup.
Step-by-Step: How to Dry Lavender?
Drying lavender is a deeply satisfying process, and once you’ve done it the first time, it becomes second nature. Follow these steps carefully, and your bundles will come out beautifully every single time.
Step 1: Harvest Lavender
Cut long, healthy stems using sharp scissors or pruning shears, aiming for stems at least 6 inches long. Avoid any flowers that look damaged, discolored, or pest-ridden, as they won’t dry as cleanly.
Longer stems give you more flexibility for bundling and decorating later, so don’t be shy about cutting generously while the plant is actively growing.
Step 2: Bundle the Stems
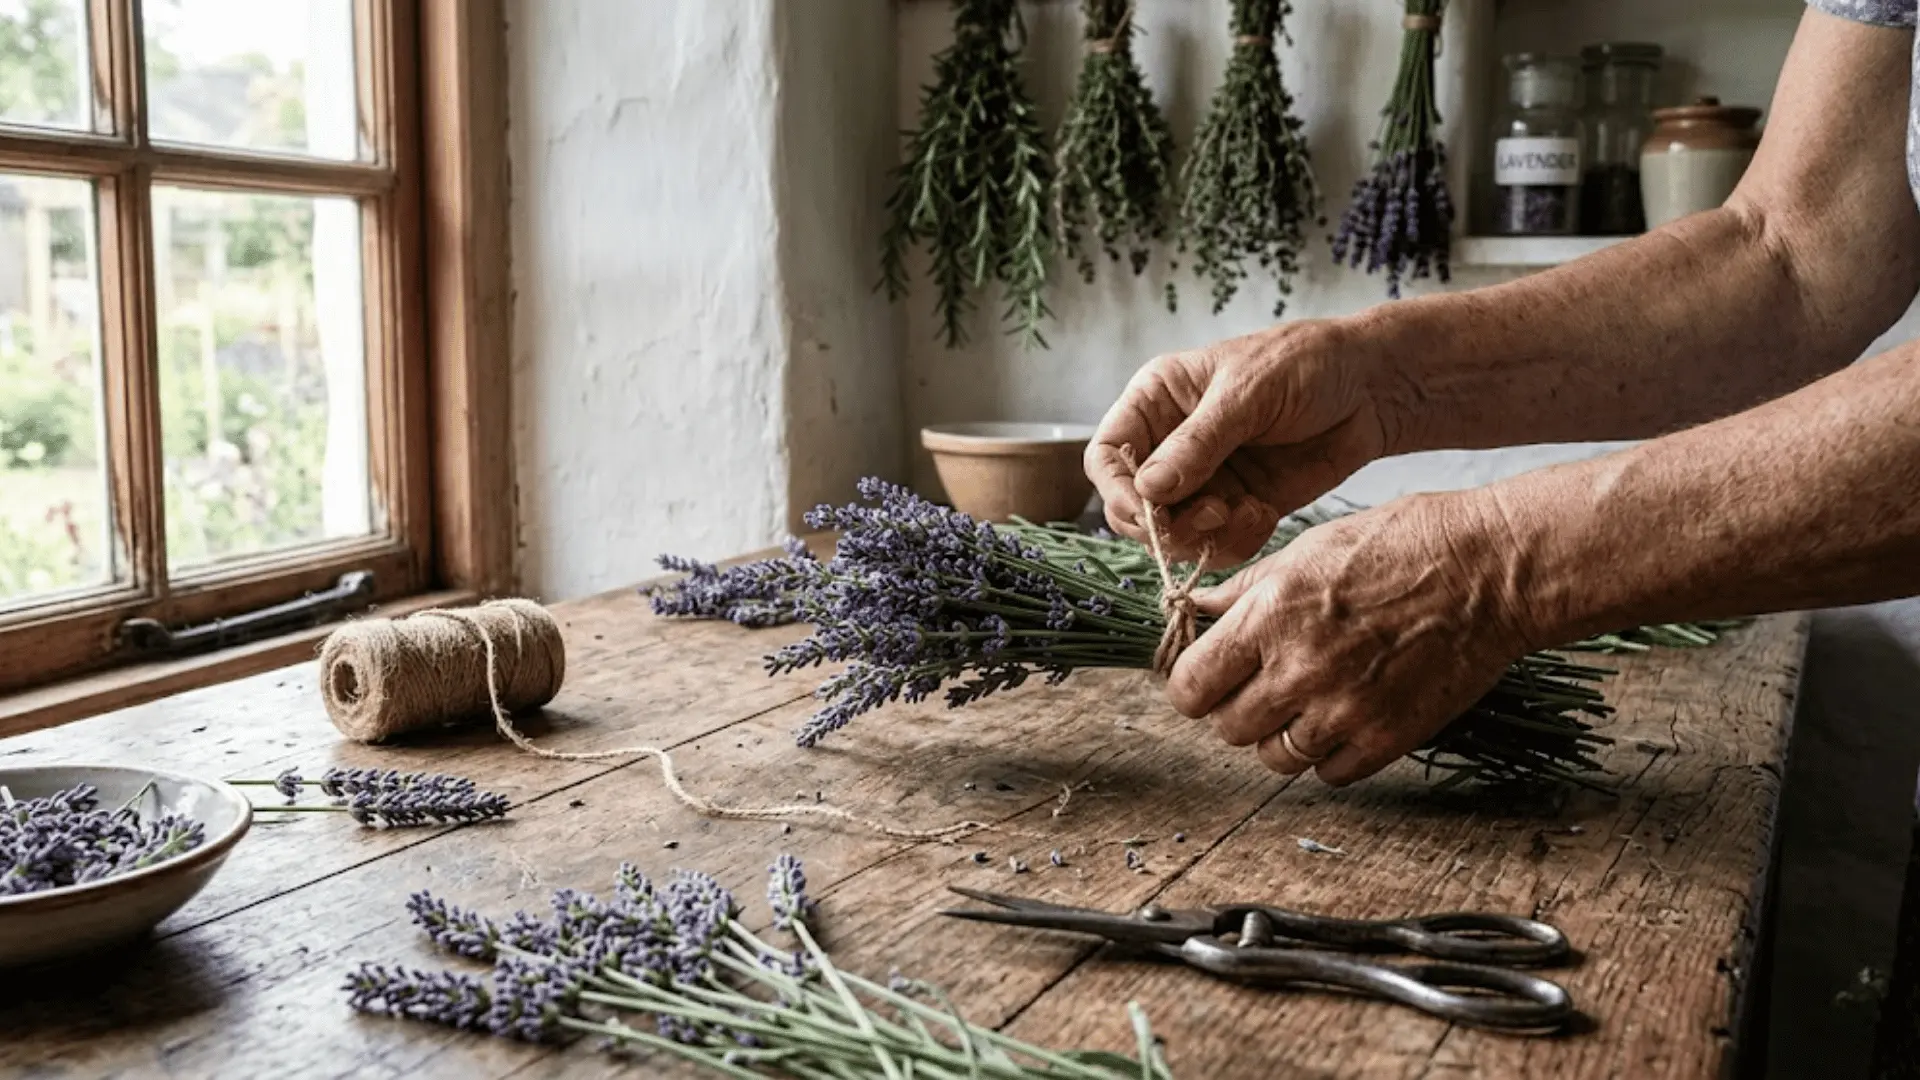
Gather small, loose bunches of around eight to ten stems and tie them together at the base with twine or a rubber band.
Keeping bunches small is important because overcrowded bundles trap moisture inside, which slows drying and can lead to mold. A snug but not overly tight tie works best, giving each stem just enough room to breathe.
Step 3: Hang Upside Down
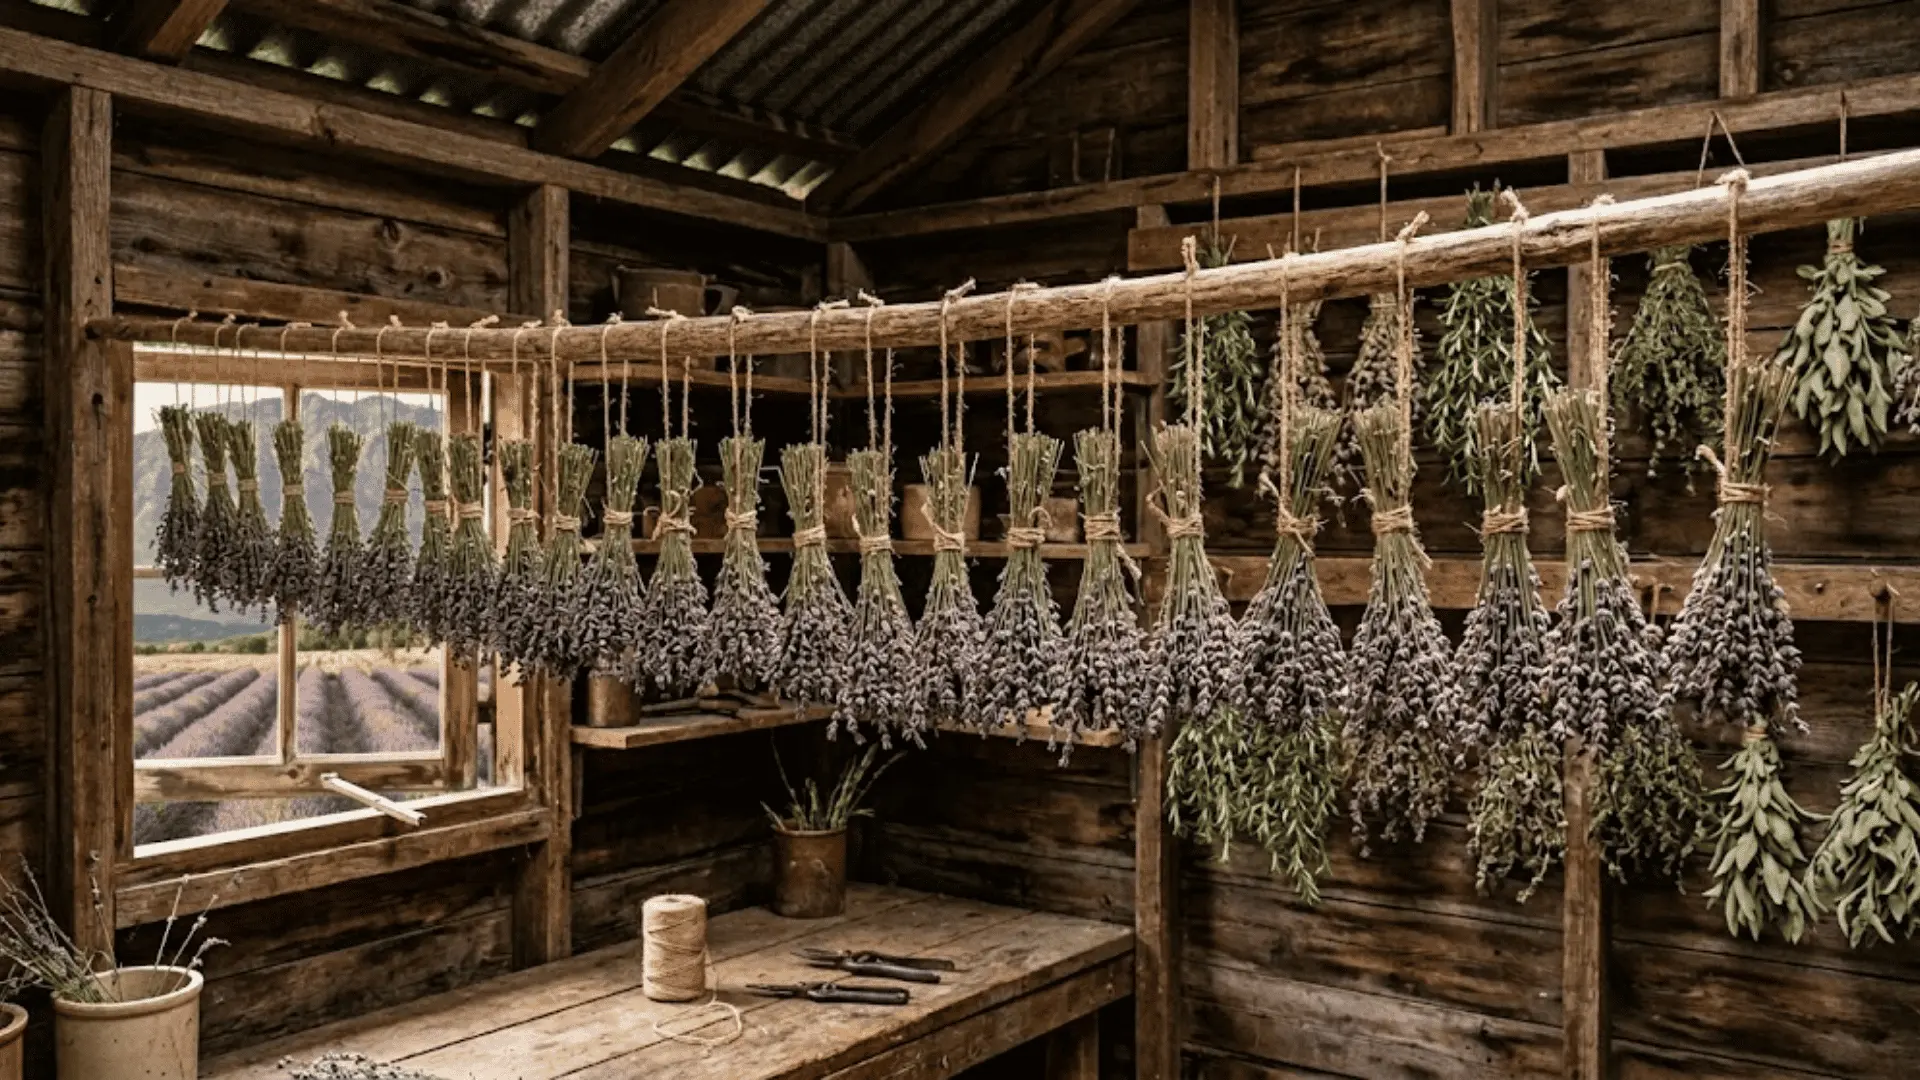
Hang your bundles upside down in a dark, dry space with decent airflow, like a closet, a wooden shed, or a quiet corner of a well-ventilated room.
Hanging upside down helps the stems stay straight and encourages the essential oils to settle into the buds as they dry. Keep bundles spaced apart on the hanging line so air can move freely around each one.
Step 4: Let It Dry Completely
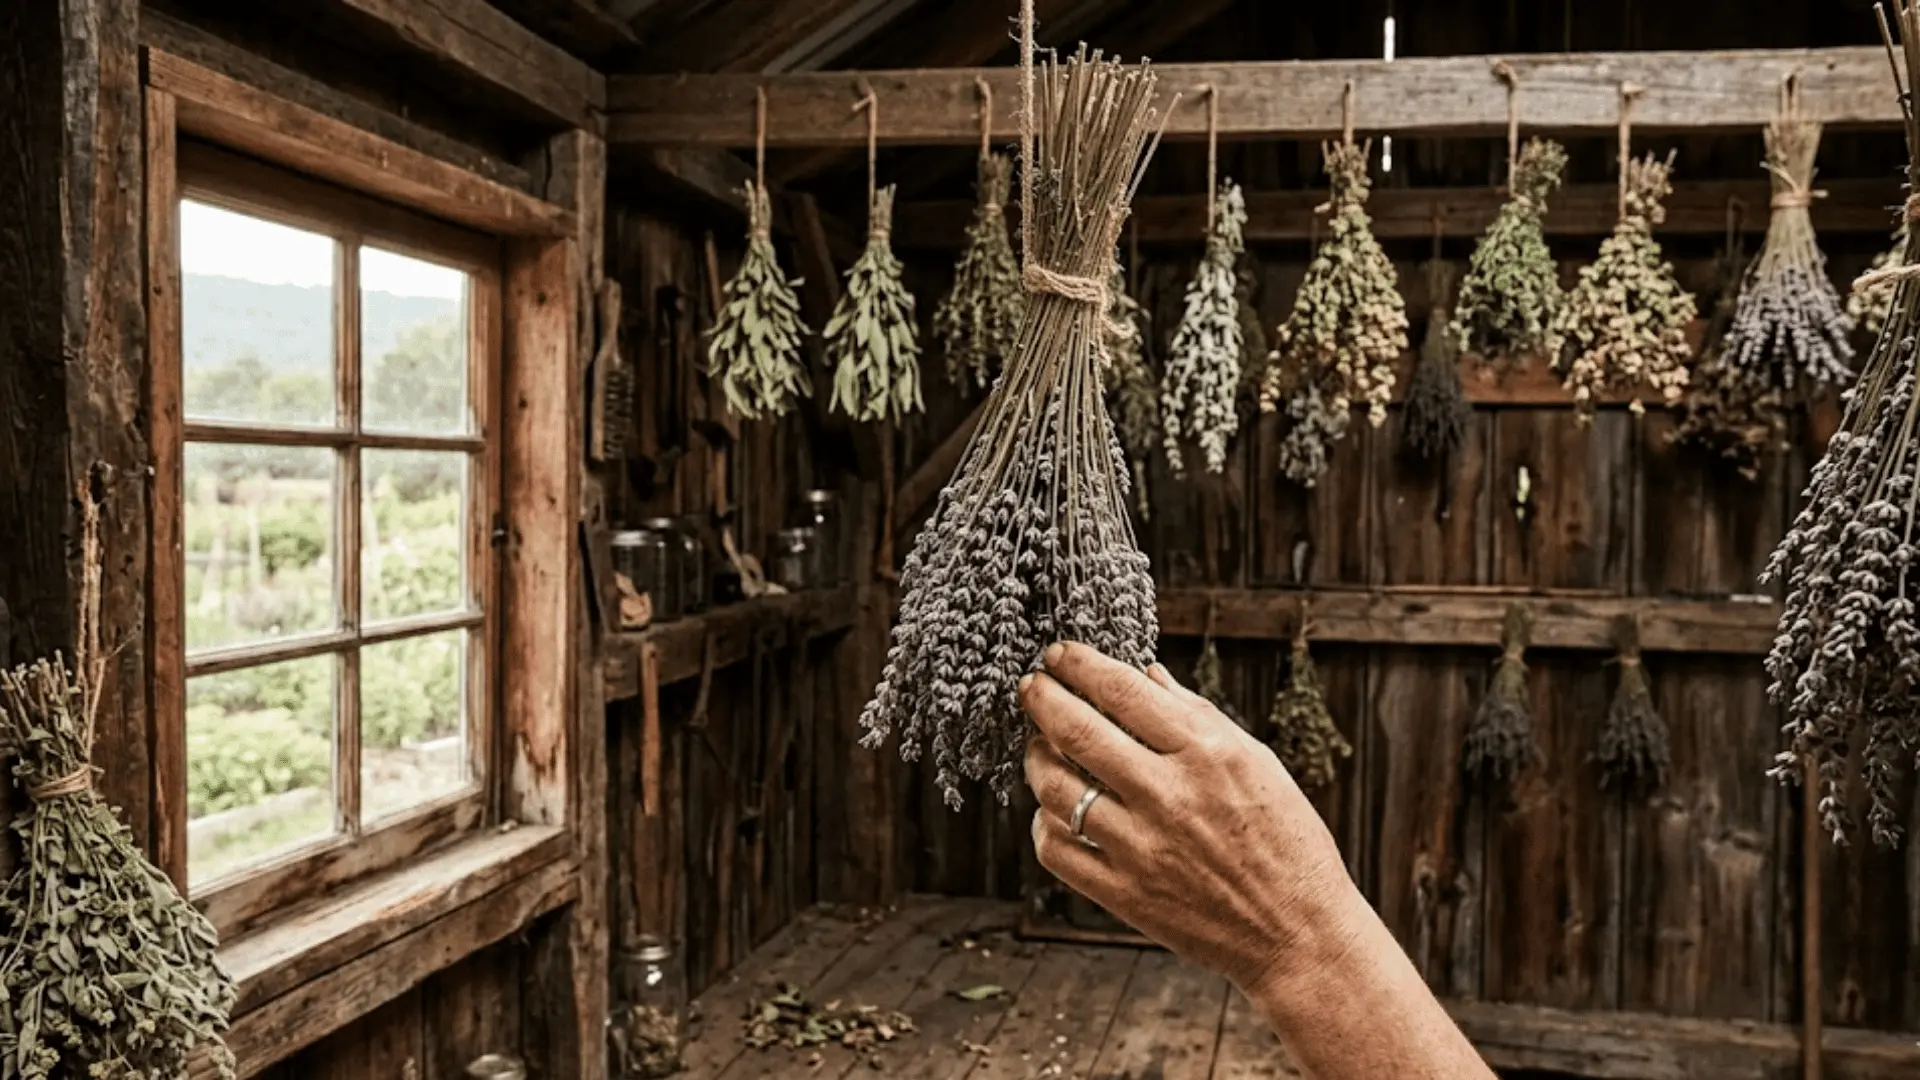
Patience is everything here. Lavender generally takes one to three weeks to dry fully, depending on humidity levels and airflow in your space. Check the bundles periodically by touching the buds and stems.
You’re looking for a completely crisp, papery texture throughout. If the stems still feel at all flexible or the buds feel soft, give it a few more days before moving on.
Step 5: Remove and Store
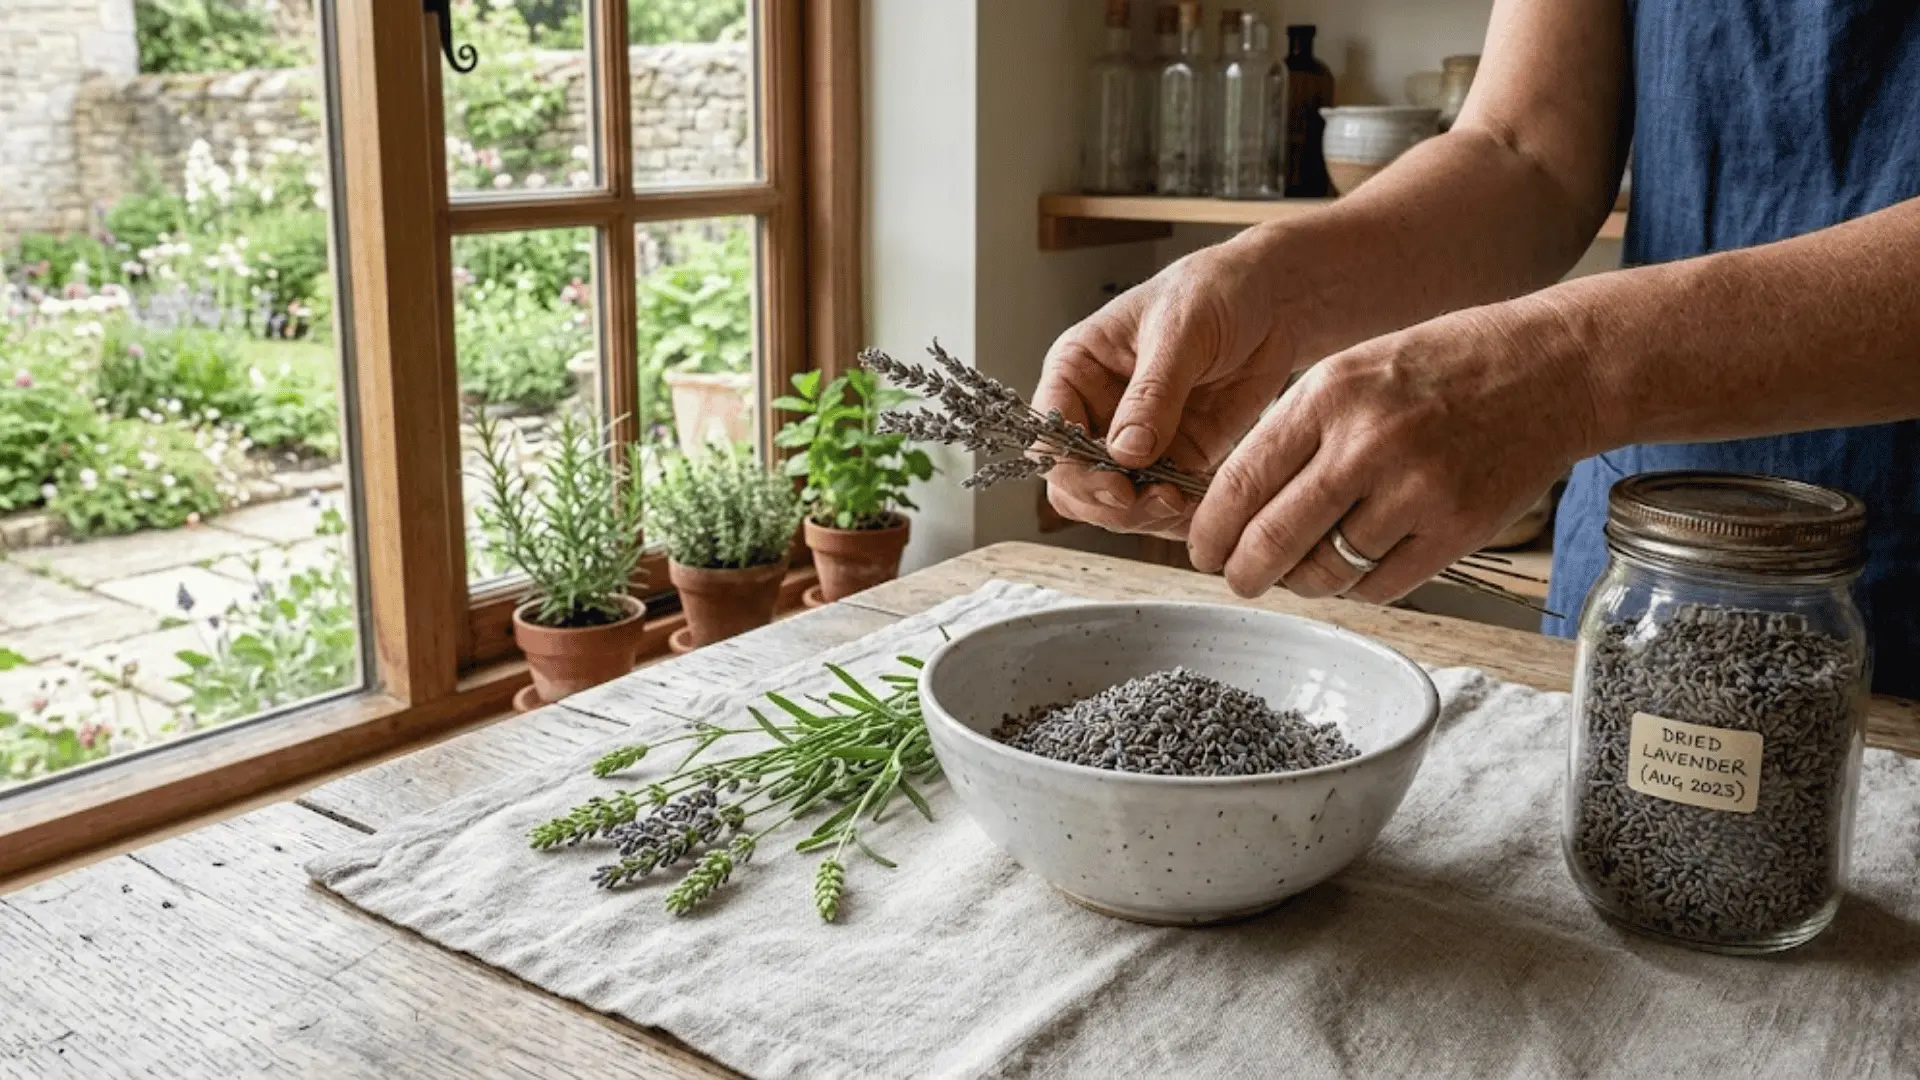
Once fully dry, strip the buds off the stems by running your fingers downward, or keep the stems intact for decorative use. Stripped buds store beautifully in airtight glass jars away from direct sunlight, preserving fragrance and color for months.
Whole stems can go straight into vases, wreaths, or display bundles. Either way, proper storage is what keeps dried lavender fresh and fragrant long after harvest.
Not every drying method works the same way, and the right one really depends on what you have available and how quickly you need results.
Here’s a close look at each approach so you can pick what suits you best.
1. Air Drying (Most Popular Method)
The most natural and hands-off way to dry lavender, air drying is a favorite for good reason. It’s gentle on the flowers and does the best job of preserving that deep, lasting fragrance.
- Step 1: Bundle 8 to 10 stems together and tie snugly at the base with twine.
- Step 2: Hang bundles upside down in a dark, dry, well-ventilated space.
- Step 3: Keep bundles spaced apart to allow airflow around each one.
- Step 4: Leave undisturbed for one to three weeks until fully crisp.
2. Oven Drying
When you’re short on time, the oven gets the job done faster than air drying. Low heat and a watchful eye are all it takes to pull this off without scorching your stems.
- Step 1: Preheat your oven to its lowest possible temperature setting.
- Step 2: Spread lavender stems in a single layer on a parchment-lined baking sheet.
- Step 3: Place in the oven and check every thirty minutes for dryness.
- Step 4: Remove once buds feel crisp and let cool completely before storing.
3. Microwave Drying
Not the most conventional method, but it works surprisingly well for small batches when you need dried lavender in a hurry. Just go slow and check frequently.
- Step 1: Place a small bunch of lavender between two paper towels.
- Step 2: Microwave on low power in thirty-second intervals.
- Step 3: Check the texture after each interval and repeat until the buds feel dry.
- Step 4: Let cool completely before handling or storing.
4. Dehydrator Method
A food dehydrator gives you the most control over the drying process, making it a great option if you’re drying larger quantities and want consistent results every time.
- Step 1: Spread lavender stems in a single layer across dehydrator trays.
- Step 2: Set the temperature to around ninety to one hundred degrees Fahrenheit.
- Step 3: Run the dehydrator for two to four hours, checking periodically.
- Step 4: Remove once stems and buds are completely crisp and cool before storing.
Tips for Drying Lavender Successfully
A few small habits make a big difference in how your dried lavender turns out. Keep these in mind throughout the process.
- Avoid direct sunlight during drying, as it fades the purple color faster than you’d expect
- Keep bundles small so air circulates evenly through every stem in the bunch
- Choose a low-humidity space since moisture in the air is the quickest way to invite mold
- Maintain good airflow by spacing bundles apart rather than crowding them together
- Check bundles every few days to catch any problem stems before they affect the whole batch
Give these tips a little attention and your lavender will come out fragrant, colorful, and beautifully dried every single time.
How to Store Dried Lavender?
Once your lavender is fully dried, storage is what keeps it fresh for the long haul.
Airtight glass jars or containers are the best option, sealing in fragrance and keeping moisture out. Tuck them away in a cool, dark spot, like a cabinet or pantry shelf, away from windows or heat sources.
Avoid anything damp or humid, as moisture exposure is the fastest way to ruin a perfectly dried batch.
Stored correctly, dried lavender holds its scent and color for up to a year or longer.
Uses for Dried Lavender
Dried lavender is wonderfully versatile, and once you have a good stash, you’ll find yourself reaching for it more than you’d think.
| Use | Examples | Best For |
|---|---|---|
| Home Decor | Bouquets, wreaths | Visual styling |
| DIY Crafts | Sachets, candles | Handmade gifts |
| Aromatherapy | Pillow sprays, pouches | Stress relief |
| Culinary | Teas, desserts | Everyday cooking |
How Long Does It Take to Dry Lavender?
Drying time really comes down to the method you choose.
Air drying takes 1 to 3 weeks, depending on humidity levels and how much airflow your drying space gets. Oven drying cuts that down significantly, usually wrapping up within a couple of hours at low heat.
A dehydrator lands somewhere similar, giving you consistently dry results in 2 to 4 hours. Microwave drying is the fastest of all, taking just a few minutes for small batches.
Whichever method you go with, always check for a completely crisp texture before calling it done.
The Closing Note
Drying lavender at home is one of those small, rewarding things that pays off every time you catch a whiff of that lingering fragrance weeks later.
Now that you know the methods, the timing, and the little details that actually matter, there’s really nothing standing between you and a beautifully dried batch.
Pull out those scissors, find a good dark corner, and let the process do its thing.
We’d love to hear how yours turns out; drop a comment below and tell us which drying method worked best for you!
Frequently Asked Questions (FAQs)
How Long Does Drying Lavender Take?
It usually takes 1 to 3 weeks with the air drying method, depending on humidity and airflow in your space. Faster methods like the oven or dehydrator can bring that down to just a few hours.
How Do You Keep Dried Lavender From Losing Scent?
Store dried lavender in airtight glass jars, away from direct light and heat sources. Keeping it in a cool, dark spot goes a long way in preserving that fragrance for months.
Should Lavender Be Dried in the Dark?
Yes, and it makes a noticeable difference. Direct light fades the color quickly and weakens the scent, so a dark, well-ventilated space is always the better choice.