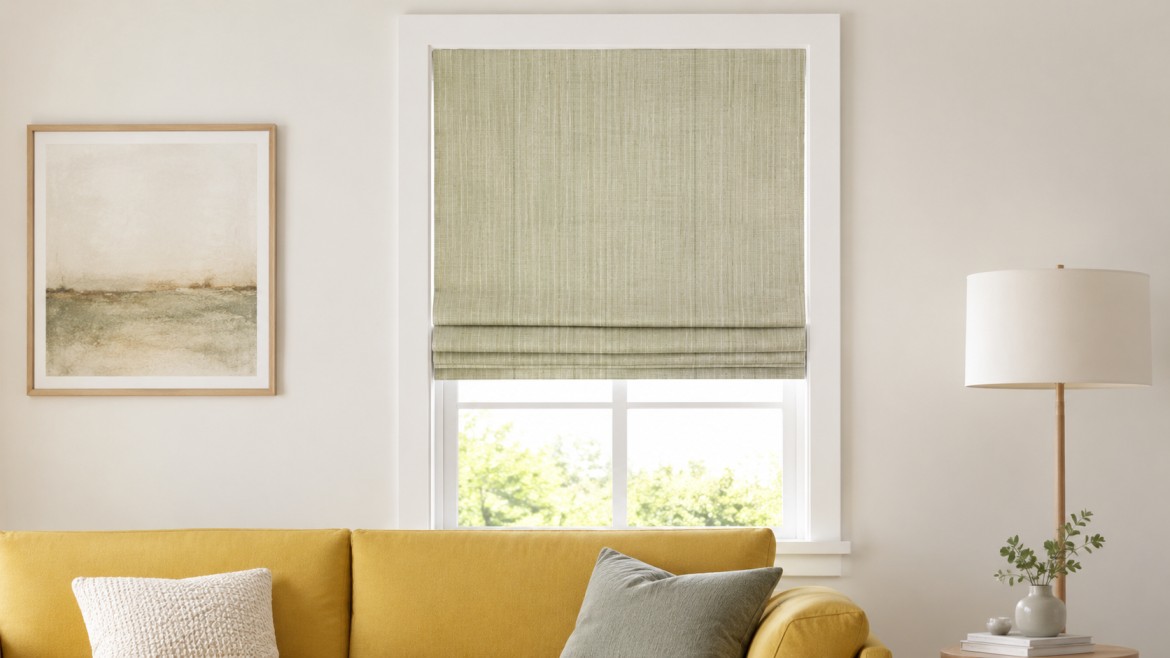
Limewashing is one of those rare techniques that makes walls look like they’ve been standing beautifully for centuries, even when freshly done.
Unlike traditional paint, which sits flat on the surface, limewash soaks in and breathes, creating that soft, chalky, lived-in finish you keep saving on Pinterest.
Gathering the right materials, prepping the surface, and nailing that final brushstroke, each part of the process is laid out simply and clearly here.
Dreaming of a Tuscan bedroom or a modern organic living room, consider this a friendly walkthrough of everything you need to know.
Why Limewash Deserves a Spot on Your Walls?
Limewash is made from crushed limestone mixed with water, aged into a paint-like finish that soaks into walls rather than coating them.
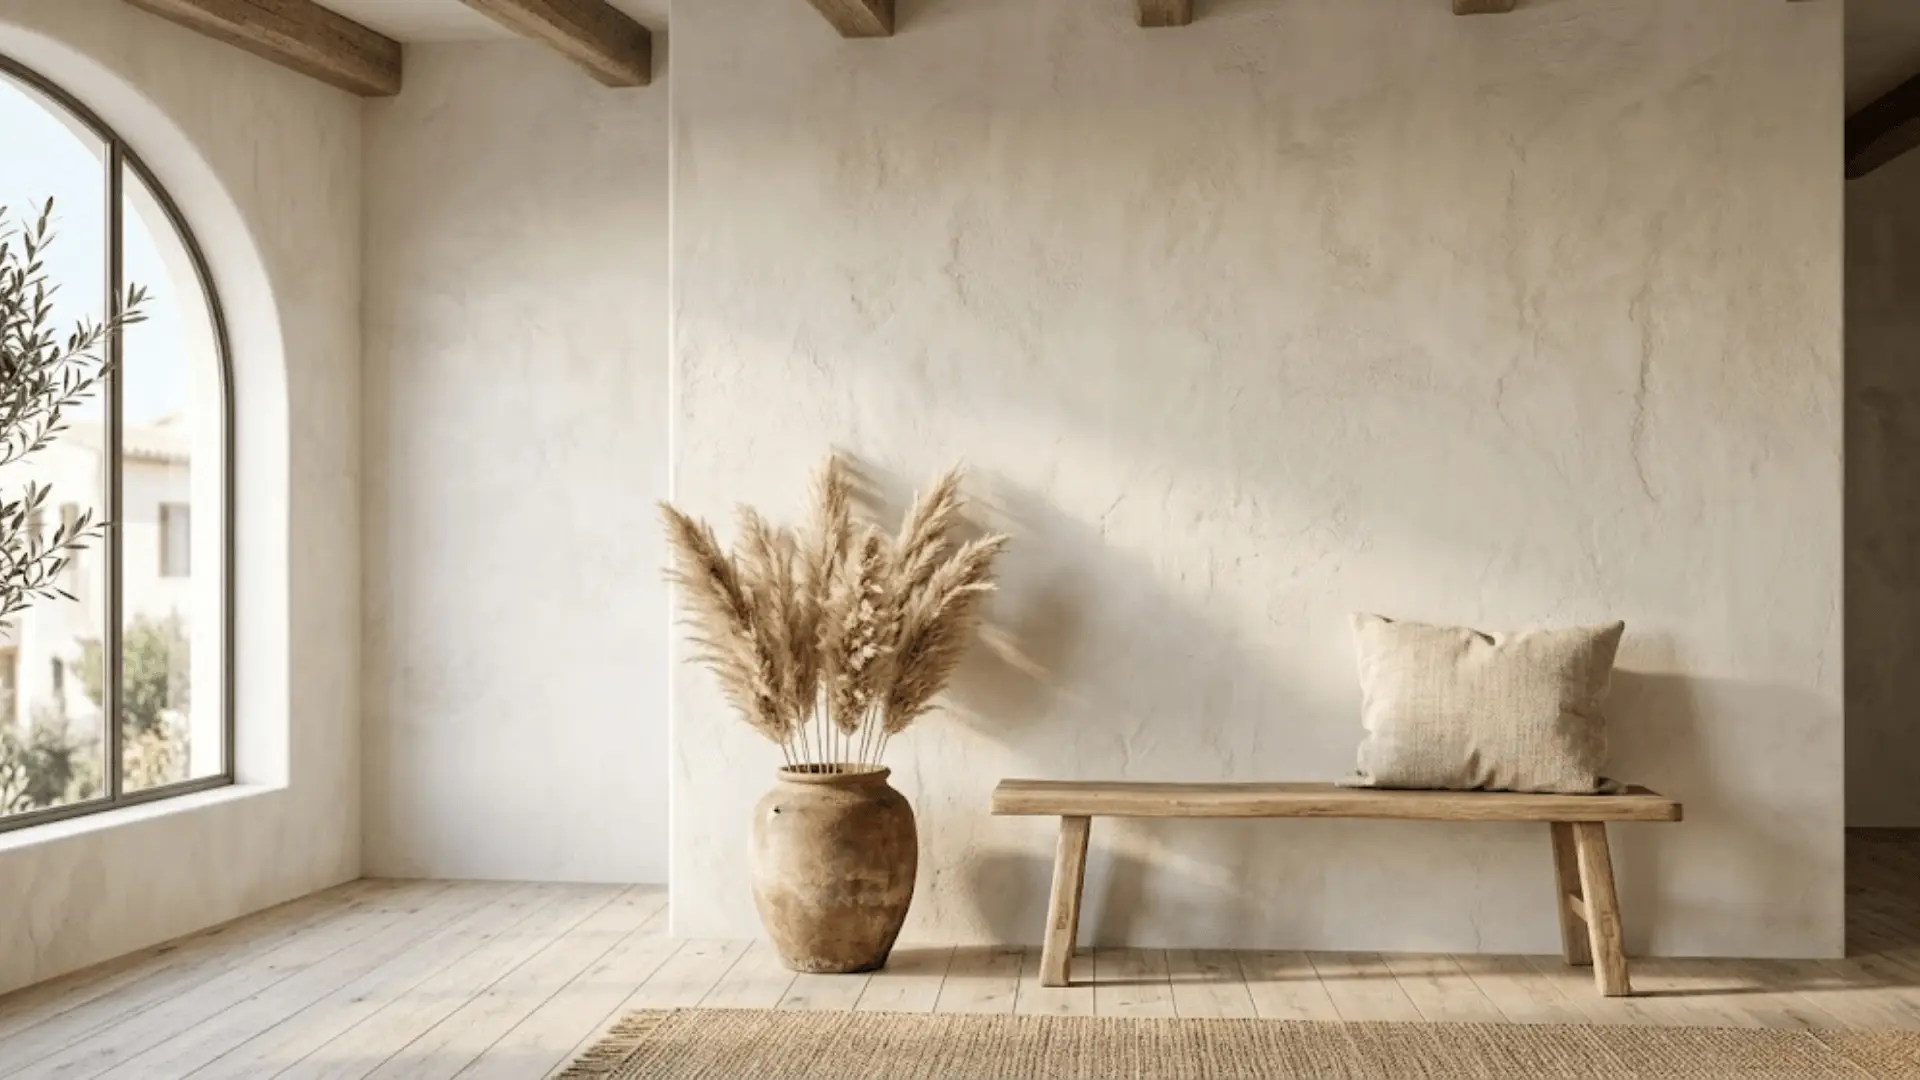
What comes out is a soft, matte, textured look that feels collected and organic, never overdone.
It’s naturally breathable, eco-friendly, and resistant to mold, making it as practical as it is beautiful.
While it works on many surfaces, it truly shines on interior accent walls, brick, plaster, and stone, where its layered depth has the most room to come alive.
Tools and Materials You’ll Need
Getting everything ready before starting saves time and keeps the process smooth.
Here’s what you’ll need on hand:
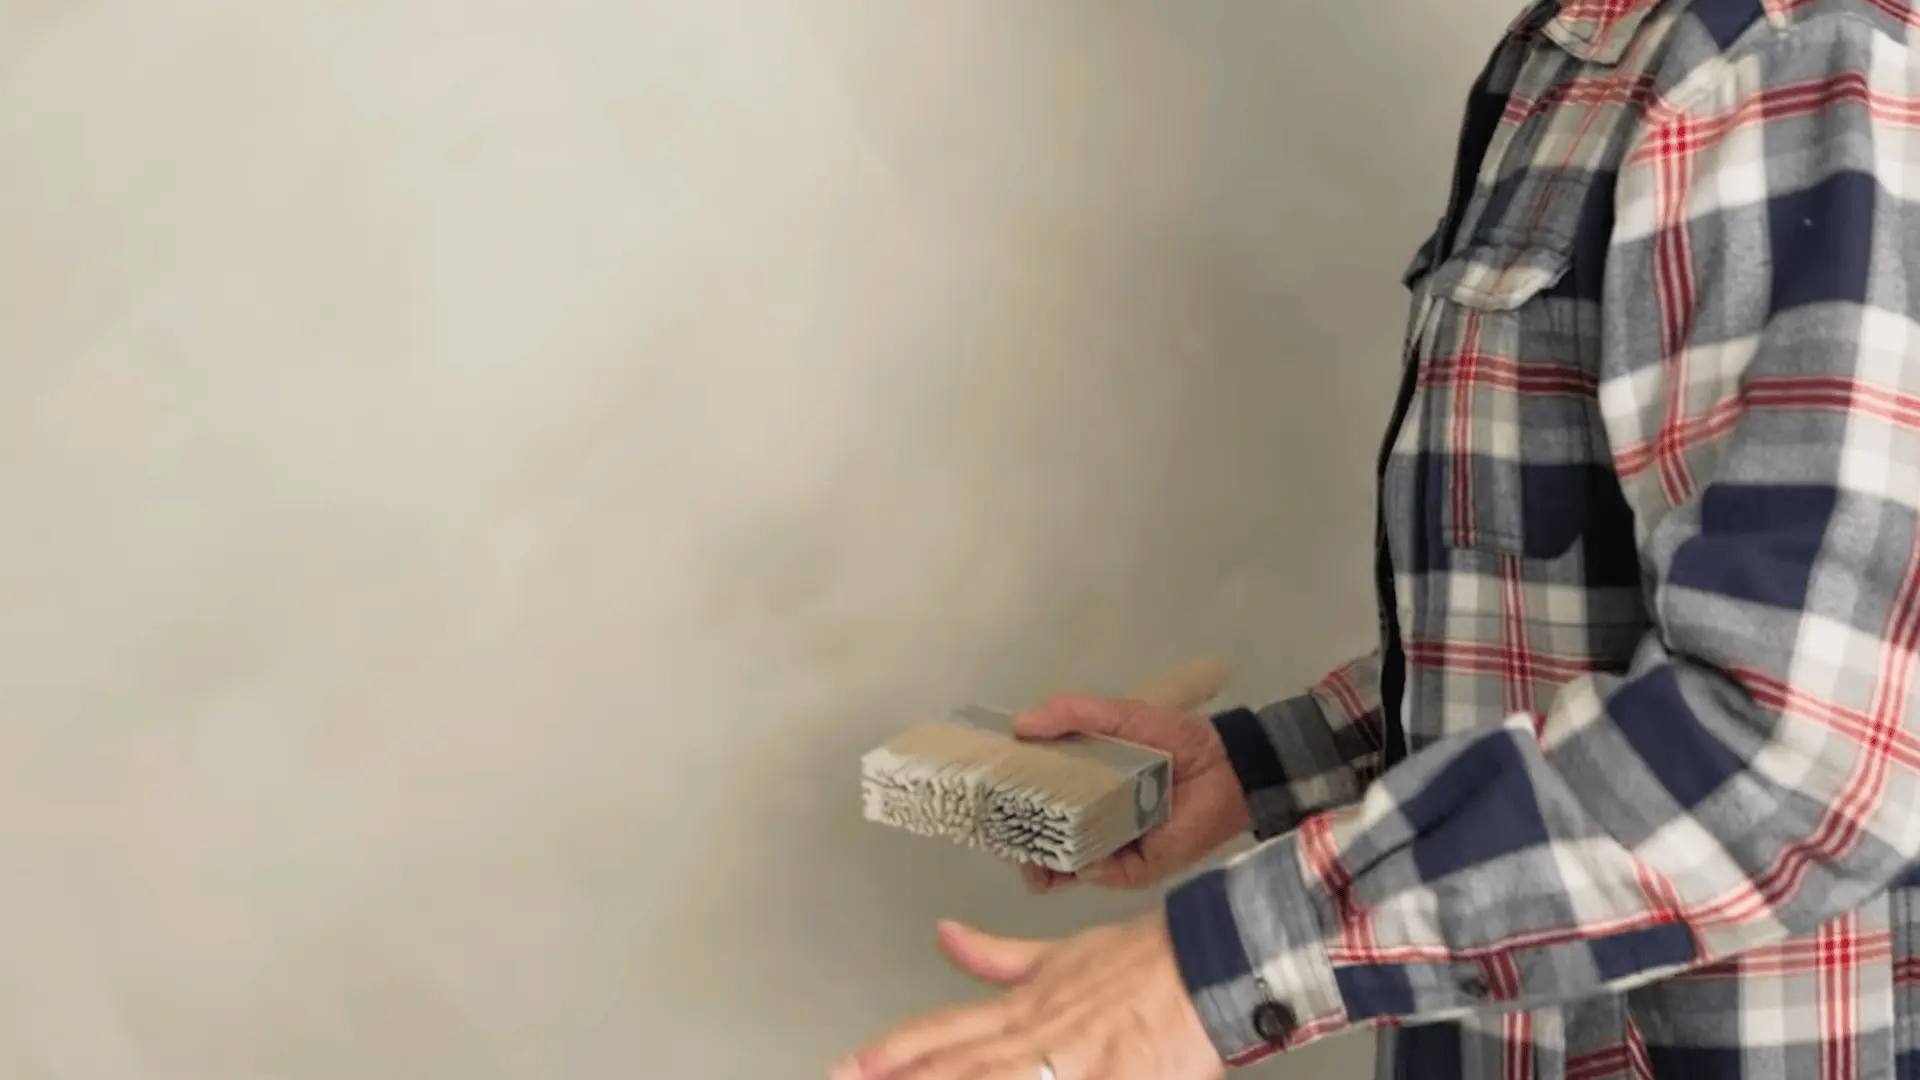
- Large stiff bristle brush for that soft, textured application
- Two paint colors with subtle contrast (like a base and a slightly deeper tone)
- Multiple paint trays, one filled with water, two taped together for the paints
- Acrylic primer to prep the wall surface
- Putty and a smoothing tool for filling any holes
- Wall cleaner to remove dust and grease before painting
Preparing Walls for Limewash
Good prep is what separates a clean, even finish from a patchy one.
Start by filling any holes with putty, smooth it out, and let it dry completely. Then clean the wall thoroughly to remove dust and grease, since limewash needs a fresh, oil-free surface to absorb evenly.
Once the wall is clean and dry, apply an acrylic primer across the entire surface. This step is especially important with limewash because even absorption is everything, and primer is what makes that possible.
Step-by-Step: How to Limewash Walls?
Limewashing is more about technique than perfection. Take it section by section, stay loose with your strokes, and let the process unfold naturally.
Step 1: Set Up Your Paint Trays
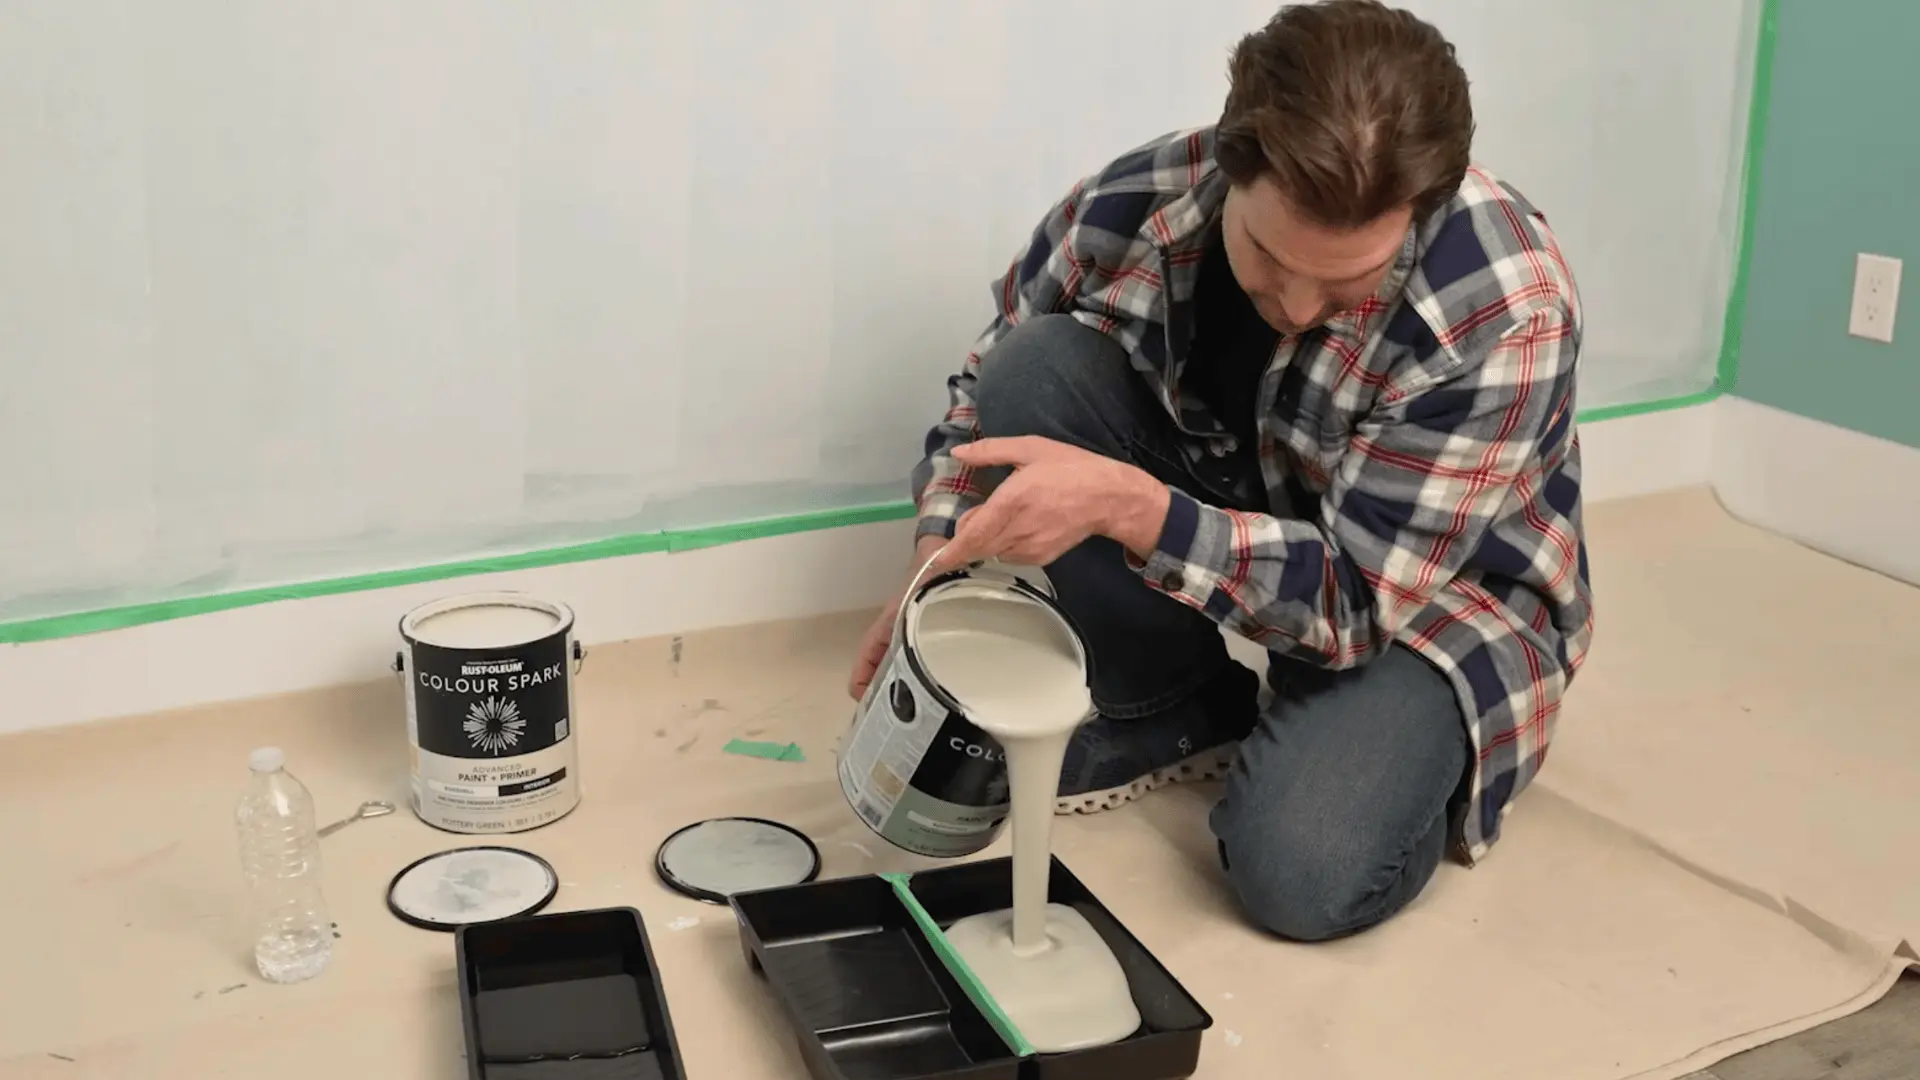
Fill one tray with water and tape two trays together to hold your two paint colors separately. The goal is to let the colors mix on the wall, not in the tray, so keeping them apart at this stage matters.
Having everything organized before the brush touches the wall makes the whole process flow without interruption.
Step 2: Load Your Brush Correctly
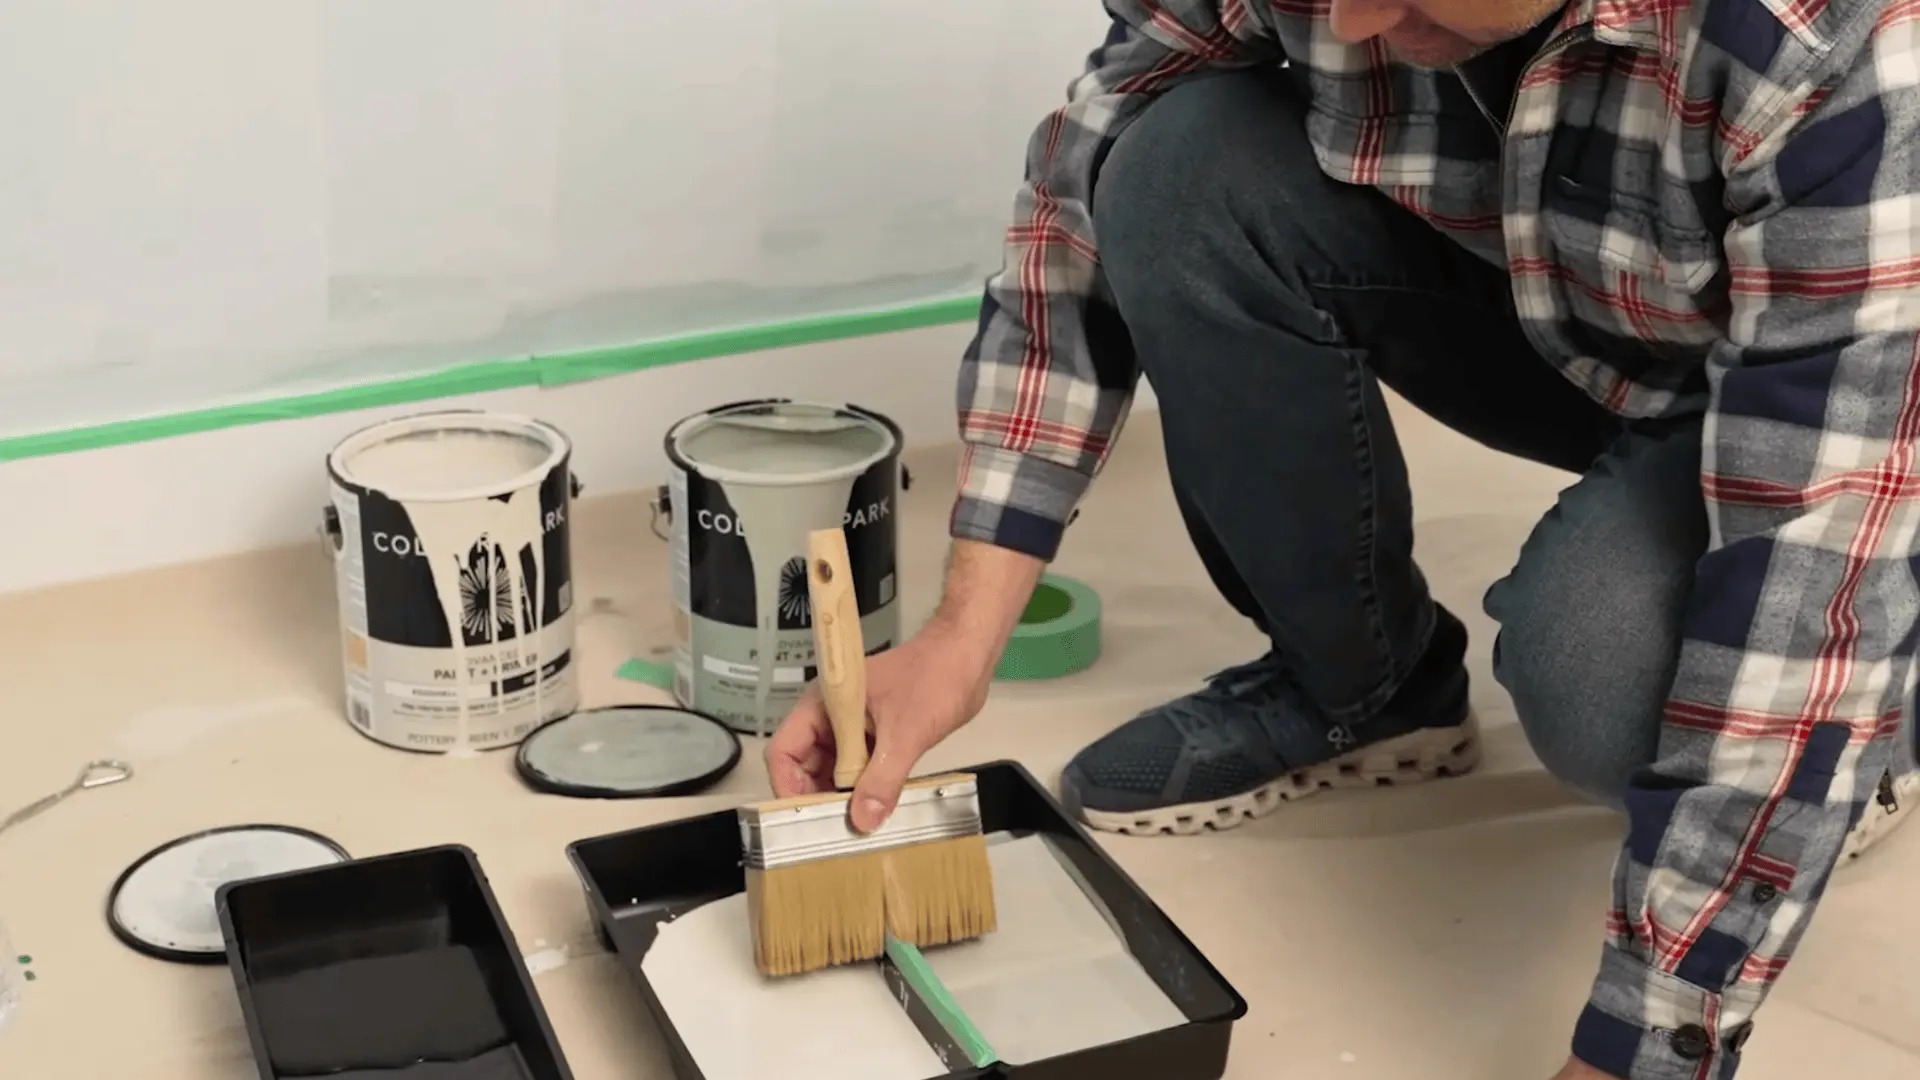
Dip just the tip of your stiff bristle brush into the water first, then into the paint. This thins it out slightly for that characteristic limewash transparency.
Hold the head of the brush rather than the handle for better control over pressure and stroke direction, which directly affects how the texture builds up on the wall.
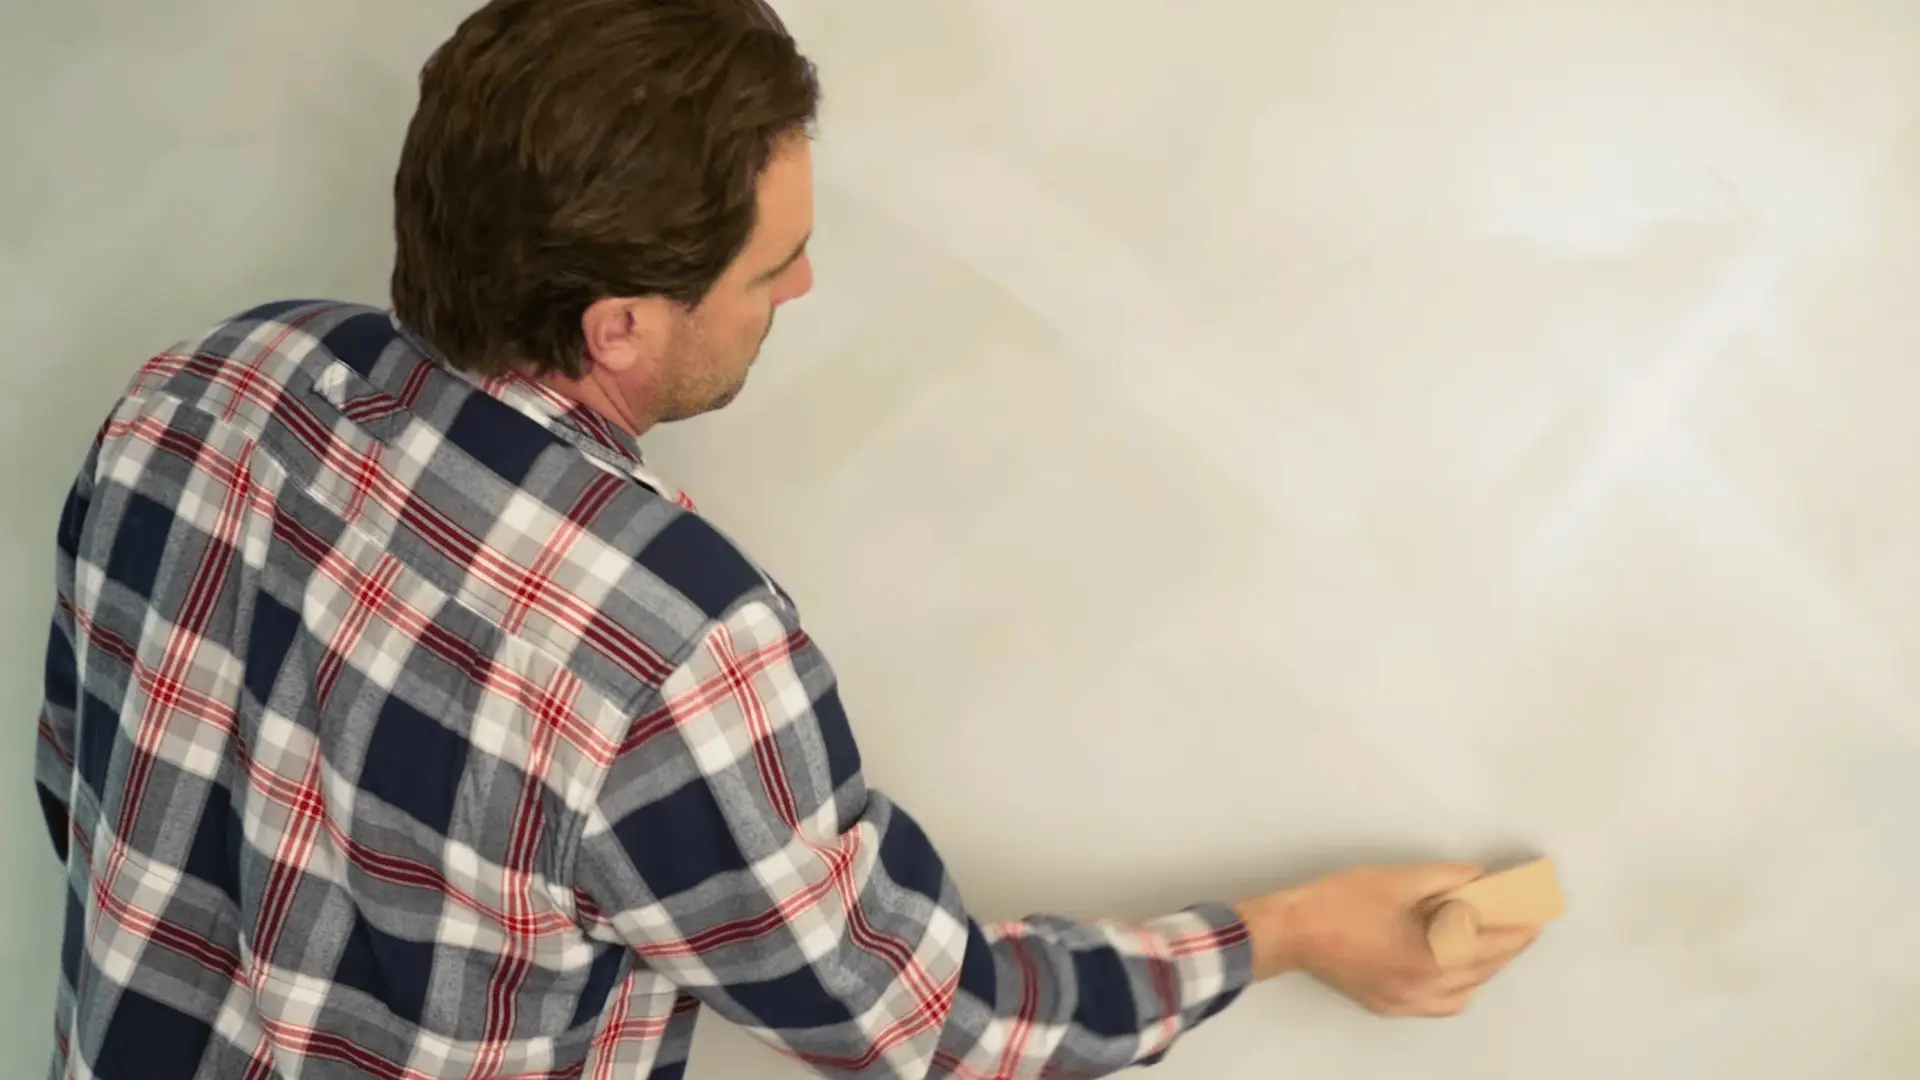
Step 3: Apply in X Patterns
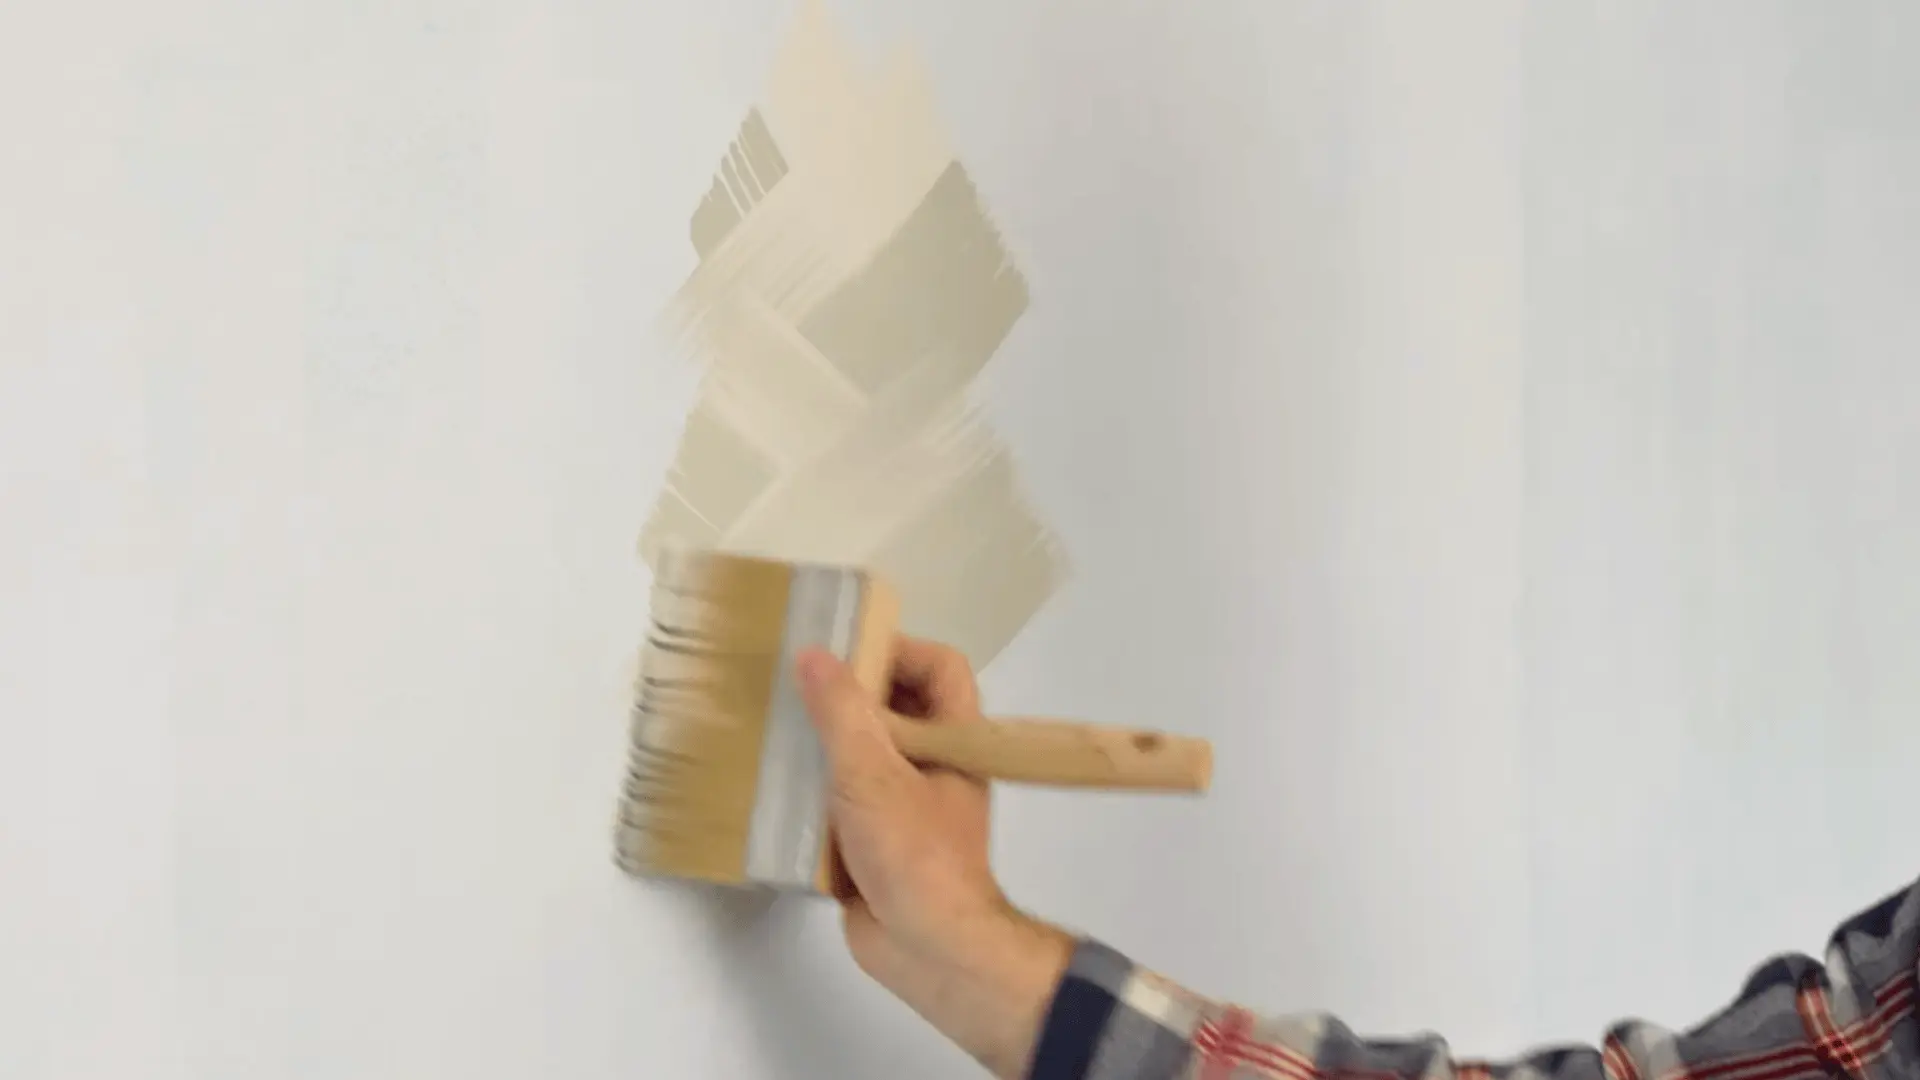
Work in small X-shaped strokes across the wall, alternating between your two paint colors as you go. Avoid too much overlap since the contrast between the colors is what creates that layered, dimensional look.
Keep the strokes loose and varied. Limewash dries quickly, so focus on one small section at a time rather than attempting large stretches all at once.
Step 4: Let the First Coat Dry
Once the first coat is done, let it dry for two full hours before moving forward. Resist the urge to touch up or blend at this stage.
Drying time allows the limewash to settle into the wall properly, and what looks uneven wet often evens out beautifully once dry.
Step 5: Apply the Second Coat
The second coat follows the same X-pattern technique, but this time use slightly less water and less paint. This coat is about softening and blending, pulling the two colors together into a cohesive, textured finish.
The lighter application keeps the depth from the first coat visible while smoothing out any areas that feel too stark.
For a more detailed walkthrough of the process, check out the complete video tutorial below by Scott McGillivray
Techniques for a Professional Limewash Finish
Limewash is forgiving, but a few intentional choices make the difference between a flat result and one that looks genuinely considered.
| Technique | How | Result |
|---|---|---|
| Layering for Depth | Build multiple thin coats | Richer, more dimensional texture |
| Brush Movement | Keep strokes random, no uniform direction | Finish feels organic and authentic |
| Adjusting Opacity | More water = lighter; less water = stronger coverage | Full control over subtlety and boldness |
Common Mistakes to Avoid
Limewash is beginner-friendly, but a few missteps can quietly affect the final result.
- Skipping wall prep leads to uneven absorption and a patchy finish.
- Applying coats too thick flattens the texture and kills the depth limewash is known for.
- Not testing on a small area first leaves no room to adjust color or opacity before committing to the full wall.
- Rushing drying time between coats blends what should stay layered and distinct.
Taking it slow and steady is really what keeps the finish looking intentional.
Limewash vs. Regular Paint
Both get the job done, but they deliver very different results depending on what the wall actually needs.
| Factor | Limewash | Regular Paint |
|---|---|---|
| Finish | Soft, matte, and textured | Smooth and uniform |
| Look Over Time | Ages naturally, develops character | Fades or chips without repainting |
| Best For | Accent walls, brick, plaster, stone | Most standard interior surfaces |
| Feel | Organic, layered, lived-in | Clean, flat, predictable |
How to Maintain Limewashed Walls?
Limewash is low-maintenance by nature, but a little care keeps it looking its best long-term.
- Clean with a dry or slightly damp cloth to lift dust without disturbing the finish.
- Avoid harsh chemical cleaners as they can strip the limewash and dull the texture.
- Touch-ups blend in naturally since limewash doesn’t dry with hard edges or visible lines.
- Reapply a thin coat over worn areas whenever the wall needs refreshing.
- No sanding or stripping needed before touch-ups, just clean the surface and layer over.
Compared to regular paint, limewash is remarkably forgiving to maintain and even easier to revive.
Final Thoughts
Knowing how to limewash walls is only half the experience; watching a flat, ordinary wall slowly take on texture, warmth, and personality is genuinely satisfying.
It’s a finish that rewards patience and gets better with every coat. Once it’s done, the result feels less like a DIY project and more like something the room always had.
If you’ve tried limewashing or have questions about the process, drop them in the comments below. Would love to hear how yours turned out.