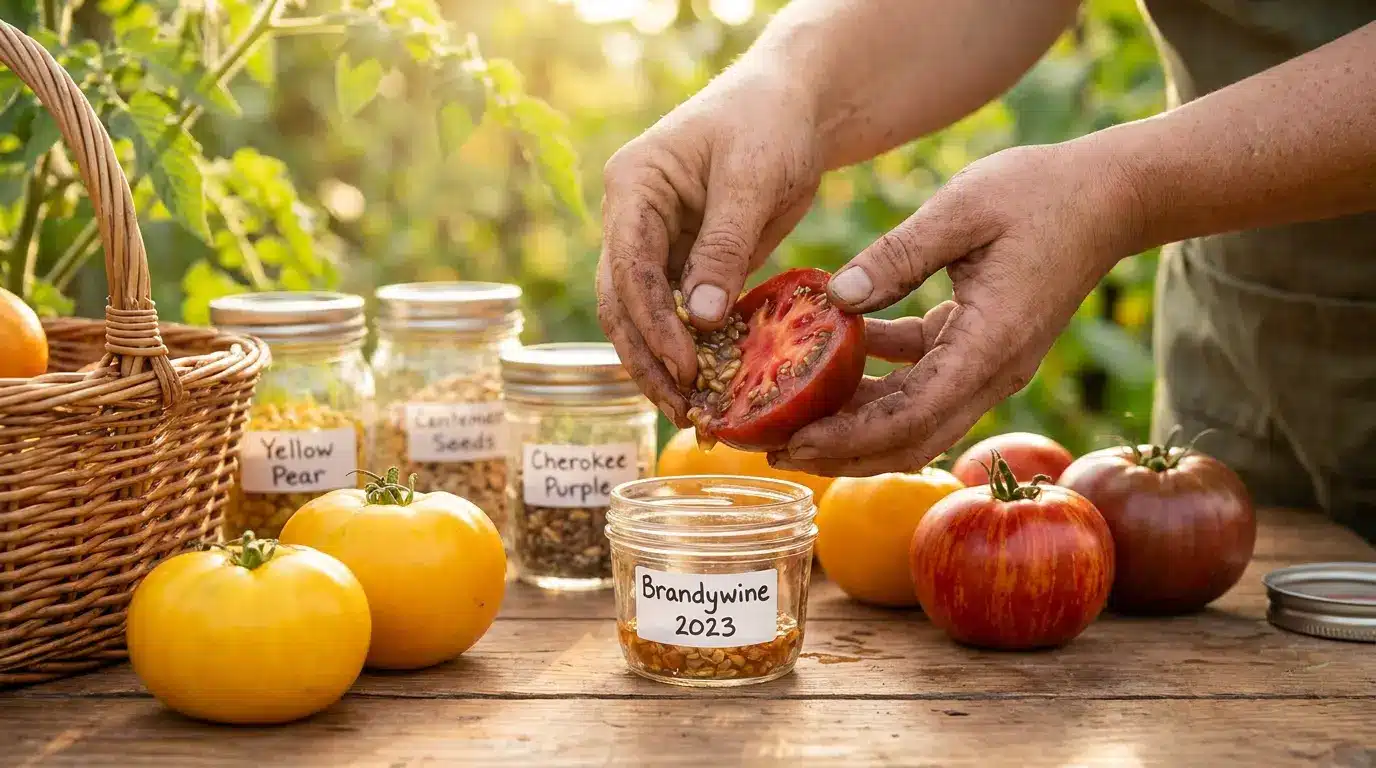
Ever sliced into a ripe tomato and thought, “I wish I could grow this exact one again next year”? I’ve felt the same way, and that’s exactly why learning how to save tomato seeds is so useful.
It’s more than just keeping seeds; it’s about holding onto flavors you love and plants that have already proven they thrive in your garden.
Along the way, you can pick the best tomatoes, carefully save their seeds, and even share them with friends or local gardening communities. This small habit makes the next season easier, adds a personal touch to your gardening, and gives your plants a better chance to shine. Ready to make your garden more intentional?
What Makes Saving Seeds Valuable?
Over the years, I’ve noticed that saving tomato seeds changes how I approach gardening. It’s not just about having seeds for next season; it’s about keeping flavors you love and plants that already thrive in your garden.
Each seed carries a little history: the plant’s resilience, how it handled weather, and even the taste you enjoyed last summer. I’ve shared seeds with friends, swapped them at local community events, and kept some for experimenting with different planting spots.
This small habit creates a sense of connection with your garden, your plants, and fellow gardeners. Even if you start with just one tomato, saving seeds can make your gardening feel personal, intentional, and rewarding every year.
What Tomatoes Are Best for Saving?
Not all tomatoes are equal when it comes to saving seeds. Heirloom tomatoes, which are open-pollinated, usually give plants true to the parent. Choosing the right type now ensures your seeds grow reliably next season, without surprises.
Here’s a simple guide to help pick the best tomatoes for saving seeds:
| Tomato Type | Why It Works for Seeds | Things to Look For |
|---|---|---|
| Heirloom / Open-Pollinated | Seeds reliably grow true to the parent, preserving flavor and traits | Fully ripe, healthy fruit, disease-free, consistent flavor |
| Hybrid | Seeds may sprout, but offspring often differ from the parent | Only for experimentation, select healthy, flavorful fruit and expect variation |
| Store-Bought | Can work occasionally, but is generally unreliable | Choose ripe, unbruised fruit from healthy plants; results may vary |
Selecting tomatoes carefully now ensures your saved seeds will give you plants you actually want to grow. Making thoughtful choices keeps your garden full of reliable, tasty fruit and avoids surprises when planting next season
How to Save Tomato Seeds Step by Step
Saving tomato seeds works best when you follow a clear, simple flow. You start with the right fruit, keep the seeds labeled, let them ferment, rinse them clean, dry them well, and store them safely. Use these six steps to keep the process easy and neat.
Step 1: Choose a Tomato Worth Saving
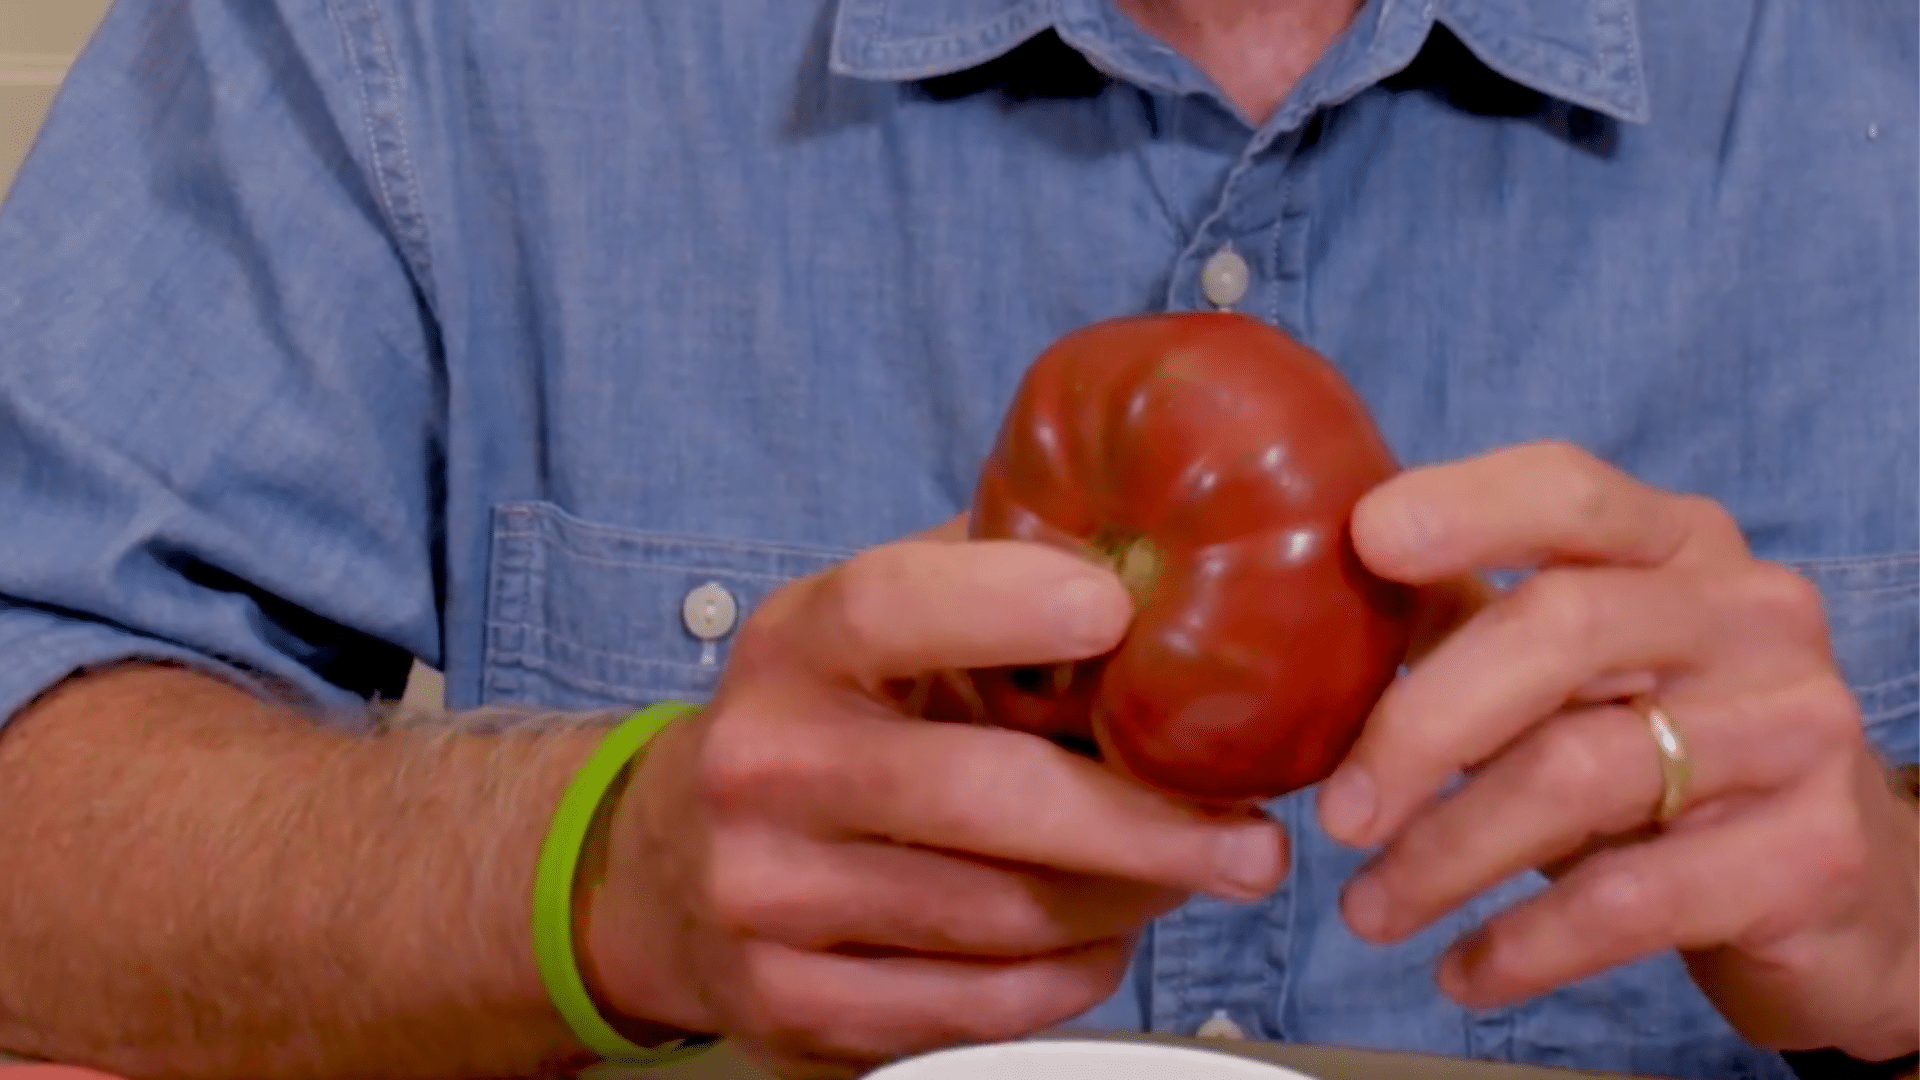
Start with a fully ripe tomato from a strong plant that has grown well through the season. I would pick one that tastes good, looks true to its type, and feels worth growing again. Skip fruit that is cracked, moldy, bruised, underripe, or taken from a weak plant.
If you are working with heirloom or open-pollinated tomatoes, your saved seeds are more likely to grow similar fruit next year. Good seed saving starts before the jar, with the tomato you choose. That choice shapes everything you harvest later next season.
Step 2: Scoop the Seeds Into a Jar
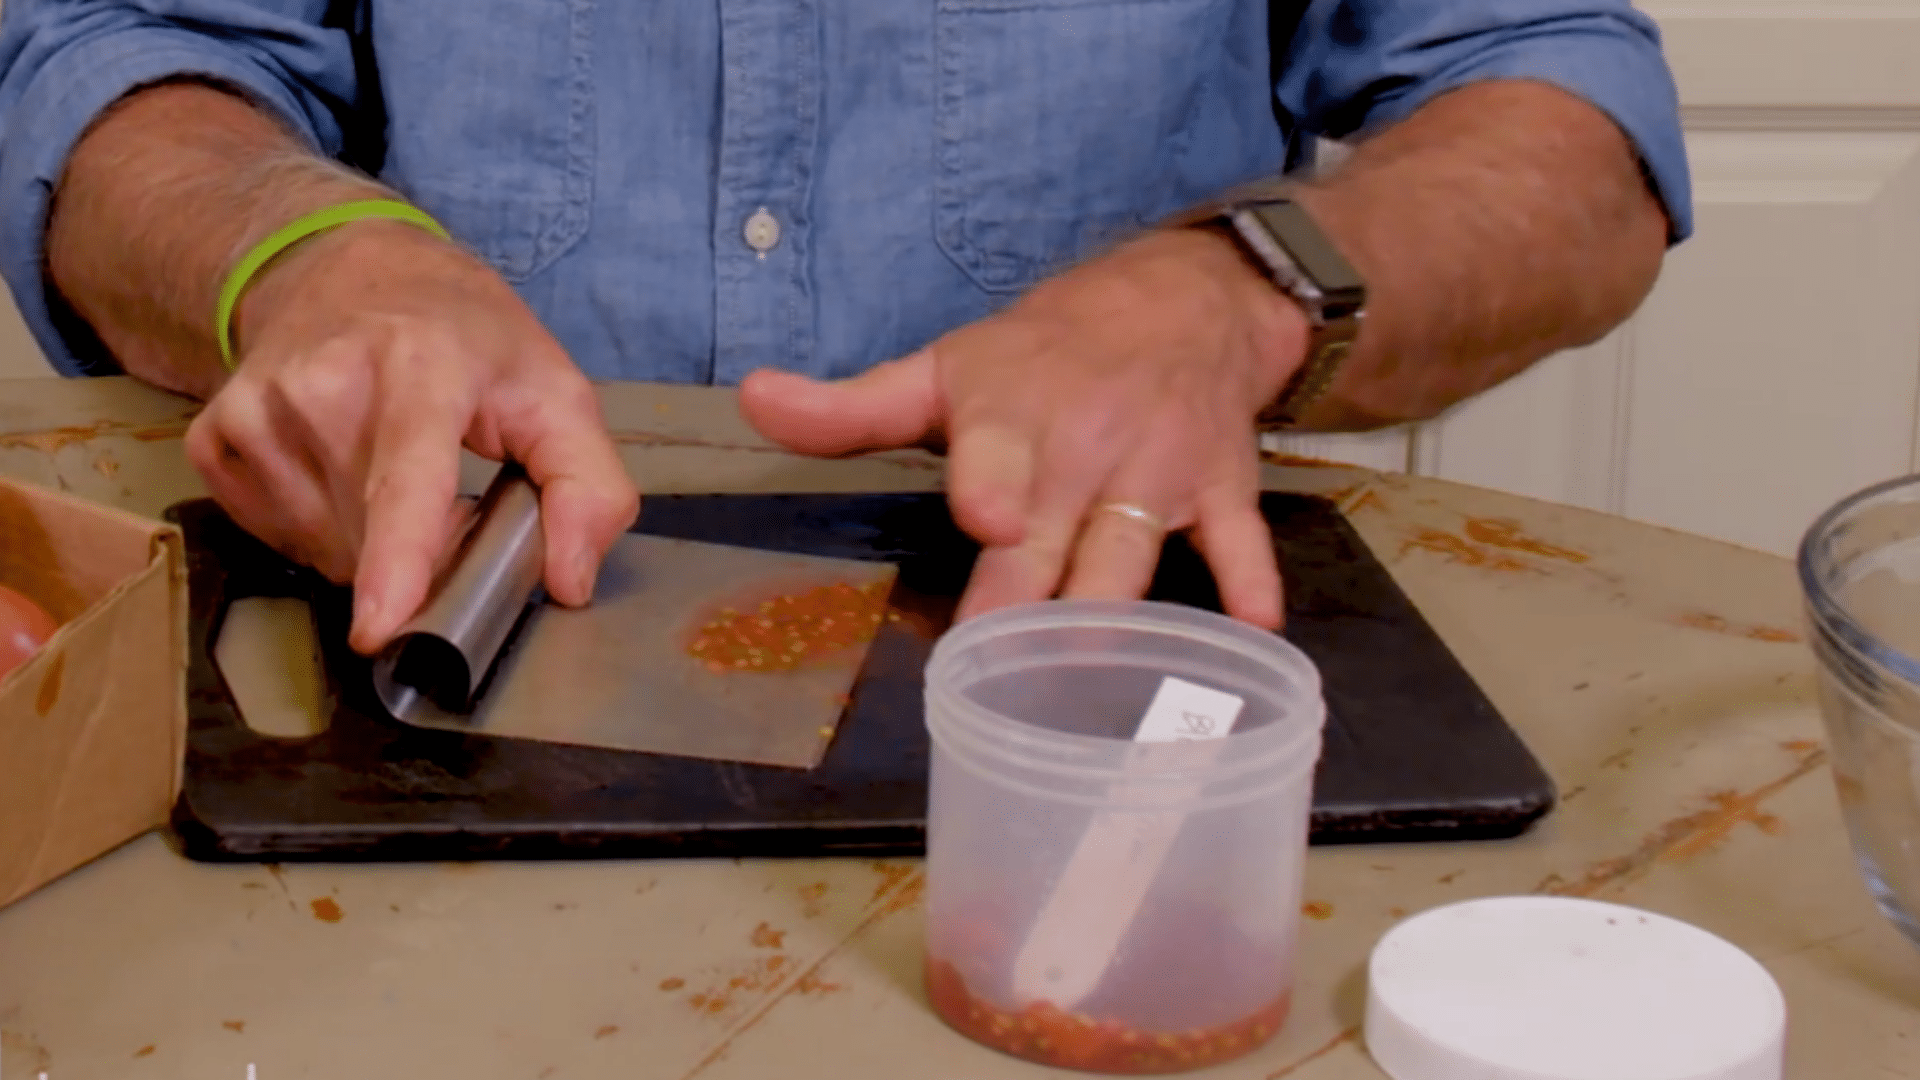
Cut the tomato open and look for the seeds sitting in the soft gel around the inside edges. Use a spoon, a small tool, or a clean finger to loosen them into a jar. Do not stress about a little pulp coming along, because that mix helps the next step.
If you are saving more than one variety, keep each kind in its own jar. Add the tomato name and date right away, since loose seeds can look almost impossible to tell apart later, especially when dry and cleaned after a thorough rinse.
Step 3: Let the Seeds Ferment

Let the seeds and gel sit in their own juice for a few days. Keep the jar loosely covered and place it somewhere cool, out of direct sunlight. You do not need to add water yet.
The mixture may smell a little sour, but that is normal. During this stage, the gel around the seeds starts to break down.
Once you see the liquid separate, the gel loosen, and some seeds settle, you are ready to clean them with water and care before drying them with patience and gentle handling.
Step 4: Rinse Away the Pulp
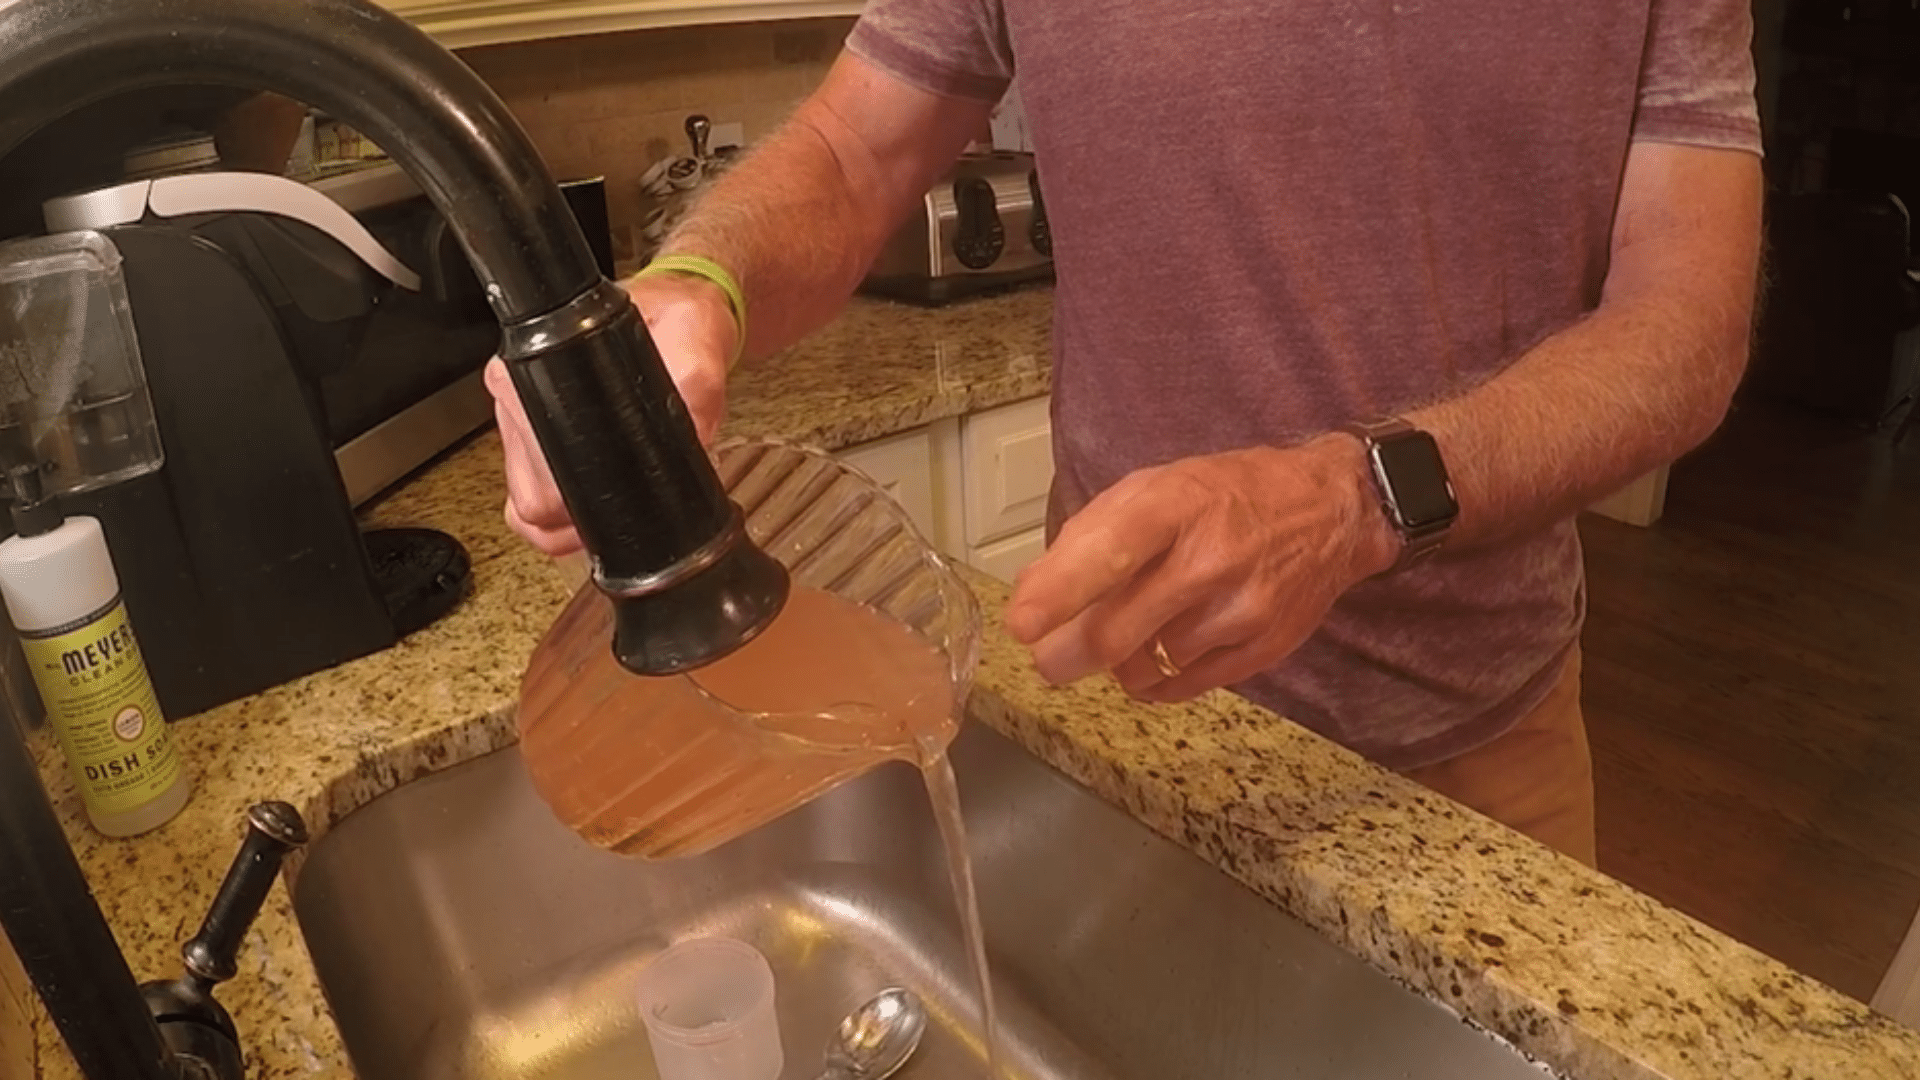
Move the fermented mix into a larger container, then add water and swirl gently. The good, heavier seeds should sink, while pulp, gel, and lighter seeds float. Slowly pour off the floating mess, but stop before the seeds near the bottom move toward the edge.
Add fresh water and repeat the rinse a few times. This part may feel slow, but it is worth it. Cleaner seeds dry better and are easier to handle later, when you are packing them away for storage with less mess next year.
Step 5: Dry the Seeds Properly
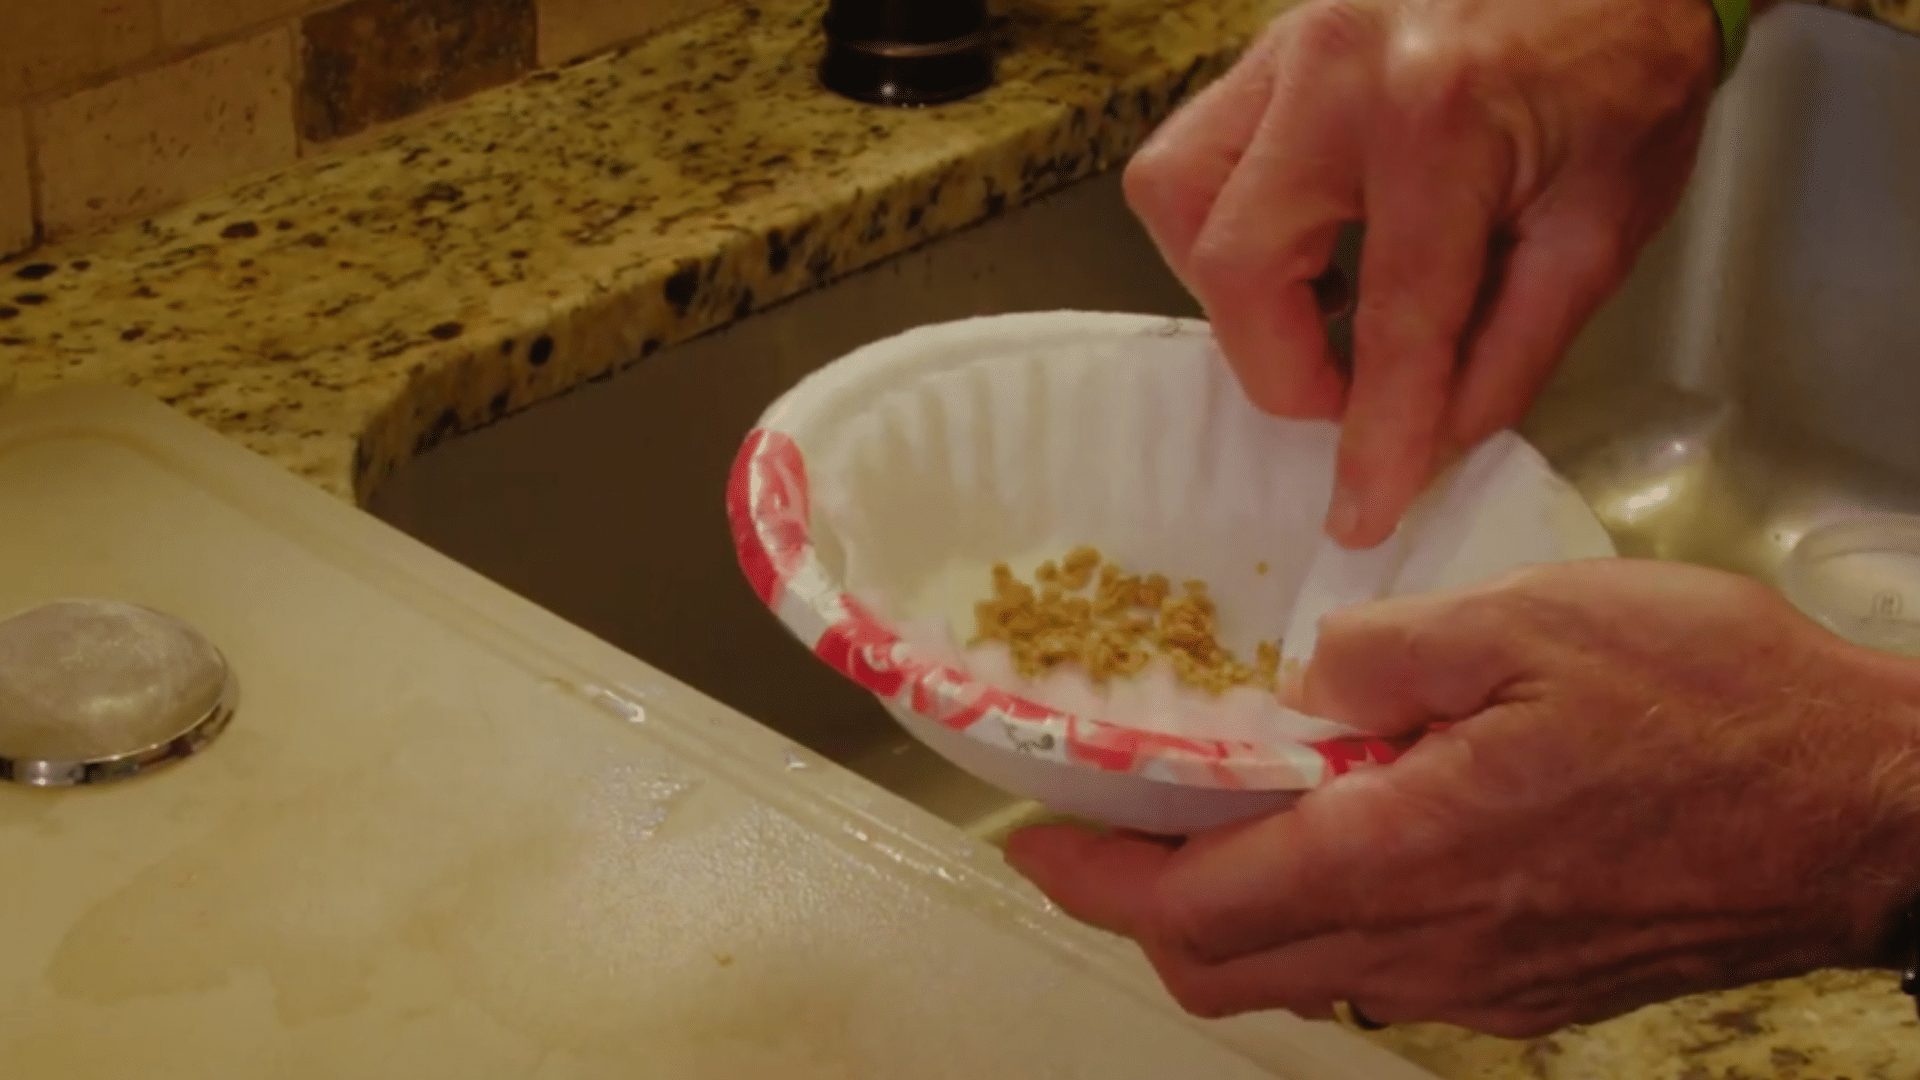
Pour the clean seeds through a small strainer, then spread them in one thin layer. A coffee filter works well because it stays strong when wet, but you can also use a screen, plate, or parchment. Keep the seeds in a warm, airy room, not a damp corner.
As they dry, run your fingers through them once or twice a day. This breaks clumps apart before they harden. Wait until every seed feels fully dry before storing them for the season ahead with confidence and less trouble next planting season.
Step 6: Pack Them for Storage

Once the seeds are fully dry, move them into a small jar, envelope, or container. Add the variety name and the month and year so you can identify what you saved later. I like keeping labels inside and outside the container for safety.
A silica gel packet can help control extra moisture, but it is optional. Store the seeds somewhere cool and dry. A refrigerator works well, though a stable room-temperature spot is fine when it stays dry for long storage through winter and planting time, ready for your garden again.
Now that we know which tomatoes to choose and why saving seeds matters, let’s break down the step-by-step method gardeners rely on for consistent results.
What Seed-Saving Communities Recommend
Seed-saving communities often think beyond one nice tomato. They look at patterns: which plants stayed strong, which fruits tasted best, and which varieties handled the local season well.
That mindset helps you save seeds with purpose, not guesswork. Here’s how I’d turn that community advice into simple garden decisions.
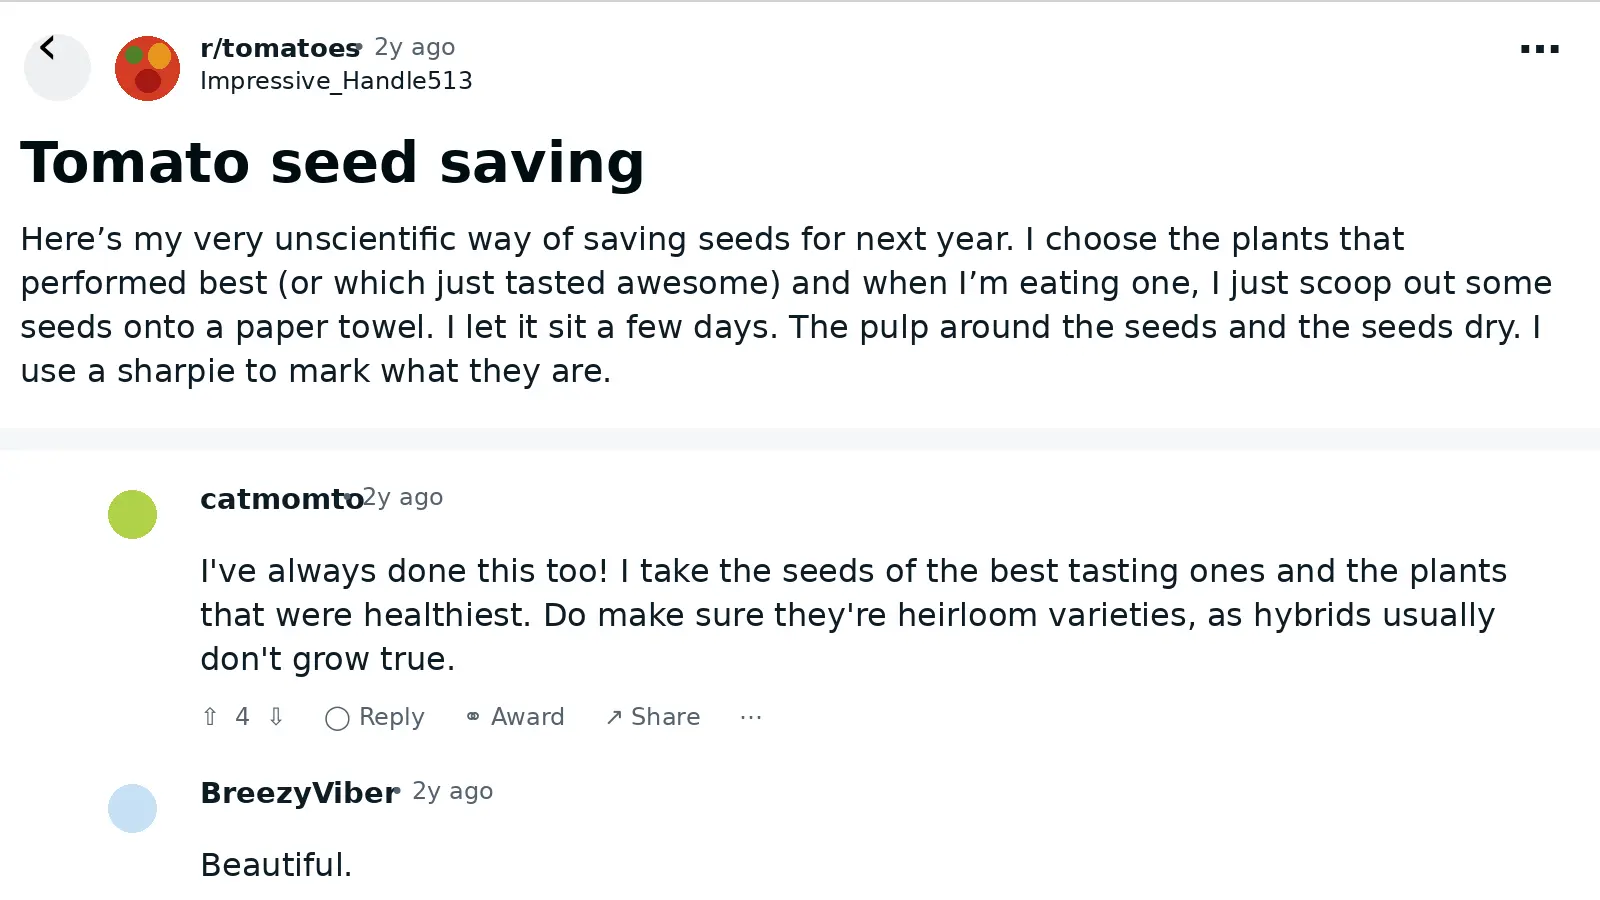
After going through the Reddit post on tomato seed saving, the advice feels simple, practical, and based on real garden experience.
One gardener shared, “I choose the plants that performed best (or which just tasted awesome) and when I’m eating one, I just scoop out some seeds onto a paper towel.” That supports a smart rule: save seeds from tomatoes you truly want to grow again.
Another Reddit gardener added, “I take the seeds of the best-tasting ones and the plants that were healthiest.
Do make sure they’re heirloom varieties, as hybrids usually don’t grow true.” This adds two useful points. Flavor matters, but plant health matters too. It also reminds you to choose heirloom or open-pollinated tomatoes if you want more predictable results next season.
So, I’d pick ripe tomatoes from strong plants, fully dry the seeds, label them with the variety and year, and store them in a cool, dry place. This keeps seed saving easy and more reliable.
Planning Your Seed-Saving Season
Beyond avoiding mistakes, organizing your season makes saving seeds more efficient and reliable. Here’s what to focus on before harvest.
- Grow Enough Plants: Have multiple healthy plants for each variety to ensure enough seeds and backups if a plant underperforms.
- Track Top Fruits: Identify the best fruits on each plant and mark them. Focus on flavor, size, and disease resistance for seed saving.
- Plan Timing Carefully: Schedule when to harvest fruit for seeds so it is fully mature and ready for processing.
- Rotate Varieties: Change planting locations each year to maintain soil health and reduce disease risk in seed crops.
- Keep Observations: Record fruit performance, plant behavior, and environmental conditions. Notes guide future seed-saving decisions and improve results each season.
A little planning goes a long way. By preparing your plants and tracking fruits thoughtfully, you give your seeds the best chance to grow strong, true, and productive next season
Common Seed-Saving Mistakes to Avoid
Even small errors can affect your seed harvest and make the next season harder. Knowing common pitfalls, like poor plant selection, fermentation issues, or storage mistakes, helps beginners avoid frustration and increases the chances of growing healthy, productive tomato plants.
Here’s a clear table of the main mistakes beginners encounter and simple ways to prevent them.
| Mistake | Why It Matters | Quick Tip |
|---|---|---|
| Choosing Weak Plants | Seeds from unhealthy or low-yield plants may inherit poor traits | Pick seeds from vigorous, productive, disease-free plants only |
| Overlooking Seed Maturity | Immature seeds may fail to sprout | Wait for fully ripe fruit before removing seeds |
| Fermentation Problems | Seeds can be damaged by too long or short fermentation | Let gel naturally break down, then rinse carefully |
| Drying and Storage Errors | Damp, clumped, or mislabeled seeds lose viability | Spread seeds thin, label clearly, store in a dry, cool place |
| Mixing Varieties | Confusing seeds makes future planting unpredictable | Keep separate containers and mark each variety clearly |
Avoiding these mistakes sets you up for a smoother seed-saving experience. Simple attention to plant health, proper timing, and careful storage ensures your seeds are ready to grow into strong, consistent plants next season.
How to Grow Tomatoes Successfully
Growing great tomatoes starts before the first fruit appears. You need strong seedlings, rich soil, careful planting, steady support, deep watering, and simple problem prevention.
When each part is handled well, your tomato plants have a much better chance. Here are six clear steps I’d follow from seed to harvest.
Step 1: Start Seeds and Raise Strong Seedlings
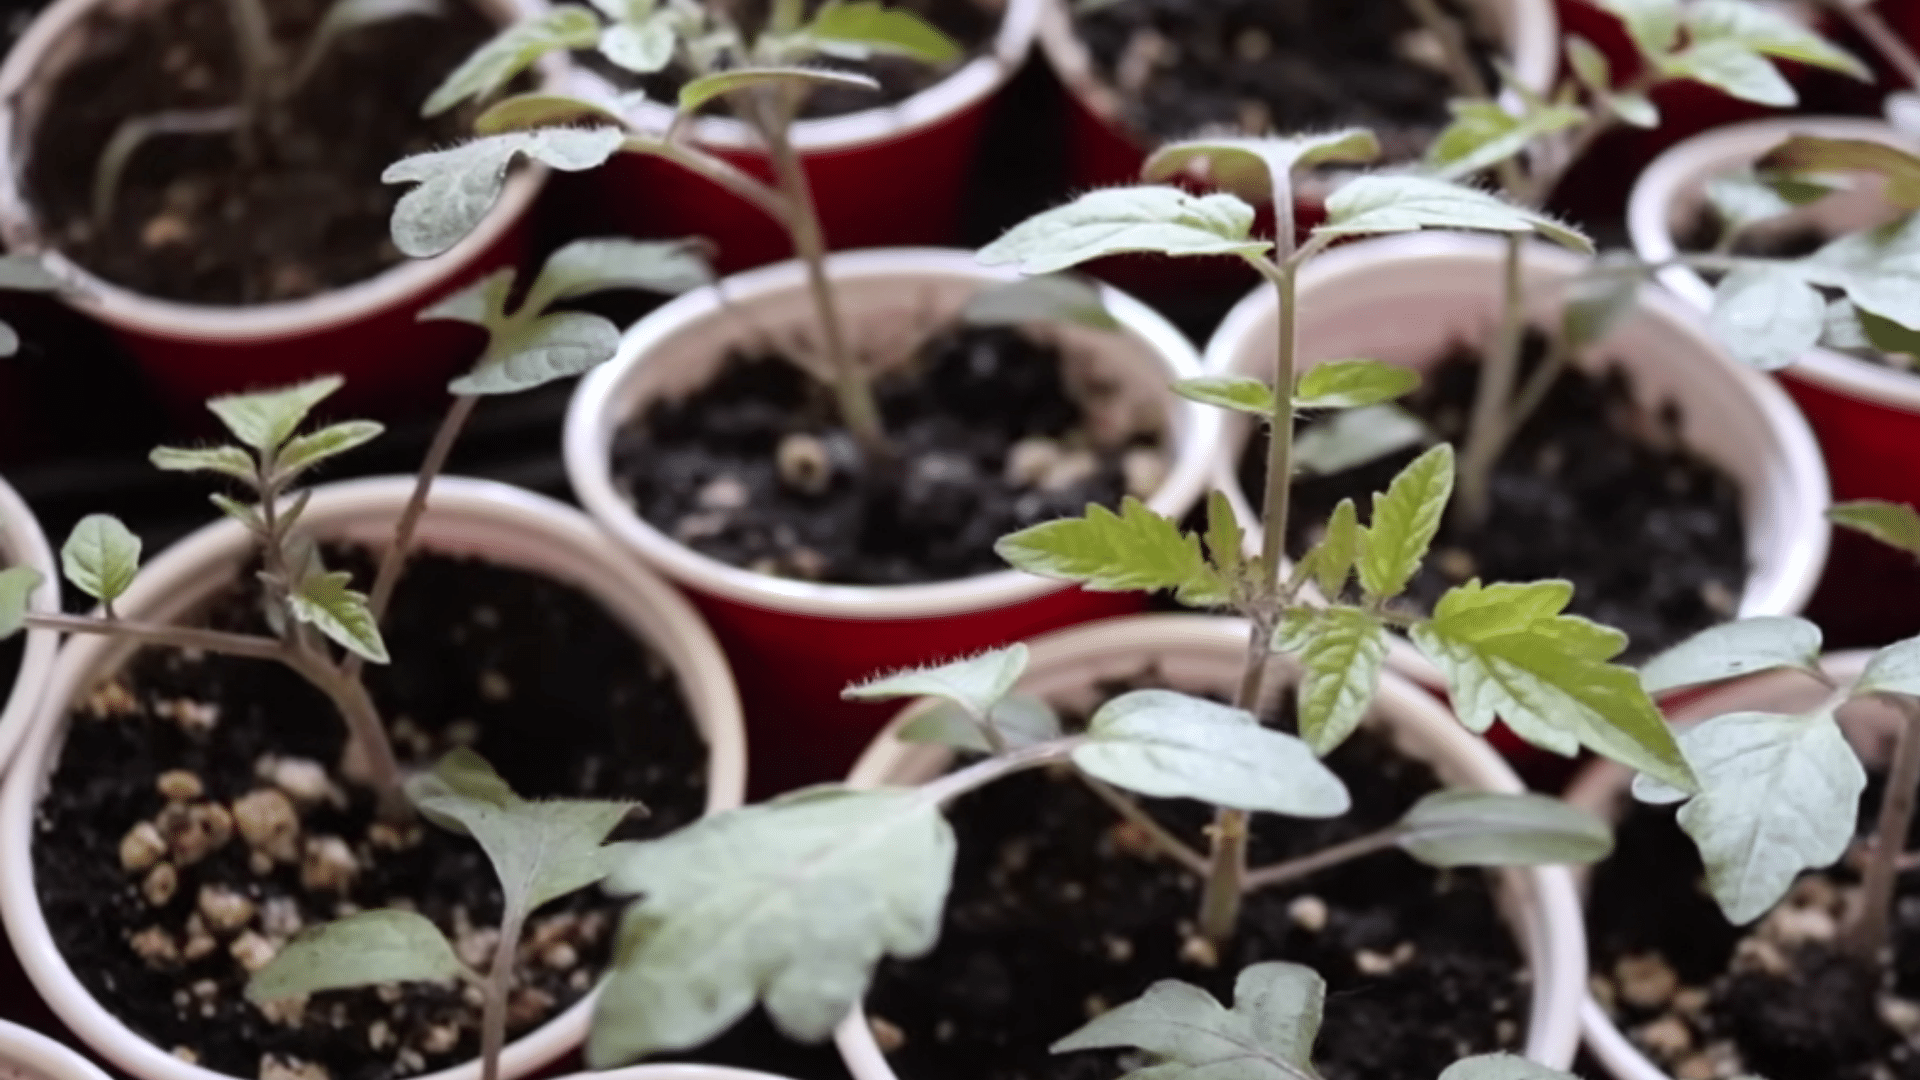
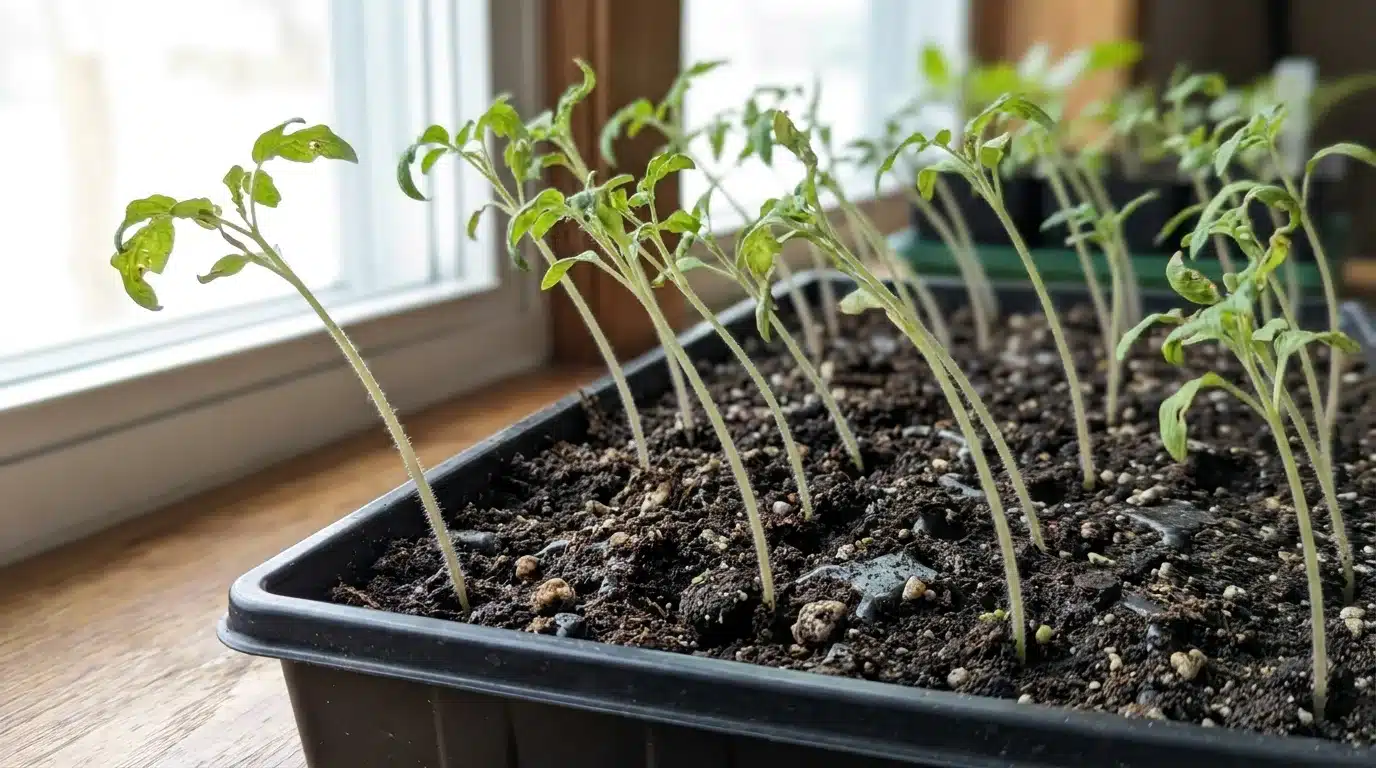
Start tomato seeds indoors about six weeks before your last frost. Use a cup or tray with drainage holes and fill it with good potting mix. Sprinkle the seeds on top, cover them lightly, then mist with water.
A heat mat helps keep the soil warm, which tomatoes love. Once the seeds sprout, remove the cover and give them strong light. When the seedlings grow larger, move them into their own cells and bury the stems deep.
Step 2: Prepare Soil Before Planting
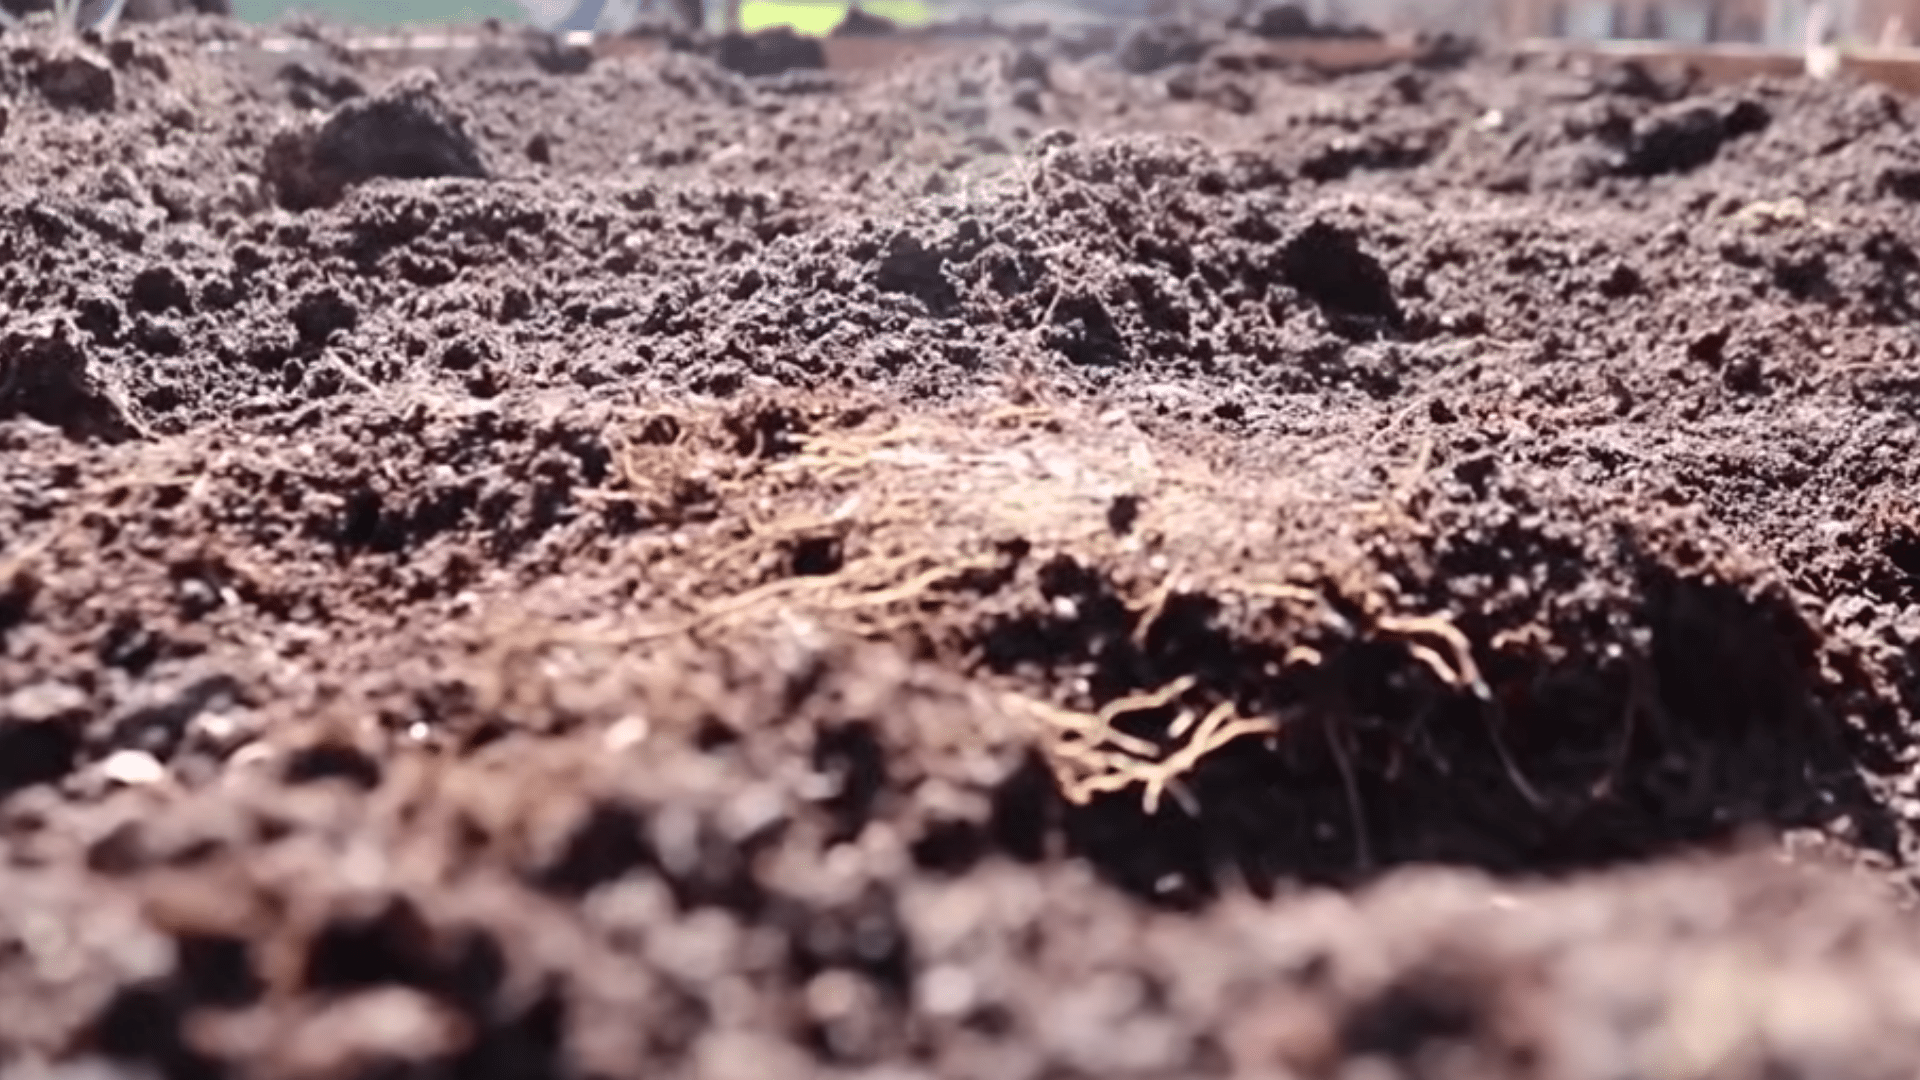
Tomatoes need a sunny spot with at least six to eight hours of light each day. Before planting, loosen the soil and improve it with compost, manure, or other rich organic matter. If your garden soil is heavy clay, adding good amendments can make a big difference.
Healthy soil helps roots spread, hold moisture, and feed the plant through the season. I’d rather fix the bed first than fight weak plants later.
Step 3: Plant Tomatoes Deep and Space Them Well
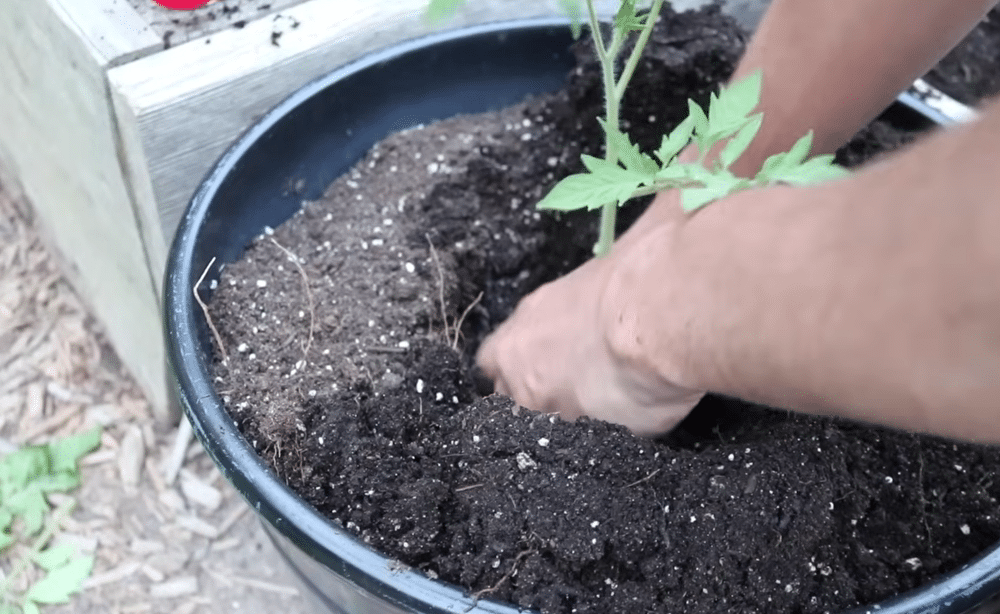
When it is time to plant outside, dig a deep hole or trench. Remove the lower leaves and bury most of the stem, because tomatoes can grow roots along buried stems. Mix in fertilizer that supports flowering and fruiting, then water the plant well.
Give each plant enough room, even if it looks small at first. Two feet can work for single-stem plants, while wider plants often need closer to three feet.
Step 4: Support and Prune the Plants
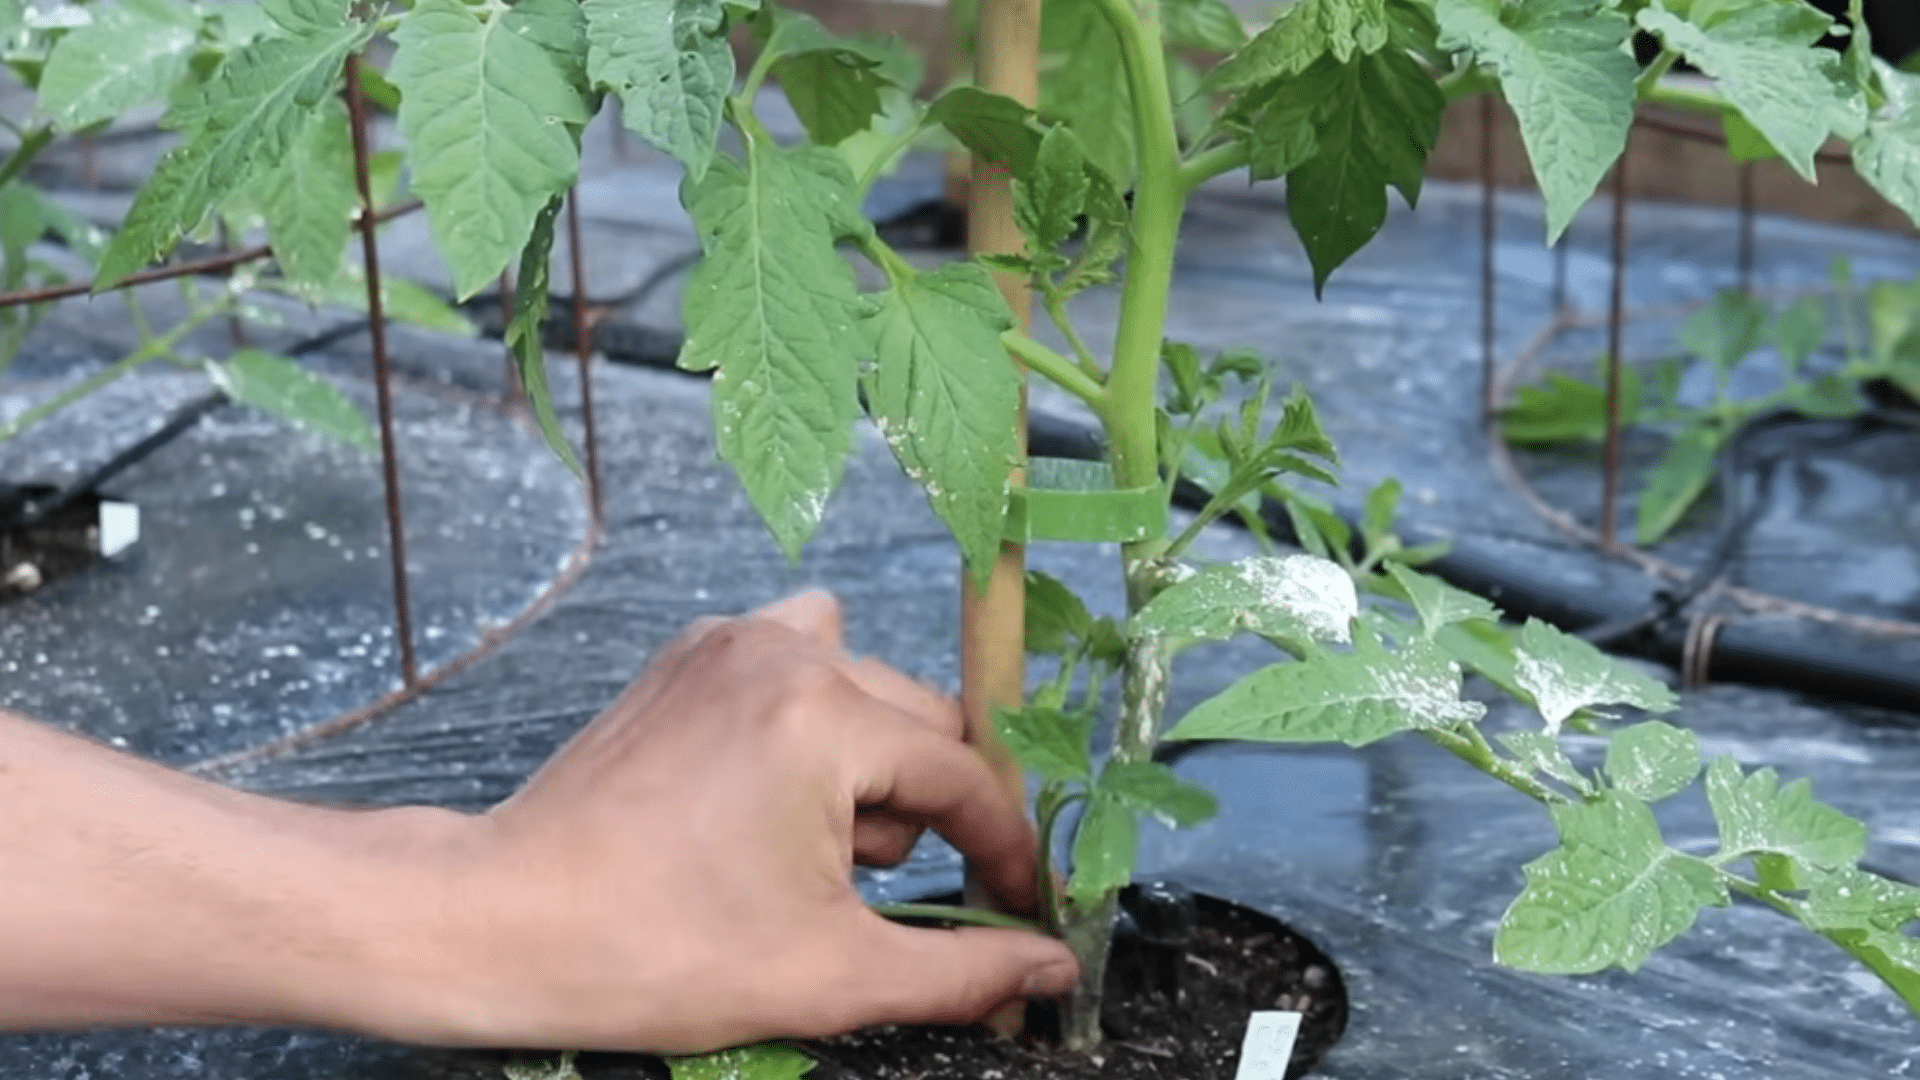
Most tomatoes need support as they grow taller. You can use stakes, cages, or a trellis, depending on your space and tomato type. Indeterminate tomatoes keep growing and should be supported well. If you train them to one stem, remove side shoots as they appear.
Cages let plants grow fuller, but they need a strong structure. I also like removing lower branches near the soil to improve airflow and reduce disease risk.
Step 5: Water Deeply and Consistently
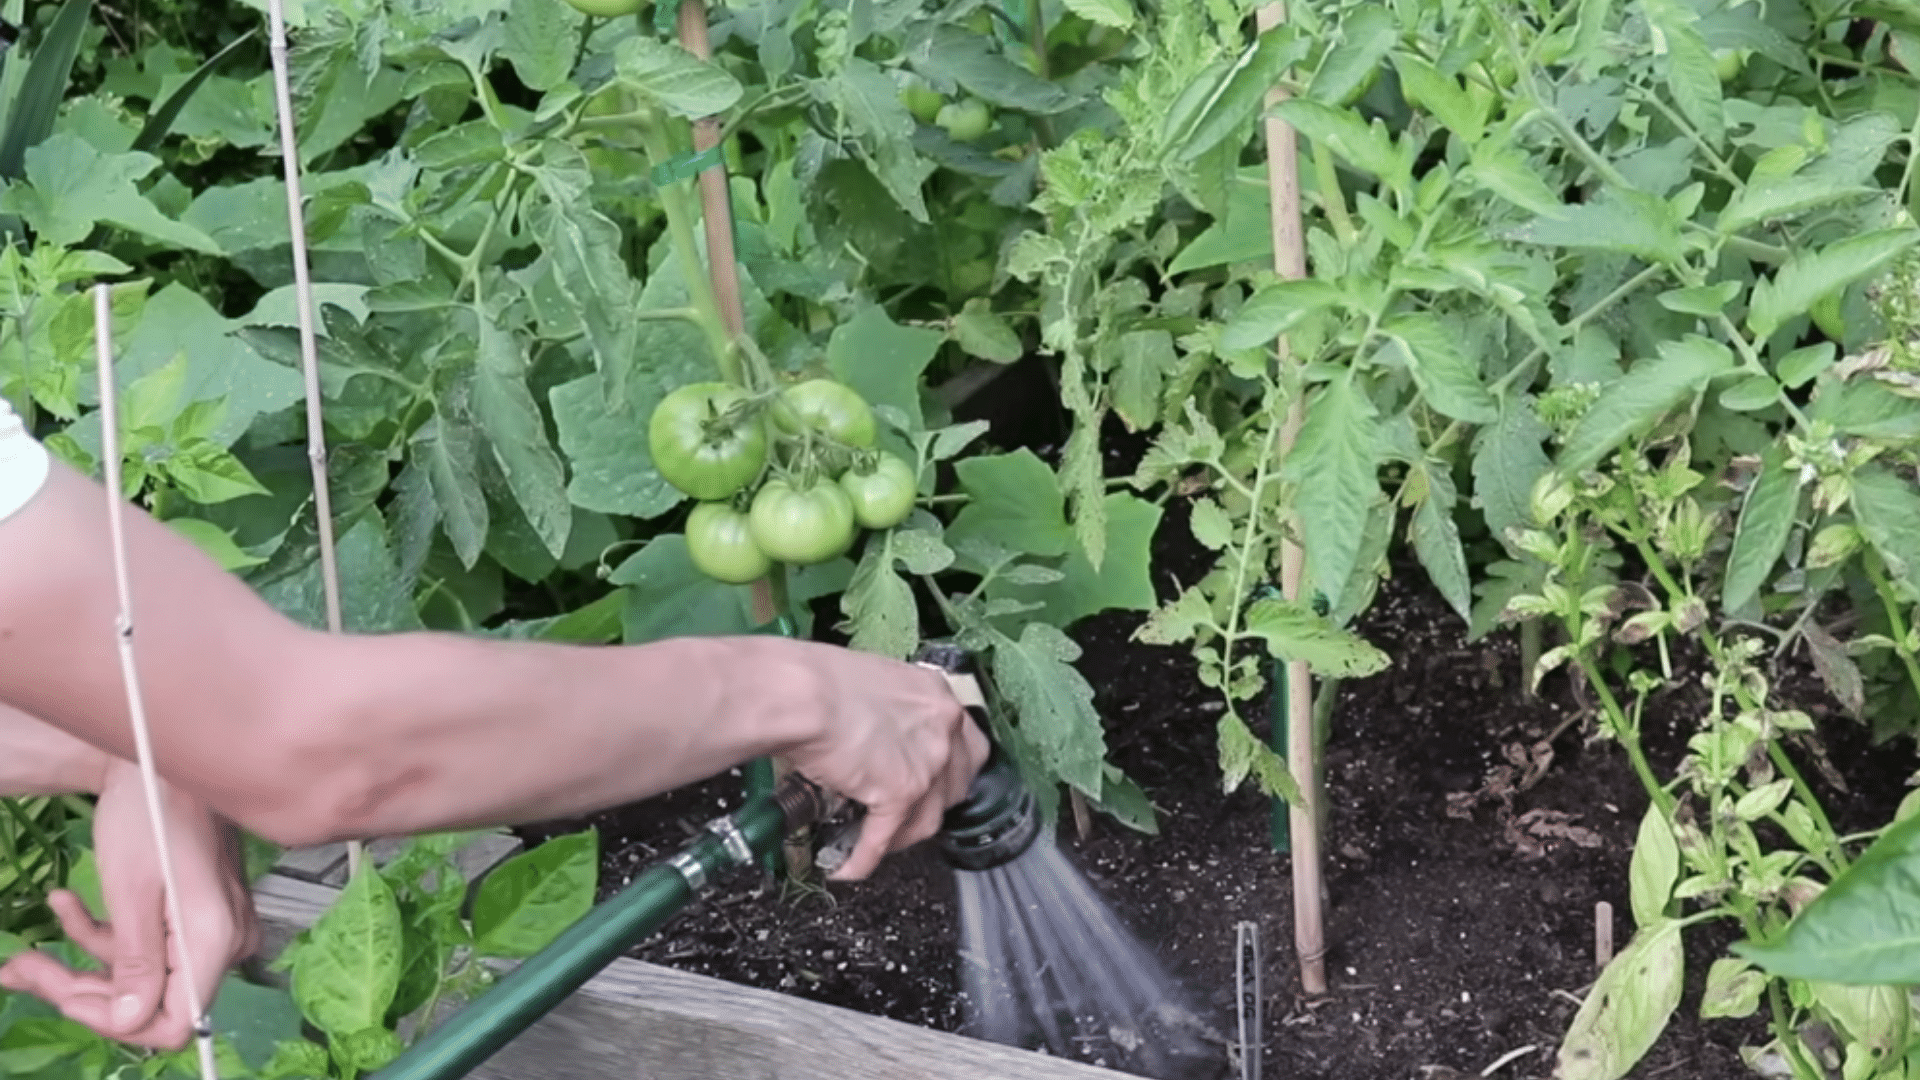
Tomatoes do best with steady, deep watering. A quick splash on the surface will not help much because shallow watering leads to weak roots. Water the base of the plant and try to keep the leaves dry.
Morning is best because extra moisture can dry during the day. If the weather turns hot and dry, mulch around the base to hold moisture. Drip irrigation or soaker hoses can make this job easier.
Step 6: Watch Flowers, Fruit, and Common Problems
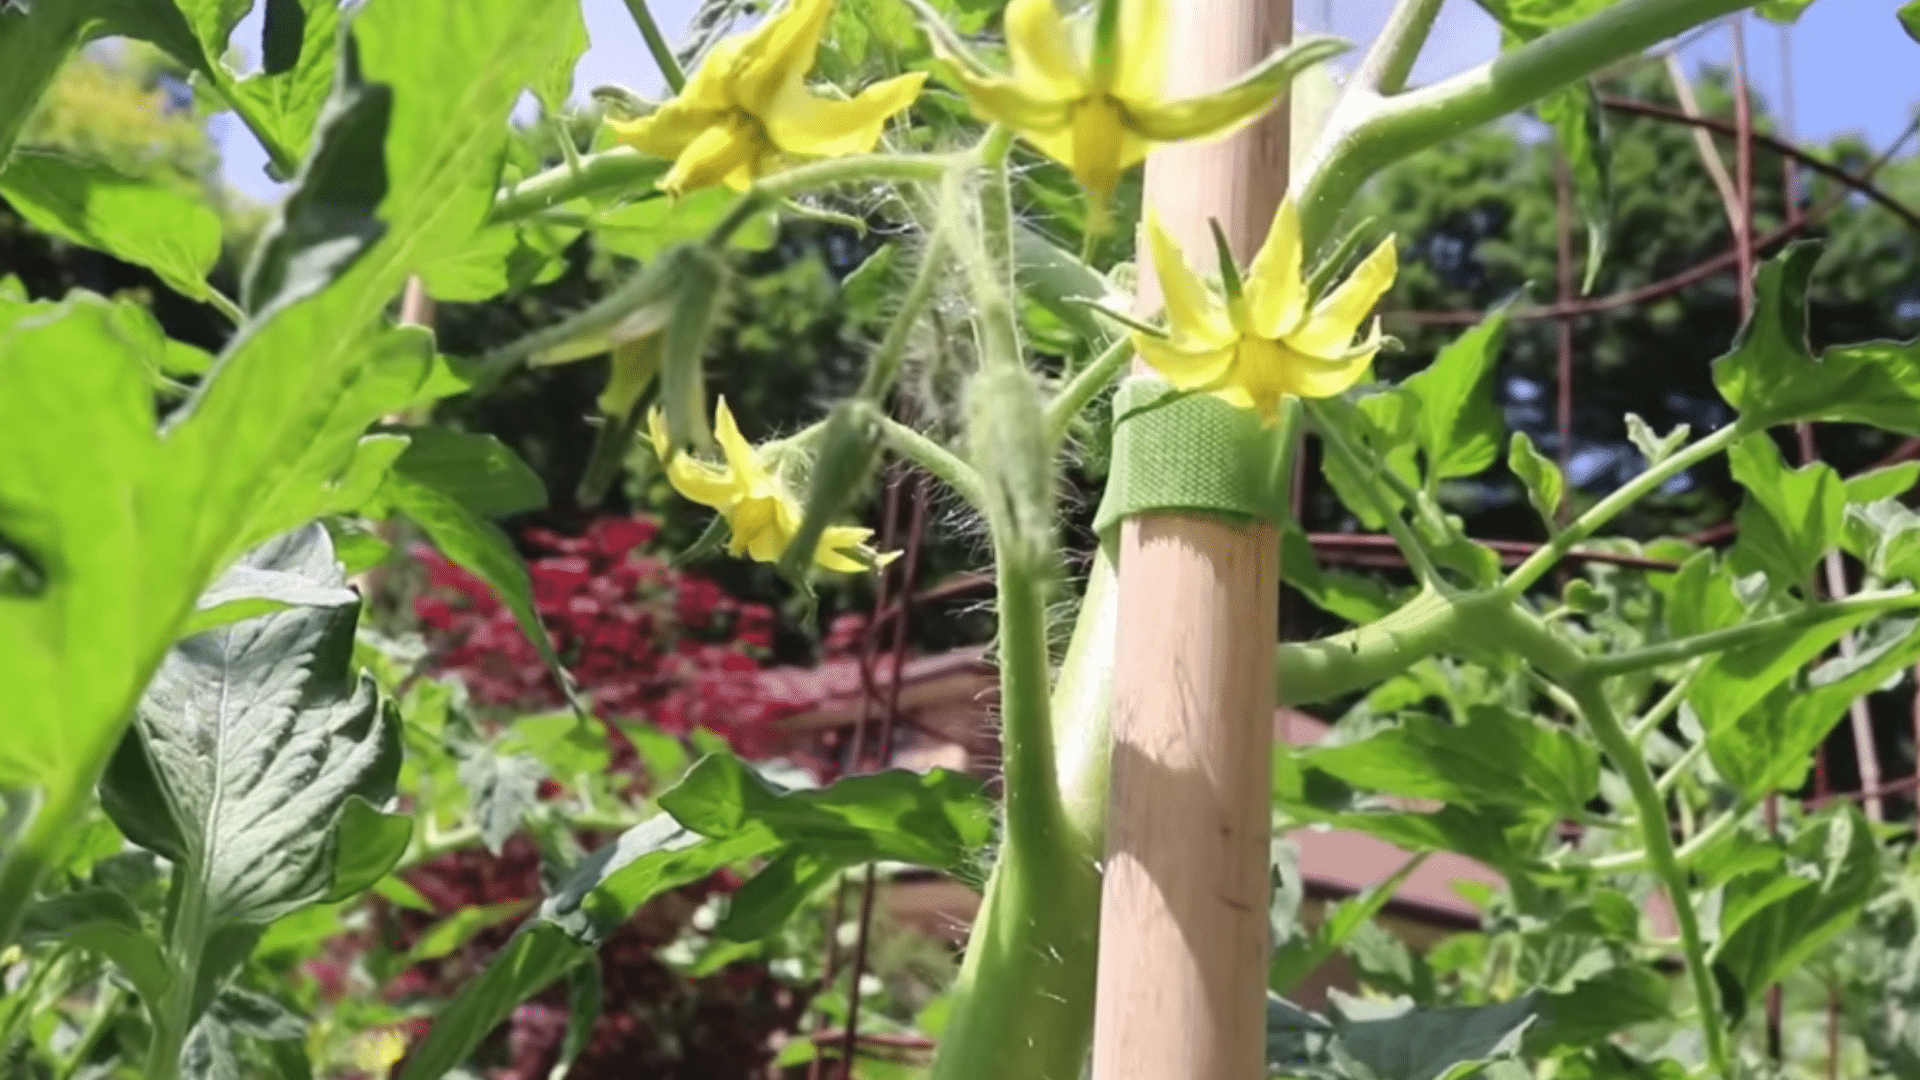
Once plants settle in, flowers and fruit will follow. When small tomatoes begin forming, a light side dressing of fertilizer can support growth. Keep the garden clean by removing fallen fruit and leaves. Watch for pests, flower drop, cracking, and blossom end rot.
Many problems come from stress, poor timing, or uneven watering. Harvest usually comes about two and a half to three months after planting out, and that is the best reward.
Now that you know how to save seeds, let’s look at how to turn those seeds into healthy, thriving tomatoes from start to harvest.
Tomato Seed Storage Tips for Better Germination
Saved tomato seeds can last for years, but only if they stay away from moisture, heat, and sunlight. I’d treat storage like protection work: keep seeds dry, labeled, and easy to understand when you need them later. Use this table to keep your saved seeds organized without overcomplicating the process.
| Storage Point | What to Do | Why It Matters |
|---|---|---|
| Dryness check | Store seeds only when they are fully dry. | Even slight moisture can cause mold, clumping, or poor seed quality. |
| Container choice | Use paper envelopes, seed packets, small jars, or airtight containers. | These keep seeds contained and make each variety easier to manage. |
| Storage spot | Keep seeds in a cool, dark, dry place. | Stable conditions help tomato seeds stay usable for longer. |
| What to avoid | Keep seeds away from heat, direct sunlight, and humidity. | These conditions can shorten seed life and weaken sprouting later. |
| Label details | Write the variety, year, source, plant notes, and garden details. | Clear notes help you remember performance and make seed trading easier. |
| Seed age | Expect tomato seeds to last for years, with lower germination as they age. | Older seeds may still work, but fewer may sprout successfully. |
| Old seeds | Check older seeds before planting them. | A quick check helps you avoid wasting time on weak seed batches. |
Good storage is not about doing anything fancy. It is about keeping seeds dry, cool, and clearly named. When your notes are clear, you can plant with confidence, compare seasons, or share seeds without guessing what they are.
Why Seed Swaps Matter for Gardeners?
Sharing seeds with other gardeners is one of the most satisfying ways to give back to your gardening community. Community seed swaps and local seed libraries let you trade tomatoes you love for varieties you’ve never grown before.
It’s more than exchanging seeds; it’s exchanging knowledge, tips, and experiences that make gardening feel more connected.
Always label your seeds clearly with the variety, year, and notes on taste or plant performance. Respect the swap by offering only healthy, viable seeds and taking only what you can realistically use.
Even a few seeds can help someone start a garden. These exchanges turn simple seeds into shared memories and a stronger, more vibrant gardening community season after season.
Frequently Asked Questions
Can you save tomato seeds from fruits grown in containers?
Yes, container-grown tomatoes can produce viable seeds if the plant is healthy. Make sure the plant gets enough sunlight, water, and nutrients. Once fruits are ripe, follow the usual seed-saving steps: ferment, rinse, dry, and store. Container-grown conditions may affect fruit size, but the seeds themselves remain strong and capable of growing next season.
Do you need to remove all the pulp for seed storage?
Not entirely. Seeds should be cleaned enough to remove most of the gel, which can cause mold during storage. Some residual pulp is fine as long as seeds are completely dry before storing. Over-cleaning or harsh handling can damage seeds, so gentle rinsing and careful drying are key for healthy, viable seeds.
Can pests affect stored tomato seeds?
Yes, pests like insects or mites can infest stored seeds if containers are not properly sealed. Always use airtight jars or envelopes and store seeds in a cool, dry, and dark place. Avoid storing seeds near grains, food, or damp areas. Proper storage keeps seeds safe and maintains germination potential for several years.
Do tomato seeds need refrigeration to stay viable?
Refrigeration helps extend tomato seed life but is not strictly necessary. Seeds can remain viable for years if stored in a cool, dry, and dark place with stable conditions. Cold storage slows the aging process and preserves germination rates, but for short-term use, proper room-temperature storage is usually sufficient.
Can you save seeds from diseased tomatoes?
It’s not recommended to save seeds from diseased plants. Seeds from infected fruit can carry pathogens, which may reduce germination and spread disease in your garden. Always select seeds from healthy, fully ripe, and disease-free fruits. This ensures your next season’s plants are strong, productive, and less prone to illness or poor growth.
Final Thoughts
Saving tomato seeds is a simple way to keep more control over what you grow next season. When I choose a ripe tomato from a healthy plant, clean the seeds, dry them well, and store them with clear labels, I make future planting easier.
You can also test older seeds before sowing and give young seedlings the warmth, light, and care they need. Learning how to save tomato seeds helps you keep flavors you already love, share seeds with other gardeners, and waste less from your harvest.
I like knowing one good tomato can carry into next year’s garden. You can start small, save carefully, and learn more with every season you grow.