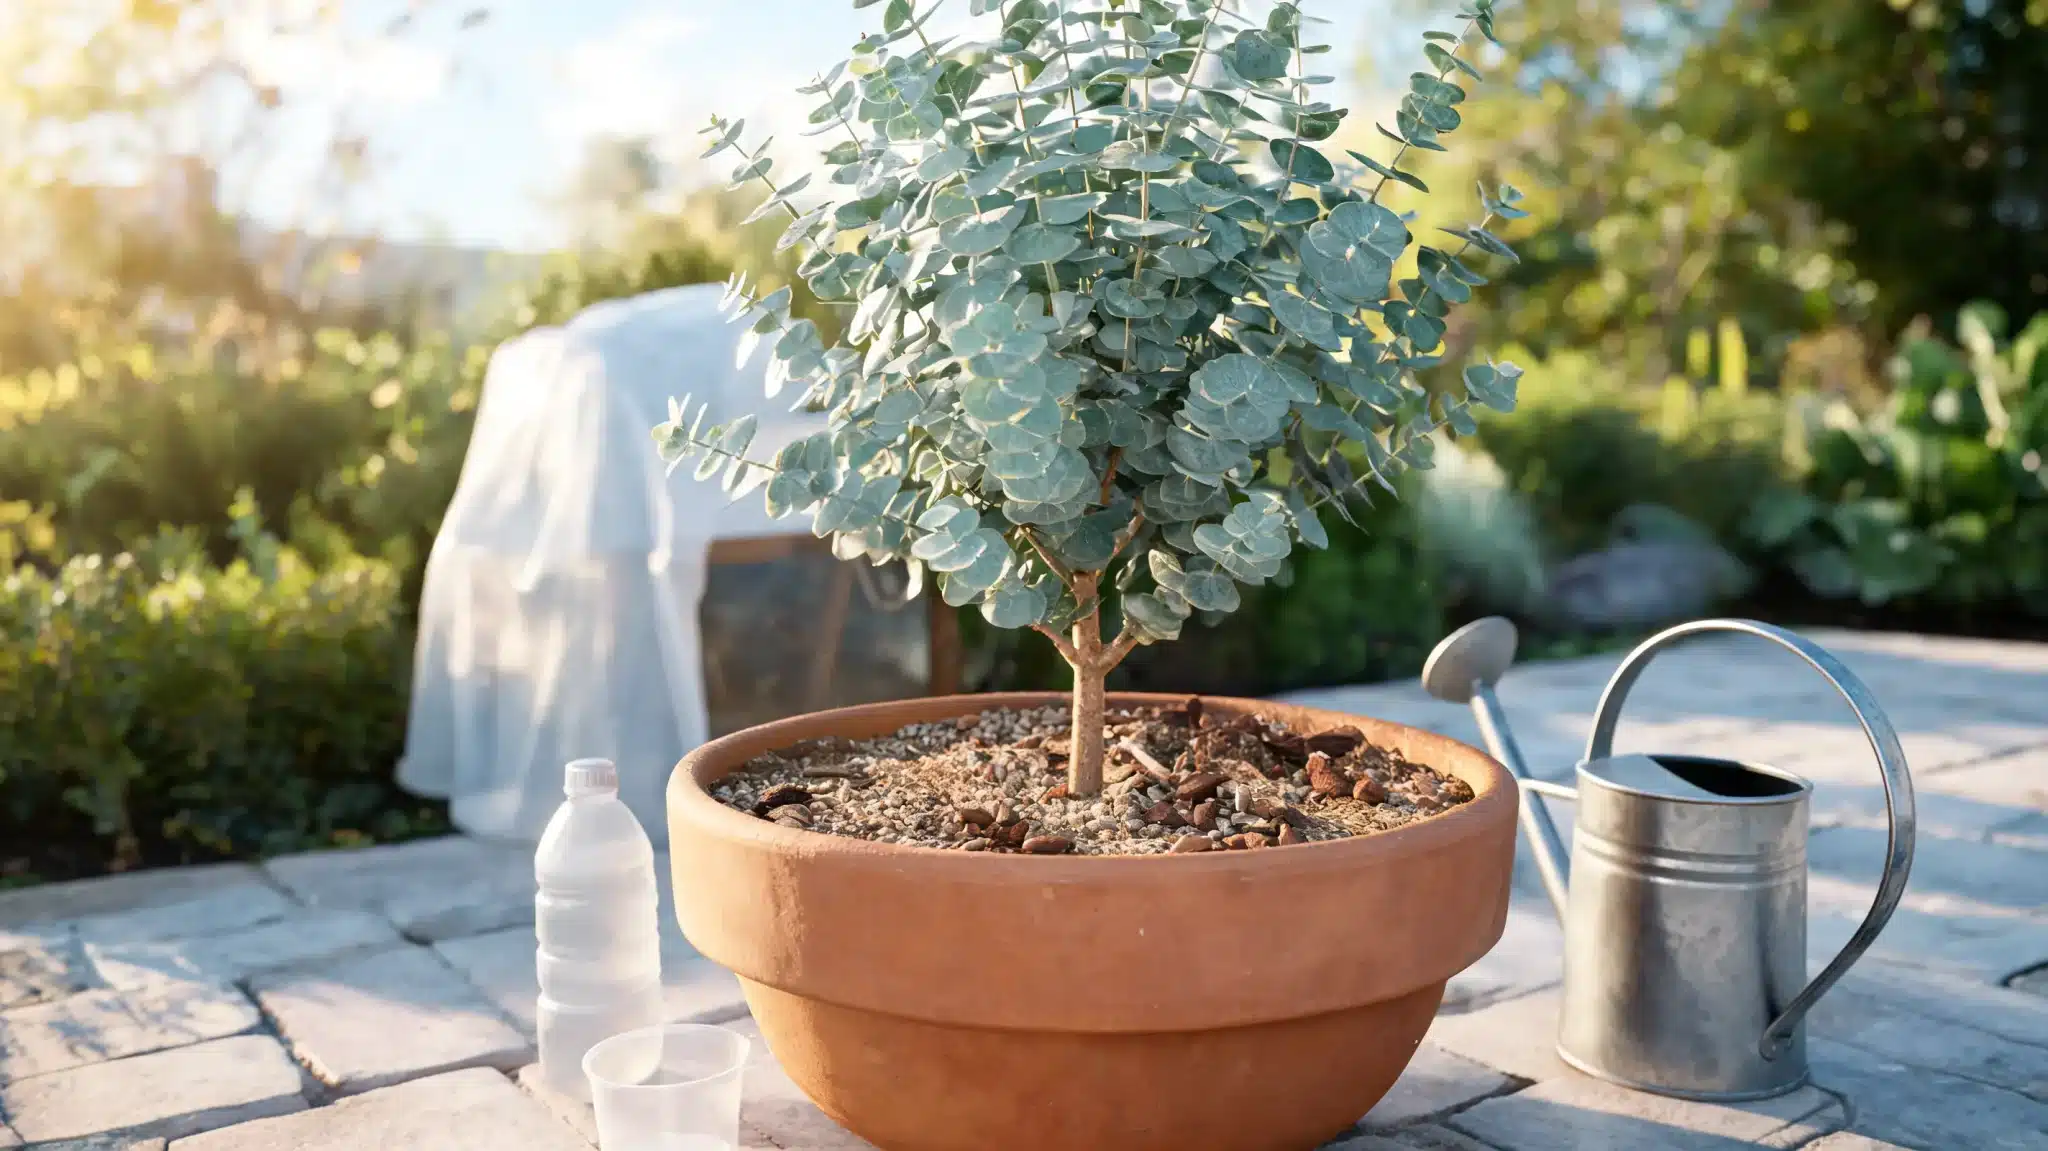
Kale is one of those crops that rewards small, smart choices. I like it because it can grow in a small bed, a container, or a larger kitchen garden without asking for much space.
If you want to learn how to grow kale at home, the real secret is matching the plant to cool weather, rich soil, and steady moisture.
My aim is to make the growing conditions for kale feel practical, not technical. You’ll see how weather, soil, seeds, watering, pests, harvesting, side crops, and kale care tips shape a tender, productive crop.
Quick Glance: Kale Weather Requirements & Growing Basics
Kale is a cool-season leafy green, so timing matters before anything else. It usually grows best in spring and fall across much of the U.S., while in mild winter regions, it can often be grown through the cooler months.
Heat does not always kill kale, but it can make leaves tougher, stronger tasting, and more attractive to pests. Light frost can improve flavor, especially in fall crops.
The best garden plan starts with your local frost dates, then builds around sun, drainage, spacing, and water. University of Illinois Extension describes kale as a crop commonly planted in early spring and fall.
Before choosing seeds or preparing the soil, it helps to understand the basic conditions kale expects in the garden, especially weather, light, spacing, and moisture.
| Factor | Best condition for kale |
|---|---|
| Best season | Spring and fall in most U.S. climates |
| Temperature preference | Cool to mild weather |
| Sunlight | 6+ hours, with afternoon shade in hot regions |
| Soil | Fertile, loose, well-drained soil |
| Water | Even moisture, not soggy soil |
| Spacing | 12 to 18 inches for full-size plants |
| Beginner method | Transplants or indoor-started seedlings |
Once these basics are clear, the rest of the process becomes easier because every later choice supports one of these core growing needs.
How long does kale take to grow? Kale typically takes 55 to 75 days from transplant to harvest, or 70 to 90 days from direct seed sowing.
You can start harvesting individual outer leaves earlier, around 25–30 days after transplanting, without pulling the whole plant, which lets it keep producing.
Regional note: Kale timing changes across the U.S. because frost dates, summer heat, humidity, and winter mildness vary widely. USDA zones show winter cold tolerance, but vegetable planting is better planned around local first and last frost dates.
Pick the Right Place, Soil, and Kale Variety
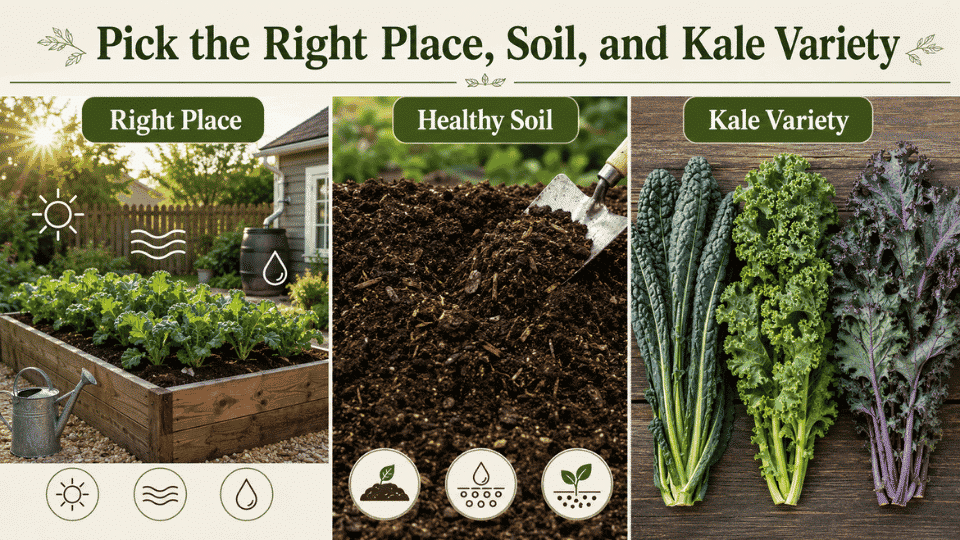
A strong kale crop starts before planting day, with the right garden spot, soil texture, drainage, and variety chosen for your space.
1. Choose a Garden Spot That Makes Kale Easier to Manage
Pick a place with at least six hours of sun and steady airflow. Morning sun is helpful in hot regions because harsh afternoon heat can stress young plants.
Avoid low areas where water sits after rain. Kale also does better where you can notice leaf damage, wilting, or weeds before they become bigger problems.
- Watch the site for one full day before planting, because nearby fences can shift shade patterns.
- Leave walking space around the bed, so harvesting and pest checks do not crush nearby plants.
- Place the container of kale where the wind is moderate, since pots dry faster in exposed corners.
2. Prepare Soil That Supports Leafy Growth
Kale needs loose, fertile soil that drains well while holding steady moisture. Mix finished compost into the upper soil before planting.
A soil test is useful because it shows pH and nutrient needs. Without one, compost plus a balanced vegetable fertilizer is a practical starting point. Avoid using pure compost as the only bed fill, as it can shrink and hold water unevenly.
- Water the empty bed first, then check whether the moisture drains rather than pooling on the surface.
- Break large clods by hand because young kale roots settle faster in crumbly planting soil.
- Avoid digging wet clay soil, since it can harden into dense chunks after drying.
Soil note: Fertilizer advice changes with existing soil fertility. A soil test is the most accurate option. Without one, compost plus a balanced vegetable fertilizer is safer than heavy nitrogen feeding.
3. Choose a Kale Variety That Matches Your Garden
Different kale varieties suit different kitchens and garden spaces, so choose based on how you plan to harvest, cook, and maintain the plants.
| Kale type | Best use |
|---|---|
| Lacinato or Dinosaur kale | Cooking, tender texture, narrow leaves |
| Red Russian | Salads, baby leaves, quick harvests |
| Curly kale | Cold tolerance and classic kale texture |
| Dwarf curled types | Containers, raised beds, small spaces |
For a first garden, two varieties are enough: one tender type for fresh use and one sturdy type for longer harvesting.
How to Plant Kale Step by Step
Once the bed is prepared and your kale transplants are chosen, planting comes down to gentle handling, correct depth, firm soil contact, and early protection.
Step 1: Choose Healthy Kale Transplants
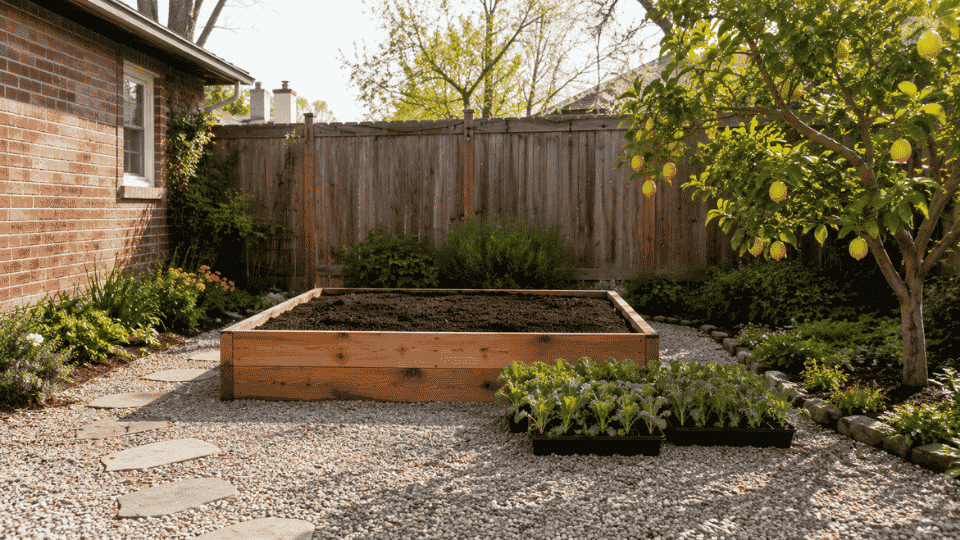
- Pick compact seedlings with firm stems, fresh green leaves, and no flowers starting in the center.
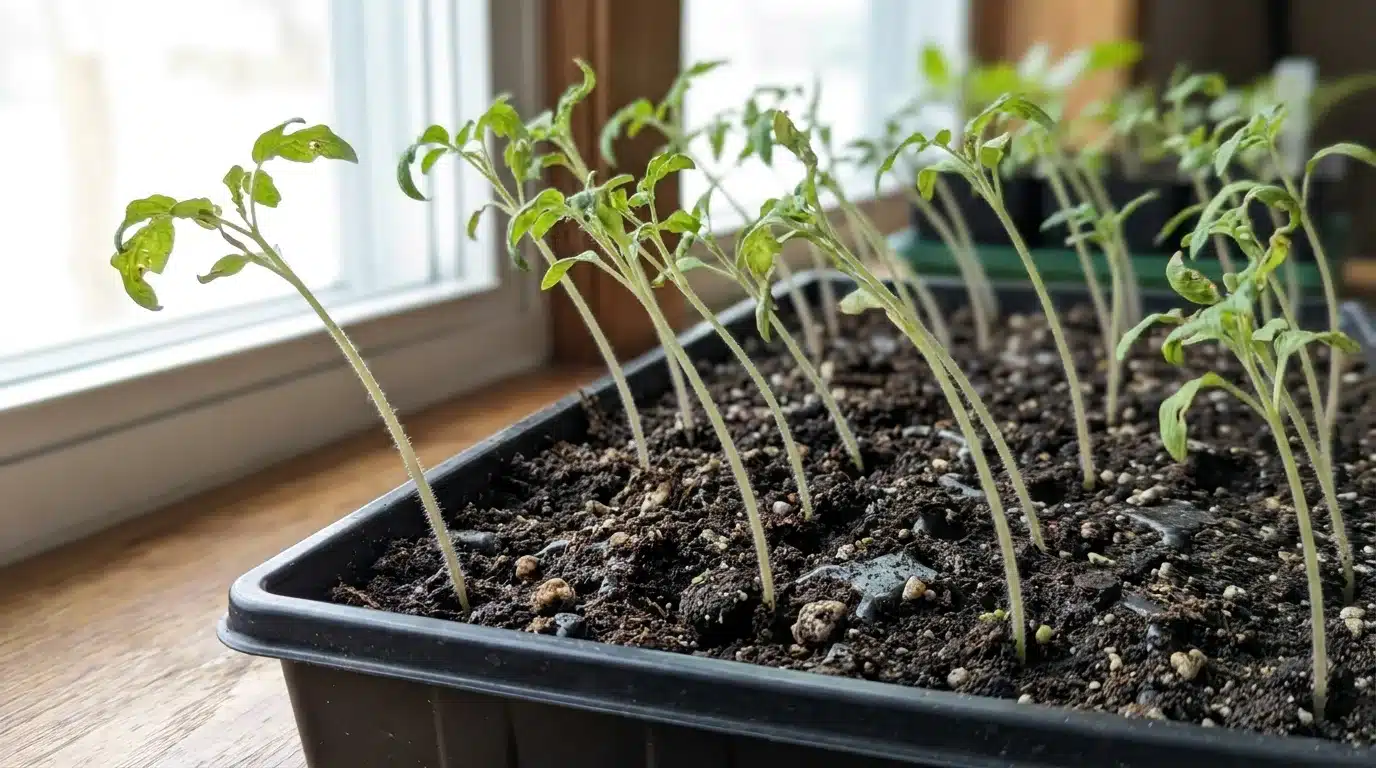
- Avoid tall, stretched seedlings, as weak stems often struggle in outdoor wind and sun.
- Check the undersides of leaves for aphids, eggs, holes, or sticky residue before buying plants.
- Look for roots that hold the soil together without circling tightly around the nursery cell.
- Choose plants that look evenly watered, not wilted, yellowing, or stressed from sitting too long.
Step 2: Prepare the Planting Holes
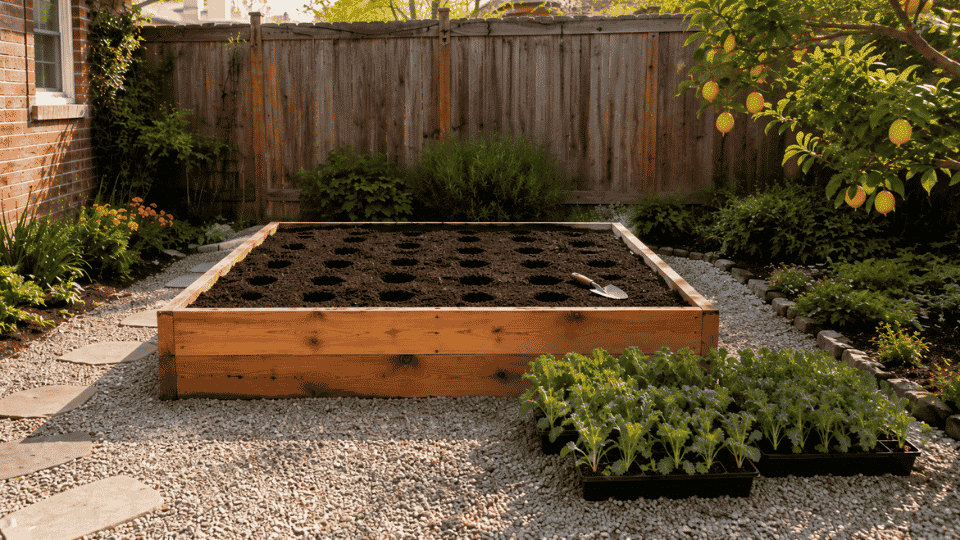
- Water the bed before planting so the soil is moist enough for roots to settle quickly.
- Dig holes slightly wider than each root ball, so roots have loose soil around them.
- Space holes evenly across the bed to give each plant enough airflow and leaf room.
- Keep planting holes similar in depth to the nursery cells, so stems are not buried too deeply.
- Set transplants beside their holes first, so you can check spacing before planting anything permanently.
Step 3: Plant the Kale Seedlings Carefully
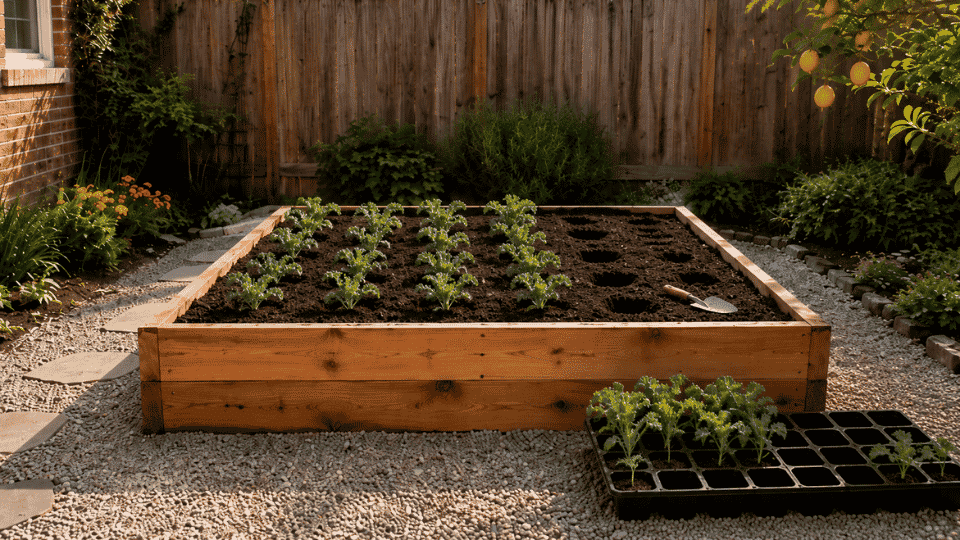
- Water seedlings before removing them, so roots slide out more easily and suffer less damage.
- Squeeze the nursery cell gently instead of pulling from the stem, which can bruise young plants.
- Loosen the root ball lightly if roots are circling around the inside of the nursery cell.
- Set each seedling at the same depth it was growing in its tray or nursery pot.
- Press soil lightly around the base so the plant stands upright without burying the stem.
Step 4: Water and Protect the New Transplants
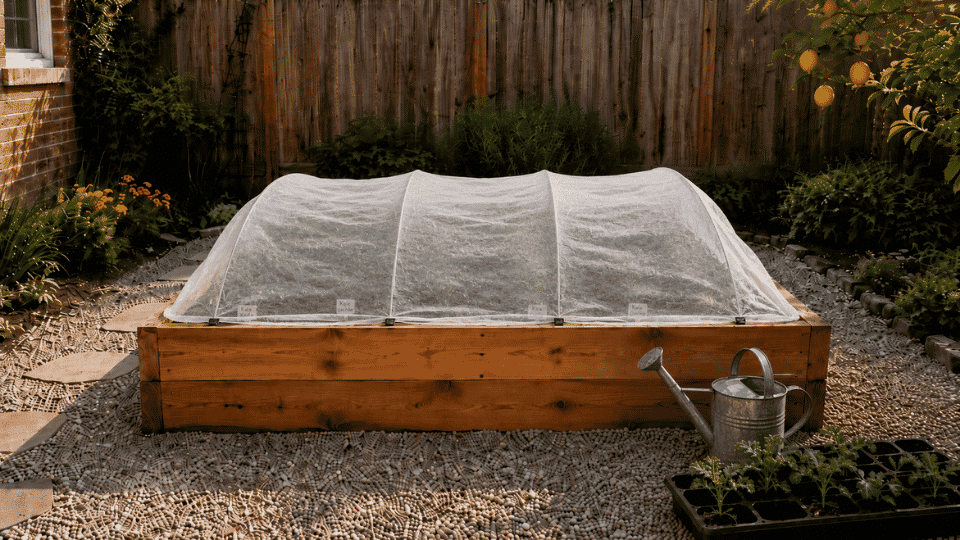
- Water the root zone after planting so the soil settles around the roots and closes hidden air pockets.
- Add plant labels right away so varieties do not get mixed once leaves begin looking similar.
- Place row cover supports early if cabbage worms, flea beetles, or strong sun are common locally.
- Add mulch only after seedlings have settled, so small plants are not buried or kept too wet.
- Check the next morning for leaning plants, exposed roots, dry soil, or seedlings needing support.
Seed-Growing Note: If you want to grow kale from seed, sow seeds about 1/4 to 1/2 inch deep in moist soil, keep the surface evenly damp, and thin extra seedlings once true leaves appear. Seeds are useful when you want more varieties, but transplants are usually easier for beginners.
Kale Care: Watering, Feeding, Pests, and Disease Prevention
Kale care works best as a routine, not a rescue plan, because steady moisture and early pest checks prevent many common failures.
1. Keep Moisture and Feeding Steady
Kale grows best when roots stay evenly moist, and nutrients arrive gradually. Use about 1 inch of water weekly as a starting point, then adjust for heat, wind, rainfall, sandy soil, containers, and mulch.
Check the top 1 to 2 inches before watering. If dry, water deeply at the root zone, preferably in the morning. Feed lightly once plants begin active growth, using compost or a balanced vegetable fertilizer.
Heavy nitrogen can encourage soft growth, aphids, and weaker leaves.
Irrigation note: Watering frequency changes with soil type, container size, rain, heat, wind, and mulch. The 1-inch-per-week rule is a starting point, not a fixed schedule.
2. Catch Kale Pests Early
Kale pests are easier to control when caught early, so inspect leaves before damage spreads across the whole plant or bed.
| Pest | Signs | First response |
|---|---|---|
| Cabbage worms | Holes and green caterpillars | Use row cover and hand-pick caterpillars |
| Aphids | Sticky clusters and curled growth | Spray with water and prune damaged leaves |
| Flea beetles | Tiny shot holes | Cover seedlings and keep plants growing steadily |
| Slugs | Ragged holes and slime | Water in morning and reduce hiding spots |
| Harlequin bugs | Orange-black bugs | Hand-pick adults and remove egg clusters |
A clean bed, covered seedlings, and regular inspections usually reduce pest pressure before stronger treatment becomes necessary.
3. Prevent Disease With Airflow and Rotation
Do not crowd kale plants, because poor airflow keeps leaves damp and disease-friendly. Water at the soil level, remove diseased leaves, and avoid working plants when wet.
Rotate kale away from cabbage-family crops such as cabbage, broccoli, cauliflower, collards, mustard, turnips, and Brussels sprouts.
University of Minnesota Extension recommends avoiding areas where related crops grew in the past four years.
How to Harvest Kale for The Perfect Yield
Proper harvesting keeps the plant productive, preserves flavor, and prevents older leaves from becoming tough before you use them.
- Start when leaves are usable: Pick leaves once they are large enough for your kitchen, not after they become oversized.
- Take lower outer leaves first: This keeps the center growing point active and allows new leaves to keep forming.
- Leave the plant’s center intact: Cutting the middle can stop future growth and shorten the harvest window.
- Harvest regularly: Frequent picking encourages usable new leaves and keeps older leaves from turning coarse.
- Remove damaged foliage: Cut away yellow, diseased, or badly chewed leaves so the plant stays cleaner.
- Pick younger leaves for tenderness: Smaller leaves are usually milder, especially when weather starts warming.
- Use cool weather for better flavor: Fall kale often tastes sweeter because plants mature into cooler conditions.
Do not strip the plant bare unless you are ending the crop, because regular outer-leaf picking gives a longer harvest.
What to Grow Beside Kale
The best side crops for kale are compact, cool-season plants that use space efficiently without stealing too much light or airflow.
| Side crop | Why it works |
|---|---|
| Lettuce | Fast, cool-season harvest |
| Spinach | Similar weather preference |
| Arugula | Quick baby greens |
| Radish | Fast and space-efficient |
| Green onions | Compact and easy |
| Carrots | Uses root space below |
| Beets | Good cool-season partner |
| Parsley | Compact herb |
| Dill | Attracts beneficial insects |
| Calendula | Supports pollinators |
Avoid crowding the bed with too many cabbage-family crops, because shared pests and diseases can build up quickly.
Weekly Kale Care Checklist
A weekly routine keeps the crop healthy without making garden care feel complicated or time-consuming.
- Check soil moisture: Test the top 1-2 inches before watering.
- Inspect leaf undersides: Look for eggs, caterpillars, aphids, and early damage.
- Pull small weeds: Remove them before they compete with shallow roots.
- Harvest outer leaves: Pick regularly to keep plants productive.
- Remove damaged leaves: Cut away yellow, diseased, or badly chewed foliage.
- Adjust protection as needed: Add shade, row cover, or mulch when the weather changes.
This checklist is simple enough for beginners but covers the care habits that prevent many kale problems.
Common Kale Growing Problems and Fixes
When kale struggles, the symptoms usually indicate stress from timing, watering, pests, soil, or overcrowding.
| Problem | Likely cause | Fix |
|---|---|---|
| Seeds do not sprout | Dry soil, old seed, deep planting | Re-sow shallow and keep moist |
| Seedlings are leggy | Weak light | Use a stronger light or transplant carefully |
| Leaves have holes | Worms, beetles, or slugs | Inspect leaves and use row cover |
| Leaves taste bitter | Heat, drought, or old leaves | Harvest younger and reduce stress |
| Plants stop growing | Poor soil, compaction, pests, or heat | Check roots, soil, moisture, and leaves |
| Aphids appear | Stress, heat, or excess nitrogen | Spray off, prune, improve airflow |
| Kale bolts | Heat or plant maturity | Harvest remaining leaves and replant later |
The faster you identify the pattern, the easier it is to save the crop or correct the next planting.
Frequently Asked Questions
Can kale grow all year indoors?
Kale can grow indoors as baby greens if it has strong light, steady moisture, and enough airflow. Full-size plants are harder indoors because they need more root space and stronger light than a sunny windowsill usually provides. A grow light makes indoor kale more realistic.
Can I regrow kale from kitchen scraps?
You may regrow small leaves from a fresh stem base for a short time, but it rarely becomes a strong garden plant. For reliable growth, seeds or healthy transplants are better than trying to restart grocery-store kale. Scrap regrowth works better as a fun experiment.
Should kale flowers be removed?
Yes, if you want to keep harvesting leaves for a little longer. Once kale flowers, leaf quality usually declines and the plant shifts energy away from tender leaf growth. The flowers are edible, but flowering usually means the plant is near the end.
Is baby kale grown differently from full-size kale?
Baby kale is usually planted closer together and harvested much earlier. It does not need the same final spacing as full-size plants because the leaves are cut young. For full-size kale, wider spacing matters because plants need airflow, light, and root room.
Can kale grow after snow?
Kale may survive light snow, especially hardy varieties, but heavy freezing can damage leaves. Survival depends on variety, root protection, temperature, wind, and the duration of cold. Row cover or a low tunnel can help plants last longer in cold regions.
Summing Up
Growing kale gets easier when each step supports the plant’s cool-season nature. Good timing, loose fertile soil, steady watering, early pest checks, and regular harvesting all work together.
If you are learning how to grow kale at home, start small and treat the first season as useful practice. A simple kale growing schedule helps you notice changes before they become problems.
I’d rather see a beginner grow four healthy plants than crowd a bed with too much too soon.
Try one spring or fall planting, then share my favorite part: what worked, what failed, and what you would change next time.