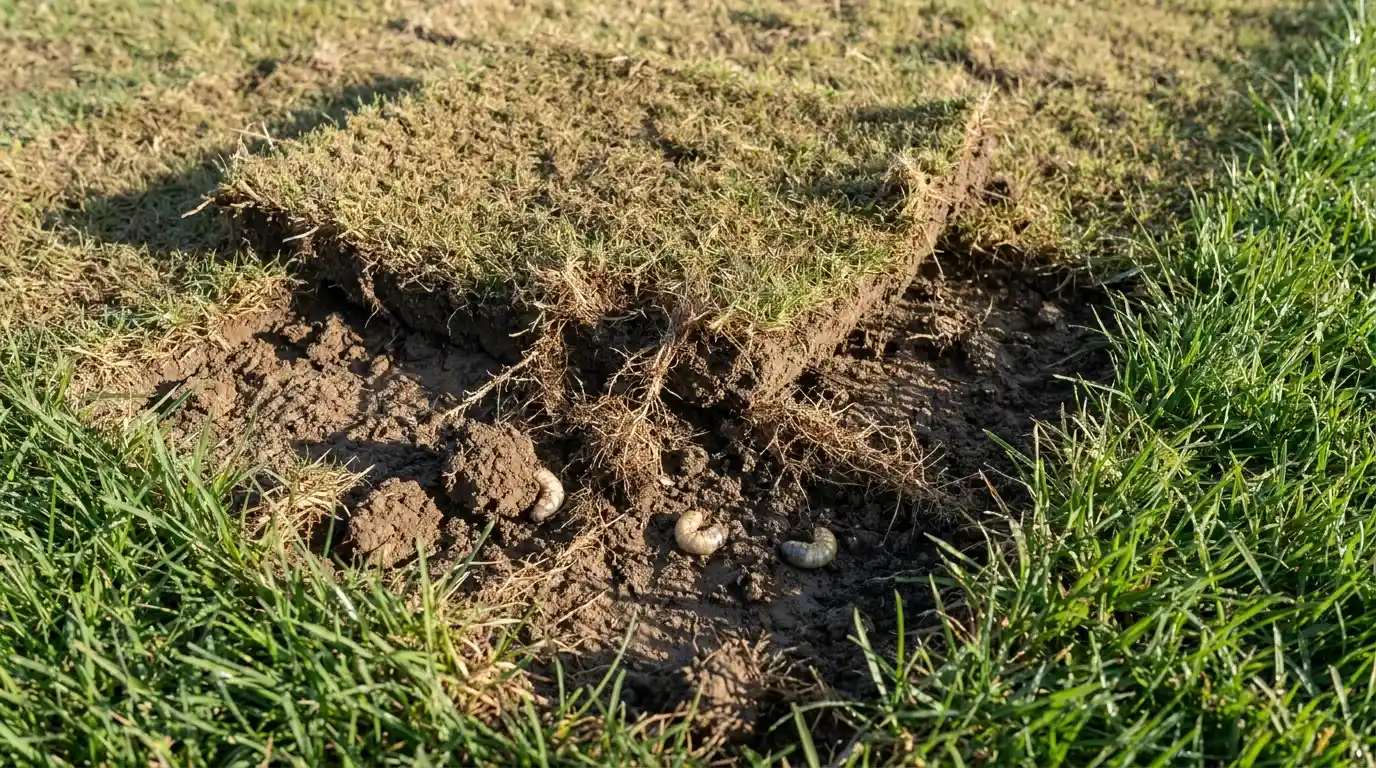
A perfect lawn usually comes with a long list of chores: constant mowing, heavy watering, patch repairs, fertilizer, and weeds that somehow keep returning no matter what you do.
That is one reason more homeowners are starting to look at clover lawns differently.
Some people fully replace their grass with clover, while others mix the two together for a softer and more natural-looking yard.
This guide covers how clover lawns work, their pros and cons, and how to grow and maintain one successfully.
What is a Clover Lawn?
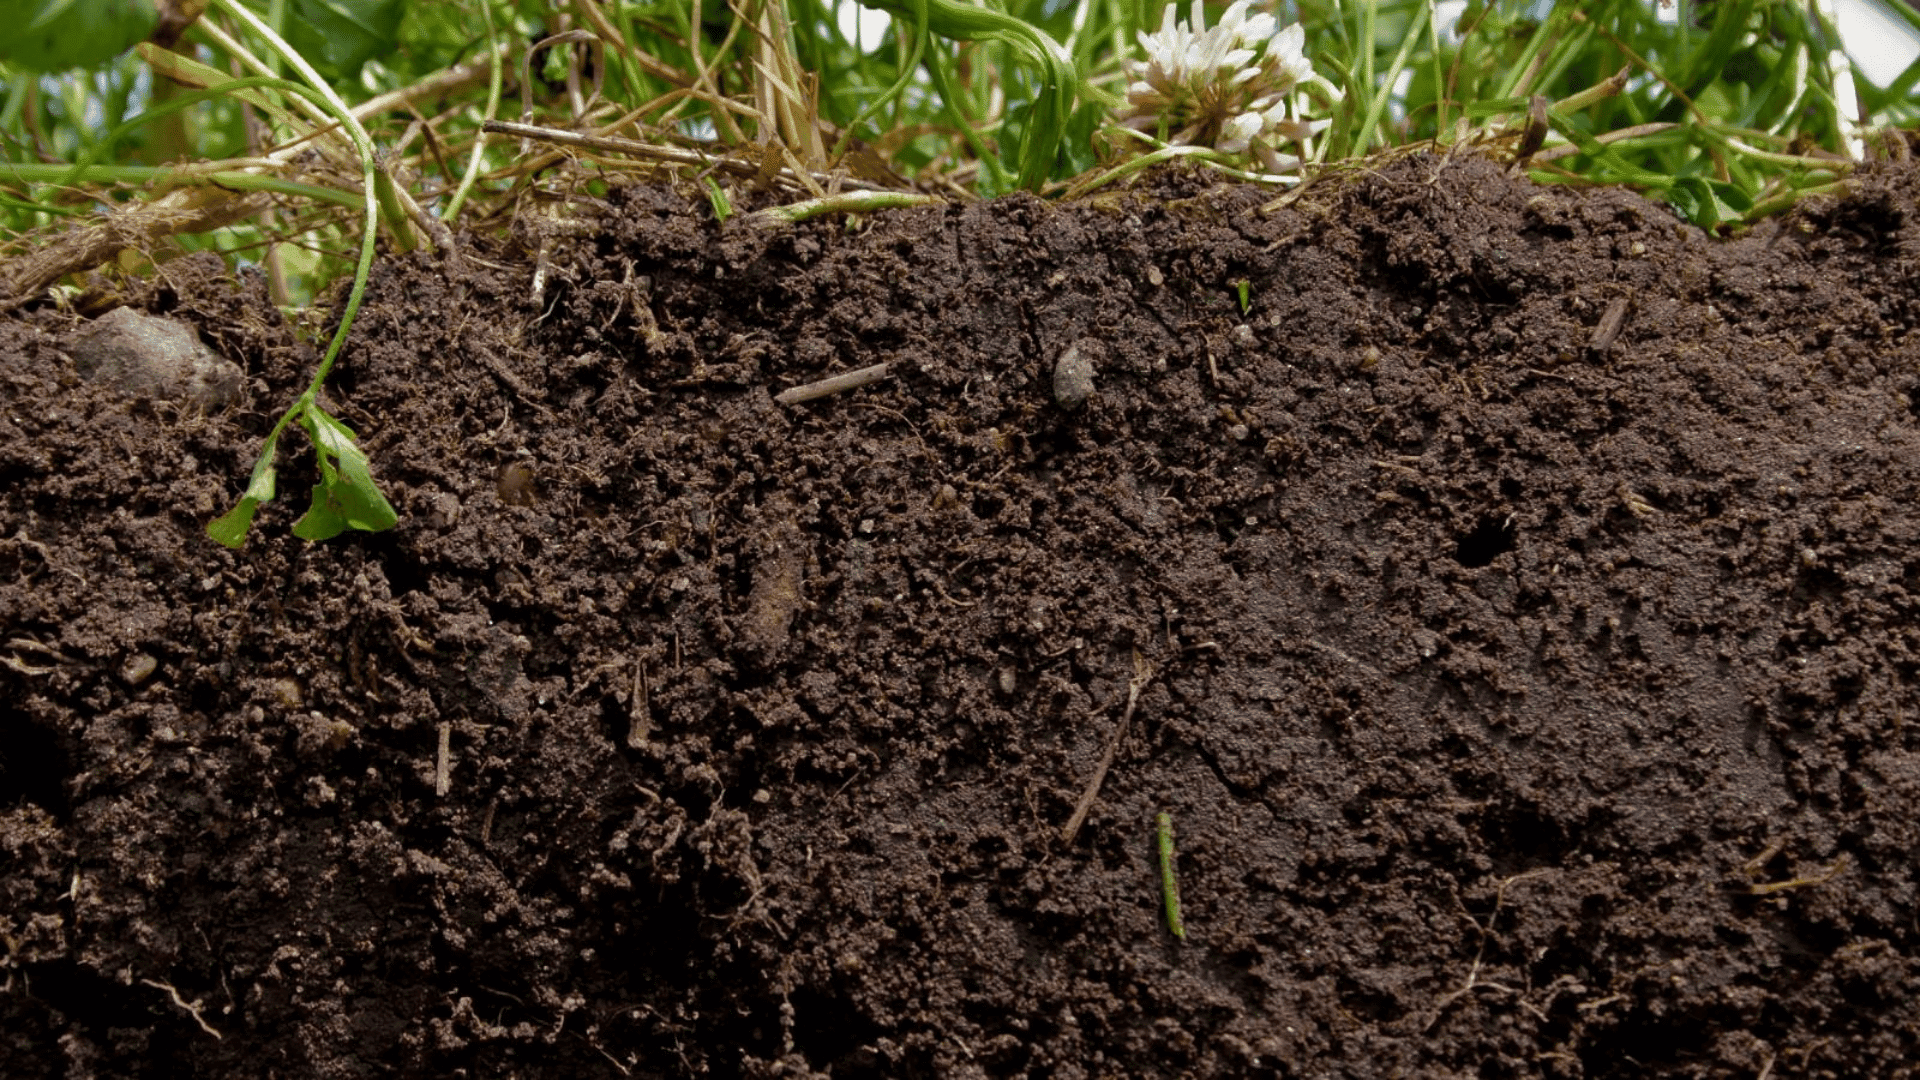
A clover lawn is a yard made partly or fully from clover instead of regular turf grass. Clover is a low-growing plant with small green leaves and tiny, round flowers. The most common types used in lawns are white clover and microclover.
Some people plant only clover, while others mix it with grass for a more blended look. Clover spreads across the ground as it grows, creating a thick layer of greenery.
It was once a common part of American lawns before many weed-control products began treating it as an unwanted plant. Today, clover lawns are becoming popular again in many neighborhoods across the US.
Pros and Cons You Should Know
| Feature | Benefits | Challenges |
|---|---|---|
| Water Needs | Needs less watering than many grass lawns | May struggle in extremely dry soil without some moisture |
| Growth Style | Spreads quickly and fills empty spots | Can spread into garden beds if not controlled |
| Appearance | Creates a soft, natural-looking yard | May look less uniform than traditional turf grass |
| Maintenance | Requires less mowing in many cases | Still needs occasional trimming and care |
| Flowers | Small flowers add a natural meadow-like look | Flowers may attract bees during blooming season |
| Lawn Texture | Feels soft under bare feet | Can become patchy in high-traffic areas |
| Fertilizer Needs | Usually grows well with minimal feeding | Poor soil can still affect healthy growth |
| Seasonal Growth | Stays green in many climates | Growth may slow during harsh winters |
| Lawn Mixing | Works well mixed with grass lawns | Mixed lawns can look uneven if not maintained |
| Weed Control | Thick growth may crowd out some weeds | Weed control products can damage clover too |
Materials Needed
You do not need many tools to start a healthy clover lawn. Most of the supplies are simple, beginner-friendly, and easy to find.
- Clover seed
- Lawn rake
- Garden spreader
- Topsoil or compost
- Garden hose or sprinkler
- Lawn mower
- Gardening gloves
- Soil test kit
- Sand or sawdust
- Grass seed (optional for mixed lawns)
How to Grow a Clover Lawn Step-by-Step
Learning how to grow clover the right way can help your lawn look fuller, greener, and more even from the start. The process is simple, but following the correct steps makes a big difference in how well your lawn grows over time.
Step 1: Choose the Right Clover Seed and Planting Time
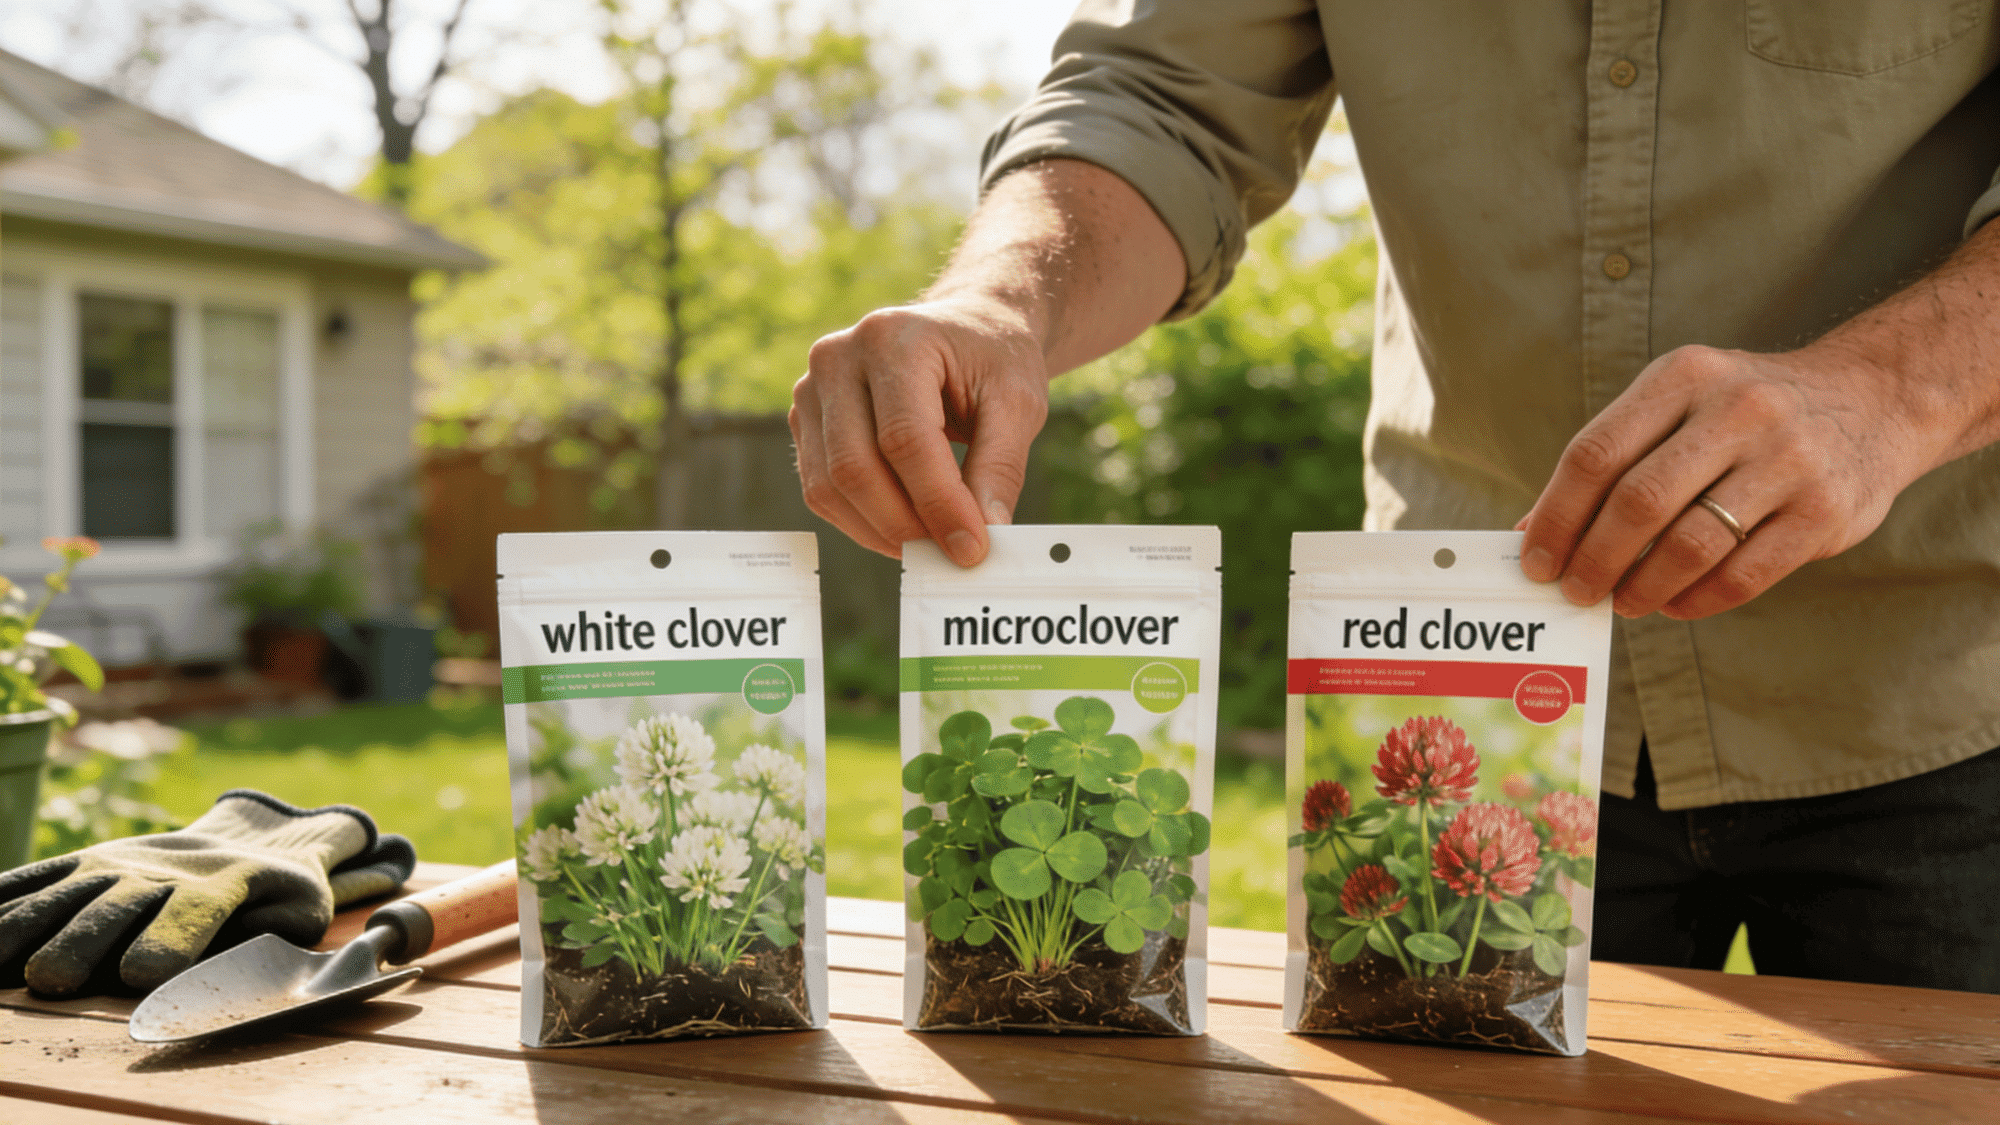
Picking the right clover seed and planting it during the correct season can make a huge difference in how your clover lawn grows.
Different clover varieties create different lawn styles, and proper timing helps seeds germinate faster and establish healthy roots. For the best clover lawn results:
- Choose white clover for a traditional clover lawn
- Pick microclover for a cleaner and more polished yard
- Use red clover for larger open lawn spaces
- Buy quality seed blends if mixing clover with grass
- Check which clover variety grows best in your USDA zone
- Plant during early spring or early fall
- Wait until soil temperatures stay above 40°F
- Avoid planting during extreme summer heat
- Do not seed before heavy frost arrives
- Try planting before a few days of light rain if possible
Step 2: Prepare the Lawn Area
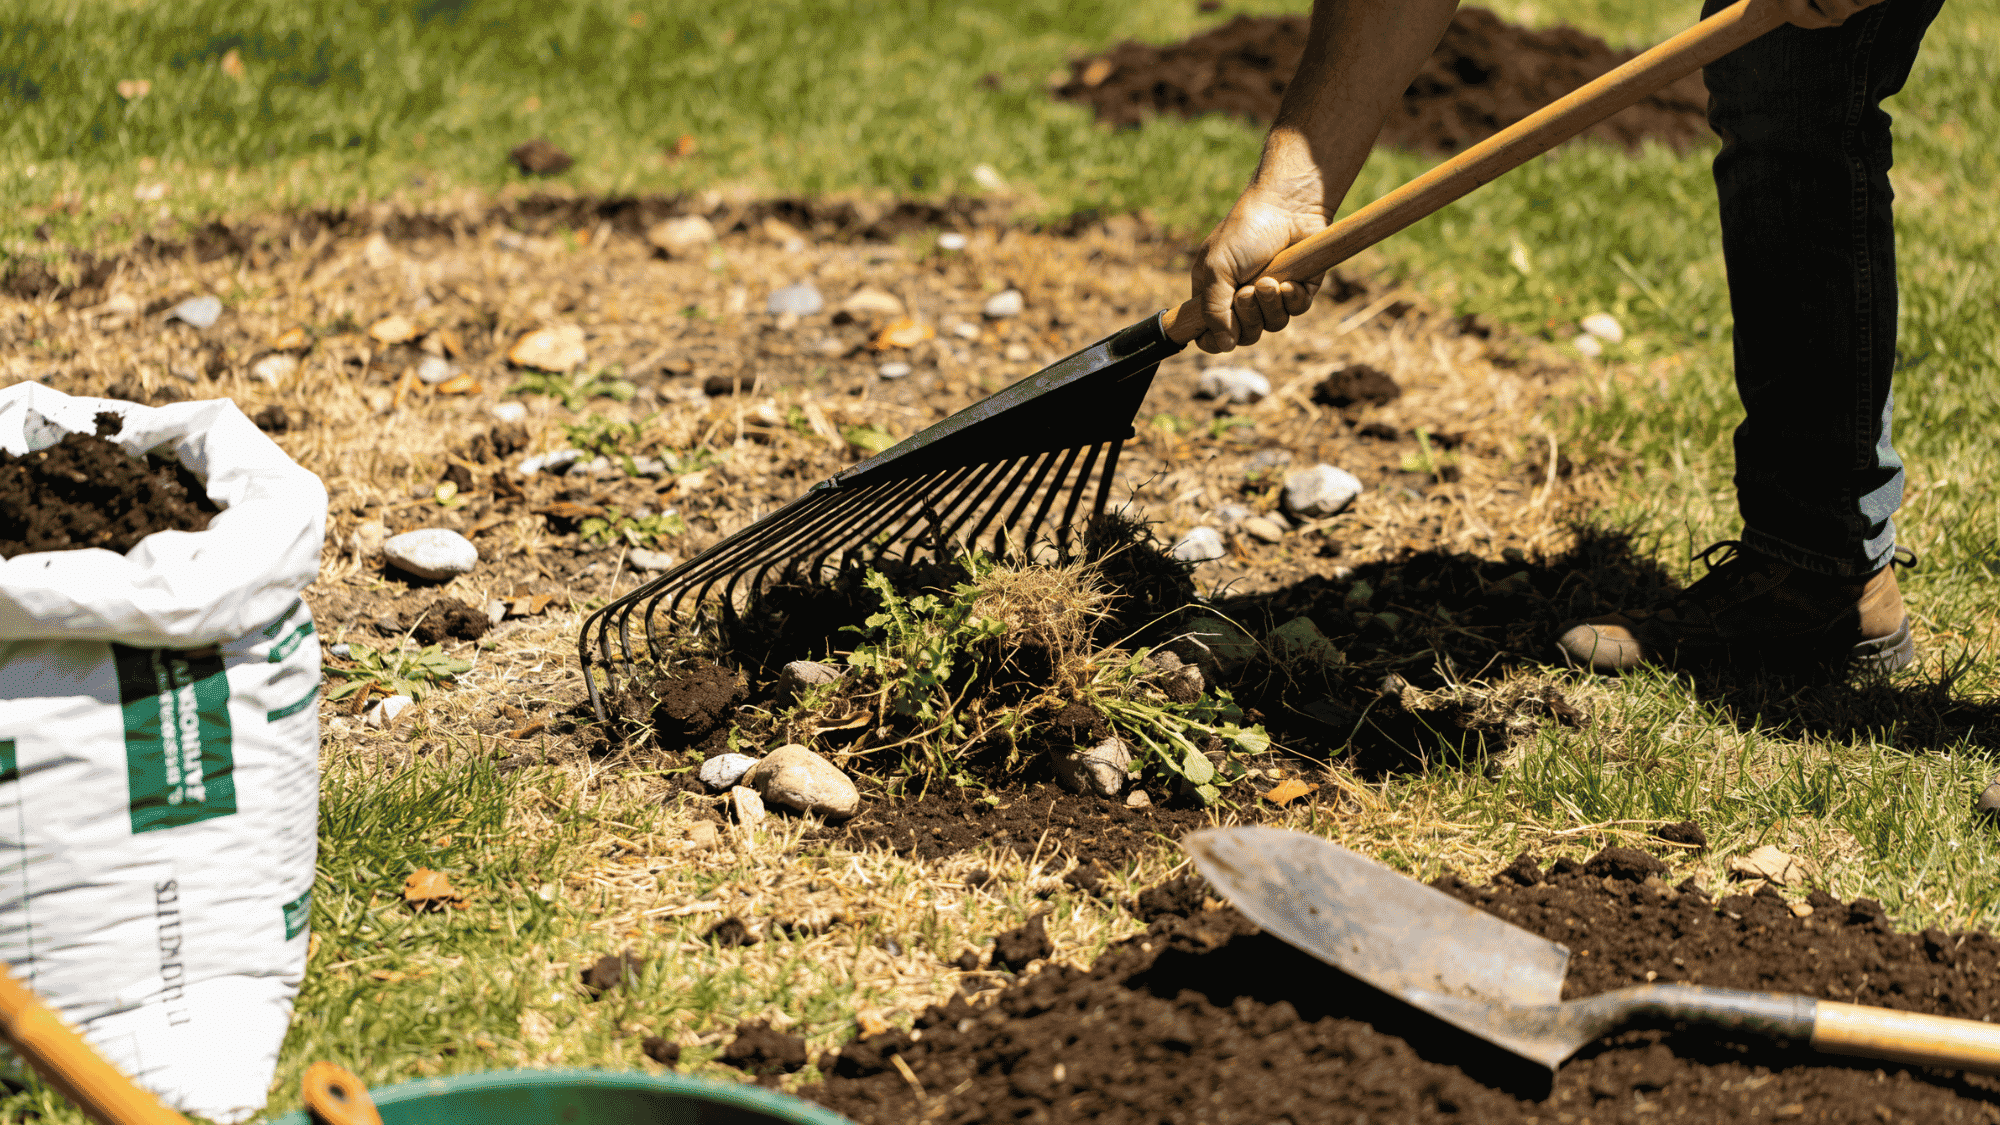
Preparing the soil properly helps clover seeds make direct contact with the ground. This step also improves germination and helps your lawn grow more evenly.
Before planting your clover lawn:
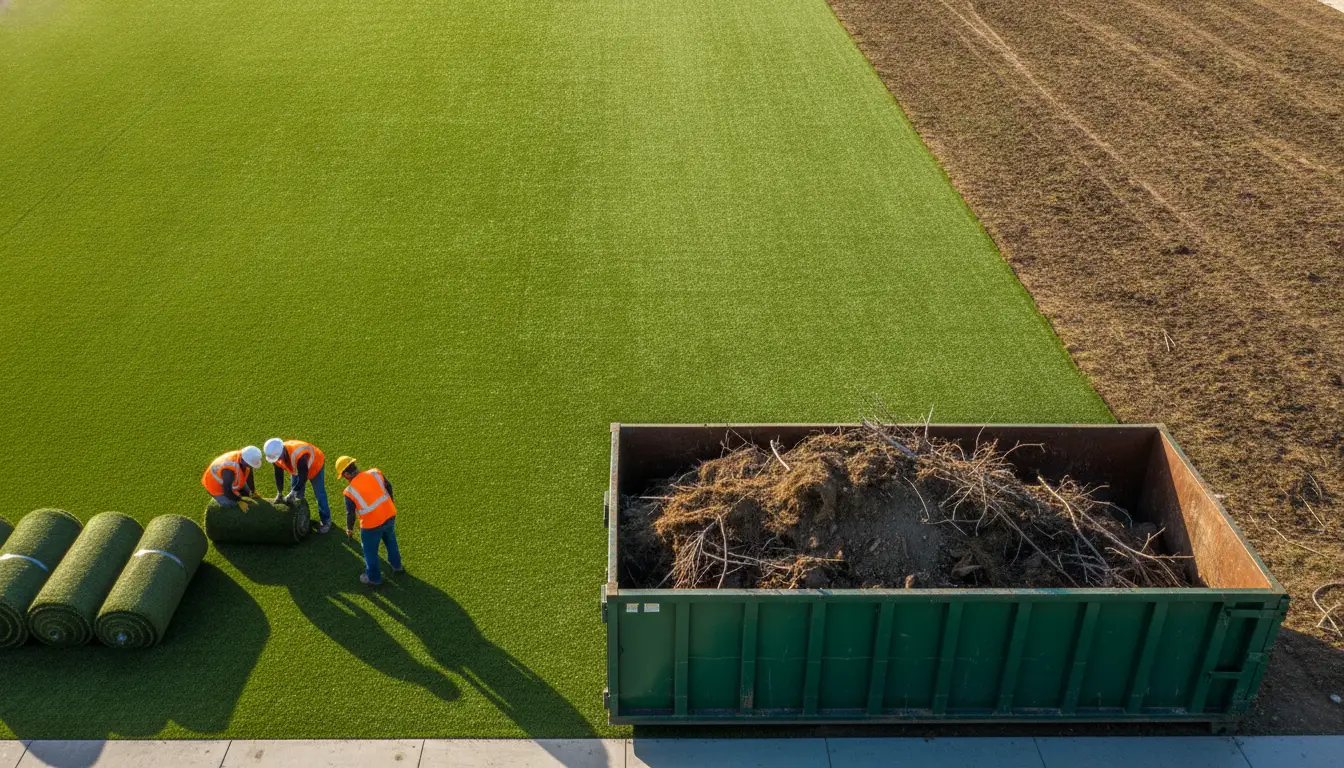
- Remove weeds, rocks, and yard debris
- Rake the top layer of soil lightly
- Break up compacted dirt if needed
- Fill deep holes or uneven spots
- Avoid strong weed killers before seeding
Step 3: Spread the Clover Seed Evenly
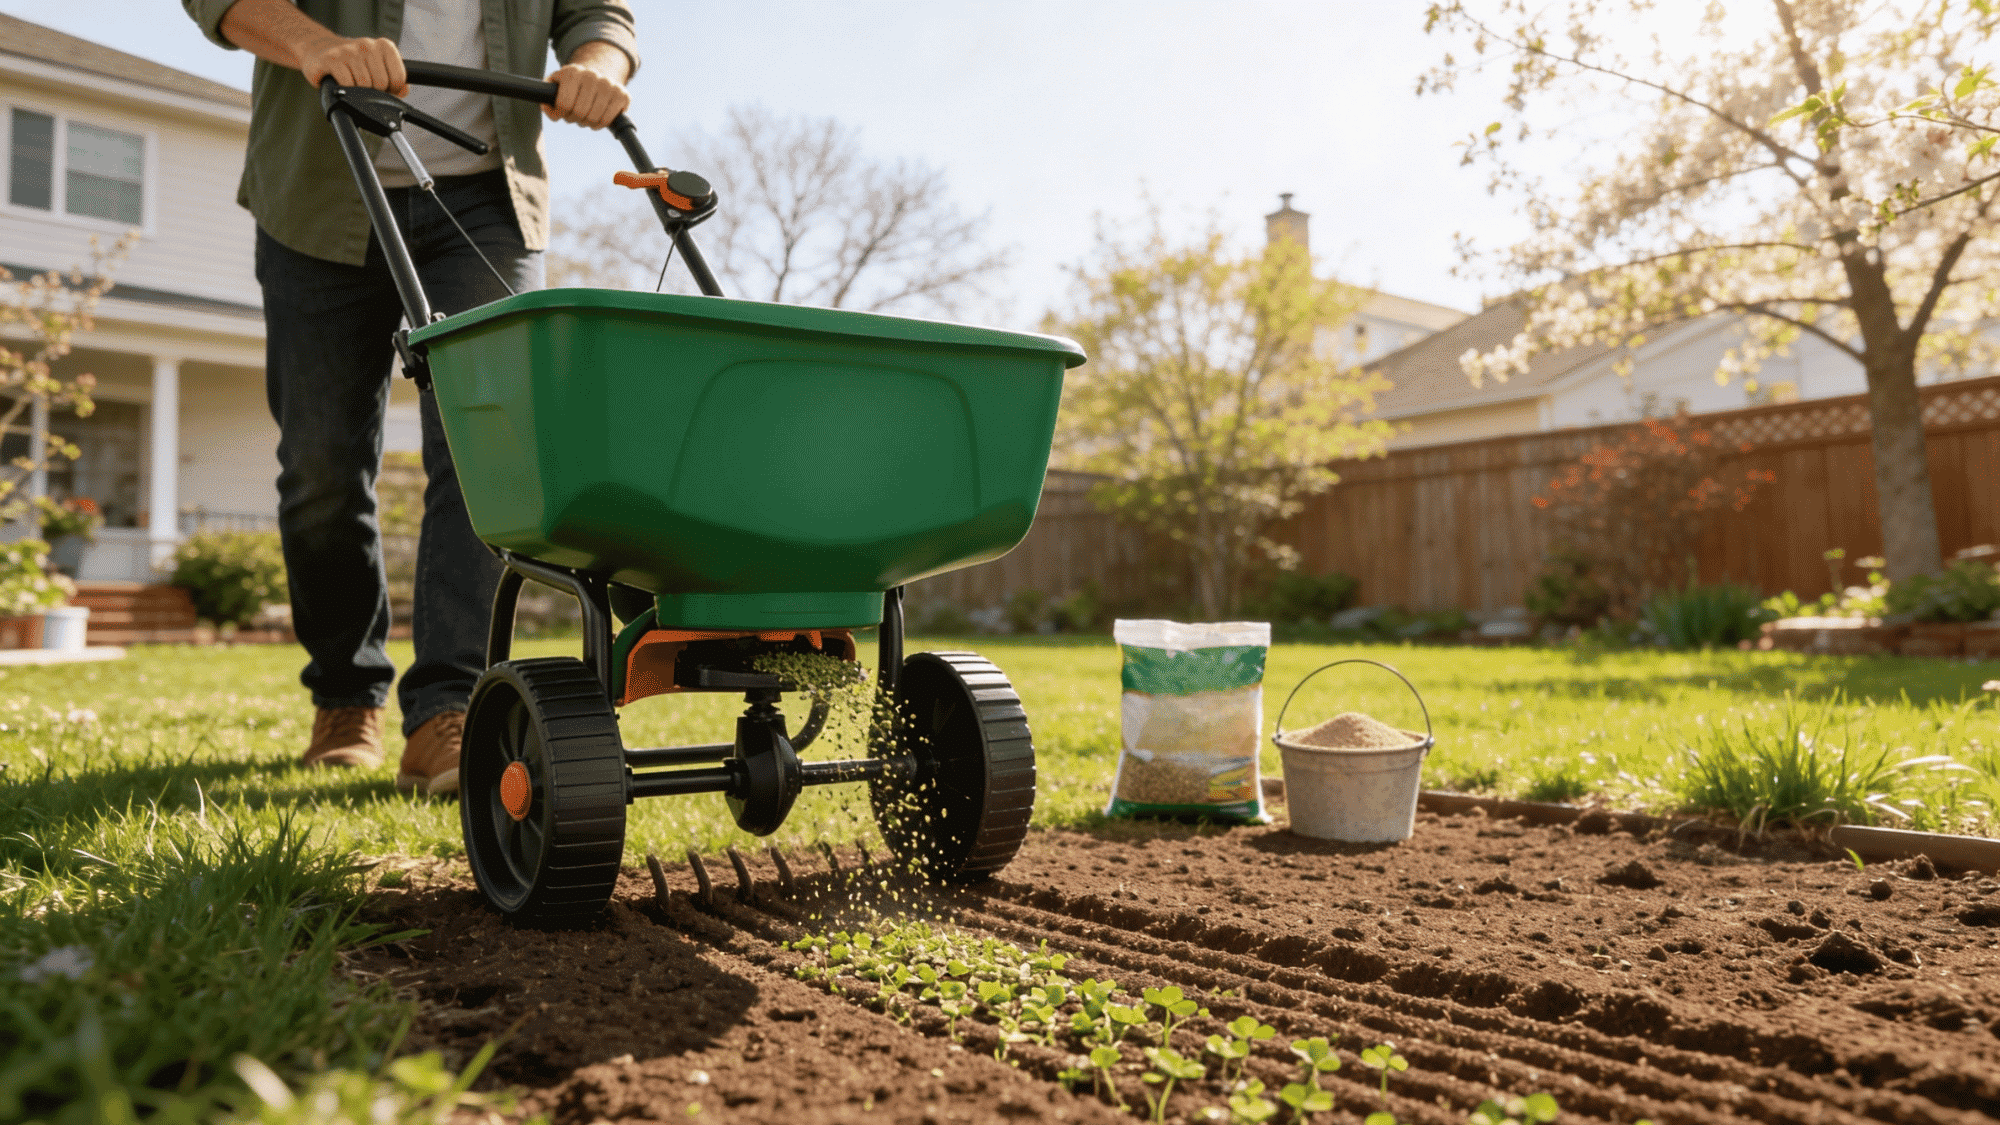
Clover seeds are very small, so spreading them evenly is important when learning how to grow clover successfully. Balanced coverage helps prevent patchy lawn growth later on.
For even seed coverage:
- Use a lawn spreader for larger yards
- Mix seeds with sand for easier spreading
- Spread seeds in multiple directions
- Follow the seed package instructions carefully
- Lightly rake seeds into the top layer of soil
Step 4: Water the Seeds Gently
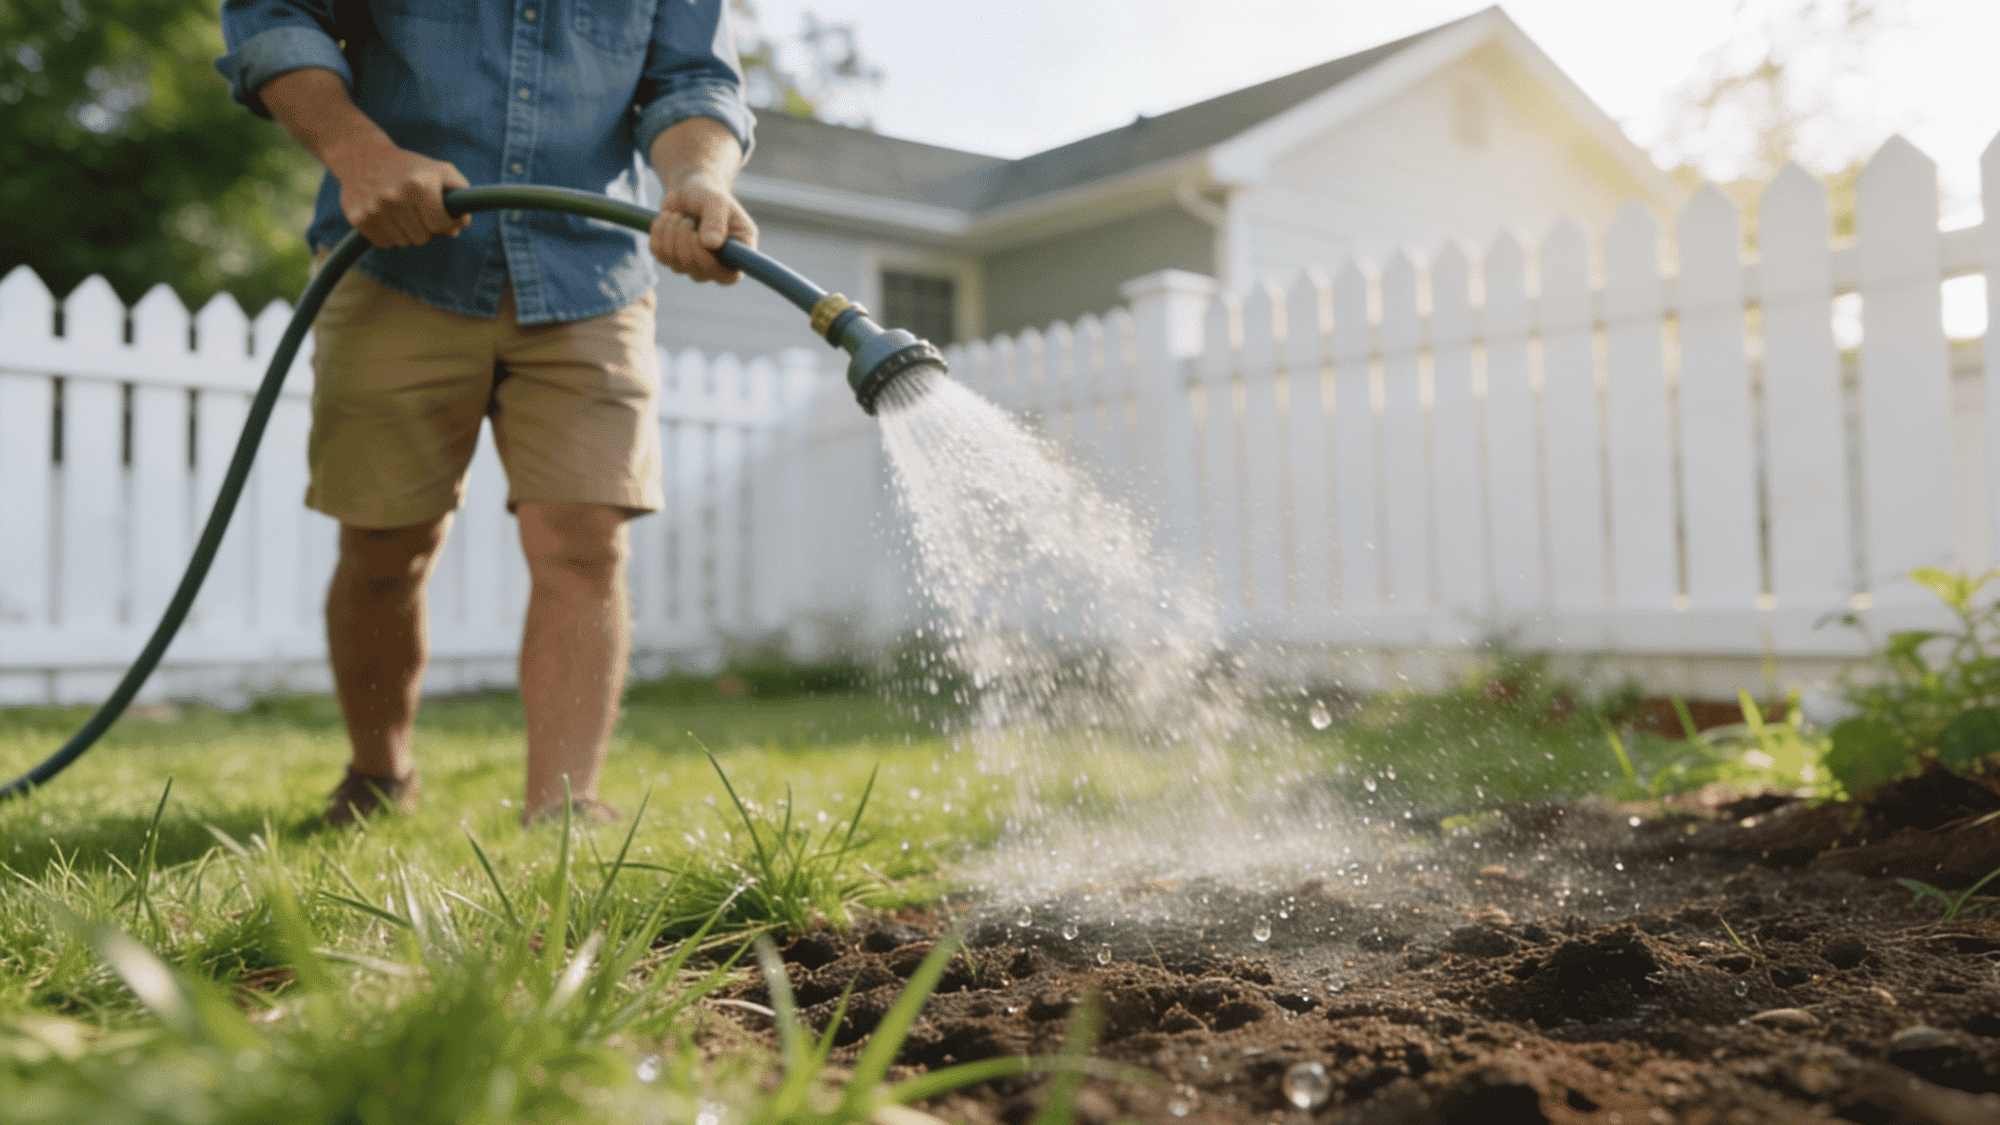
Fresh clover seeds need steady moisture during the early growth stage. Keeping the soil lightly damp helps your clover lawn establish faster.
During early growth you need to:
- Water lightly once or twice daily
- Use a gentle spray setting on the hose
- Keep the topsoil slightly moist
- Avoid creating muddy puddles
- Reduce watering after sprouts appear
Step 5: Allow the Clover to Establish
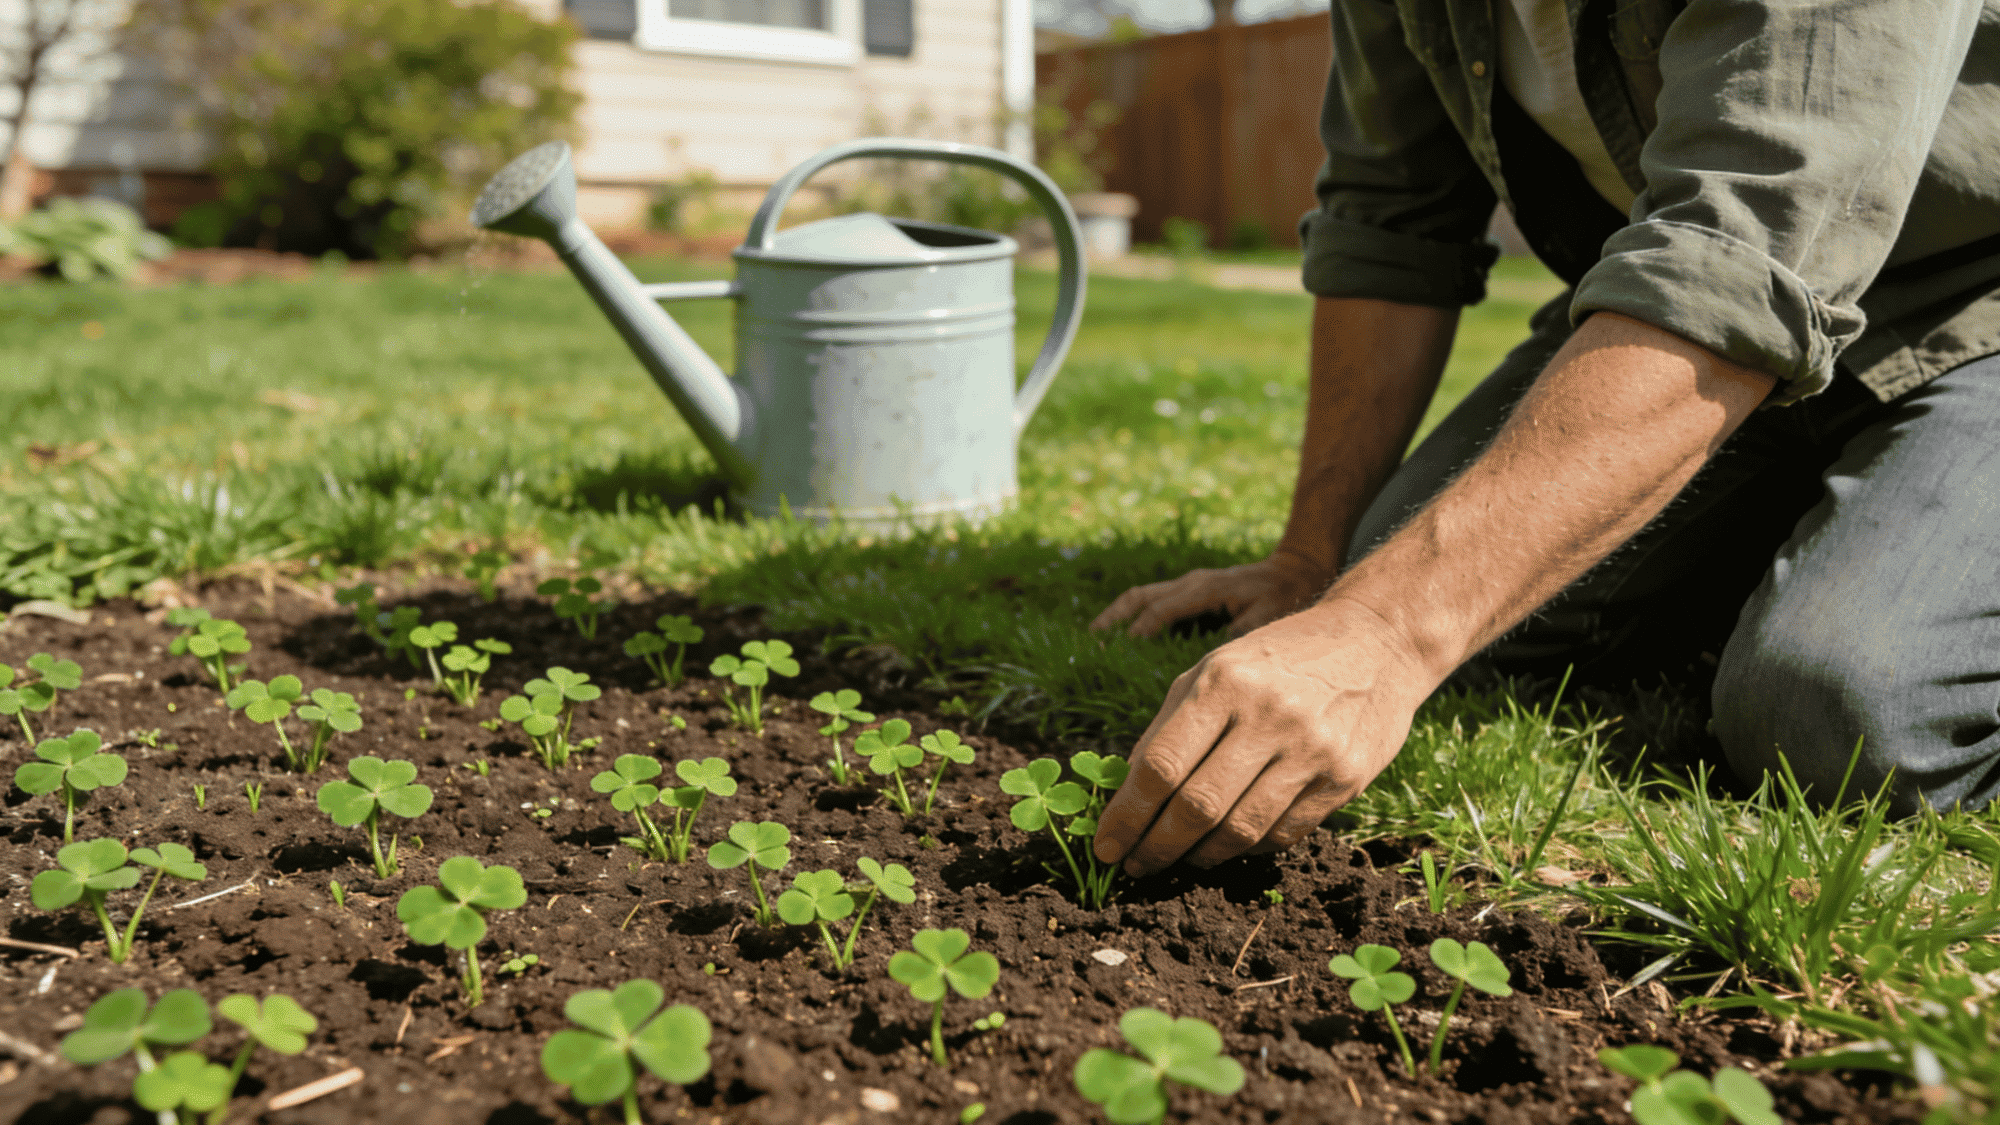
After germination begins, your clover lawn needs time to spread and thicken naturally. Proper care during this stage helps create stronger and healthier lawn coverage.
While the lawn fills in:
- Avoid heavy foot traffic
- Watch for thin or bare patches
- Reseed empty spots if needed
- Pull weeds by hand when possible
- Continue light watering during dry weather
Step 6: Mow and Maintain Your Clover Lawn
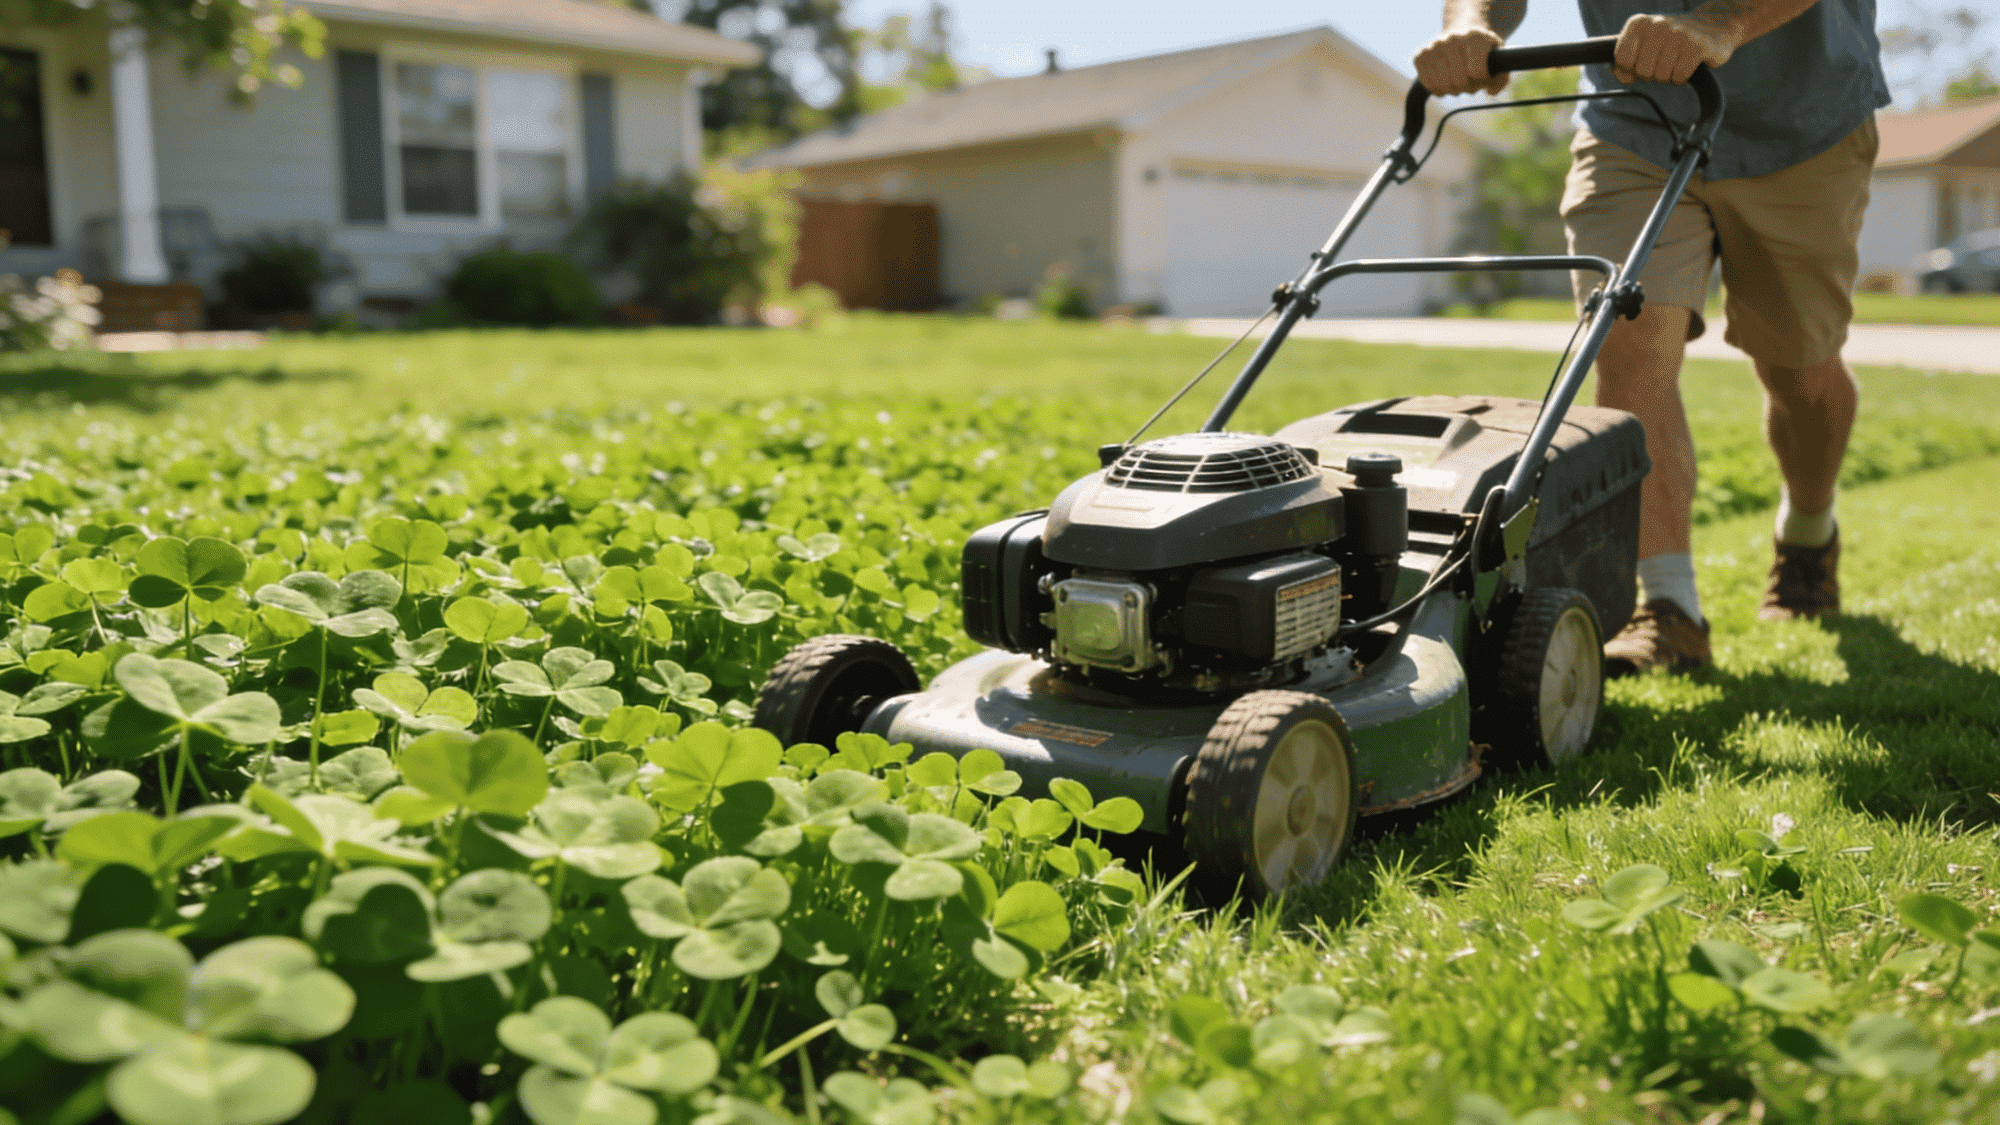
Once your clover lawn becomes established, simple maintenance helps keep it looking healthy and neat. Clover usually grows differently from traditional grass, so mowing habits may need slight adjustments.
For regular maintenance:
- Mow higher instead of very short
- Leave some clippings behind
- Avoid harsh weed killers
- Reseed thin spots occasionally
- Water during long dry periods only if needed
Clover Lawn Maintenance Tips for a Healthy and Green Yard
A clover lawn is known for being easier to care for than many traditional grass lawns, but it still needs some regular attention to stay healthy and full. Simple habits can make a big difference over time.
- Mow Higher: Keep your mower blade slightly higher to help clover spread naturally
- Water Only When Needed: Water during long dry periods or extreme summer heat
- Reseed Thin Areas: Add fresh clover seed to patchy spots to maintain an even lawn
- Avoid Harsh Weed Killers: Many weed control products can damage or kill clover plants
- Pull Large Weeds by Hand: Removing weeds early helps prevent overcrowding
- Do Not Overfertilize: Excessive fertilizer can encourage grass growth at the expense of clover
- Leave Some Grass Clippings Behind: Light clippings can help the soil retain moisture naturally
- Watch for Bare Patches: Fix empty spots quickly before weeds start spreading there
- Limit Heavy Foot Traffic: Excessive activity in one area can wear down surfaces over time
- Check Lawn Growth Each Season: Seasonal changes can affect how your lawn grows and spreads
The Bottom Line
A clover lawn is one of those things that sounds simple, and actually is. Less mowing, less watering, and a yard that handles itself more than you’d expect.
But the real win is knowing it was the right call every time you walk past a neighbor wrestling with their sprinkler on a hot afternoon. It doesn’t have to be an all-or-nothing decision either.
Start small, see how it grows, and build from there. Because once clover settles in and the yard starts looking better with less effort, most people wonder why they waited so long to make the switch.