Getting a thick, healthy lawn is not always as easy as tossing product across the yard and hoping for the best.
Many homeowners use weed and feed without knowing the right timing, spreader settings, or weather conditions, which often leads to weak results.
These weed and feed instructions break down the small details that can make a noticeable difference in how your lawn looks.
You’ll also learn when to apply weed and feed, how to avoid common lawn mistakes, and what signs show the treatment is actually working.
Before You Spread Anything: Check These Lawn Conditions
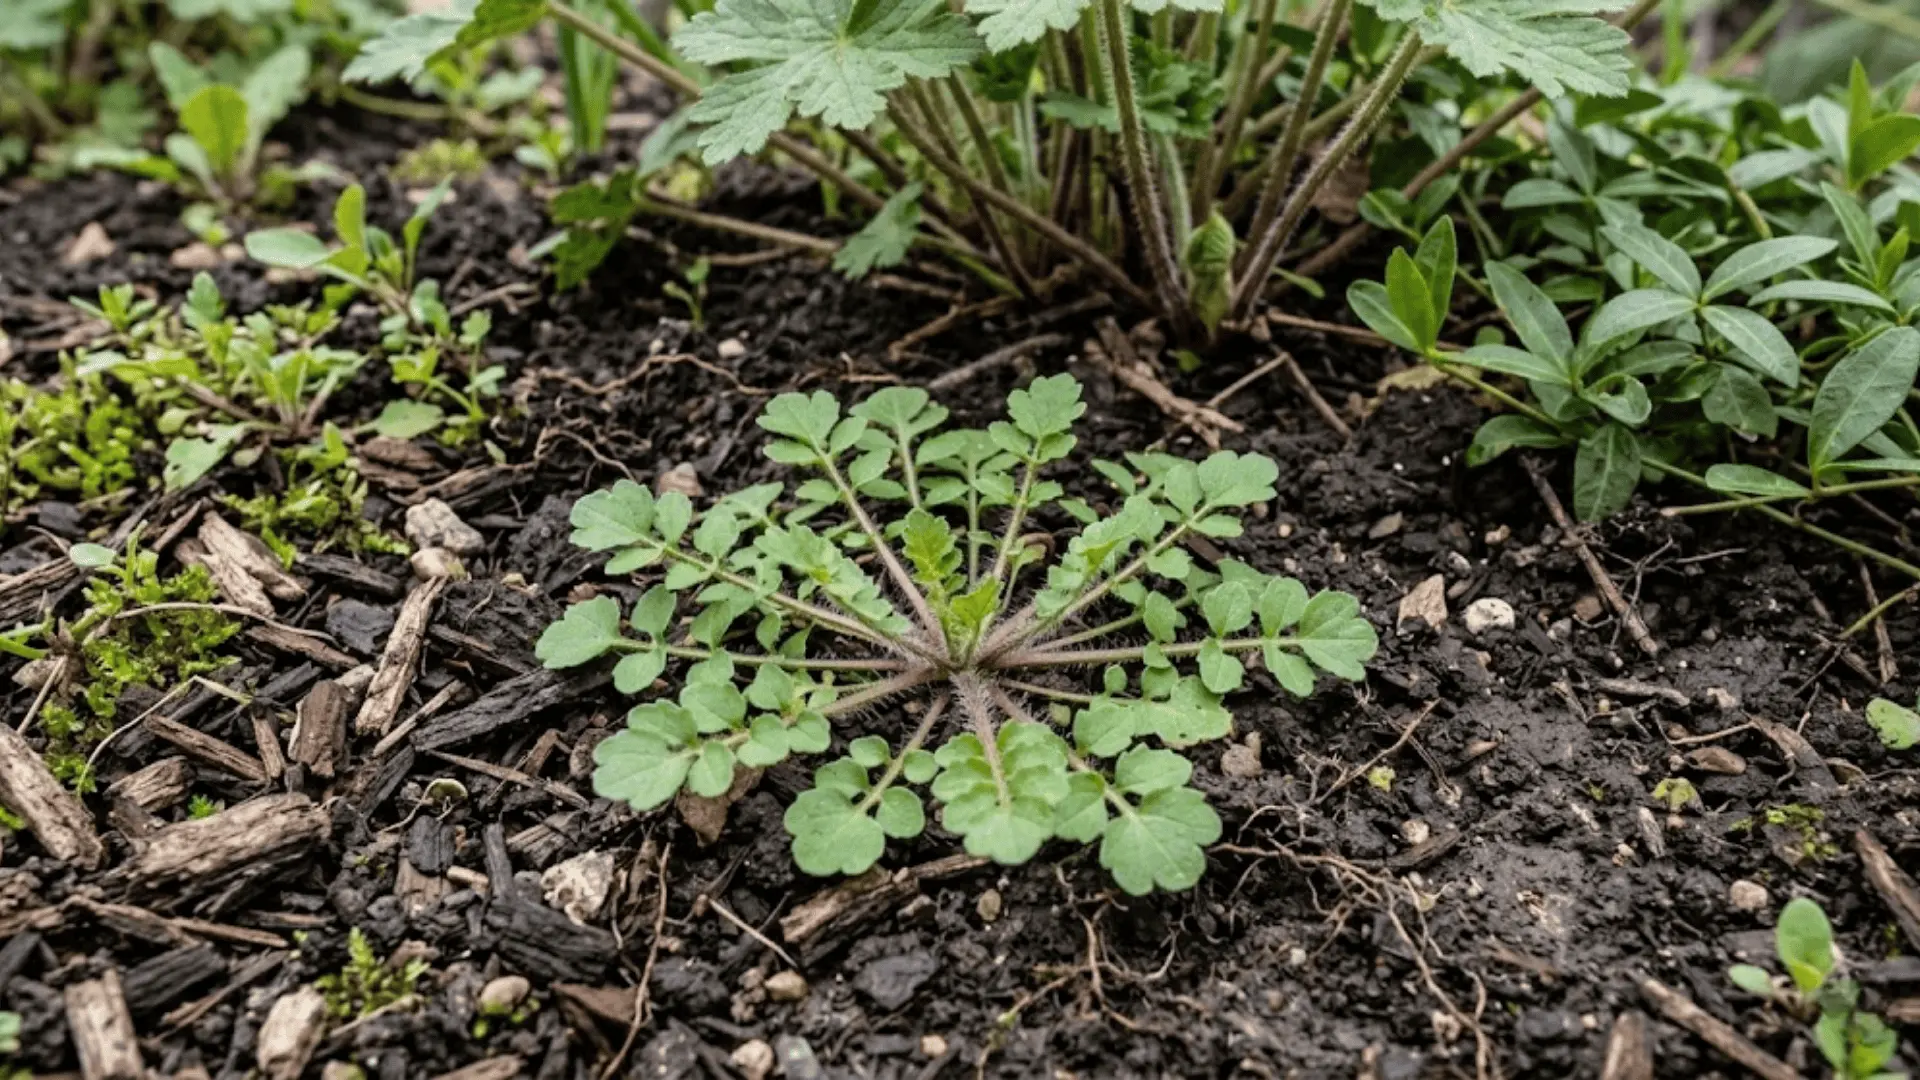
A few small lawn conditions can make a big difference in how well weed and feed works. Applying it at the wrong time or on stressed grass often leads to patchy results and wasted product.
- Grass Height: Grass that is cut too short before treatment may struggle during application. Slightly taller grass usually handles the product better and supports more even coverage.
- Should the Lawn Be Wet or Dry? Some products stick better to lightly damp grass, while others work best on dry lawns. Reading the label first helps avoid uneven treatment.
- Temperature and Weather Warnings: Mild, dry weather is usually best for application. Heavy rain, strong wind, and extreme heat can reduce effectiveness and create lawn problems later.
When to Apply Weed and Feed for the Best Results?
The timing of your application can affect how well the product controls weeds and supports grass growth.
Applying weed and feed during active weed growth and mild weather usually gives better results than applying it during stressful lawn conditions.
| Season | Weed Control Effectiveness | Lawn Condition | Best Time to Apply |
|---|---|---|---|
| Spring | Very effective because weeds actively absorb treatment | Grass begins healthy growth after winter | Mild mornings or evenings with dry weather |
| Summer | Less effective during extreme heat | Heat stress may weaken grass | Only during cooler days with low temperatures |
| Fall | Great for late-season weed control | Helps lawns recover from summer damage | Early fall before frost arrives |
| Winter | Limited effectiveness due to slow weed growth | Grass stays dormant in many areas | Usually not recommended during frosty conditions |
Weed and Feed Instructions: Step-by-Step
Using weed and feed correctly does not have to feel confusing. Following the right steps can help the product spread evenly and give your lawn better results over time.
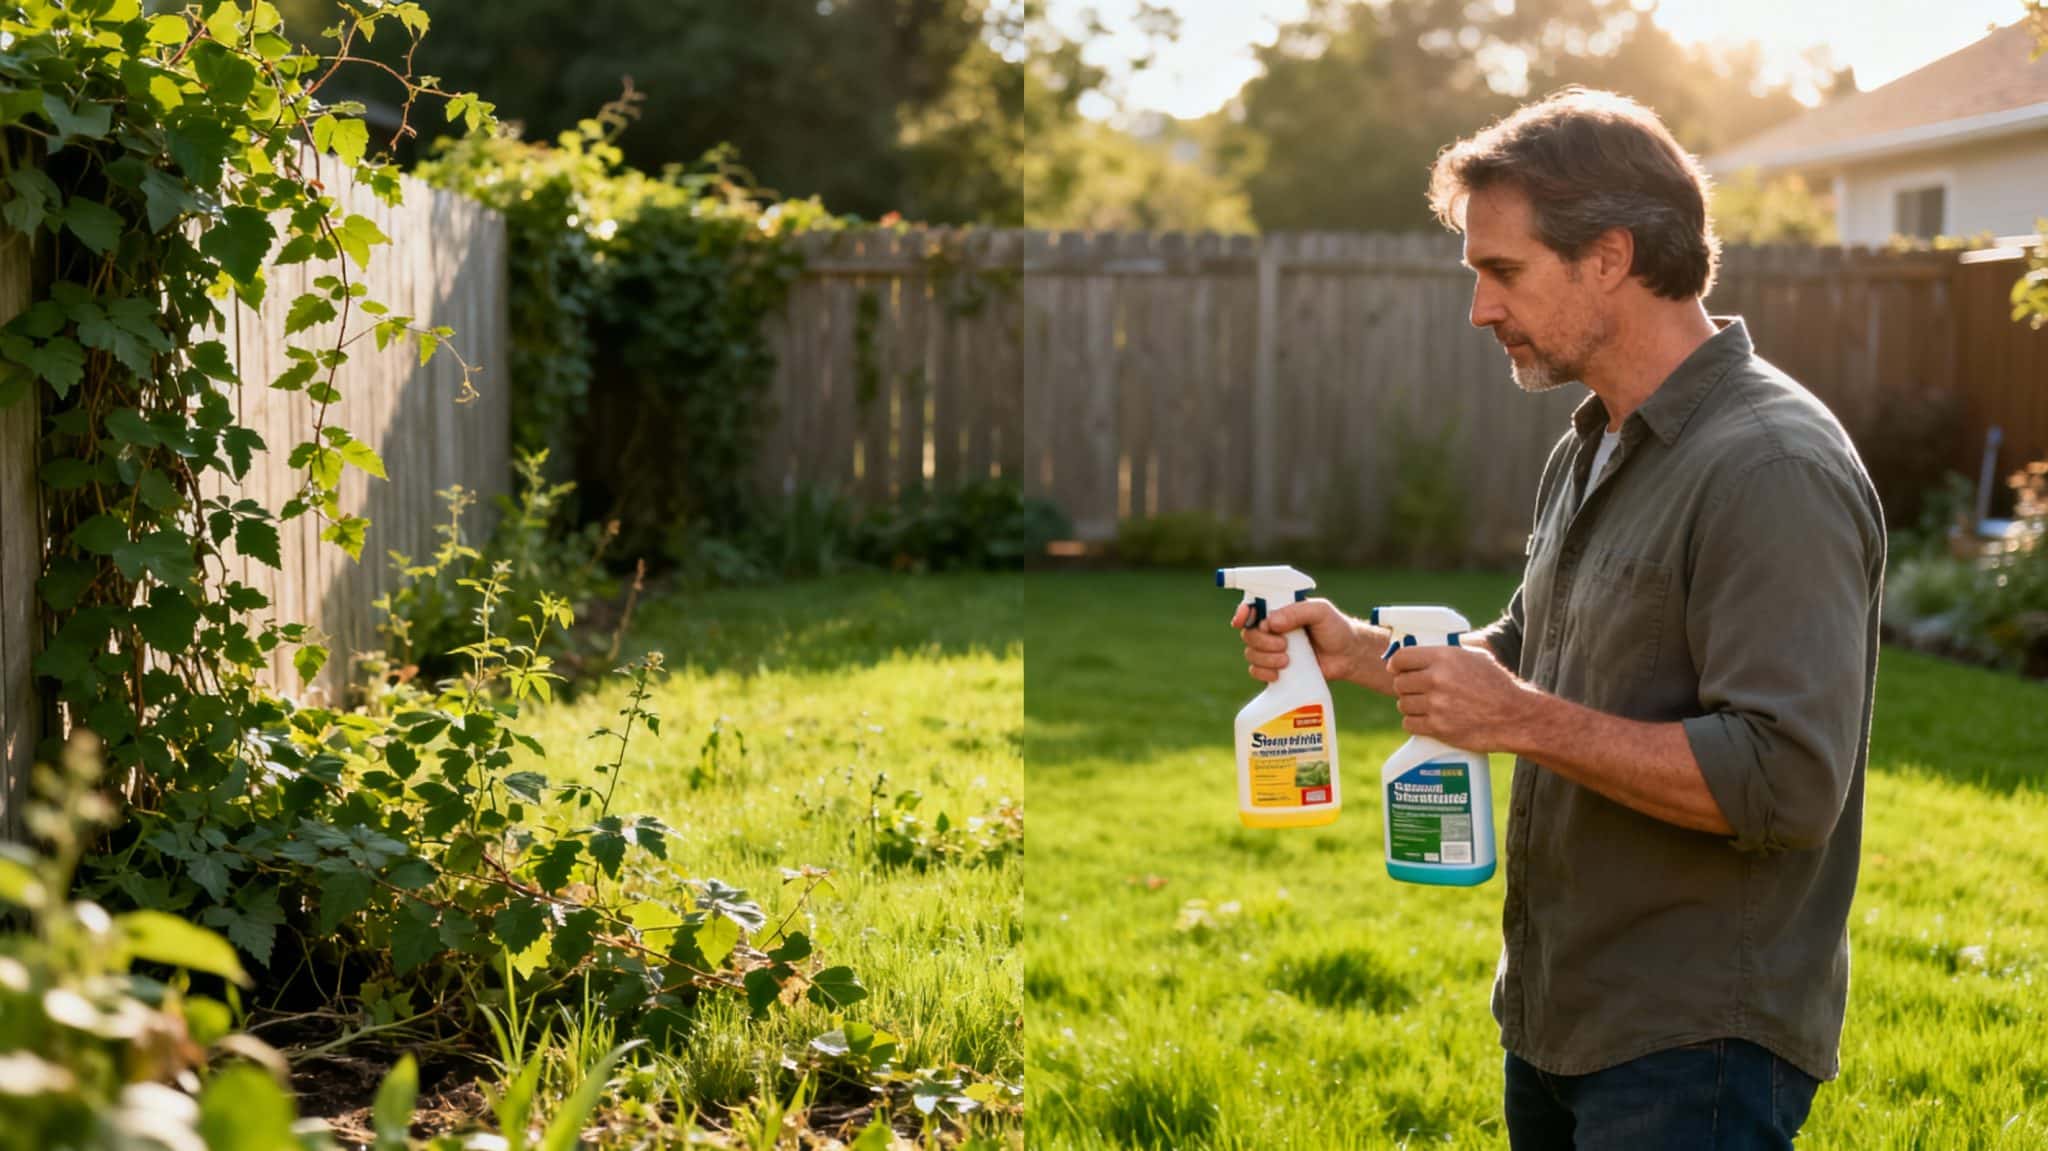
Step 1: Read the Label Carefully
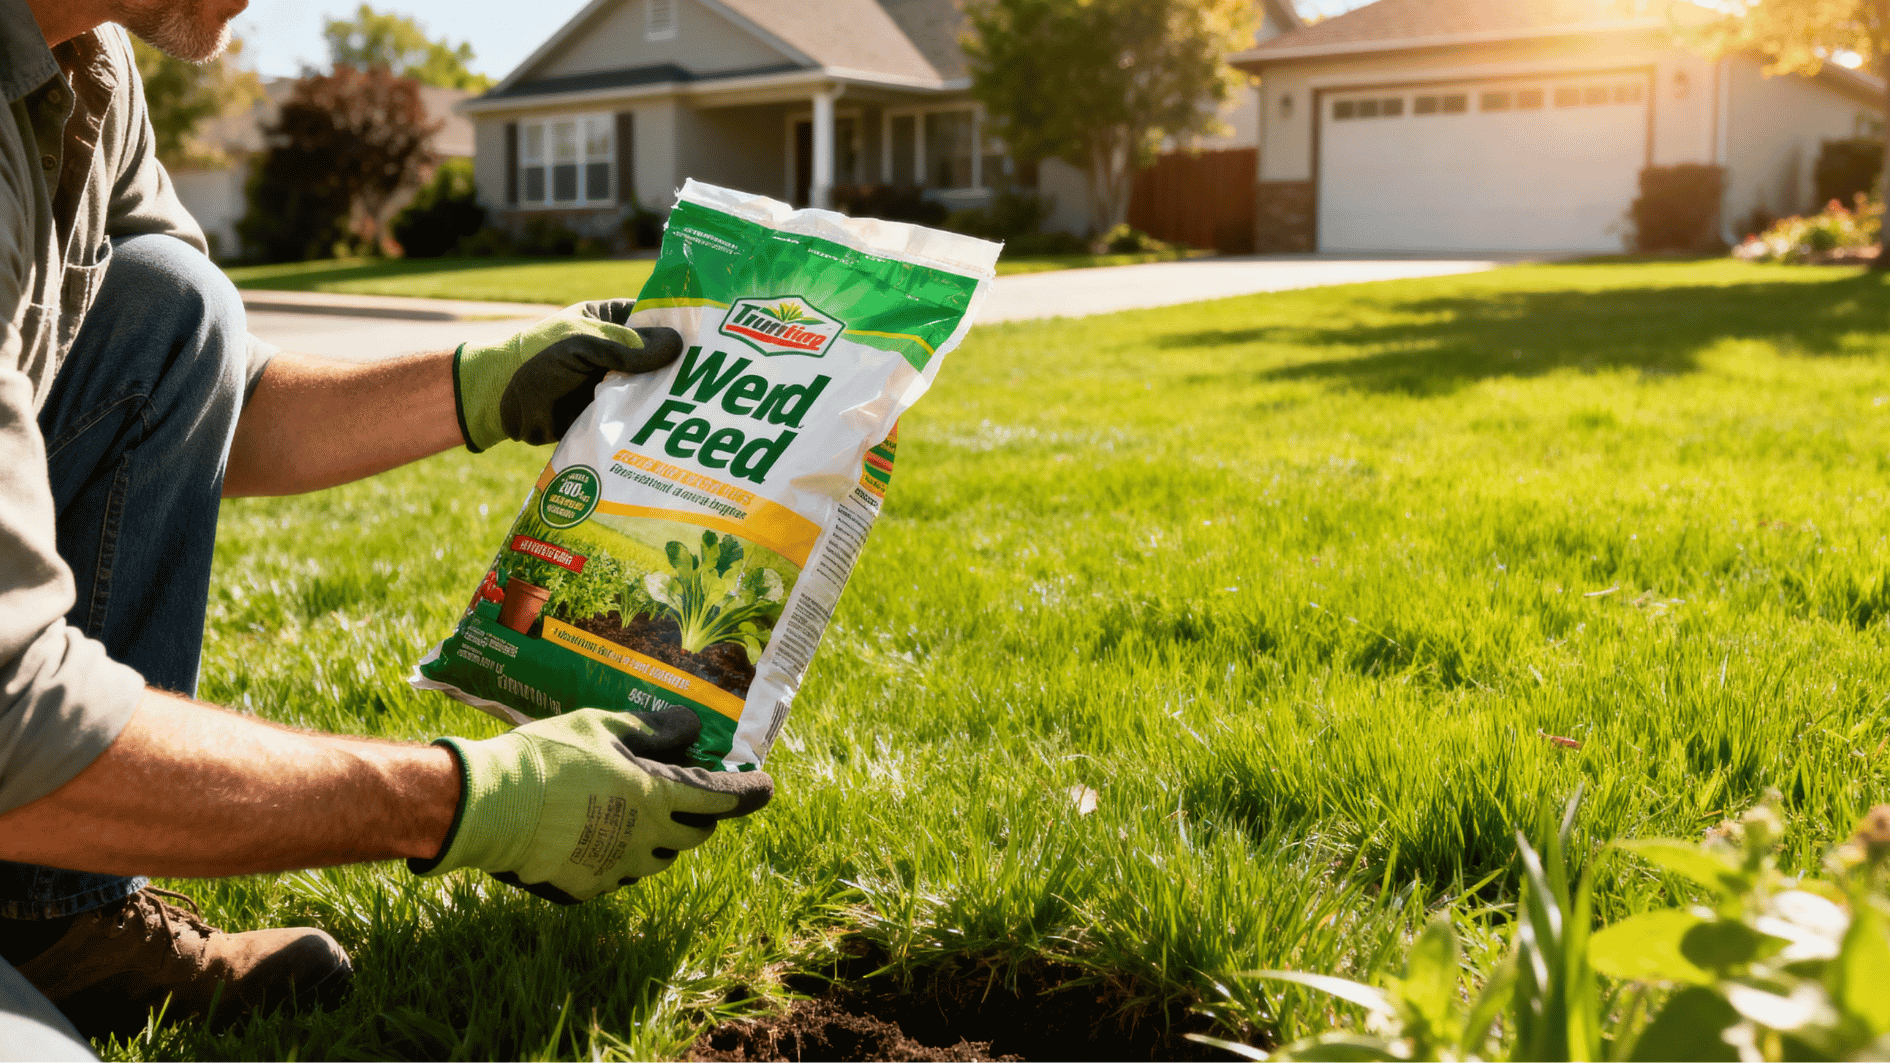
Before starting, take a quick look at the product label. Different weed and feed products work differently, so checking the instructions first can help avoid lawn problems later. It also makes the application process much easier for beginners.
Check for:
- Grass types the product works on
- Recommended spreader settings
- Watering instructions
- Safety directions for pets and kids
Step 2: Prepare the Spreader Properly
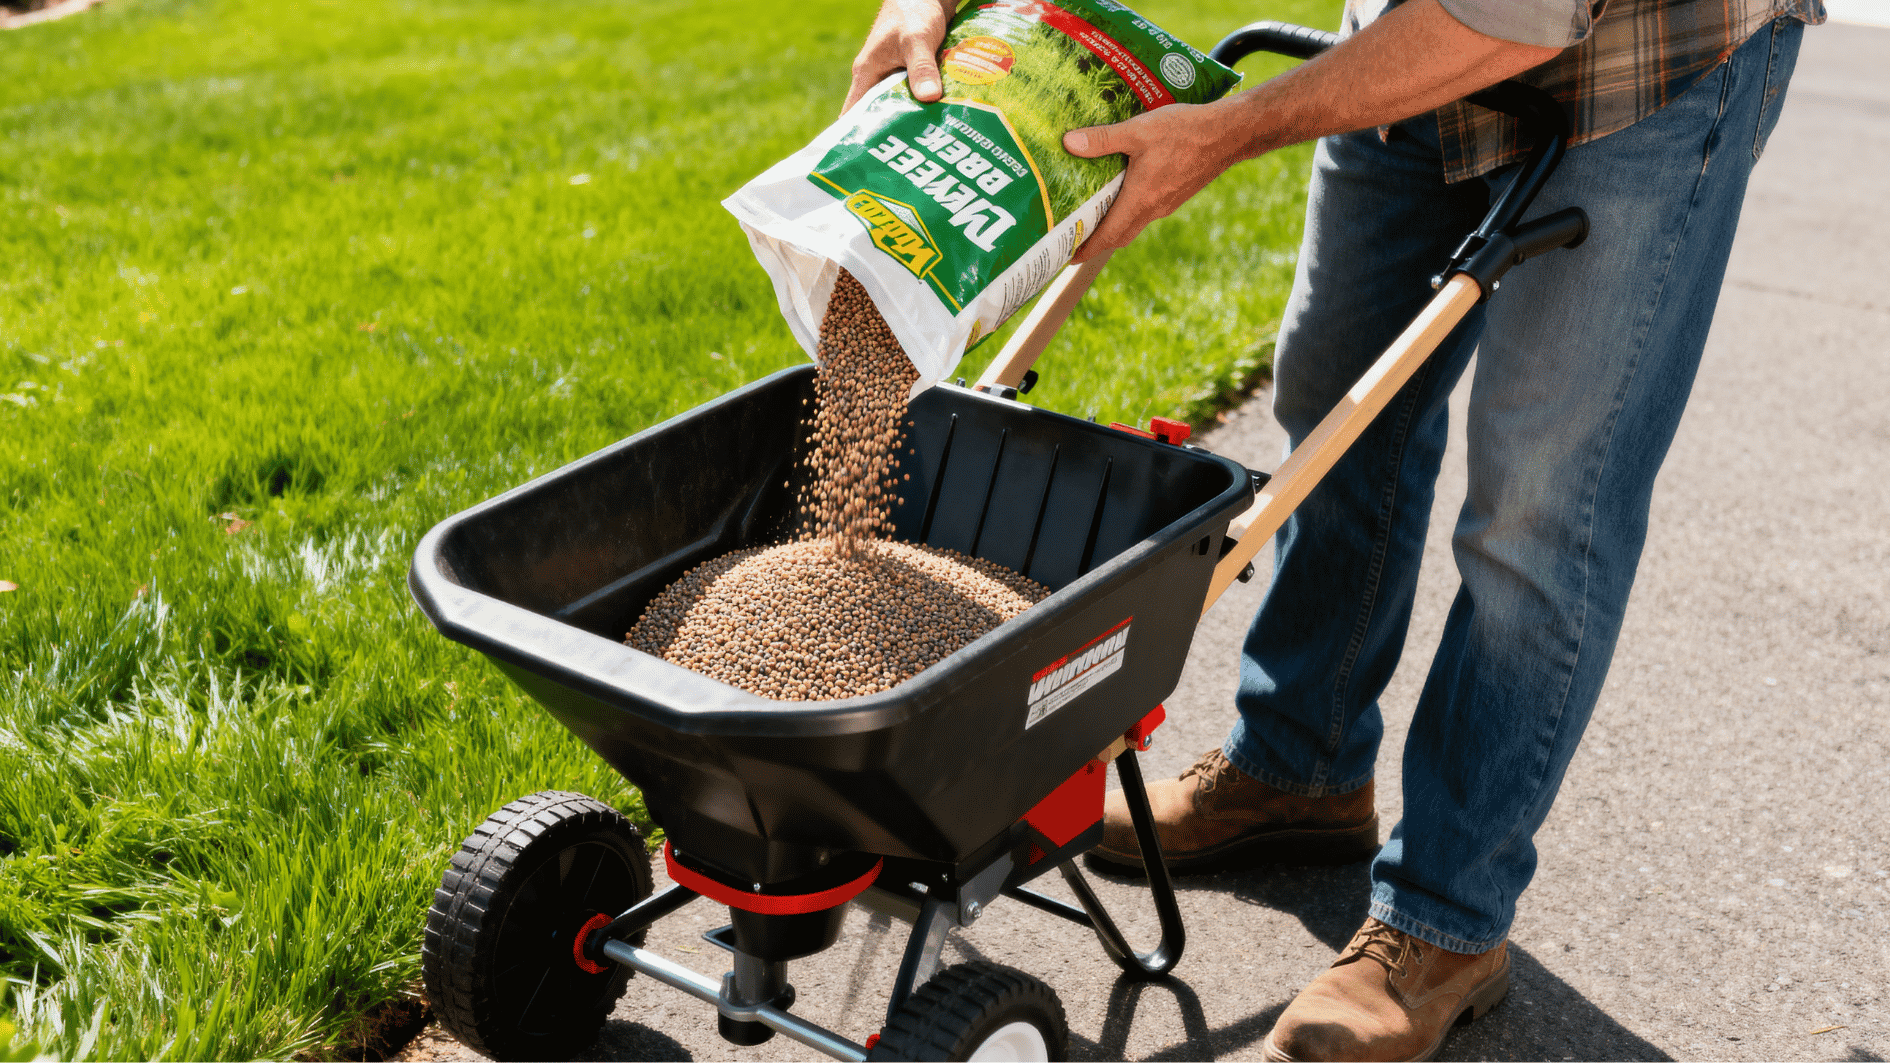
A properly adjusted spreader helps avoid patchy spots and product buildup. Even coverage is important because too much product in one area can stress the grass and leave uneven results across the lawn.
Keep these things in mind:
- Use a broadcast spreader for larger lawns
- Use a drop spreader for smaller areas
- Set the spreader exactly as the label suggests
- Do not overfill the spreader
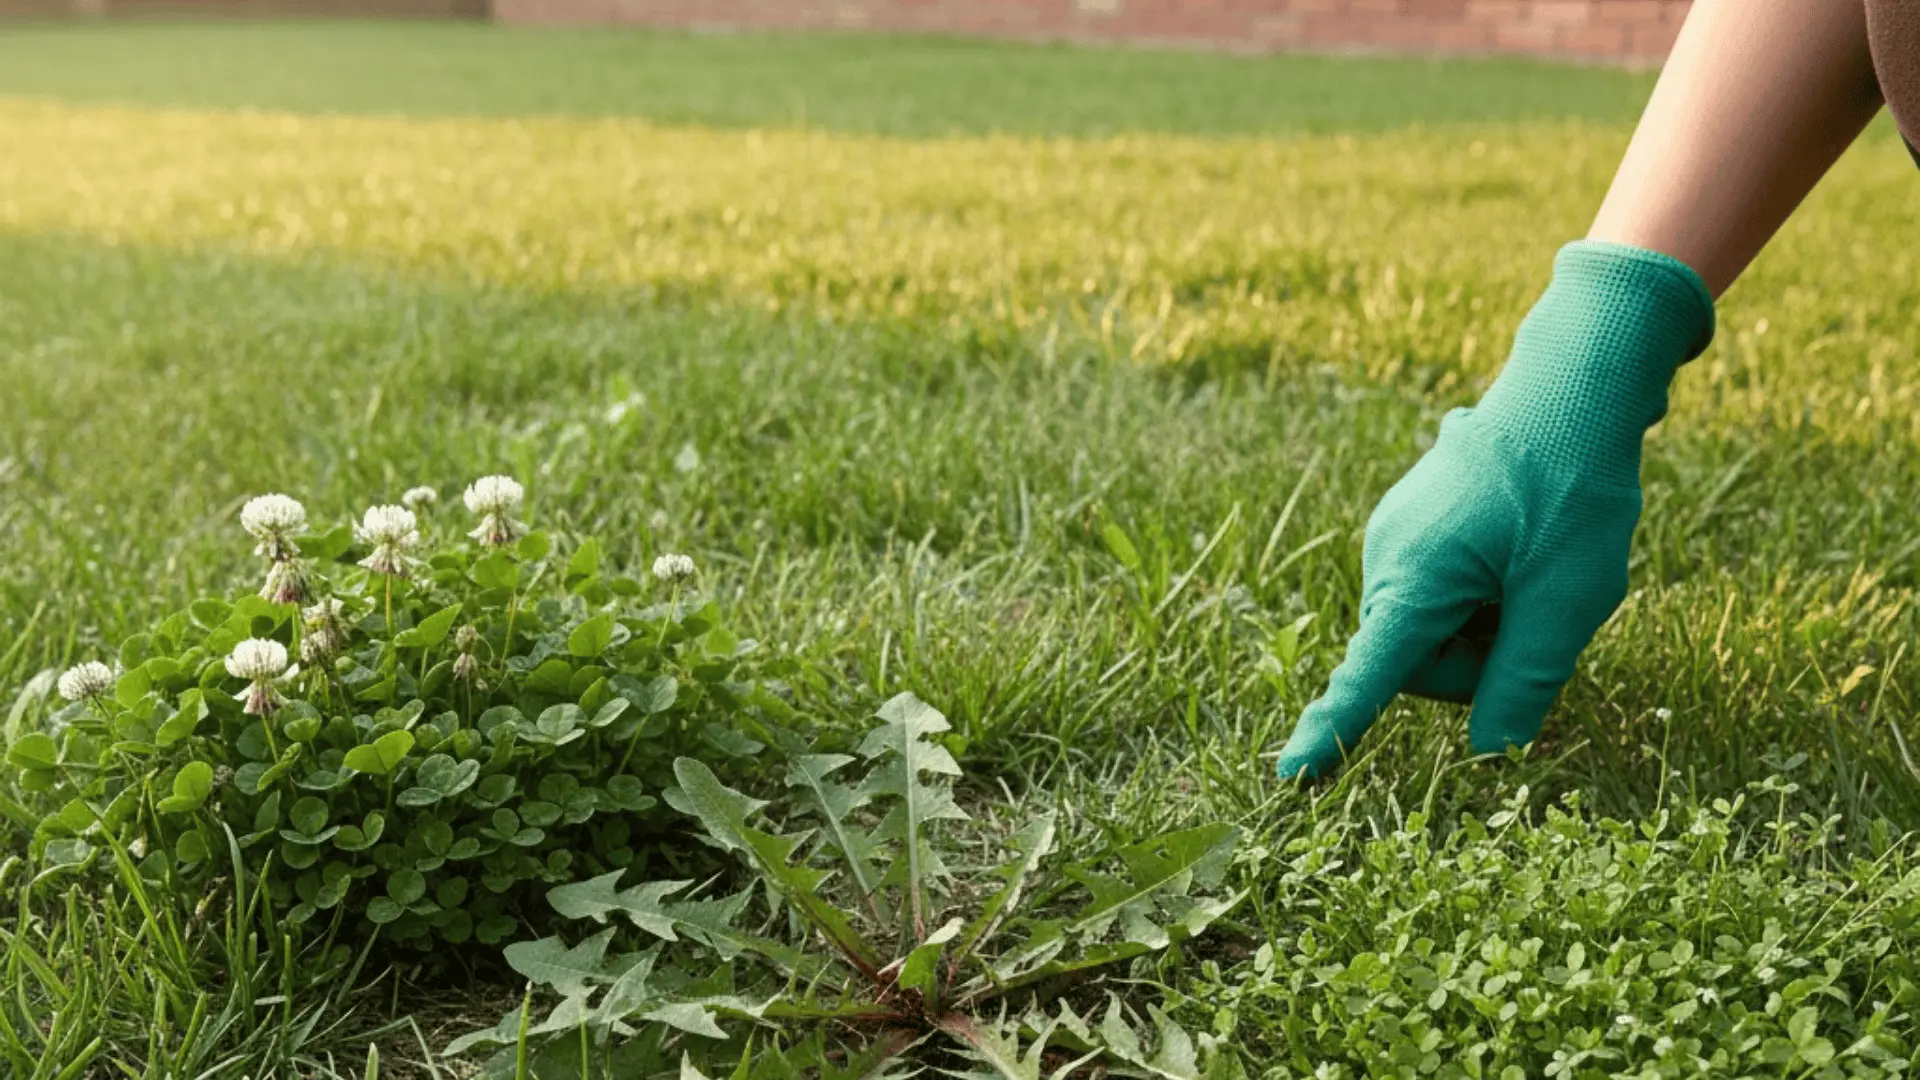
Step 3: Start with the Lawn Edges
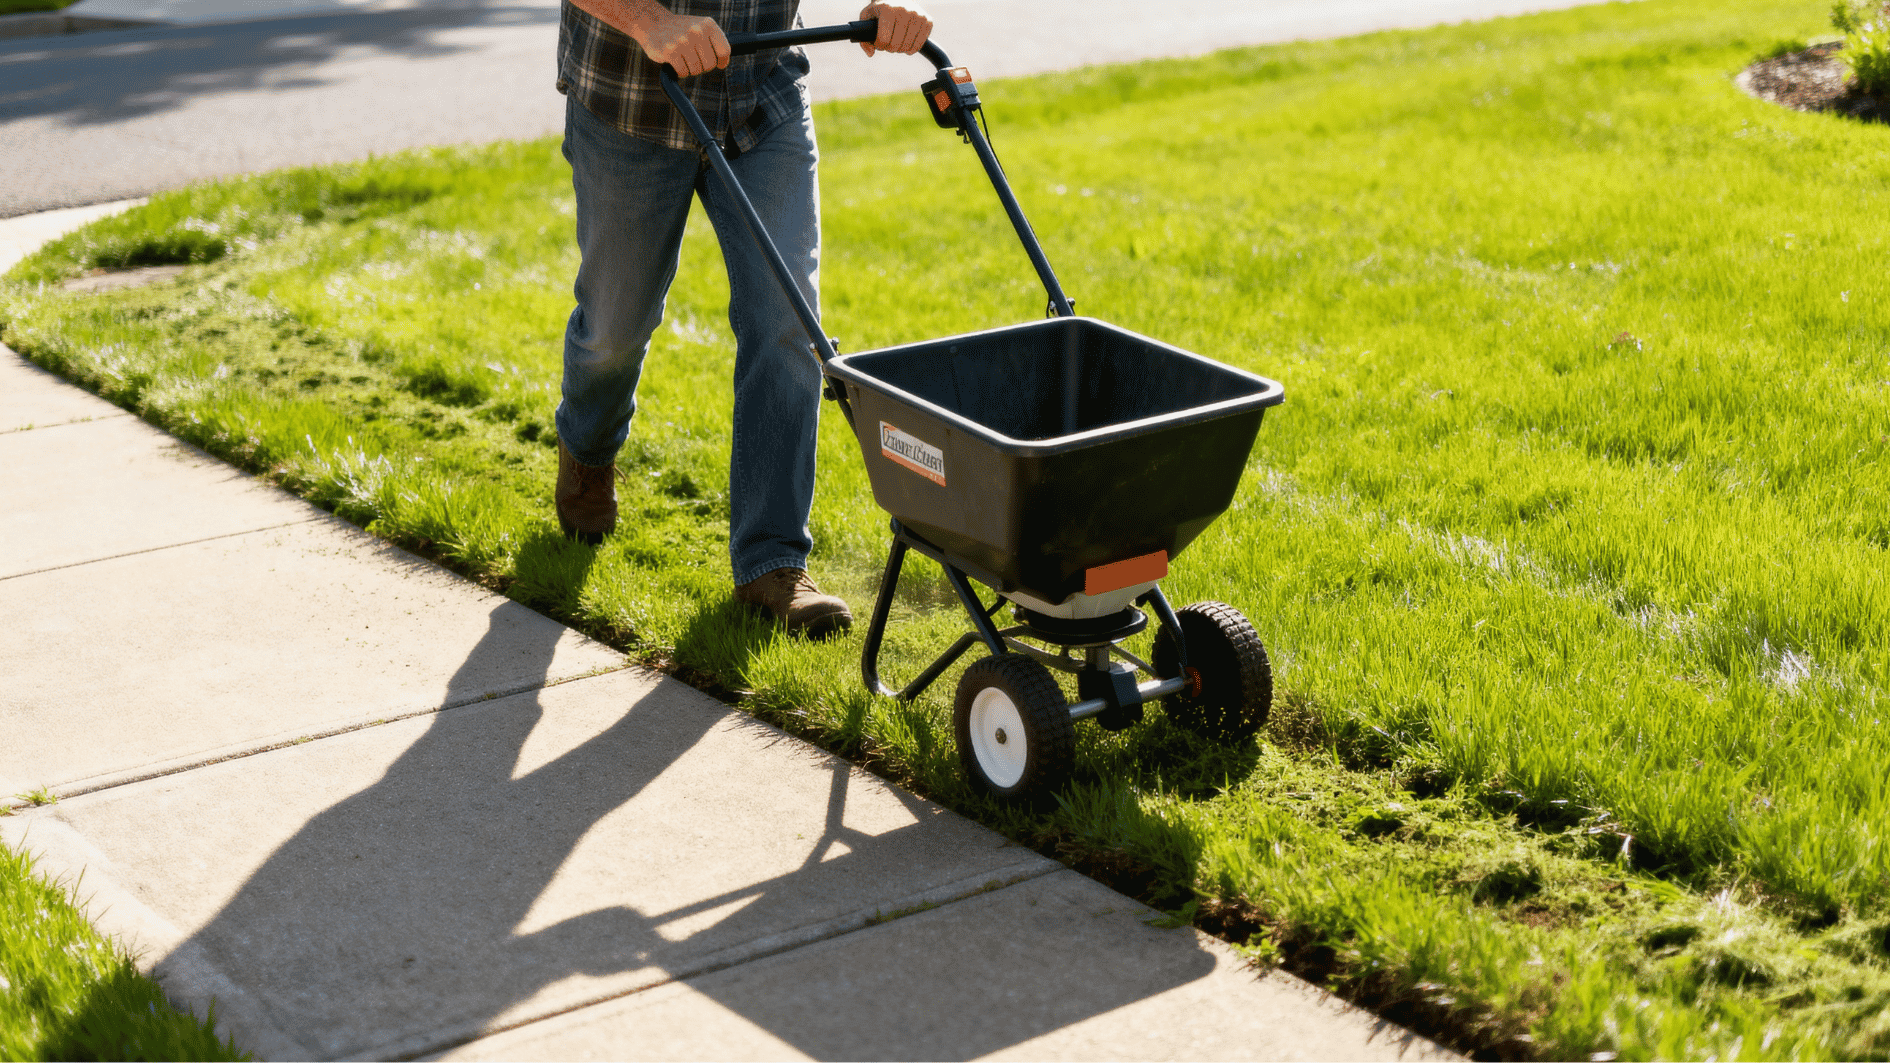
Treating the edges first helps create cleaner and more even coverage. This also makes it easier to avoid missing narrow sections around the lawn while spreading the product later.
Focus on areas like:
- Sidewalk edges
- Fence lines
- Driveways
- Lawn corners
Step 4: Apply the Product Evenly
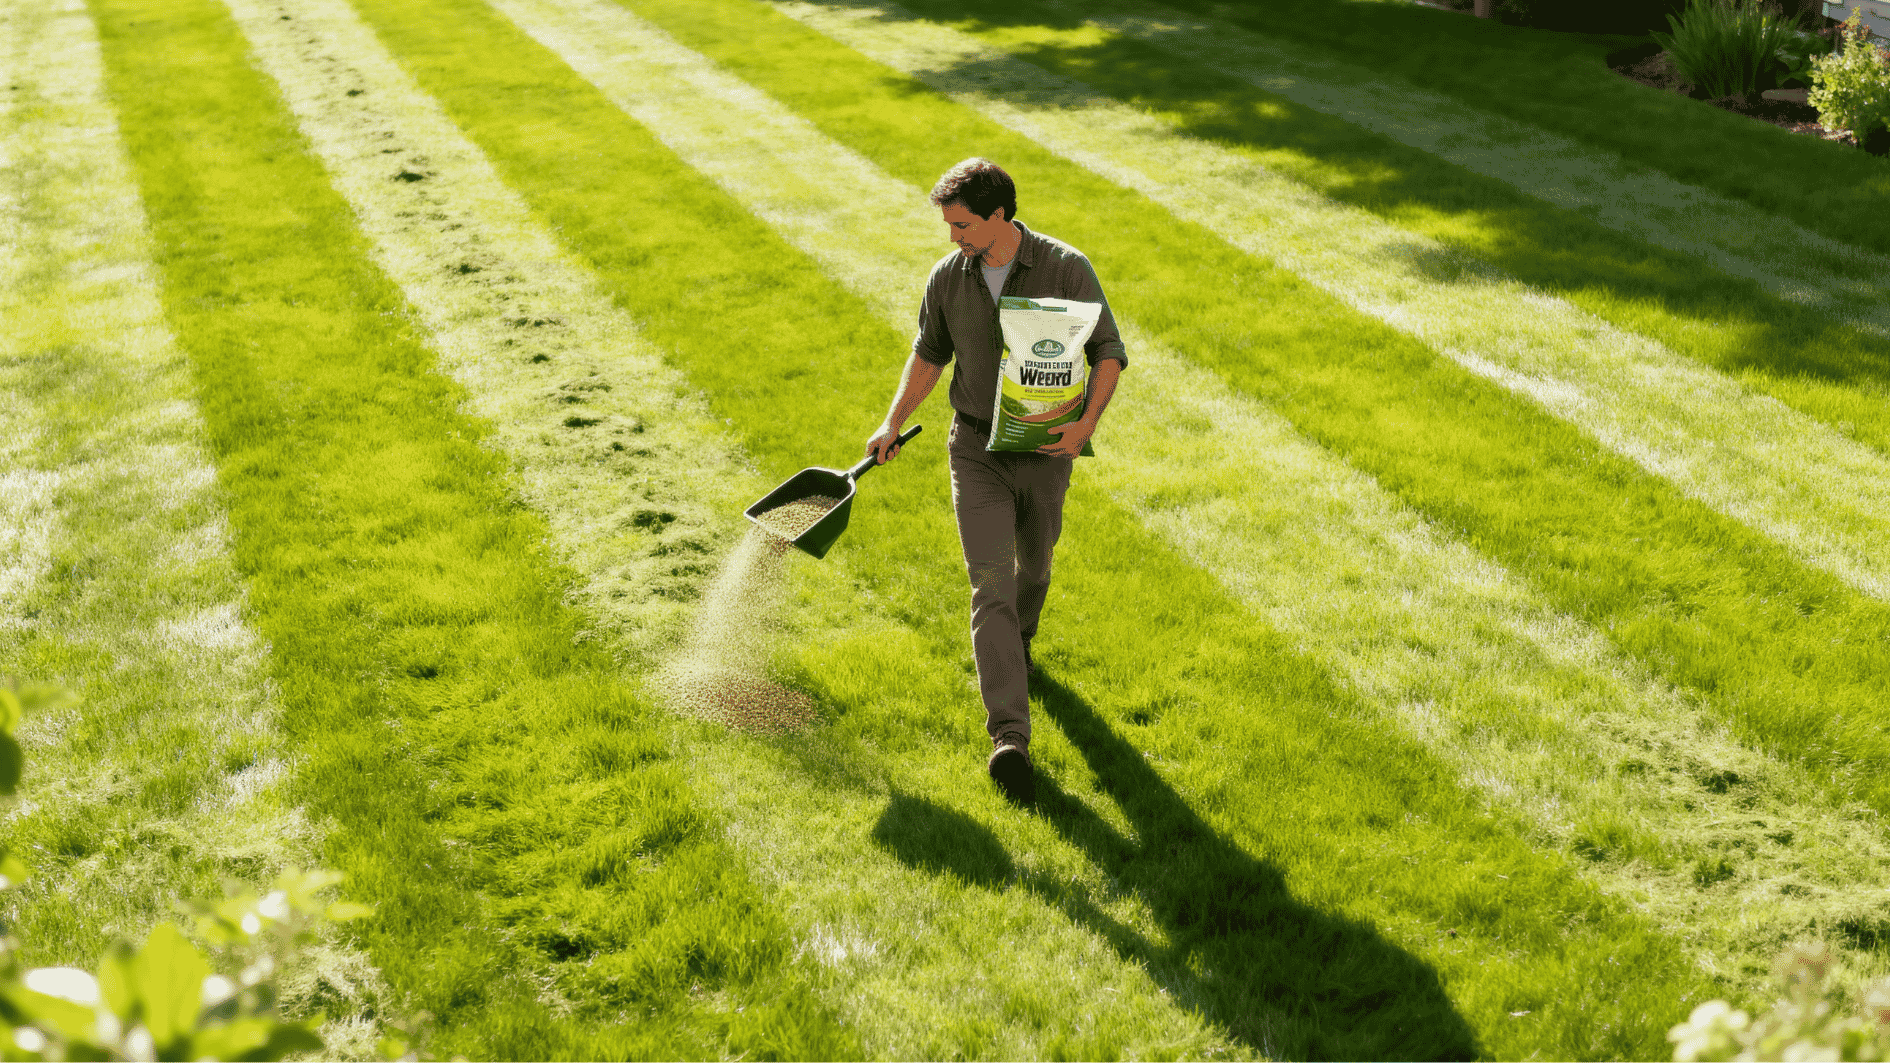
Walk slowly and keep your rows straight while spreading the product. A steady pace usually helps the weed and feed spread more evenly across the lawn without creating dark or overloaded patches.
For better coverage:
- Slightly overlap each pass
- Avoid dumping extra product in one spot
- Keep a steady walking pace
Step 5: Leave the Lawn Alone for a While

After applying weed and feed, give the product time to settle. Letting the treatment sit properly can improve weed control and help the lawn absorb the product more effectively.
Try to:
- Keep pets and kids off the lawn temporarily
- Avoid watering too soon unless directed
- Wait before mowing again
Step 6: Watch for Changes Over Time
Results usually appear little by little instead of overnight. Some weeds react faster than others, while healthier grass growth may take a little more time to notice.
You may notice:
- Weeds are starting to curl or fade
- Grass is slowly looking greener
- Thicker lawn growth after some time
How Long Does Weed and Feed Take to Work?
Weed and feed does not give instant results, so it helps to know what changes to expect over time. Some weeds react quickly, while grass improvement may take longer to notice.
First Few Days
Right after application, the lawn may still look mostly the same. Different lawns react at different speeds depending on conditions and product strength.
- Some weeds may start curling or yellowing
- Grass may not change immediately
- Results depend on weather and product type
When Grass Starts Looking Healthier
Lawn improvement usually becomes easier to notice after the treatment has had enough time to settle properly. Healthy growth often appears more evenly across the yard.
- A greener color may appear after some time
- Thickening usually happens gradually
- Consistent lawn care supports better results
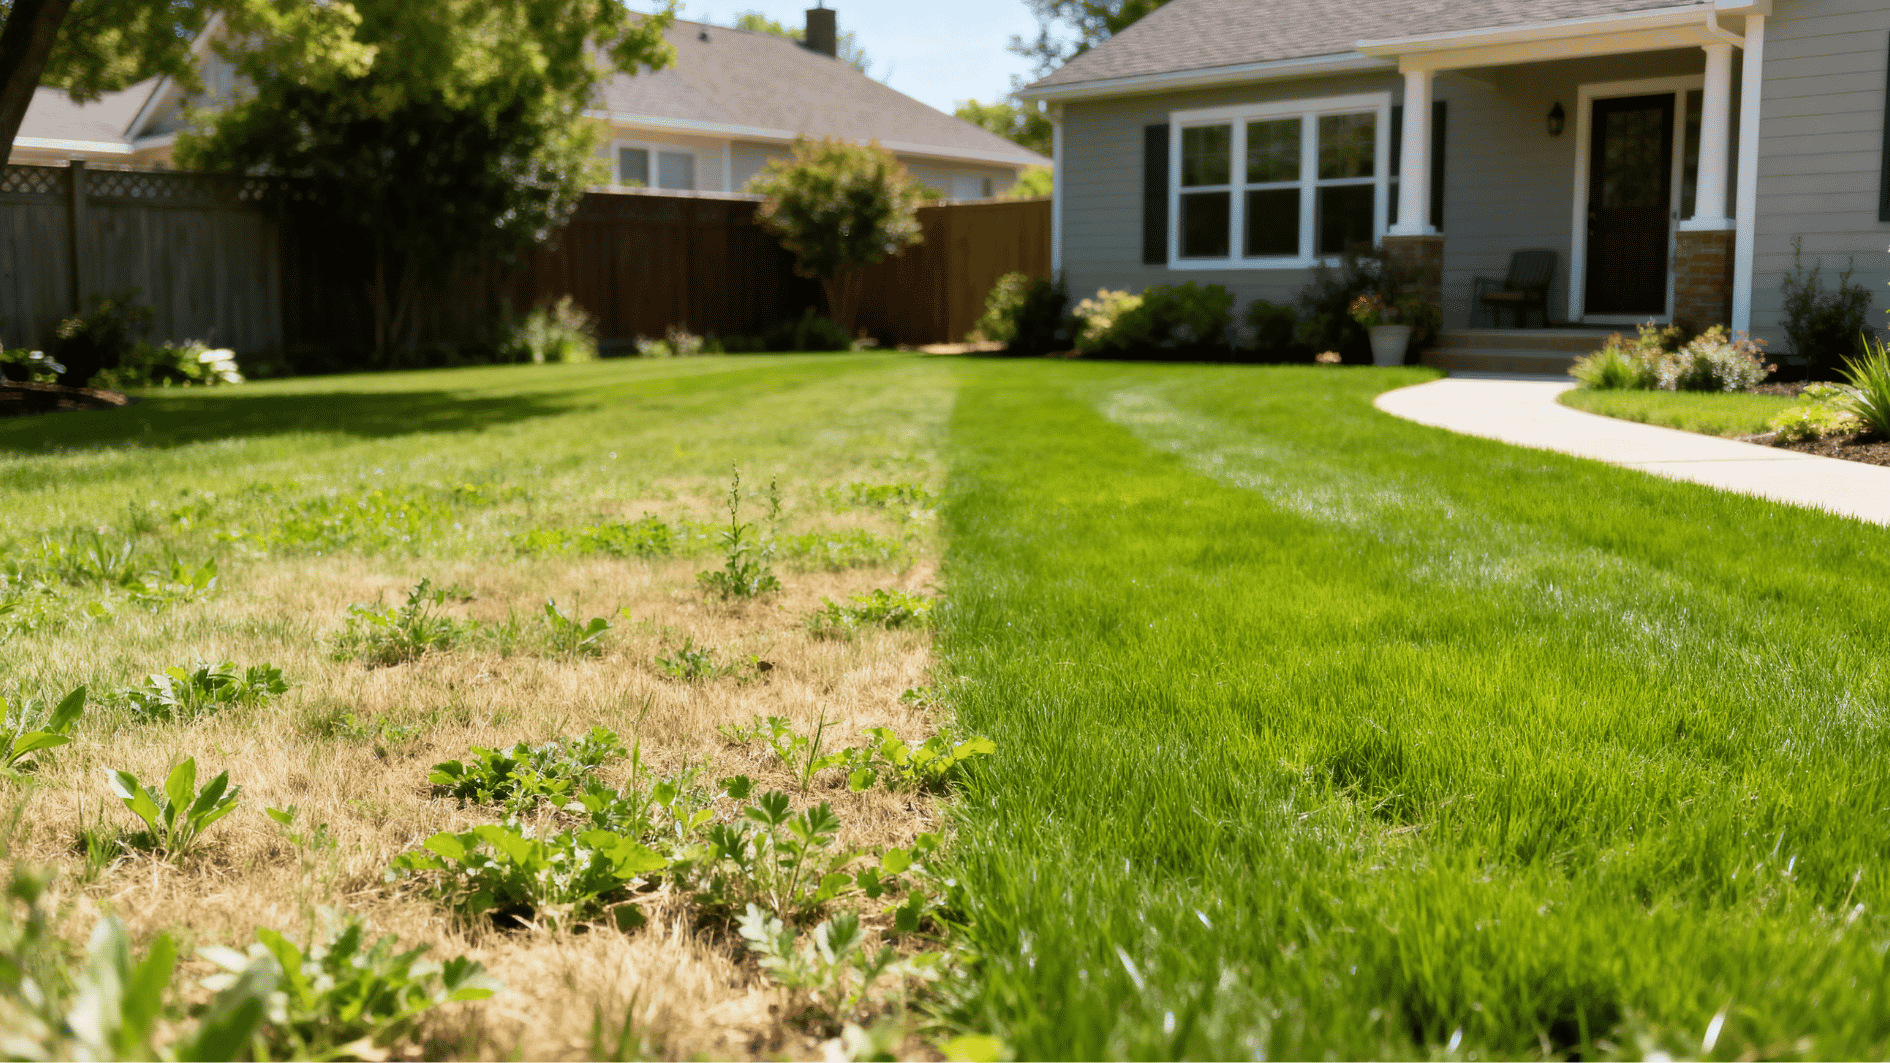
Signs the Product is Not Working Properly
Uneven results can sometimes point to application problems or poor treatment conditions. Checking the lawn closely can help spot issues early.
- Weeds staying fully green after long periods
- Uneven lawn appearance
- Missed patches across the lawn
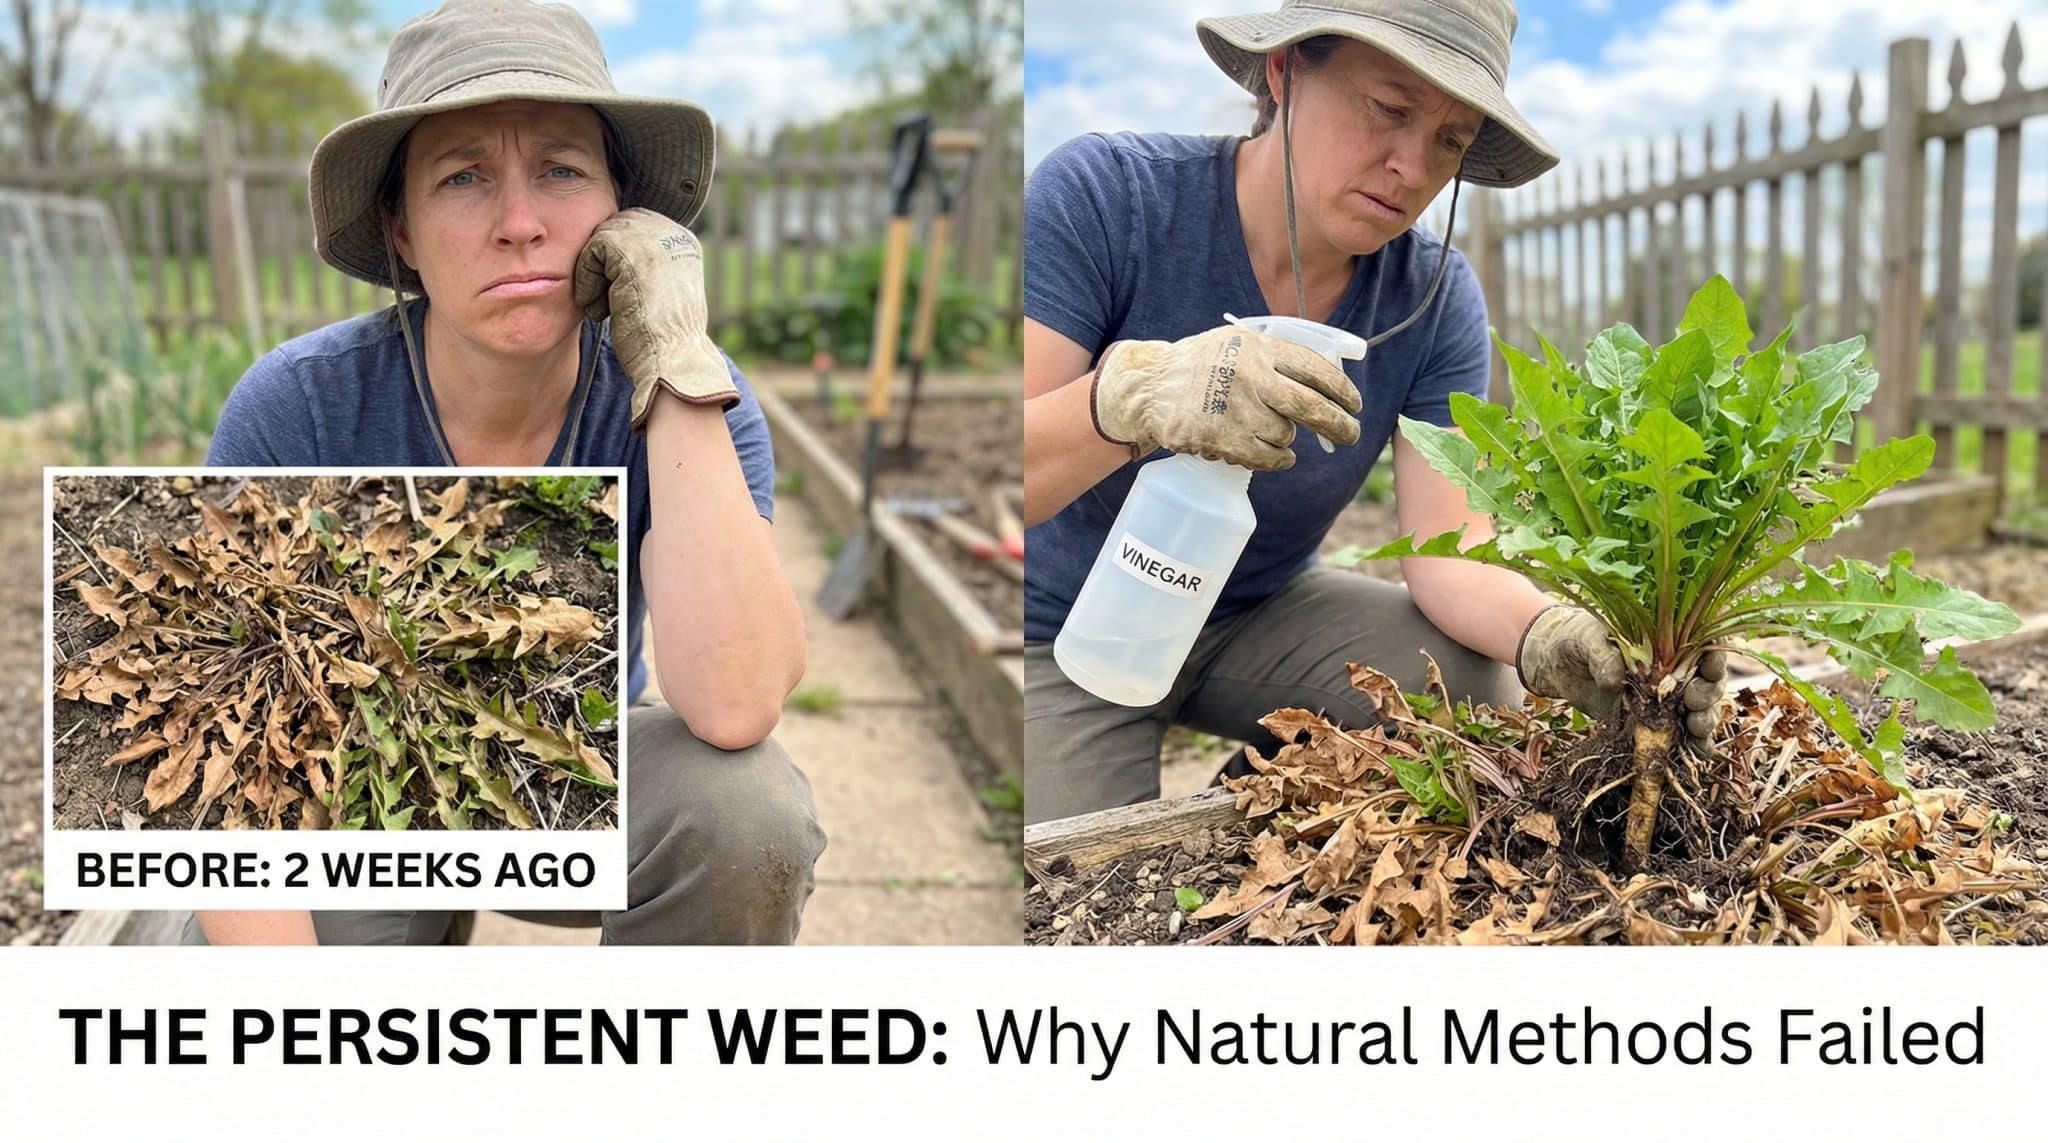
Weed and Feed Mistakes To Avoid
A few simple mistakes can reduce weed control results and make the lawn look uneven after treatment.
| Mistake | Problem | Better Approach |
|---|---|---|
| Using too much product | Can burn grass | Follow label settings |
| Applying on new grass | May damage young roots | Wait before treatment |
| Ignoring instructions | Causes uneven results | Read the product label |
| Applying before rain | Product may wash away | Apply on a dry day |
| Overlapping sections | Can overload certain spots | Walk in even rows |
Conclusion
Using weed and feed the right way is not as complicated as it first sounds. Once you understand the proper timing, product choice, and application process, following weed and feed instructions becomes much easier and far less stressful.
Small things like checking the weather, using the correct spreader setting, and applying the product evenly can make a huge difference in how your lawn looks later.
Do not worry if your grass does not turn perfectly green overnight. Most homeowners start noticing better results once they learn when to apply weed and feed and avoid common mistakes during treatment.
Stay patient, keep the process simple, and your lawn can slowly go from patchy and weedy to greener, fuller, and much healthier-looking over time.
Frequently Asked Questions
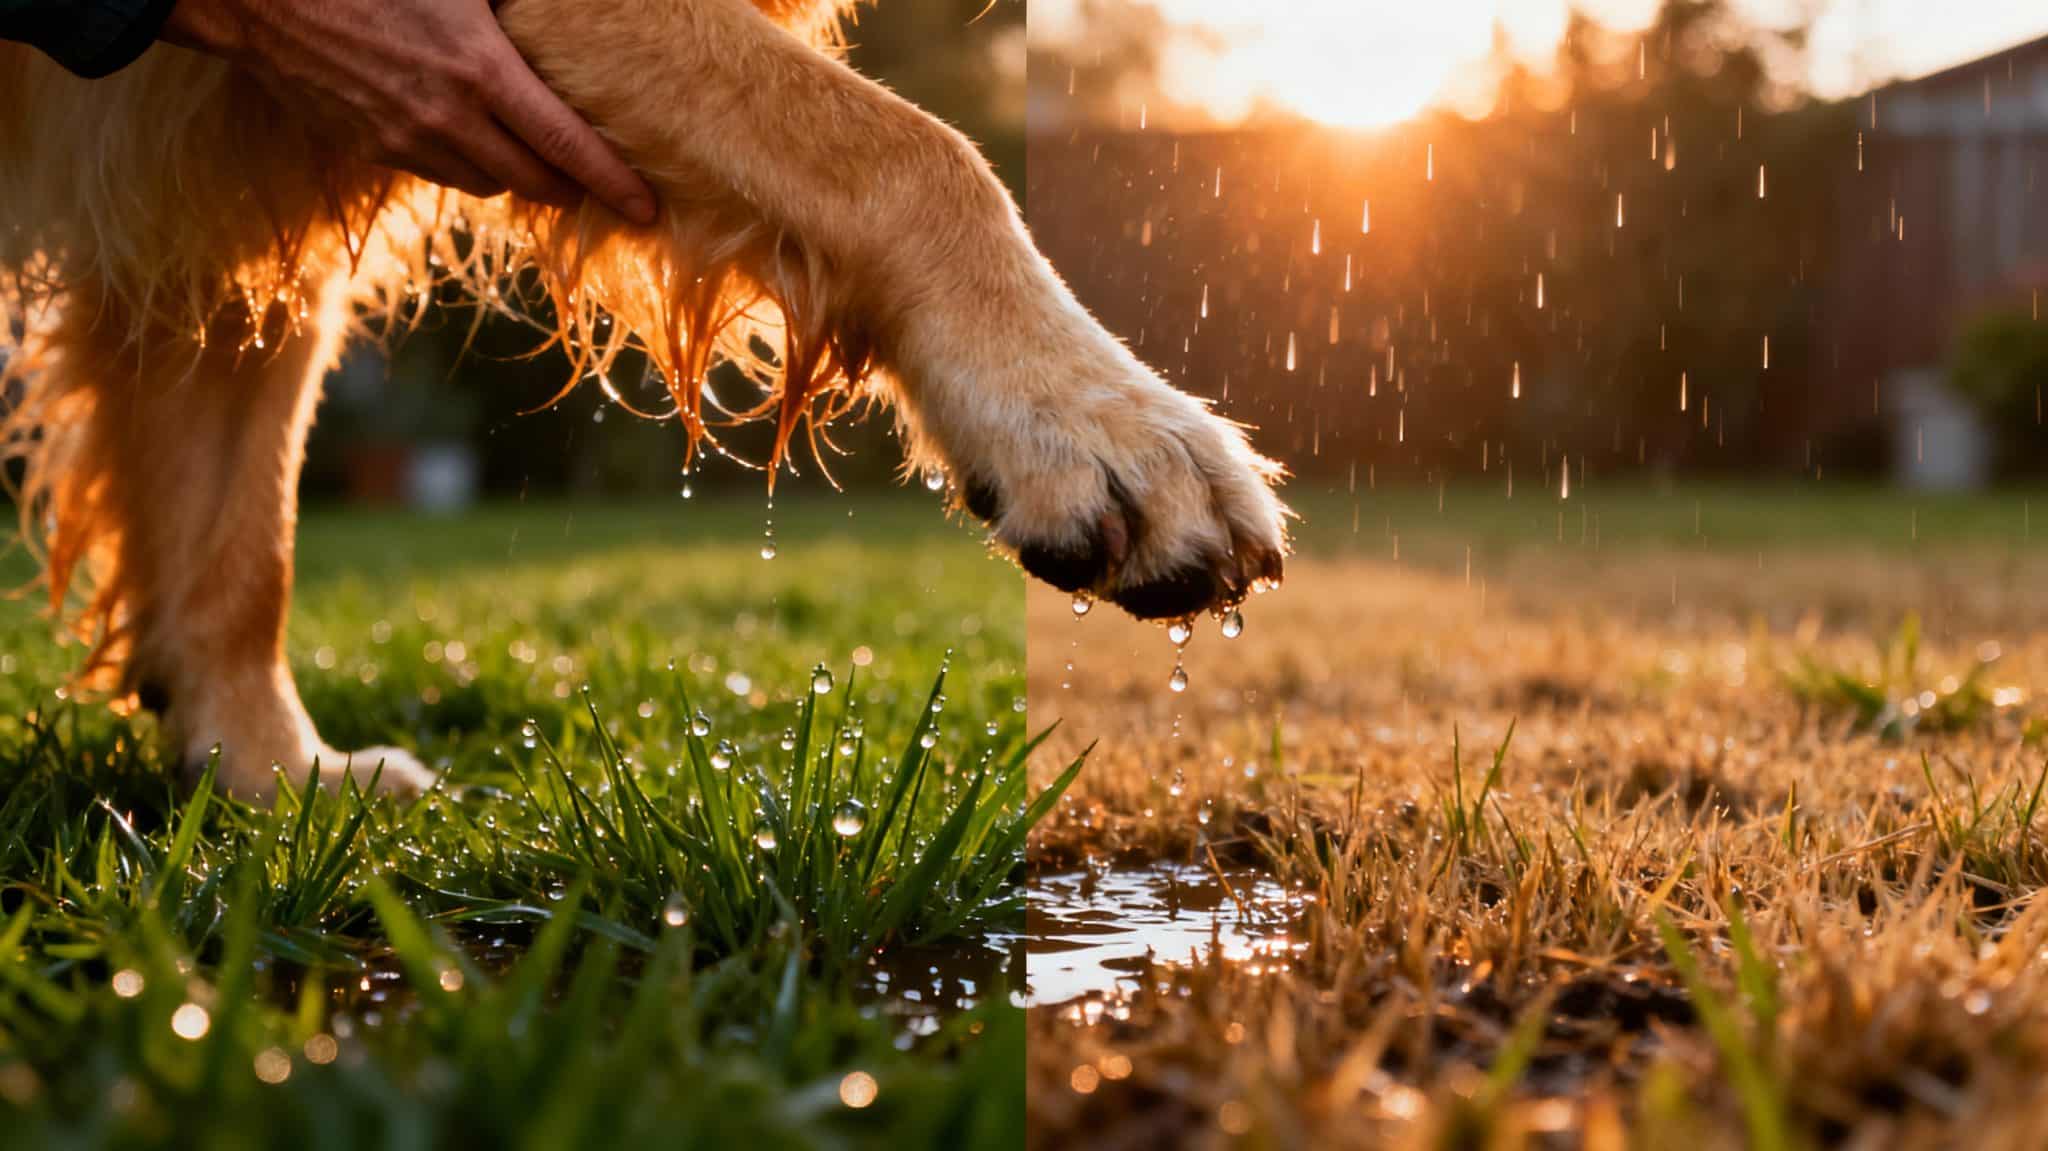
Is Weed and Feed Safe for Dogs After It Dries?
Most products become safer once the lawn is completely dry, but checking the product label is still important before letting pets back outside.
Does Weed and Feed Stop New Weeds From Growing?
Some products only target existing weeds, while others may help reduce future weed growth for a certain period.
How Large of a Lawn Can One Bag of Weed and Feed Cover?
Coverage depends on the product size and formula. Most bags mention the estimated lawn coverage area directly on the packaging.
Can Weed and Feed Kill Clover in the Lawn?
Some weed and feed products can control clover, but results depend on the formula and the stage of clover growth.