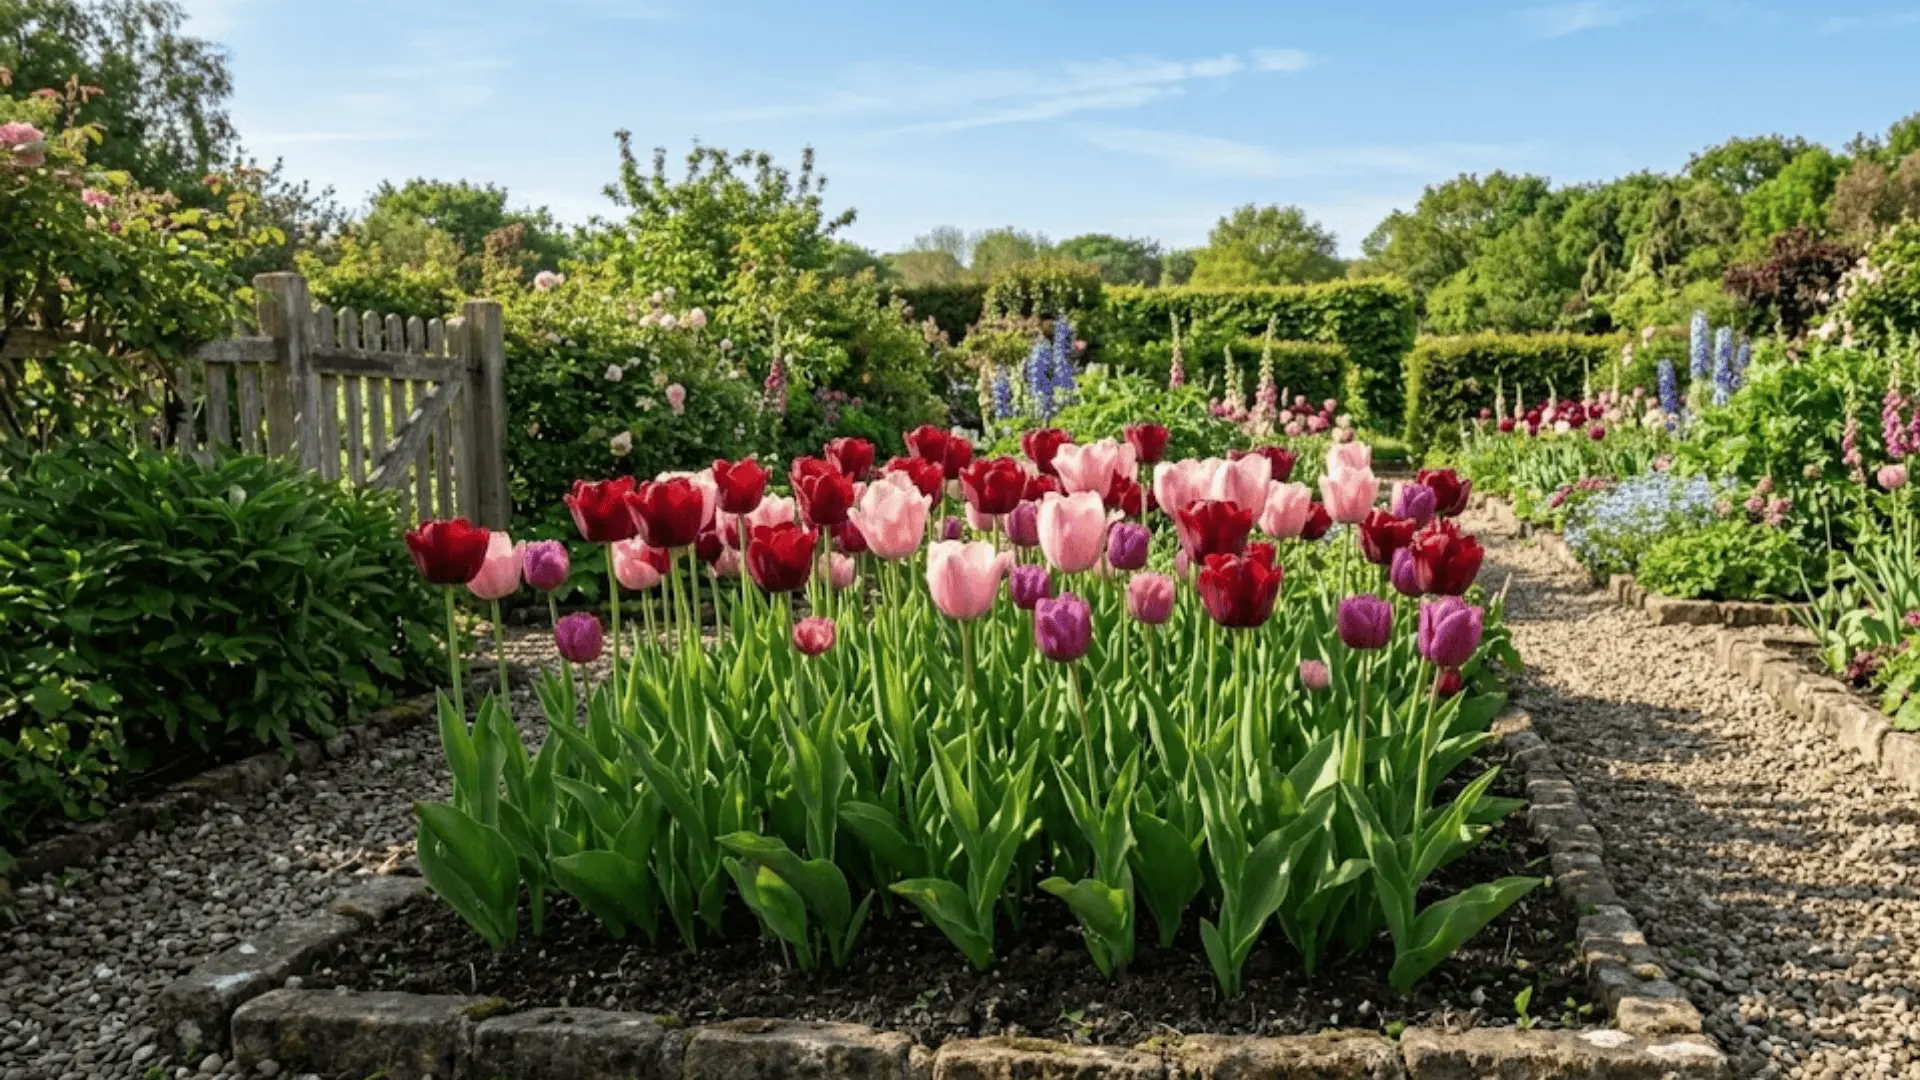
Tulips have a way of making a garden feel like it was pulled straight from a dream.
Velvety reds, soft blush pinks, deep purples nodding gently in the breeze, it all starts with something surprisingly simple: planting the bulb right.
Tulipa, the classic spring bloomer, is far more forgiving than most people think, and once you understand what it actually needs, the whole process just clicks.
Timing, soil, and those quiet little details that make all the difference, gorgeous tulips are well within reach.
When to Plant Tulip Bulbs?
Fall is the sweet spot for planting tulip bulbs, ideally before the ground freezes over but after the soil has cooled down.
This timing matters more than most people realize because tulip bulbs actually need a cold period underground to bloom beautifully come spring, a process called vernalization.
Planting too early in warm soil or too late in frozen ground can throw the whole thing off.
Gardeners in colder climates do well planting in early to mid-fall, while those in warmer regions can wait until late fall or early winter.
Choosing the Right Tulip Bulbs
Not all tulip bulbs are created equal, and picking the right one from the start sets the tone for everything that follows.
Here’s what to keep in mind:
| Variety | Look | Bloom Style |
|---|---|---|
| Single Early | Firm, plump, no soft spots | Classic cup-shaped |
| Double Late | Large bulbs = stronger blooms | Peony-like, lush |
| Parrot | Firm, no mold | Ruffled, dramatic |
| Fringed | Plump, clean | Feathered, delicate |
Where to Plant Tulip Bulbs?
Tulips are a little particular about where they settle, and giving them the right spot makes all the difference. Get the location right, and they practically take care of themselves.
Sunlight and Soil Conditions
Tulips thrive when their basic needs are met from the ground up.
Keep these in mind before you dig:
- Full sun is ideal, with at least six hours of direct sunlight daily.
- Well-draining soil is non-negotiable; soggy or compacted ground leads to rot.
- Loose, airy soil helps roots establish quickly and cleanly.
Garden Beds vs. Containers
Both work beautifully for tulips as long as drainage is handled well.
Here’s how they compare:
| Factor | Garden Beds | Containers |
|---|---|---|
| Drainage | Natural, soil-dependent | Needs drainage holes |
| Space | Roomier root spread | Limited, choose deep pots |
| Flexibility | Permanent planting | Easy to move and rearrange |
| Best for | Mass, landscape looks | Patios, small spaces |
Step-by-Step: How to Plant Tulip Bulbs?
Planting tulip bulbs is honestly more intuitive than it sounds. Follow these steps in order, and you’ll have a strong, healthy foundation for a stunning spring bloom.
Step 1: Prepare the Soil
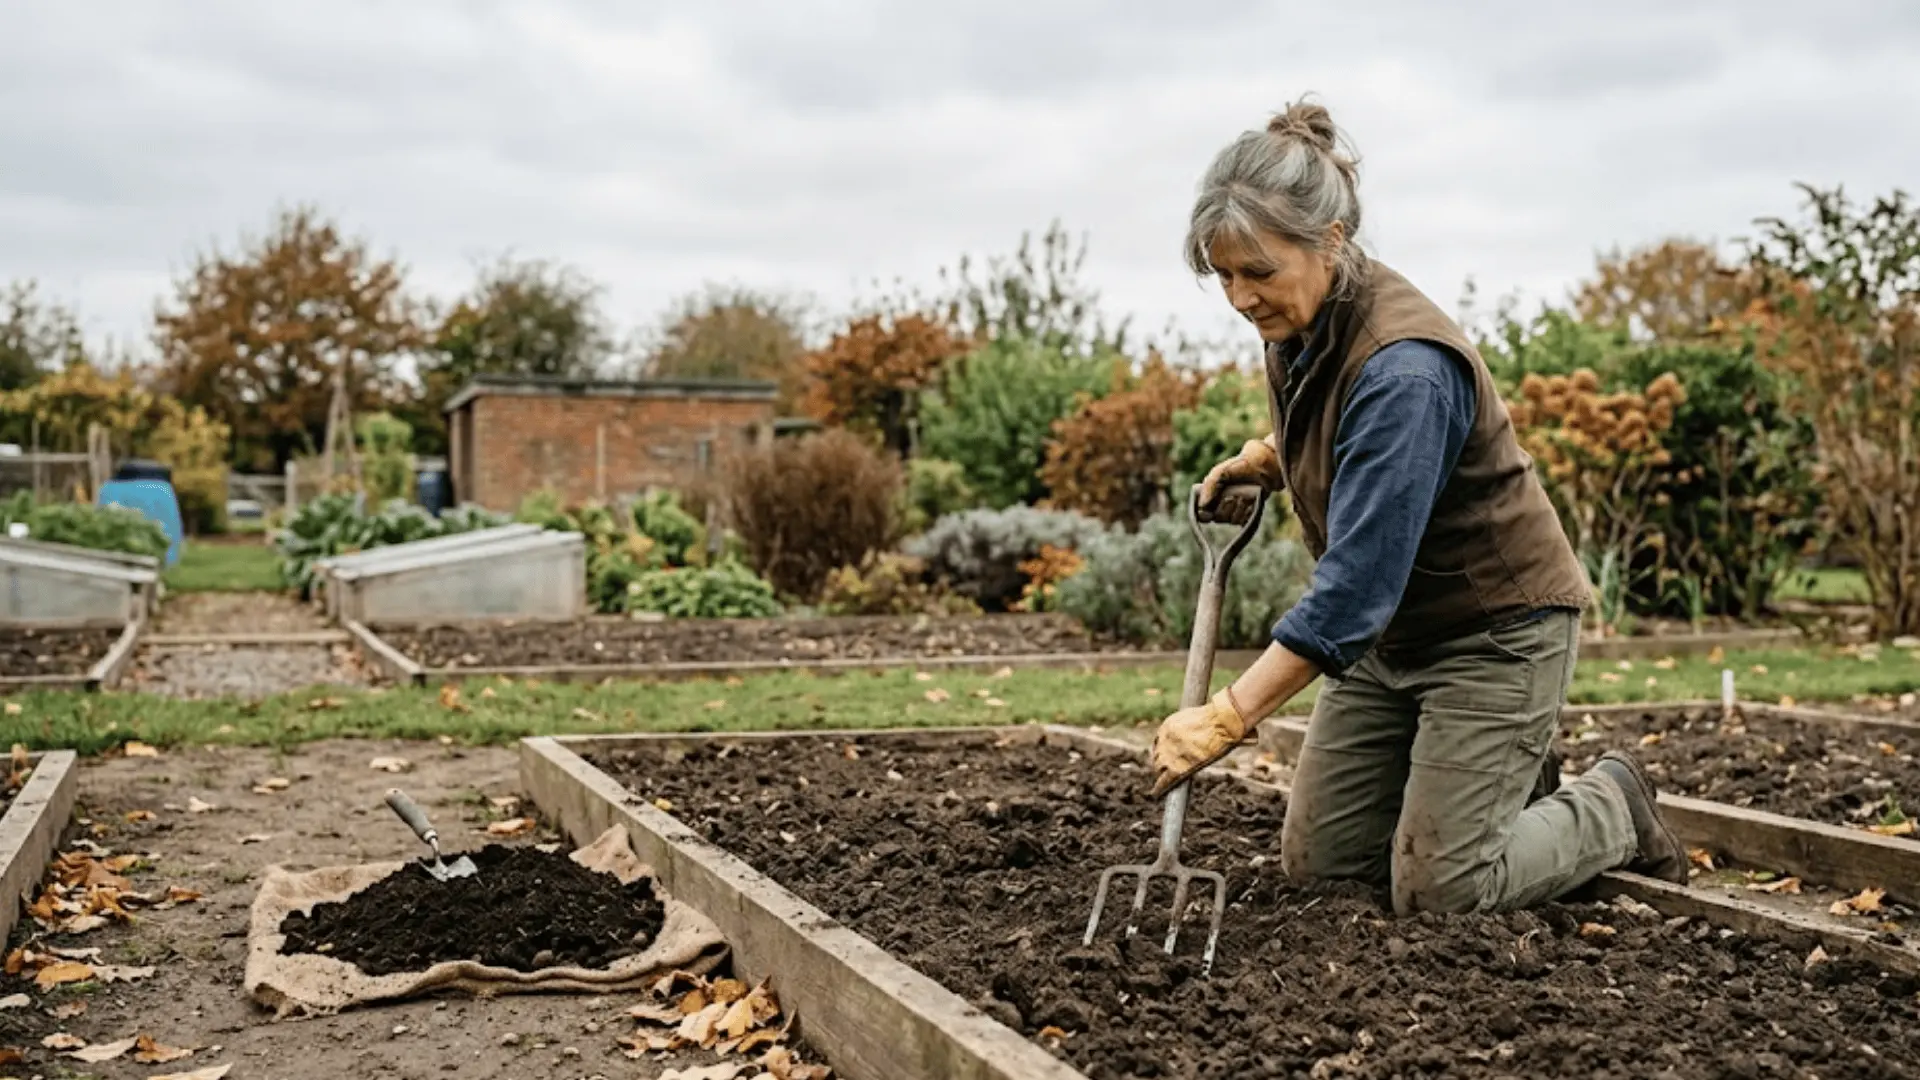
Start by loosening the soil to about a foot deep, breaking up any clumps along the way.
If the ground feels dense or nutrient-poor, work in a little compost to give the bulbs a better environment to settle into. Well-prepped soil is what separates a patchy bloom from a full, lush one, so don’t rush this part.
Step 2: Dig the Right Depth
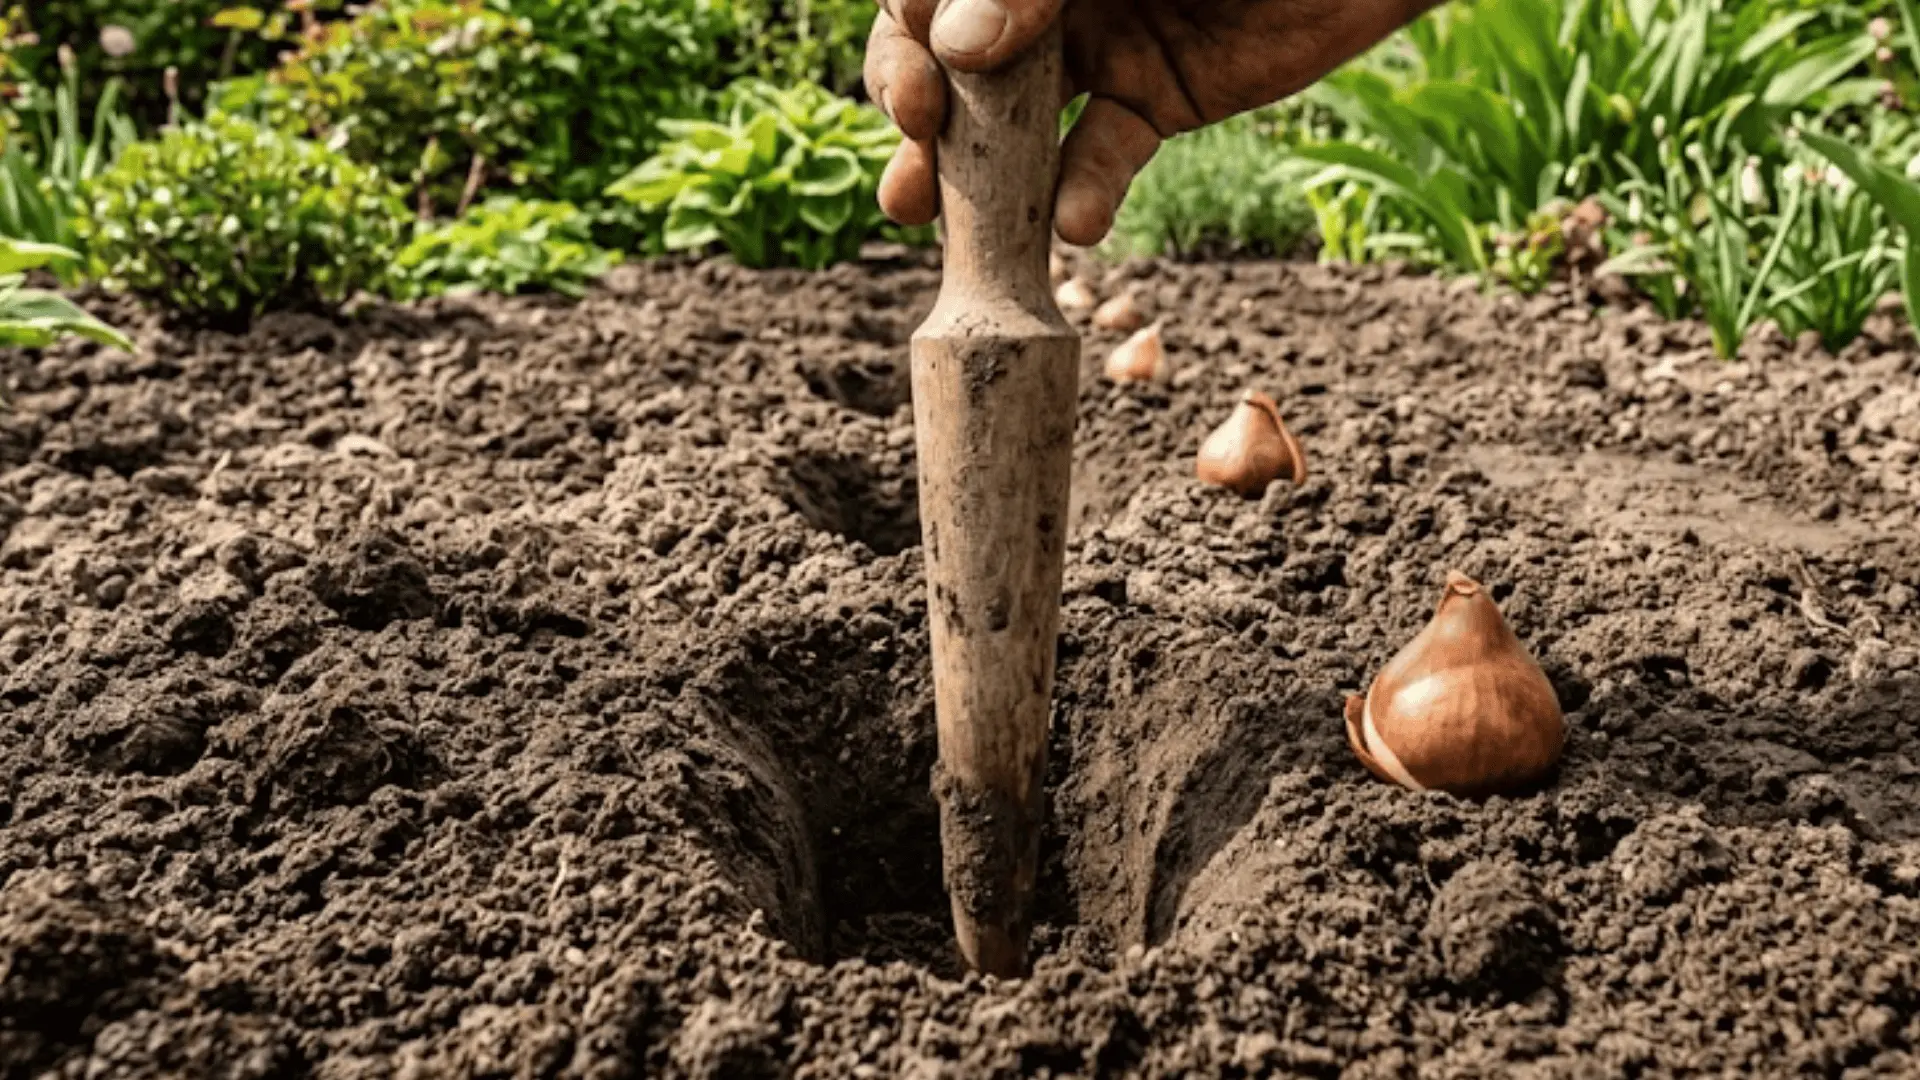
A good rule of thumb is planting the bulb at a depth roughly two to three times its own height. Too shallow and the bulb risks frost damage or getting pushed out of the ground. Too deep and it struggles to break through come spring.
Depth directly affects how well your tulips bloom, so take a moment to measure before dropping the bulb in.
Step 3: Position the Bulbs Correctly
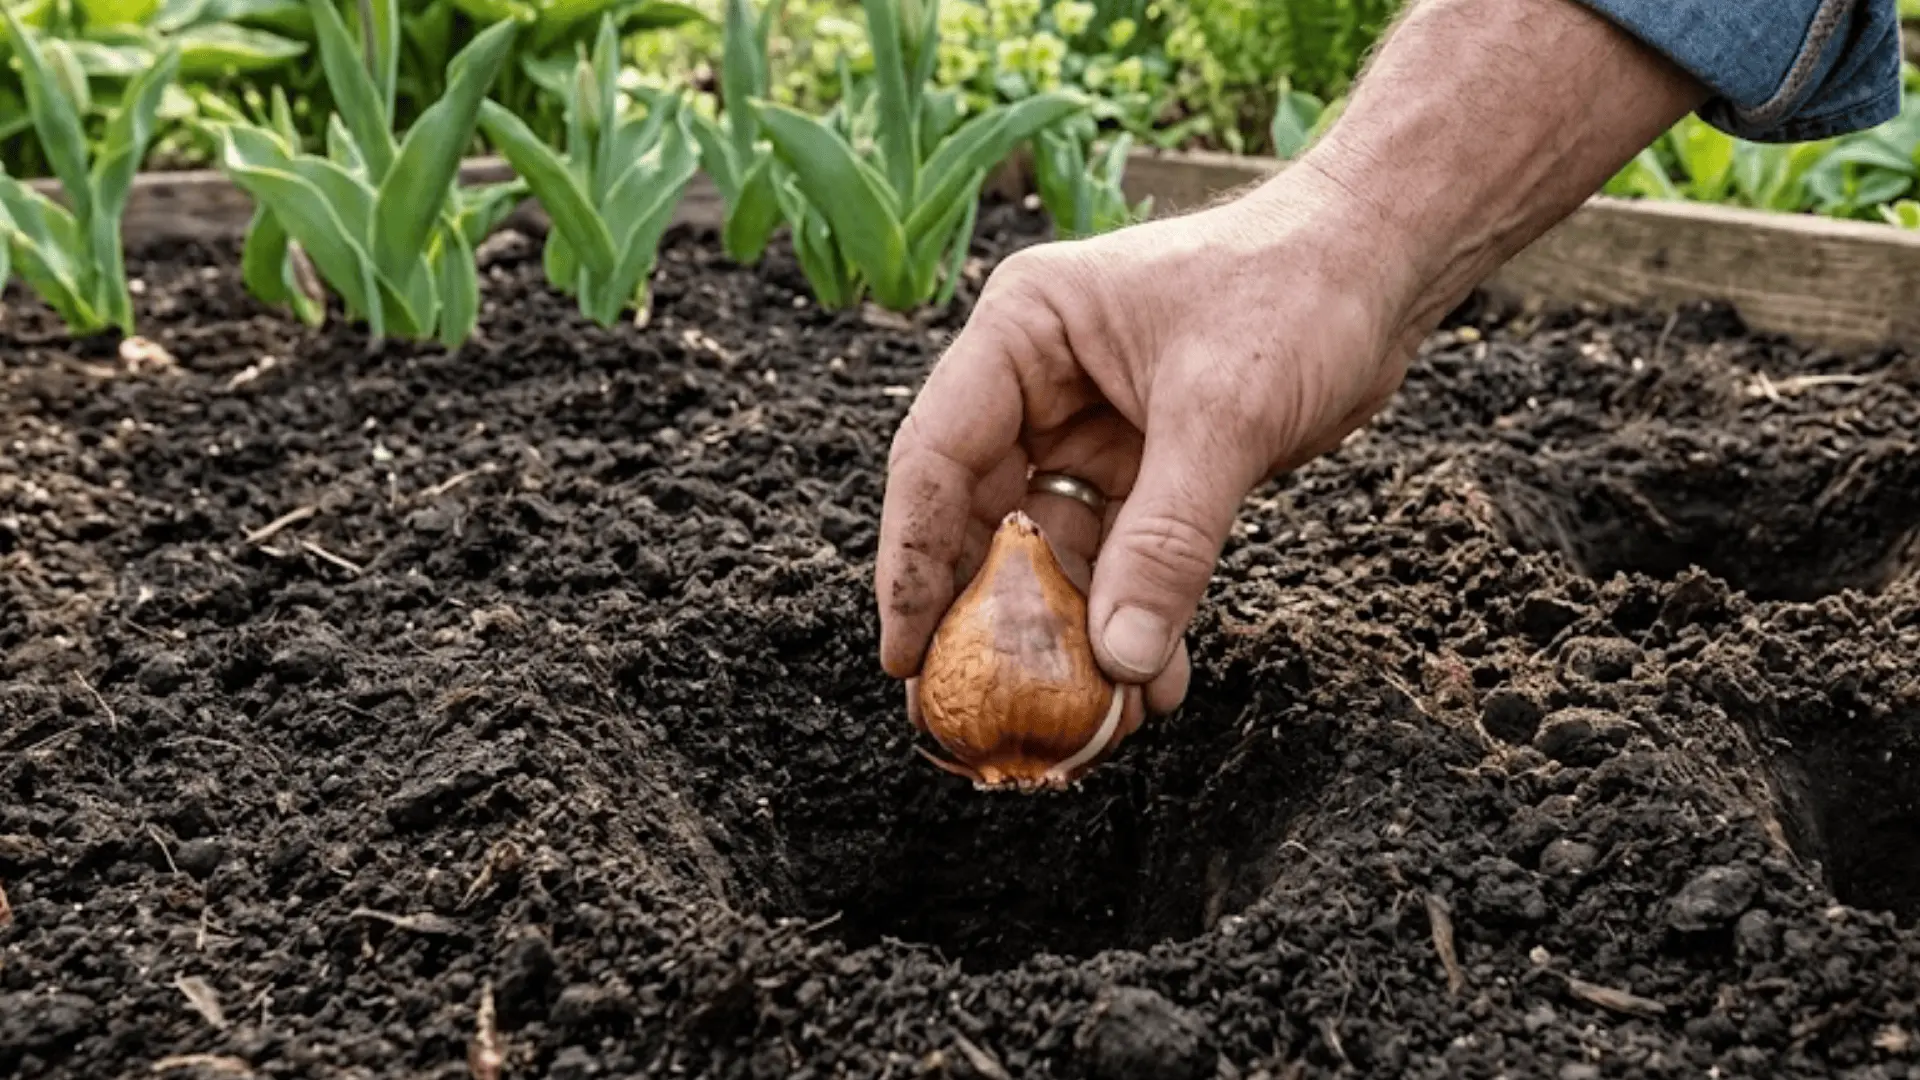
This one is simple but easy to overlook: always place the bulb with the pointed tip facing upward. That tip is where the shoot emerges, and if it’s facing the wrong way, the plant has to work against itself to grow.
The flat, rooted base goes down. When in doubt, look for the papery skin and the slight taper at the top.
Step 4: Space the Bulbs Properly
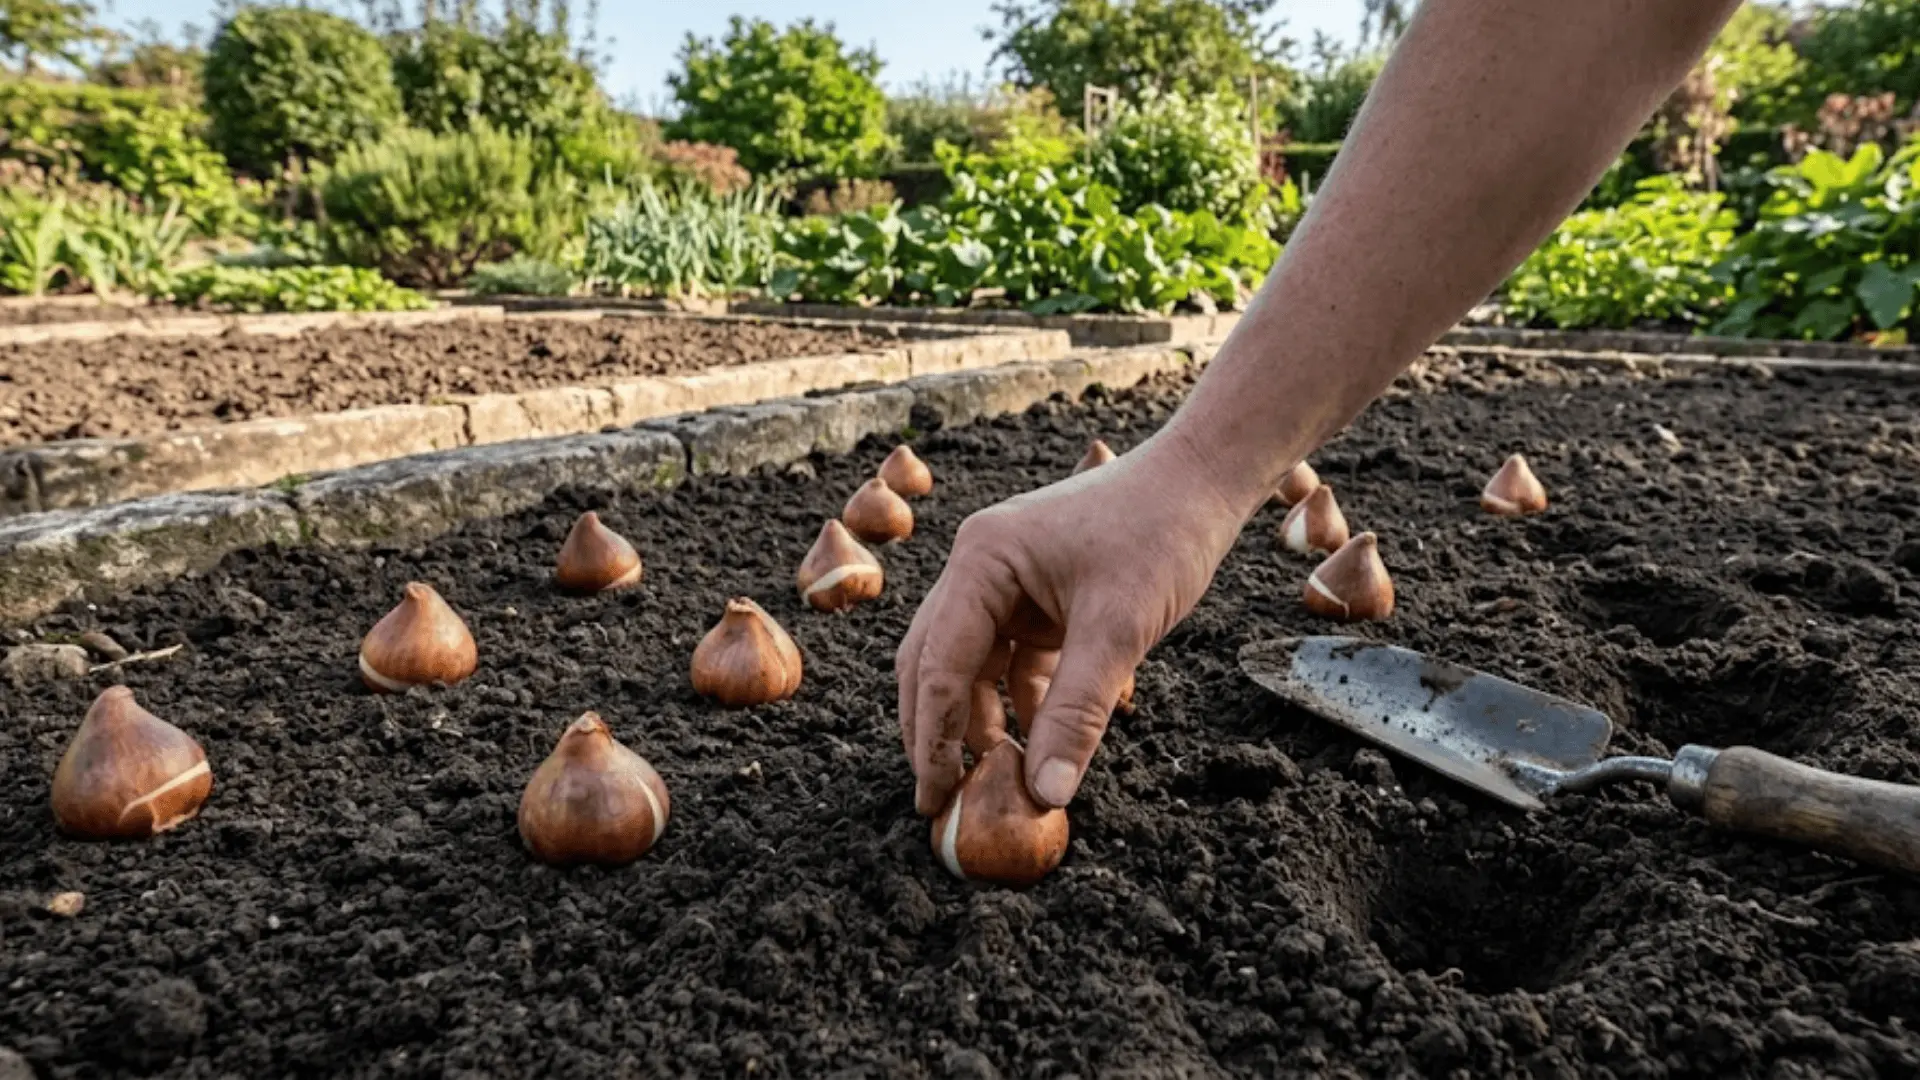
Crowding tulip bulbs might seem like it would create a fuller look, but it actually does the opposite. Give each bulb enough breathing room so air can circulate freely and roots don’t compete for nutrients.
Proper spacing encourages stronger, taller stems and reduces the chances of disease spreading between bulbs.
Step 5: Cover and Water
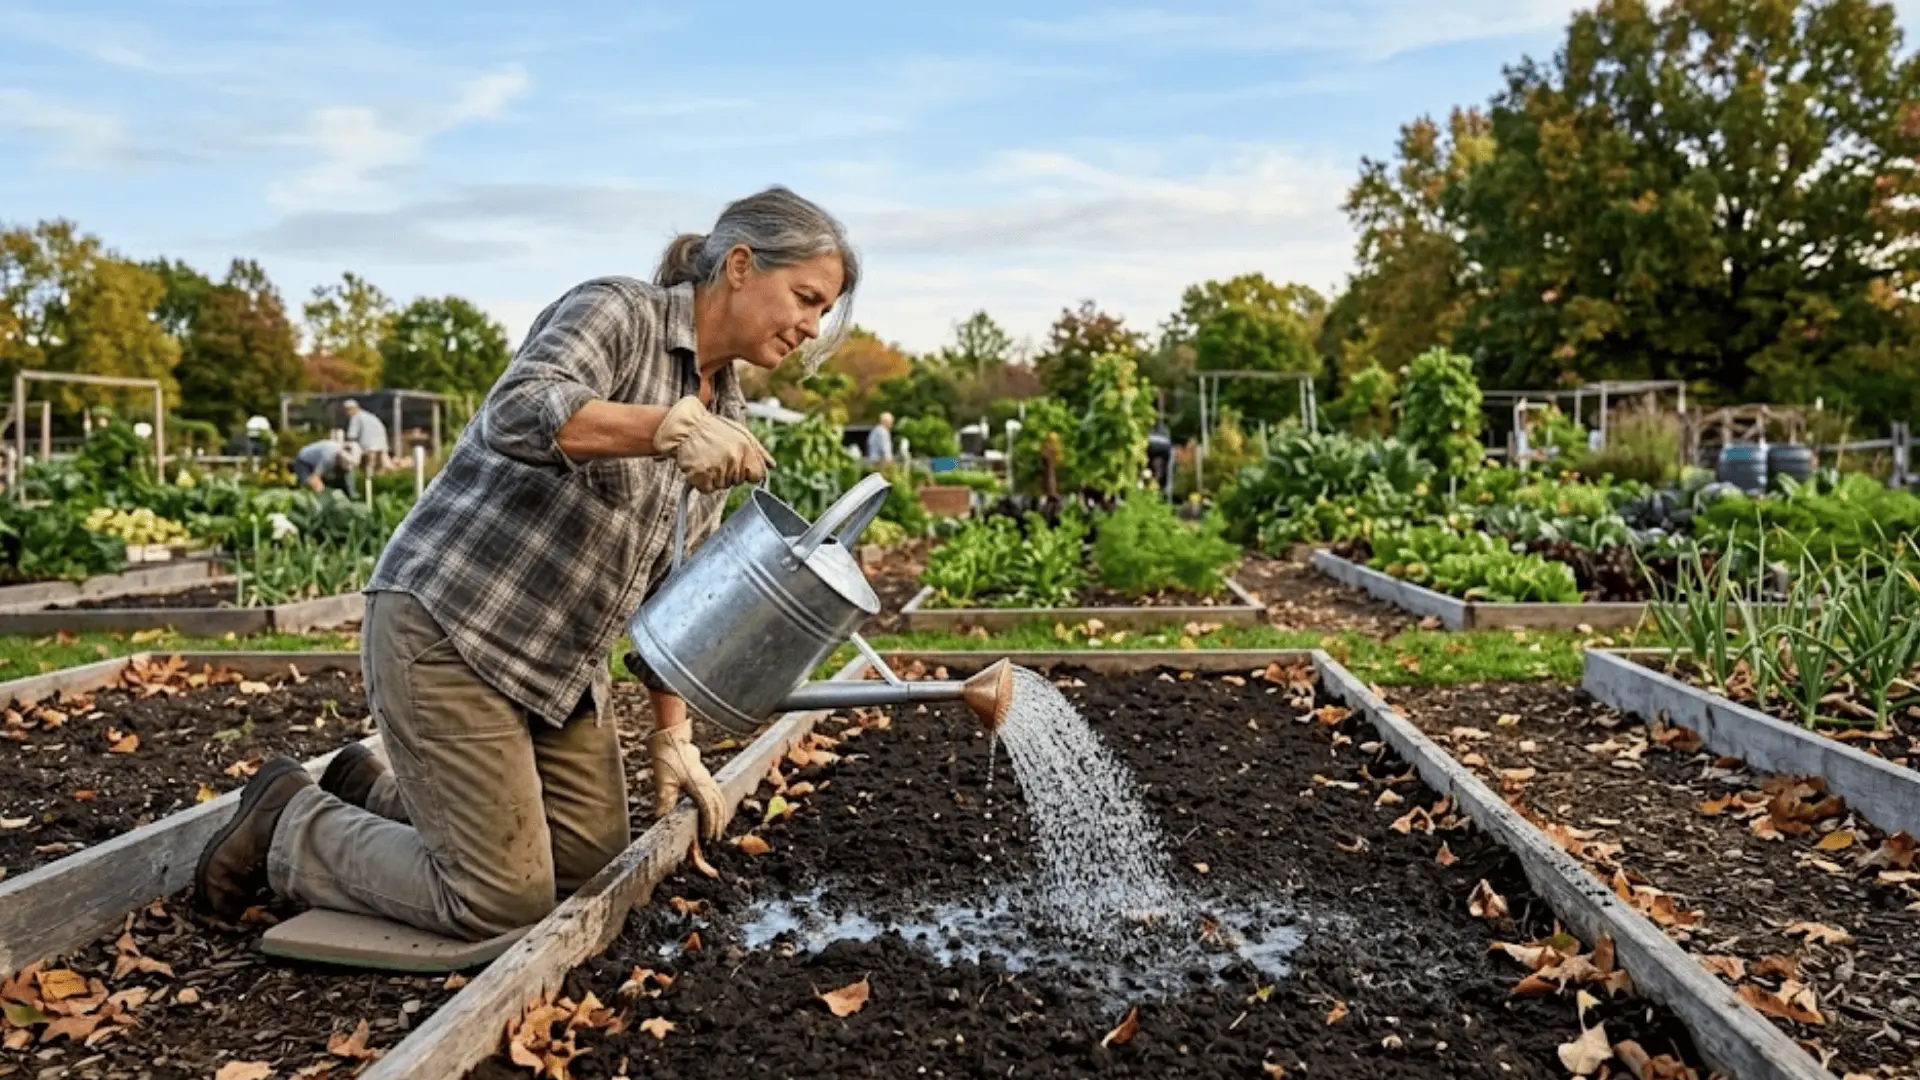
Once the bulbs are in place, backfill the hole with soil and press it down gently to remove any air pockets. Follow up with a light, even watering to help the soil settle snugly around the bulb.
You don’t need to drench the ground at this stage, just enough moisture to signal to the bulb that it’s time to start establishing roots.
Tulip Bulb Planting Tips for Better Blooms
A few small adjustments at planting time can genuinely transform how your tulips turn out.
Keep these in your back pocket:
- Plant bulbs in clusters or odd-numbered groups for a fuller, more natural garden look.
- A light layer of mulch over the bed helps regulate soil temperature through winter.
- Water lightly right after planting, then hold back until spring growth appears.
- Add coarse sand or grit to heavy soil to improve drainage and prevent rot.
- Choose a spot with good air circulation to keep moisture-related disease at bay.
Small habits, big payoff. Tulips reward the gardeners who pay attention to the little things early on.
Caring for Tulips After Planting
Once your tulip bulbs are in the ground, the bulk of the work is already done. What comes next is mostly about patience and a few mindful check-ins along the way.
Winter Care
After planting, tulips largely take care of themselves through the colder months. The bulbs sit quietly underground, going through the cold period they need to bloom.
If you’ve mulched the bed, that layer is already doing its job of insulating the soil. There’s no need to water, fertilize, or fuss over them. Just let winter run its course.
Spring Growth Expectations
As soil temperatures begin to climb, small green shoots will start pushing through, and that’s your cue that everything is on track. Growth can feel slow at first, but it picks up steadily with warming weather.
Full blooms typically follow a few weeks after the first shoots appear, and the wait is always worth it. Each variety has its own pace, so don’t be alarmed if some come up later than others.
Watering Guidelines
Tulips don’t need much water, but they do appreciate consistency during key moments. Keep these pointers in mind:
- Water lightly right after planting to help the soil settle around the bulb.
- Hold off on watering through winter; rainfall is usually sufficient.
- During spring dry spells, water enough to keep the soil barely moist.
- Never let the soil stay soggy; standing water is the fastest way to rot a bulb.
- Once blooms fade, ease off watering as the bulb prepares to go dormant.
Growing Tulips in Pots
Container growing works beautifully for tulips as long as the basics are covered.
Start with a pot that has proper drainage holes, as sitting water is what kills bulbs fastest. Fill it with a light, well-draining potting mix rather than heavy garden soil, which tends to compact and suffocate roots.
Once planted, find a cool, sheltered spot to keep the pots through winter; an unheated garage or shaded corner works well.
Come spring, move them into full sun and watch them do their thing.
Common Mistakes to Avoid
Even the most enthusiastic gardeners trip up on a few basics.
Sidestep these, and you’re already ahead:
- Planting too shallow leads to weak stems and flopping blooms.
- Poor drainage is the quickest path to rotting bulbs.
- Placing the bulb upside down slows growth significantly or prevents it altogether.
- Skipping the chill period means your tulips simply won’t bloom come spring.
These are easy mistakes to make and even easier to avoid once you know what to watch for.
Do Tulips Come Back Every Year?
It depends on the variety. Some tulips, particularly species and wild varieties, naturalize well and return each season reliably with minimal effort.
Hybrid tulips, the showiest ones you typically find at garden centers, tend to put on a spectacular first-year display but bloom less reliably after that.
Many gardeners treat them as annuals and replant fresh bulbs each fall for a consistently vibrant show.
If low-maintenance perennial color is the goal, leaning toward species tulips is a smarter long-term choice.
How to Store Tulip Bulbs?
If you’re not planting right away, proper storage keeps your bulbs viable until the time is right.
Keep them in a cool, dry, and dark location, like a basement shelf or a paper bag tucked away from sunlight.
Avoid anywhere with moisture or heat, as both accelerate rot and premature sprouting.
A mesh or breathable bag works better than plastic, which traps humidity. Check on them occasionally and discard anything that feels soft or shows signs of mold before it affects the rest.
The Closing Note
Learning how to plant tulip bulbs is one of those small gardening wins that pays off in the most beautiful way every spring.
Once you’ve got the timing, depth, and drainage sorted, there’s not much standing between you and a garden full of color.
Tulips are forgiving, rewarding, and endlessly worth the effort. Give them what they need in the fall, and they’ll give you something genuinely lovely to wake up to.
Tried any of these tips or have a favorite variety? Drop it in the comments below!