Green beans are genuinely one of those plants that make you feel like you have a green thumb, even when you are just starting out.
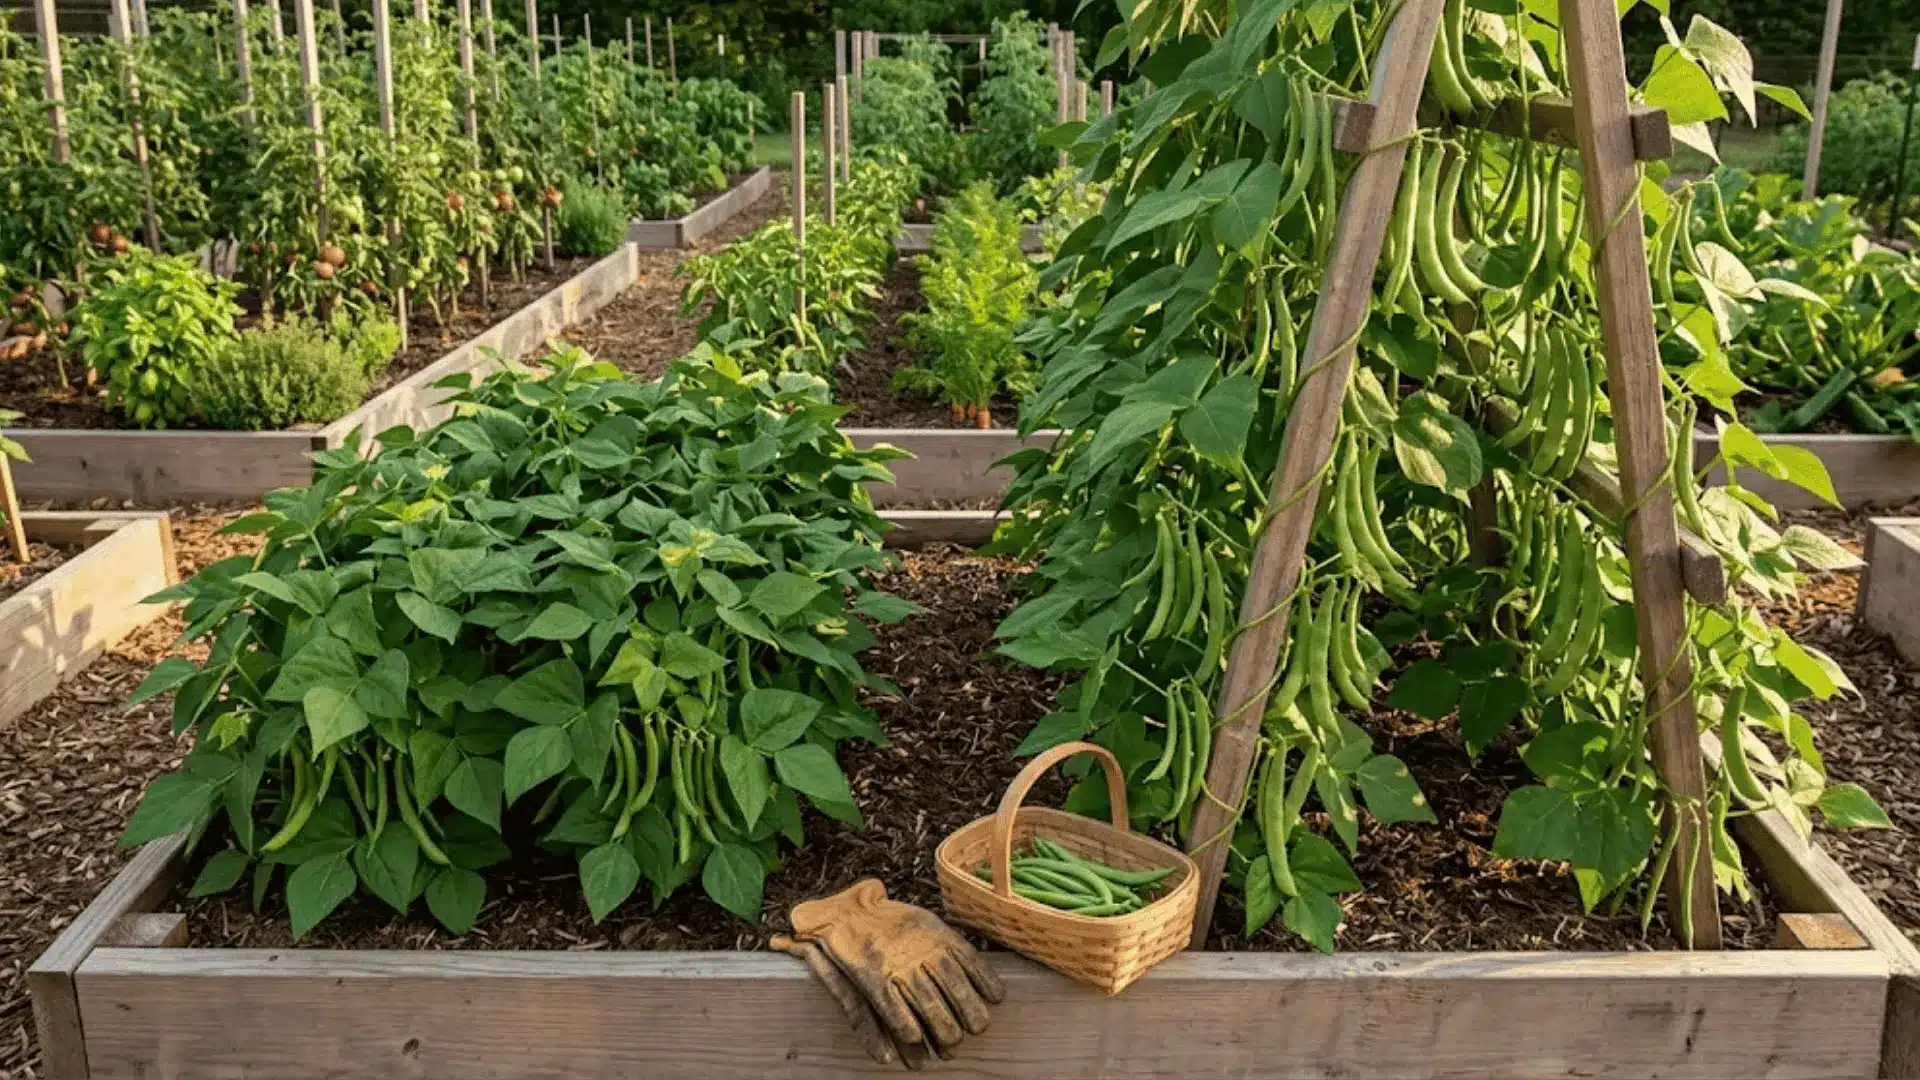
They grow fast, they are forgiving, and watching them climb or bush out over a few weeks is so quietly satisfying. Bush beans keep things compact and tidy, while pole beans love a little vertical space to stretch and show off.
Knowing what is happening beneath the leaves at every stage is really what makes the difference between a so-so harvest and one you are actually proud of.
Each phase of the green bean plant stages has its own pace, its own needs, and honestly, its own kind of charm.
The Stages That Change How You Grow Green Beans
Growing green beans gets so much easier once you understand what the plant actually needs at each point in its life.
It tells you when to water more, when to ease up on fertilizer, and exactly when to harvest before the pods turn tough and starchy.
A lot of the most common mistakes, like overwatering young seedlings or missing the peak picking window, come down to simply not knowing what stage the plant is in.
First-time gardeners and seasoned growers alike will find that tracking growth stages directly improves your yield, your timing, and the overall quality of what ends up on your plate.
Overview of the Green Bean Life Cycle
Green beans move fast. From a dry seed sitting in your palm to a plant full of ready-to-pick pods, the whole cycle wraps up in one growing season, making it one of the most rewarding crops to follow start to finish.
Here is a quick look at every stage you can expect.
| Stage | Duration | Key Activity | What to Do |
|---|---|---|---|
| Seed | Day 1 | Dormant, awaiting moisture and warmth | Sow at the correct depth and spacing |
| Germination | Days 3 to 10 | Root and shoot emerge | Keep soil moist, not soggy |
| Seedling | Days 10 to 14 | First leaves appear above the soil | Thin seedlings, ensure sunlight |
| Vegetative Growth | Weeks 2 to 4 | Rapid stem and leaf development | Water consistently, add support for pole beans |
| Flowering | Weeks 4 to 6 | Blooms appear, pollination begins | Avoid overwatering, watch for pests |
| Pod Development | Weeks 6 to 8 | Pods form and fill out | Monitor size, reduce nitrogen |
| Harvest | Weeks 7 to 10 | Pods at peak size and firmness | Pick regularly to encourage more pods |
Stage 1: Seed Stage
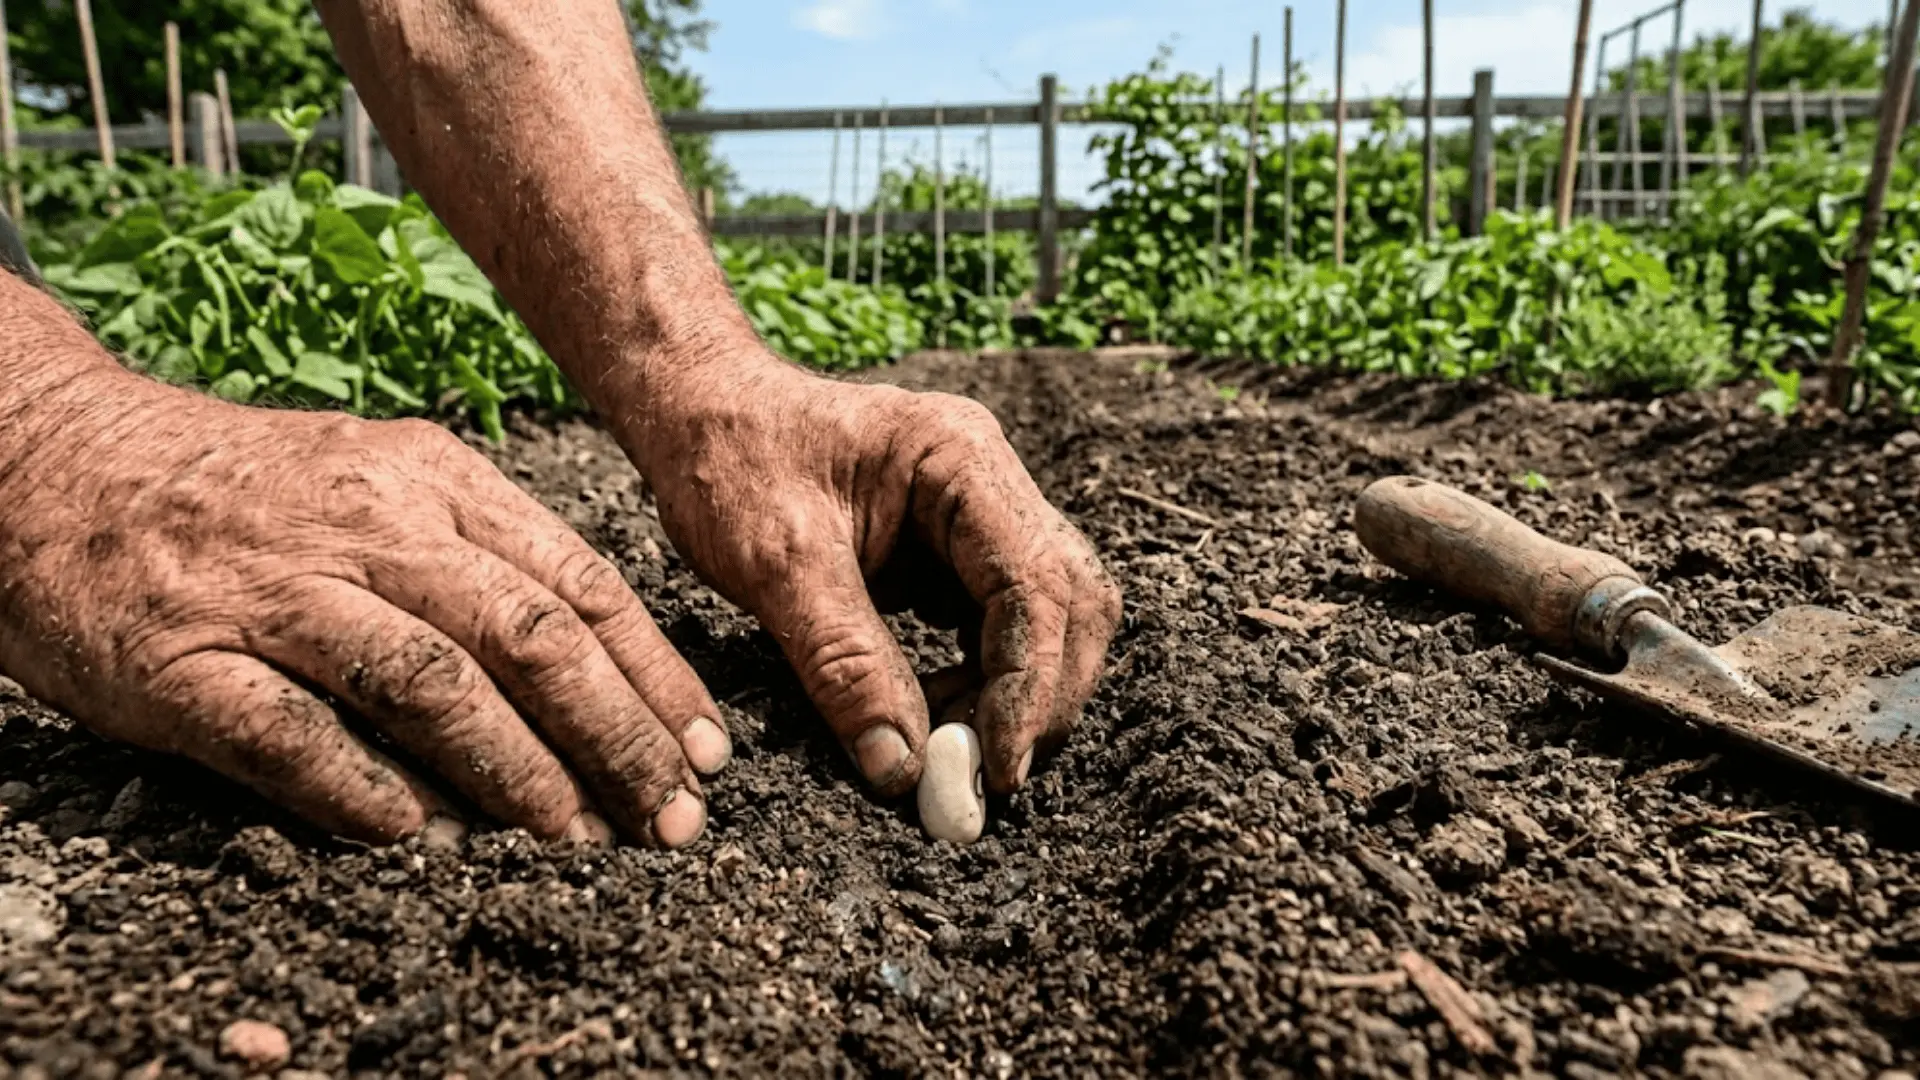
This is where everything begins. Before any growth can happen, the seed needs the right environment to wake up from dormancy and get to work.
Timeline: Day 1
Plant your green bean seeds directly into the soil once conditions are right.
The seed itself is dormant at this point, protected by a hard outer coat with a live embryo waiting inside. It needs warm soil, good drainage, and a little patience before anything visible happens.
Care Tips:
- Plant one inch deep in well-drained soil.
- Make sure the soil temperature is consistently warm before sowing.
- Choose a spot with full sun exposure.
Stage 2: Germination
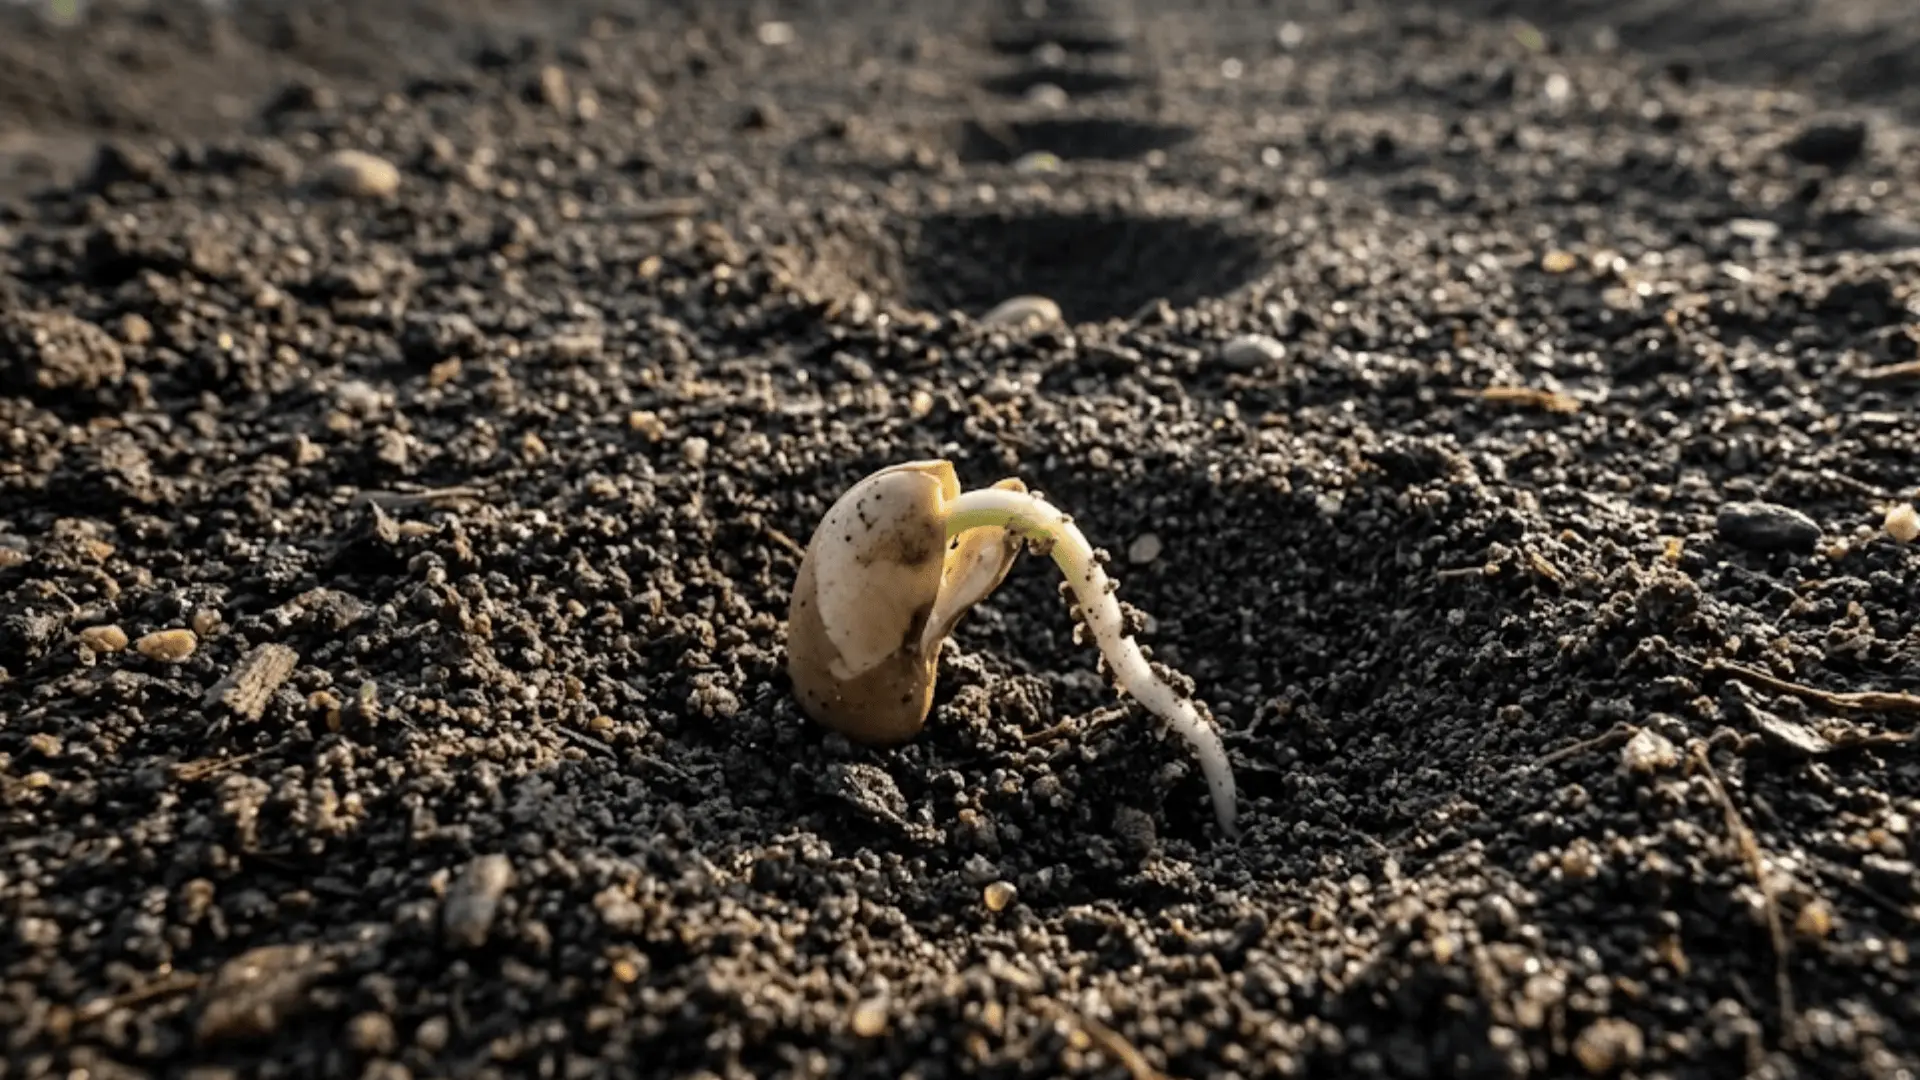
This is the stage where the seed quietly comes to life. Moisture triggers everything, and within days, the first signs of a plant start pushing through.
Timeline: Days 3 to 10
Once the seed absorbs enough water, it swells and cracks open.
The radicle, or primary root, emerges first and anchors into the soil, followed by the shoot making its way upward toward light. Soil temperature and consistent moisture are everything at this stage.
Care Tips:
- Keep soil moist but never waterlogged.
- Avoid sowing in cold or compacted soil.
- Do not disturb the soil while waiting for sprouts.
Stage 3: Seedling Stage

The plant has broken through the soil and is now building its foundation. This is a delicate but exciting phase where stored seed energy gives way to real photosynthesis.
Timeline: Days 10 to 14
The cotyledons, or seed leaves, are the first to appear above ground.
Shortly after, the first true leaves emerge, and the root system starts spreading out. The plant is transitioning from surviving on stored energy to actually feeding itself through sunlight.
Care Tips:
- Ensure at least six hours of direct sunlight daily.
- Thin seedlings to avoid overcrowding early on.
- Watch closely for pests and unexpected cold snaps.
Stage 4: Vegetative Growth
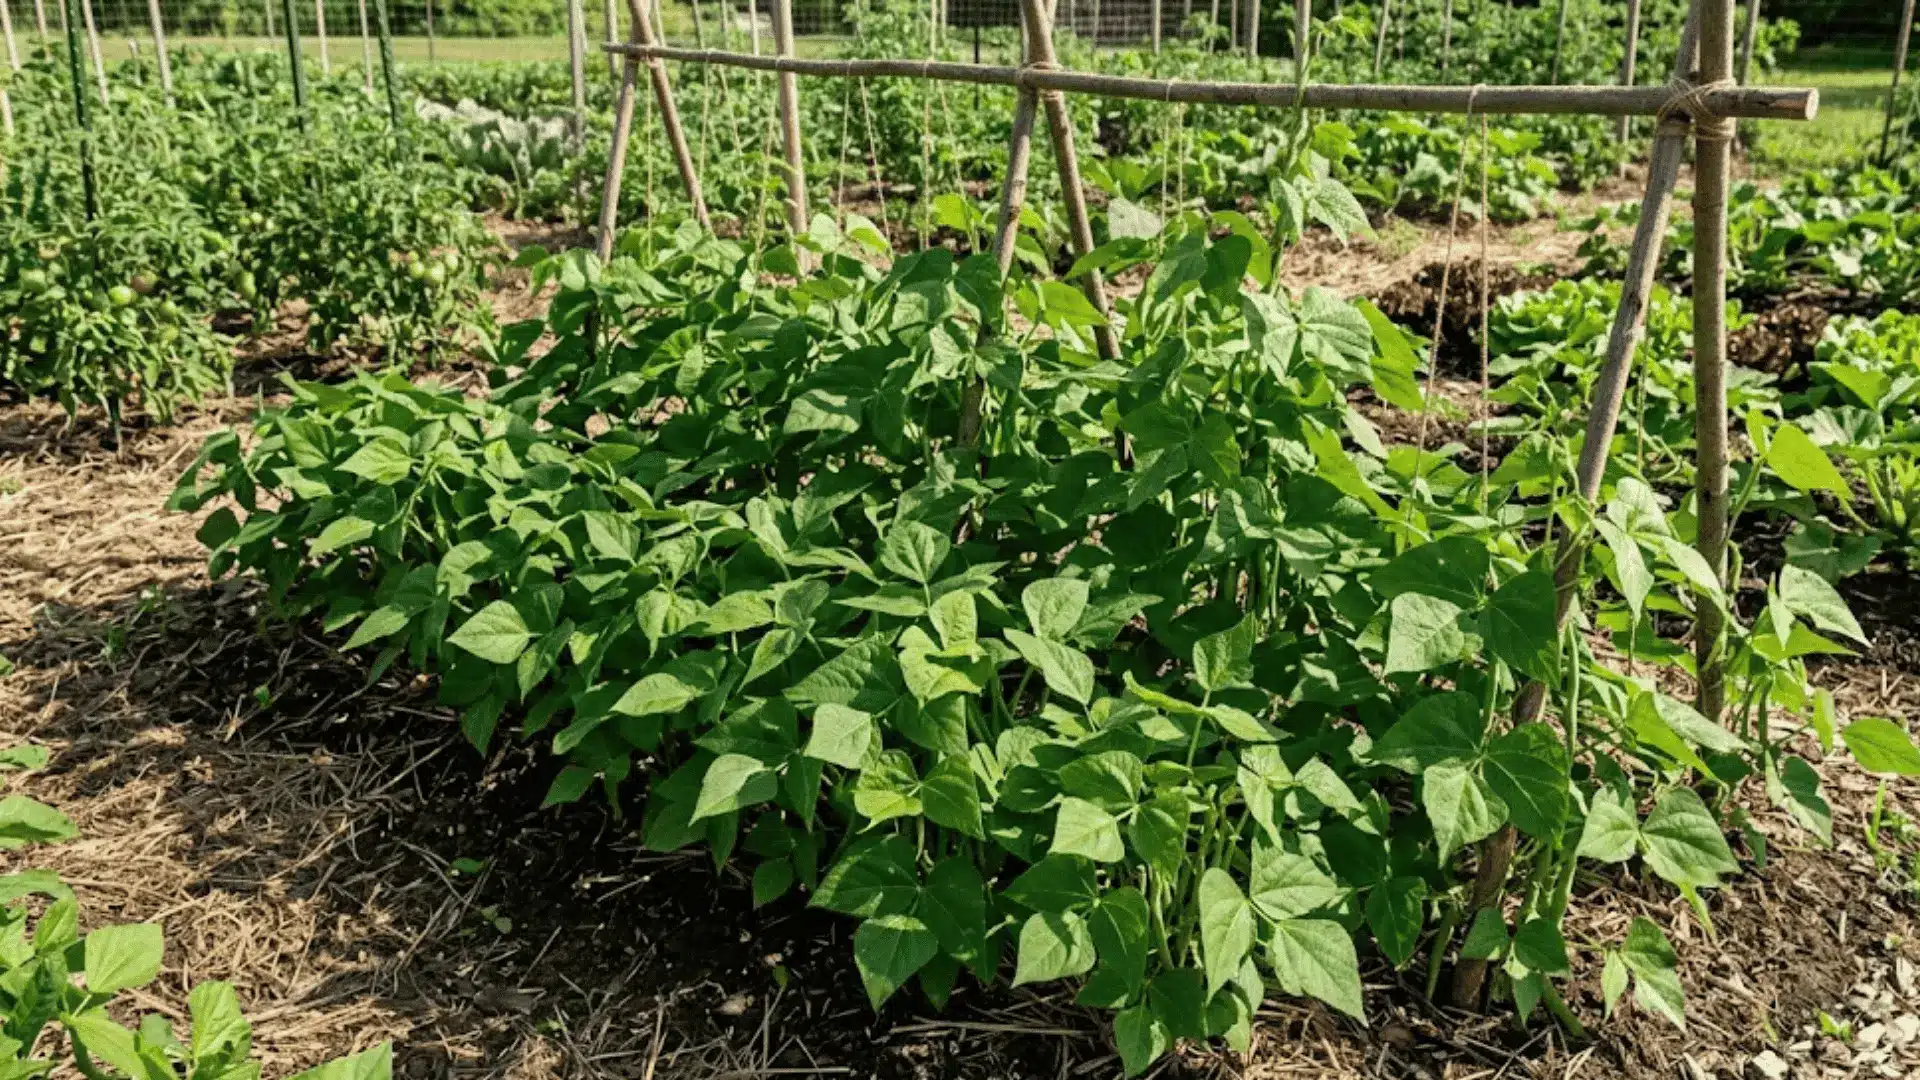
Growth picks up speed here. The plant is putting all its energy into building the structure it needs to eventually flower and produce.
Timeline: Weeks 2 to 4 after germination
Stems thicken, trifoliate leaves start forming, and the plant’s shape becomes more defined.
Bush beans spread outward and stay compact, while pole beans begin reaching upward and will need support soon. Consistent watering and light feeding keep this stage on track.
Care Tips:
- Set up support structures for pole beans early.
- Water consistently, but avoid wetting the foliage.
- Apply a light, balanced fertilizer if growth seems slow.
Stage 5: Flowering Stage
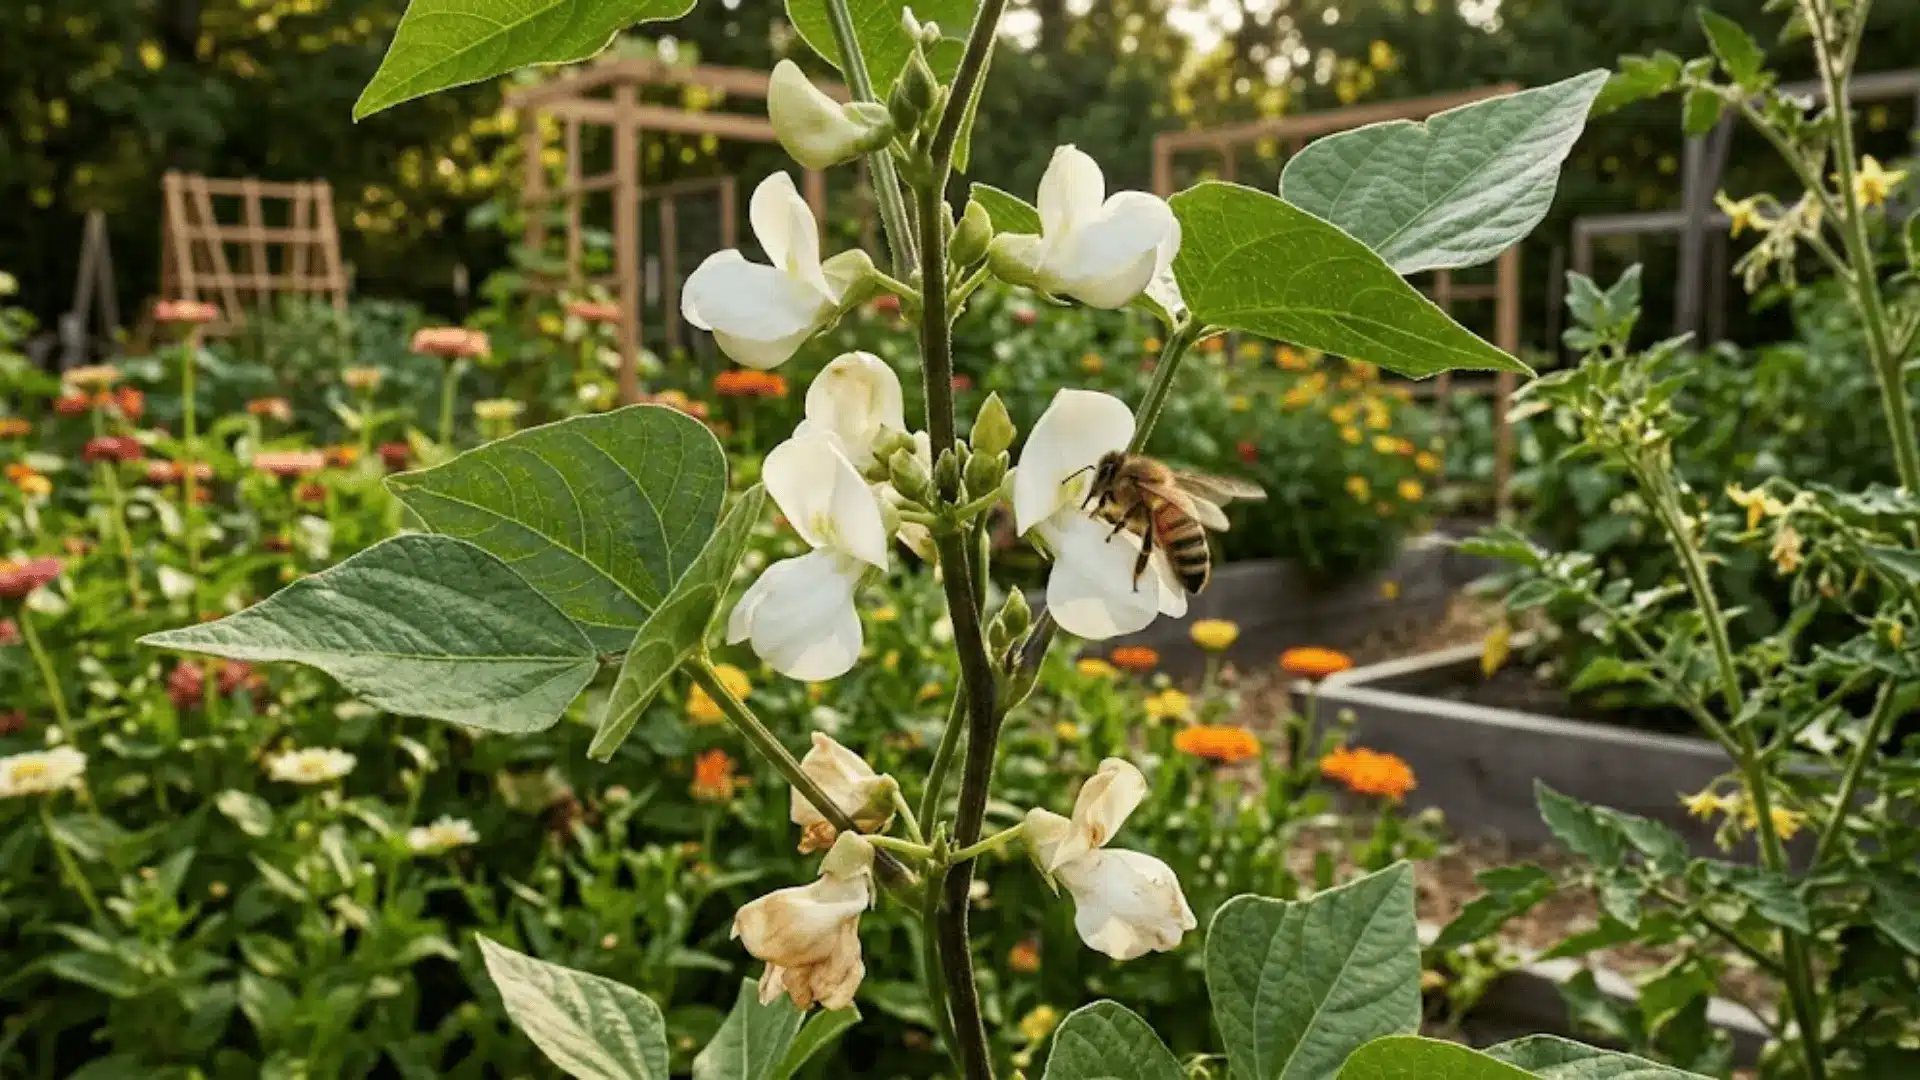
Flowers are the green bean plant’s way of signaling that pods are coming. This stage is short but critical, and what happens here directly affects your harvest.
Timeline: Weeks 4 to 6
Small white or purple blooms appear at the leaf nodes, and pollination begins shortly after.
Each flower has the potential to become a pod, so keeping the plant stress-free during this window matters. Heat spikes, overwatering, or a lack of pollinators can all interfere with a good set.
Care Tips:
- Avoid overwatering or letting the soil dry out completely.
- Do not apply high-nitrogen fertilizer at this stage.
- Encourage pollinator activity by avoiding pesticide use during bloom.
Stage 6: Pod Development
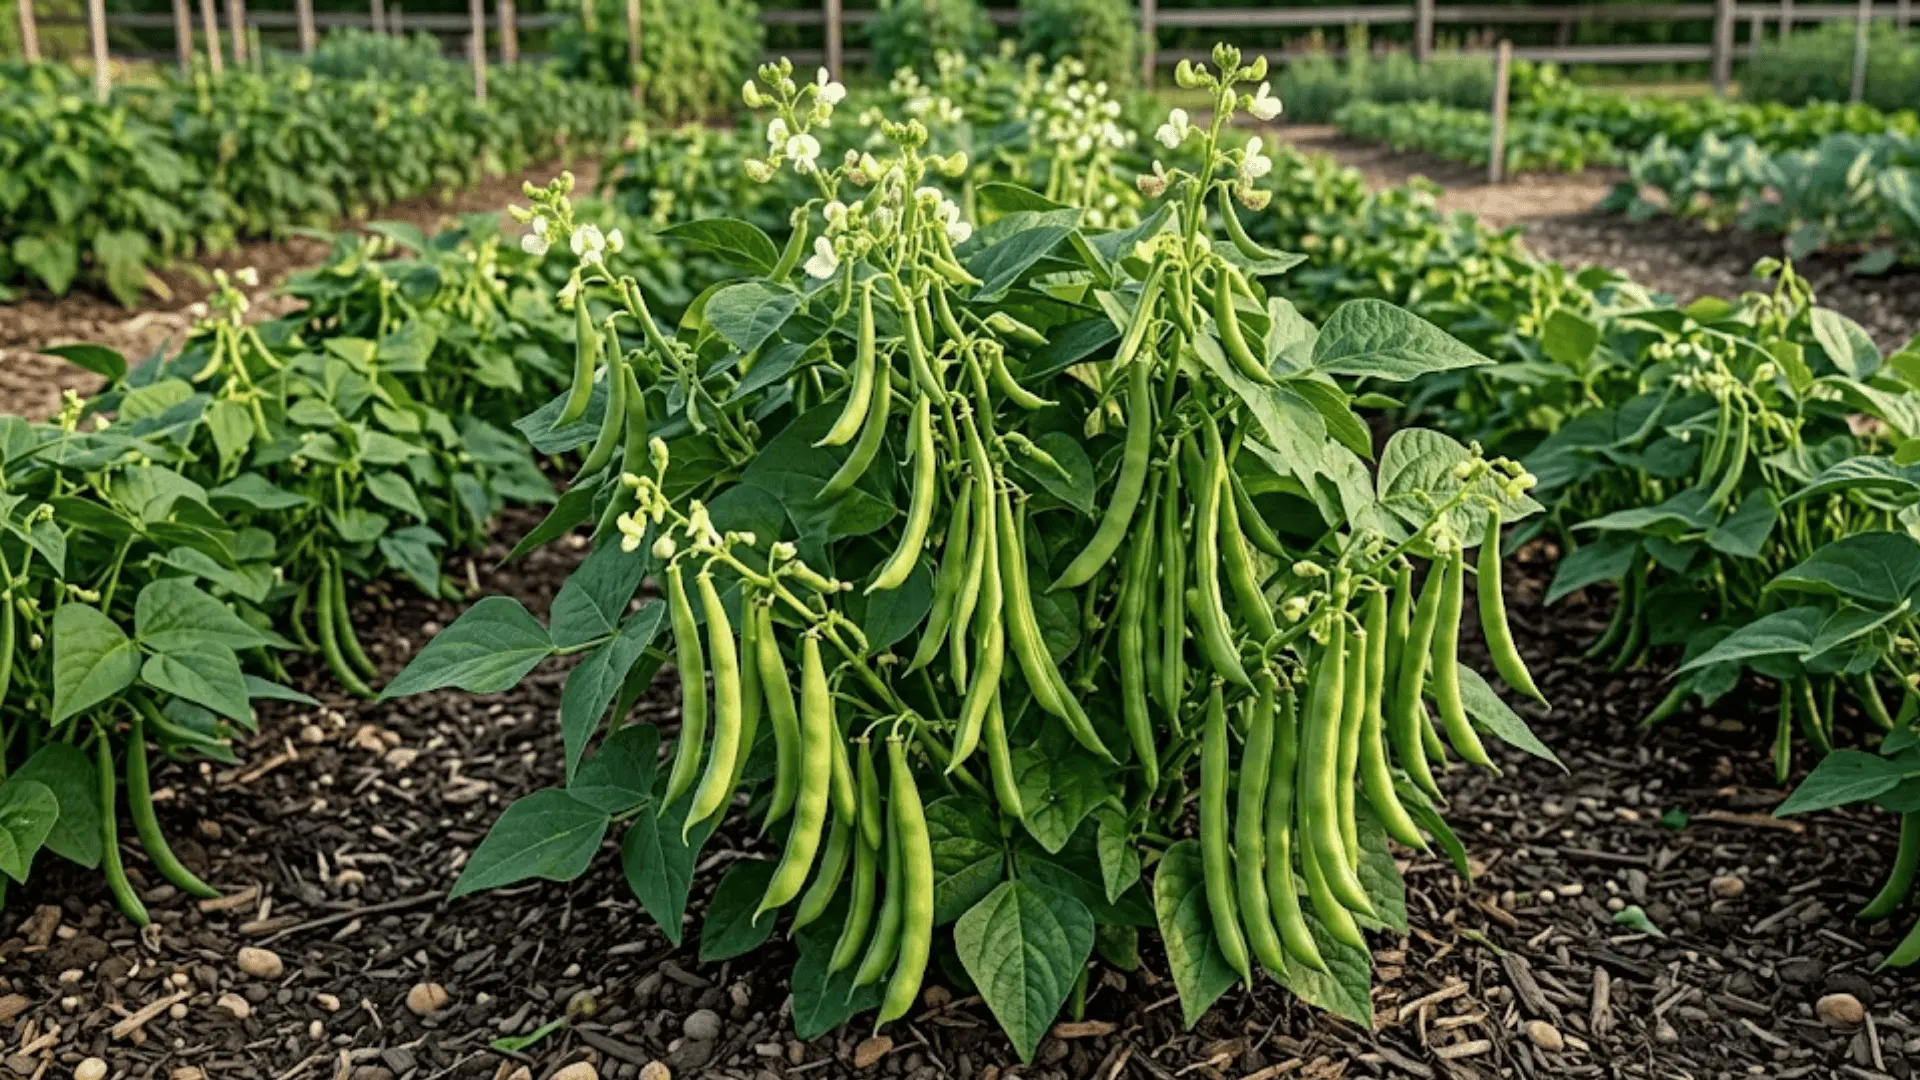
This is the stage where all that earlier effort starts showing up in a very tangible way. Pods form quickly, and the plant shifts its energy fully into filling them out.
Timeline: Weeks 6 to 8, roughly 45 to 60 days after planting
Once the flowers drop, small pods begin forming in their place. The beans inside develop gradually, and the pods fill out over the following days.
Steady moisture is key here, and picking pods as they mature signals the plant to keep producing more.
Care Tips:
- Keep watering steady to support even pod development.
- Reduce nitrogen feeding as pods begin to fill.
- Harvest pods as they mature to encourage continuous production.
Stage 7: Harvesting Stage
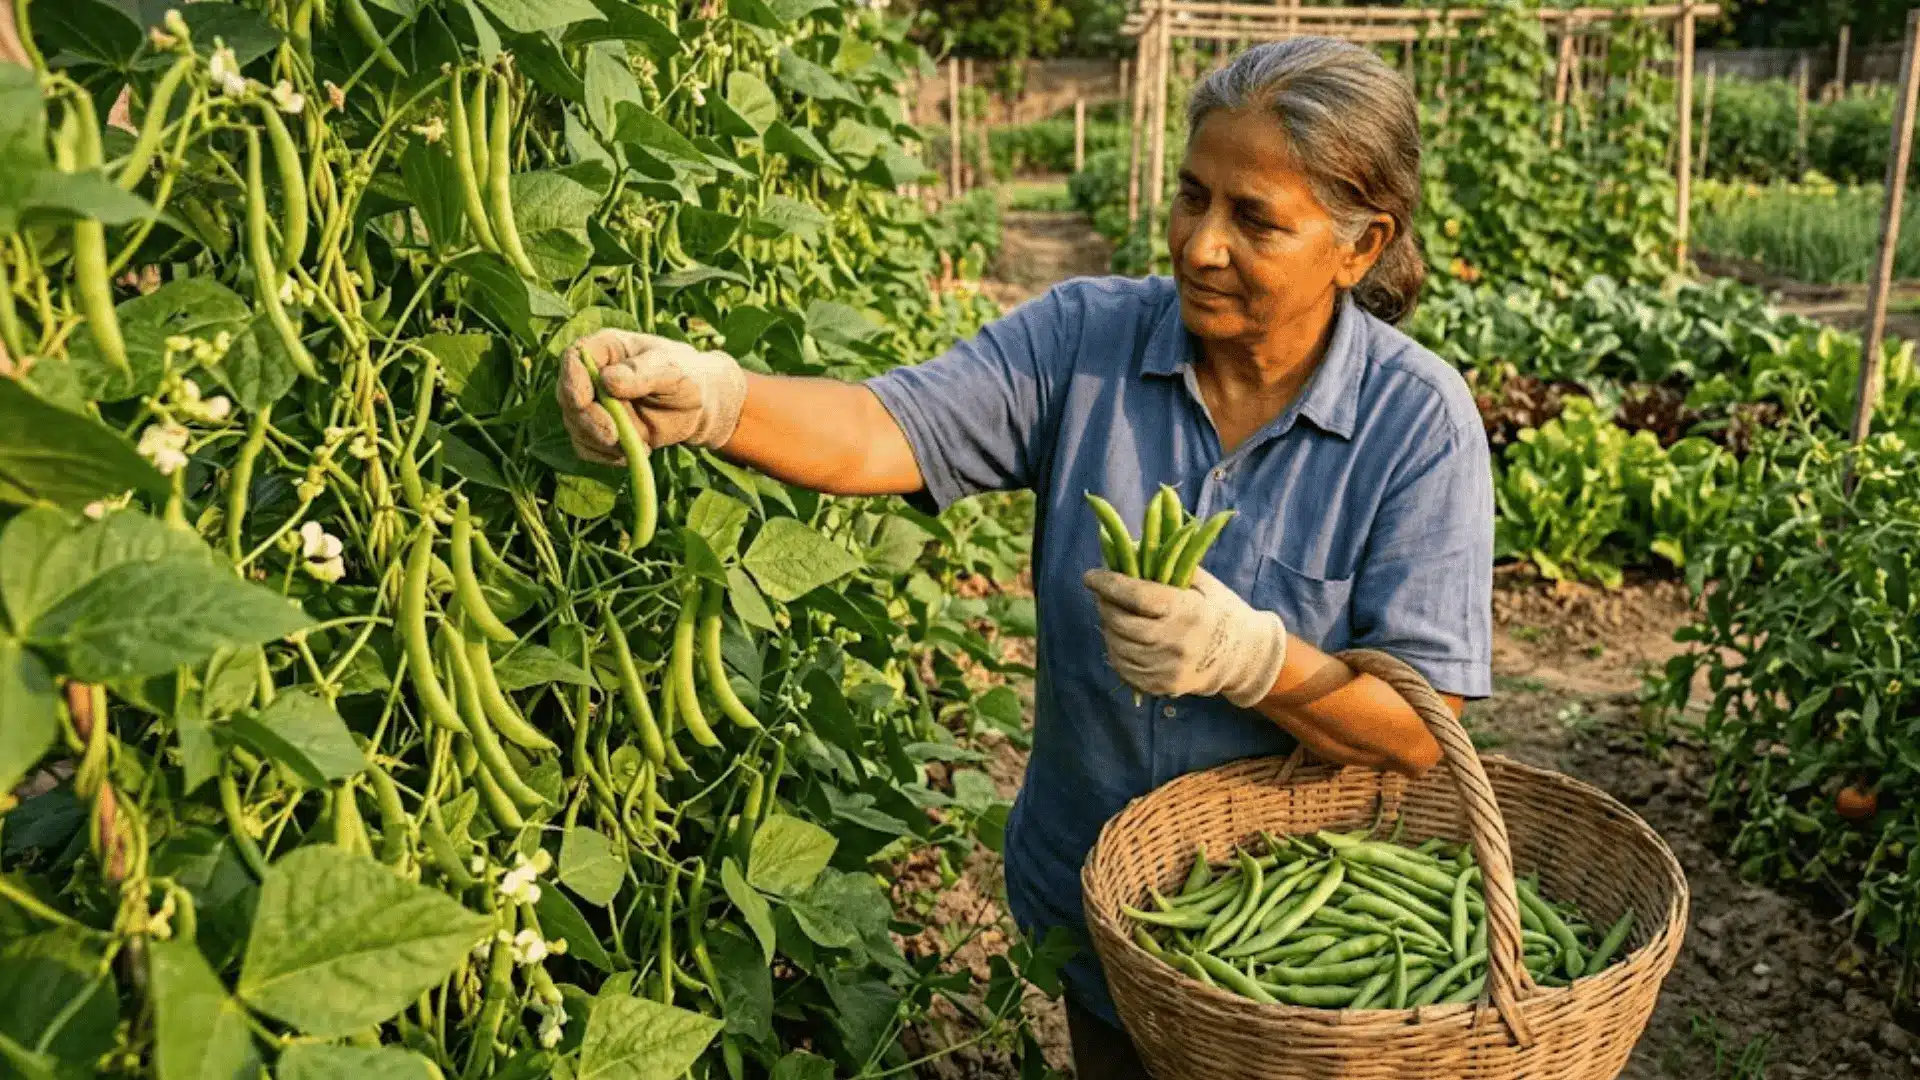
This is the payoff. Green beans are at their absolute best when picked young, and the more regularly you harvest, the more the plant gives back.
Timeline: Weeks 7 to 10, depending on variety
Pods are ready when they are firm, snap cleanly, and the seeds inside have not yet started bulging through the skin.
Pole beans especially keep producing over a long period if harvested consistently. Letting pods over-mature on the vine slows down new production and affects the flavor of remaining beans.
Care Tips:
- Pick every two to three days once pods start maturing.
- Snap or cut pods cleanly to avoid damaging the vine.
- Remove any overripe pods immediately to keep production going.
Bush Beans vs. Pole Beans: Which One Grows Right for You?
Both get you to the same place, a garden full of fresh green beans, but they take pretty different paths to get there.
Here is how the two compare across the stages that matter most.
| Feature | Bush Beans | Pole Beans |
|---|---|---|
| Growth Habit | Compact and self-contained | Climbing vines that keep reaching upward |
| Support Needed | None | Yes, trellis or stakes required |
| Time to Harvest | Faster, ready earlier in the season | Takes a bit longer to hit its stride |
| Yield Style | One concentrated harvest window | Continuous production over a longer period |
| Best For | Small spaces, beginners, quick harvests | Bigger yields, vertical gardens, extended harvests |
Common Problems at Each Growth Stage
Even the most low-maintenance plants hit a rough patch sometimes. Knowing what to look for at each stage saves you a lot of guesswork and keeps small issues from turning into bigger ones.
Problem 1: My green bean seeds just won’t sprout.
The Fix: Cold or waterlogged soil is almost always the reason. Wait for consistently warm soil temperatures and ease up on watering until sprouts appear.
Problem 2: My green bean leaves are turning yellow.
The Fix: This usually points to a nitrogen deficiency during active growth. Work a light-balanced fertilizer into the soil, and the color should recover within a week.
Problem 3: My green bean plant has tons of flowers, but they keep falling off.
The Fix: Heat stress and uneven watering are the usual triggers. Steady the watering schedule and offer some afternoon shade during temperature spikes.
Problem 4: My pods are forming, but they look thin and underdeveloped.
The Fix: Inconsistent moisture is redirecting energy away from pod fill. Mulch around the base, water evenly, and cut back on nitrogen feeding.
Pro Tips for Growing Healthy Green Beans
A little extra attention at the right moments goes a long way with green beans. These are the small habits that consistently make a noticeable difference in yield and plant health.
- Rotate your green bean crop to a different bed each season to prevent soil-borne disease buildup.
- Set up trellises for pole beans early, before the vines start reaching for anything they can grab.
- Water at the base of the plant and overhead watering invite fungal issues and leaf damage.
- Harvest pods every two to three days. Once they start coming in, the plant produces more when picked regularly.
- Avoid planting near onions or fennel; green beans are not great companions for either.
Green beans are genuinely generous plants when they are happy. Stay consistent with these habits, and the harvest will speak for itself.
Final Thoughts
Understanding the green bean plant stages takes what feels like guesswork and turns it into something you can actually work with.
Each stage nudges you toward the right care at the right time, and over a season, that adds up to a harvest worth being proud of.
Green beans are patient, productive, and honestly pretty fun to grow once you know what to expect.
Give them what they need, and they will keep giving back.
Grown green beans before, or are you just getting started? Drop your experience in the comments below!