Growing hostas from seed is one of those quiet gardening joys that rarely gets the spotlight it deserves.
While most gardeners reach for divisions, knowing how to plant hosta seeds opens up a whole new world of variety, and honestly, it feels like a little secret worth keeping.
Timing matters too, and understanding when to plant hosta seeds makes the whole process smoother than you’d expect.
Beyond the patience it asks for, it’s surprisingly cost-effective, beautifully varied, and deeply satisfying in the way only growing something from scratch can be.
When to Plant Hosta Seeds?
Late winter to early spring is the sweet spot for starting hosta seeds.
Beginning them indoors gives you a real head start, and most gardeners find that starting seeds 6 to 8 weeks before the last expected frost sets them up for the strongest growth.
You can absolutely sow them outdoors once frost season passes, but indoor starts give you so much more control over moisture, temperature, and germination rates.
If you want healthier seedlings with a higher chance of success, bringing that process indoors is always the smarter, more rewarding choice.
What You’ll Need?
Before you get started, gathering the right supplies makes the whole process feel much more manageable.
Thankfully, nothing on this list is hard to find:
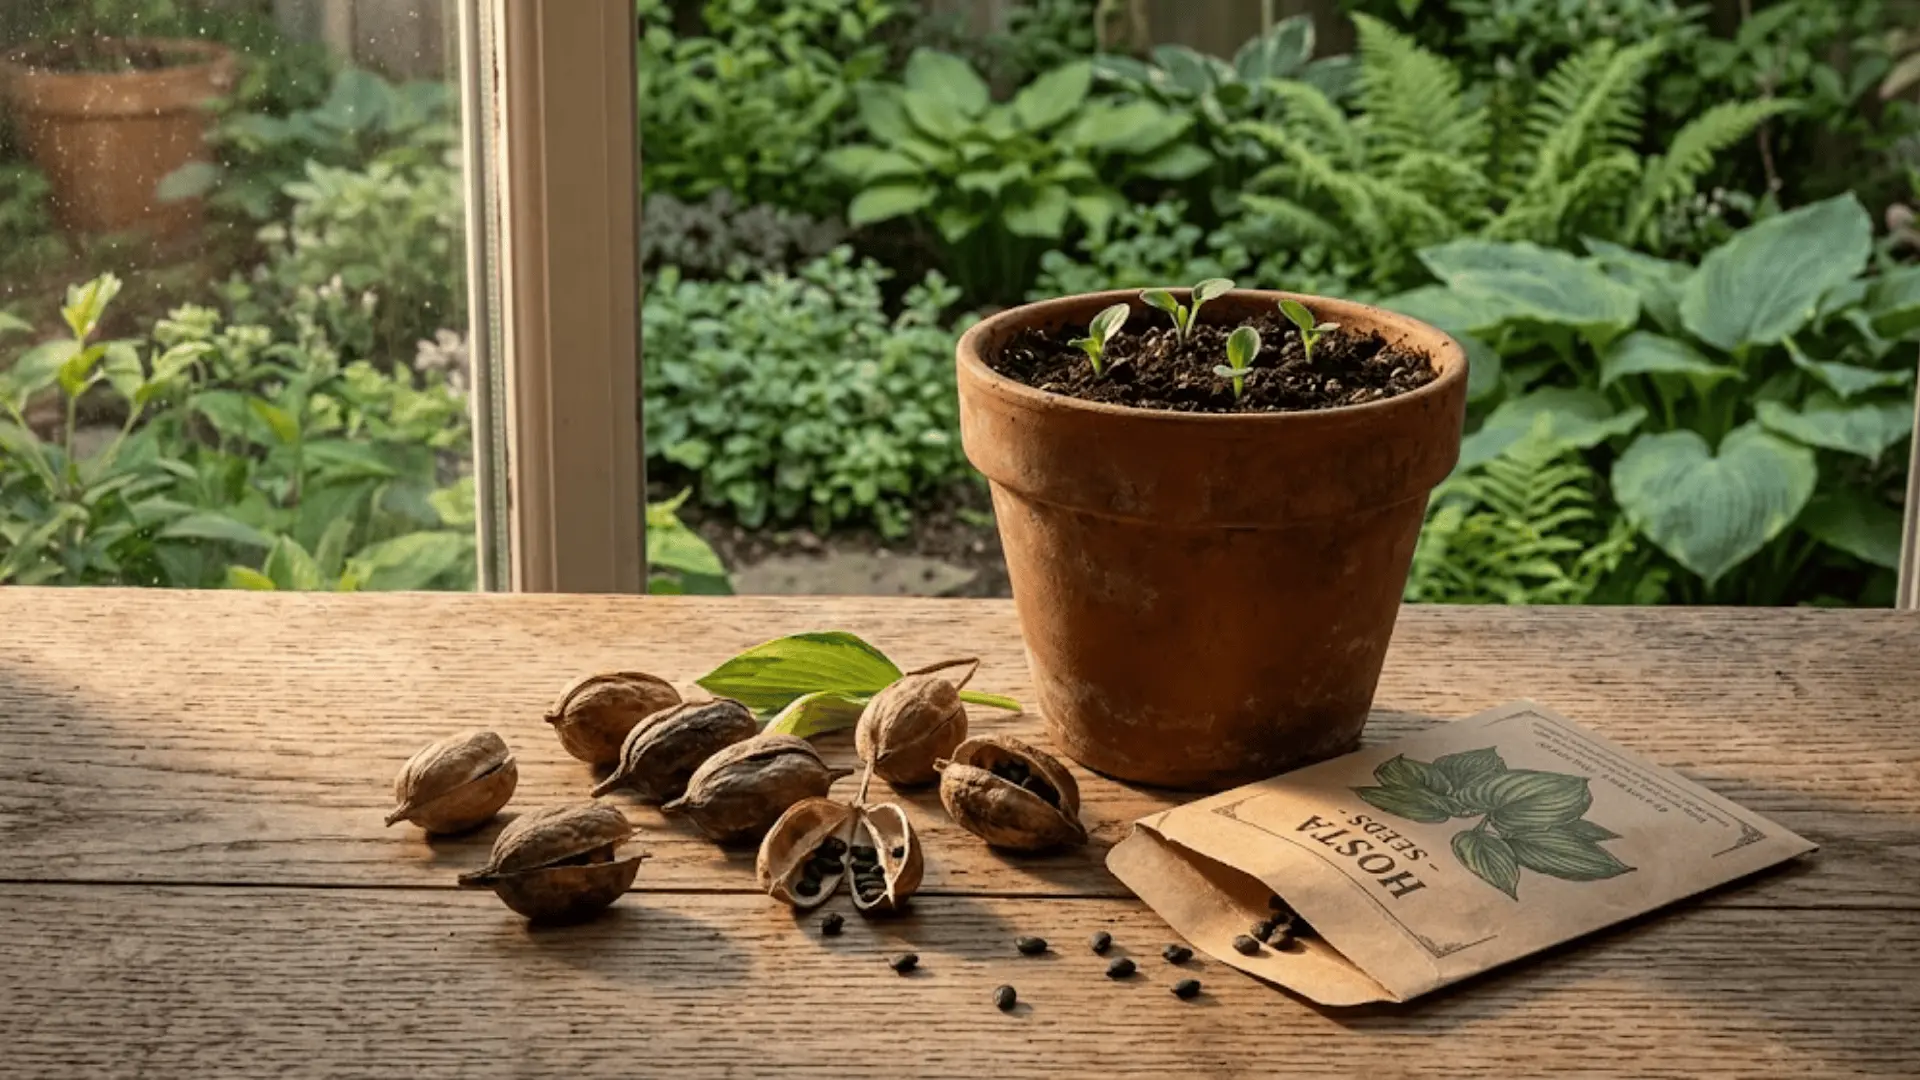
- Fresh hosta seeds for the best germination results
- Seed-starting mix that is light and well-draining to support delicate roots
- Seed trays or small pots to give each seedling its own space
- Spray bottle or a gentle watering can to water without disturbing the soil
- Plastic dome or wrap to lock in the humidity that seedlings love
- Indirect light or grow lights to keep things bright without overwhelming them
Step-by-Step: How to Plant Hosta Seeds?
Getting hosta seeds from the packet to the soil is simpler than most people expect.
Each step builds on the last, and once you understand what these little seeds actually need, the whole process starts to feel quite intuitive.
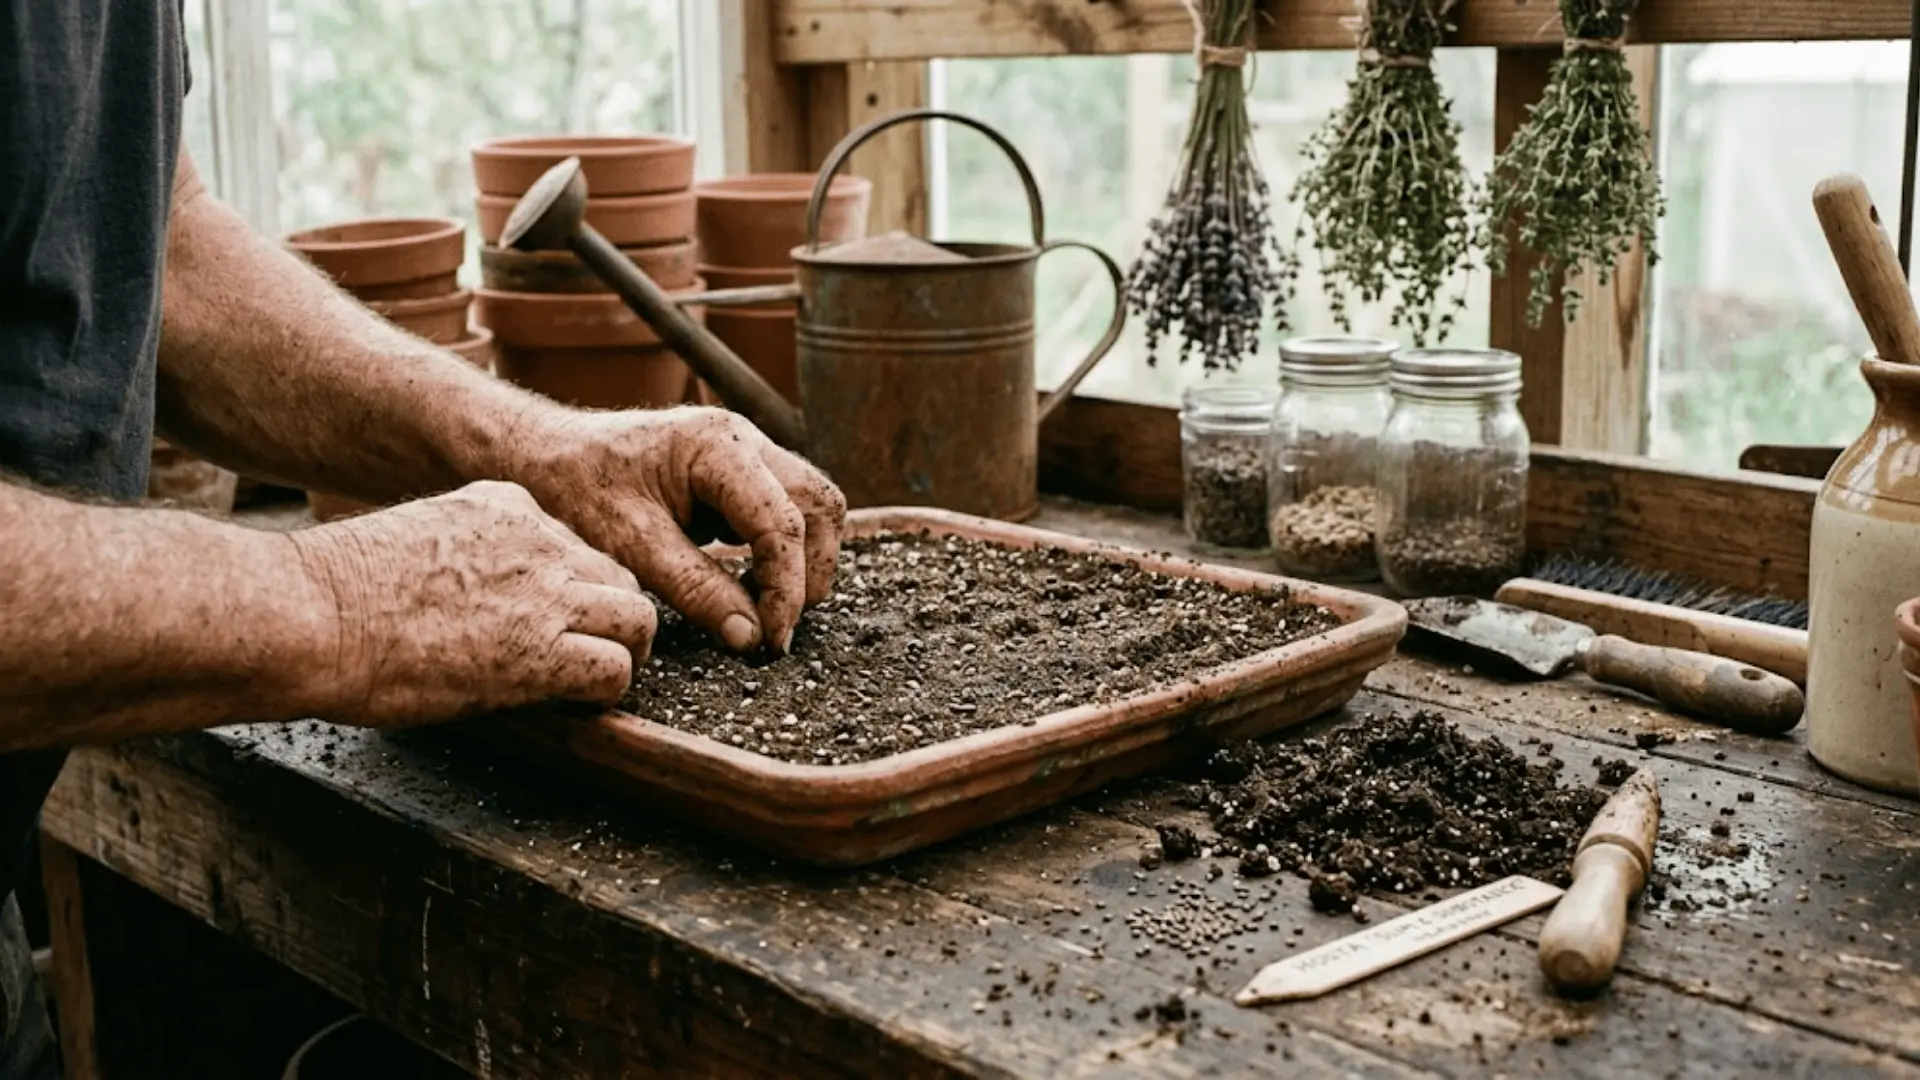
Step 1: Prepare the Soil
The foundation of good germination starts with the right setup. Fill your seed trays or small pots with a seed-starting mix that feels moist but never waterlogged.
A soggy mix suffocates seeds before they get the chance to sprout, so getting that moisture balance right from the beginning really matters. Press the surface down lightly so it is level and ready to receive the seeds.
Step 2: Sow the Seeds
This step is more about placement than precision, and there is no need to overthink it:
- Sprinkle seeds evenly across the surface without overcrowding
- Do not bury them, as hosta seeds need light to germinate properly
- Press them down gently so they make good contact with the soil
- Label each tray clearly if you are sowing multiple varieties
Step 3: Water Gently
Watering at this stage requires a lighter touch than you might expect. A spray bottle lets you mist the surface evenly without shifting seeds out of place.
Heavy watering can wash seeds to one corner or compact the soil in ways that slow germination, so a few gentle passes is truly all you need.
Step 4: Create a Humid Environment
Once your seeds are sown and misted, cover the tray with a plastic dome or wrap to hold moisture in and trap just enough warmth to encourage sprouting.
Think of it as a tiny greenhouse working quietly in the background. Check underneath every couple of days and mist lightly again if the surface has dried out.
Step 5: Provide Light and Warmth
Light and temperature work together here, and getting both right makes a noticeable difference in germination:
- Set the tray in bright, indirect light away from harsh afternoon sun.
- Keep temperatures consistently between 18 and 24 degrees Celsius (65 and 75 degrees Fahrenheit).
- Grow lights work beautifully if natural light feels inconsistent during the winter months.
- Avoid cold drafts or heating vents, as temperature fluctuations can slow things down.
Step 6: Wait for Germination
This is the stage where patience becomes part of the process. Most hosta seeds sprout somewhere between two and four weeks, though some varieties take a little longer.
Once seedlings appear, remove the plastic cover gradually to help them adjust to open air, and ensure good airflow to keep mold from forming around the base.
Step 7: Transplant Seedlings
Once your seedlings have developed two to three true leaves, they are ready to move into individual pots with fresh potting mix.
Handle the roots gently during this transition, as young hosta roots are delicate. Water them in lightly afterward and keep them in a bright, sheltered spot while they settle.
How to Plant Hostas Outdoors?
Once your seedlings are strong enough to face the outside world, moving them into the garden is a straightforward process. Getting the location and conditions right from the start sets them up for years of healthy, lush growth.
- Step 1: Choose the right spot by looking for an area with partial to full shade that gets relief from the afternoon sun.
- Step 2: Prepare the soil so it is rich, moist, and well-draining before your hostas ever go in the ground.
- Step 3: Space thoughtfully by planting each hosta anywhere from twelve to thirty-six inches apart, depending on the variety’s mature size.
- Step 4: Water consistently to keep the soil evenly moist, since hostas love moisture but will not tolerate sitting in soggy ground.
Get these basics right and your hostas will settle into the garden beautifully, coming back stronger and more lush with every passing season.
Pro Tips for Better Results
A few small habits can make a surprisingly big difference in how your seedlings turn out.
Keep these in mind as you go:
- Always use fresh seeds since older ones carry significantly lower germination rates.
- Expect some variation as seed-grown hostas may look nothing like the parent plant, which is honestly part of the fun.
- Patience is non-negotiable since hostas take a few years to fully mature and show their true character.
- Keep young plants away from harsh direct sun, as their leaves scorch more easily than established ones.
The learning curve with hosta seeds is gentle, and these small considerations go a long way in making the whole experience feel a lot more rewarding.
Join the Hosta-Growing Community
Growing hostas from seed is even more enjoyable when you have a community to share it with.
Once you have a community to lean on, troubleshooting and inspiration come so much more naturally. These spaces are worth bookmarking:
- r/gardening on Reddit for quick questions and plenty of growing inspiration.
- GardenWeb Hosta Forum for deeper, experience-backed conversations with seasoned growers.
- Facebook Groups for hosta enthusiasts, where growers of all levels share their progress openly.
Sometimes the right advice at the right moment makes all the difference.
The Bottom Line
Learning how to plant hosta seeds is really just the beginning of a much longer, quieter kind of joy.
These plants ask for patience, and in return, they give you something no nursery shelf ever could, a garden that grew entirely on your own terms.
As your seedlings find their footing and the seasons roll through, you will find that the wait was always worth it.
Tried growing hostas from seed? Drop your experience in the comments below. The community would love to hear what worked for you.
Frequently Asked Questions (FAQs)
How Long Does it Take to Grow Hostas from Seed?
Hosta seeds typically germinate within two to four weeks under the right conditions. That said, the plants themselves take a few years to reach their full size and show their true leaf character.
Do Hosta Seeds Need Light to Germinate?
Yes, hosta seeds need light to germinate, so avoid burying them in the soil. Simply press them gently onto the surface of a moist seed-starting mix and let the light do its work.
Can I Grow Any Hosta Variety from Seed?
Most hosta varieties can be grown from seed, though the resulting plants may not look identical to the parent. Seed-grown hostas often surprise you with their own unique markings, colors, and leaf shapes.