If you like growing food that comes back each year, asparagus is a smart plant to make room for. It is not a quick crop, but that is part of what makes it special. One good planting can give you spring spears for years.
The first season matters most. Asparagus crowns need the right spot, loose soil, steady moisture, and enough space to spread. Plant them too deep, crowd them, or put them in wet soil, and the bed may stay weak for years.
I’ll walk you through how to plant asparagus crowns the way a home gardener needs it explained: what to check before planting, how deep to dig, how far apart to space crowns, when to water, and why you should wait before harvesting.
What Are Asparagus Crowns?
Asparagus crowns are bare-root asparagus plants with roots and buds already formed. They are not bulbs. They are dormant root systems that wake up after planting and send up spears, then tall fern-like growth.
Asparagus is a perennial vegetable with the scientific name Asparagus officinalis. The part you eat is the spear. The fern growth is not wasted. It feeds the crown, and the crown stores energy for future harvests.
Most home gardeners use one-year crowns because they establish faster than seeds. Asparagus can be started from seed or from one-year-old roots called crowns, and a plant can last around 15 years when planted well.
Quick comparison:
| Starting method | Best for | Main tradeoff |
| Crowns | Faster harvest | Costs more than seed |
| Seed | Lower cost | Takes longer to harvest |
| Transplants | Flexible timing | Needs careful handling |
When learning how to plant asparagus crowns, it helps to remember this: the crown is the engine of the plant. Good roots now mean stronger spears later.
What Type of Asparagus Should You Plant?
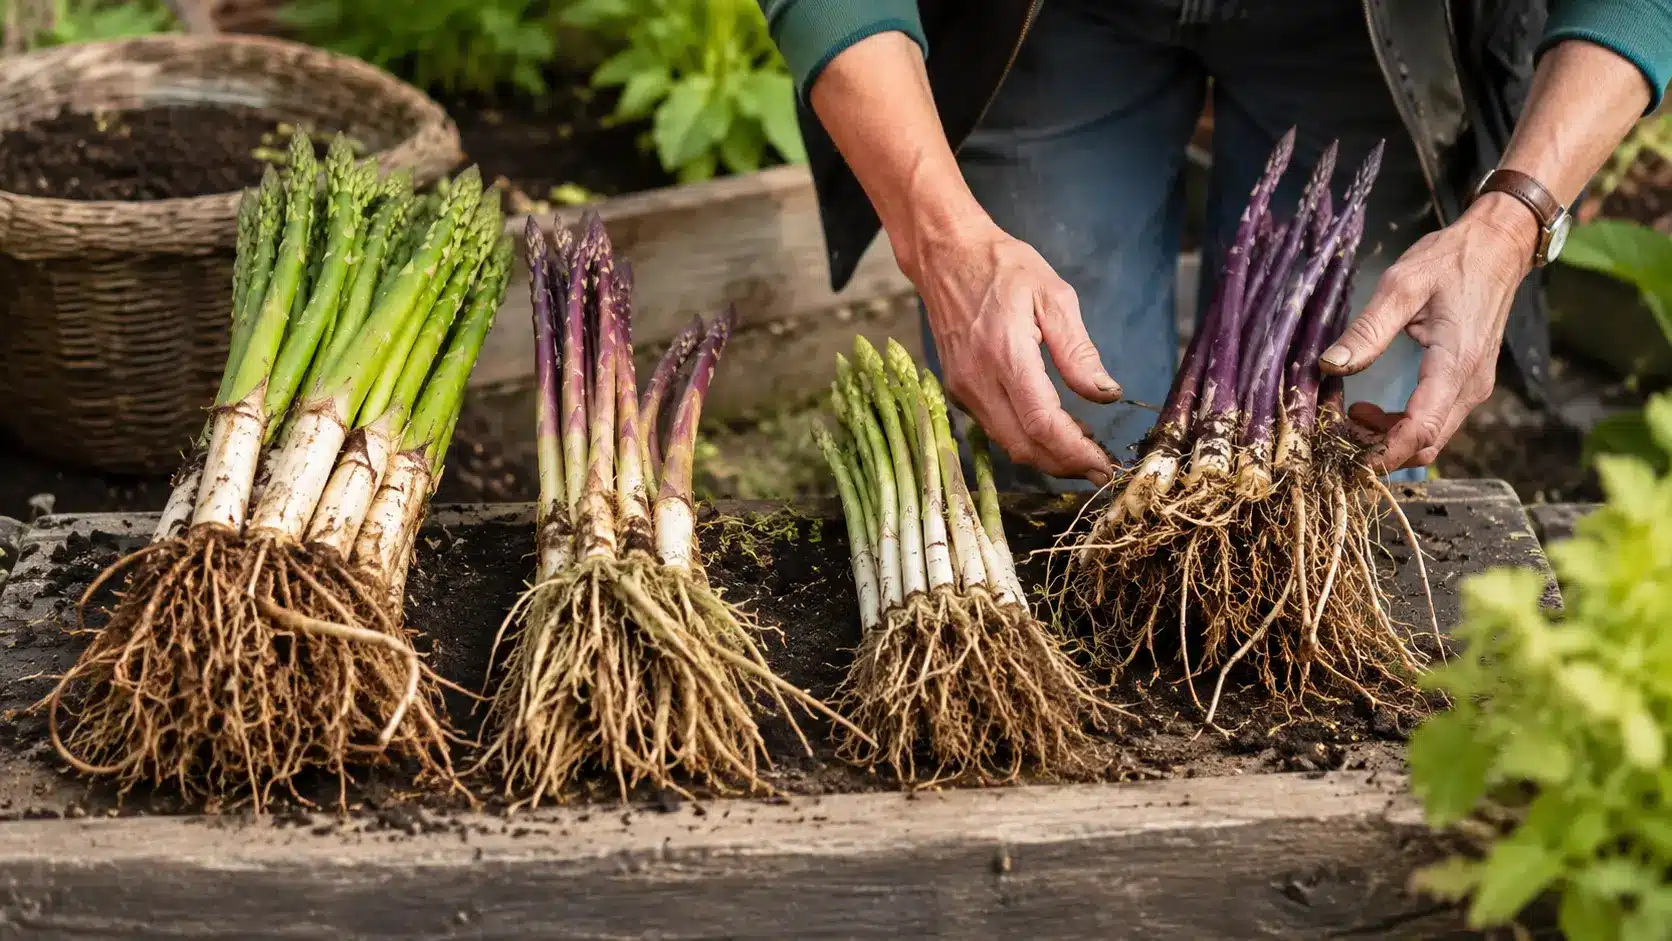
Once you understand the crown, the next step is choosing the right type. This matters because asparagus will stay in the same bed for many years, so it is worth buying strong crowns from a trusted nursery.
Common types include green and purple asparagus varieties, as well as older open-pollinated types. Some hybrid asparagus varieties produce more male plants, which often means fewer berries and more energy directed toward spear growth.
Good options to know:
- Jersey Giant
- Jersey Knight
- Mary Washington
- Purple Passion
For most home gardens, healthy one-year crowns are a safe choice. If your local garden center sells region-friendly varieties, start there. Local stores often carry types that fit your climate better than random online bundles.
Do not pick crowns only because they are large. Look for firm, healthy roots without mold, mushy spots, or a sour smell.
What Soil pH and Fertility Does Asparagus Need?
Before planting asparagus, focus on the soil. This is where many beds succeed or fail. Asparagus grows best in loose, deep, fertile, well-drained soil with a pH close to neutral.
Aim for a soil pH of 6.5 to 7.0. The University of Minnesota Extension says asparagus does poorly in very acidic soil and recommends soil testing for pH and nutrients. Penn State Extension also recommends testing the soil before planting and preparing the bed carefully because asparagus is long-lived.
| Soil factor | Best target | Why it matters |
| Sun | Full sun | Builds strong ferns |
| pH | 6.5 to 7.0 | Helps nutrient uptake |
| Drainage | Well-drained | Helps prevent crown rot |
| Organic matter | Compost added | Supports roots |
| Fertility | Soil-test-based | Avoids overfeeding |
Add compost before planting. Use fertilizer based on a soil test when possible. If you use a vegetable fertilizer, follow the label. More fertilizer does not always mean better growth.
End this step with one clear goal: the bed should be sunny, loose, rich, and not soggy.
How to Plant Asparagus Crowns Step by Step
Planting asparagus crowns works best when you follow the process in the right order. The bed is prepared first, then the crowns are planted, covered, fed, and cared for while they build strong roots.
Each step below follows the video sequence: choose a location, prep the bed, plant and water, fertilize, rake the soil, maintain the bed, and harvest.
Tools You Need
A little prep makes planting easier. Keep the tools and materials nearby before you open the crowns or start digging. This helps you work in order, keep the roots from drying out, and finish the bed without stopping midway.
You will need:
- Rake
- Shovel
- Mulch
- Compost
- Asparagus crowns
- Garden gloves
- Soil test kit
- Vegetable fertilizer
- Soaker hose or drip irrigation, optional
You do not need special equipment for a home garden bed. Once these items are ready, the next step is to choose the right spot, prepare the soil, and place the crowns at the correct spacing and depth.
Step 1: Choose Location
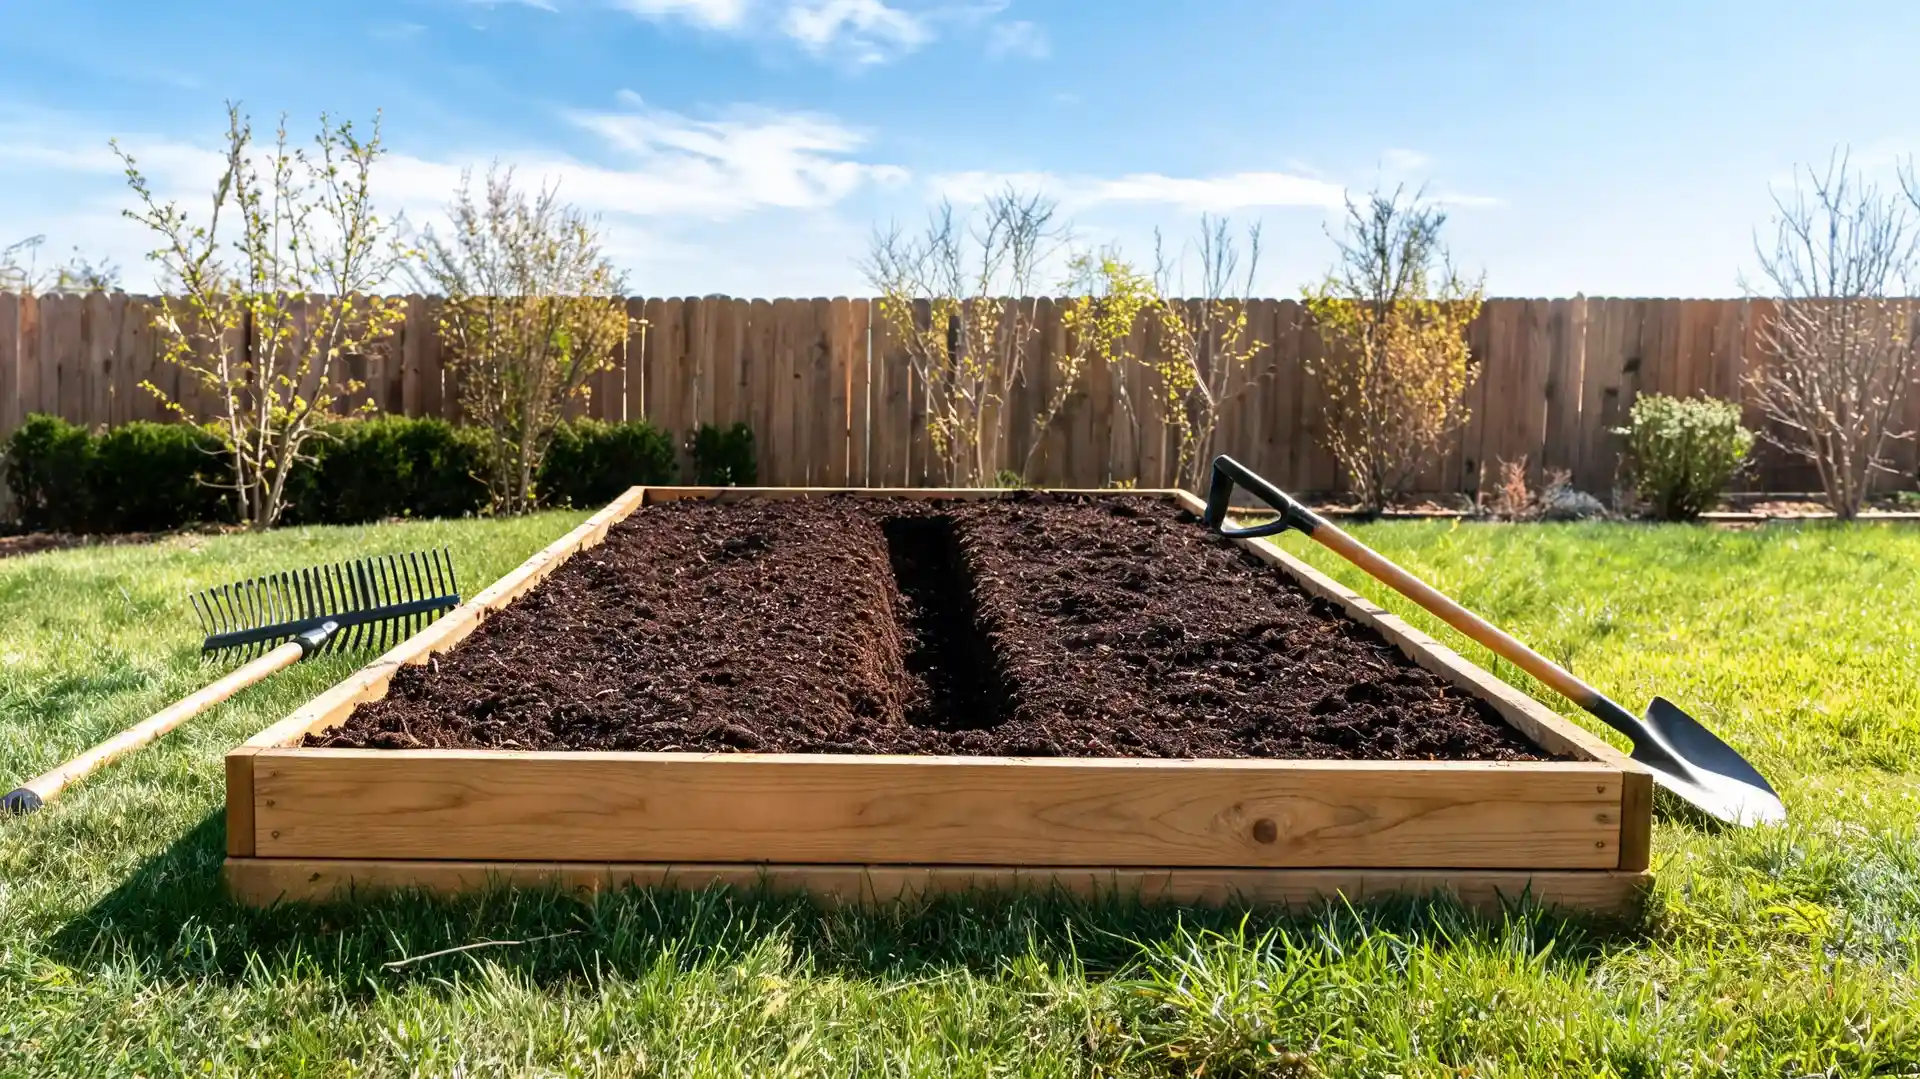
Pick a sunny, well-drained spot where the asparagus bed can stay for many years. Asparagus is a perennial crop, so it should not be placed where you may want to rotate annual vegetables later.
How to do it:
- Choose a garden area that gets plenty of sun.
- Avoid low spots where water collects.
- Keep the bed away from tree roots and heavy shade.
- Leave enough room for tall fern growth in summer.
| Tip: Choose the location carefully, as asparagus can remain in the same bed for many years. A poor site can lead to weak crowns, thin spears, and root problems. |
This first step sets the base for the whole bed. Once the location is right, the soil needs to be cleaned, loosened, and improved before planting.
Step 2: Prep Bed
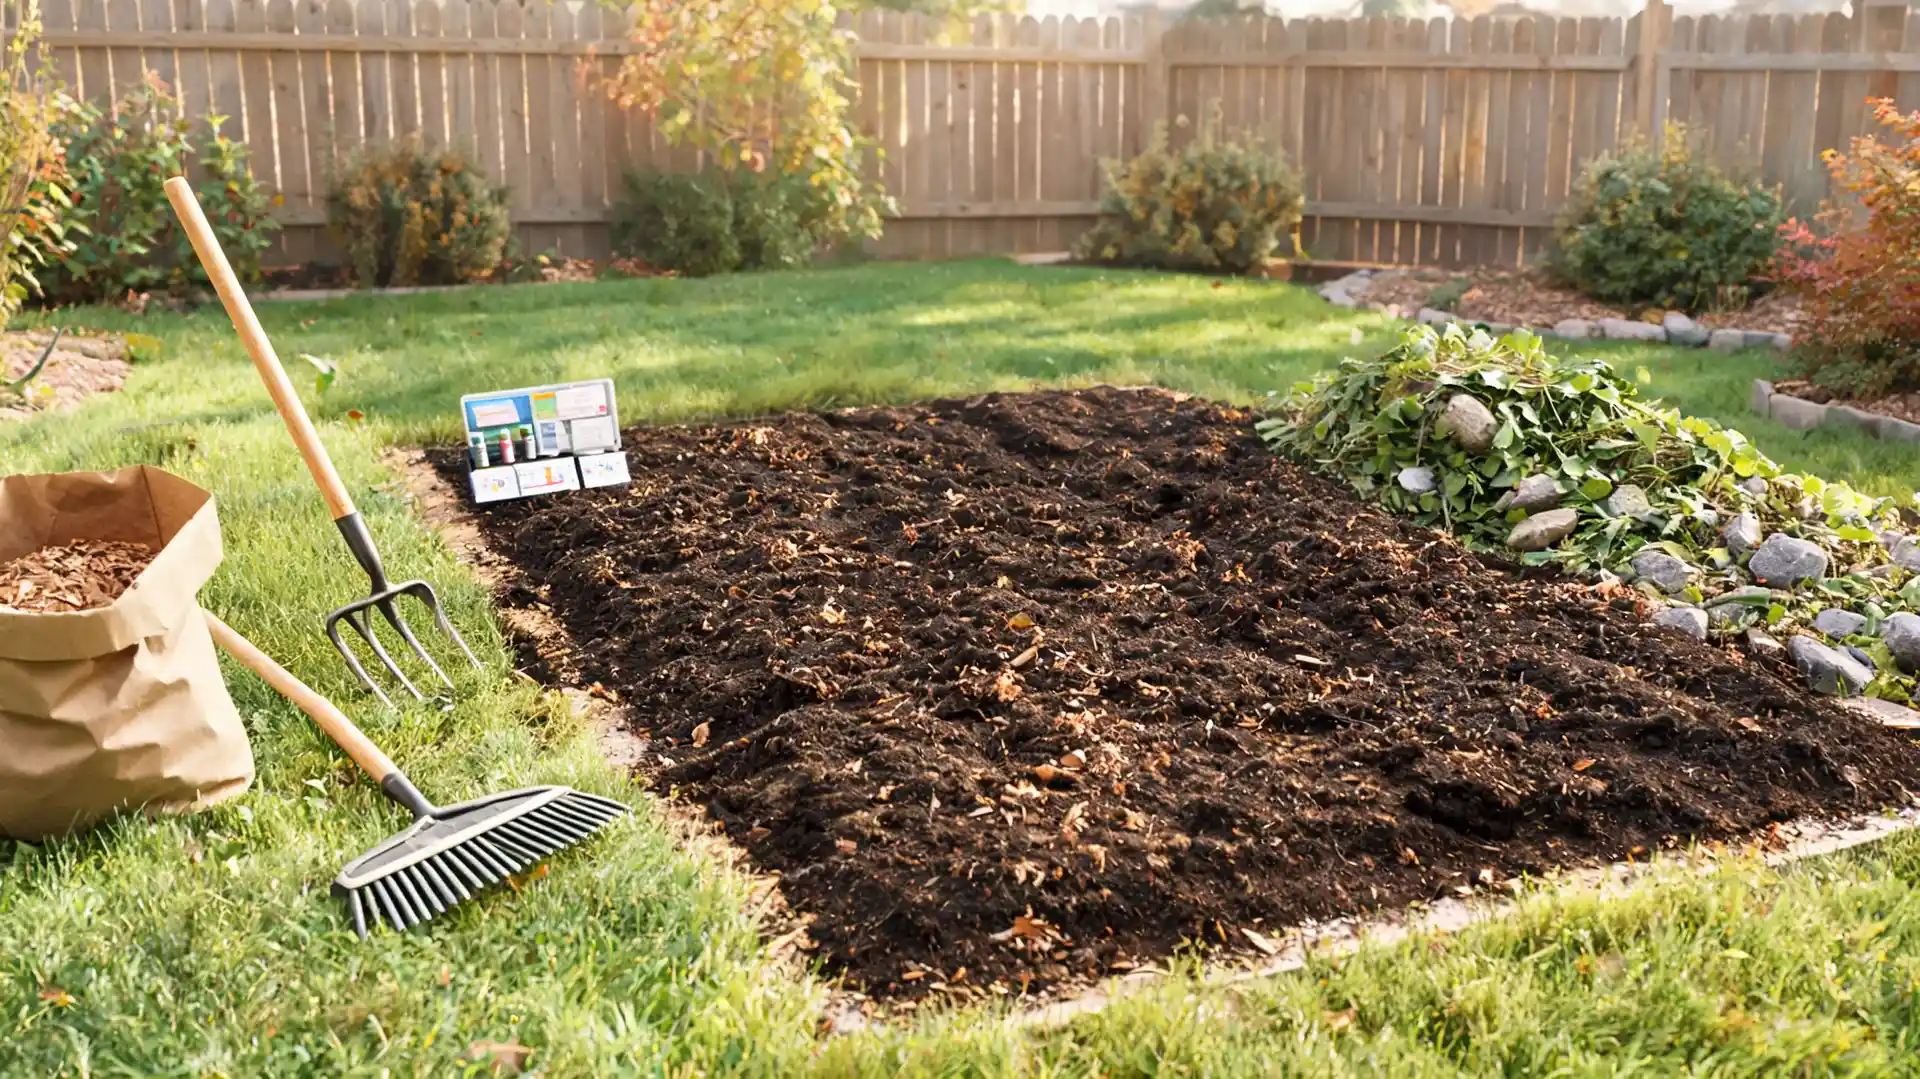
In the fall, break up the planting area and remove rocks, roots, grass, and weeds. Then work in a few inches of compost so the crowns have loose, fertile soil when spring planting starts.
How to do it:
- Clear the grass and weeds from the bed.
- Remove rocks, old roots, and hard clumps.
- Loosen the soil deeply with a shovel or garden fork.
- Mix in a few inches of compost.
- Test the soil before planting.
- Aim for a pH of 6.5 to 7.0.
- Amend the soil if the test shows it needs adjustment.
- Mulch the bed for winter if you are preparing it in the fall.
| Tip: Do not skip soil testing. Asparagus stays in one place for years, so fixing pH and fertility before planting is much easier than correcting problems later. |
Good bed prep gives crowns a clean place to spread. After the soil is ready and spring arrives, you can plant and water the crowns.
Step 3: Plant and Water
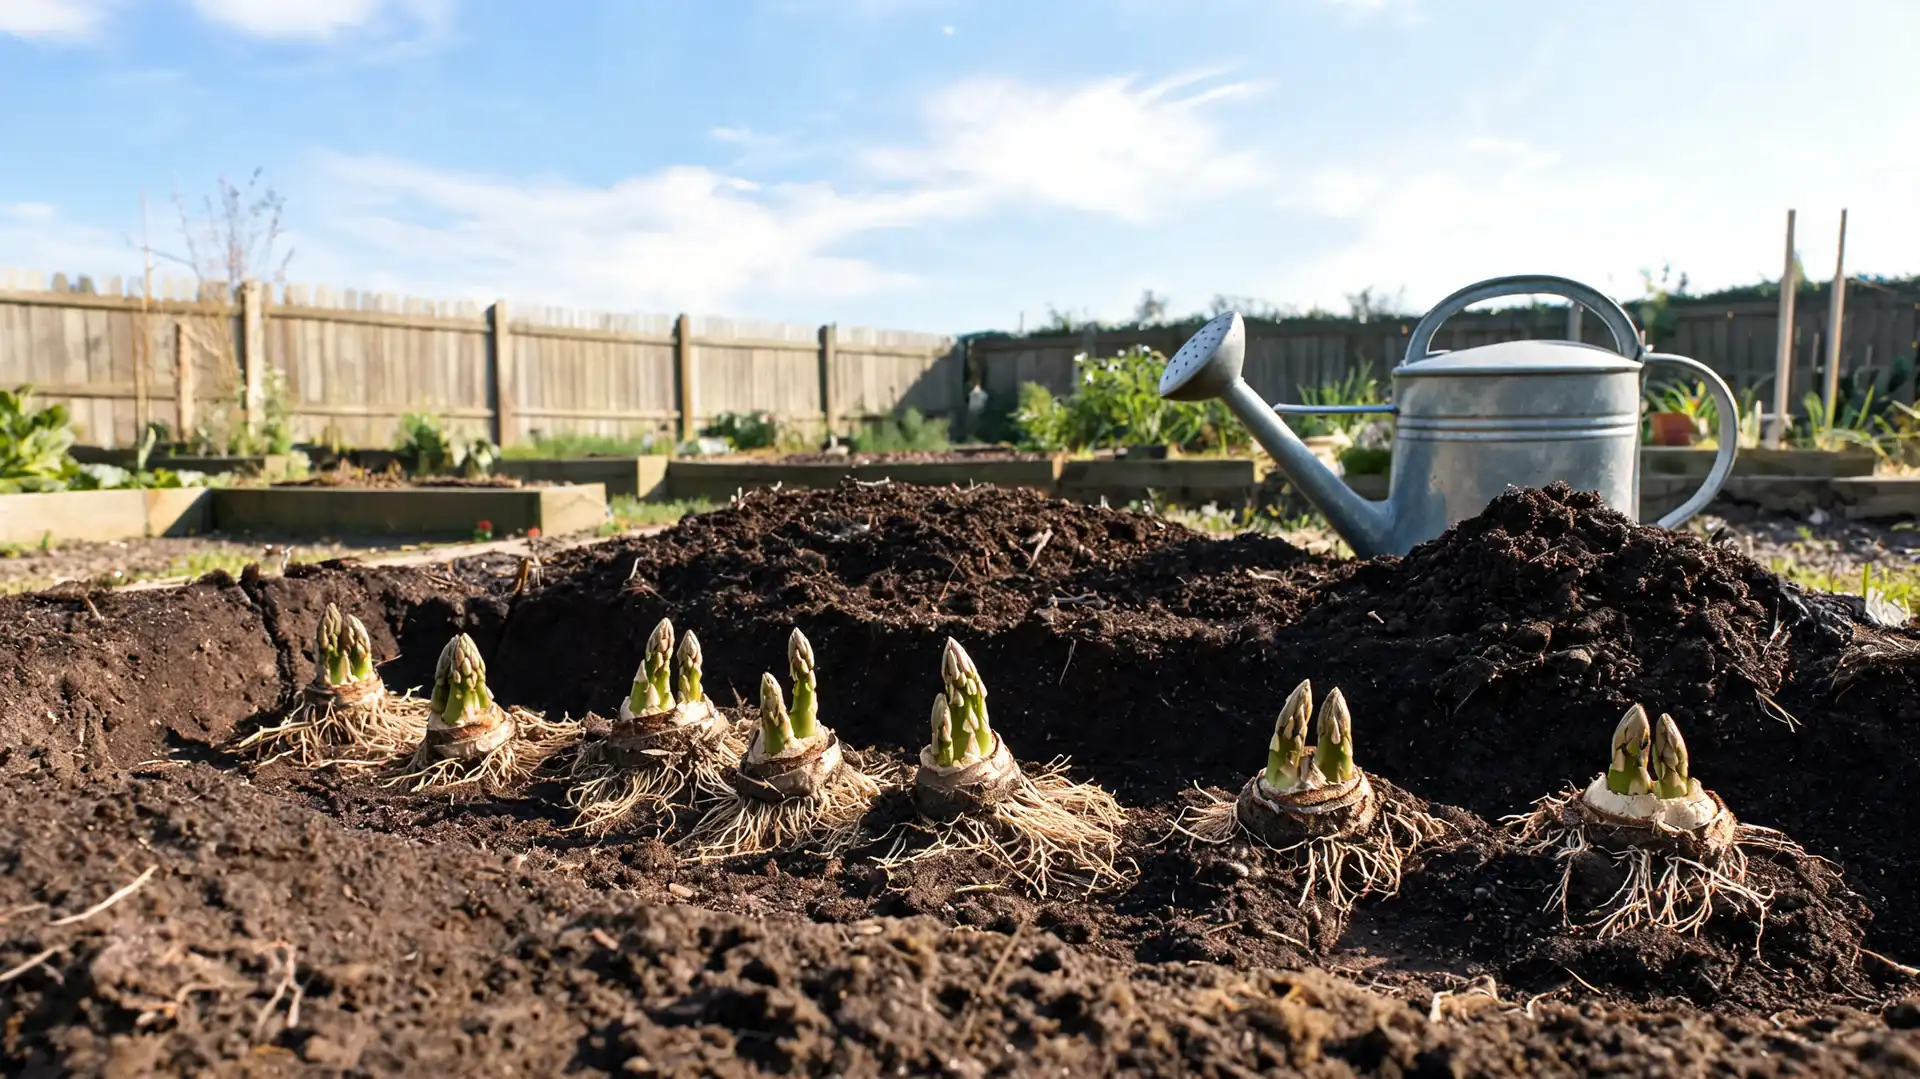
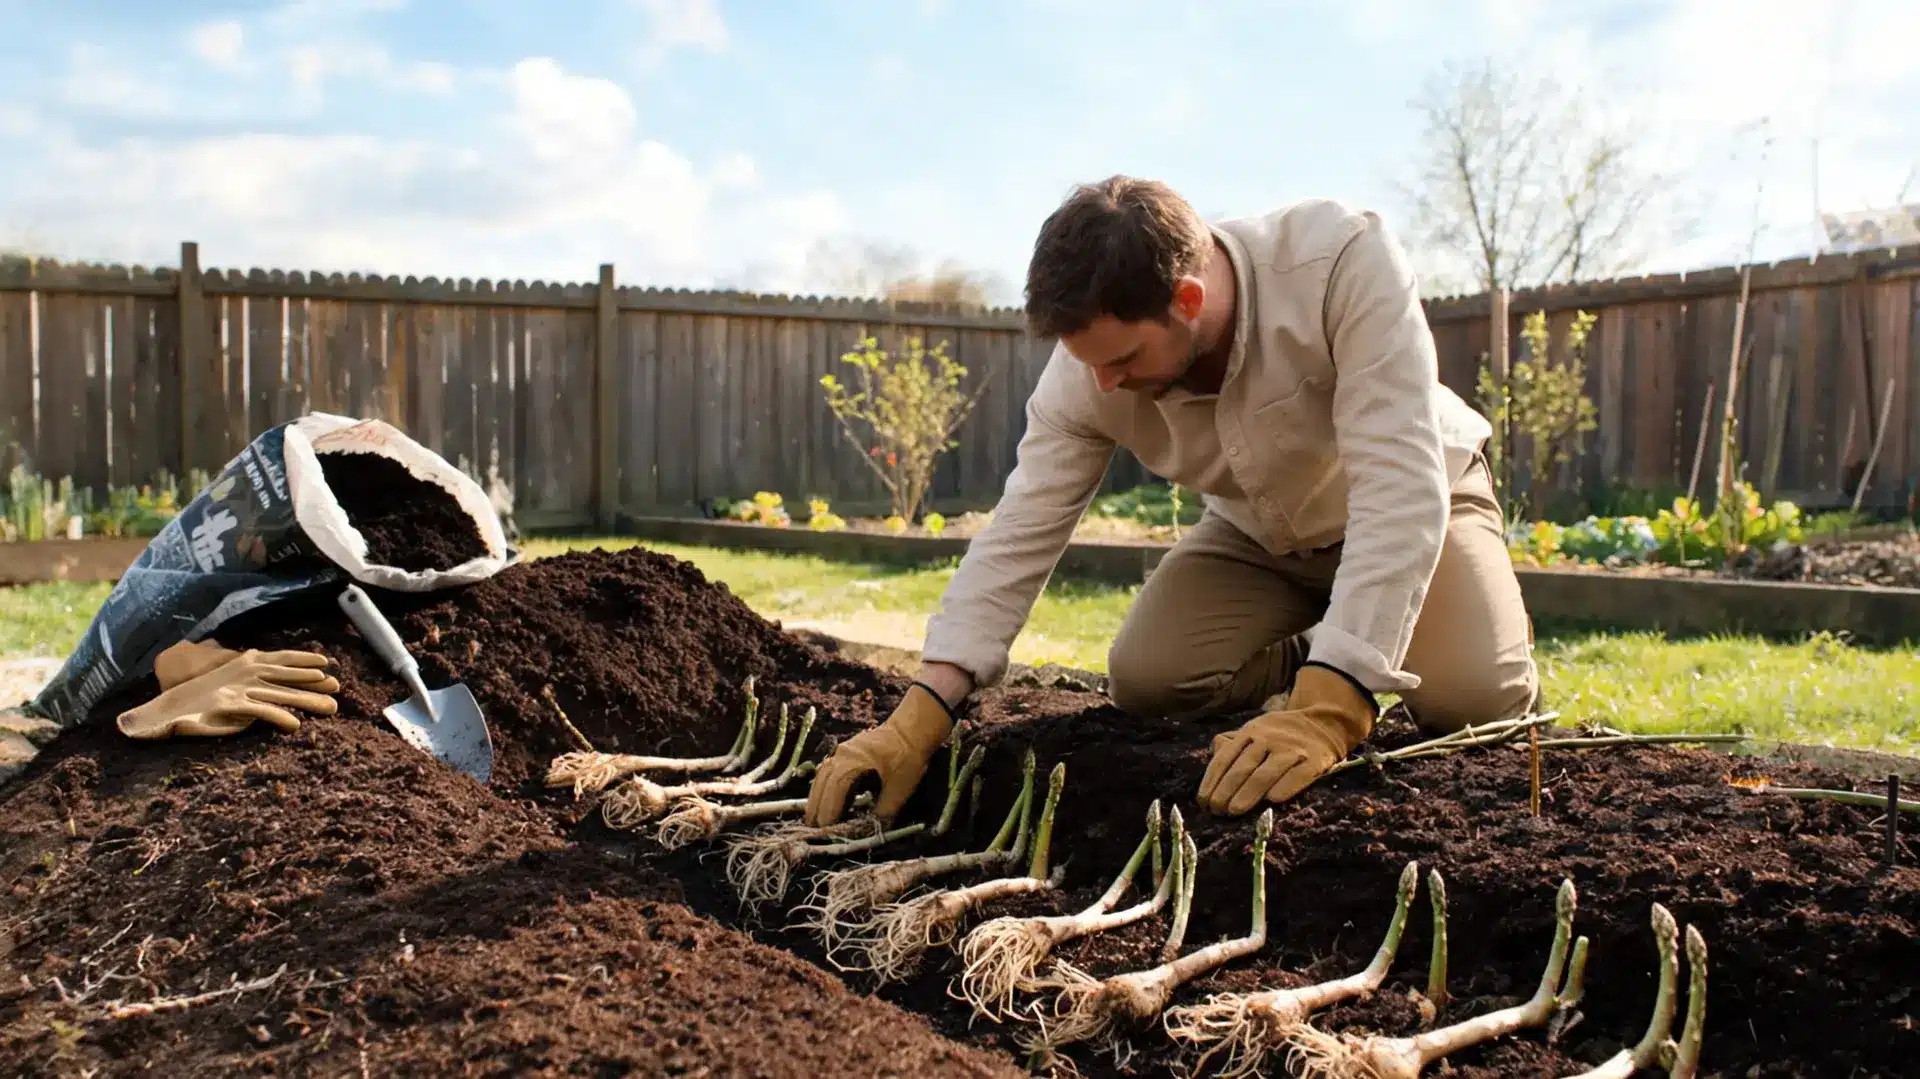
After spring’s last frost, dig a trench and set the asparagus crowns in place. The video recommends a trench 6 to 8 inches wide and 6 inches deep, with crowns spaced 12 to 18 inches apart.
How to do it:
- Wait until the soil is workable after the last frost.
- Dig a trench 6 to 8 inches wide and about 6 inches deep.
- Place crowns in the trench 12 to 18 inches apart.
- Spread the roots out gently.
- Keep the bud or crown center facing upward.
- Cover the crowns with 2 to 3 inches of soil.
- Water well after planting.
| Tip: Do not fill the trench completely at planting time. Covering crowns with only 2 to 3 inches of soil helps young shoots push through more easily. |
This is the key step inplanting because depth, spacing, and watering affect how well the crowns take root. Once planted, the bed needs careful feeding.
Step 4: Fertilize
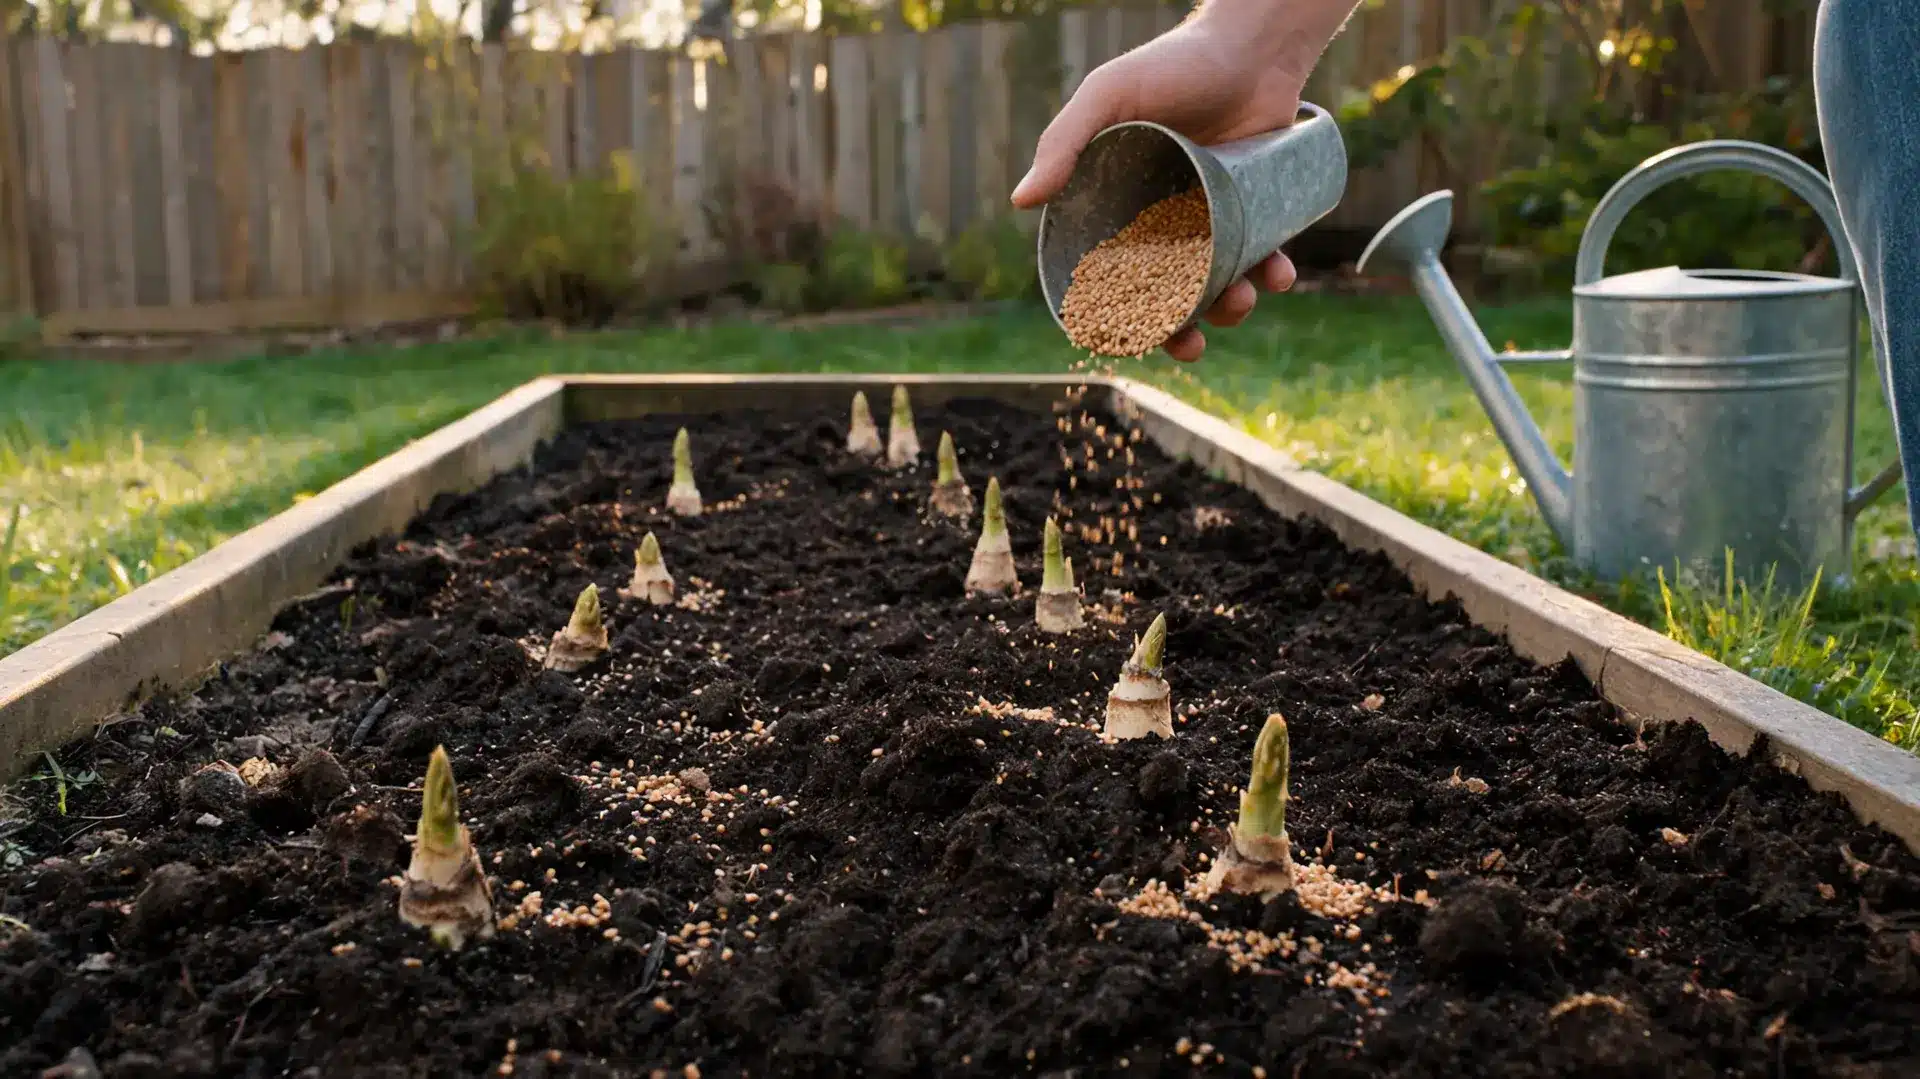
After planting and watering, fertilize with a product made for vegetables. Use the amount recommended on the fertilizer label, or follow your soil test results if you have them.
How to do it:
- Choose a vegetable fertilizer.
- Read the product label before applying.
- Apply only the recommended amount.
- Keep granular fertilizer from sitting directly on exposed crowns.
- Water after applying if the label recommends it.
| Tip: More fertilizer is not better. Too much can stress young roots or push weak growth. Use a steady, balanced approach. |
Fertilizer helps support early growth, but soil coverage still needs to be finished slowly as the asparagus plants grow taller.
Step 5: Rake Soil
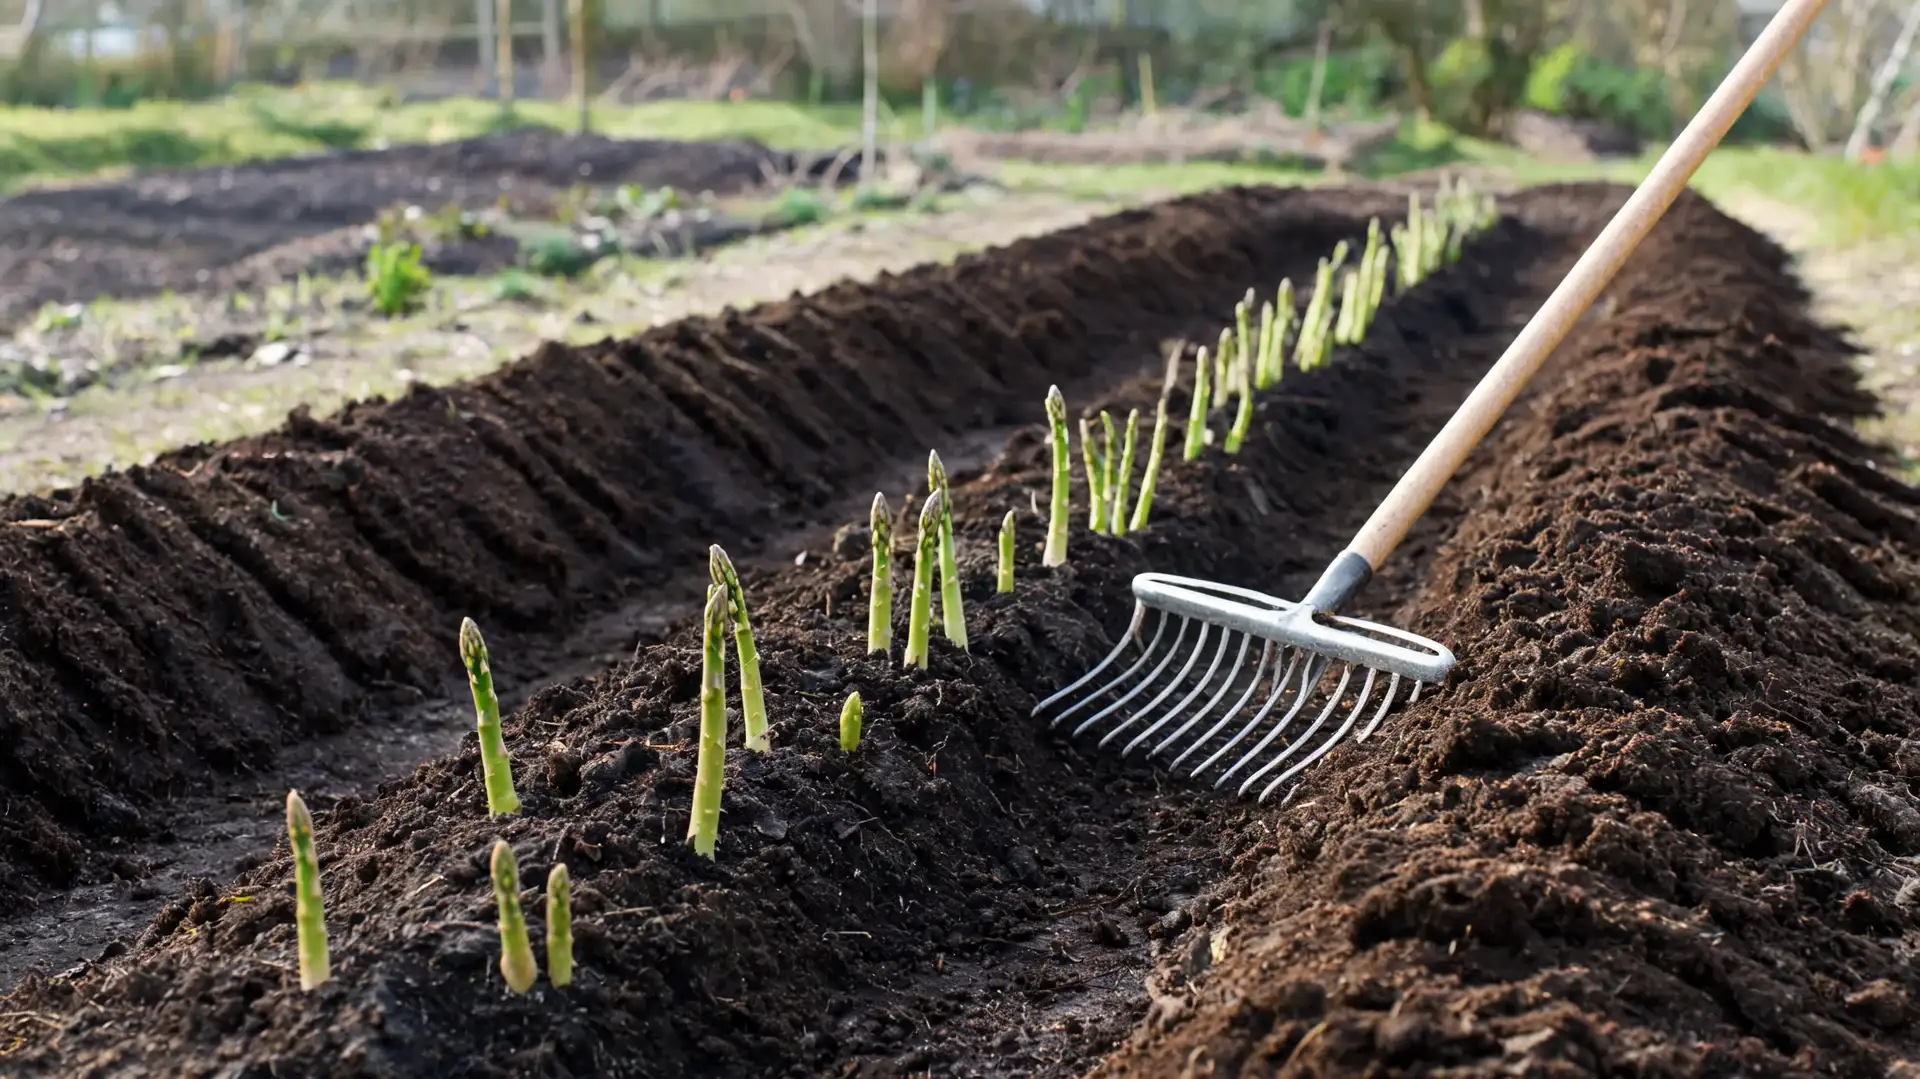
As the plants grow, rake more soil back into the trench. Keep adding soil in stages until the bed is level with the surrounding ground.
How to do it:
- Watch for young shoots as they grow.
- When plants get taller, rake a little soil into the trench.
- Avoid burying the growing tips completely.
- Repeat as needed.
- Stop when the trench is level with the garden bed.
| Tip: Add soil gradually, not all at once. This protects young growth while giving the crown support as it settles into the bed. |
Once the trench is level, the planting stage is done. From here, the focus shifts to moisture, weed control, and keeping the bed healthy.
Step 6: Maintain Bed
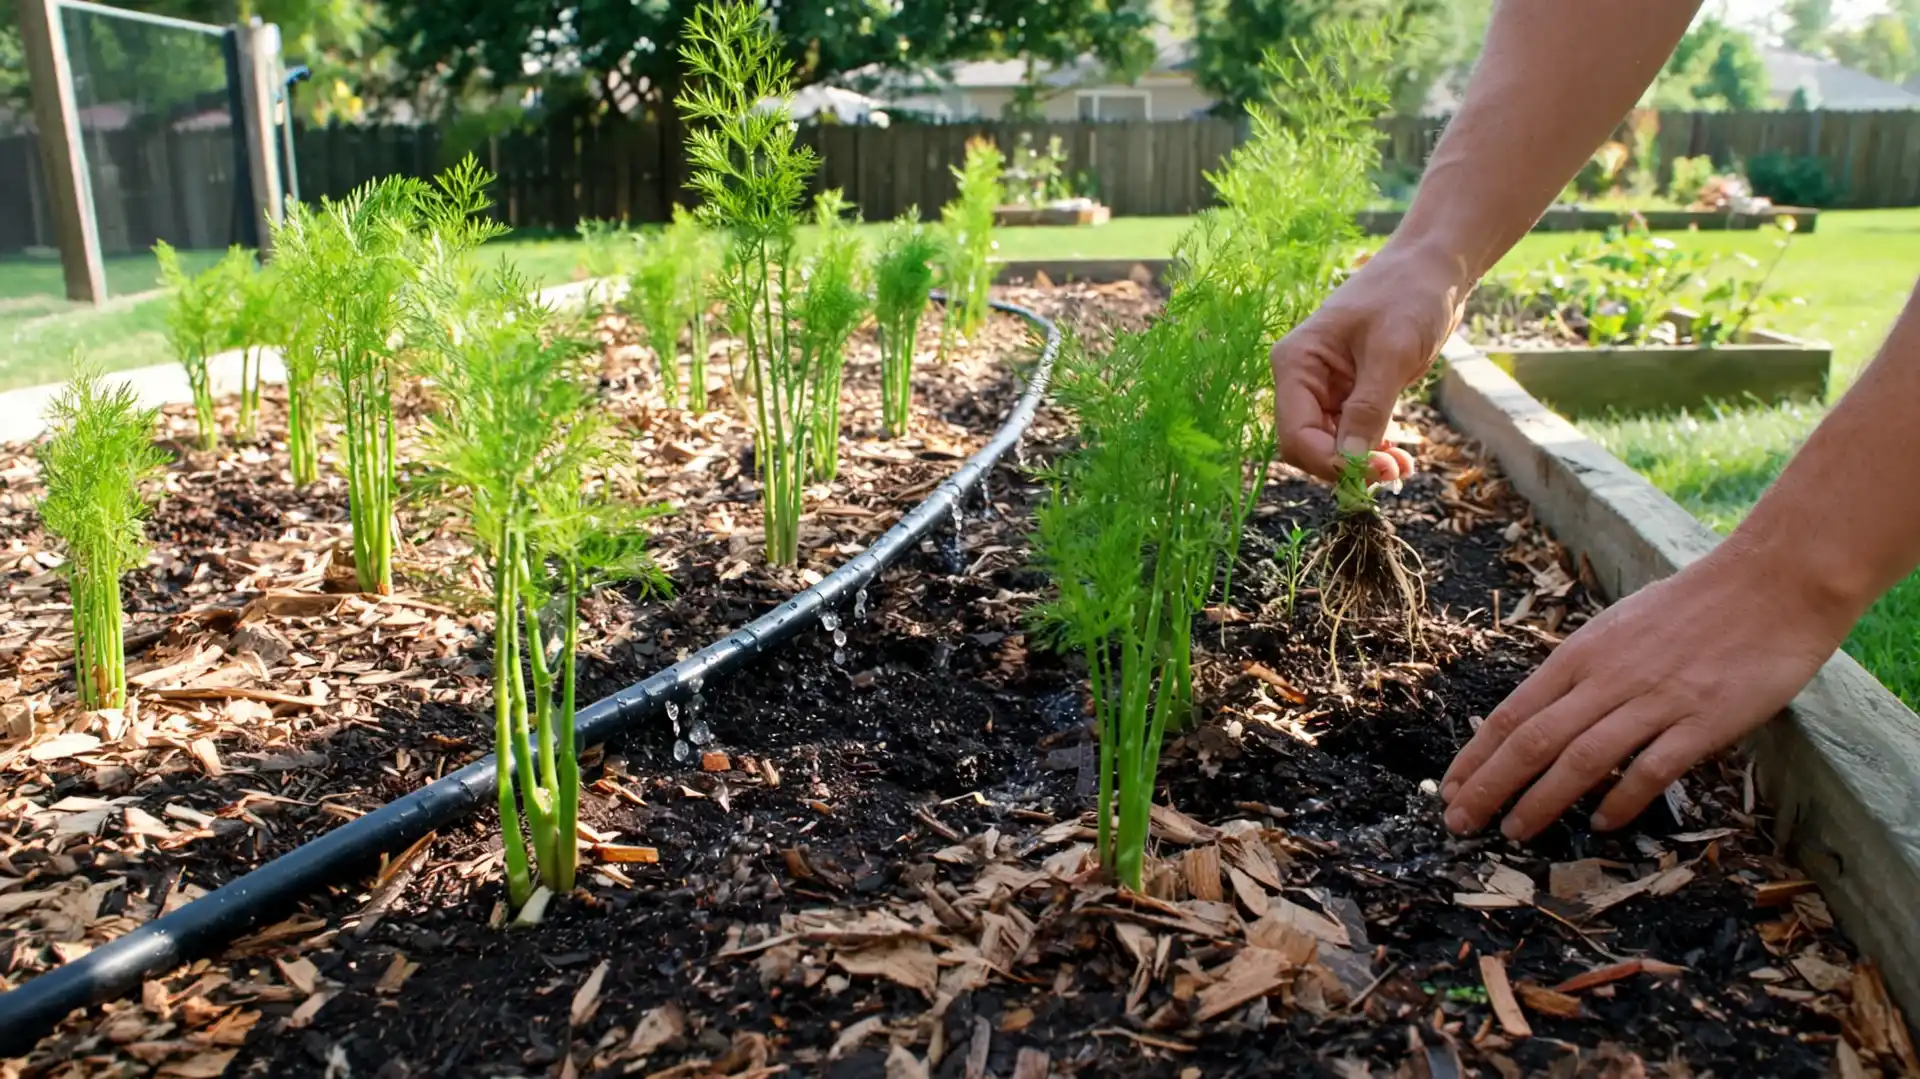
During the growing season, keep the asparagus bed moist. The video notes that water should soak about 8 inches deep. In dry regions, a soaker hose or drip irrigation system can help maintain steady moisture levels.
How to do it:
- Water during dry periods.
- Aim for deep watering instead of light surface watering.
- Use mulch to help hold moisture and reduce weeds.
- Pull weeds carefully by hand.
- Let the fern growth stand so it can feed the crowns.
- Use a soaker hose or drip irrigation in dry areas.
| Tip: Keep the soil moist, not soggy. Asparagus needs steady moisture, but wet soil can damage crowns and increase the risk of rot. |
Good maintenance helps crowns store energy. That stored energy is what makes future harvests stronger.
Step 7: Harvest
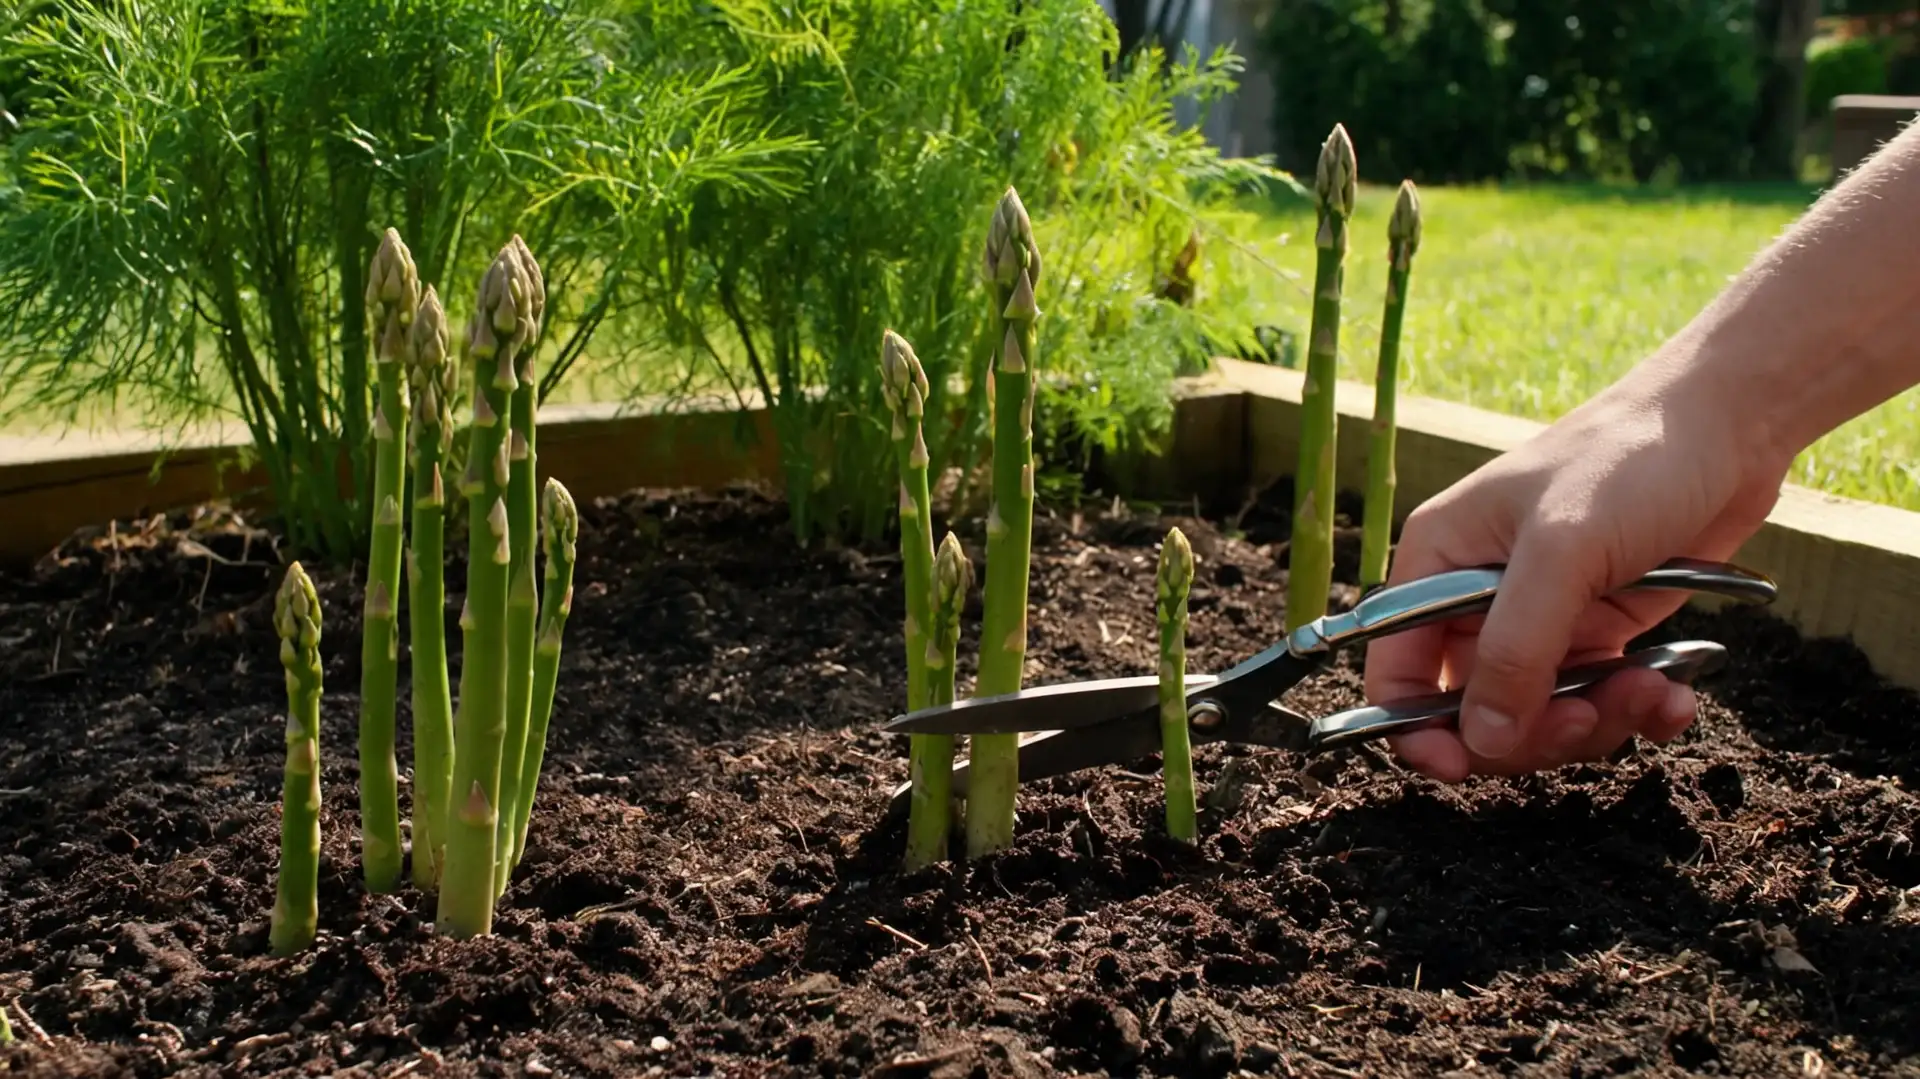
Asparagus takes patience. Let the plants mature for a few years before heavy harvesting. This gives the crowns time to build a strong root system and produce better spears later.
How to do it:
- Avoid heavy harvesting in the first year.
- Let ferns grow so they can feed the crowns.
- Begin with a light harvest once the bed is established.
- Harvest more fully only after the crowns are mature.
- Stop harvesting when spear size starts getting thin.
| Tip: Early restraint leads to better future harvests. Cutting too many spears too soon weakens the crown and can reduce production for years. |
That completes the 7-step process for planting: choose the location, prep the bed, plant and water, fertilize, rake the soil back, maintain the bed, and wait for the right harvest time.
How Do You Care for Asparagus After Planting?
Planting is only the first part. New asparagus crowns need steady care while they build roots and ferns. Keep the soil moist, control weeds, and let the fern growth stand long enough to feed the crown.
Water deeply during dry weather. The goal is moist soil, not soggy soil. Mulch can help hold moisture and reduce weeds. Pull weeds by hand when possible because young spears can snap easily.
Let the ferns grow after the planting season. They may look wild, but they are doing important work. Ferns collect energy and send it back to the crown.
At the end of the season, follow local guidance. Some gardeners remove dead fern growth after frost. Others wait until early spring. In colder regions, standing dry ferns can help catch snow, but remove old growth before new spears push up.
Good aftercare protects all the work you did during planting asparagus. It also helps stop the common problems that weaken young beds.
What Mistakes Should You Avoid When Planting Asparagus
Small planting mistakes can weaken an asparagus bed for years. Most problems start with the wrong site, poor soil prep, crowded crowns, or harvesting before the plants are ready. Avoiding these mistakes gives the crowns a stronger start.
- Planting in Shade: Too much shade leads to weak fern growth and thin spears. Choose a full-sun spot where the plants can build enough energy for future harvests.
- Using Wet or Poorly Drained Soil: Soggy soil can cause crown rot. Plant asparagus crowns in loose, well-drained soil, and avoid low areas where water collects after rain.
- Skipping the Soil Test: Poor pH or low fertility can slow growth. Test the soil before planting so you can adjust pH, compost, and fertilizer before the crowns go in.
- Crowding the Crowns: Crowded crowns compete for water, nutrients, and root space. Space asparagus crowns 12 to 18 inches apart so each plant has room to grow.
- Filling the Trench Too Soon: Covering the trench fully at planting can bury young shoots. Start with 2 to 3 inches of soil, then add more as the plants grow taller.
- Harvesting Too Early: Cutting too many spears too soon weakens the crowns. Let the plants mature first so they can build strong roots and produce better harvests later.
Asparagus is not hard to grow, but it does need patience. When the bed is sunny, well-prepared, and handled carefully during the first few seasons, the crowns can focus on root growth and support stronger spears later.
Frequently Asked Questions About Planting Asparagus Crowns
How many asparagus crowns should I plant per person?
Plant about 5 to 10 asparagus crowns per person for regular spring harvests. Smaller households can start with fewer crowns and expand later. If you cook asparagus often, plant about 10 crowns per person so the bed produces enough spears at a time.
Why are my asparagus crowns not growing?
Asparagus crowns may not grow if they dried out before planting, sat in soggy soil, were planted too deeply, or faced cold, compacted soil. Give them time, keep the bed moist, and avoid digging them up too soon. Some crowns sprout more slowly than others.
Can asparagus crowns survive winter?
Yes, asparagus crowns can survive winter once they are established. The crowns rest underground while the top growth dies back. In colder areas, mulch can help protect the bed. Remove old fern growth before new spears begin pushing up in spring.
How long does it take asparagus crowns to produce?
Asparagus crowns usually need two to three years before a full harvest. The first season is for root and fern growth. Light harvesting may begin once plants are strong, but heavy cutting too early can weaken the bed and reduce future production.
Can asparagus grow in containers?
Asparagus can grow in large containers, but it is not the best long-term option. The roots need depth, space, and steady moisture. If using a pot, choose a deep container, use rich, well-drained soil, and expect a smaller harvest than an in-ground bed.
Wrap Up: Should You Grow Asparagus Crowns?
Yes, asparagus crowns are worth growing if you have a sunny, permanent garden spot and do not mind waiting for the plants to mature. Once you learn how to plant asparagus crowns correctly, one well-planted bed can reward you with fresh spring spears for years.
The key is starting right. Choose well-drained soil, give each crown enough space, water deeply, and let the ferns grow before heavy harvesting. That first season builds the root strength your future harvests depend on.
If you want a low-maintenance perennial vegetable for your home garden, asparagus crowns are a smart choice. Start with healthy crowns, follow the planting steps carefully, and give the bed time to settle before expecting a full harvest.