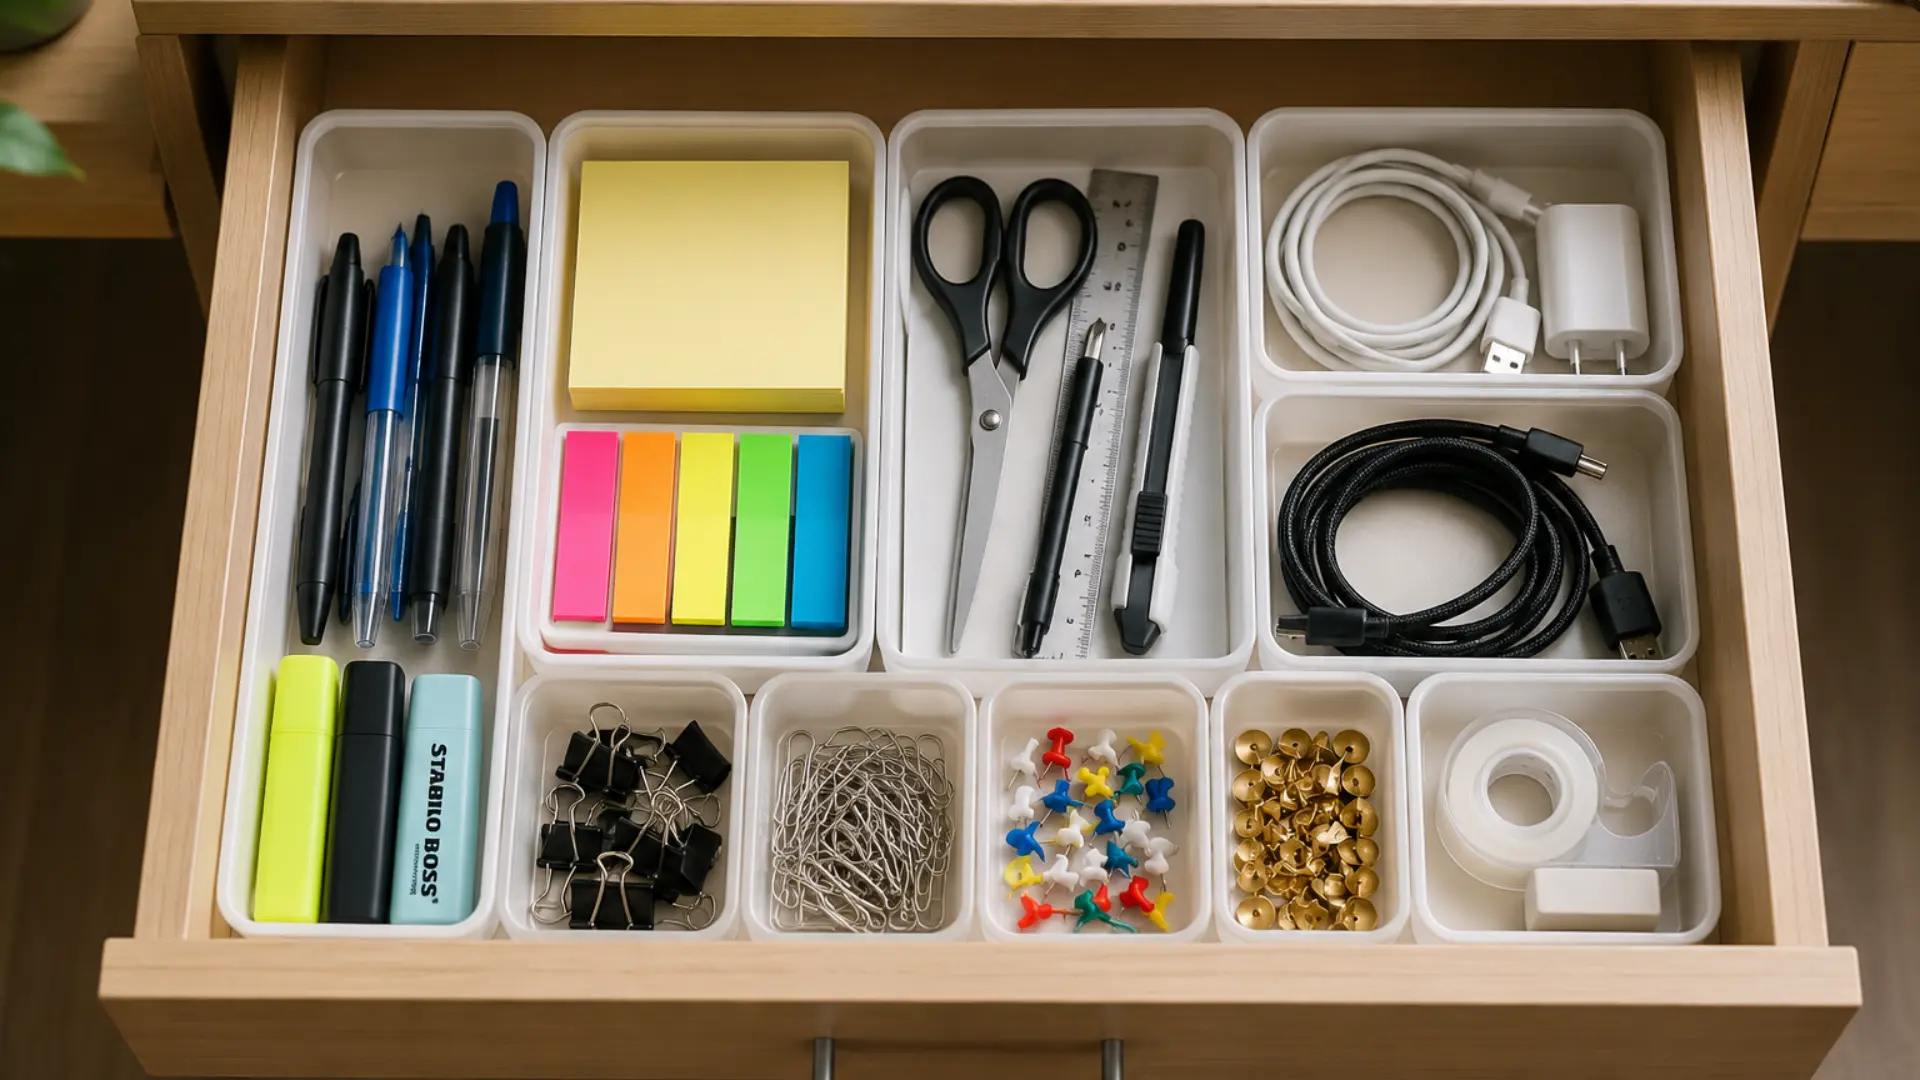
A cluttered desk drawer can make even a simple task feel frustrating. Pens disappear under old papers, charging cables become tangled, and small office supplies are often impossible to find when you need them. Learning how to organize desk drawers can help you save time, reduce distractions, and create a workspace that feels easier to use every day.
The good news is that you do not need expensive organizers or a complete office makeover. With a clear plan, a few simple containers, and some regular upkeep, you can turn messy drawers into practical storage.
Below you will learn about simple steps to sort your supplies, assign each drawer a purpose, use the available space wisely, and build a system that stays organized.
What an Organized Desk Drawer Should Help You Do
Before you begin, think about how the finished drawer should work. A useful system is not just neat to look at. It should help you find, use, and return items without moving everything else.
A well-planned drawer should:
- Keep everyday items within easy reach
- Separate different types of supplies
- Make small objects easy to see
- Leave enough room to remove and return items
- Be simple enough for everyone using the desk to follow
Keep only items connected to your regular work. Extra stationery, household objects, long-term paperwork, and rarely used supplies should be stored somewhere else, ideally in a spot like the closed-drawer storage covered in these living room storage ideas, which work well for keeping overflow office supplies out of sight nearby.
How to Organize Desk Drawers
Once you know what belongs at your desk, follow these steps to create drawers that are clean, practical, and easy to maintain.
Step 1: Empty and Clean the Drawers
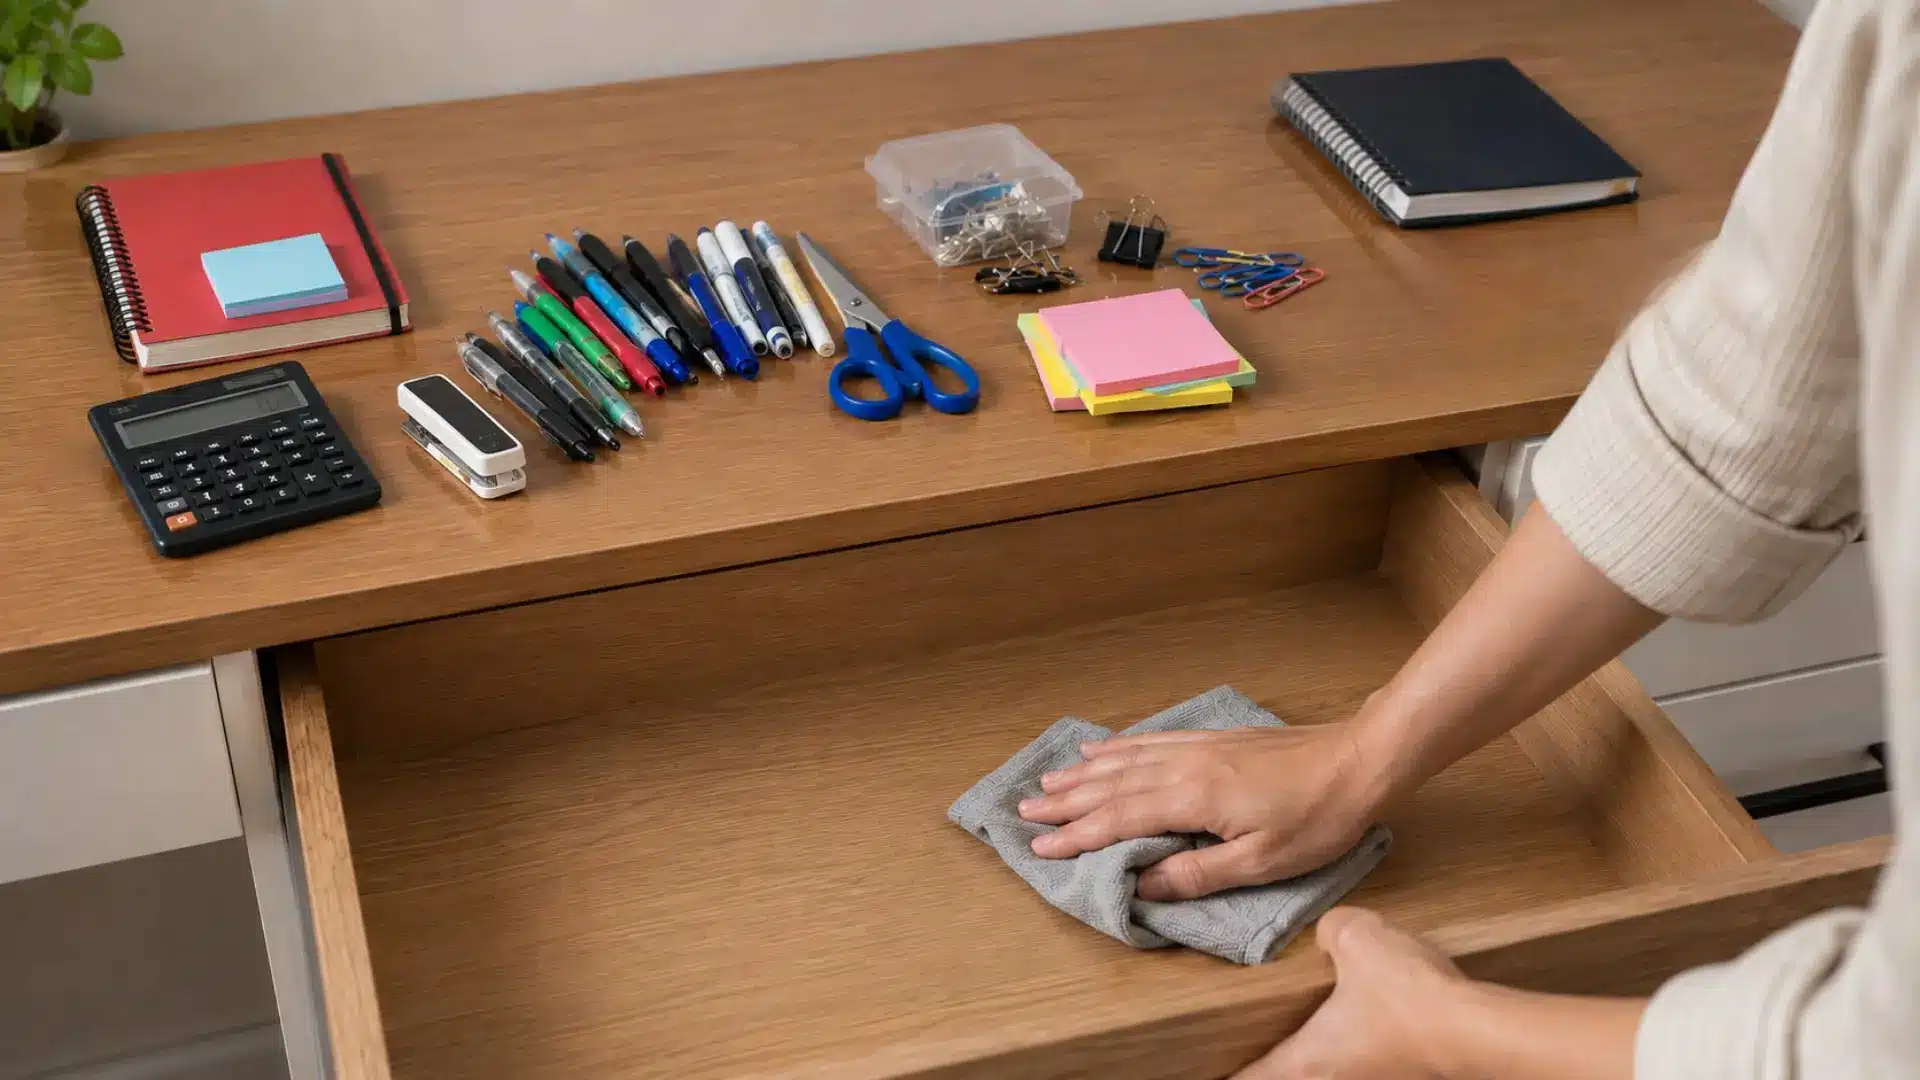
Take everything out and place it on a clear surface. Starting with an empty drawer helps you see the available space and stops you from organizing around unnecessary clutter.
Remove dust, crumbs, and loose dirt. Wipe the inside with a slightly damp cloth and let it dry completely. You can also clean calculators, chargers, and other devices before putting them back.
Step 2: Sort and Declutter Your Supplies
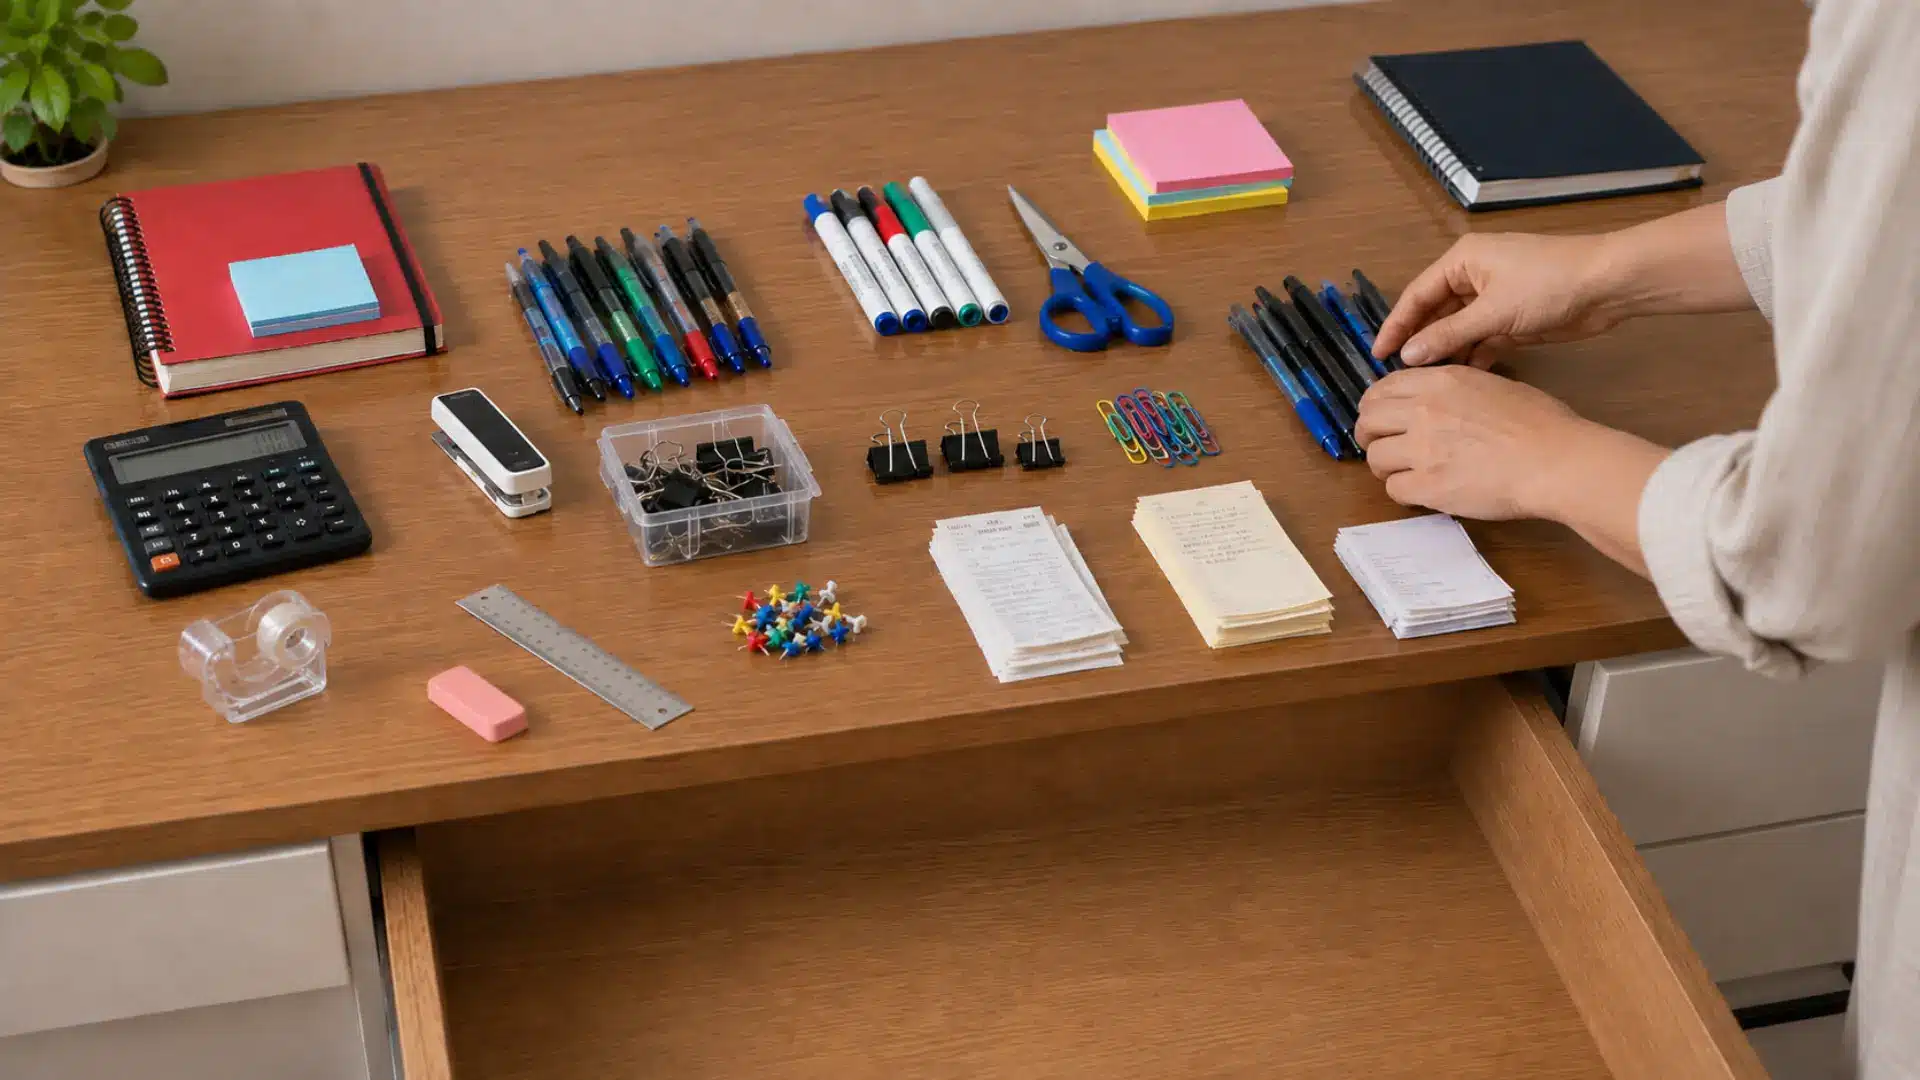
Group similar items together so you can see what you own. Useful categories may include stationery, notebooks, office tools, cables, electronics, papers, and personal items.
As you sort, create separate areas for items to keep, donate, recycle, throw away, or move elsewhere. Remove dried-out pens, broken chargers, duplicate tools, outdated papers, and anything that does not belong at your desk.
Step 3: Decide What Each Drawer Will Hold
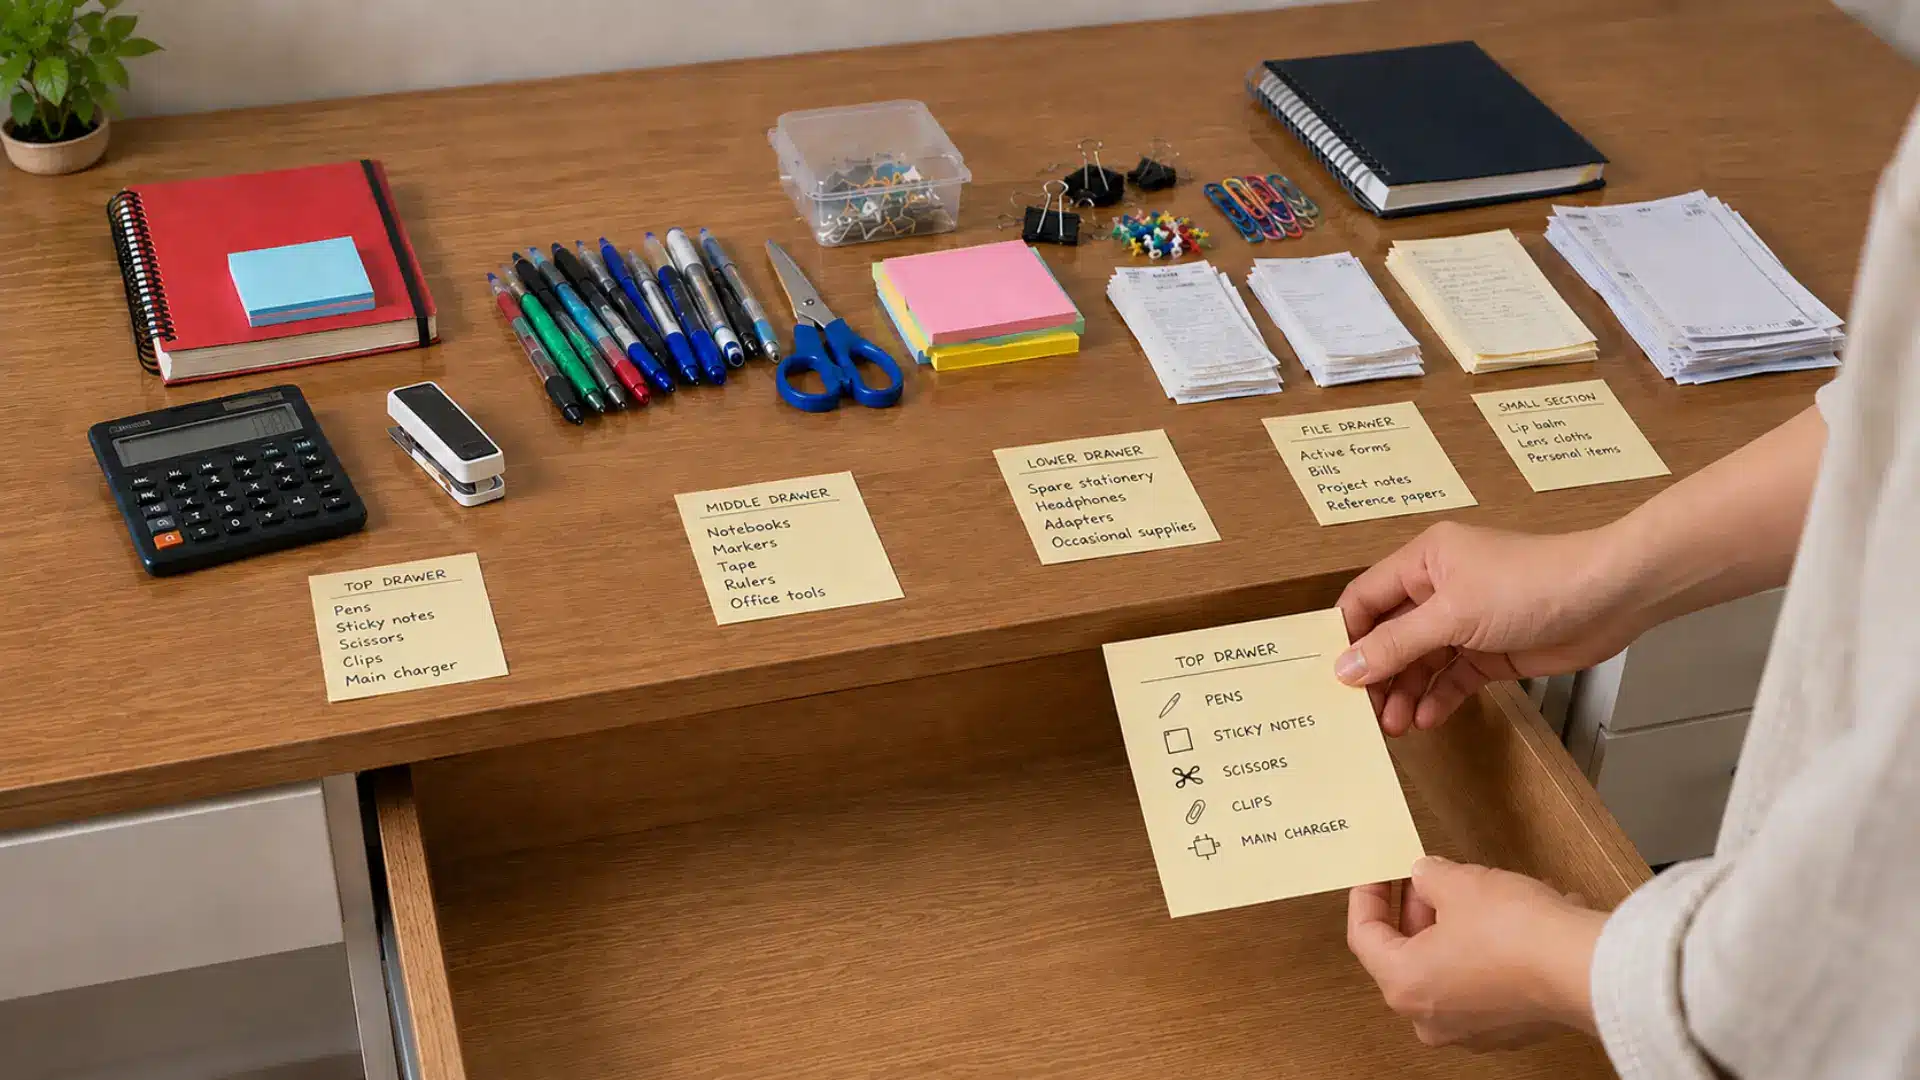
Give every drawer one clear purpose so unrelated items stop mixing, and supplies stay easy to return.
A practical setup keeps pens, notes, and your main charger in the top drawer, notebooks and rulers in the middle, spare stationery and adapters in a lower drawer, active paperwork in a file drawer, and small personal items like lip balm in their own section, with daily essentials up front and less-used items farther back.
Step 4: Add Organizers That Fit the Space
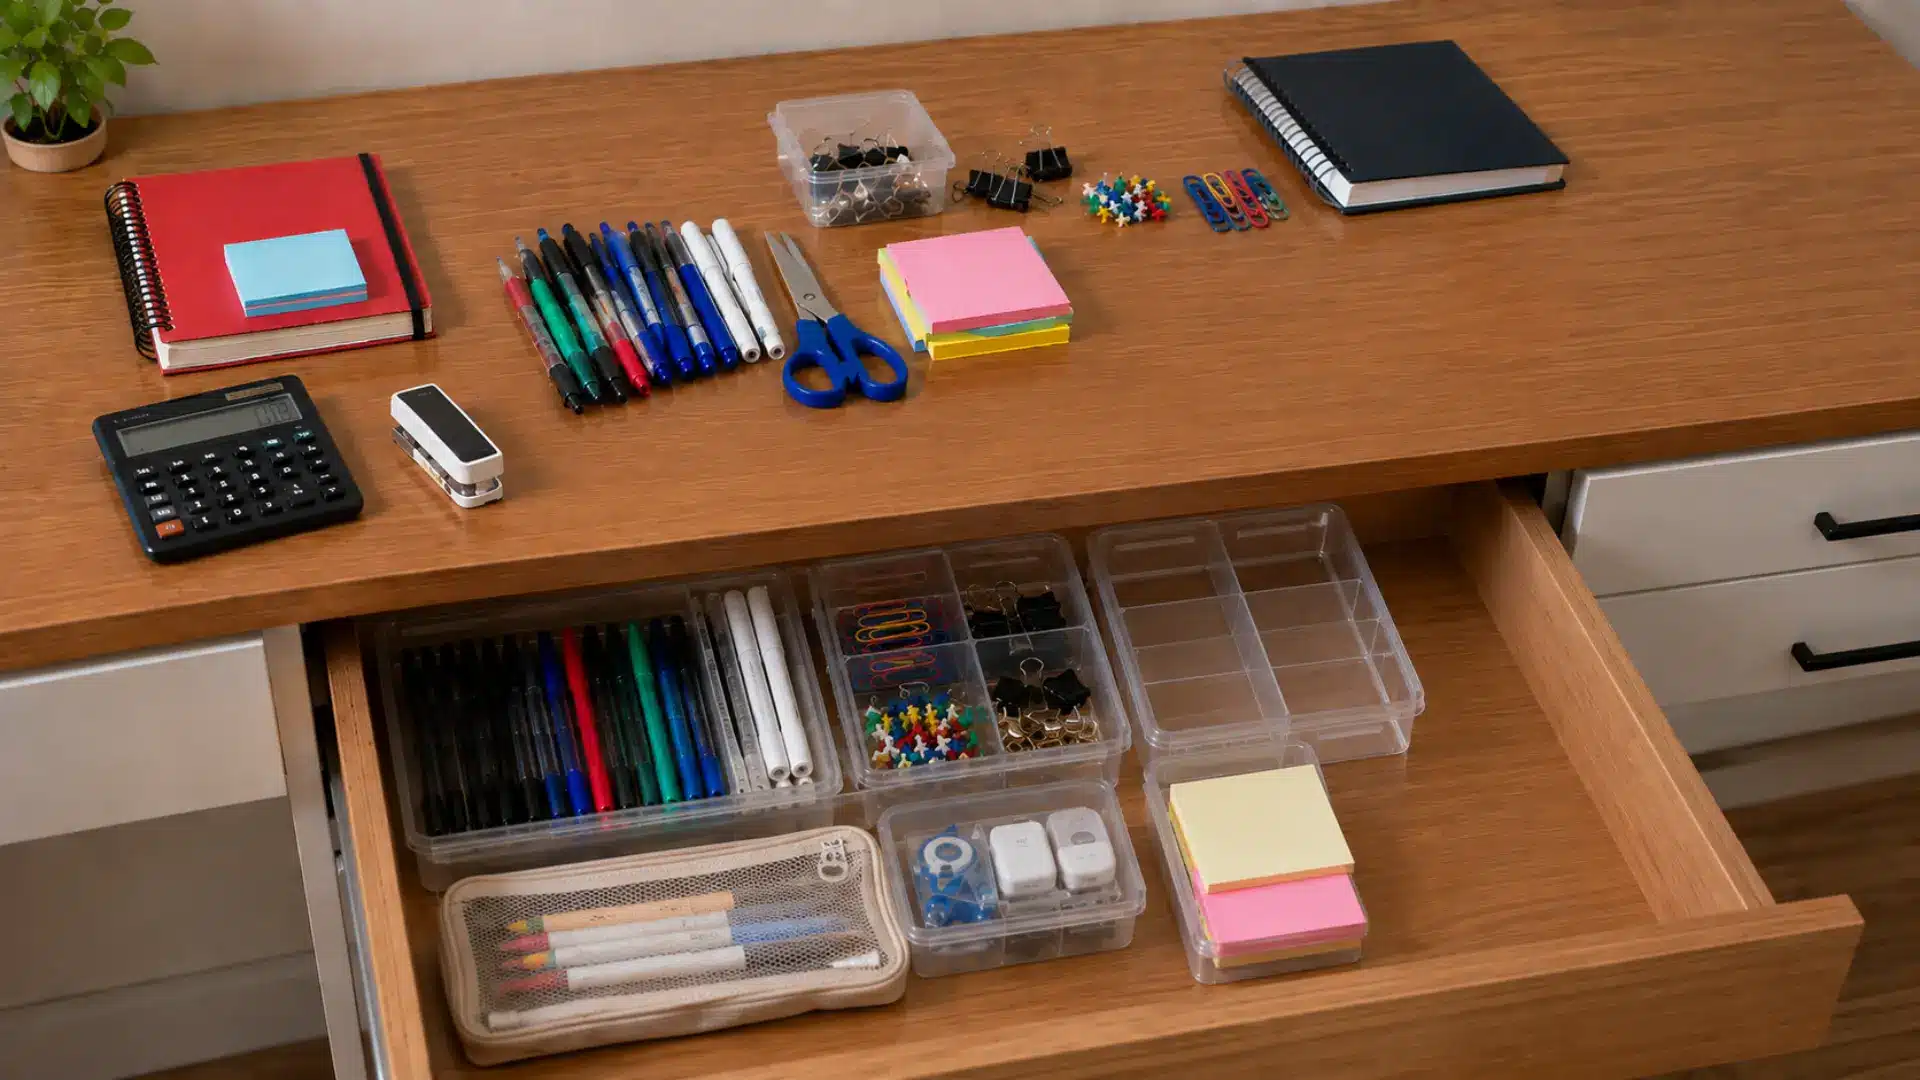
Measure the width, length, and depth of each drawer before choosing trays or dividers, the same first step recommended in this closet organizer project, since guessing at sizes usually means wasted space or organizers that do not fit. Match each organizer to the items you need to store.
Use long trays for pens, rulers, and scissors. Small boxes work well for clips, pins, and erasers, while pouches can hold cables and electronic accessories.
You do not need to buy new organizers. Jewelry boxes, food containers, mint tins, cosmetic pouches, and old cutlery trays can work just as well.
Step 5: Manage Papers and Cables Separately
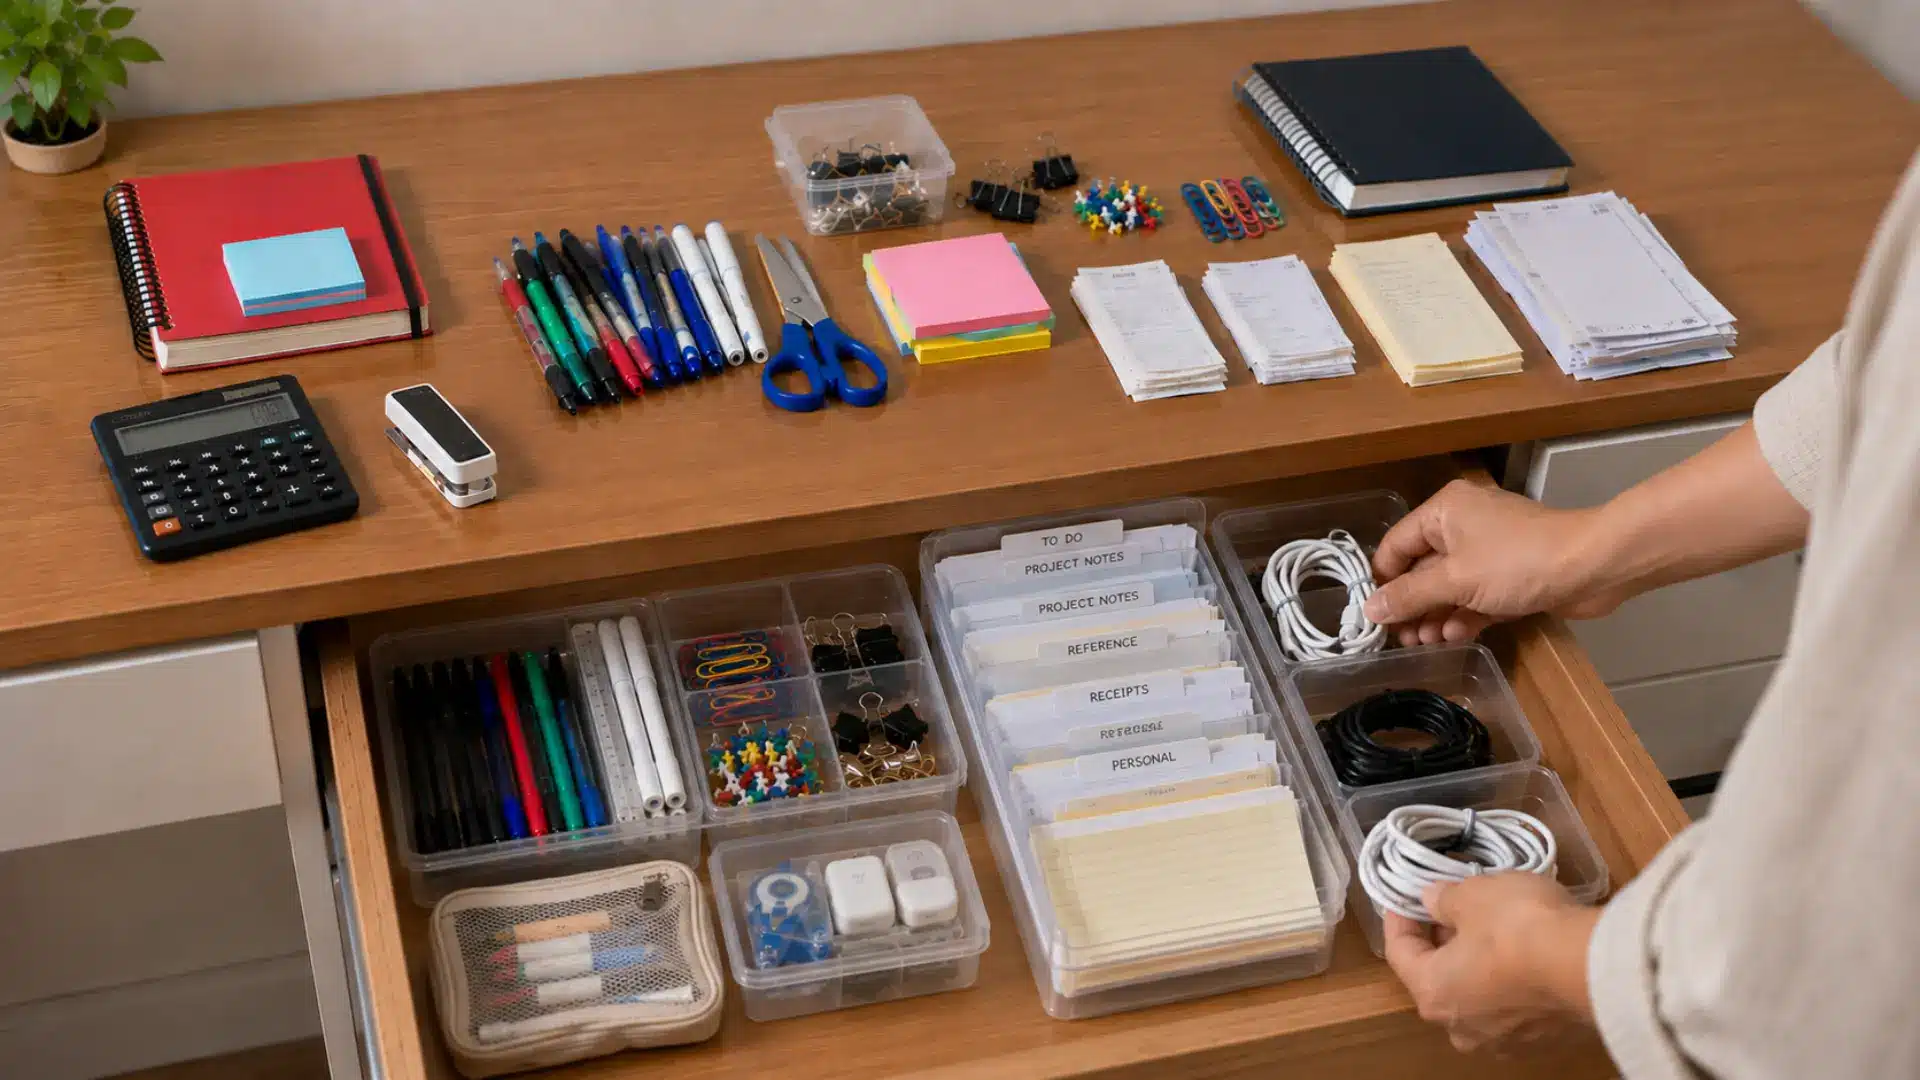
Papers and cables can quickly take over a drawer, so give each category its own system.
Keep only active paperwork at your desk. Clip important documents together, remove outdated notes, and set aside a separate time for detailed filing. Scan papers when a physical copy is not needed.
Coil each cable loosely, secure it with a reusable tie, and label it with the device name. OSHA also notes that flexible cords are more prone to damage than fixed wiring, so store adapters in a separate compartment and recycle broken or outdated cords rather than letting them coil loose in a drawer or trail off your desk.
Step 6: Put Everything Back and Test the Layout
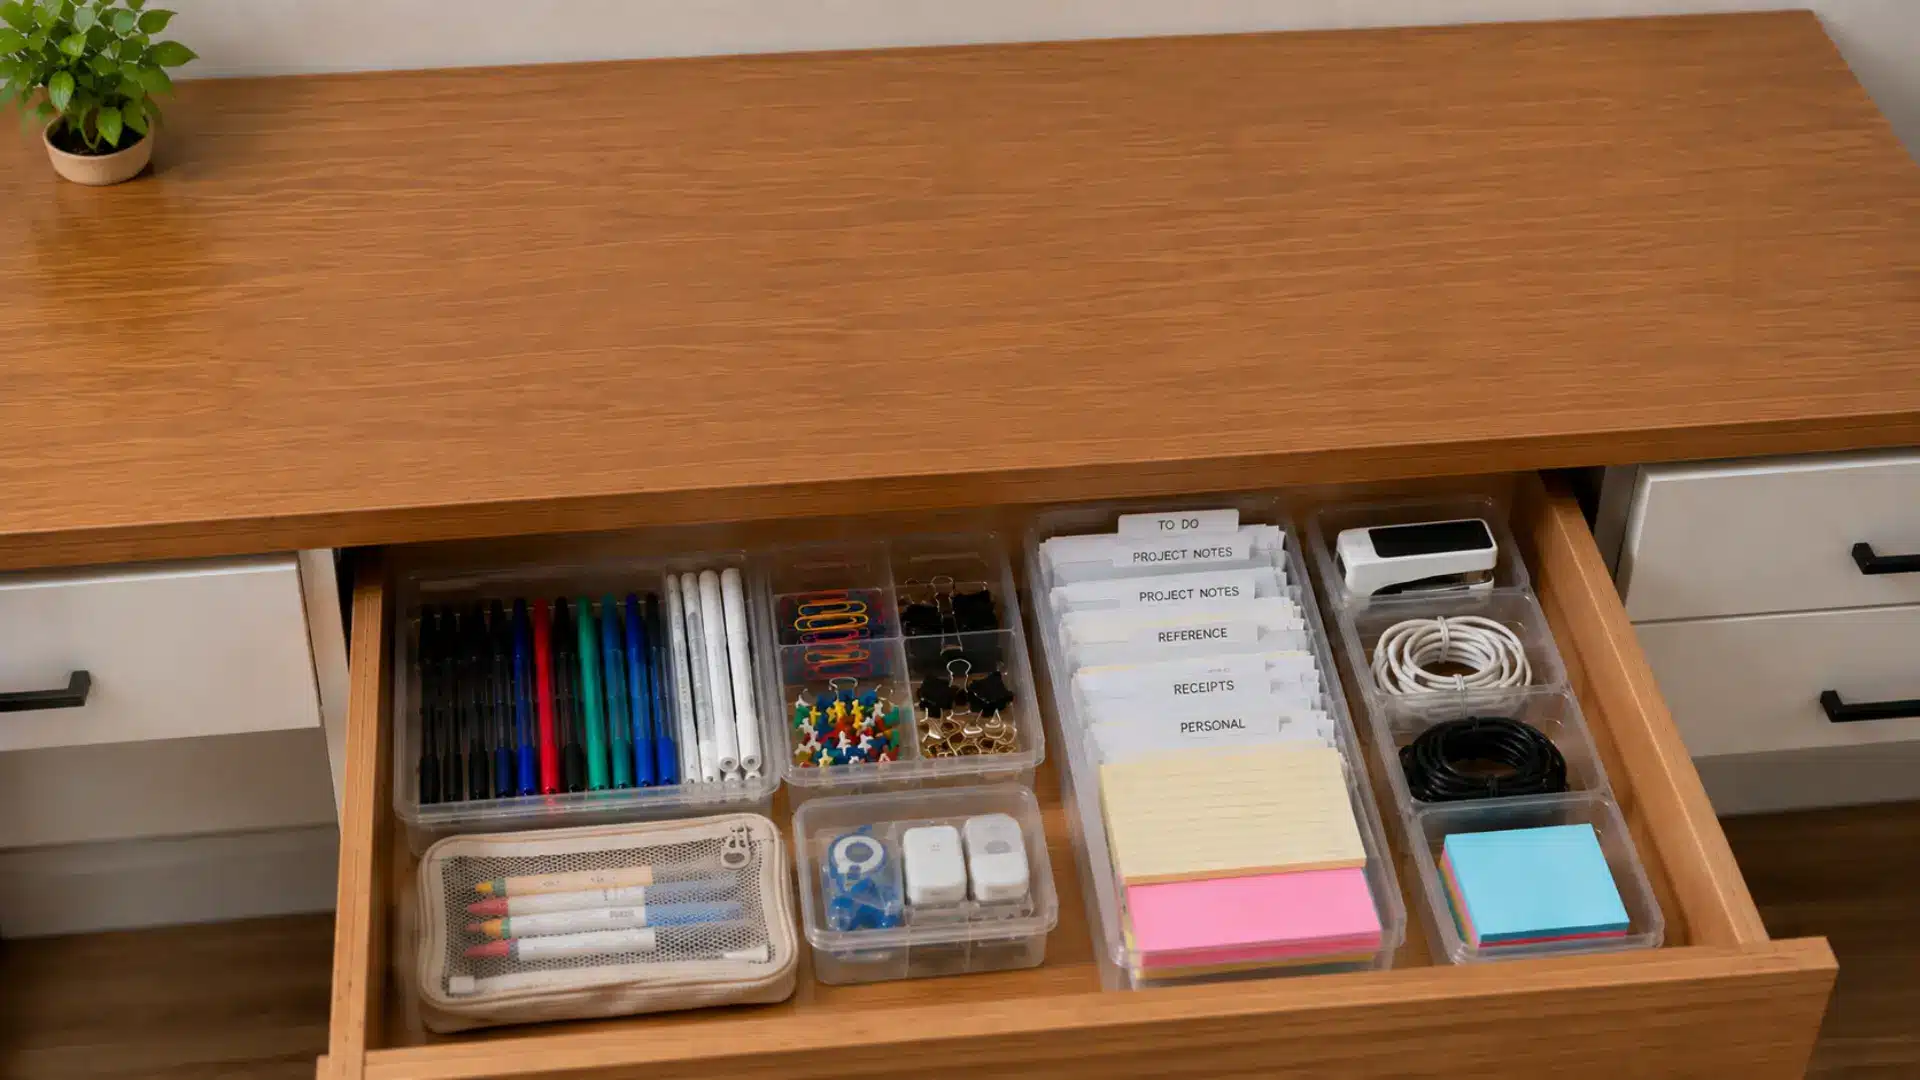
Return only the items you decided to keep. Place daily essentials near the front, regular-use supplies in the middle, and occasional items toward the back.
Leave enough room to see and remove everything easily. Avoid filling every corner or allowing containers to overflow.
Open and close each drawer several times. Check that nothing catches, shifts, or stops the drawer from closing. Move any item that feels difficult to reach.
A Five-Minute Routine That Prevents Clutter
You do not need to reorganize the whole desk every week. A short routine can keep your system working, and it matters more than it might seem, since research summarized by Utah State University Extension points to clutter as a real drag on focus and mental energy, not just a visual annoyance.
- At the end of the day: Return loose pens, tools, and cables to their sections.
- Once a week: Remove rubbish, deal with loose papers, and move misplaced items.
- Once a month: Test pens, check cables, and remove supplies you no longer use.
- Every few months: Review the layout and adjust any section that feels crowded or difficult to reach.
Follow a one-in, one-out rule when adding new supplies. When a new item goes into the drawer, remove an old or unused one.
Best Materials for Desk Drawer Organizers
The tray or divider you pick affects how well a drawer holds up over time, not just how it looks on day one, so the table below breaks down the main options along with their real strengths and tradeoffs.
| Material | Strengths | Tradeoffs |
|---|---|---|
| Plastic Trays | Lightweight, inexpensive, and easy to wipe clean | Thinner versions can crack or warp after a few years of daily use |
| Bamboo or Wood Dividers | Sturdy, long-lasting, and a more finished look | Usually costs more and can warp if the drawer stays damp |
| Fabric or Felt Bins | Soft-sided and easy to reshape around odd items | Less structure for heavier supplies like staplers or tape dispensers |
| Mesh or Wire Organizers | Good airflow for damp items like chargers just brought in from outside | Small parts such as pins or clips can slip through the gaps |
Mixing two materials, a firm tray for pens and tools with a soft pouch for cables, often works better in practice than committing to just one type across the whole drawer.
Space-Saving Tips for Small Desk Drawers
A small drawer can still work well when every item has a purpose. The goal is not to fit in as much as possible, but to keep everything visible and easy to reach.
- Choose containers that closely match the size of your supplies
- Use small boxes for clips, pins, and erasers
- Coil cables so they take up less room
- Keep backup stationery outside the desk
- Avoid stacking items you cannot see
- Leave some open space for easy access
Fewer useful items will usually give you more practical storage than a drawer packed with trays and spare supplies.
Desk Drawer Mistakes and How to Fix Them
Even a neatly arranged drawer can become messy again if the setup is difficult to use. This table below highlights common organization mistakes and shows the better approach for creating a practical system that lasts.
| Common Mistake | Better Approach |
|---|---|
| Buying organizers before measuring | Measure each drawer before choosing trays or dividers |
| Keeping broken or duplicate supplies | Declutter before organizing the remaining items |
| Mixing unrelated categories | Give each type of supply its own section |
| Filling every available space | Leave room to see and return each item |
| Ignoring papers and cables | Create separate systems for documents and cords |
Fixing these common mistakes will help your drawers stay practical, not just tidy. A simple setup with clear categories, well-fitted organizers, and a little open space is much easier to use and maintain over time.
Frequently Asked Questions
What should I keep in my top desk drawer?
Keep the items you use every day, such as pens, sticky notes, scissors, paper clips, and your main charging cable, close to the front for easy access.
How often should I reorganize my desk drawers?
Do a quick weekly reset: remove loose papers, return misplaced items, and complete a deeper review every few months to prevent clutter from rebuilding.
Do I need to buy drawer organizers?
No. You can reuse jewelry boxes, food containers, mint tins, cosmetic pouches, shoebox lids, or an old cutlery tray to separate small items inside each drawer.
How do I organize cables in a desk drawer?
Coil each cable loosely, secure it with a reusable tie, label it with the device name, and store adapters in a separate compartment for easy identification.
Wrap Up
Knowing how to organize desk drawers is not about creating a perfectly styled space. It is about building a simple system that supports your routine.
When everyday supplies are easy to see, papers are controlled, and cables have a dedicated place, you spend less time searching and more time focusing on the work in front of you.
The most effective setup is one you can maintain without effort, so start small and adjust it as your needs change.
Choose the drawer that causes the most frustration, set a timer for 15 minutes, and complete the first step today. Empty it, remove what you no longer use, and give every remaining item a clear home. Your cleaner, calmer workspace can begin with just one drawer.
Drop a comment below and share how you keep your own desk drawers organized.