| Project detail | What to expect |
|---|---|
| Skill level | Beginner to intermediate |
| Estimated time | About one weekend |
| Beginner-friendly design | Shelves with hanging rods |
| Recommended materials | Plywood or wood boards |
| Key skills | Accurate measuring and leveling |
| Optional add-ons | Drawers, cubbies, and shoe storage |
A crowded closet can make getting dressed feel harder than it should, especially when shelves and rods waste half the space.
The good news is that fixing the layout does not require a huge budget or a custom installation. A DIY closet organizer gives you control over the size, storage sections, and materials.
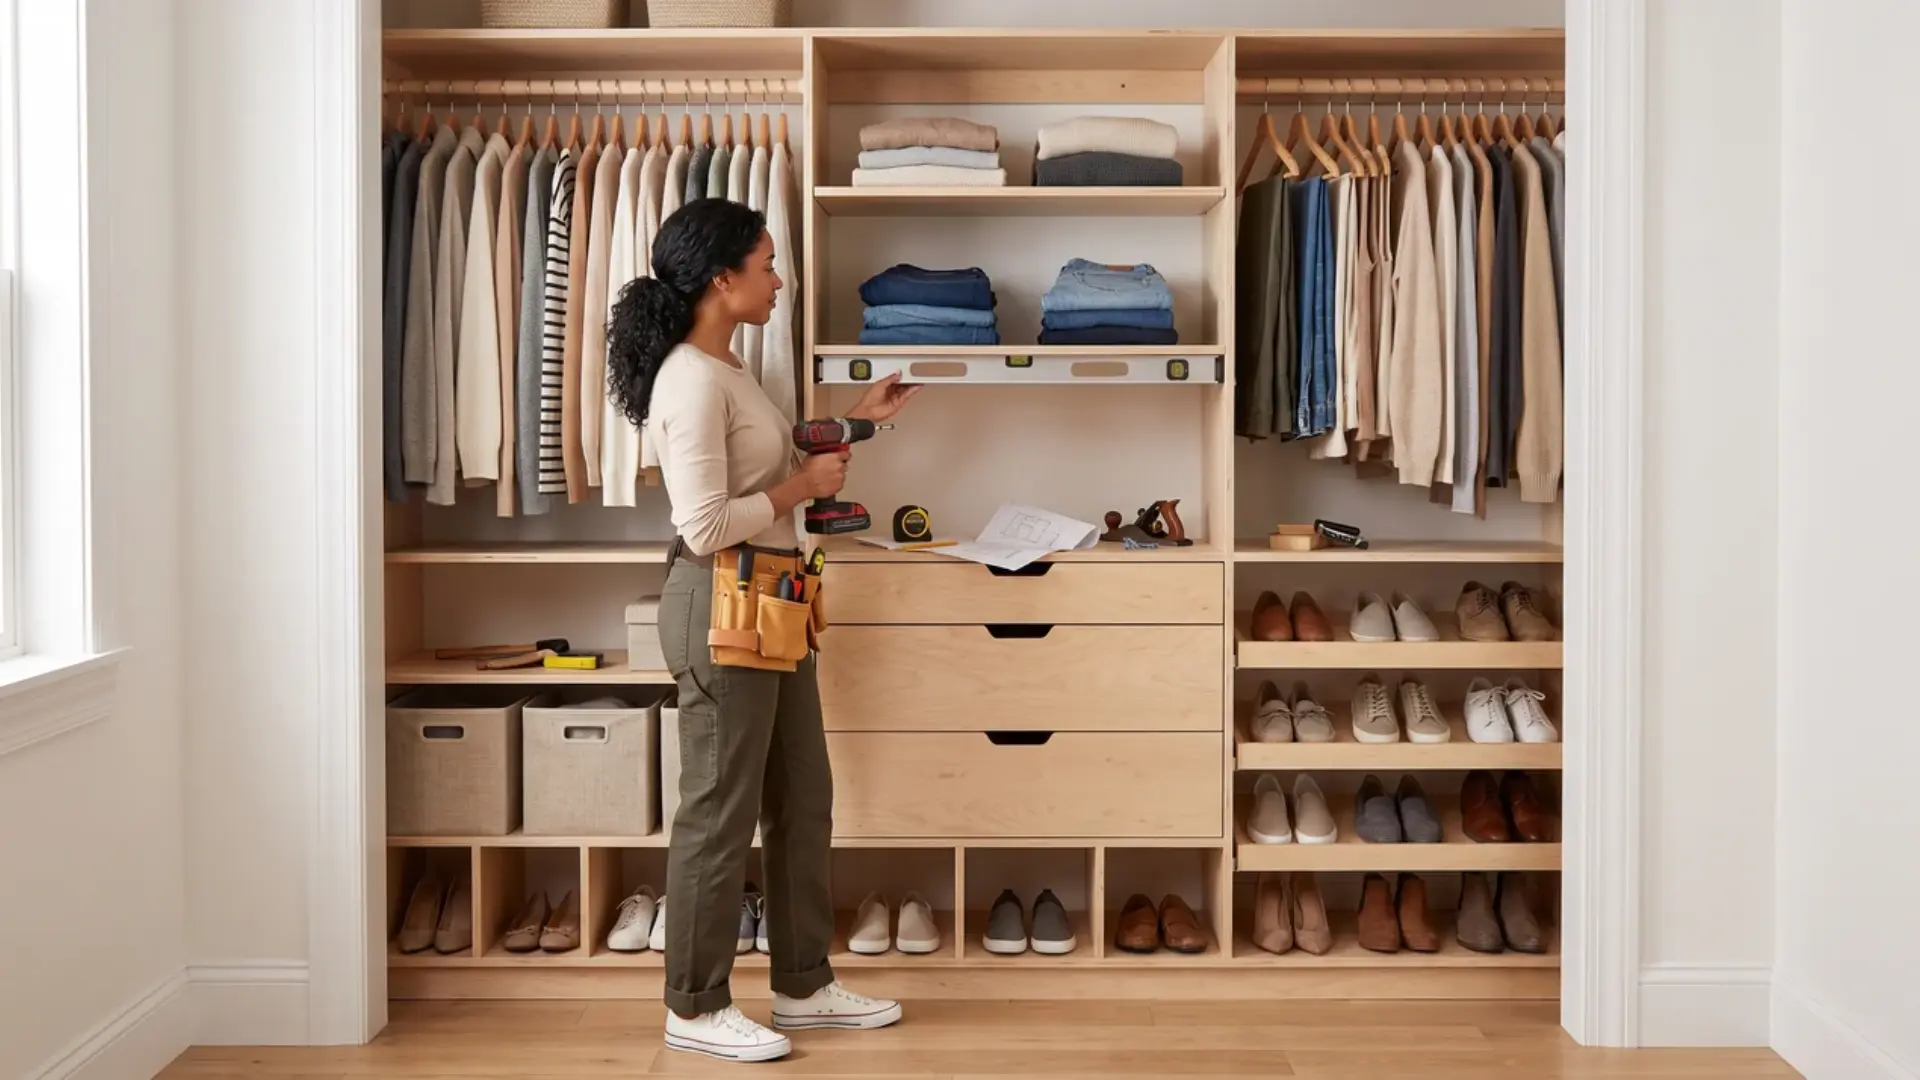
You can keep the build simple with shelves and hanging rods, or add drawers, cubbies, and shoe storage where they make sense. With basic tools and careful measurements, the project is manageable for many beginners.
Below I’ll walk you through planning, materials, building, installation, cost, care, and common mistakes. By the end, you will have a clear plan for storage that fits your closet and routine.
Is a DIY Closet Organizer Right for You?
A DIY closet organizer is a good choice if you enjoy hands-on projects and can use basic tools with care. It also makes sense when you want storage that fits your closet, clothing, and budget instead of settling for a ready-made system that may waste space or cost more than needed.
A simple shelf-and-rod design is manageable for many beginners, since it involves straightforward measuring, cutting, and mounting. Drawers, sliding baskets, and large built-ins call for more skill, patience, and precise leveling, so factor in extra time if you choose these features.
If the walls show cracks, water damage, or uneven surfaces, or if you cannot locate studs, wiring, or plumbing behind them, professional help is the safer choice. Working around hidden utilities without the right tools can lead to costly repairs down the line.
DIY Closet Organizer Design Options
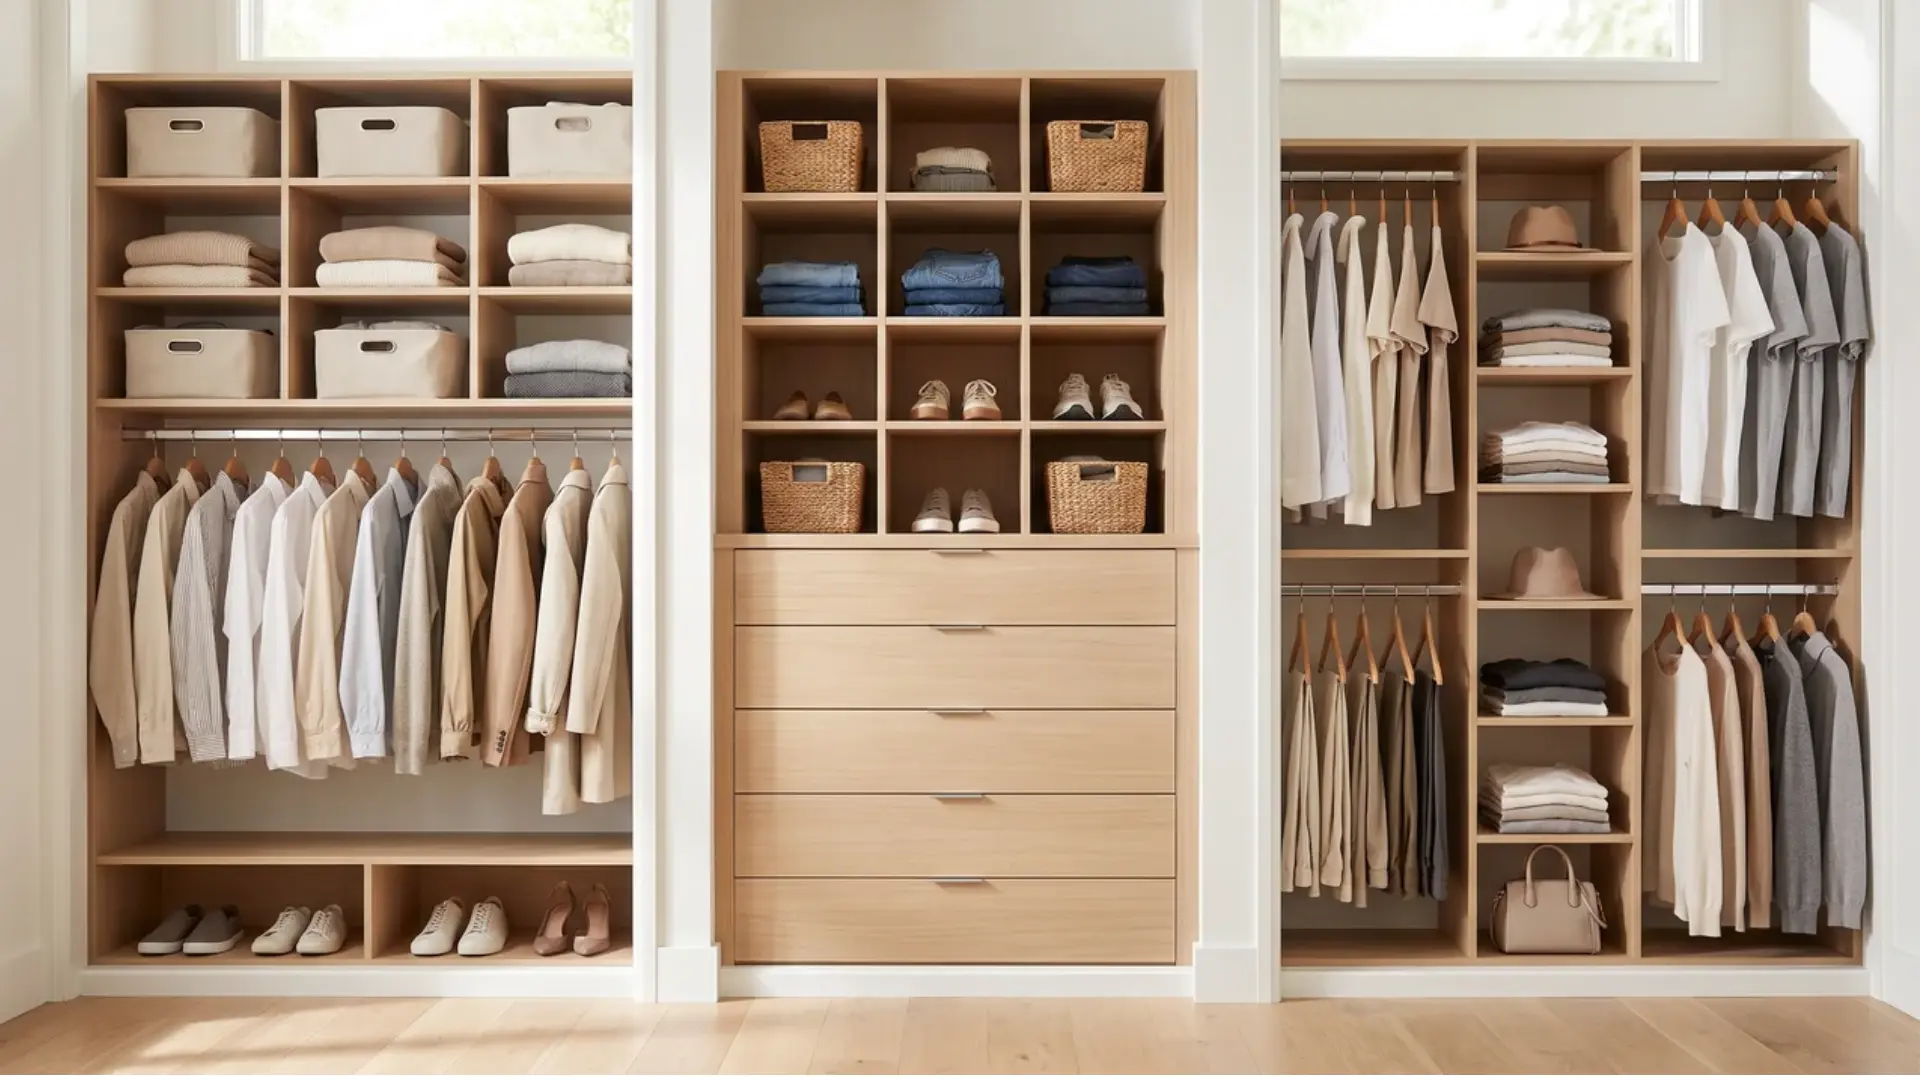
Your layout should match the clothing and accessories you actually own. These common options solve different storage needs.
- Shelves and rods: Use them for hanging clothes and folded items.
- Double rods: Choose them for shirts, pants, skirts, and jackets.
- Long hanging space: Leave room for dresses, coats, and robes.
- Cubbies: Use them for shoes, bags, sweaters, and bins.
- Drawers: Add them for underwear, accessories, and smaller items.
- Wire shelving: Choose it for adjustable or lower-cost storage.
Pick only the features you will use, since too many small sections can waste useful space. Your closet type should guide the layout as well. A small reach-in often works best with center shelves and rods on both sides, while a wider closet can hold center drawers with hanging space on either side.
Keeping at least 30 to 36 inches of clear aisle space matters as much as the storage itself, a layout principle covered in these master closet ideas that actually work.
A walk-in closet gives you room to create separate zones for clothes, shoes, and folded items. In narrow closets, shallow shelves help keep the space open. For rentals, adjustable wire storage is often the most practical choice because it is easier to change or remove.
How to Build and Install a DIY Closet Organizer
Follow the steps in order, and finish each stage before moving ahead. Measure twice during the project, especially before cutting or drilling.
Tools and Materials
Most wood organizers need only basic tools and materials. Gather everything before you begin cutting.
- Measuring tools: Tape measure, pencil, level, square, and stud finder.
- Building tools: Circular saw, drill or driver, clamps, and sander.
- Safety gear: Safety glasses, hearing protection, and a dust mask.
- Main materials: Plywood or boards, closet rods, brackets, screws, glue, shelf pins, and shims.
- Finishing materials: Edge banding, wood filler, paint, stain, or clear sealer.
- Optional tools: Pocket-hole jig, shelf-pin jig, finish nailer, or router.
Optional tools can save time, but none are required for every design. I’ve found a pocket-hole jig pays off most on drawer boxes, though a basic shelf-and-rod build doesn’t need one at all. Plywood sold for interior builds like this one falls under the EPA’s formaldehyde emission standards for composite wood products, so boards labeled compliant carry lower emissions than older, unregulated stock.
Step 1: Measure and Plan the Closet
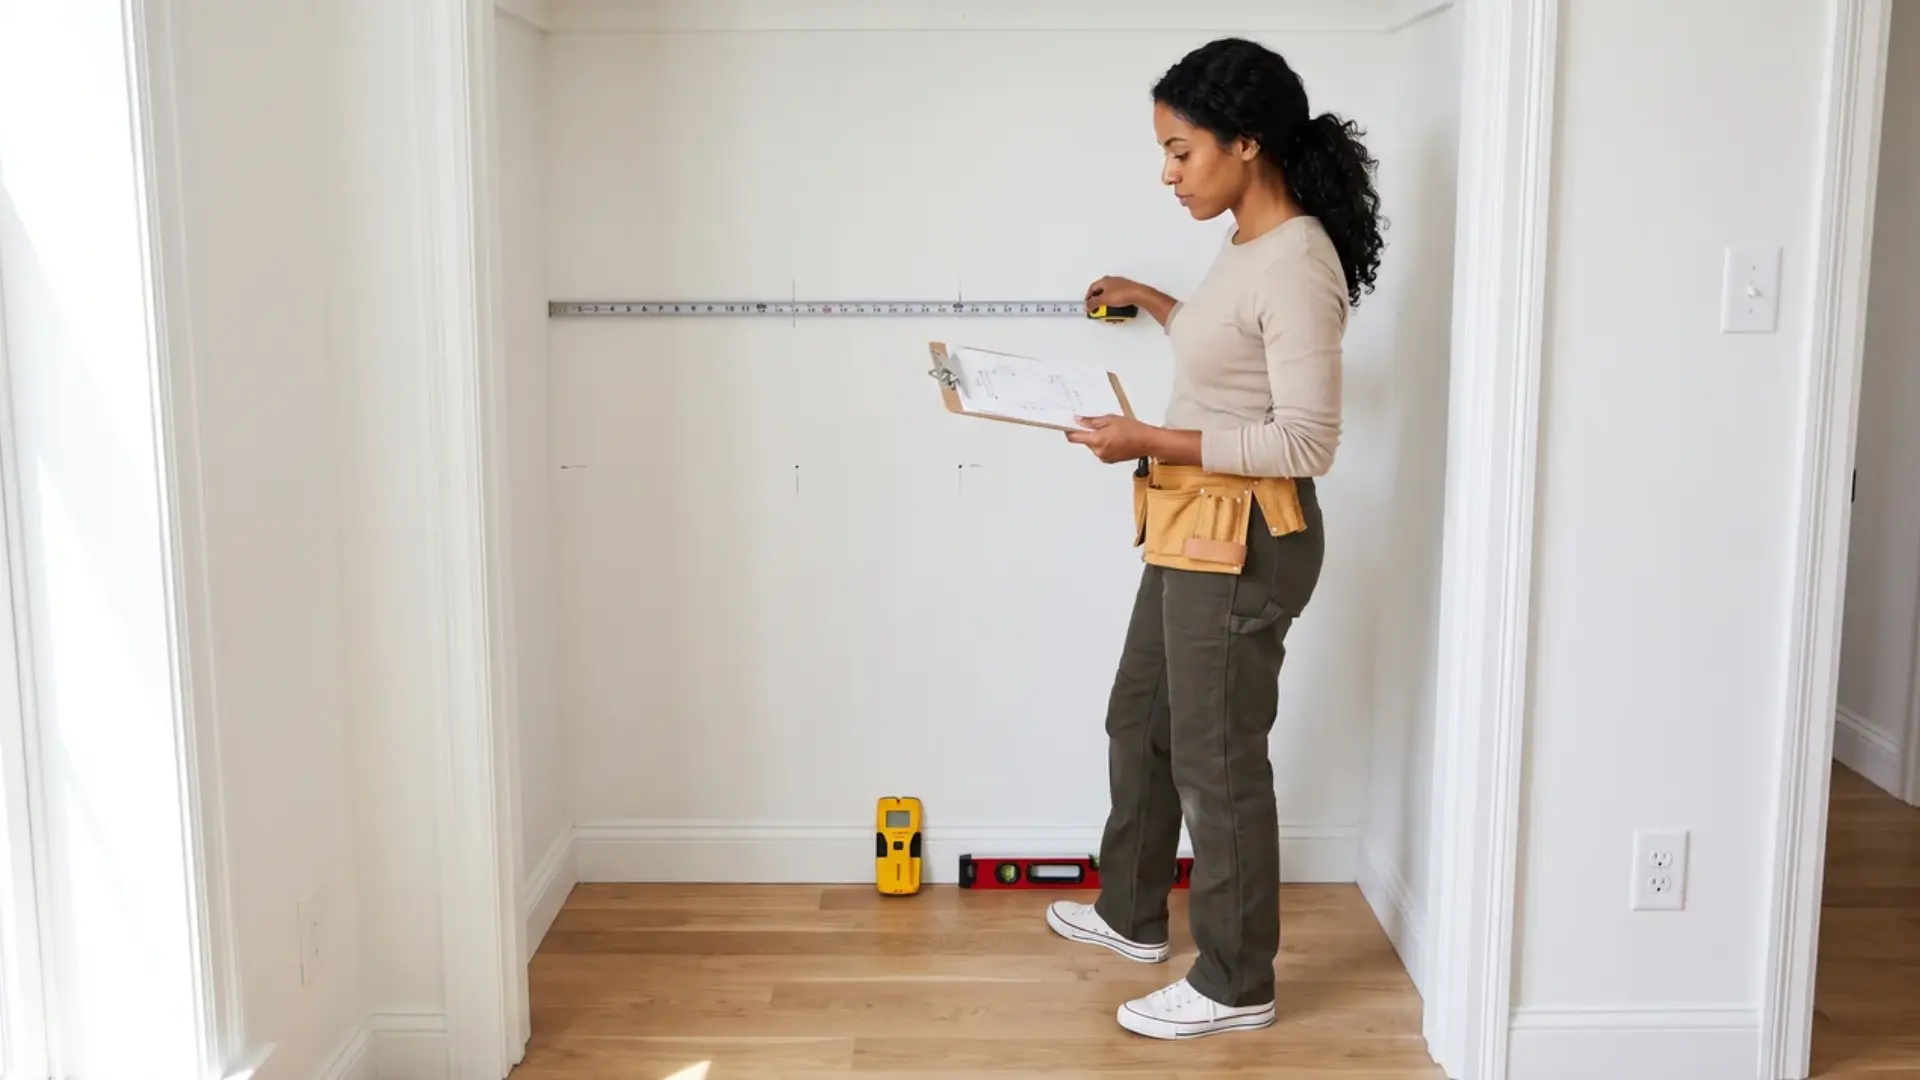
Empty the closet and sort what will return before taking measurements. Measure the width, height, and usable depth at several points, and note doors, trim, baseboards, outlets, vents, and any uneven walls or floors.
Mark the wall studs, then plan space for hanging clothes, shelves, shoes, and drawers. Draw the layout and prepare a cut list, checking the doorway width before finalizing section sizes.
Step 2: Prepare the Closet
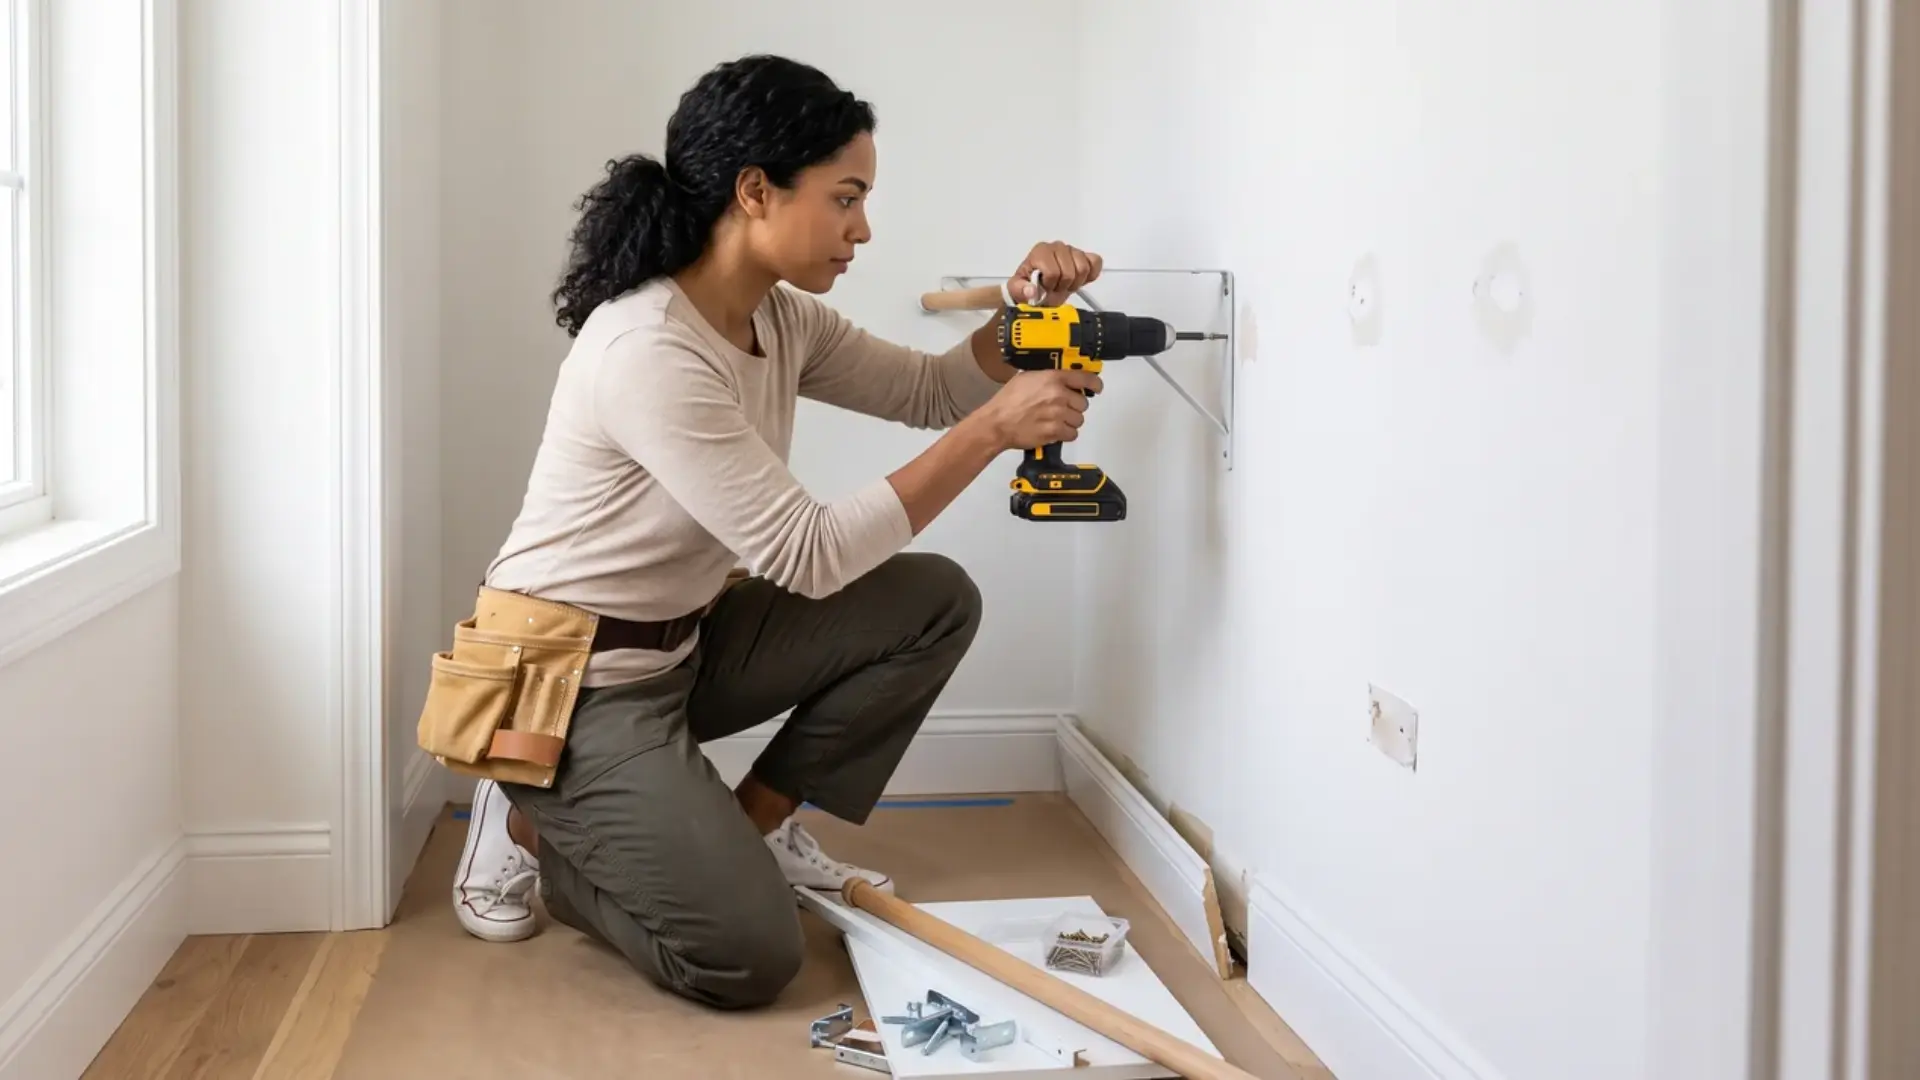
Remove the existing rods, shelves, brackets, and unwanted hardware. Protect the floor while working, especially when pulling out fixed shelves or cabinet sections.
Remove baseboards only where they prevent the organizer from sitting against the wall, and patch large holes or damaged drywall before installation. Check for hidden wiring or plumbing before drilling into the wall.
Step 3: Cut the Organizer Parts
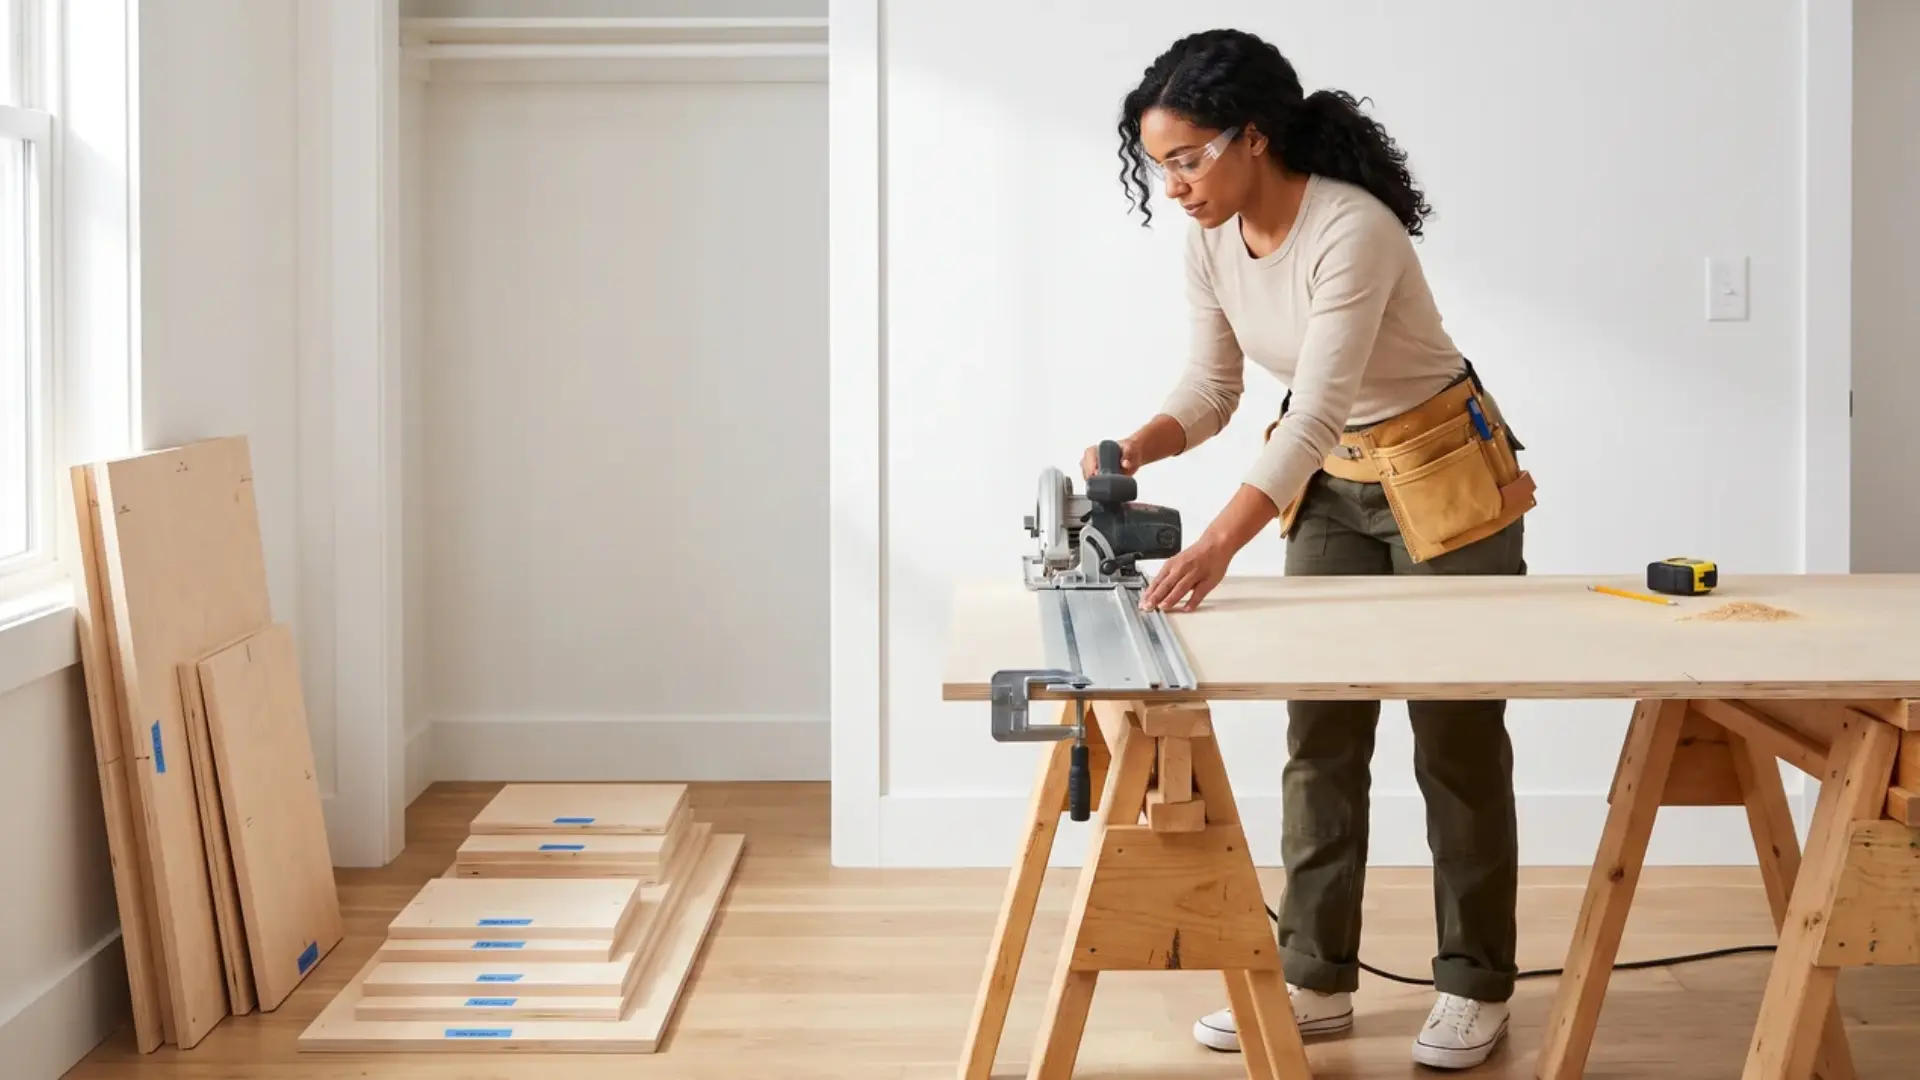
Review the cut list before marking the plywood or wood boards, then cut the side panels, shelves, base, top, and rear supports according to your plan.
Support each panel properly so it stays steady during cutting. Break full plywood sheets into smaller strips before making the final cuts. Label each piece as soon as it is finished, and compare matching parts before you begin assembly.
Step 4: Finish the Visible Edges
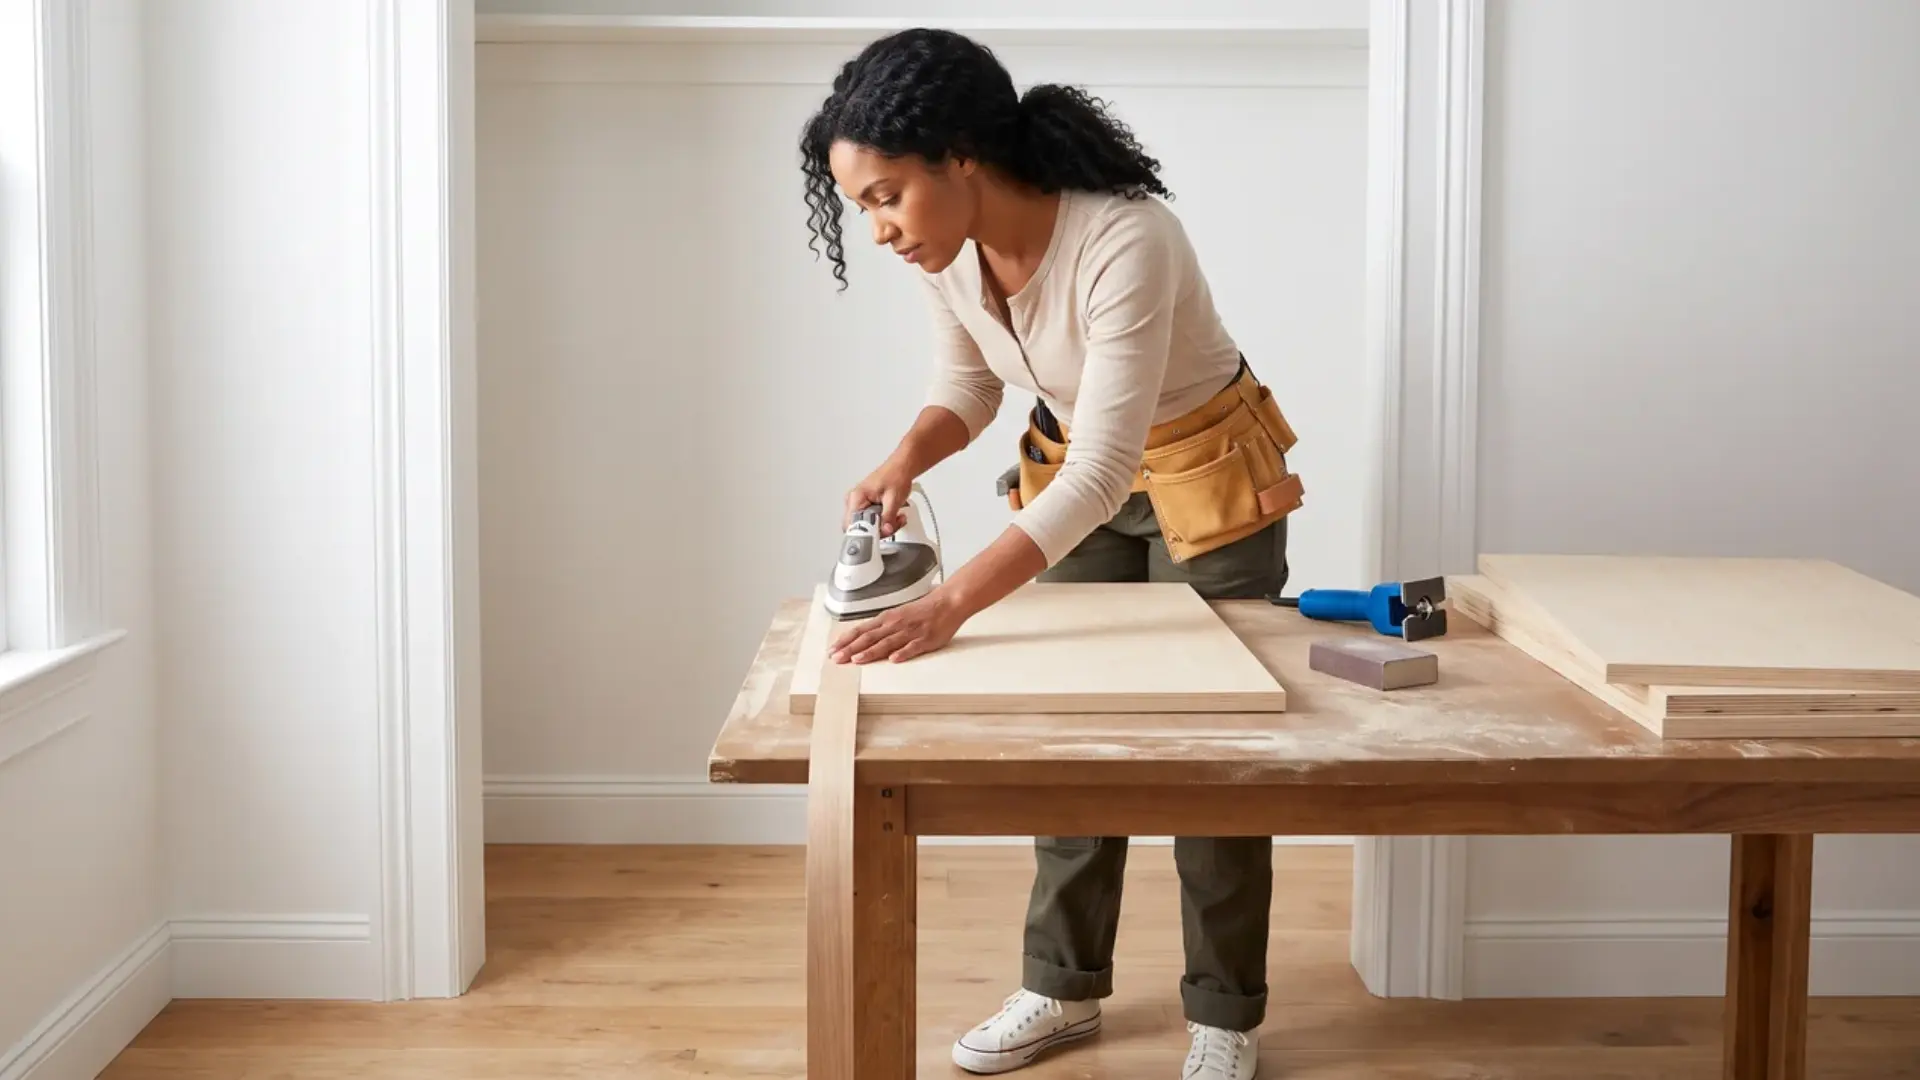
Apply edge banding to any plywood edges that will remain visible after installation. Do this while the panels are flat, since the edges are easier to reach and trim now.
Cut away the extra banding, then sand rough corners and sharp edges. Check each panel for chips or uneven areas before moving on.
Step 5: Build the Main Sections
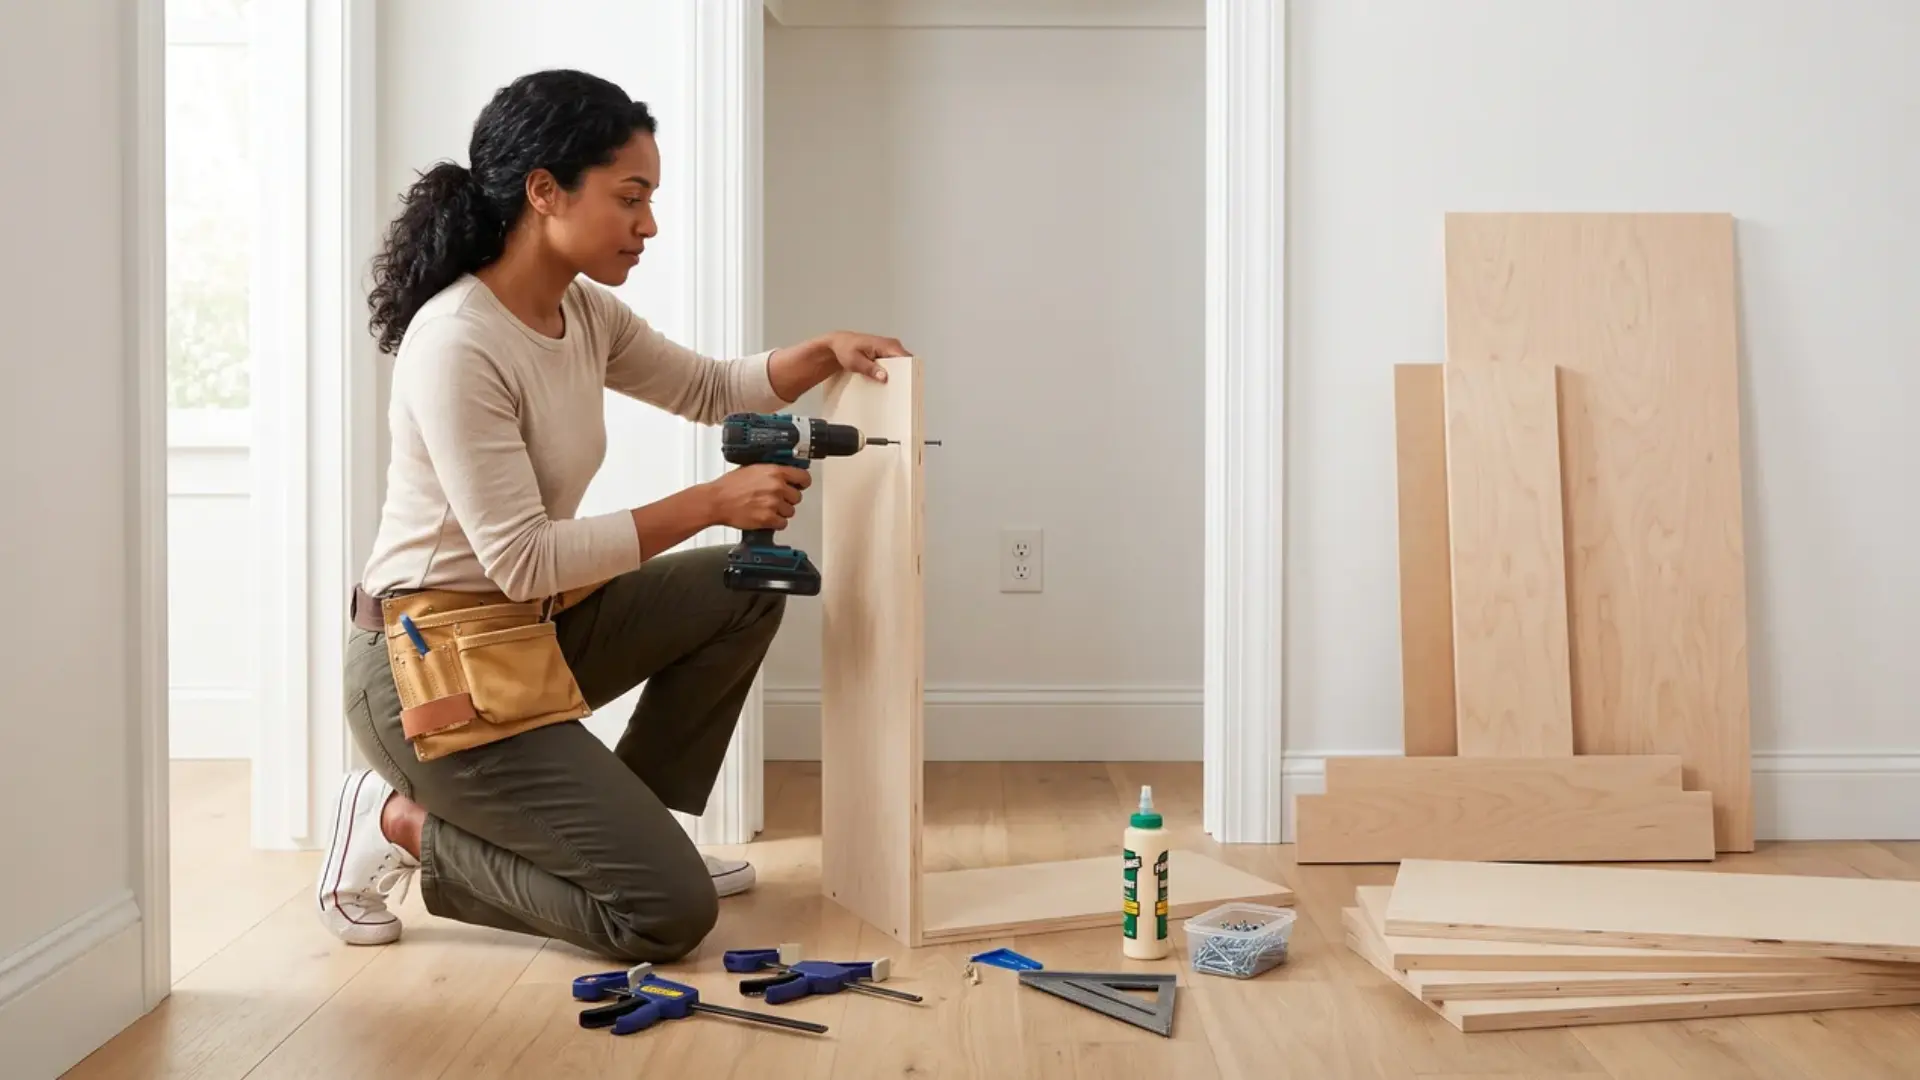
Build each section on a flat surface so the panels stay aligned. Attach the base and toe kick first; if your layout includes one, then add the side panels with wood glue and screws.
Install the fixed shelves, rear support, and top panel while keeping the front edges even. Check each section with a square before tightening the screws. Correct any movement now, since uneven sections are harder to fix inside the closet.
Sections built to carry real weight benefit from the same reinforced-frame thinking used in these DIY garage shelves for better organization, where thicker panels and tighter joints keep shelving from sagging under load.
Step 6: Add Shelves or Drawers
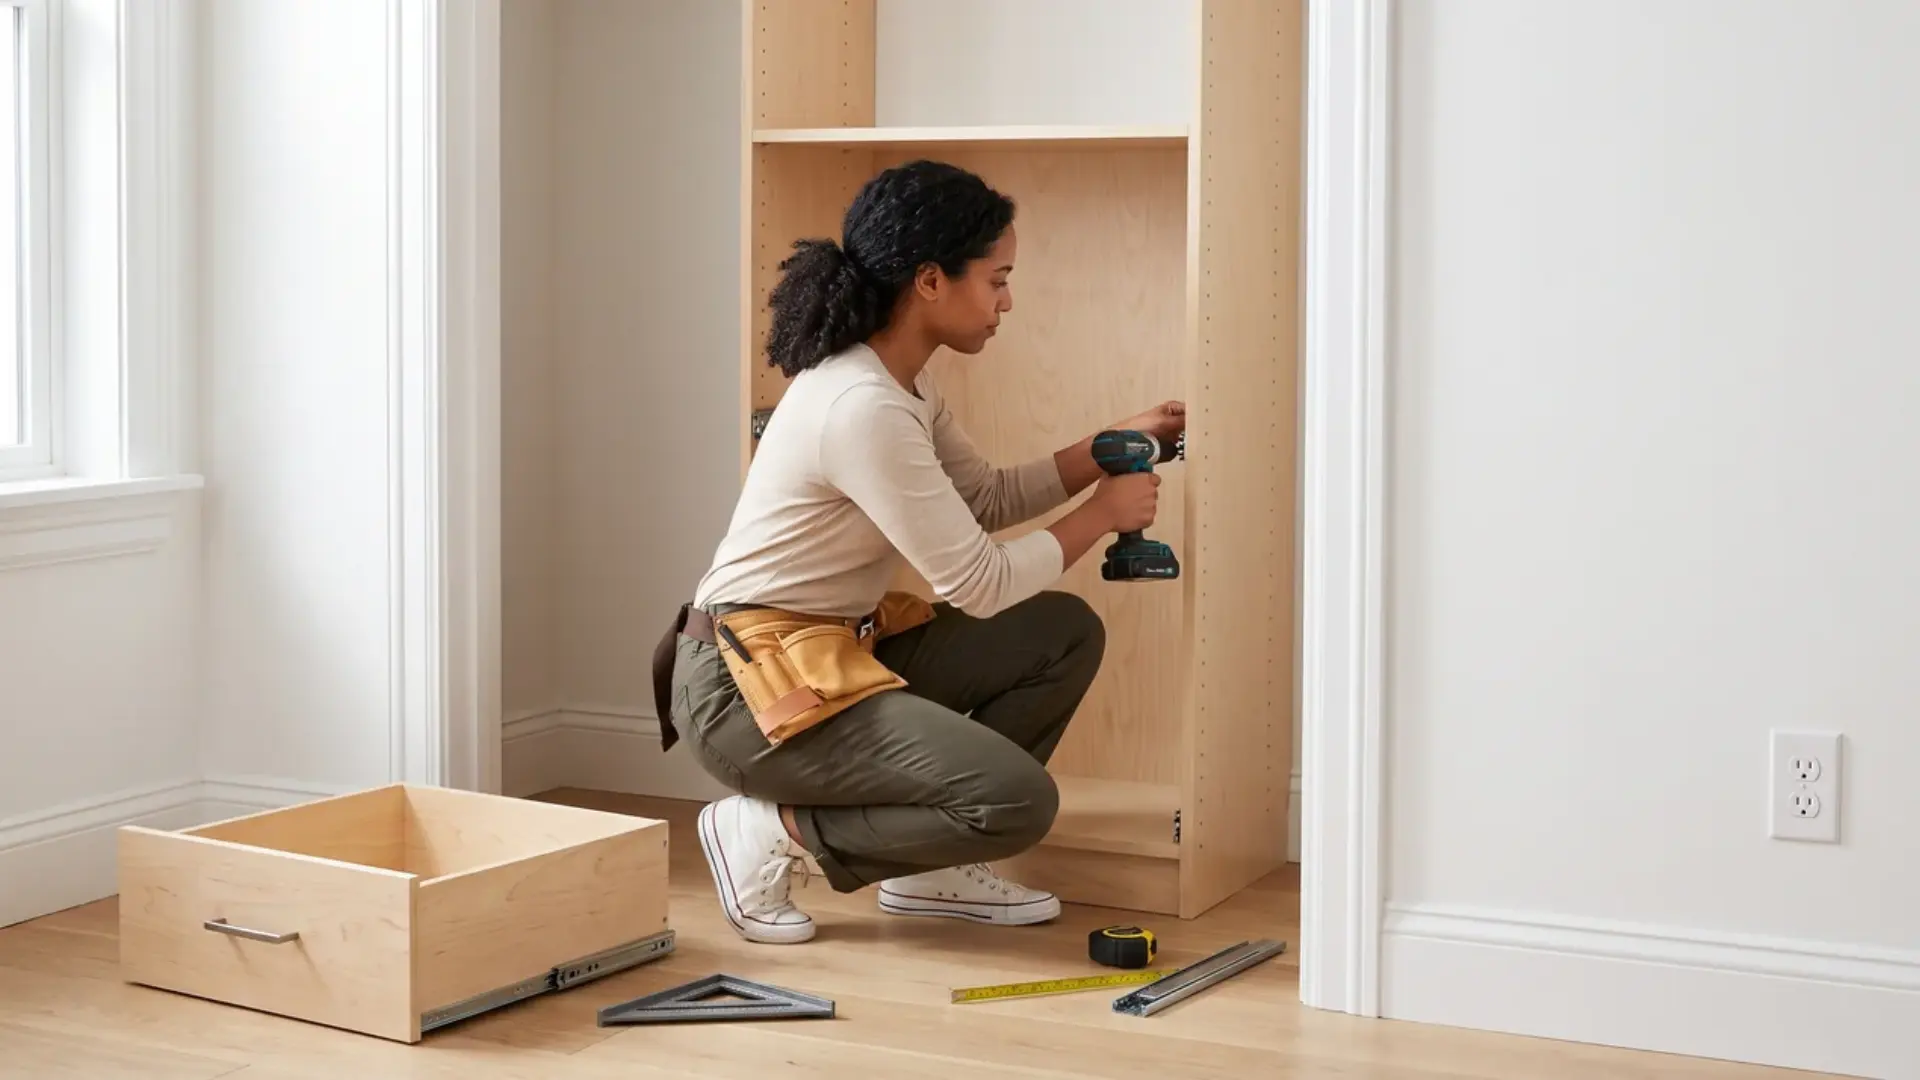
For adjustable shelves, drill matching shelf-pin holes along both side panels, using the same starting point and spacing so each shelf sits flat.
Build drawer boxes separately and check that every corner is square.
Install both slides at the same height, then test the drawer before adding its front. Leave even gaps around each front so the drawers open without rubbing.
Step 7: Position the Sections
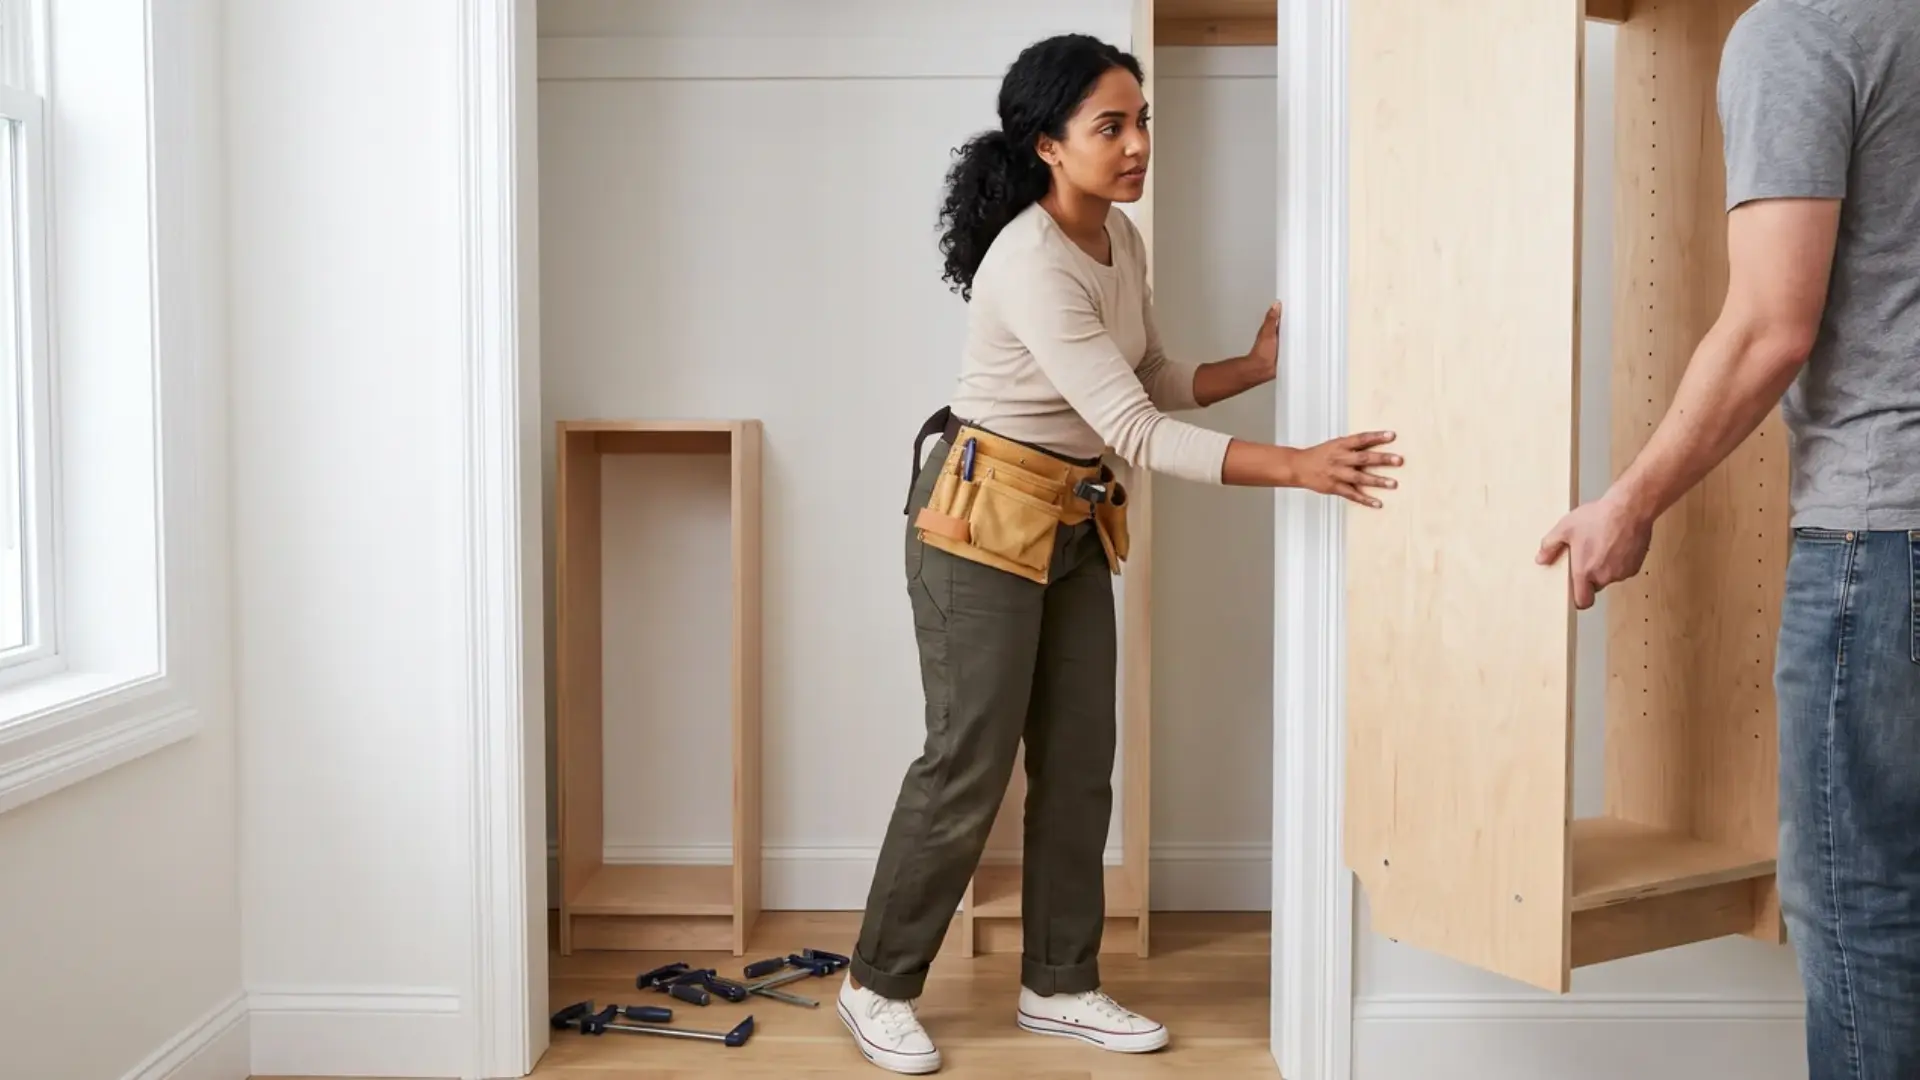
Ask someone to help move tall or heavy sections into the closet, then place the first section near its final position. Leave enough room to make small adjustments. Add the remaining sections and align their front and top edges.
Clamp neighboring units together before driving the connecting screws, and check the overall fit before securing anything to the wall.
Step 8: Level and Secure the Organizer
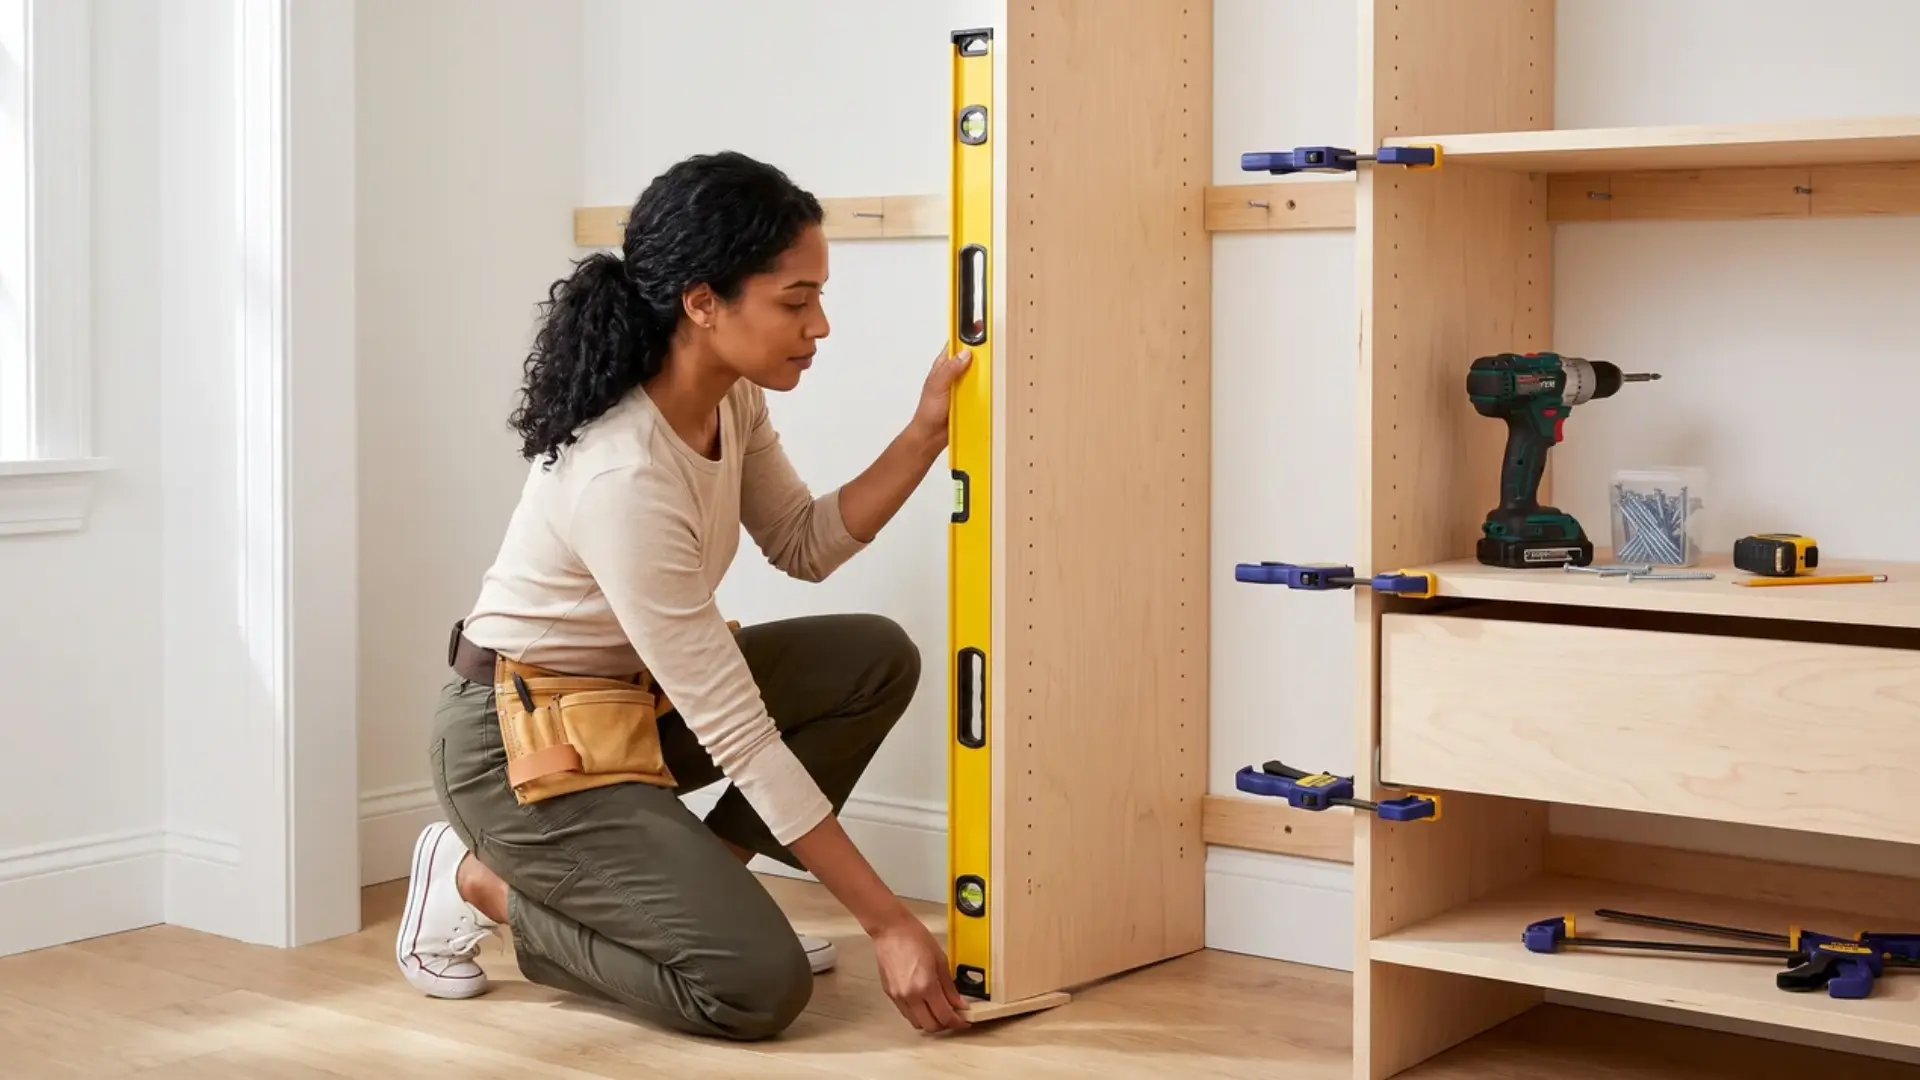
Check every section from side to side and front to back with a level. Add shims beneath or behind the organizer until each unit stands straight, and trim them only once the final position is set.
Drive long screws through the rear supports and into wall studs. Do not depend on drywall alone to carry the finished weight.
Anchoring tall or top-heavy sections to studs follows the same principle behind the Consumer Product Safety Commission’s furniture anchoring guidance, which treats securing to the wall as a safety step rather than an optional extra.
Check the level again after tightening, since the screws may pull a section slightly out of place.
Step 9: Install Rods and Finish the Build
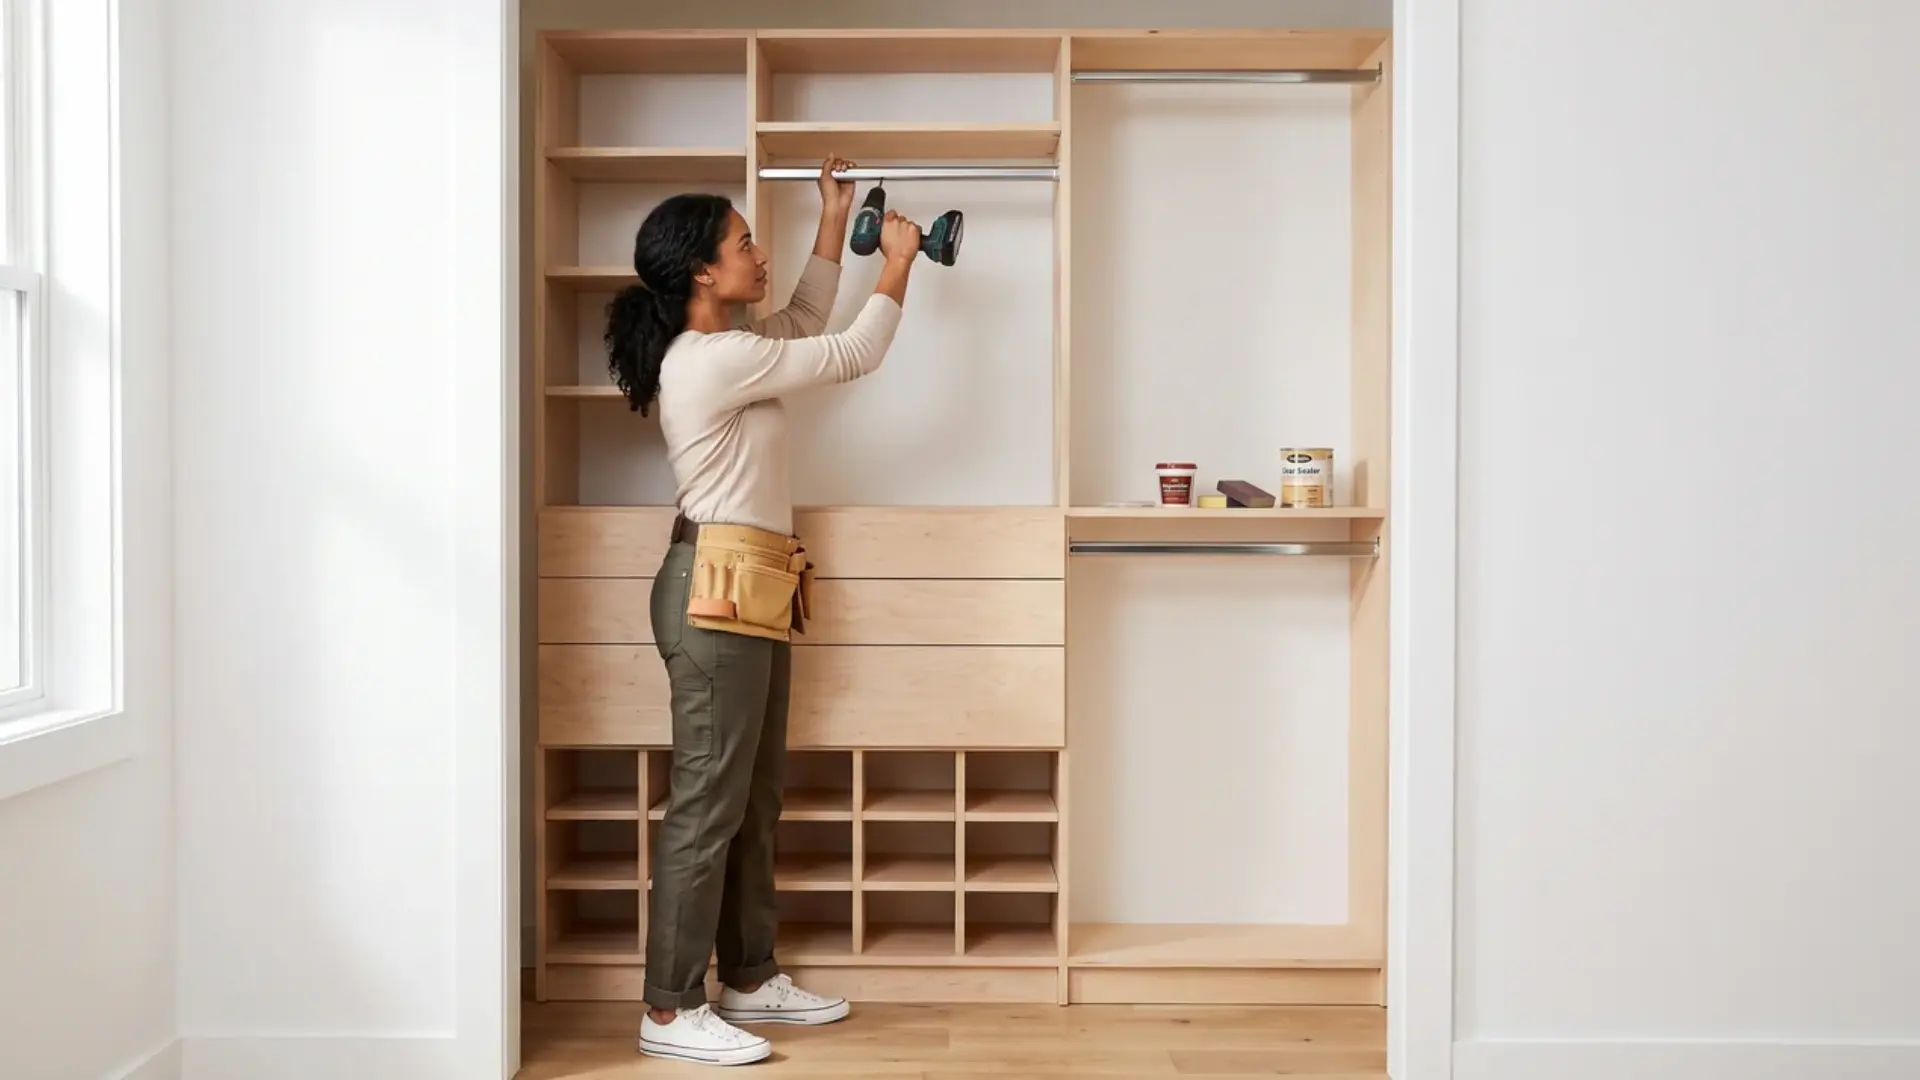
Mark the rod bracket positions and confirm that hanging clothes will have enough room, then secure the brackets and cut each rod slightly short for easier fitting.
Install the remaining shelves, drawers, and shoe storage before testing every part.
Fill visible holes, sand rough areas, and apply paint, stain, or sealer. Let the finish dry fully before loading the organizer.
How Much Does a DIY Closet Organizer Cost?
The final cost depends on closet size, materials, hardware, and the tools you already own. Drawer slides, fronts, and extra panels can raise the total quickly, so price these parts early.
One detailed plywood project cost about $560.50 at the time of construction. It included shelves, drawers, rods, hardware, and finishing supplies.
| Organizer type | Relative cost | Main cost driver |
|---|---|---|
| Basic shelves and rods | Low | Boards, rods, and brackets |
| Wire organizer | Low to moderate | Tracks, shelves, and brackets |
| Plywood organizer | Moderate | Plywood, screws, and finish |
| Organizer with drawers | Moderate to high | Slides, fronts, and extra panels |
| Hardwood built-in | High | Hardwood, custom parts, and finish |
Cost disclaimer: Prices vary by location, store, project date, closet size, and material quality. Use the $560.50 figure only as a rough example. Price your full supply list before cutting materials.
Care and Maintenance of DIY Closet Organizer
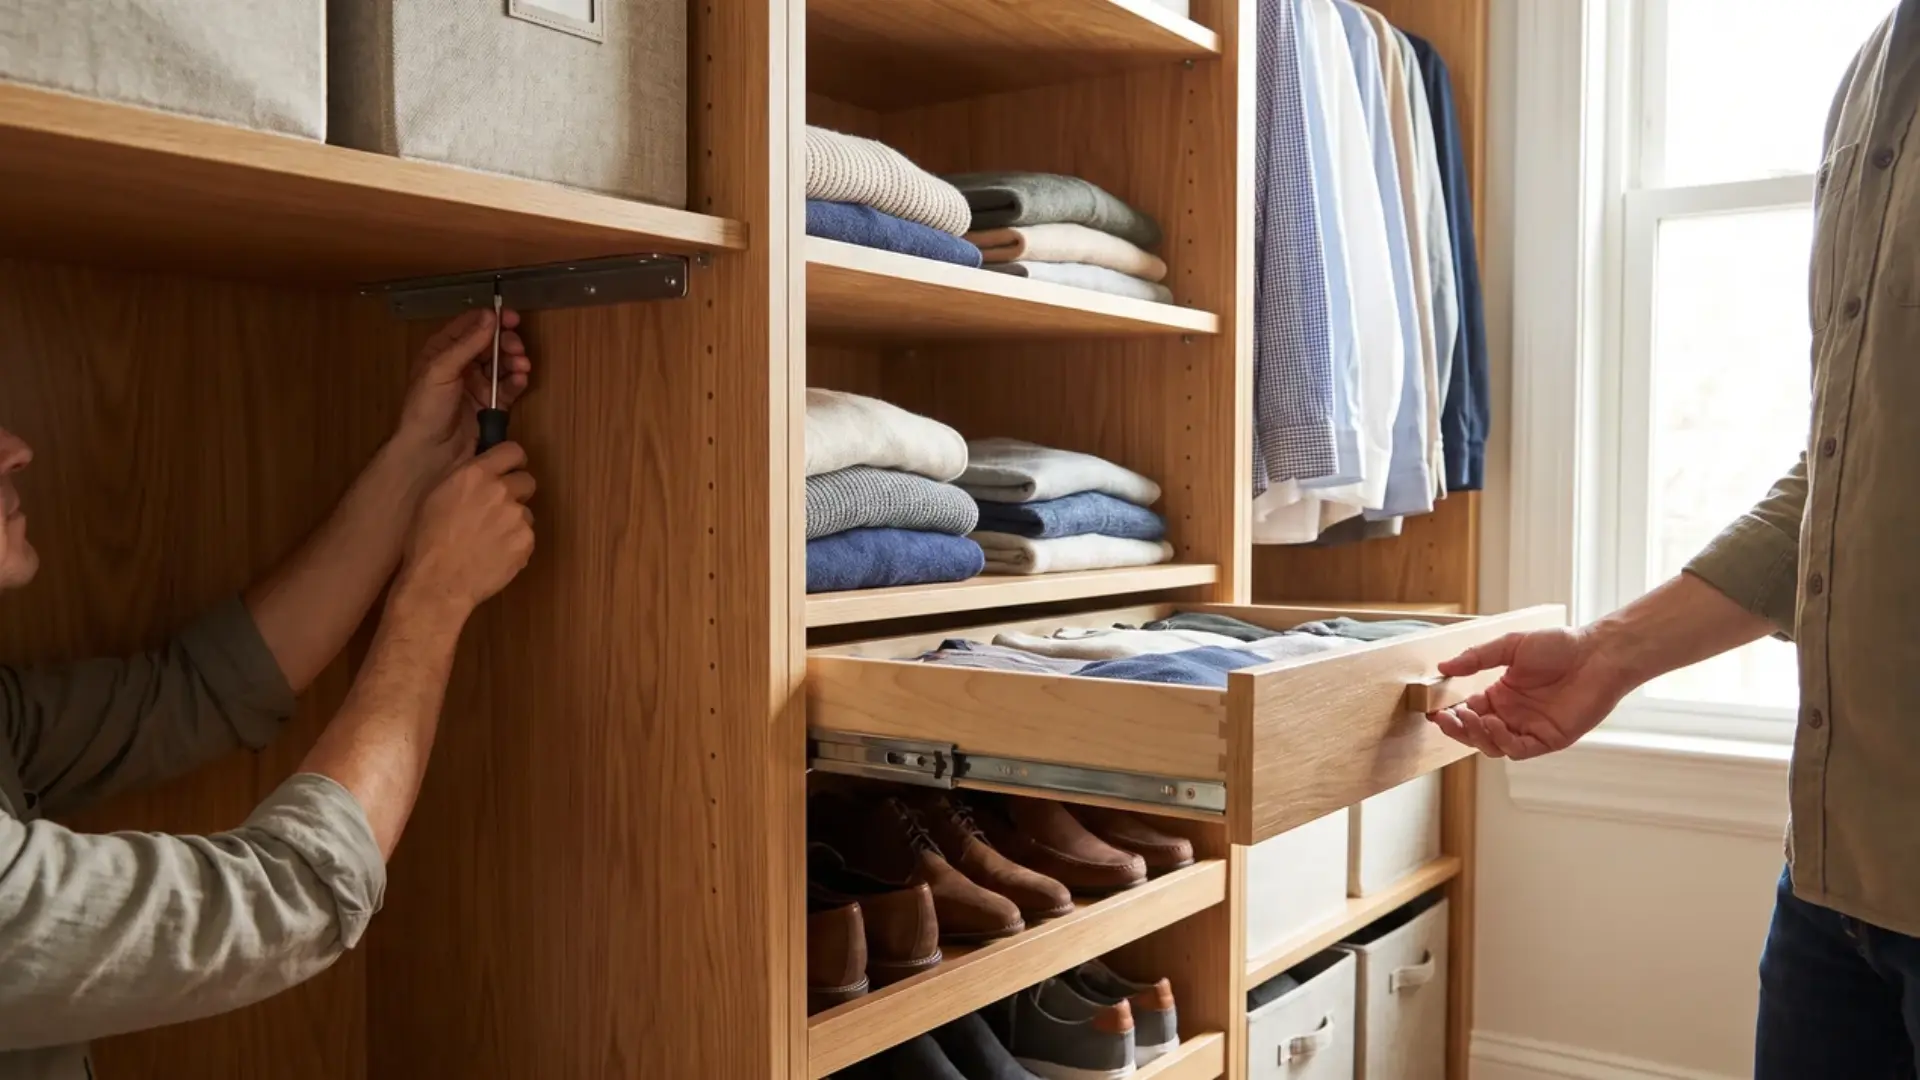
A DIY closet organizer needs only light care after installation. Every few months, check the screws, brackets, drawer slides, and wall connections, and tighten anything that feels loose before adding more weight.
Wipe painted or wood surfaces with a soft, slightly damp cloth, but avoid excess water near plywood edges.
Watch for shelves that begin to bend under heavy clothing, shoes, or storage bins. Spread the weight across nearby shelves, or add support before the sag gets worse.
Clean drawer tracks when they feel rough, and touch up chipped paint or exposed wood. You can also adjust movable shelves as your storage needs change. Stop using any loose section until it is secured again.
Common DIY Closet Organizer Mistakes
Most problems begin during measuring, assembly, or installation. Check these points before loading the finished organizer.
- Measuring only the back wall: Include trim, baseboards, doors, vents, and other obstructions.
- Building one large unit: Oversized sections may not fit through the closet doorway.
- Ignoring stud locations: Heavy organizers must connect securely to wall studs.
- Skipping level checks: Uneven sections can cause crooked shelves and sticking drawers.
- Leaving shelves unsupported: Long shelves may sag under clothes, shoes, or storage bins.
- Placing rods incorrectly: Leave enough room behind each rod and below the shelf.
Measure twice and test every empty section. These simple checks prevent many installation problems.
When to Hire a Professional
Hire a professional when the closet has damaged framing, weak drywall, water damage, or very uneven walls and floors. Sloped ceilings and unusual corners may also need careful cutting and fitting.
Large built-in cabinets often need stronger support than a basic shelf-and-rod organizer.
You should also get help when you cannot locate wiring or plumbing behind the wall, or when you are not comfortable using saws or drilling into studs.
Heavy sections can be difficult to lift and position without help. Paying for support early can prevent wall damage, poor fitting, and costly repairs later.
Frequently Asked Questions
Should a closet organizer reach the ceiling?
Not always. Leaving space above the organizer makes installation easier and provides room for light seasonal items. Keep heavy boxes lower, and make sure anything stored overhead remains easy to reach.
Can I use pre-cut boards instead of full plywood sheets?
Pre-cut boards can reduce cutting time and are easier to carry through narrow doorways. They may cost more, and available widths can limit the layout. Check every board for warping before buying.
What finish is easiest for beginners?
Paint is often the simplest finish for beginners because it hides small surface flaws and mistakes. Stain shows the wood grain but needs careful, even sanding, while clear sealer keeps the plywood’s natural look visible.
How can I prevent closet rods from bending?
Choose a rod rated for the weight you plan to hang, and check the maker’s bracket-spacing limit before installing. Coats and heavy layers need a shorter span between supports than lighter clothing.
Can I add lighting to a DIY closet organizer?
Battery-powered lights are the easiest option because they need no wall wiring or extra installation work. For hardwired lighting, hire a licensed electrician and keep every fixture clear of shelves, rods, and hanging clothing.
Final Thoughts
An empty closet and a pile of plywood may not look like much at first. But once the shelves, rods, and drawers come together, the space starts working the way it should.
You now have a clear path from the first measurement to the final screw. Keep the design simple, take your time with each section, and check the fit before securing anything. The goal is not to fill every inch. It is to give the things you use a clear, easy place to go.
Don’t just sit on the idea. Grab your tools and start building your DIY closet organizer today. By the end of the build, you will have storage made for your space, not someone else’s. That is what makes the work worth it.
Drop a comment below and let me know if you successfully built your closet organizer.