Elephant ear bulbs look simple enough to plant. They are lumpy and uneven, though, which makes the top hard to spot.
That is usually where people go wrong.
The shape is not really the problem. Cold, soggy soil and planting too deep cause far more failures than a bulb going in upside down.
Get the soil warm, the depth right, and the water steady, and these bulbs take off fast.
The steps below cover how to plant elephant ear bulbs the right way for our climate, plus what Gulf Coast winters let you skip that colder states cannot.
What Are Elephant Ear Bulbs and What Part Do You Plant?
Elephant ears are tropical plants grown for their big leaves. Most garden types belong to the Colocasia or Alocasia group. What looks like a bulb is often really a corm, tuber, or similar underground stem.
The University of Wisconsin–Madison Extension notes that elephant ears also include the Xanthosoma group. These underground parts store energy. That energy grows new roots, shoots, and leaves once the soil warms up and gets moist.
Colocasia leaves usually point outward or down. Alocasia leaves tend to stand upright instead. Check the plant label to confirm the light, water, and spacing your variety needs.
Houston nurseries often lump all three types together under one “elephant ear” sign. But the type you buy decides whether the bulb needs to come out of the ground before the first freeze.
Which Elephant Ear Bulbs Should You Buy?
Start with firm, healthy elephant ear bulbs that feel solid when gently squeezed. Bulb condition matters more than size, because soft or damaged bulbs are less likely to sprout.
Choose bulbs that are:
- Firm and heavy for their size
- Free from mold or unpleasant odors
- Showing visible buds or old stem scars
- Free from deep cuts and major damage
- Not soft, hollow, or badly shriveled
Open the package soon after delivery and inspect each bulb before planting. A little dry surface tissue is usually harmless, but wet spots or spreading rot are warning signs.
Do not cut elephant ear bulbs into pieces. Some varieties can be divided, but only if each section has a healthy growth point. Whole bulbs are safer for beginners. Cutting creates fresh wounds, and those wounds can rot in wet soil.
Once the bulbs pass inspection, plant them in warm soil or start them indoors before the outdoor growing season begins.
What Soil, Light, and Temperature Do They Need?
Elephant ear bulbs grow best in rich, loose soil. The soil should hold moisture without staying waterlogged. Active bulbs need steady moisture, but dormant bulbs can rot in cold, soggy ground.
Houston’s soil warms early compared to most of the country, giving Gulf Coast gardeners a head start. In an average year, ground temperatures reach 65°F sometime between mid-March and April.
A soil thermometer is still the best way to confirm it, since the calendar can run a few weeks off in either direction.
| Growing Need | Best Choice | Why It Matters |
|---|---|---|
| Soil | Rich, well-drained soil | Supports roots while reducing rot risk |
| Water | Consistently moist soil | Helps large leaves develop properly |
| Light | Partial shade or morning sun | Protects foliage from intense afternoon heat |
| Pot | Large, sturdy container | Provides room and prevents tipping |
| Temperature | Soil at least 65°F | Encourages faster sprouting and root growth |
For garden planting, choose a warm spot with fertile soil and reliable drainage. Compost can improve poor soil, but avoid low areas that collect rainwater.
For containers, use a sturdy pot at least 18 inches wide and deep with open drainage holes.
Elephant ears pair well with other shade-loving container tropicals, since both need real depth, not just width, for their roots to spread properly. Large leaves also catch wind easily, so lightweight pots may tip as the plant grows.
Wait until frost danger has passed before moving elephant ears outdoors. Cold soil delays sprouting and increases the chance of bulb damage.
Step-by-Step: How to Plant Elephant Ear Bulbs?
Planting elephant ear bulbs comes down to a few simple steps. Inspect the bulbs, wait for warm soil, set them at the correct depth, and keep the planting area evenly moist.
Step 1: Open the Package and Remove the Bulb
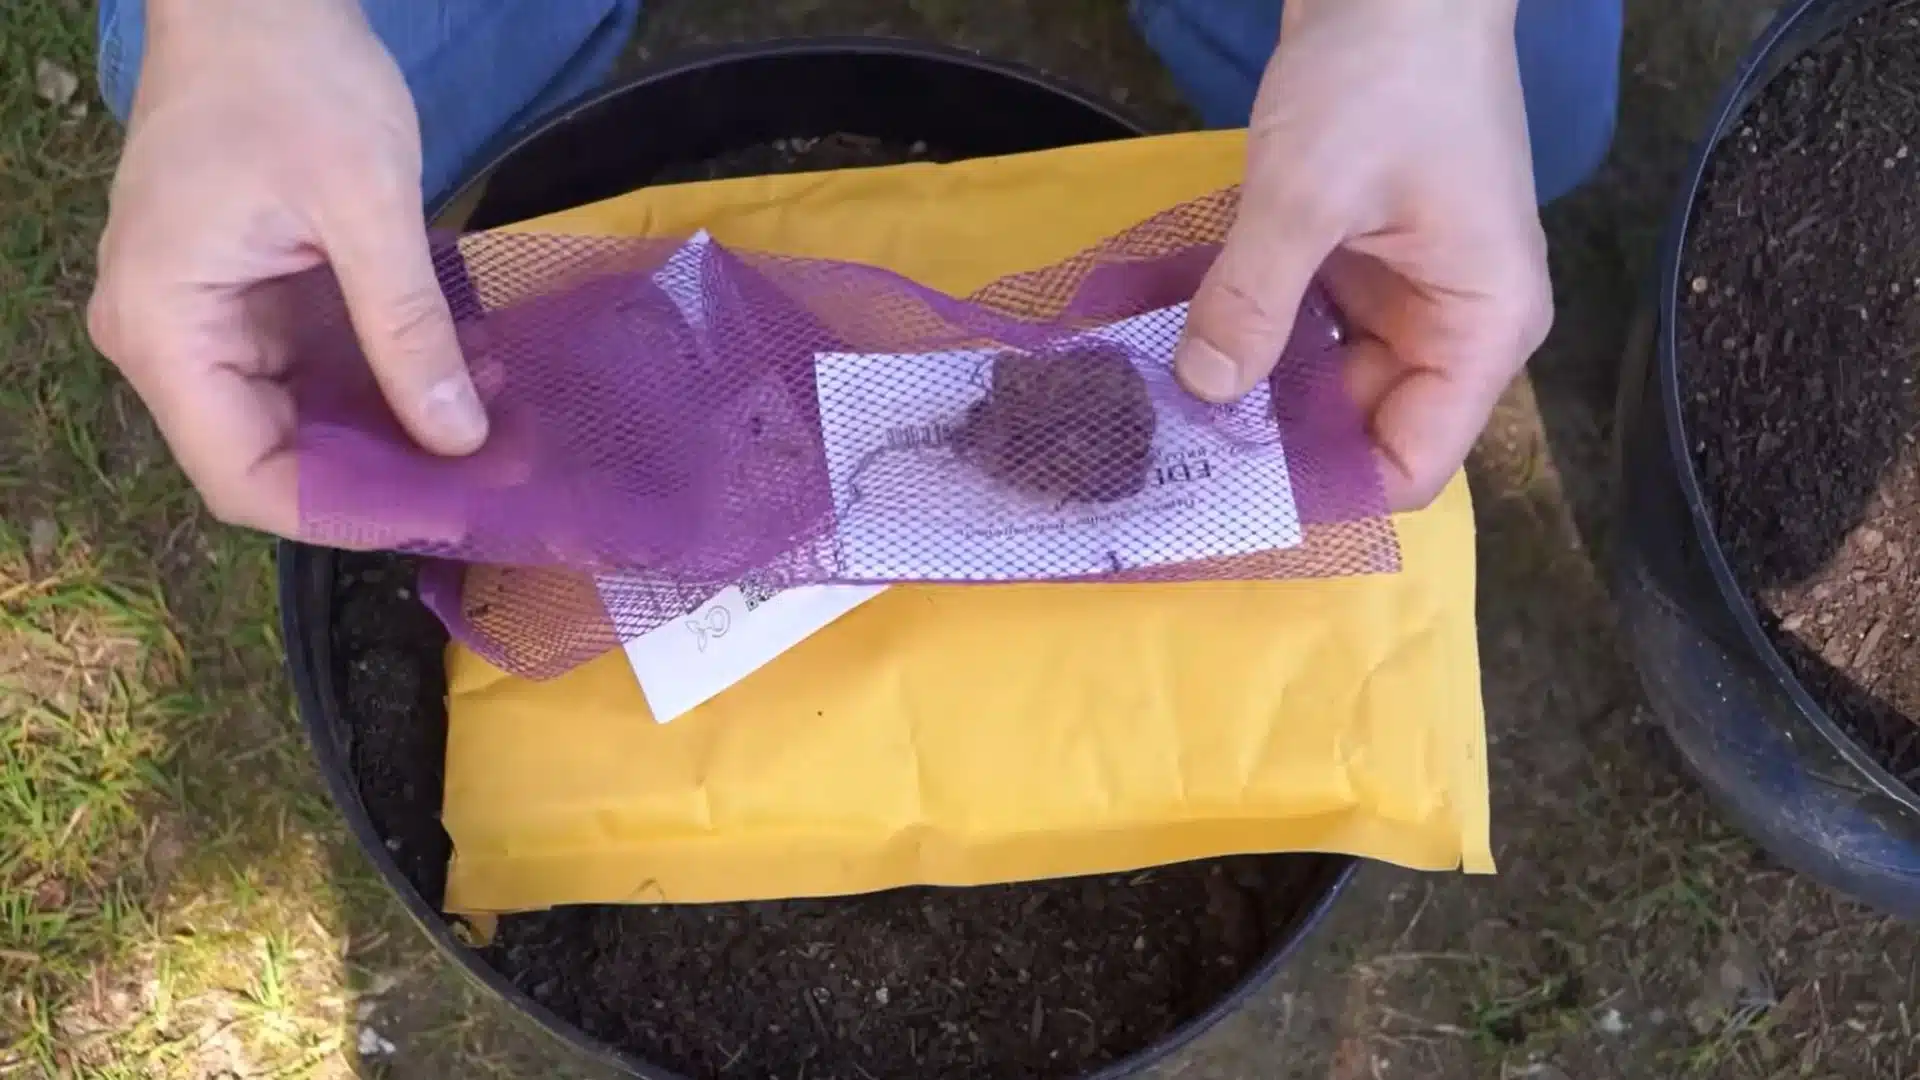
Fresh airflow helps protect elephant ear bulbs after delivery. Open the package promptly, remove the bulb from its mesh wrapping, and check that no packing material remains attached.
Place it in a dry, shaded, well-ventilated area while preparing the container. Avoid leaving it sealed, as trapped moisture may cause mold or soft spots.
Step 2: Inspect the Bulb and Find the Top
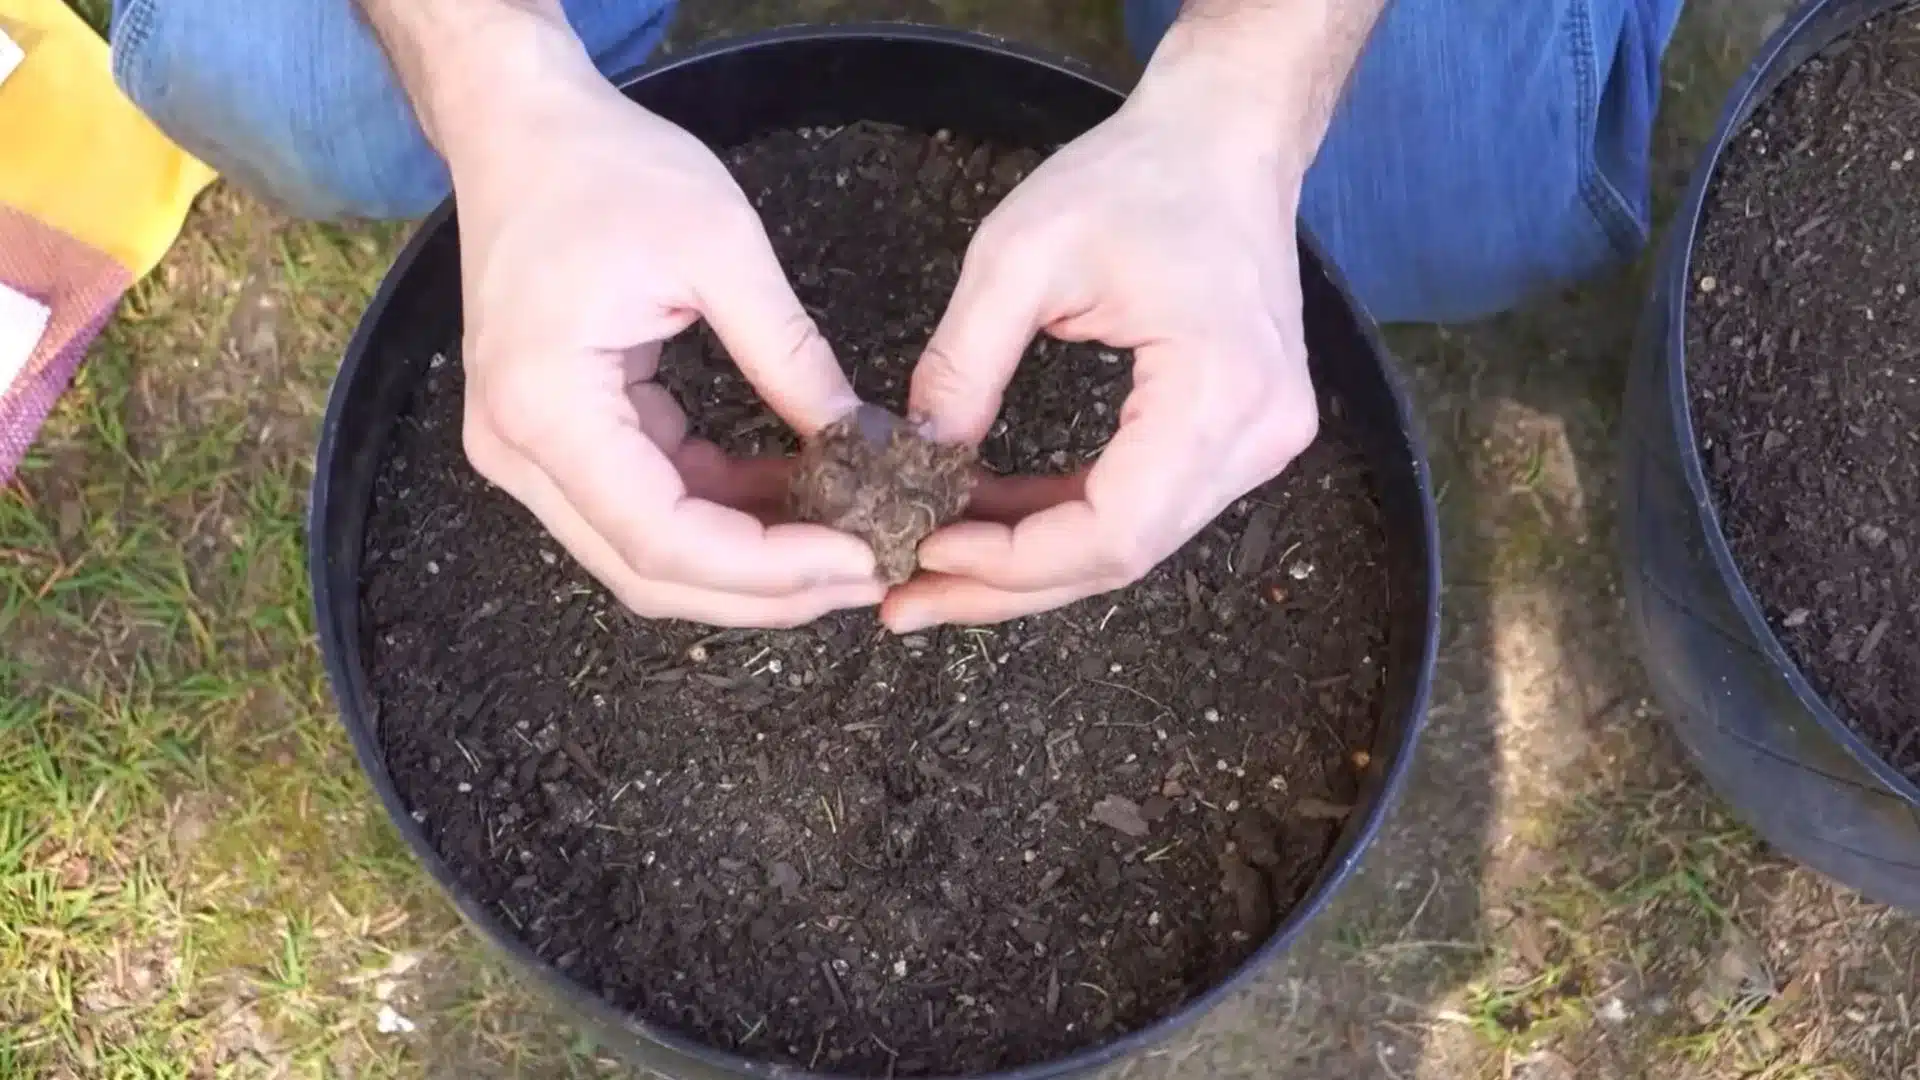
A healthy elephant ear bulb should feel firm and solid. Hold it gently and check for soft spots, mold, or deep cracks.
Look for old stem scars, circular rings, or small growth points. Place that side upward, while the rougher side with root marks faces downward.
Step 3: Position the Bulb in the Container
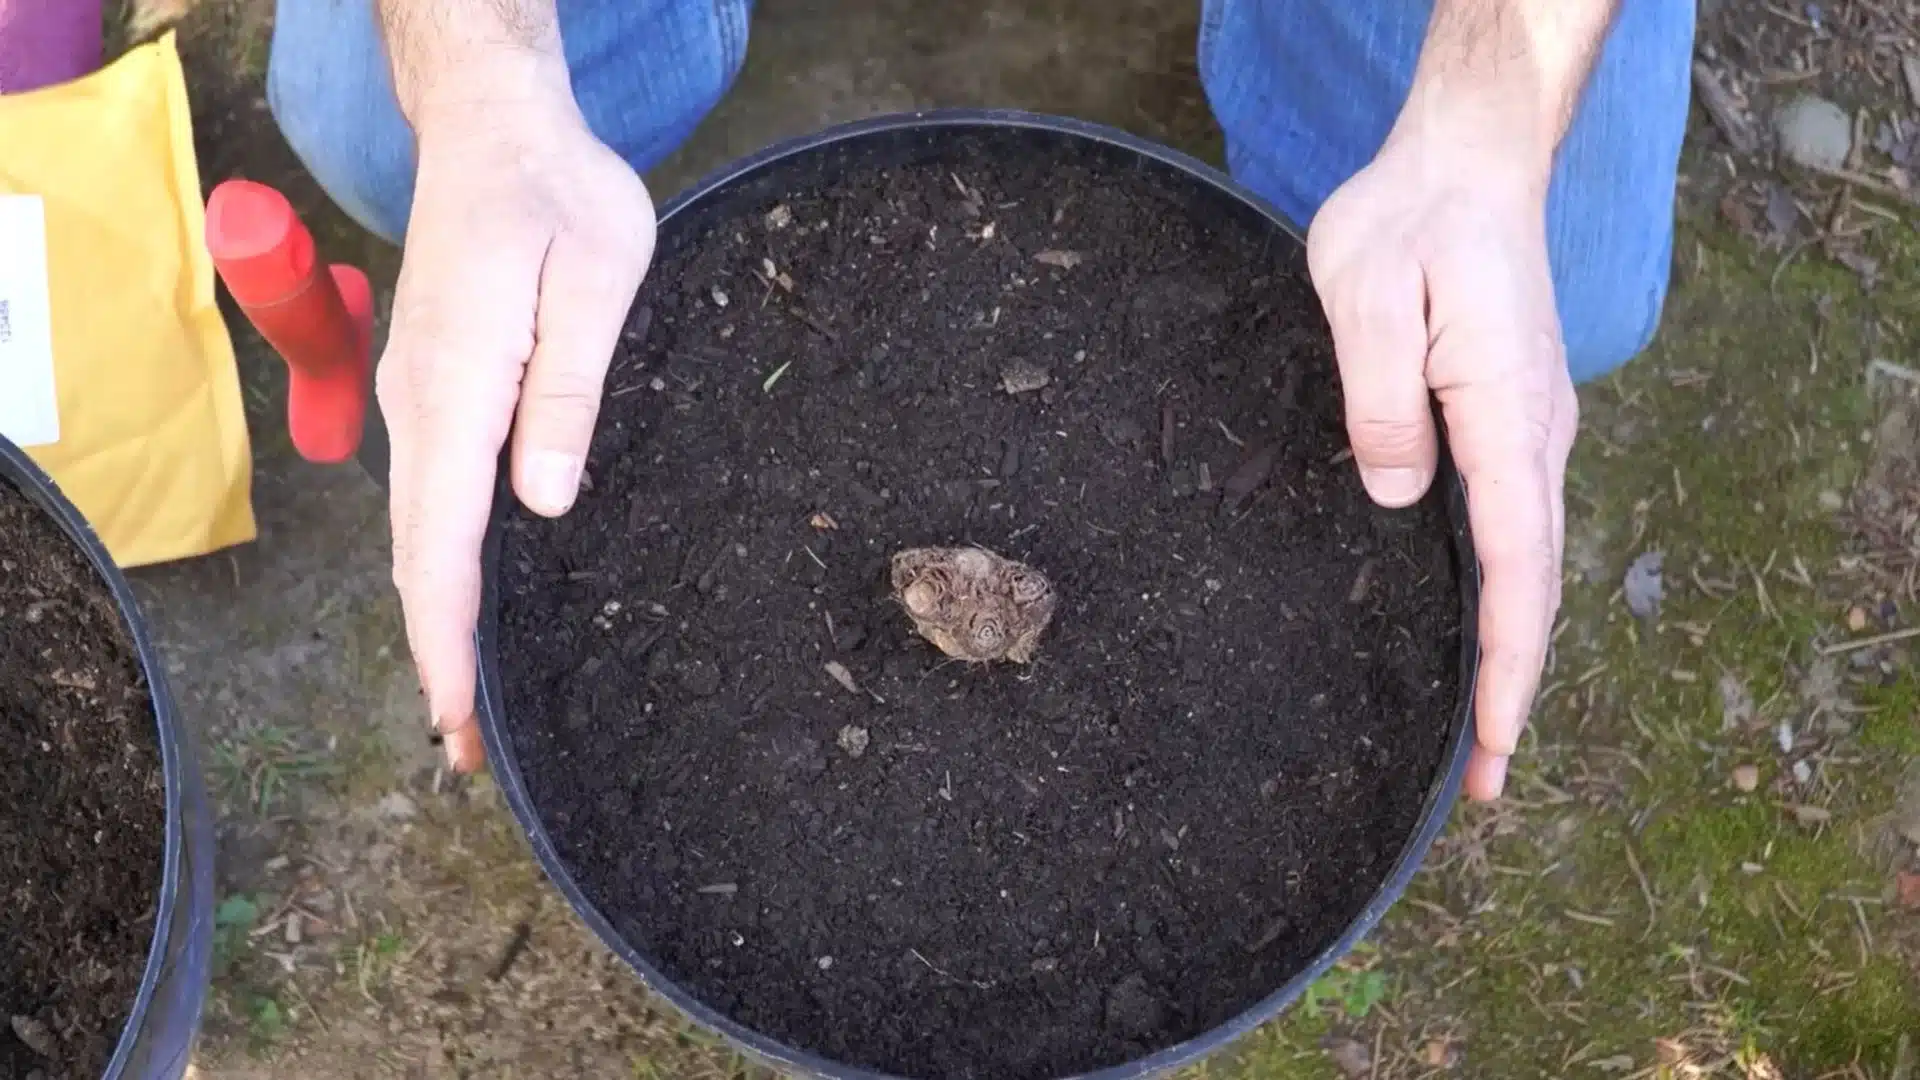
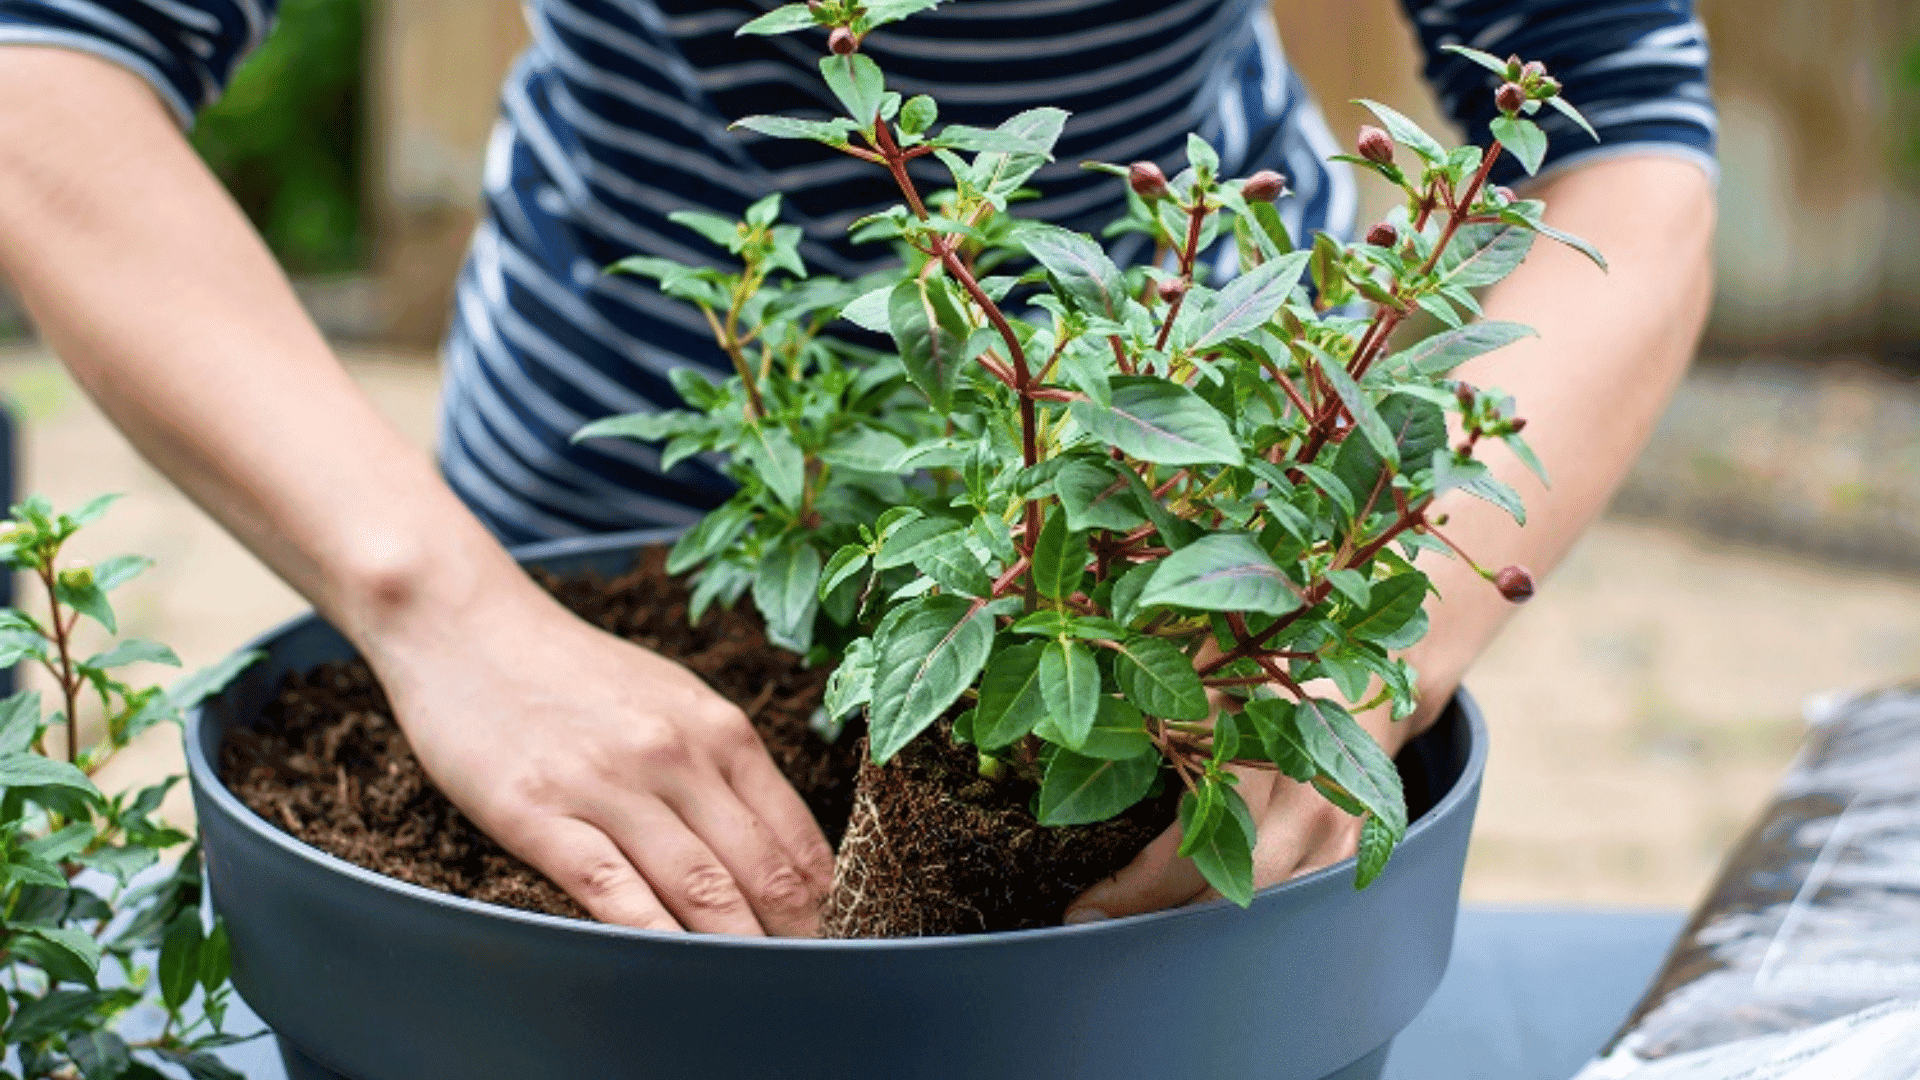
Placing the bulb near the center gives its roots and future foliage room to grow evenly. Fill the pot with rich, well-draining soil, leaving enough depth for the planting hole.
Position the bulb centrally with the growth side facing upward, then confirm its placement before digging or covering it.
Tip: Use a sturdy container because mature elephant ear leaves can make lightweight pots unstable.
Step 4: Dig the Planting Hole
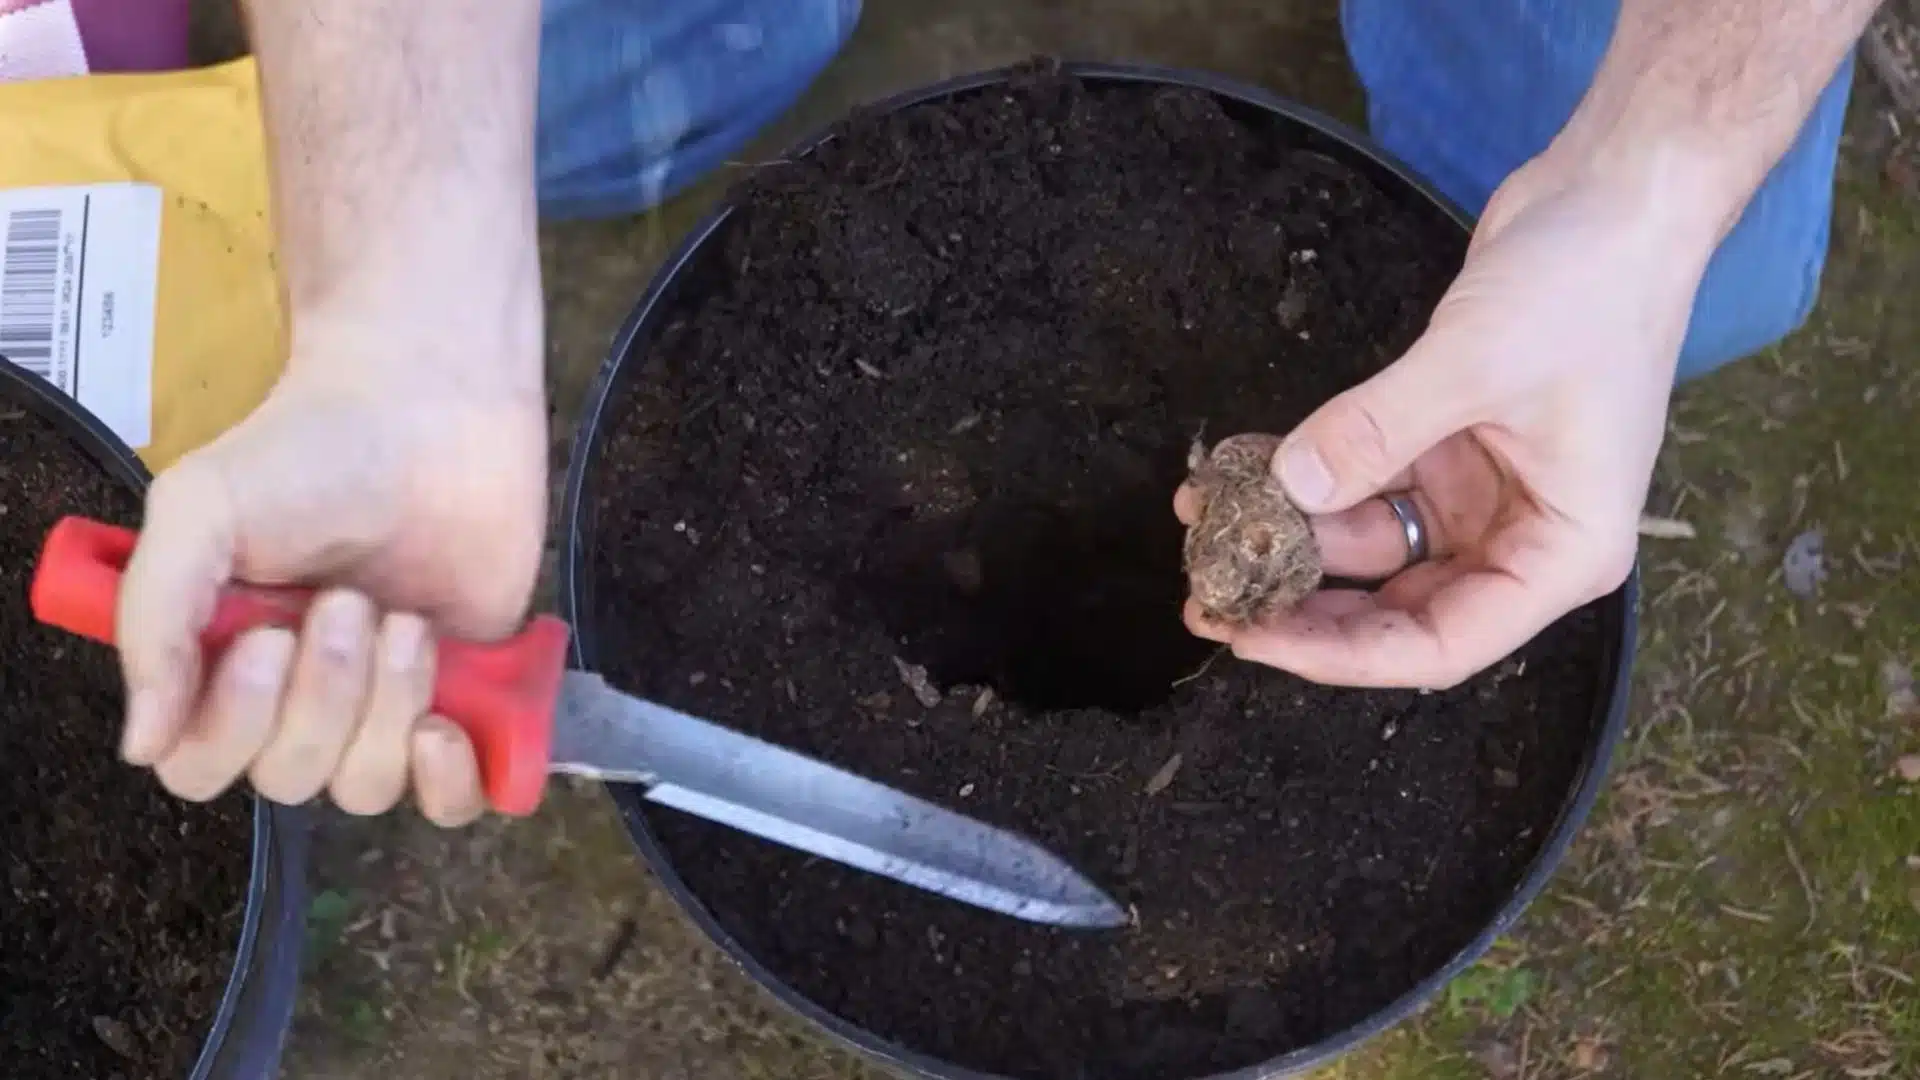
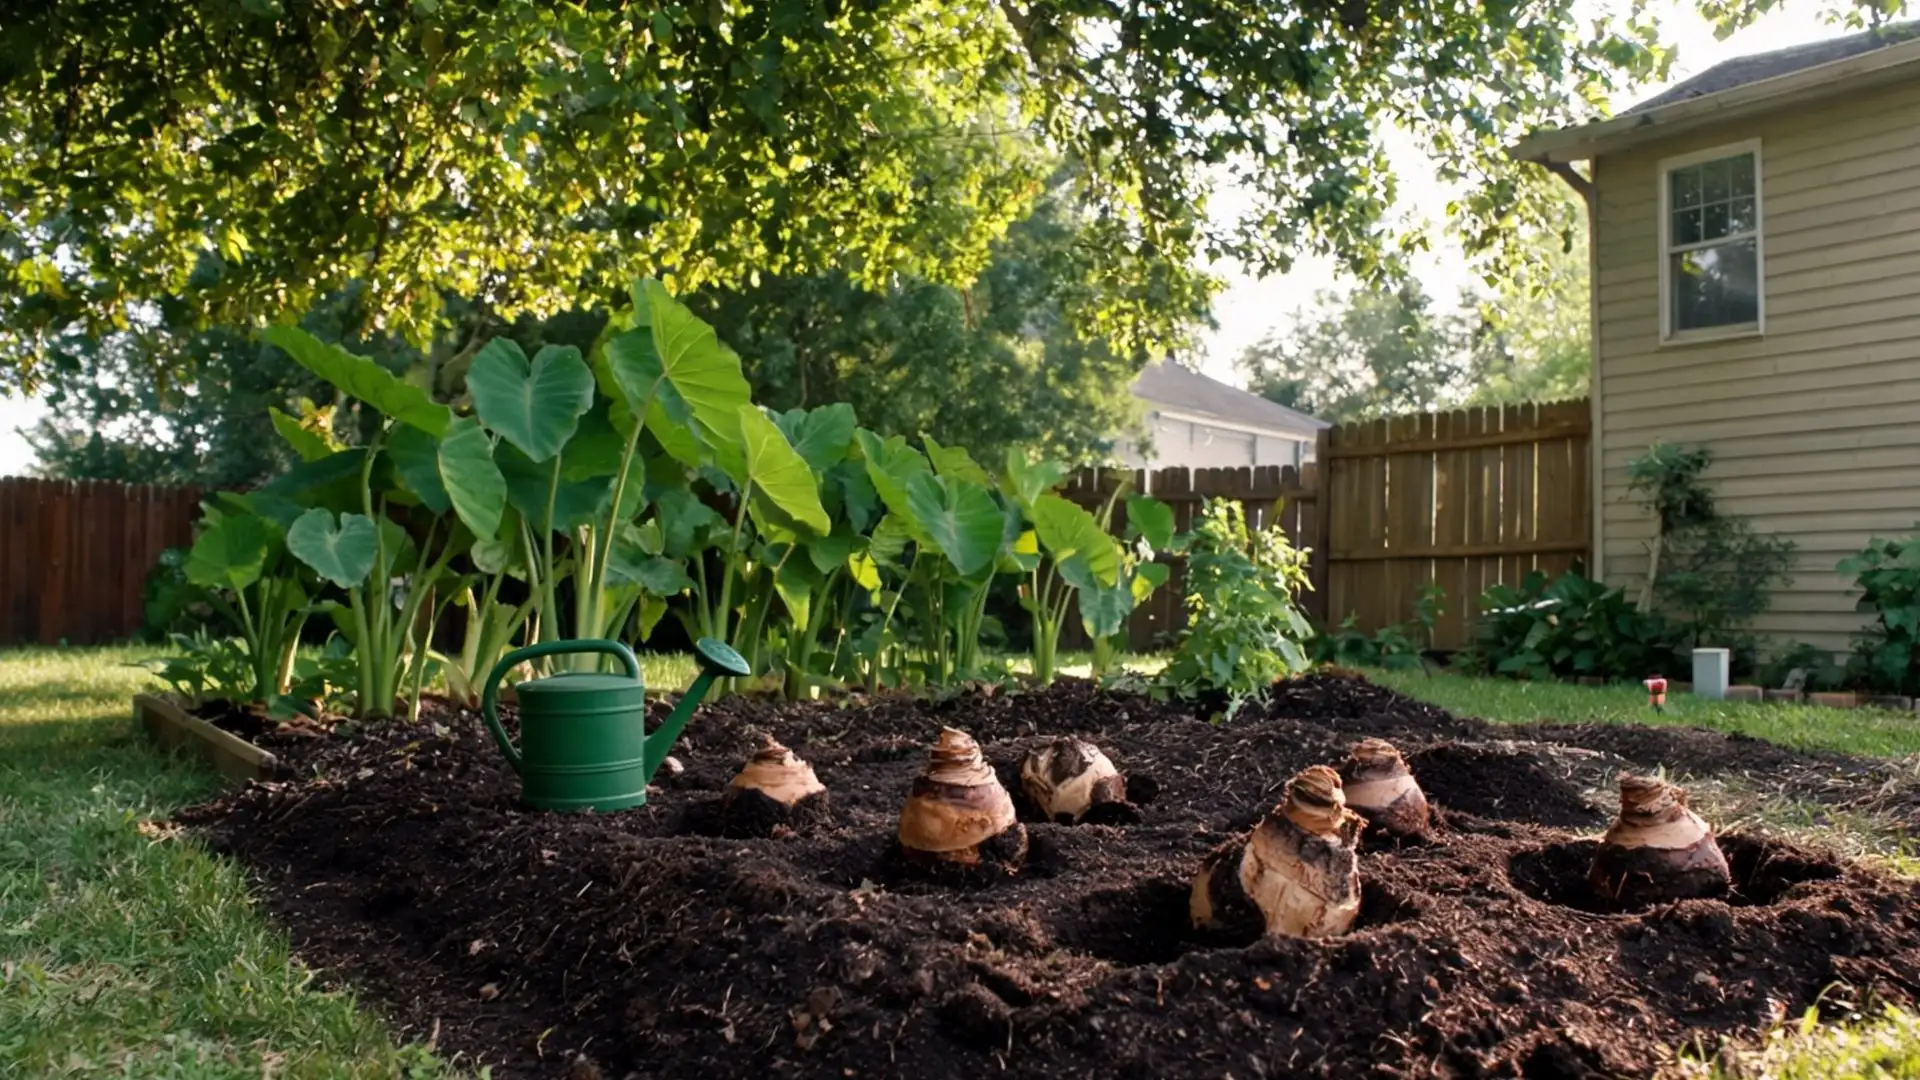
Dig a hole 4 to 6 inches deep, aiming for about 5 inches when suitable.
Make it wider than the bulb so roots can spread through loose soil. Loosen the sides, remove stones and hard clumps, and avoid forcing the bulb into compacted potting mix.
Step 5: Place and Cover the Bulb
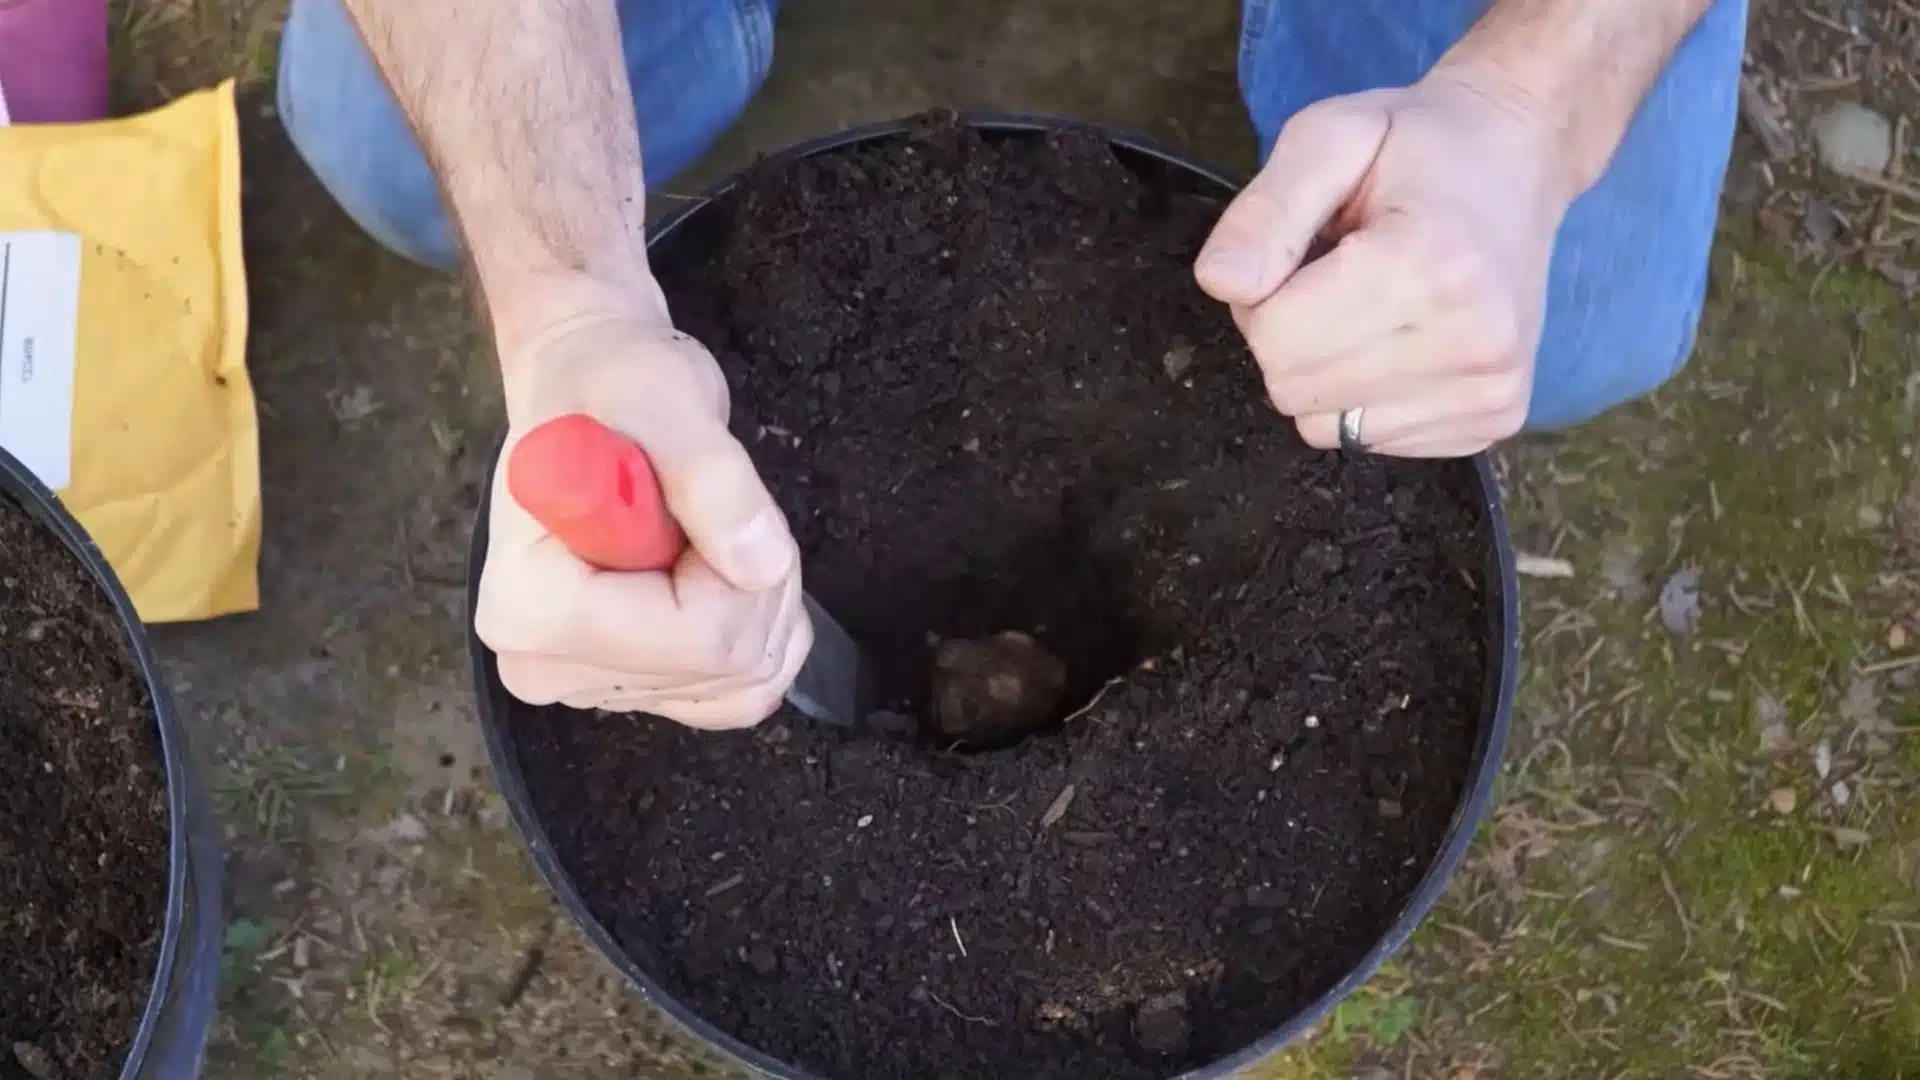
Lower the bulb gently into the hole with the old stem side facing upward. Set it flat at the base, then return loose soil around and above it without shifting its position.
Press the surface lightly so the bulb stays secure while drainage and airflow remain undisturbed. Do not pack the soil firmly, as dense soil can retain too much water around the bulb.
Step 6: Water the Container Thoroughly
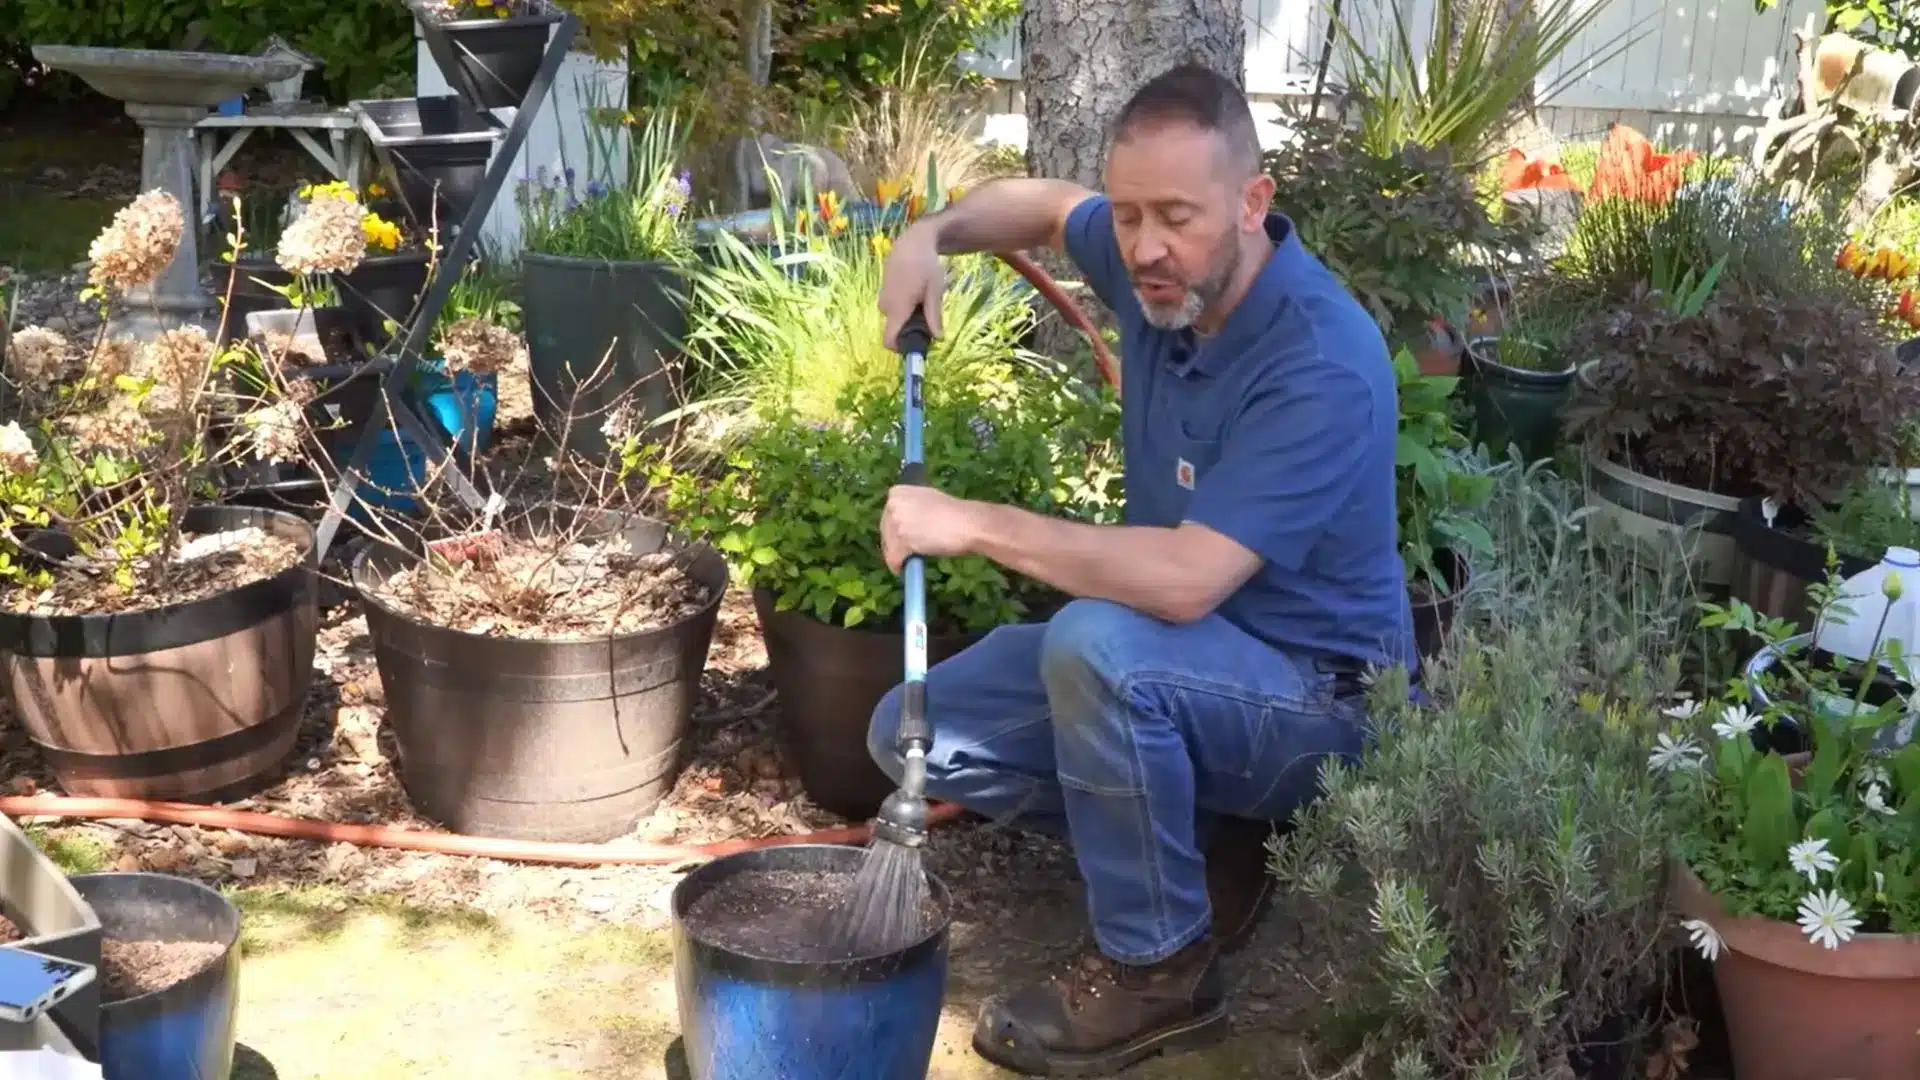
Water slowly across the soil surface until the entire container is evenly moist. Allow excess water to drain freely, then empty any water collected in the saucer.
Keep the soil lightly moist while waiting for shoots to emerge, but avoid leaving the bulb in constantly wet soil.
Planting is now complete. Watering needs pick up once shoots break the surface, and leaves start to unfurl.
A visual explanation of the process: CREDIT – Spoken Garden in partnership with Eden Brothers
Ongoing Care While Elephant Ears are Growing
Once bulbs are established, the only real additions to what you are already doing are feeding and watching for the season to turn.
Feed with compost or a balanced fertilizer during active growth to support the big leaves.
As leaves start to yellow and growth slows in fall, cut back on watering. That is the plant’s signal that it is heading into dormancy, and it is your cue to start thinking about winter protection.
Do Gulf Coast Gardeners Need to Lift Elephant Ear Bulbs Every Year?
Houston winters are mild enough that Colocasia, hardy to about zone 7, often survives in the ground under 3 to 4 inches of mulch.
Alocasia is more tender and does better lifted or moved into containers, especially before hard freezes like February 2021, when covering the base with mulch or a frost cloth helps protect the crown.
A Reddit thread on growing elephant ears in the Midwest highlighted the difference.
Denver and Pennsylvania growers start bulbs indoors and wait for the soil to warm before moving them outside. Gulf Coast gardeners can usually skip that step.
When and How Do You Lift Elephant Ear Bulbs?
Gardeners outside the Gulf Coast, and anyone growing tender Alocasia varieties even here on the coast, still need to lift and store bulbs for winter.
Lift elephant ear bulbs when cold weather approaches and the foliage begins to yellow, droop, or collapse. In colder regions, remove them before the ground freezes. Frozen soil can damage the bulbs underground.
After the first light frost affects the leaves, cut the stems back, loosen the soil around the plant, and lift the bulb gently without pulling on the remaining foliage.
Bulbs and roots may spread beyond the visible stem, so dig around a wider area to avoid damage.
After lifting, brush away loose soil and let the bulbs dry in a shaded, ventilated place.
Store only firm, healthy bulbs without soft spots. Keep them in a cool, dark, dry, frost-free area with good airflow, then replant them after frost danger passes and the soil warms.
How Do You Store Elephant Ear Bulbs After Lifting?
Elephant ear bulbs can rot if they are stored while wet, dirty, or damaged. After lifting them, remove loose soil, let the surface dry, and choose a cool storage space that stays above freezing.
- Clean Before Storage: Brush away any loose soil after the bulb has dried. Avoid washing unless necessary because trapped moisture can encourage rot.
- Dry the Bulbs Thoroughly: Leave bulbs in a shaded, ventilated place for several days. The outer surface should feel dry before packing.
- Use a Breathable Material: Place bulbs in paper, peat moss, wood shavings, or a ventilated box. Avoid sealed plastic bags that trap condensation.
- Store in a Cool, Dark Area: Keep bulbs in a frost-free, dry place away from direct heat. Check them occasionally for soft spots or mold.
- Save Only Healthy Bulbs: Keep firm bulbs without deep cuts, bad odors, or spreading rot. Discard damaged bulbs before they affect the rest.
Properly stored elephant ear bulbs can return with healthy growth the following season.
Keep them dry, cool, dark, and protected from frost, check them occasionally, and replant the firmest ones once the soil warms in spring.
Frequently Asked Questions (FAQs)
Are Elephant Ear Plants Toxic to Pets?
Yes. Elephant ear plants contain calcium oxalate crystals that can irritate the mouth and digestive system if chewed. Keep the plant away from pets and small children, and wear gloves when handling damaged leaves or stems.
Can Elephant Ear Bulbs Be Divided?
Some mature elephant ear plants produce offsets or side corms that can be separated during dormancy. Each divided piece should have healthy tissue and a growth point. Allow cut surfaces to dry before replanting to lower the risk of rot.
Why Are My Elephant Ear Leaves Curling?
Curling leaves can result from dry soil, low humidity, heat stress, strong wind, or root problems. Check the soil moisture first, then review sunlight exposure and drainage. New leaves may also curl briefly as they open.
Can Elephant Ears Grow Indoors Year-Round?
Elephant ears can grow indoors when they receive bright light, warmth, humidity, and enough space. Their large leaves may become difficult to manage in small rooms, and indoor plants are more likely to attract spider mites.
Do Elephant Ear Plants Produce Flowers?
Mature elephant ears can produce pale, calla-like flowers, although they are mainly grown for foliage. Flowering depends on the variety, plant age, warmth, and growing conditions. Some plants may never flower in cooler climates.
Why Are Elephant Ear Leaves Dripping Water?
Water droplets on leaf tips are often caused by guttation. The plant releases excess moisture when roots absorb more water than the leaves can use. It is usually harmless, but frequent dripping may suggest the soil is staying too wet.
A Final Word on Elephant Ears
Elephant ears reward gardeners who want bold foliage without a lot of fuss. Houston’s long growing season makes them easier to keep than most of the country gets to enjoy.
A firm bulb, warm soil, balanced moisture, and enough space will get you strong roots and big leaves.
Do not rush the planting or the early care. Check bulb health, wait for the right soil temperature, set the depth correctly, and adjust water as growth kicks in.
If you have grown elephant ears in a Gulf Coast pot, bed, or border, tell me your neighborhood and what worked in the comments. It helps other gardeners nearby avoid the same early mistakes.