A chaotic garage has a way of making even the most organized person feel defeated.
But sorting out that mess doesn’t have to mean draining your wallet or calling in a professional.
DIY garage shelves are honestly one of the best home projects you can take on, because you get full control over the design, the size, and how everything fits your space.
Sturdy, budget-friendly, and completely yours, these shelves are closer to reality than you think.
Skip the Shelving Aisle: Here’s Why DIY Always Wins
Store-bought shelves look convenient until you realize they cost a fortune, wobble under real weight, and never quite fit your wall. Building your own is a different story.
DIY garage shelves cost a fraction of pre-built units, and every inch is designed around your space, not a generic showroom layout.
You also get to choose the materials, which means solid wood or steel over flimsy particleboard. More room, better build, lower spend.
Honestly, it’s a win across the board.
Planning Your DIY Garage Shelves
Before a single screw goes in, a little planning saves a lot of backtracking.
Here’s everything you need to think through before getting started:
| Factor | Options | Key Consideration |
|---|---|---|
| Space | Walls, ceiling, floor | Height, width, and door clearance |
| Shelf Type | Wall-mounted, freestanding, overhead | Layout and accessibility |
| Weight Load | Tools, bins, seasonal items | Material strength and shelf thickness |
Tools and Materials You’ll Need
Getting your supplies sorted ahead of time keeps the whole build smooth and stress-free.
Here’s what you’ll want on hand:
Tools
- Drill and drill bits
- Stud finder
- Level
- Measuring tape
- Saw
Materials
- Plywood or 2×4 lumber
- Screws and wall anchors
- Mounting brackets
Budget tip: Basic shelves run on minimal materials, while heavy-duty builds need thicker lumber and heavy-load brackets.
DIY Garage Shelves: Step-by-Step Guide
Building your own garage shelves is far simpler than it looks. Follow these steps, and you’ll have a sturdy, functional shelf system up before the day is over.
Step 1: Measure and Mark Your Wall
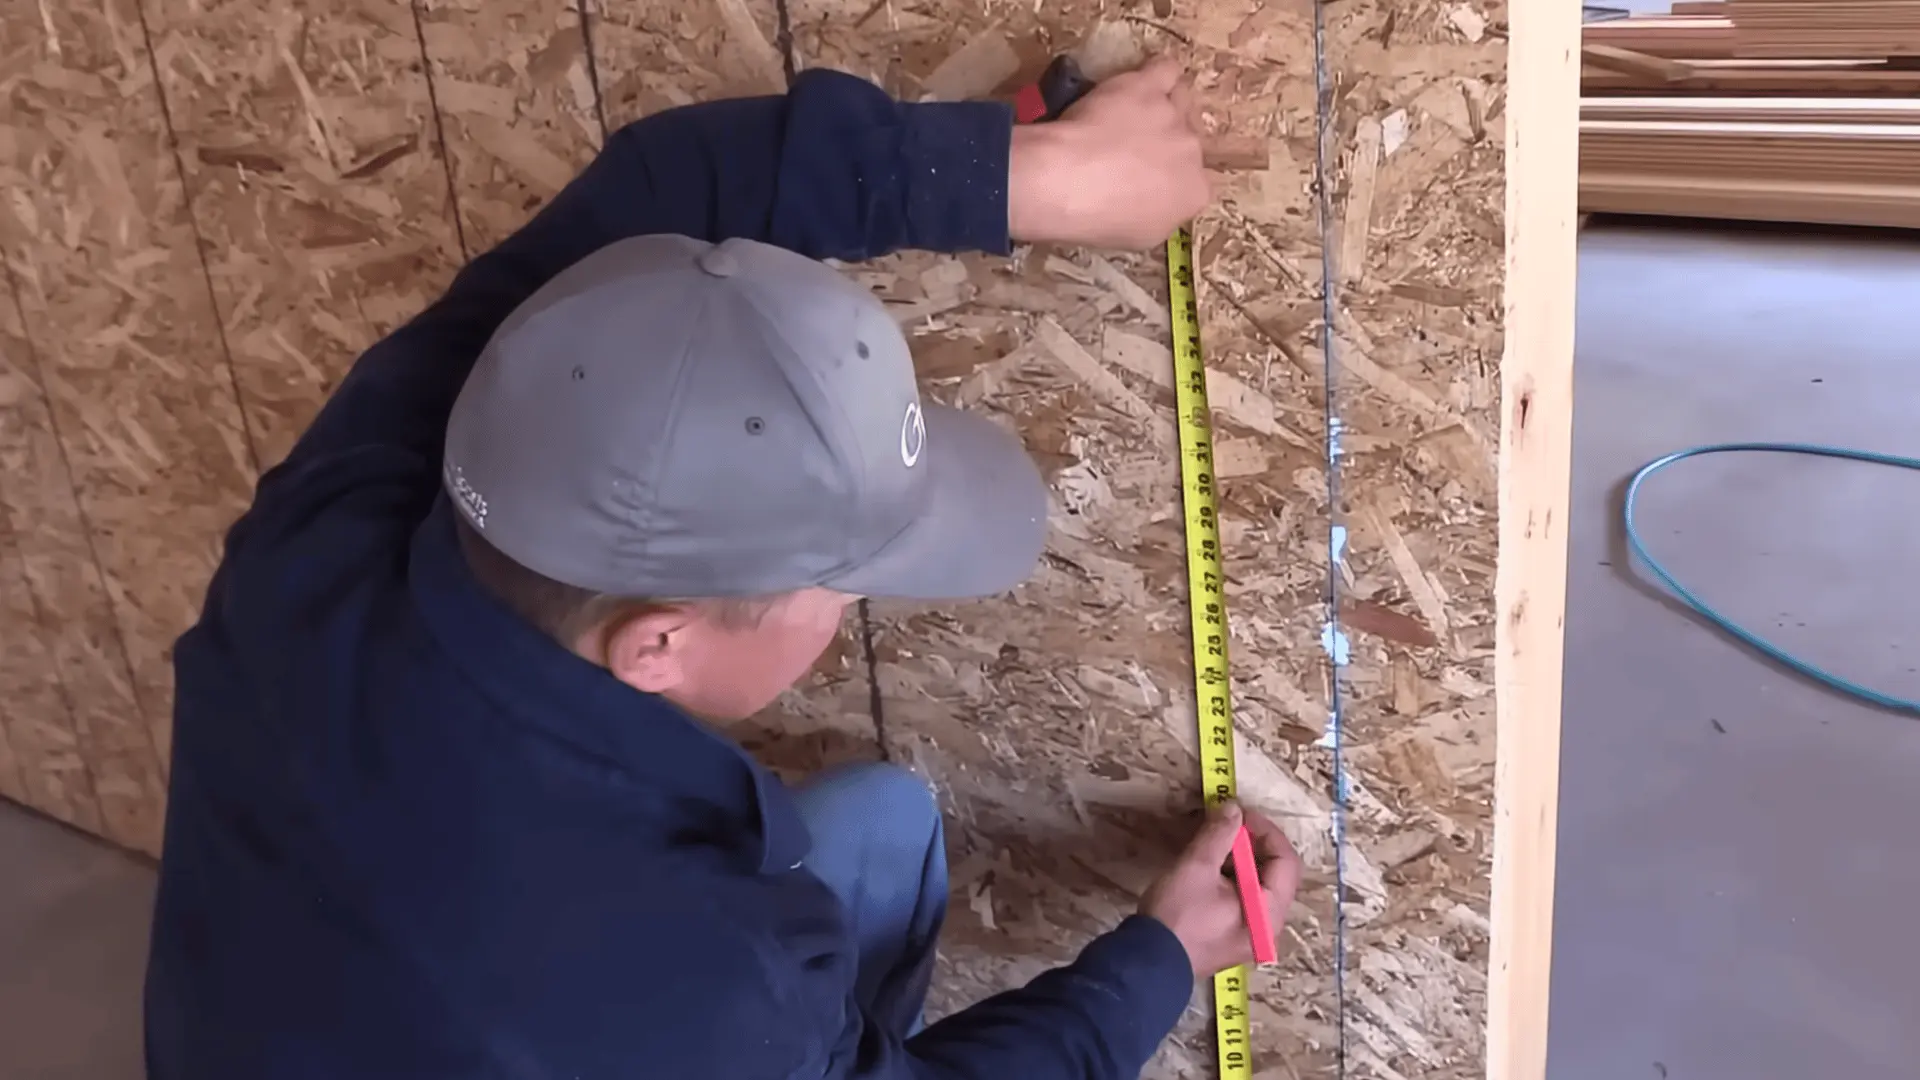
Start by marking where each shelf will sit. Since garage floors are rarely level, work from the wall up rather than the floor.
Decide on shelf height based on what you’re storing, leaving enough clearance between each level. Mark your stud locations clearly, as every 2×4 support needs to anchor directly into them for a solid hold.
Step 2: Cut Your 2×4 Supports

Cut your 2×4 boards to your desired shelf length. For material efficiency, sticking to standard lumber lengths like 12 feet works well since plywood sheets are sized to match. This keeps costs down and reduces leftover waste.
Once cut, you’ll need 2 supports per shelf, so plan your cuts accordingly before picking up the saw.
Step 3: Mount the Wall Supports
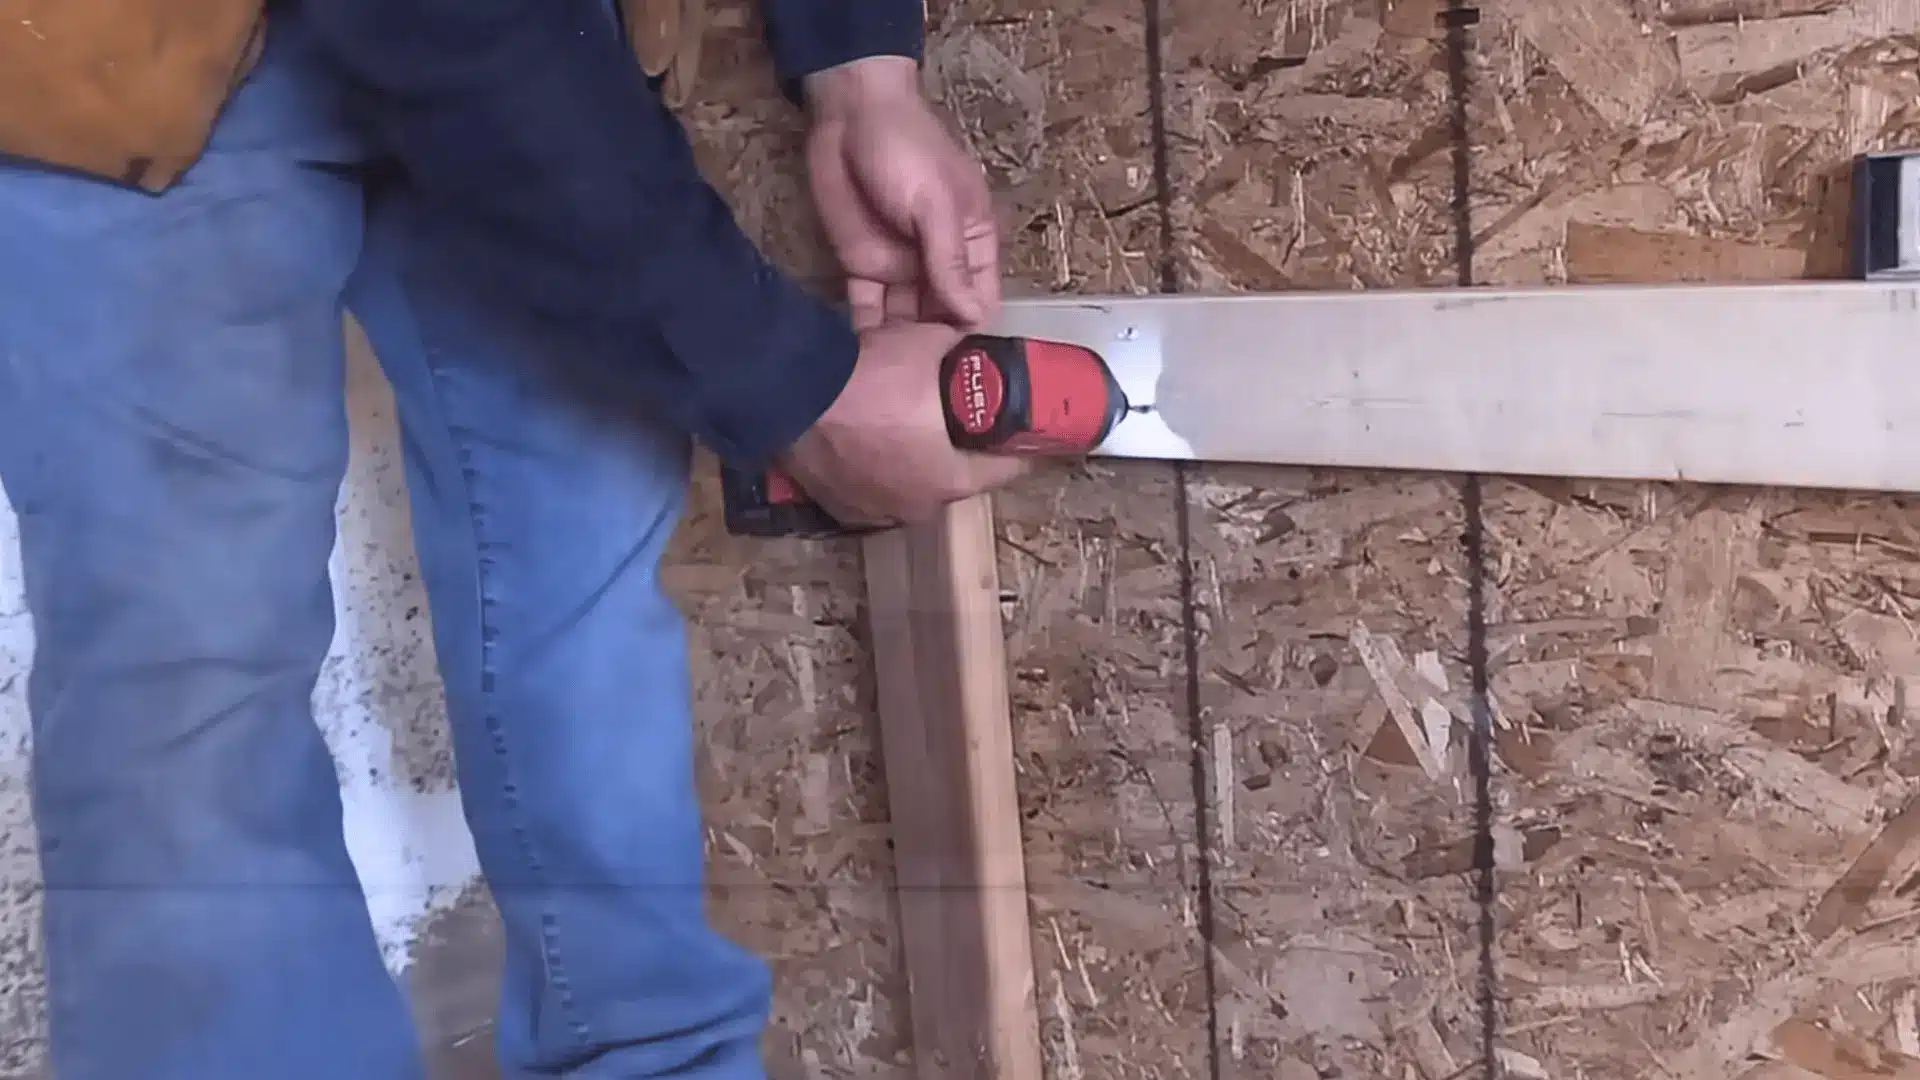
Attach the 2x4s to the wall by screwing them directly into the studs using 3-inch screws.
Use a level on your first board before fully securing it, then use a spacer block to keep consistent spacing as you move up. This trick makes solo building much easier since holding a 12-foot board while drilling is no small task.
Step 4: Add the Front Frame and Uprights
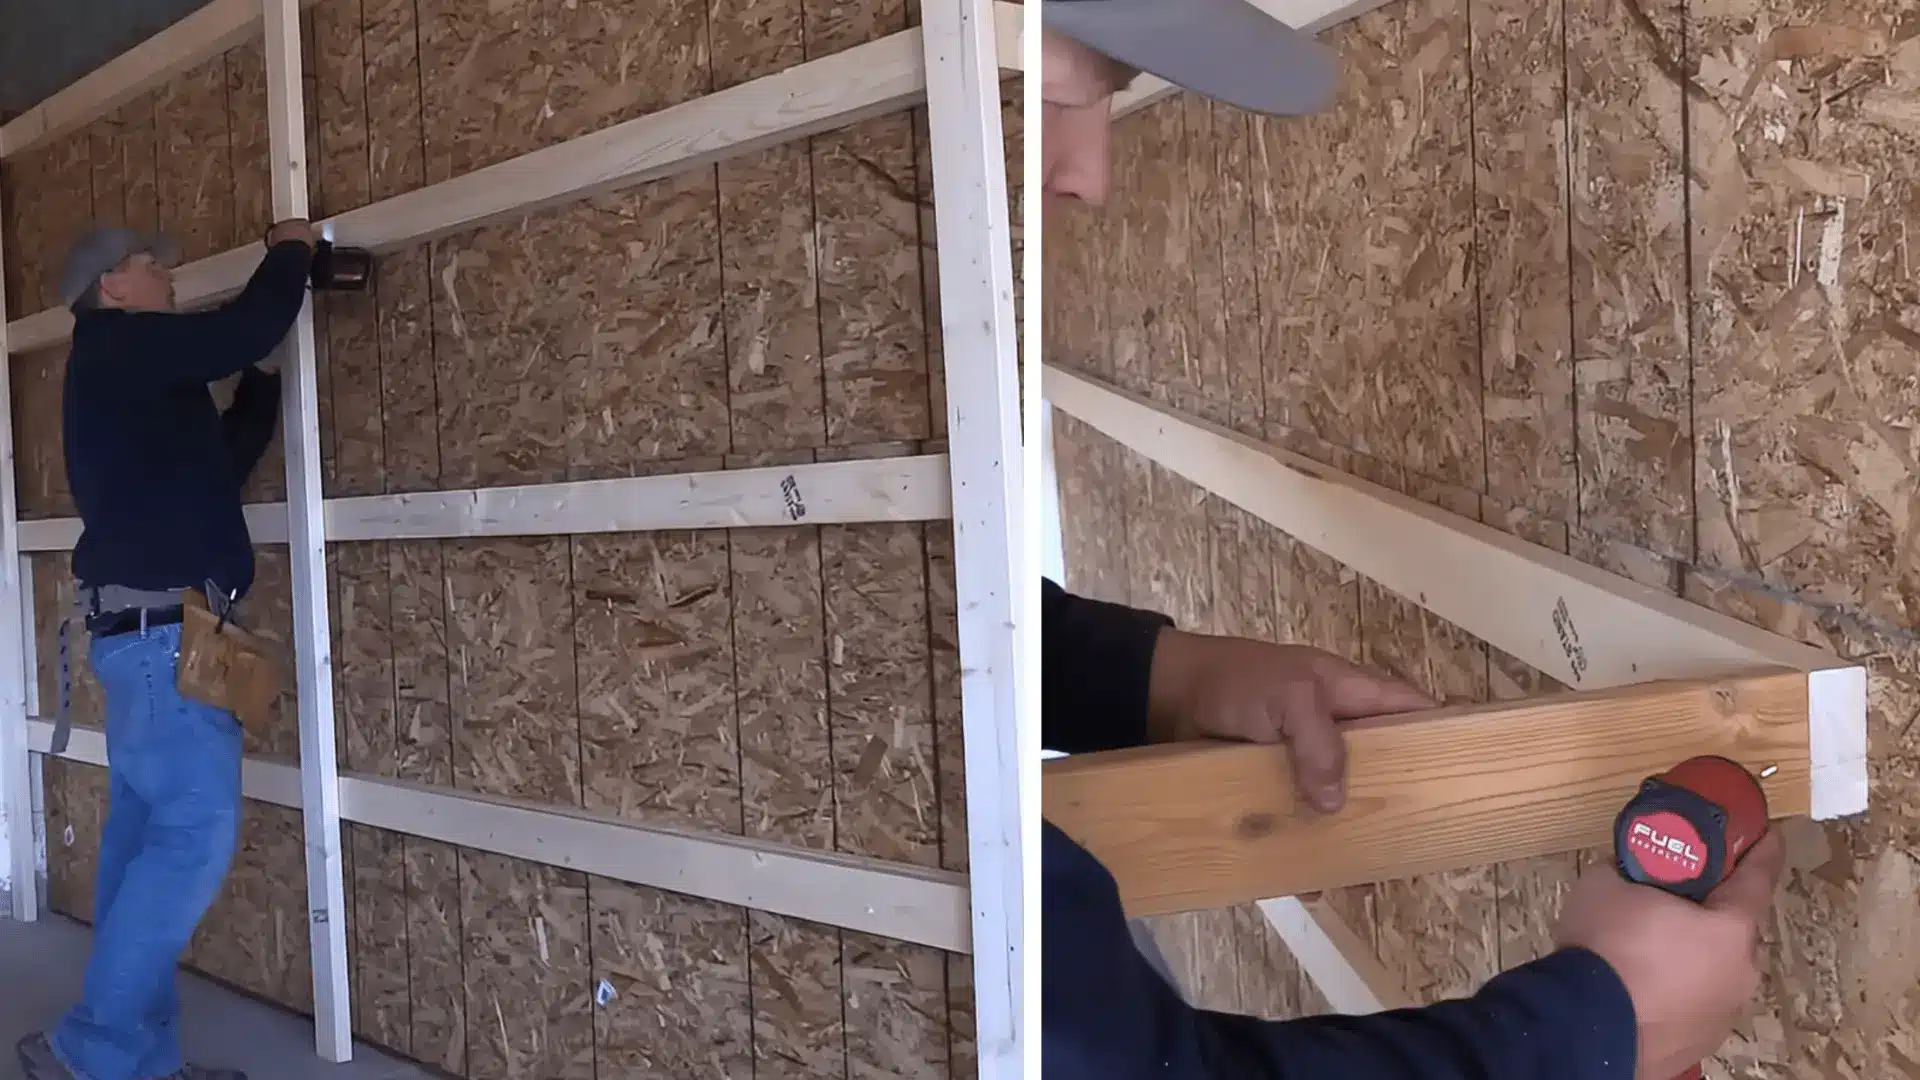
Once wall supports are in place, tack a 2×4 along the front edge with a single screw, then attach your vertical uprights to connect the wall board and the front board. This creates a clean frame for each shelf.
Pull the front frame out to your desired shelf depth, typically 24 inches, before fully securing everything into place.
Step 5: Cut and Drop in the Plywood
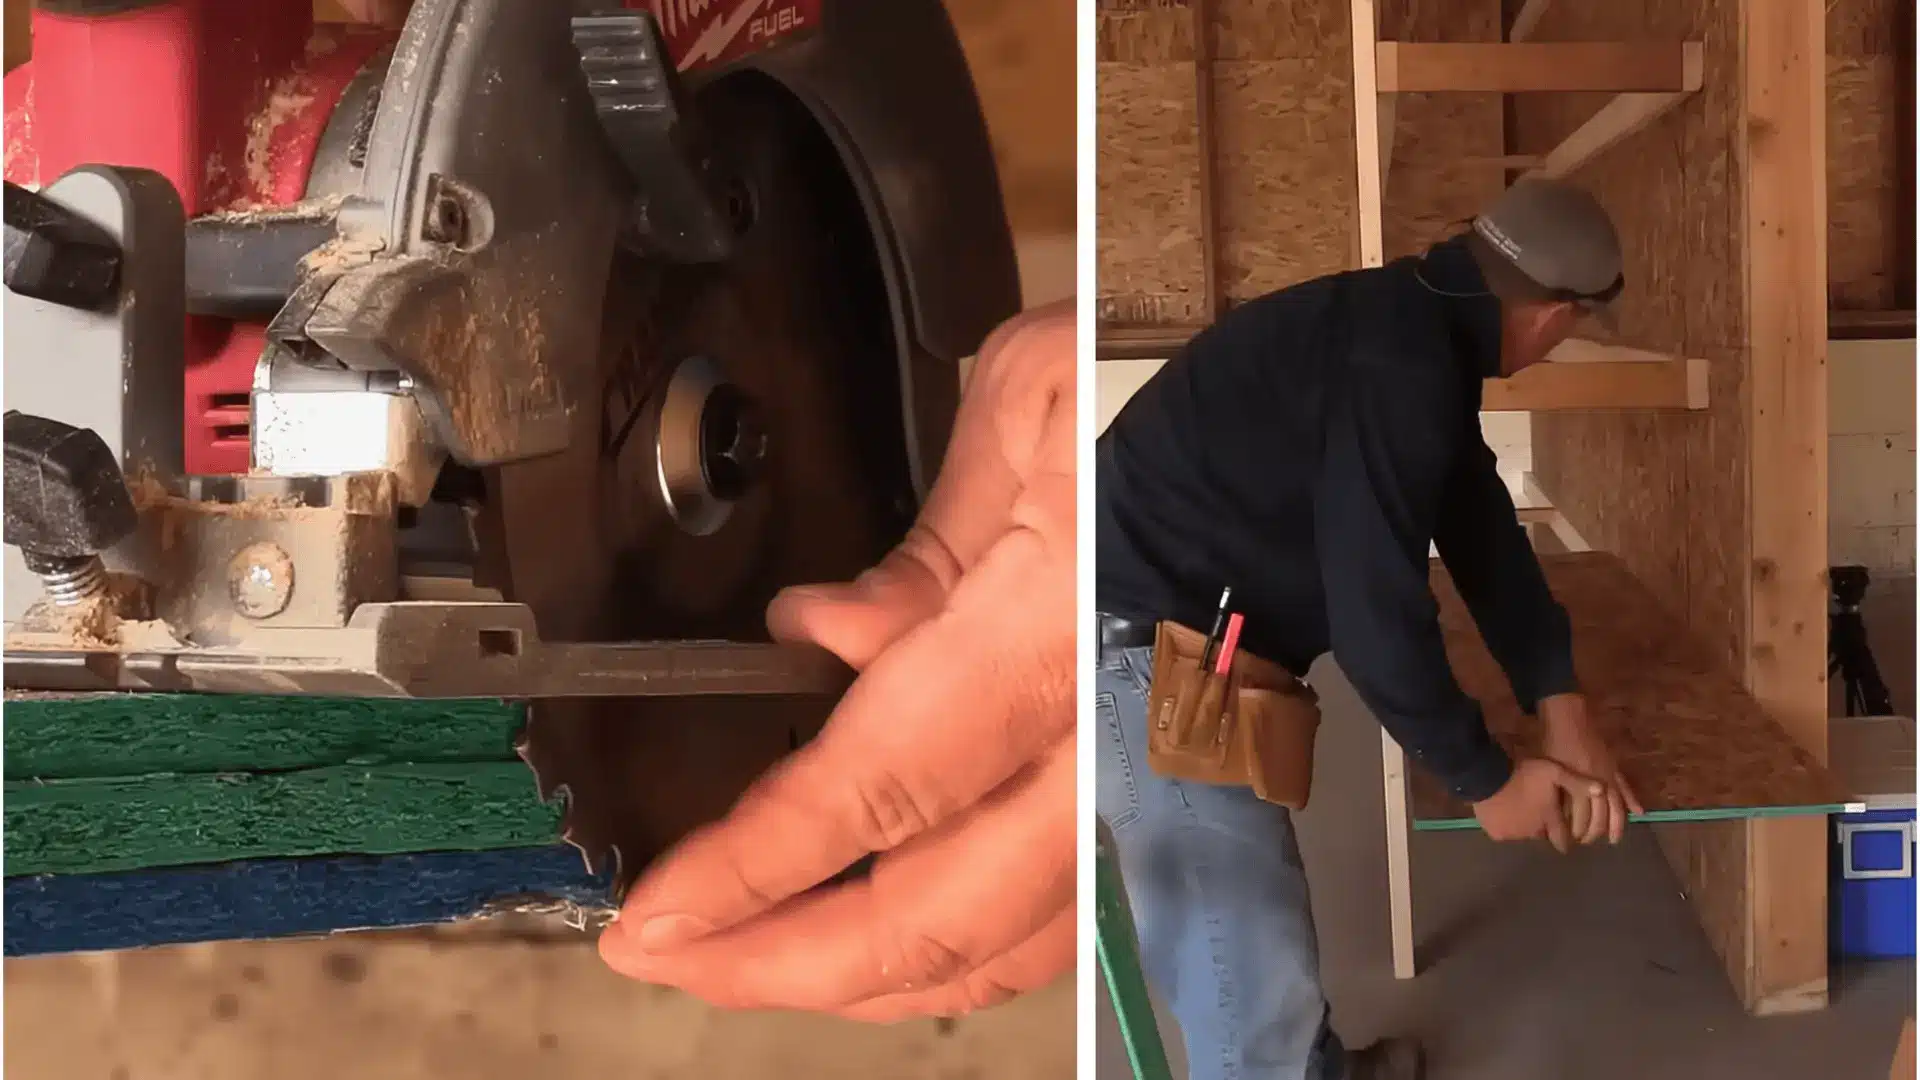
Rip your plywood sheets down to match your shelf depth. Stack multiple sheets and cut them together to save time. OSB or half-inch plywood both work well here.
Once cut, simply drop the boards onto the frame and screw them down every couple of feet. That’s it. Your shelves are ready to load up.
For a more detailed walkthrough of the process, check out the complete video tutorial below by Ana White
Different Types of DIY Garage Shelves
Not every garage is laid out the same, so the shelf type you go with really depends on your space and how you use it.
Here’s a quick breakdown to help you decide:
| Type | Best For | Key Perk |
|---|---|---|
| Wall-Mounted | Tight or smaller garages | Keeps floor space completely free |
| Freestanding | Flexible layouts | Easy to move and reposition anytime |
| Overhead/Ceiling | Seasonal or rarely used items | Uses dead ceiling space efficiently |
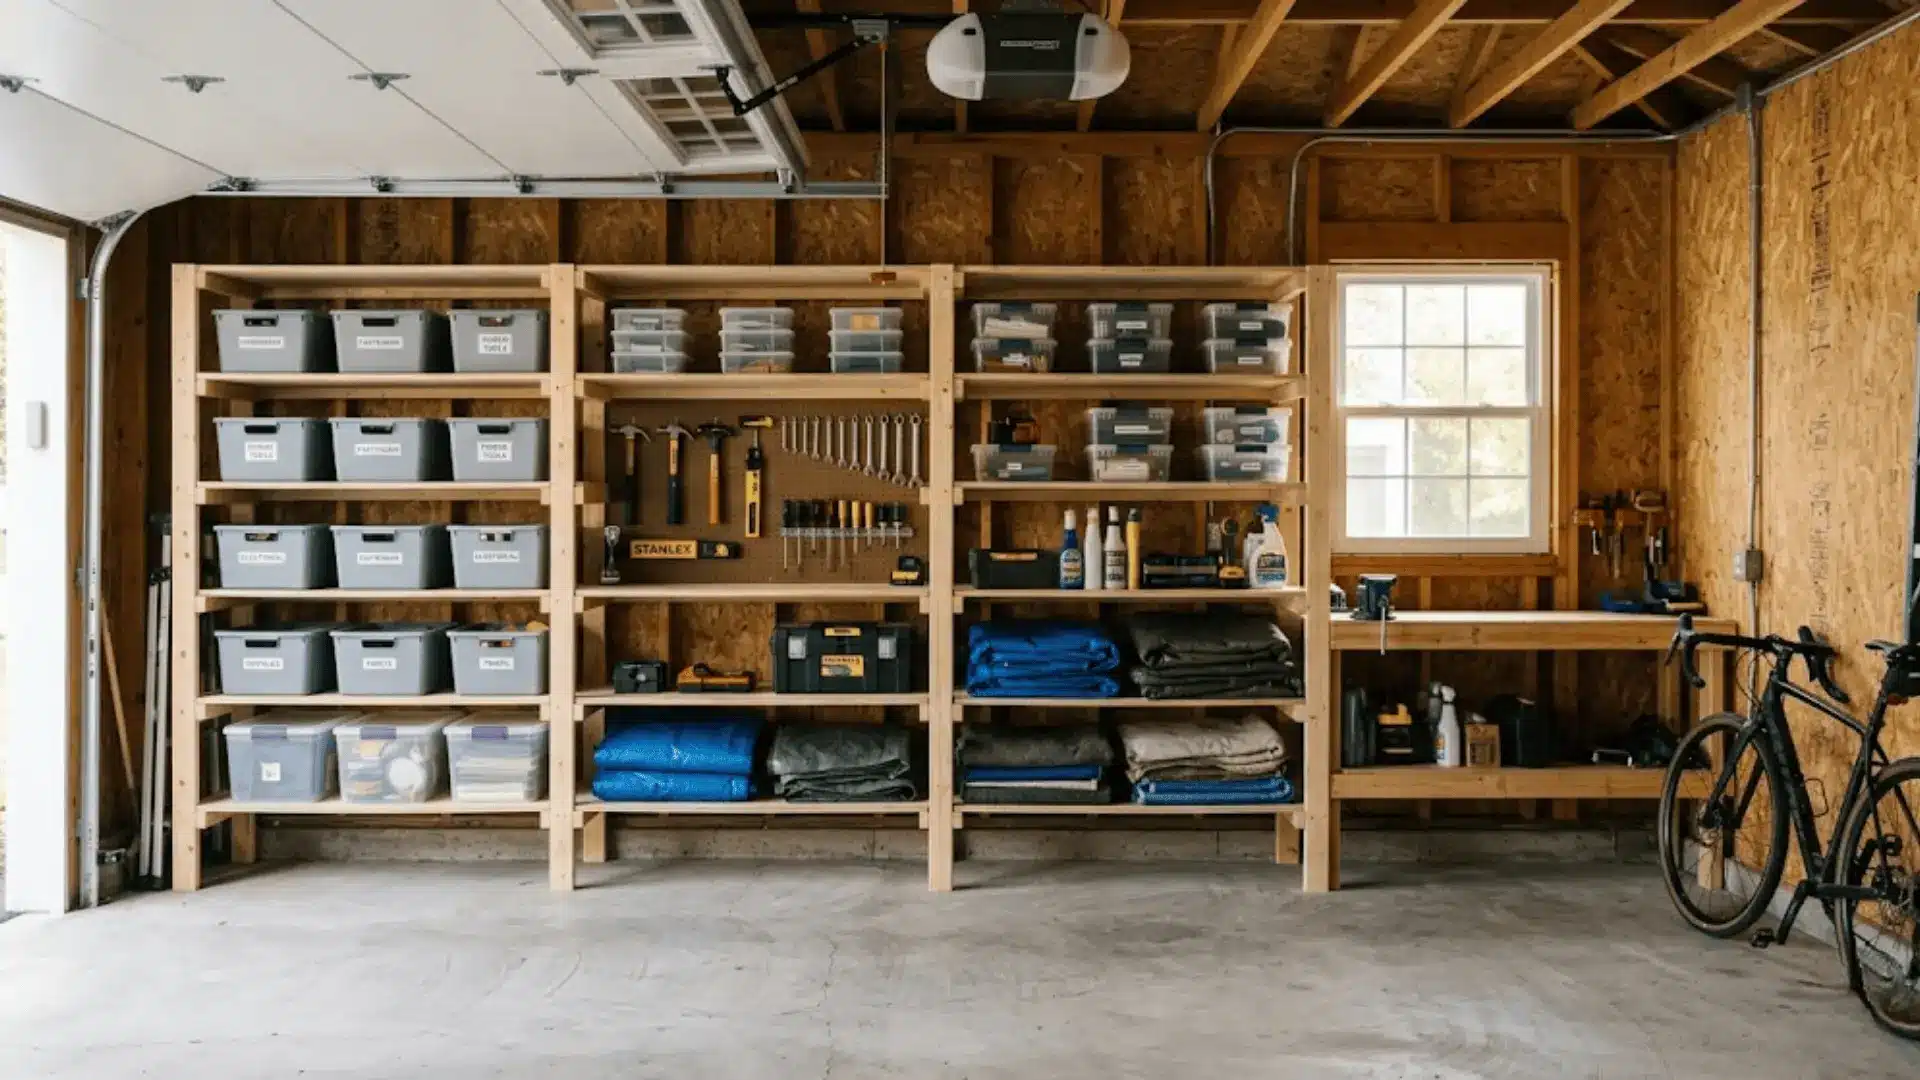
DIY Garage Shelves Design Ideas
Your garage shelves don’t have to just be functional; they can actually look good, too. Here are the design directions worth considering based on your storage style and space.
1. Minimalist Open Shelving
Clean lines, easy access, and nothing in the way. Minimalist open shelving works best when you want everything visible and within reach. Simple plywood boards on wall-mounted brackets do the job without overcomplicating.
It keeps the garage feeling open rather than cluttered, and since there are no doors or dividers, grabbing what you need stays quick and effortless.
2. Heavy-Duty Tool Storage
When your shelves need to hold more than just boxes, the build has to match the load. Reinforced 2×4 frames with thicker plywood handle the weight of power tools, hardware bins, and equipment without sagging.
Spacing shelves slightly wider apart also gives bulkier tools room to sit properly. Built right, these shelves can hold a serious amount of weight for years without any give.
3. Corner Shelves
Corner spots are some of the most overlooked areas in a garage. A well-built corner shelf unit pulls that dead space into full use without eating into your main floor area.
Angled or L-shaped designs fit snugly into the corner and work great for storing seasonal items, smaller bins, or anything you reach for less often. A small footprint with a surprisingly big storage payoff.
Safety Tips for Building Garage Shelves
A good build isn’t just about the end result; staying safe through the process matters just as much.
Keep these in mind before you start:
- Always anchor screws into wall studs, never just drywall.
- Wear safety glasses and gloves when cutting or drilling.
- Spread weight evenly across shelves to avoid sagging or tipping.
- Double-check that all brackets and frames are fully secured before loading.
- Keep your work area clear of clutter while building.
A little caution upfront saves a lot of trouble down the line.
How to Maintain Your Garage Shelves?
Built well doesn’t mean set and forget. Every few months, go through your shelves and tighten any loose screws or joints before they become a bigger issue.
Give the surfaces a quick wipe down to prevent dust and grime from building up over time.
It’s also worth reorganizing periodically so the weight stays evenly distributed, and nothing gets dangerously stacked.
A small amount of upkeep goes a long way in keeping your shelves sturdy and functional for years.
Cost-Saving Tips for DIY Garage Shelves
Building your own shelves is already budget-friendly, but a few smart choices can stretch that even further.
Here’s how to keep costs low without cutting corners on quality:
- Use scrap wood for smaller sections, fillers, or support blocks wherever possible.
- Buy lumber and screws in bulk since the per-unit cost drops significantly.
- Repurpose old furniture, pallets, or salvaged wood for a solid no-cost material source.
A little resourcefulness at the planning stage can shave a good chunk off your total spend without affecting the final build one bit.
Wrapping Up
DIY garage shelves are one of those projects that genuinely pay off, in space, in function, and in satisfaction.
Once everything is up and loaded, the difference in your garage is immediate.
The best part is that you built it exactly the way you wanted, with materials you chose and a design that fits your space.
If you’ve tried any of these ideas or have a build of your own, drop a comment below and share how it turned out!