Daffodils have this quiet charm that makes them nearly impossible to resist, and the best part?
They’re genuinely one of the easiest flowers you can grow. No fussing, no overthinking, just a little patience and the right timing.
For beginners stepping into gardening or anyone craving a low-maintenance bloom that shows up beautifully every spring, daffodils always deliver.
Planting the bulbs at the right time, understanding what they need through each season, and knowing how to care for daffodils long-term, it all comes together ahead in a way that makes growing them feel completely doable.
When to Plant Daffodil Bulbs?
Getting the timing right is honestly half the work with daffodils. Plant them at the right moment, and they practically take care of the rest themselves.
Best Time to Plant Daffodil Bulbs
Fall is the sweet spot for planting daffodil bulbs, ideally a few weeks before the ground freezes over. This window gives the bulbs enough time to settle in without being tricked into early growth.
Soil temperature is the real indicator here: once it drops to around 40–50°F, the conditions are just right.
Planting too early in warm soil can confuse the bulbs, while planting too late leaves little room for root development before winter sets in.
Regional Planting Differences
Daffodil planting timing varies more than most people expect. Depending on where you garden, the ideal planting window shifts quite a bit, and knowing your region saves a lot of guesswork.
| Region | Climate Type | Best Planting Window | Notes |
|---|---|---|---|
| Northeast & Midwest | Cold/harsh winters | Early to mid-fall | Bulbs need deep planting for frost protection |
| Pacific Northwest | Mild, wet winters | Mid to late fall | Good drainage is essential here |
| Southern States | Warm winters | Late fall to early winter | Choose pre-chilled bulbs for best results |
| Mountain Regions | Short growing season | Early fall | Plant before the first hard frost hits |
Regardless of region, the goal stays the same: give bulbs enough time to develop strong roots before winter, because that underground preparation is exactly what drives fuller, more vibrant blooms when spring finally arrives.
How to Plant Daffodil Bulbs Properly?
Planting daffodils is a lot more straightforward than it sounds, and getting the basics right upfront makes a real difference.
Good bulbs, good soil, and the right depth. That’s really all it takes.
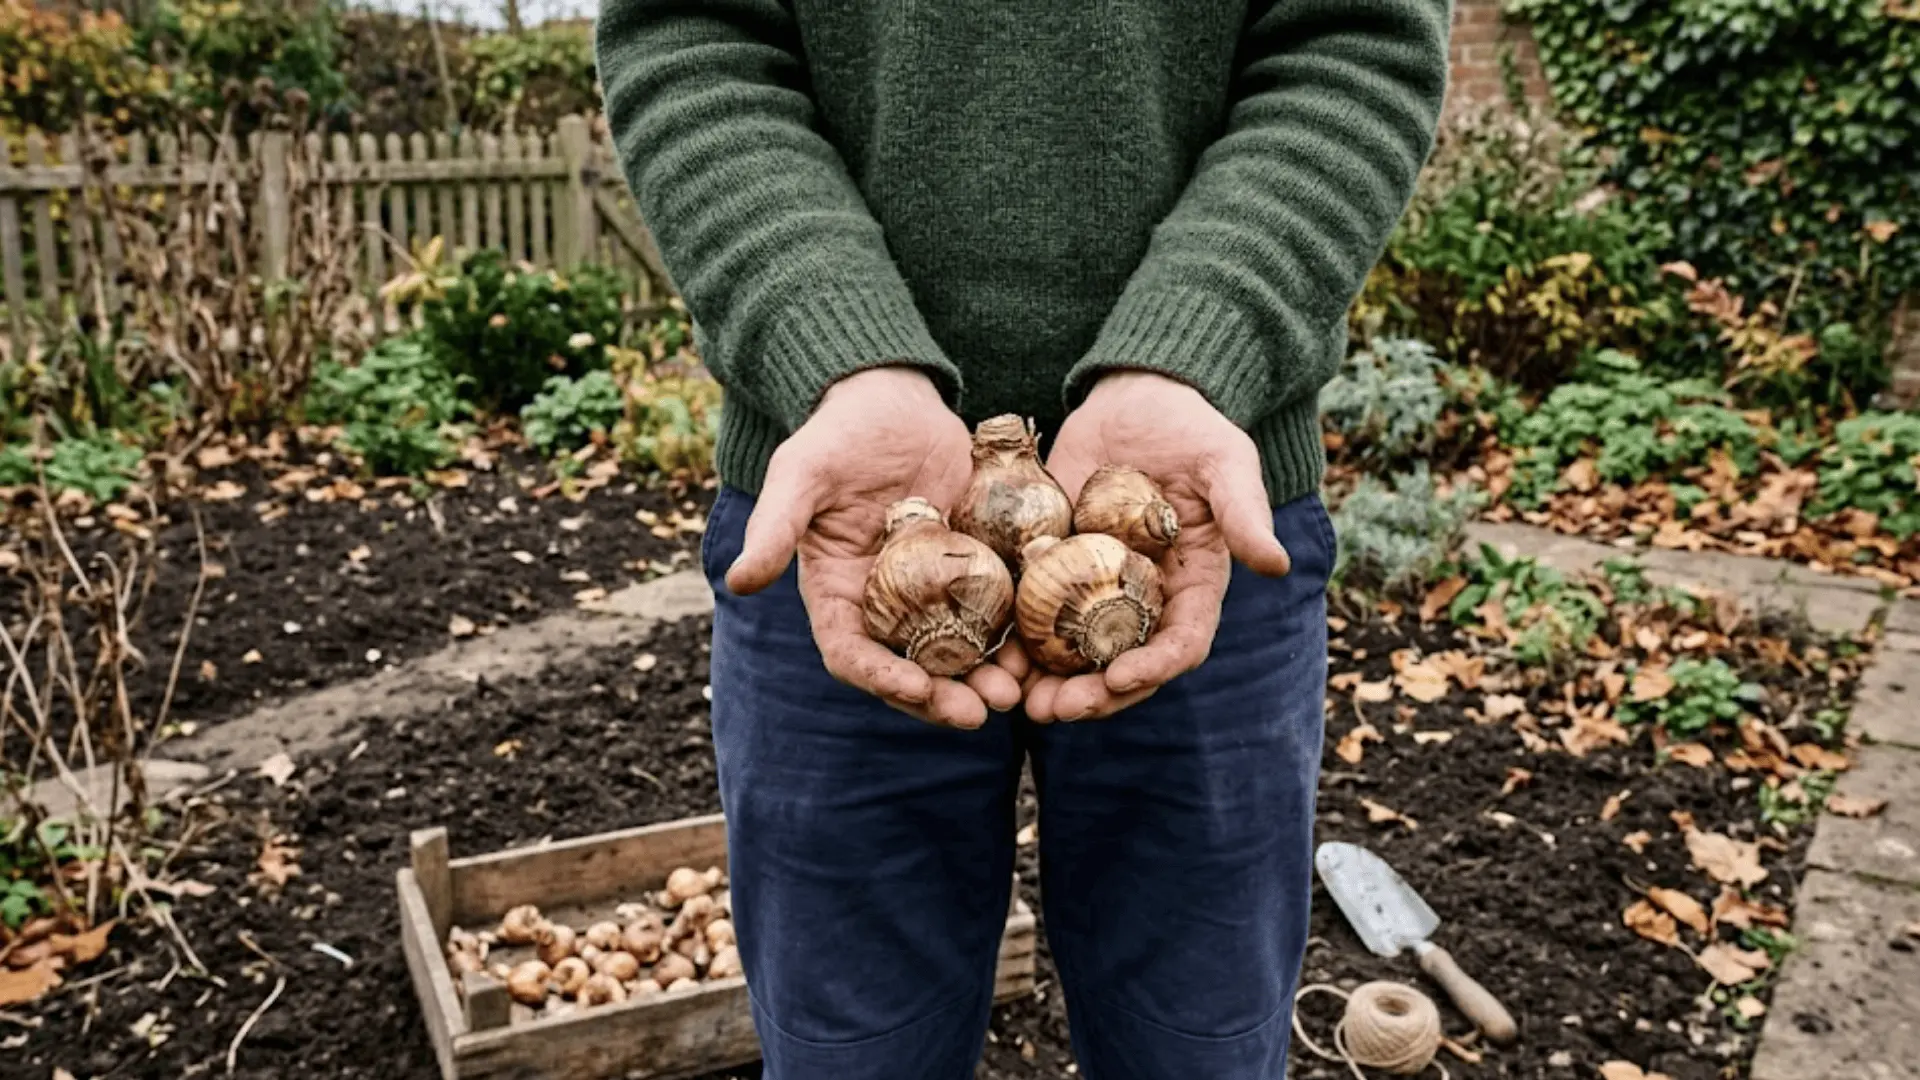
1. Choosing Healthy Bulbs
Starting with the right bulb sets everything else up for success. Look for bulbs that feel firm and heavy for their size, with no soft spots, visible mold, or shriveled skin.
A healthy bulb holds everything the plant needs to bloom, so this first step is worth paying attention to before anything goes into the ground.
2. Ideal Planting Depth and Spacing
Depth and spacing might seem like small details, but they directly affect how well your daffodils root, bloom, and return year after year.
| Factor | Recommended Range | Common Mistake | Why It Matters |
|---|---|---|---|
| Depth | 2–3 times the bulb’s height | Planting too shallow | Shallow bulbs are vulnerable to frost and tend to topple over |
| Spacing | 3–6 inches apart | Crowding bulbs together | Overcrowding limits nutrient access and restricts natural spreading |
3. Soil Preparation
Daffodils are fairly unfussy about soil, but good drainage is non-negotiable. Waterlogged soil leads to bulb rot, which is the fastest way to lose them.
Loosen the soil well before planting, and if it feels dense or compacted, work in some compost to improve both texture and nutrient content. That small preparation step goes a long way toward healthier growth come spring.
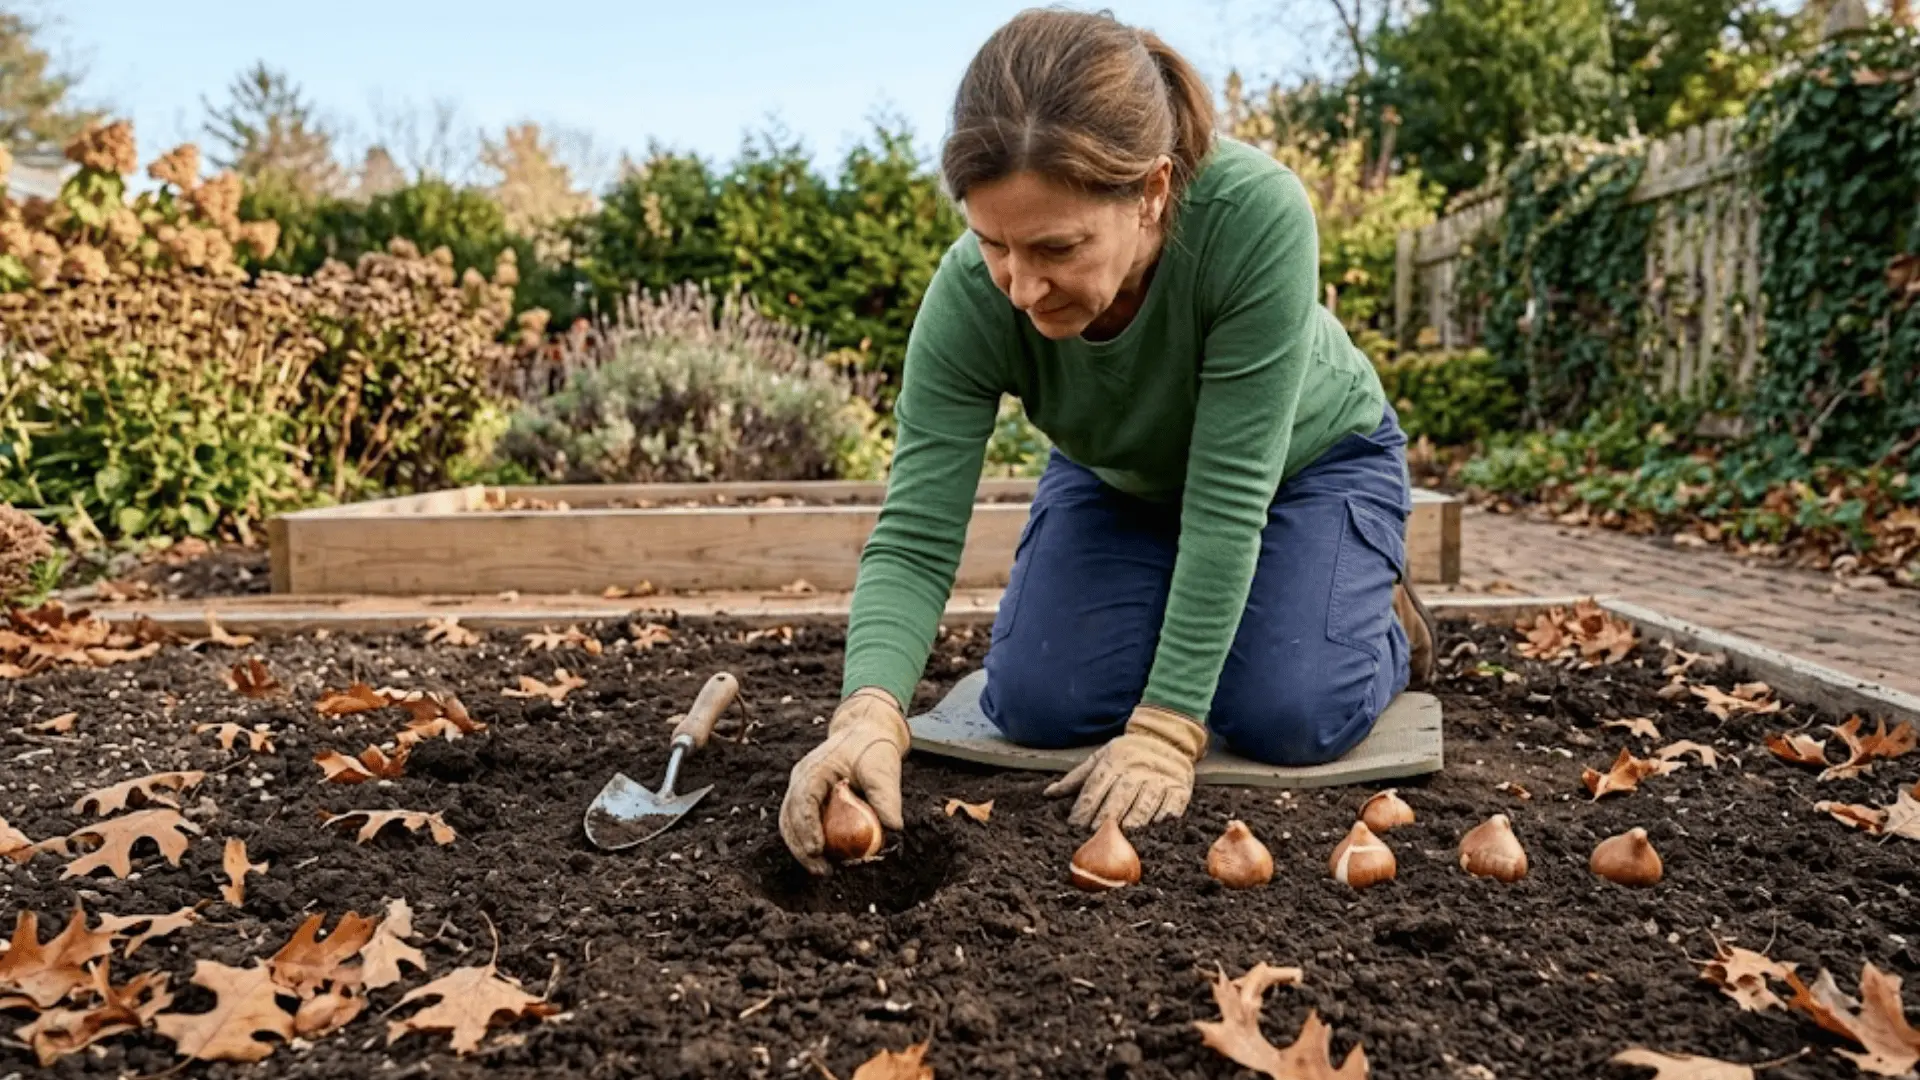
4. Planting Steps for Beginners
Once your soil is prepped and bulbs are ready, the actual planting process is satisfyingly simple.
Follow these steps, and you’re good to go.
- Step 1: Dig a hole at the correct depth, using the bulb’s height as your guide for measurement.
- Step 2: Place the bulb pointy side up, flat side down. This is how it knows which way to grow.
- Step 3: Backfill with soil, pressing it down gently to remove any air pockets around the bulb.
- Step 4: Water thoroughly right after planting to help the soil settle and kickstart root development.
Best Growing Conditions for Daffodils
Daffodils are forgiving by nature, but giving them the right conditions brings out their best. A little attention to sunlight, soil, and water goes a surprisingly long way.
Sunlight Requirements
Daffodils do best with plenty of direct sunlight, ideally at least 6 hours a day. They’ll tolerate partial shade reasonably well, though blooms may be slightly less abundant.
Planting them in a spot that catches good morning light is a reliable way to encourage strong, upright stems and fuller flowers without much extra effort on your part.
Soil Needs
Loose, well-draining soil is what daffodils genuinely thrive in. Compacted or waterlogged soil creates conditions where bulbs sit in moisture for too long, making rot almost inevitable.
If your garden soil feels heavy, mixing in some compost or coarse sand before planting helps open up the texture and keeps water moving through at the right pace.
Watering Needs
Daffodils need moderate, consistent moisture during their active growing season, particularly in early spring when stems and blooms are developing. Once flowering wraps up, they need very little water at all.
Overwatering during dormancy is one of the more common missteps, so letting the soil dry out naturally between waterings keeps the bulbs in good shape underground.
How to Care for Daffodils Throughout the Season?
Caring for daffodils is less about constant attention and more about knowing what they need at each stage. Get these few things right, and they genuinely look after themselves.
Watering Tips
Daffodils appreciate consistency, but they’re sensitive to excess moisture, so finding that middle ground matters. Keep these pointers in mind throughout the growing season.
- Water regularly during spring growth, but always check that the top inch of soil has dried out before watering again.
- Avoid letting water pool around the base of the plant, as soggy soil around the bulb is the leading cause of rot.
- Cut back watering gradually once blooms fade, and stop almost entirely during summer dormancy when the bulbs need dry conditions to rest well.
Fertilizing Daffodils
Feeding daffodils at the right time makes a noticeable difference in how they bloom.
Here’s a simple approach to doing it well.
- Apply a low-nitrogen, high-potassium fertilizer in early fall before planting, working it into the soil at the bulb level.
- Feed again in early spring just as shoots begin to emerge, giving bulbs an extra boost during active growth.
- Avoid high-nitrogen fertilizers altogether, as they encourage leafy growth at the expense of flowers.
Mulching
A layer of mulch does quiet but meaningful work for daffodils. Spread it around the planting area after the ground cools in fall, and it retains soil moisture, regulates temperature, and buffers bulbs against harsh frost.
Keep it a couple of inches thick and avoid piling it directly over where bulbs sit, so air can still circulate properly around them.
Daffodil Care After Blooming
Once the flowers fade, the real behind-the-scenes work begins. How you treat daffodils after blooming directly shapes how generously they return next spring.
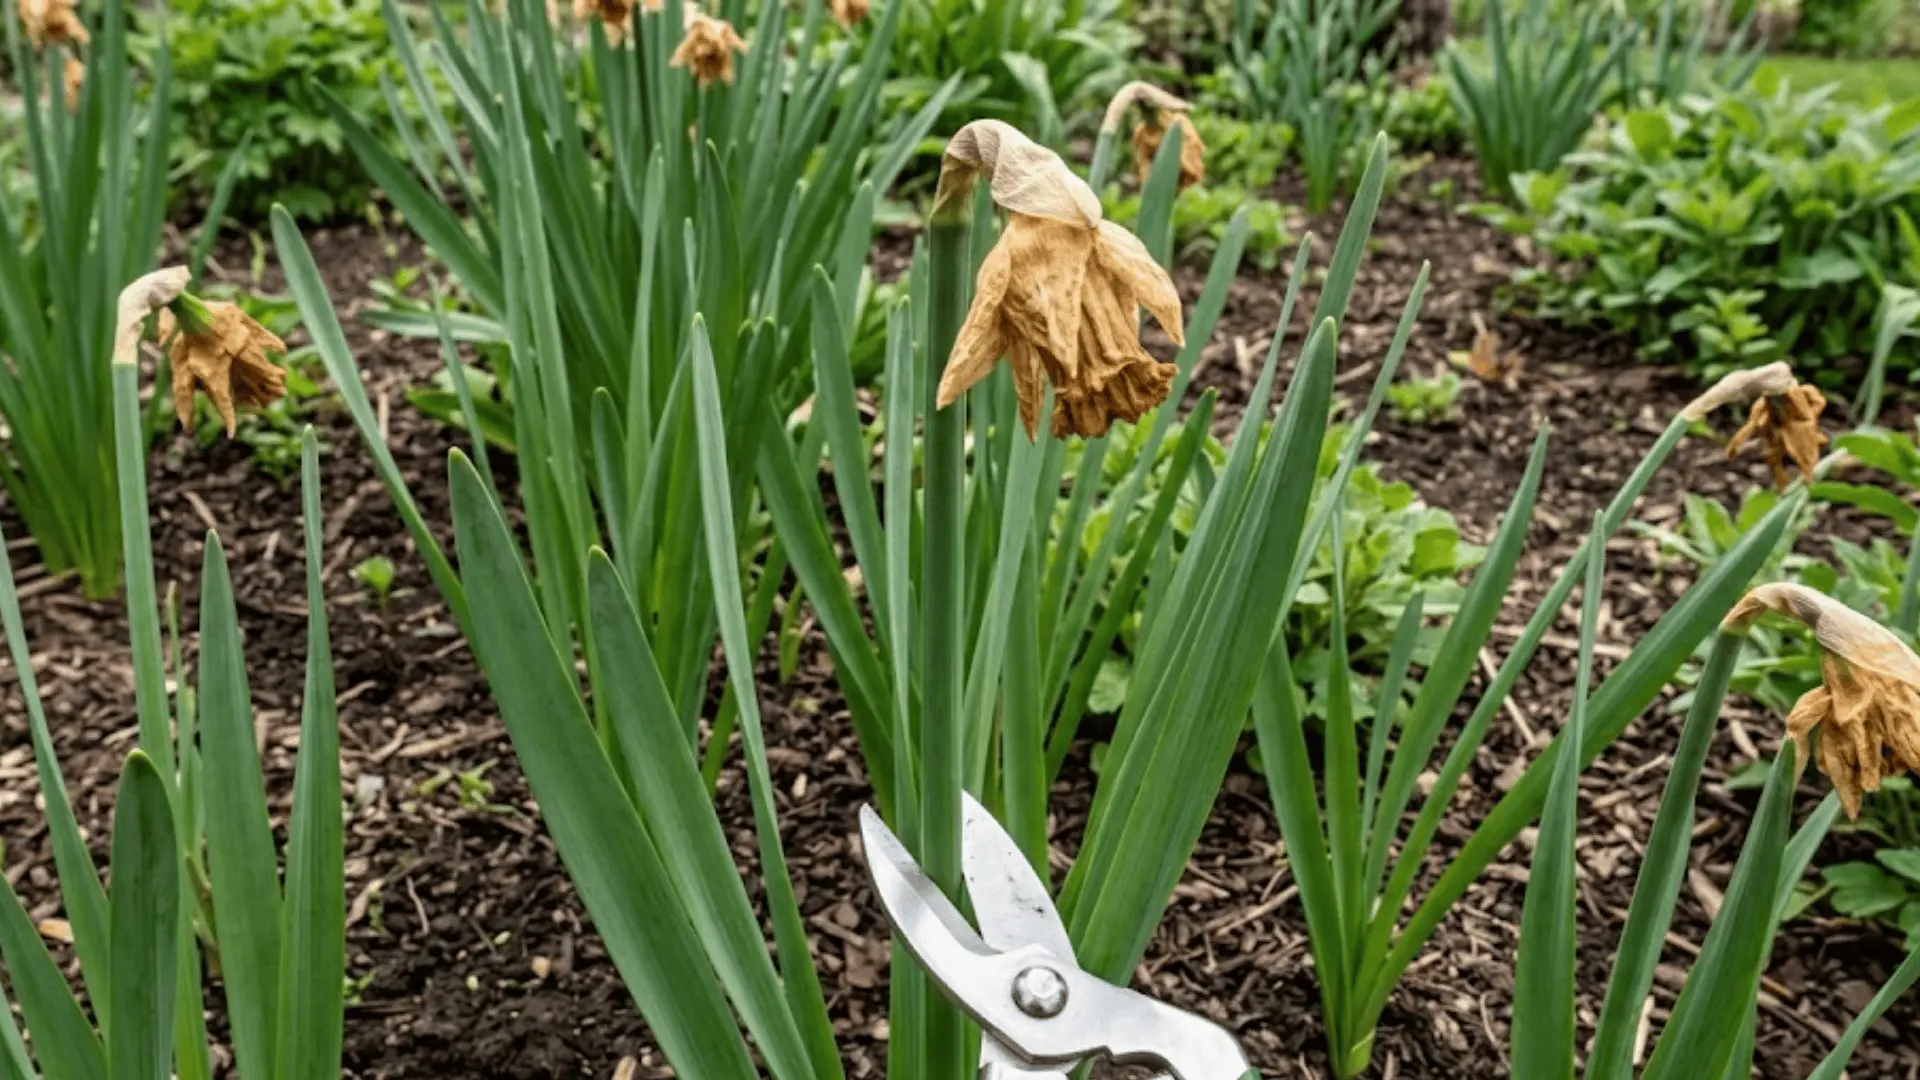
Deadheading and Letting Foliage Die Back
Deadheading spent flowers is a small step that makes a big difference. It redirects the plant’s energy away from seed production and back into the bulb, building strength for next year’s blooms.
Meanwhile, the foliage needs to stay untouched until it yellows and dies back completely on its own. Cutting it early cuts off the very process that feeds the bulb underground.
- Step 1: Wait until the flower has fully wilted and lost its color before touching it.
- Step 2: Pinch or snip the spent bloom off at the base of the flower head.
- Step 3: Leave the stem and all foliage completely intact, no matter how untidy it looks.
- Step 4: Allow leaves to yellow and collapse naturally before removing them from the base.
Post-Bloom Watering and Feeding
After flowering, daffodils still have work to do underground, and consistent moisture and a light feed support that process well.
Continue watering moderately while the foliage is still green, and consider one last application of low-nitrogen fertilizer to help the bulb store enough energy for next season.
Once the leaves die back fully, watering can stop, and the bulbs can rest.
How to Get Daffodils to Bloom Again Next Year?
Convincing daffodils to come back strong really comes down to what happens after the blooms are gone.
Sunlight is still essential during this phase, as the leaves are actively converting light into energy stored in the bulb.
Resisting the urge to cut foliage early is just as important, since those green leaves are the bulb’s only food source until they naturally die back.
A final round of low-nitrogen fertilizer at this stage seals the deal on a strong return bloom next spring.
Common Daffodil Problems and Solutions
Even the easiest plants run into trouble sometimes, and daffodils are no exception. Catching these common issues early makes fixing them a lot simpler than it looks.
Problem 1: My daffodils grew leaves but not a single flower this year.
The Fix: Overcrowding is likely the issue. Dig up the bulbs once foliage dies back, divide them, and replant with proper spacing.
Problem 2: My daffodils bloomed the first year but stopped after that.
The Fix: The bulbs aren’t storing enough energy. Let foliage die back naturally and apply a low-nitrogen fertilizer post-bloom each season.
Problem 3: My daffodil leaves are turning yellow well before spring is over.
The Fix: Overwatering or poor drainage is usually to blame. Pull back on watering and amend the soil with coarse sand or compost to improve drainage.
Problem 4: I dug up my bulbs, and they’re soft and smell off.
The Fix: Discard affected bulbs immediately. Before replanting healthy ones, improve drainage in that bed so water doesn’t pool around them again.
Problem 5: Something is eating through my daffodil stems and leaves overnight.
The Fix: Slugs are the likely culprit. Use organic slug pellets or a gritty mulch barrier, and for fungal issues, remove affected foliage and avoid overhead watering.
Dividing and Transplanting Daffodils
Daffodils are generous growers, and dividing them every few years keeps that generosity going. It’s a straightforward process that directly rewards you with healthier bulbs and better blooms.
When to Divide Bulbs?
Dividing every few years is really all it takes to keep daffodil clumps performing well.
When a patch starts producing lots of leaves but noticeably fewer flowers, that’s a reliable sign the bulbs have become too crowded underground and are ready to be separated.
Wait until the foliage has completely died back before digging in, as that’s when bulbs are dormant and least likely to be damaged during the process.
How to Divide and Replant?
Dividing daffodil bulbs is satisfying work once you know the steps. Done right, each bulb goes back into the ground with room to grow and energy to bloom.
- Step 1: Dig carefully around the clump with a garden fork, lifting the entire cluster without piercing the bulbs.
- Step 2: Gently pull bulbs apart by hand, separating offsets from the parent bulb cleanly.
- Step 3: Discard any soft, damaged, or shriveled bulbs and set healthy ones aside for replanting.
- Step 4: Replant at the correct depth and spacing in refreshed, well-draining soil.
Growing Daffodils in Containers
Container growing suits daffodils surprisingly well, as long as a few key details are handled thoughtfully.
Choose a pot that is at least 8–12 inches deep to give bulbs enough room to root properly.
A well-draining potting mix is non-negotiable here, and adding a layer of gravel at the bottom helps move excess water away from bulbs.
Through winter, move containers to a sheltered spot or wrap them in burlap, since potted bulbs are far more vulnerable to freezing than those planted in the ground.
Community Tips & Real Gardener Insights
Seasoned gardeners consistently echo the same advice: let the foliage die back completely and never rush it, no matter how untidy it looks.
Overwatering is another mistake that comes up repeatedly, alongside planting bulbs too shallow and expecting great results.
On the brighter side, experienced growers swear by working bone meal into the soil at planting time for stronger blooms, and grouping bulbs in odd-numbered clusters rather than straight lines for a more natural, full display.
For more grower-backed insights, the American Daffodil Society is a solid place to dig deeper.
The Closing Note
Daffodil care really does come full circle once you understand what these blooms need and when.
A little preparation in fall, some patience through spring, and the willingness to leave well enough alone afterward.
That’s the quiet rhythm they thrive on.
A garden just getting started or one already finding its shape, daffodils have a way of rewarding even the most hands-off approach with something genuinely beautiful.
Tried a tip that worked particularly well for you? Drop it in the comments and let’s keep the conversation growing.