Brussels sprouts are one of those plants that genuinely grow on you, in the garden and on the plate.
They’re slow, they’re cool-season, and they actually taste better once the temperature drops, so the wait really does work in your favor. There’s a reason seasoned gardeners keep coming back to them every year.
Packed with nutrients and deeply satisfying to grow from scratch, they deserve a proper spot in your garden.
Planting, growth stages, day-to-day care, harvesting, it’s all here, and honestly, it’s simpler than you’d think.
The Brussels Sprout Plant: Tiny Heads, Bigger Story
Brussels sprouts go by Brassica oleracea botanically, and they belong to the same family as cabbage, kale, and broccoli.
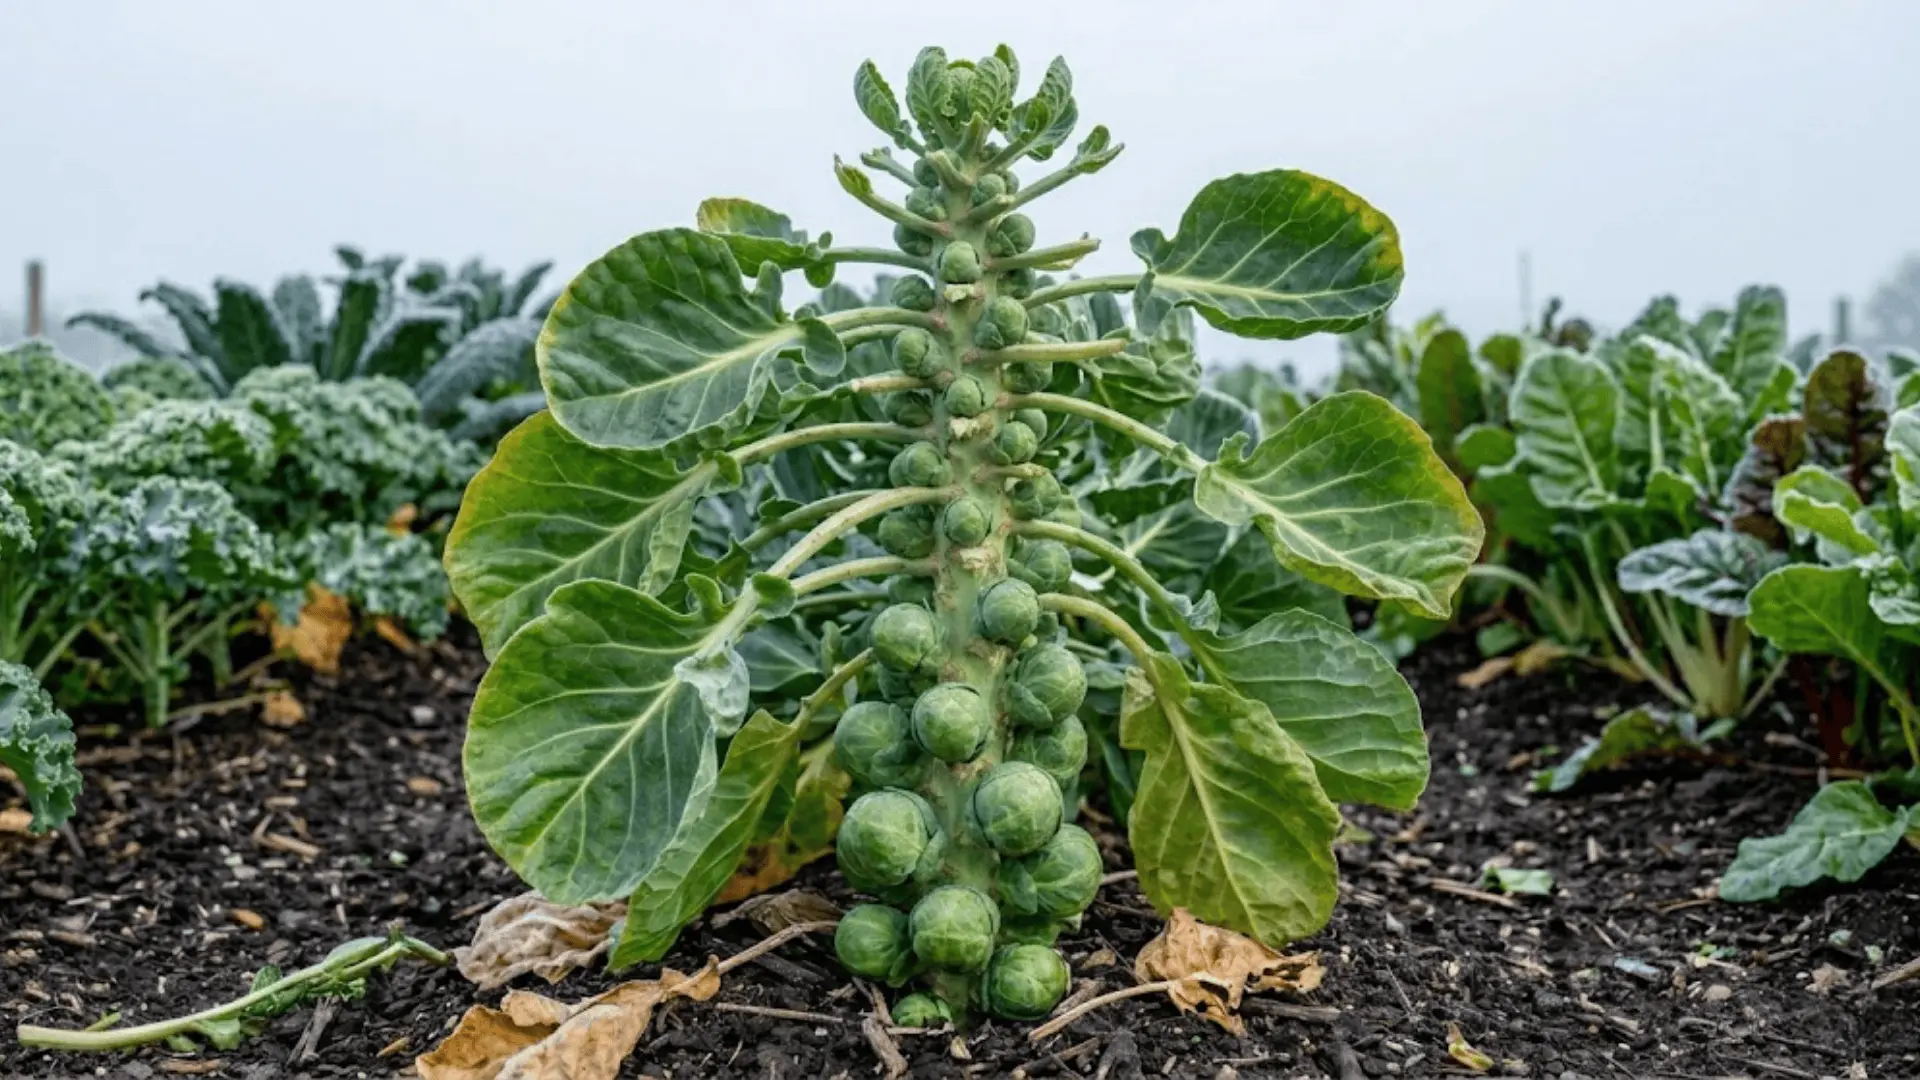
What sets them apart visually is how they grow, tall, sturdy stems with small, compact heads forming all the way up the stalk rather than a single head at the top.
A healthy, well-tended plant can stand anywhere between 2 and 3 feet tall and produce 40 to 60 sprouts per plant, which is a pretty generous yield for something that asks so little of you in return.
Ideal Growing Conditions for Brussels Sprout Plants
Brussels sprouts aren’t fussy, but they do have their preferences.
Get these right, and the plant practically takes care of itself.
- A cool-season crop at heart, they do their best growing through fall and winter when most other vegetables have called it a season.
- They’re happiest sitting between 15–24°C, and if a light frost rolls in, the flavor actually gets better, so the cold is more friend than foe.
- Full sun is non-negotiable; aim for a solid 6 to 10 hours daily for the healthiest growth.
- Soil-wise, they love something rich, well-drained, and generously mixed with compost.
- Keep the pH between 6.5 and 7.5, that slightly acidic to neutral range is where they really settle in.
Honestly, once the conditions are dialed in, everything else falls into place naturally.
Brussels Sprout Plant Growth Stages
Growing Brussels sprouts is genuinely one of the more rewarding slow burns in gardening.
Each stage has its own little milestone, and once you know what to look for, the whole process starts to feel a lot more intuitive.
Stage 1: Seed Germination
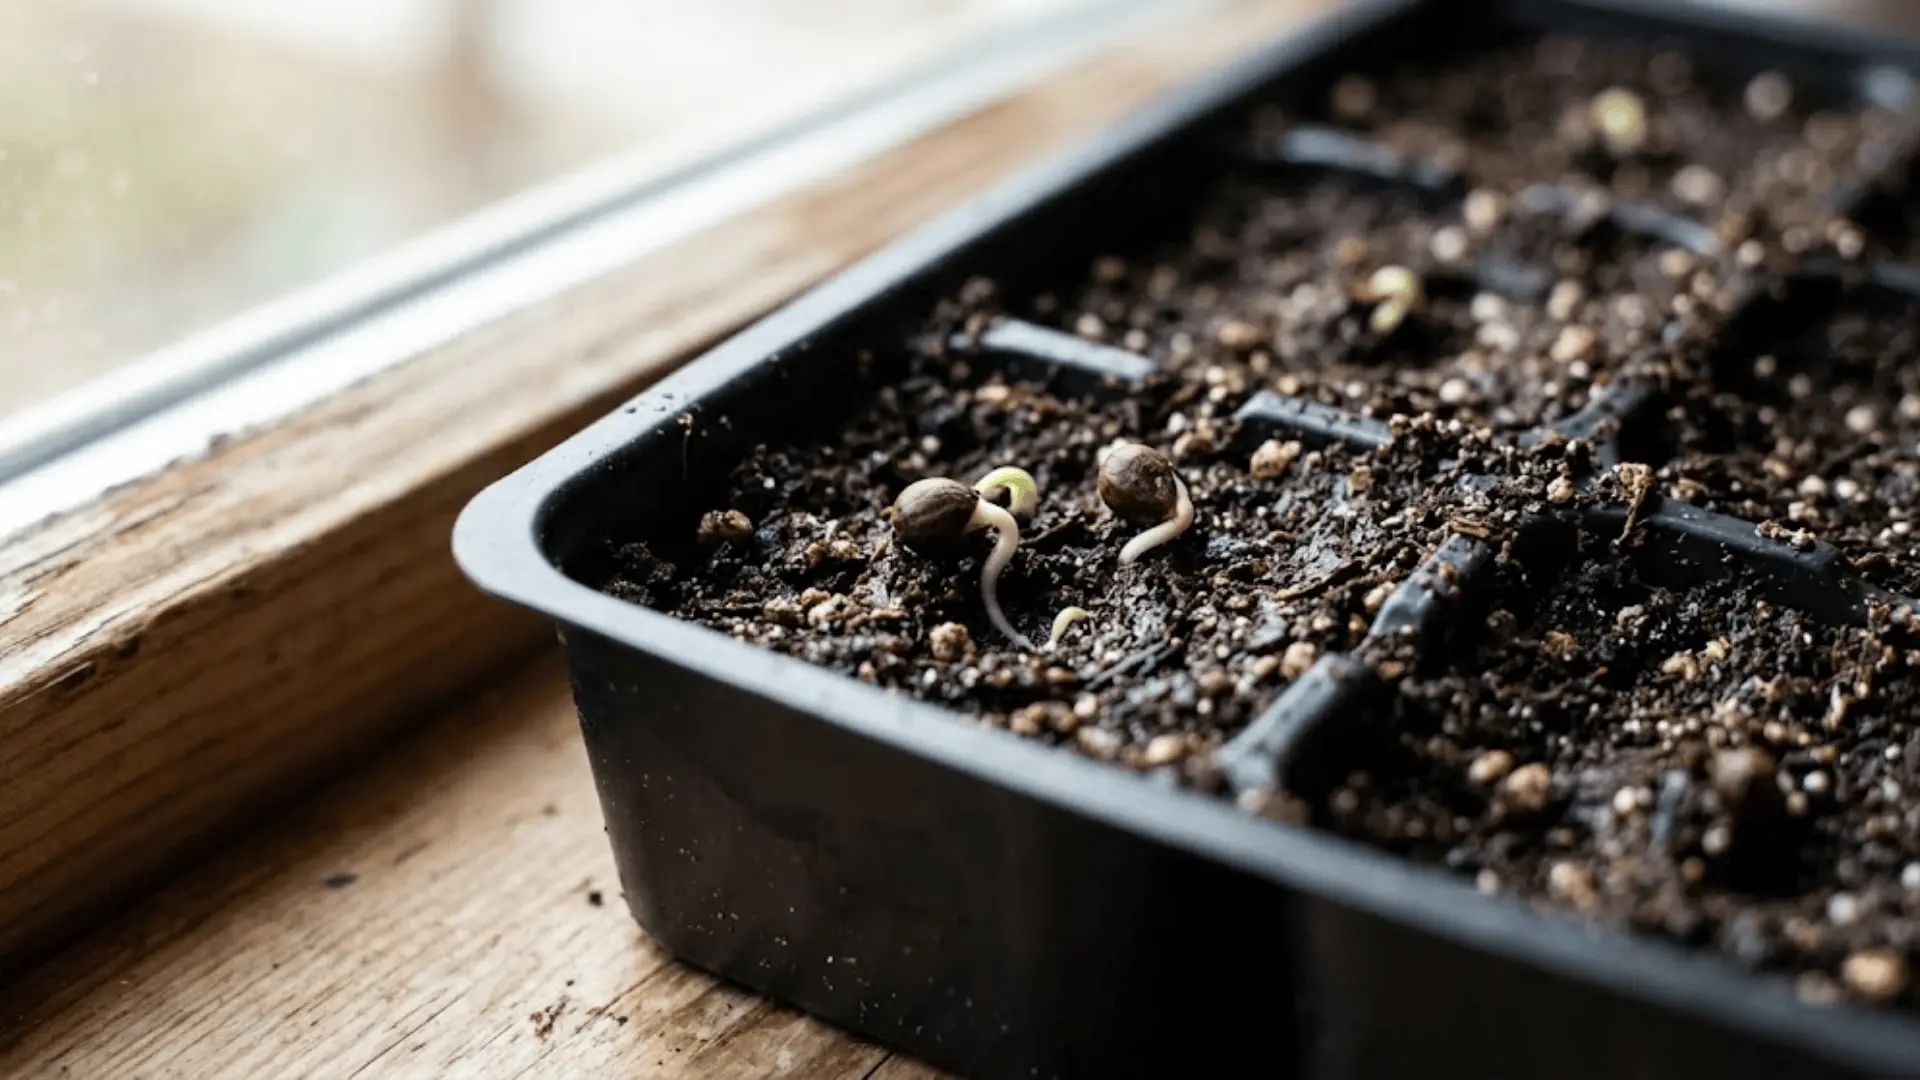
Seeds are eager starters, especially in cool conditions. They sprout relatively quickly, but giving them the right environment from day one matters more than most people realize.
Starting them indoors or in seed trays gives you better control over temperature and moisture, which makes a noticeable difference in how evenly and strongly they germinate.
A warm, consistent setup early on sets the tone for everything that follows.
Stage 2: Seedling Development
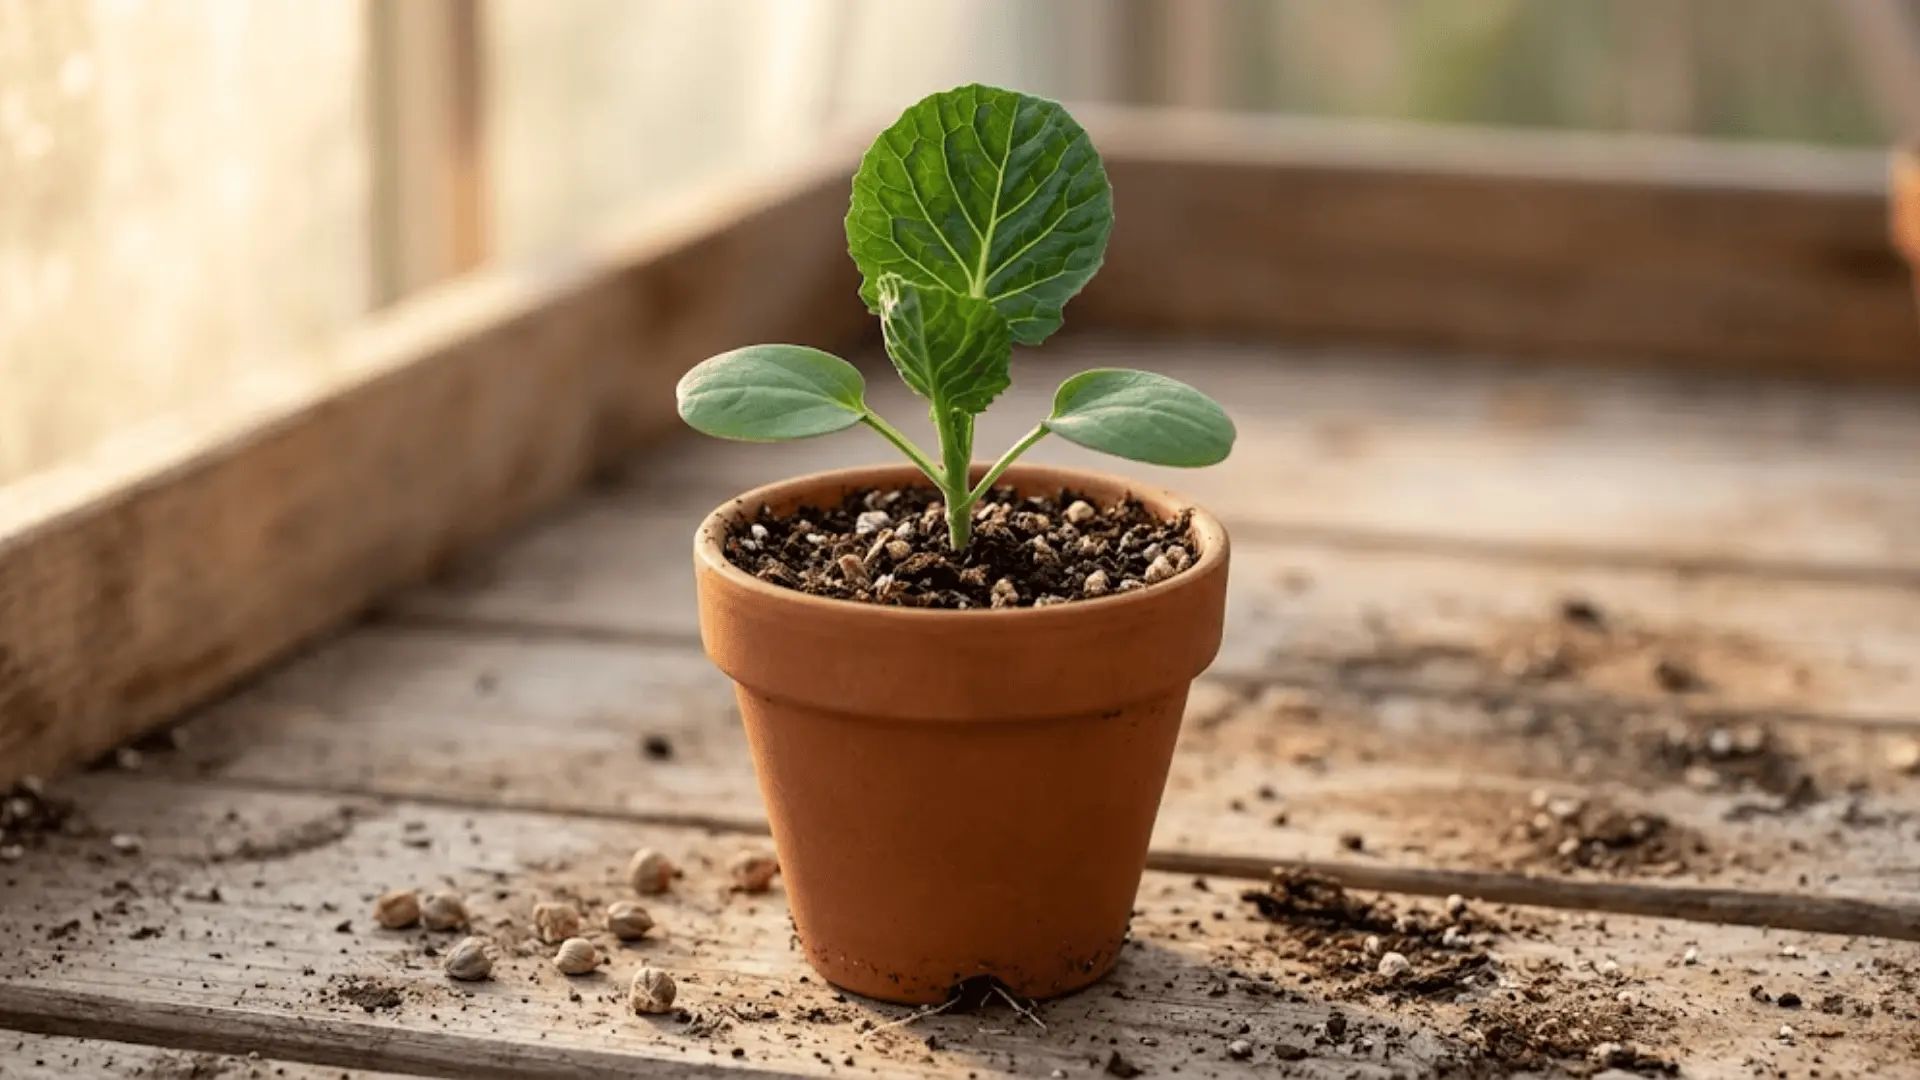
Once sprouted, the seedlings need room to breathe and grow without competing for resources.
Thinning them out early encourages stronger, more focused growth in each plant.
When they’ve reached around 4 to 6 inches tall, they’re ready to be transplanted into the ground, sturdy enough to handle the transition but still young and adaptable enough to settle into their new spot without too much stress.
Stage 3: Vegetative Growth
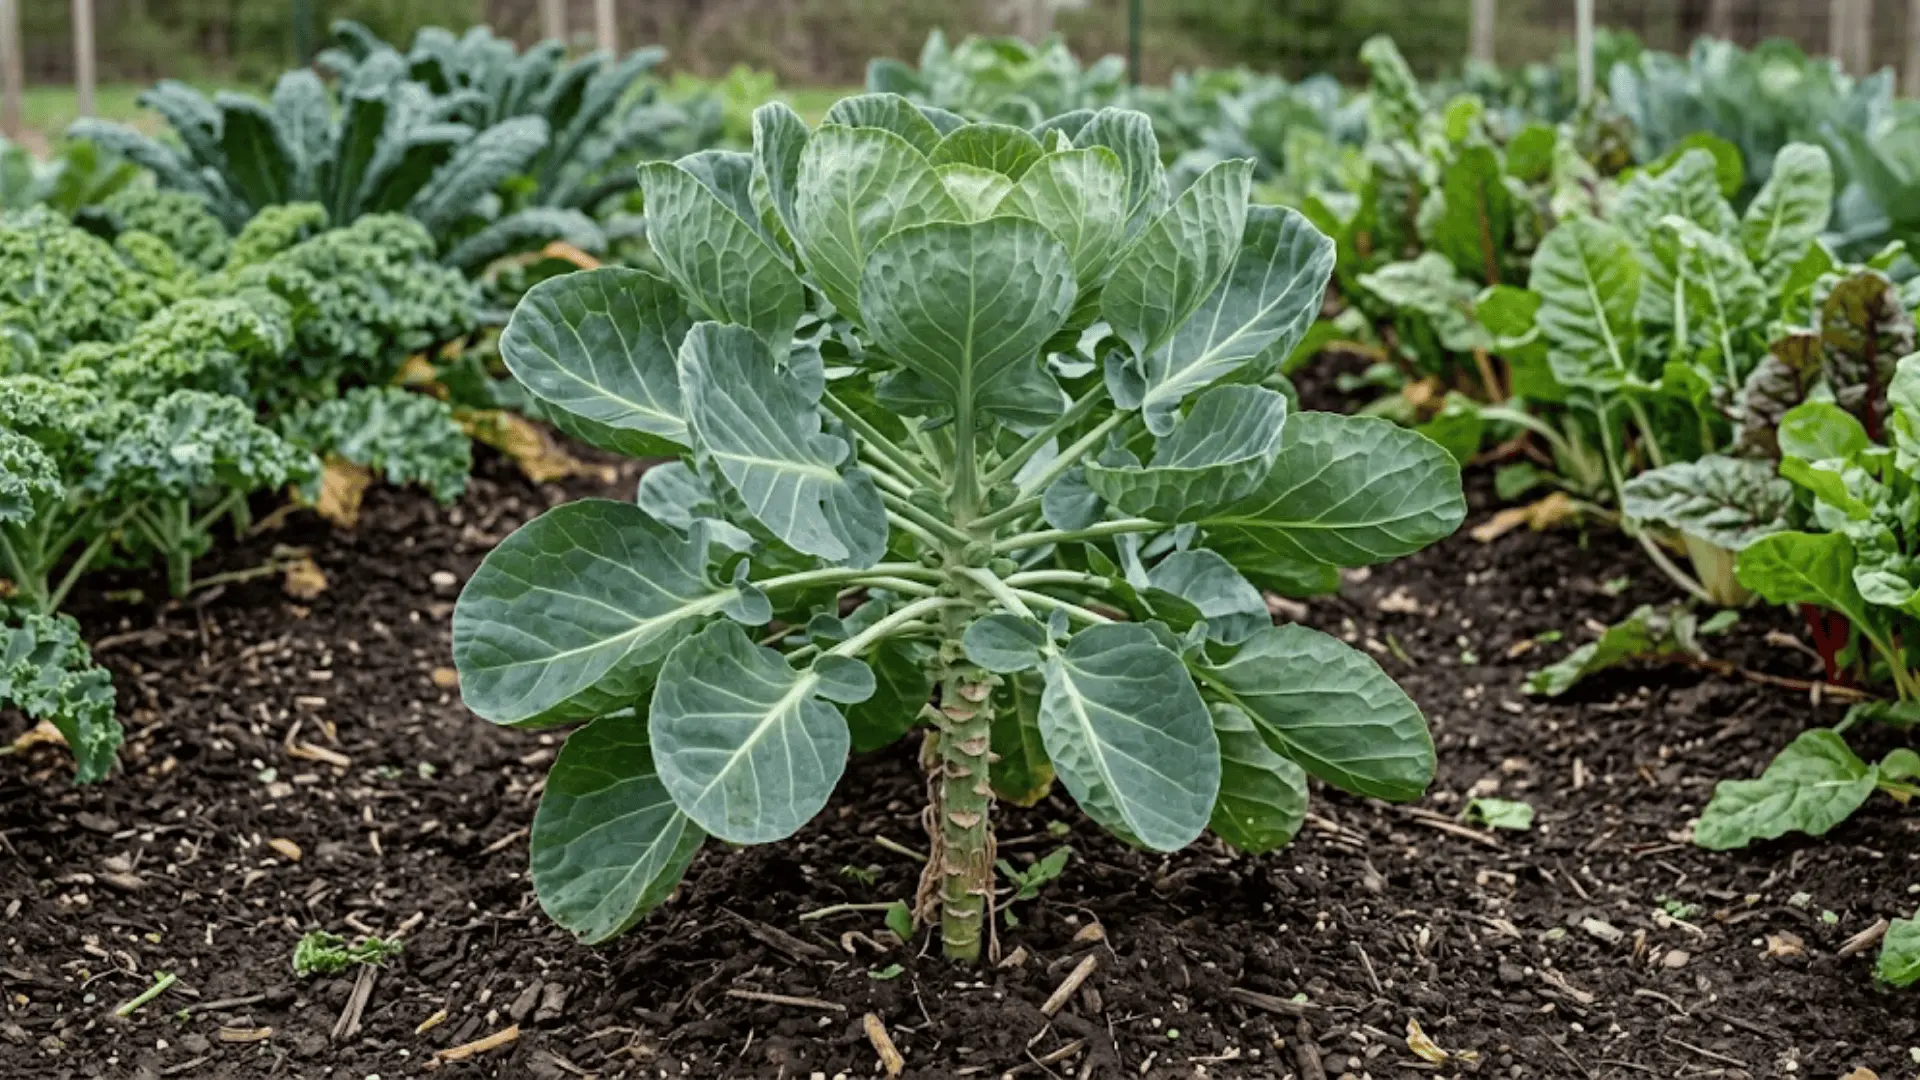
This is the stage where the plant starts truly finding its shape and presence in the garden.
The central stem thickens and climbs, broad leaves fill out generously, and the whole plant takes on an almost architectural quality before a single sprout appears.
It can look more ornamental than edible at this point, but all of that leafy growth is the plant quietly building the energy it needs.
Stage 4: Sprout Formation
Easily the most satisfying stage to witness up close.
Tiny buds begin emerging along the stem, starting at the base and slowly working their way upward over several weeks.
Each one is essentially a miniature cabbage in the making, and watching the stem gradually fill out with tightly packed little heads is one of those simple gardening moments that genuinely never gets old.
Stage 5: Maturity and Harvest
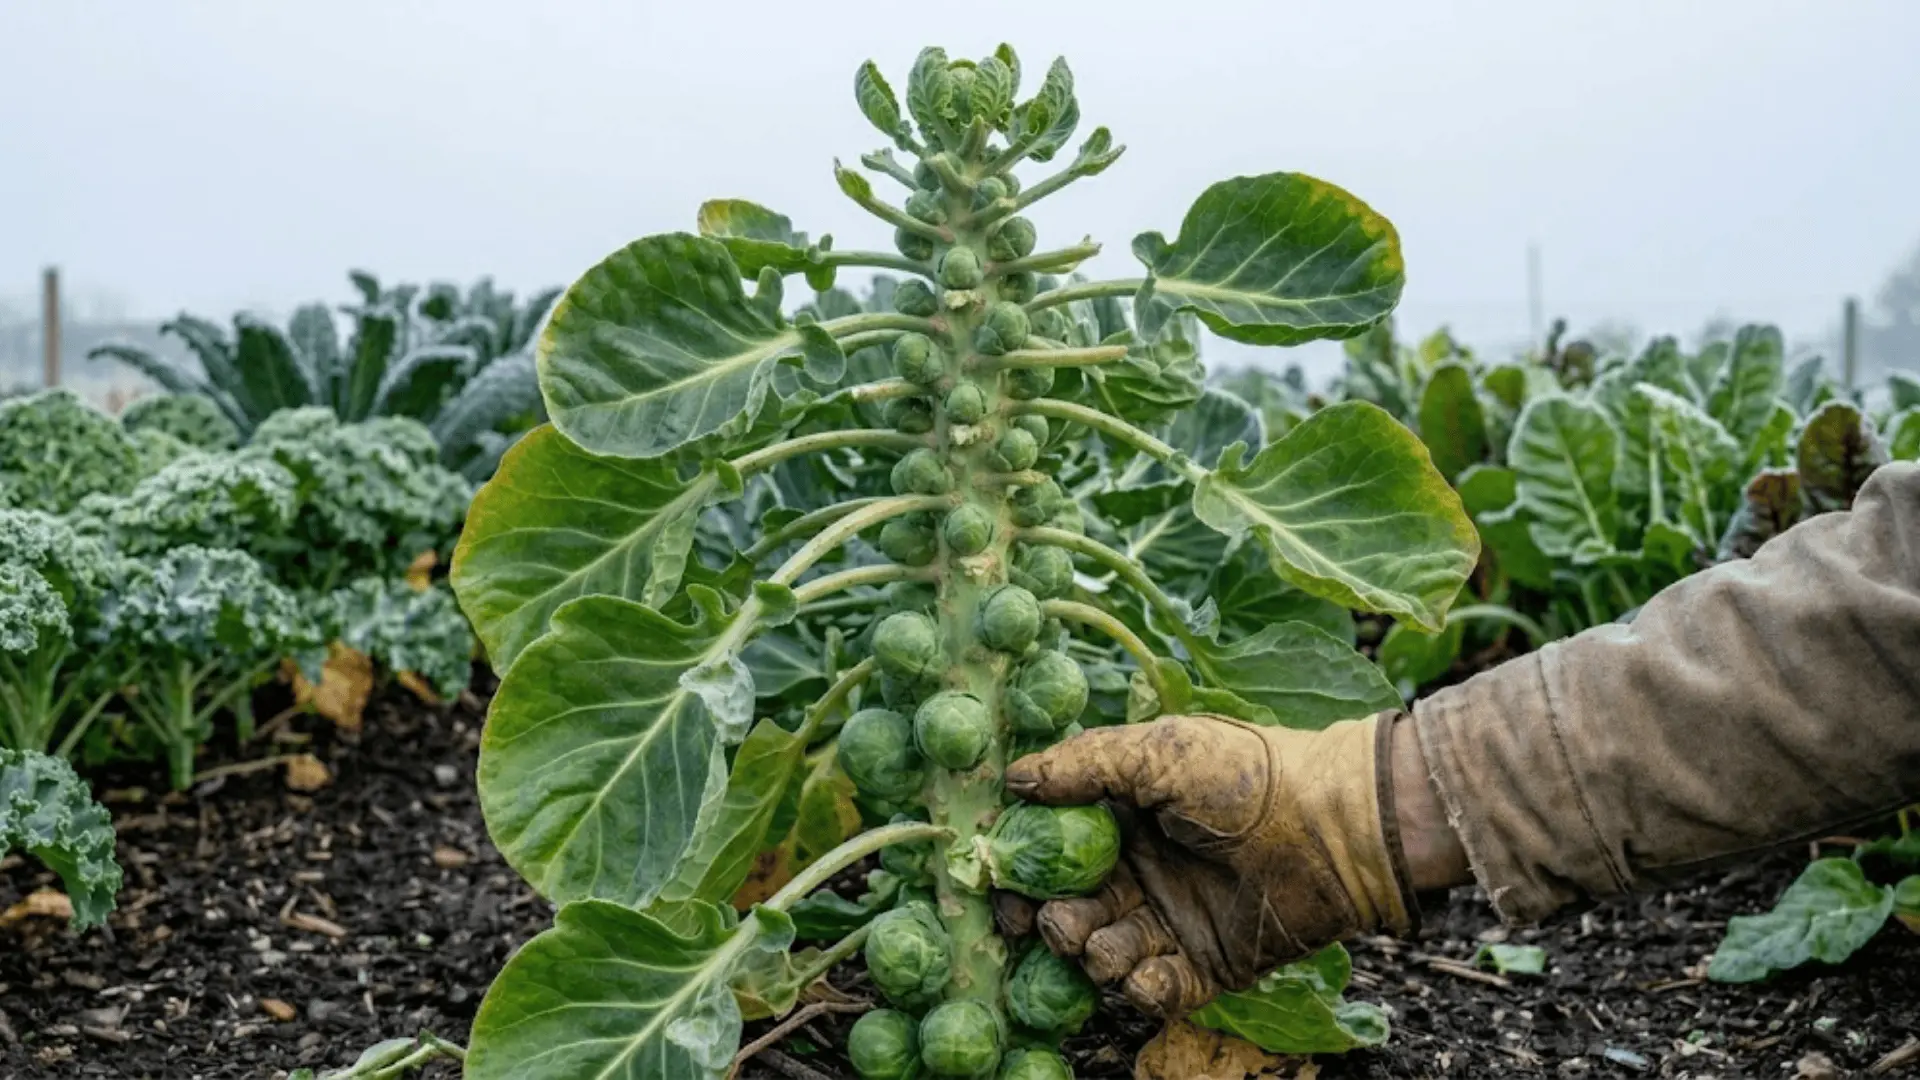
After a long, steady growing period, the sprouts firm up, deepen in color, and signal they’re ready to be picked.
The lower ones on the stem typically mature ahead of the rest, so you can harvest gradually rather than all at once.
A light frost just before picking is genuinely welcome here, pulling out a natural sweetness that makes homegrown sprouts taste nothing like the store-bought ones.
How to Plant Brussels Sprout Plants?
Planting Brussels sprouts isn’t complicated, but timing and spacing make a bigger difference than most people expect.
Get these basics right, and the plant has everything it needs to grow confidently from the start.
When to Plant?
Starting seeds indoors gives you a meaningful head start, ideally around 6 to 8 weeks before the last expected frost in your area. This early indoor phase builds a stronger seedling before it ever touches garden soil.
For a fall harvest, timing your transplant thoughtfully backward from your first expected frost date is the move, since brussels sprouts genuinely thrive as the season cools down.
Spacing and Layout
Brussels sprouts need more personal space than most vegetables, and crowding them is one of the most common mistakes.
Each plant does best with 18 to 24 inches of breathing room on all sides, and if you’re planting in rows, keeping those rows 2 to 3 feet apart ensures good airflow and easy access as the plants grow tall and fill out over the season.
Transplanting Tips
Moving seedlings into the ground is a pivotal moment, and a few small habits here go a long way.
- Use seedlings that are 4 to 6 weeks old for the smoothest, least stressful transition.
- Plant them slightly deeper than they sat in the tray to encourage a stronger, more anchored root system.
- Water thoroughly right after transplanting to help the roots settle into the new soil.
- Transplant in the late afternoon or on a cloudy day to reduce the shock of direct sun on fresh transplants.
Essential Brussels Sprout Plant Care
Brussels sprouts are steady, low-drama growers, but they do appreciate consistent attention through the season.
A few simple care habits practiced regularly make the difference between an average harvest and a really satisfying one.
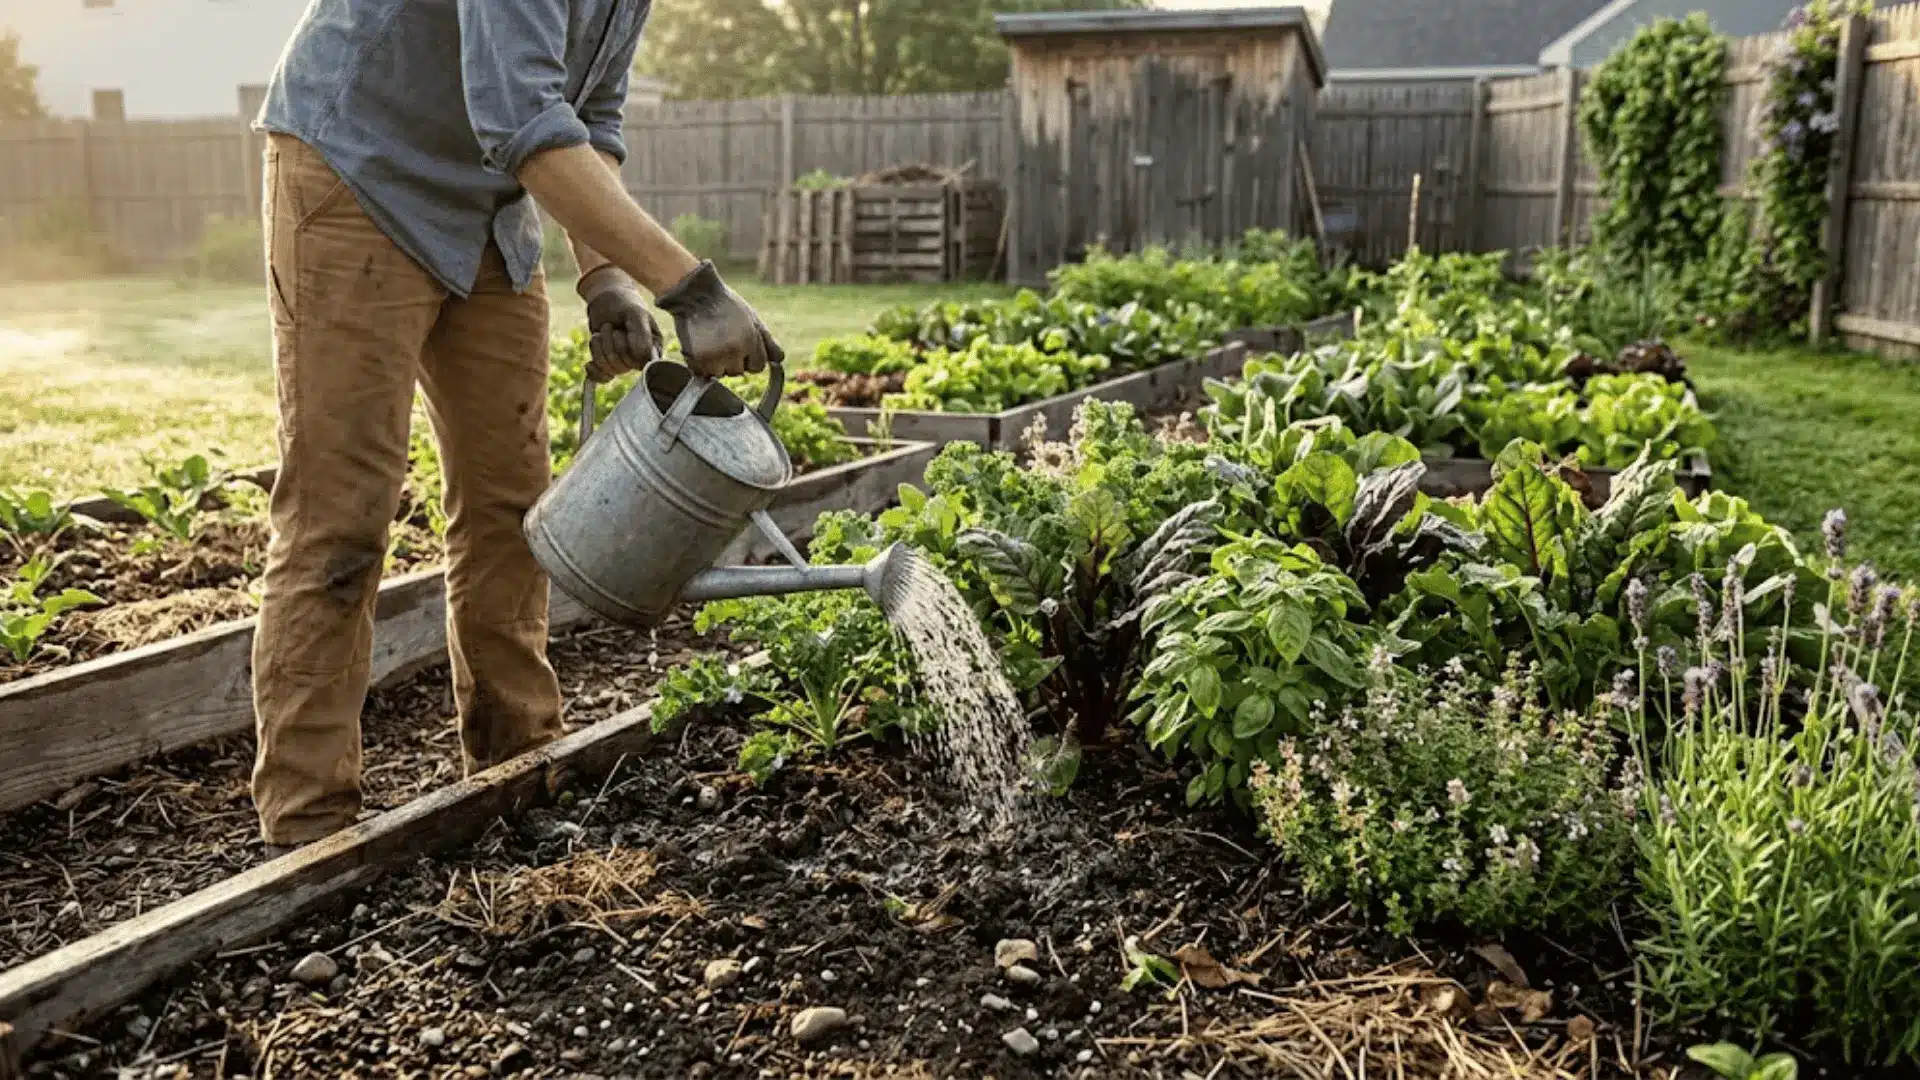
1. Watering
Consistency is everything with Brussels sprouts. They need around 1 to 1.5 inches of water weekly, and the goal is to keep the soil evenly moist rather than swinging between dry and waterlogged.
Irregular watering stresses the plant and can affect how the sprouts develop, so a steady routine, whether through rainfall or manual watering, keeps things on track throughout the growing season.
2. Fertilizing
Brussels sprouts are hungry growers, and feeding them well early sets the tone for the whole season.
A few things worth keeping in mind:
- Start with a nitrogen-rich fertilizer to support the strong leafy growth the plant needs in its early weeks.
- Reapply every few weeks as the season progresses to maintain steady, consistent development.
- Pull back on nitrogen once sprouts begin forming to avoid pushing too much leaf growth at the expense of the heads.
3. Mulching
Laying mulch around the base of your Brussels sprout plants is one of those small efforts that pays off quietly in the background.
It retains soil moisture between waterings, keeps the roots cool during warmer spells, and actively suppresses weed growth. A 2 to 3-inch layer around the base is plenty to make a noticeable difference.
4. Pruning and Topping
A little hands-on maintenance goes a long way here. Removing yellowing leaves as they appear keeps the plant’s energy focused where it matters and improves airflow around the stem.
As harvest approaches, cutting the very top off the plant redirects that energy downward into the developing sprouts, encouraging them to size up more fully before picking.
5. Support and Staking
As Brussels sprout plants grow taller and the stem fills with sprouts, they can get noticeably top-heavy, especially in gardens that see wind or rain. Staking the plant early, before it starts leaning, is much easier than correcting it later.
A simple garden stake and a loose tie around the main stem are all it takes to keep the plant upright and growing cleanly through to harvest.
Common Problems and Solutions
Brussels sprout plants are fairly resilient, but they do run into trouble occasionally. Most issues come down to timing, soil, or care habits, and are straightforward to address once identified.
Problem 1: Why are my Brussels sprout plants’ sprouts so tiny?
The Fix: Almost always a timing issue, Brussels sprouts need cool temperatures to size up properly. Plant earlier so they mature in cooler fall weather, and keep watering consistently through the growing period.
Problem 2: Something is eating my Brussels sprout plant’s leaves.
The Fix: Cabbage worms and aphids are the usual suspects, and row covers are the most reliable first line of defense. Rotating crops each season also prevents soil-dwelling larvae from returning to the same spot.
Problem 3: Why are my Brussels sprout plants’ leaves turning yellow?
The Fix: Start by checking drainage and watering frequency since waterlogged roots are often the cause. If the soil looks fine, a nitrogen-rich fertilizer applied consistently over a couple of weeks usually brings the color back.
Problem 4: Why is my Brussels sprout plant barely growing?
The Fix: Brussels sprouts are heavy feeders and stall quickly in depleted soil. Working compost into the bed and following up with a nitrogen-rich fertilizer every few weeks gives the plant the push it needs.
Harvesting Brussels Sprouts
Harvesting is genuinely one of the more satisfying parts of growing Brussels sprouts, and knowing when and how to do it makes a real difference in yield and flavor.
A little patience here goes a long way.
When to Harvest?
Sprouts are ready once they reach 1 to 1.5 inches in diameter and feel firm to the touch. Start checking from the bottom of the stem upward, since the lower sprouts always mature ahead of the rest.
A light frost just before harvesting is worth waiting for if you can, as it draws out a natural sweetness that makes the flavor noticeably better.
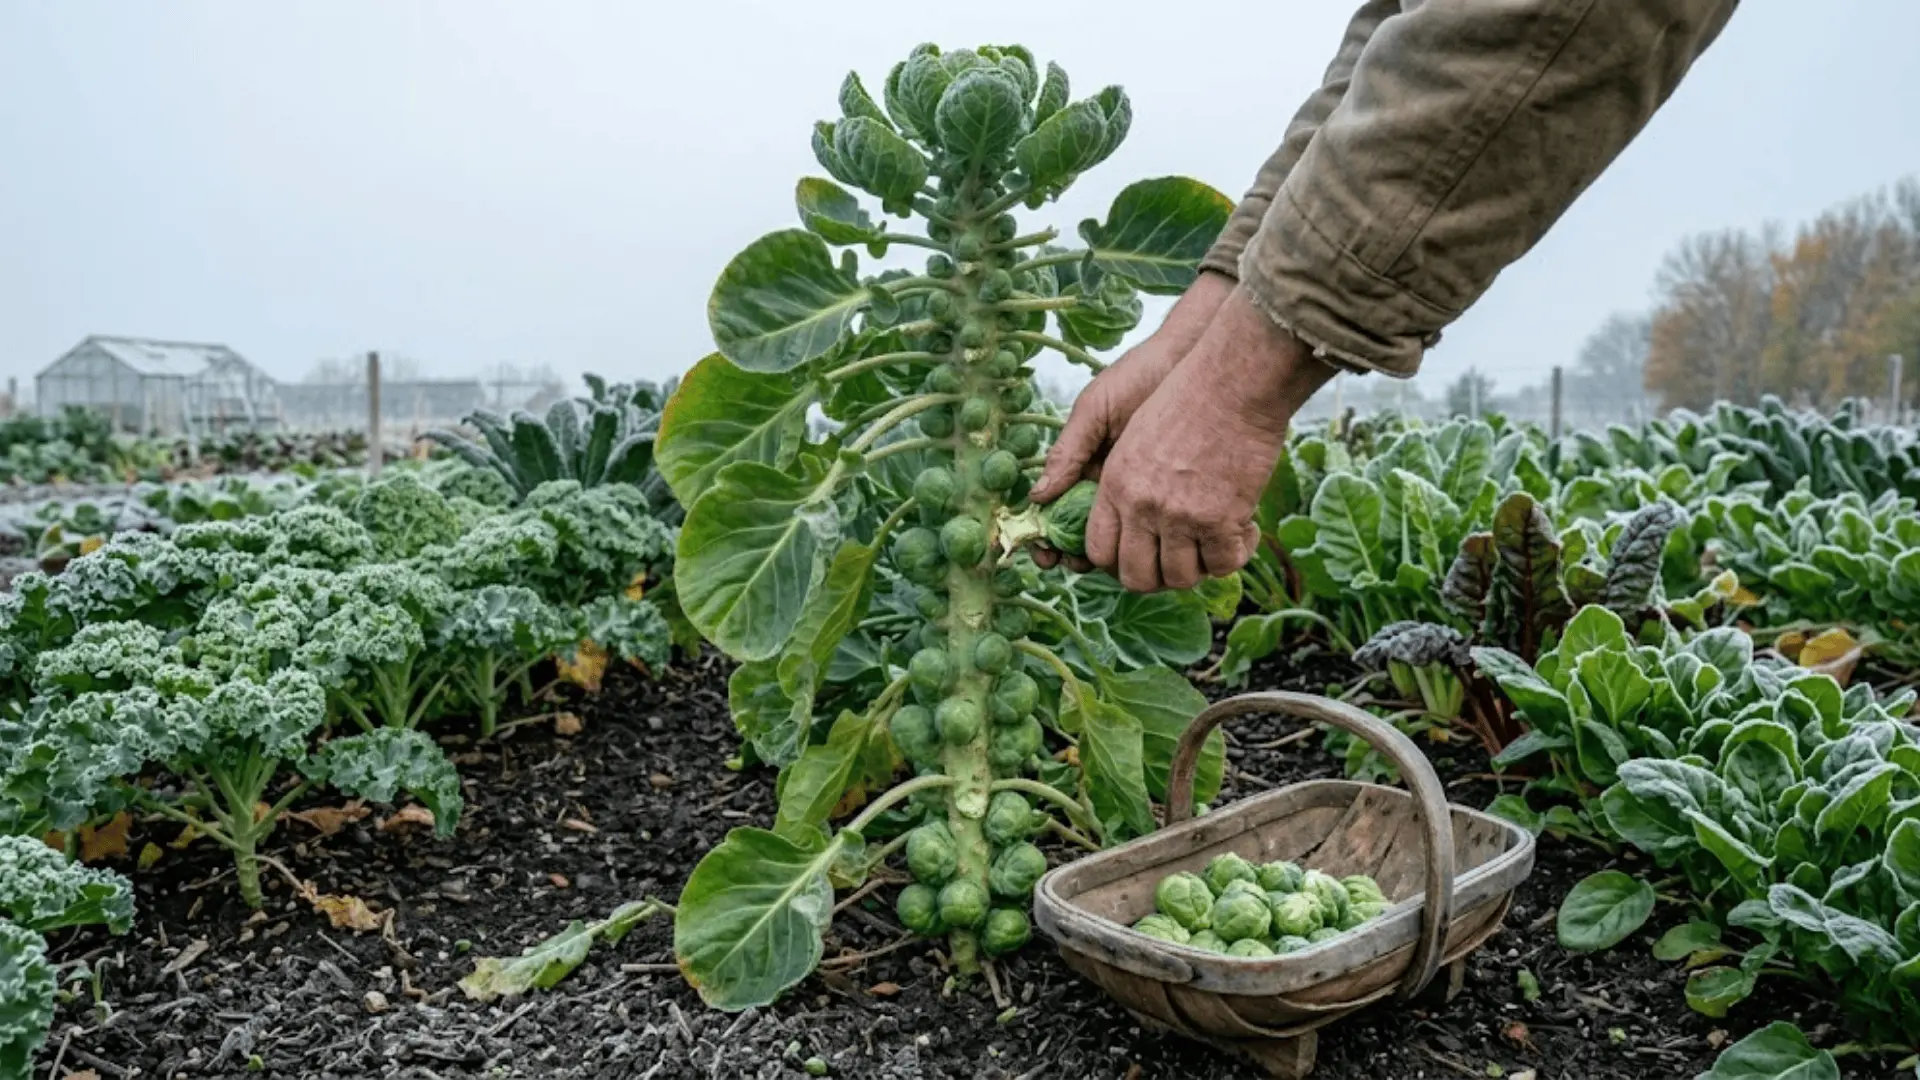
How to Harvest?
The actual harvesting process is simple, and doing it gradually keeps the plant productive for longer.
- Step 1: Check the bottom sprouts first and confirm they’re firm, round, and 1 to 1.5 inches wide.
- Step 2: Twist each sprout firmly downward until it snaps cleanly off the stem.
- Step 3: If twisting feels difficult, use a clean, sharp knife or garden scissors to cut the sprout flush with the stem.
- Step 4: Work your way gradually up the stem over several weeks rather than harvesting everything at once.
- Step 5: Remove any yellowing leaves around harvested spots to keep the plant healthy and productive.
Yield Expectations
A healthy, well-maintained Brussels sprout plant typically produces 40 to 60 sprouts per plant over the course of a season.
Since sprouts mature at different times along the stem, the harvest window extends over weeks, allowing a few plants to keep your kitchen stocked during cooler months.
Companion Planting for Brussels Sprouts
What grows around your Brussels sprouts matters just as much as how you care for the plant itself.
Some neighbors actively support growth and deter pests, while others create competition or interfere with development.
| Plant | Type | Effect | Reason |
|---|---|---|---|
| Onions | Good | Pest deterrent | Repels aphids |
| Potatoes | Good | Growth-friendly | No nutrient competition |
| Dill, Thyme, Sage | Good | Pest control | Deters cabbage worms |
| Strawberries | Avoid | Growth inhibitor | Competes for nutrients |
| Pole Beans | Avoid | Growth disruptor | Harmful to brassicas |
Growing Brussels Sprout Plants in Containers
Container growing works well for Brussels sprouts as long as the setup is right.
Choose a pot that is at least 12 to 16 inches deep and wide to give the roots enough room to anchor properly.
Fill it with rich, well-amended soil and make sure drainage holes are clear since waterlogging is a greater risk in containers than in garden beds.
Because pots dry out quicker, watering more frequently than you would in-ground is necessary, especially through warmer spells.
Get these basics right, and containers are a genuinely viable option.
Tips for Bigger, Healthier Brussels Sprouts
Small, consistent habits through the season are what separate a decent harvest from a really good one.
- Plant early so the sprouts have time to mature in cooler weather, which is when they develop best.
- Water consistently, rather than in heavy, irregular bursts, even moisture makes a noticeable difference in sprout size.
- Mulch around the base to regulate soil temperature and hold moisture between waterings.
- Remove yellowing leaves regularly to keep the plant’s energy directed toward sprout development.
- Top the plant a few weeks before harvest to push growth into the remaining sprouts.
These aren’t complicated steps, but followed consistently, they add up to a harvest that’s visibly fuller and better flavored.
The Bottom Line
Growing a Brussels sprout plant asks for patience more than anything else, and that patience pays off in the most literal way possible come harvest season.
Once you understand how they grow, what they need, and when to step in, the whole process becomes far less intimidating and a lot more enjoyable.
There’s a quiet satisfaction in pulling your first round of sprouts off a stem you’ve tended through the cold months.
If you’re growing Brussels sprouts this season or have tips of your own, drop them in the comments below.