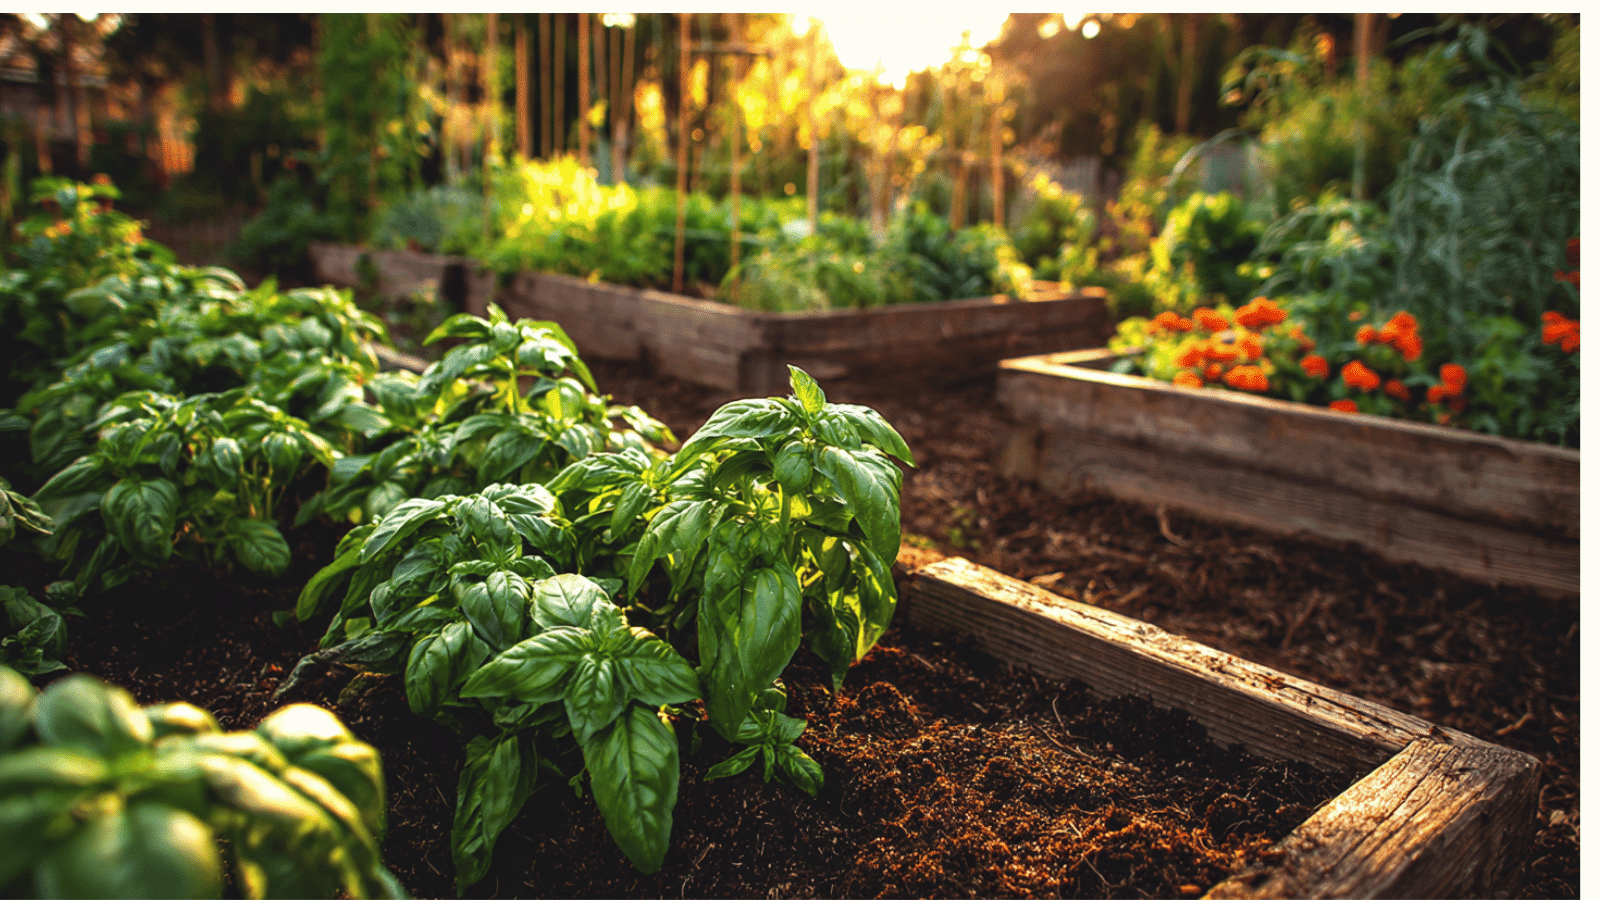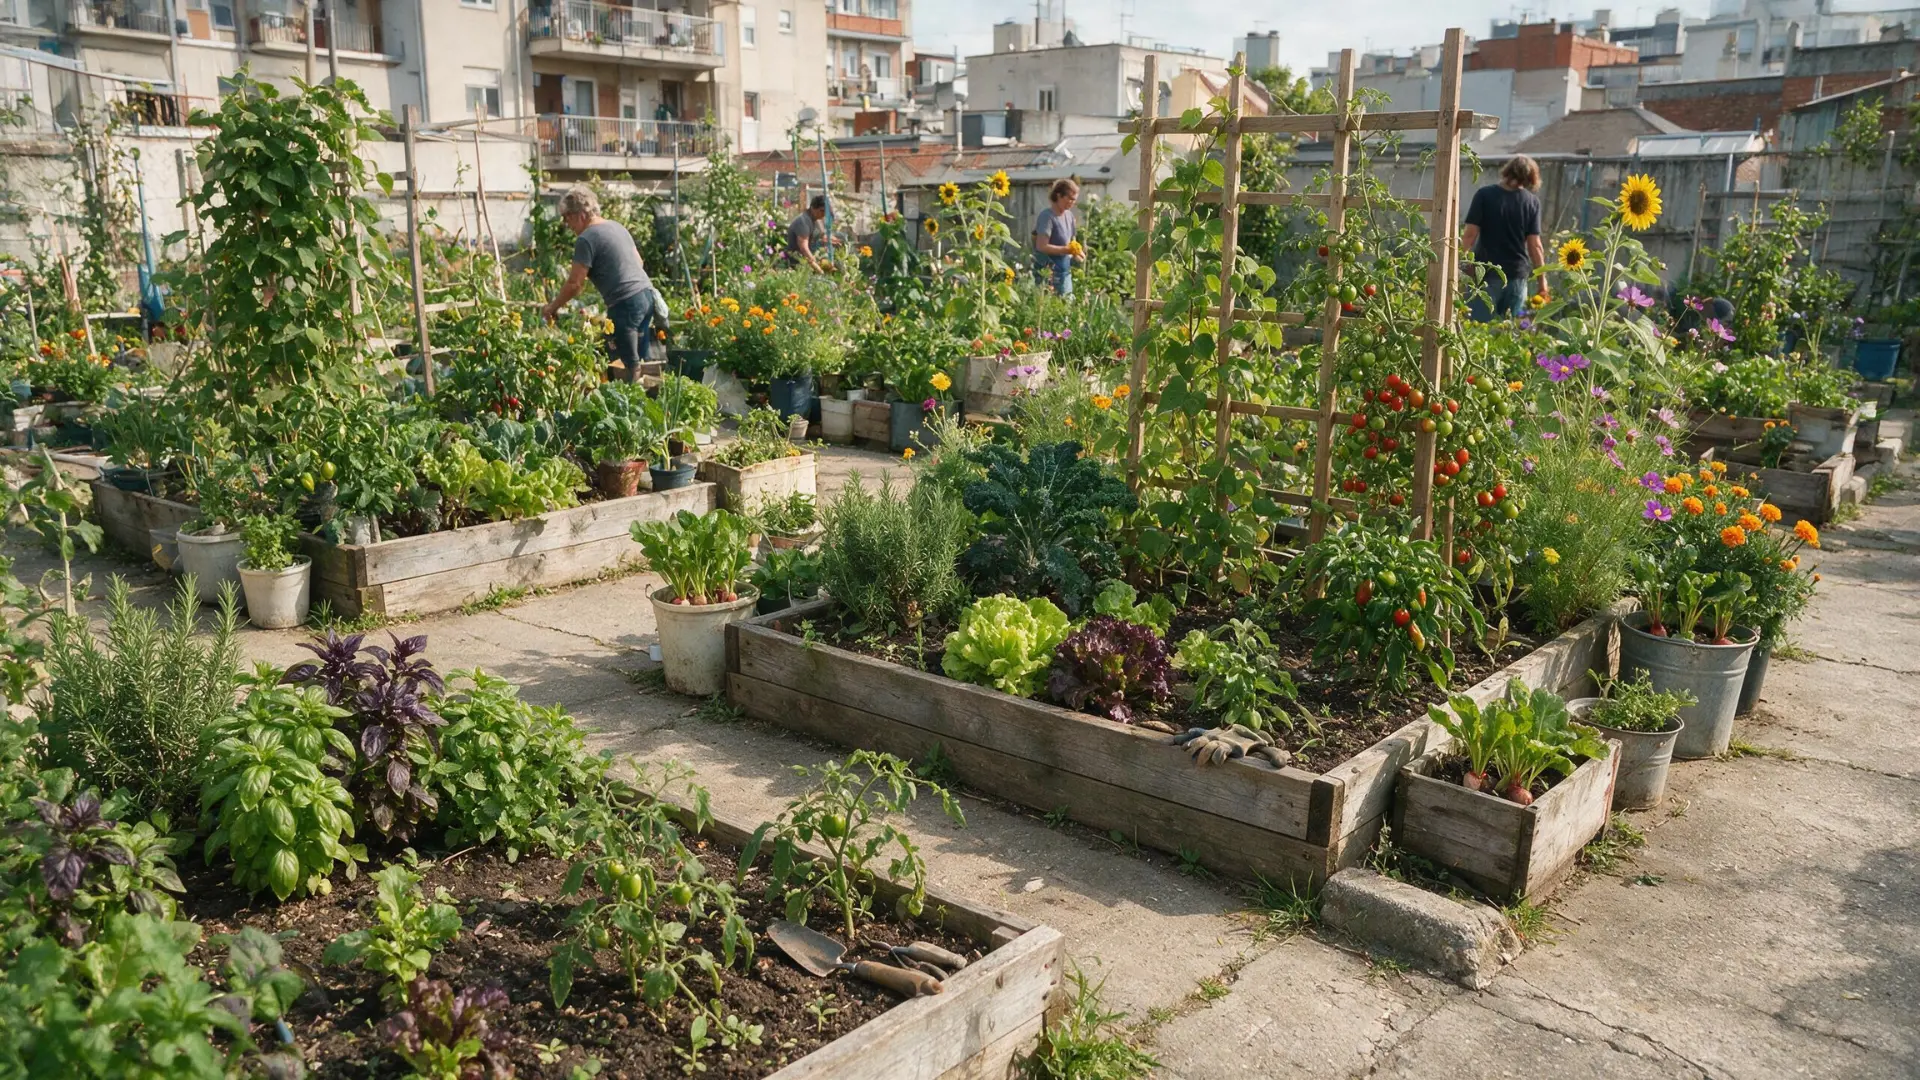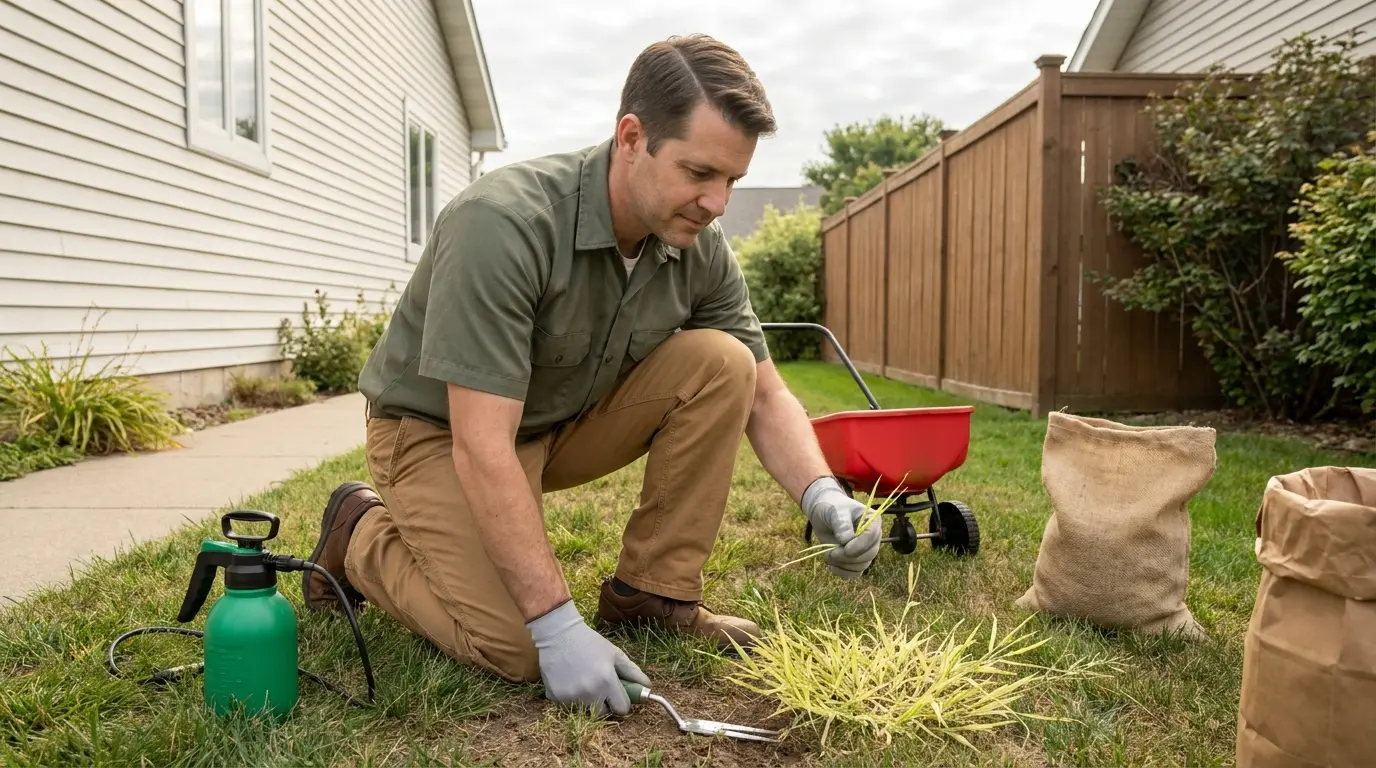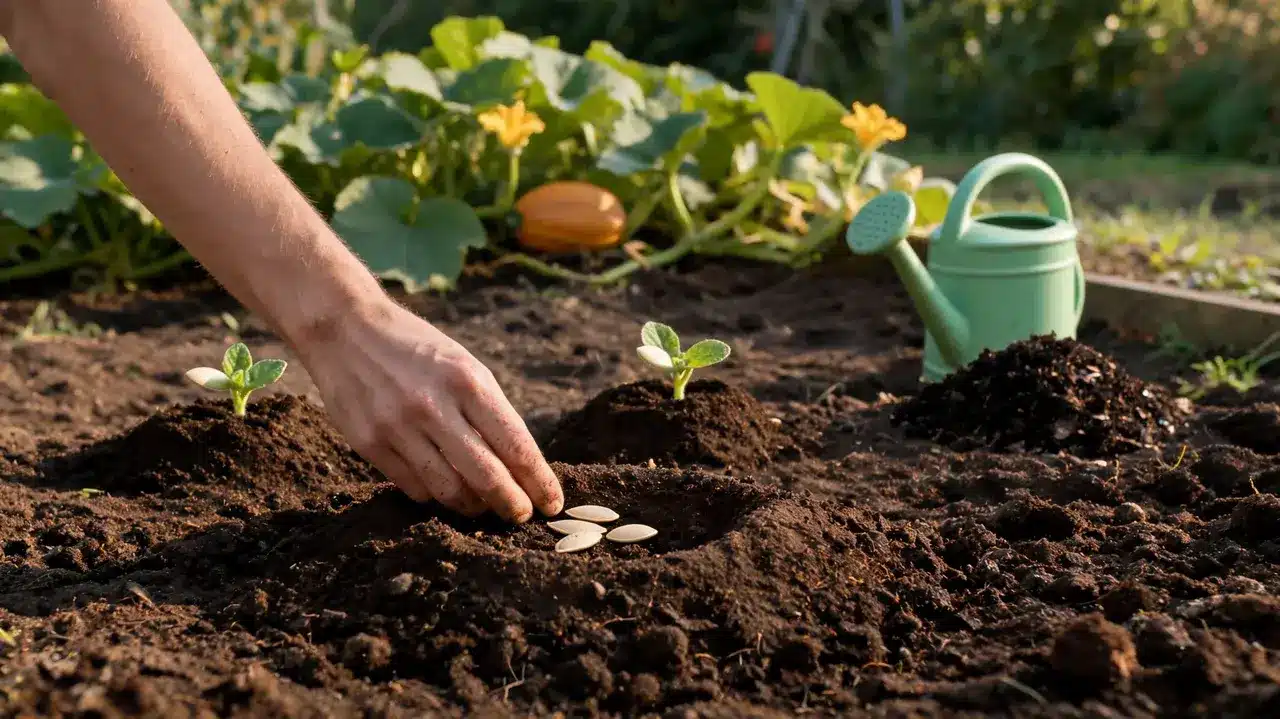
Starting a garden can feel like a lot of work when you think about digging, removing weeds, and preparing soil every season. No-till gardening offers a simpler way to build a healthy growing space without constantly disturbing the ground.
Instead of turning the soil, you add layers of organic material and let those layers improve the bed over time. In this guide, you’ll learn what no-till gardening means, which materials you need, and how to build your first garden bed step by step.
You’ll also learn common mistakes to avoid and how to manage your no-till garden for better results.
Quick Answer
What is no-till gardening? No-till gardening builds soil from the surface instead of turning it each season.
Does it work? Yes. No-till gardening can work well when you protect the soil surface and keep adding organic material over time.
What do you need? Start with cardboard, compost, mulch, water, and a manageable garden space.
What Is No-Till Gardening?
No-till gardening is a growing method where you avoid digging, tilling, or turning the soil. Instead of breaking the ground apart, you build the soil from the surface using layers of organic materials like compost, mulch, and other natural matter.
Traditional tilling can disturb soil structure, expose buried weed seeds, and affect the small organisms that help maintain healthy soil. No-till gardening takes a different approach by keeping those layers in place and allowing them to break down naturally.
Over time, these layers can improve soil texture, moisture retention, and the overall growing environment. The results depend on factors like your existing soil, climate, and the materials you use.
Why Gardeners Are Switching to No-Till
Many gardeners switch to no-till to protect soil health and reduce repeated digging. The benefits build slowly as the garden becomes more established.
- Better soil structure: Keeping soil layers intact helps create a stable environment for roots and helpful organisms.
- Less watering: Mulch helps hold moisture, so you may need to water less often.
- Fewer weeds: Covering the soil surface blocks light and reduces weed growth over time.
- Healthier soil life: Earthworms and other helpful organisms can continue improving the soil without regular disturbance.
- More consistent growth: Better soil structure and moisture retention can help plants grow more consistently over time.
These improvements depend on your soil, climate, and regular care. No-till gardening works best when you build the soil gradually.
Tip: Avoid expecting major changes overnight. A no-till bed often improves season after season as each new layer breaks down.
No-Till Gardening Pros and Cons
No-till gardening can make garden care easier, but it also requires patience and planning.
|
Pros |
Cons |
|---|---|
|
Less digging and soil disturbance |
Results can take time |
|
Better moisture retention from mulch |
Requires planning and materials |
|
Helps protect soil structure |
Weeds may take time to manage |
|
Supports natural soil activity |
Compost and mulch add setup costs |
No-till works best when you build the bed gradually and maintain the layers each season.
How to Start a No-Till Garden: A Beginner’s Guide
Starting a no-till garden is a simple layering process. Instead of digging into the ground, you cover the area, add organic materials, and let the layers improve the soil over time.
Materials Needed
Before you begin, gather the basic materials needed to build your first bed:
- Cardboard: Covers grass and weeds underneath.
- Compost: Creates a nutrient-rich layer for plant roots.
- Mulch: Protects the surface and helps retain moisture.
- Water: Helps the layers settle and begin breaking down.
- Garden space: Choose an area with suitable sunlight.
Step 1: Choose and Mark Your Space
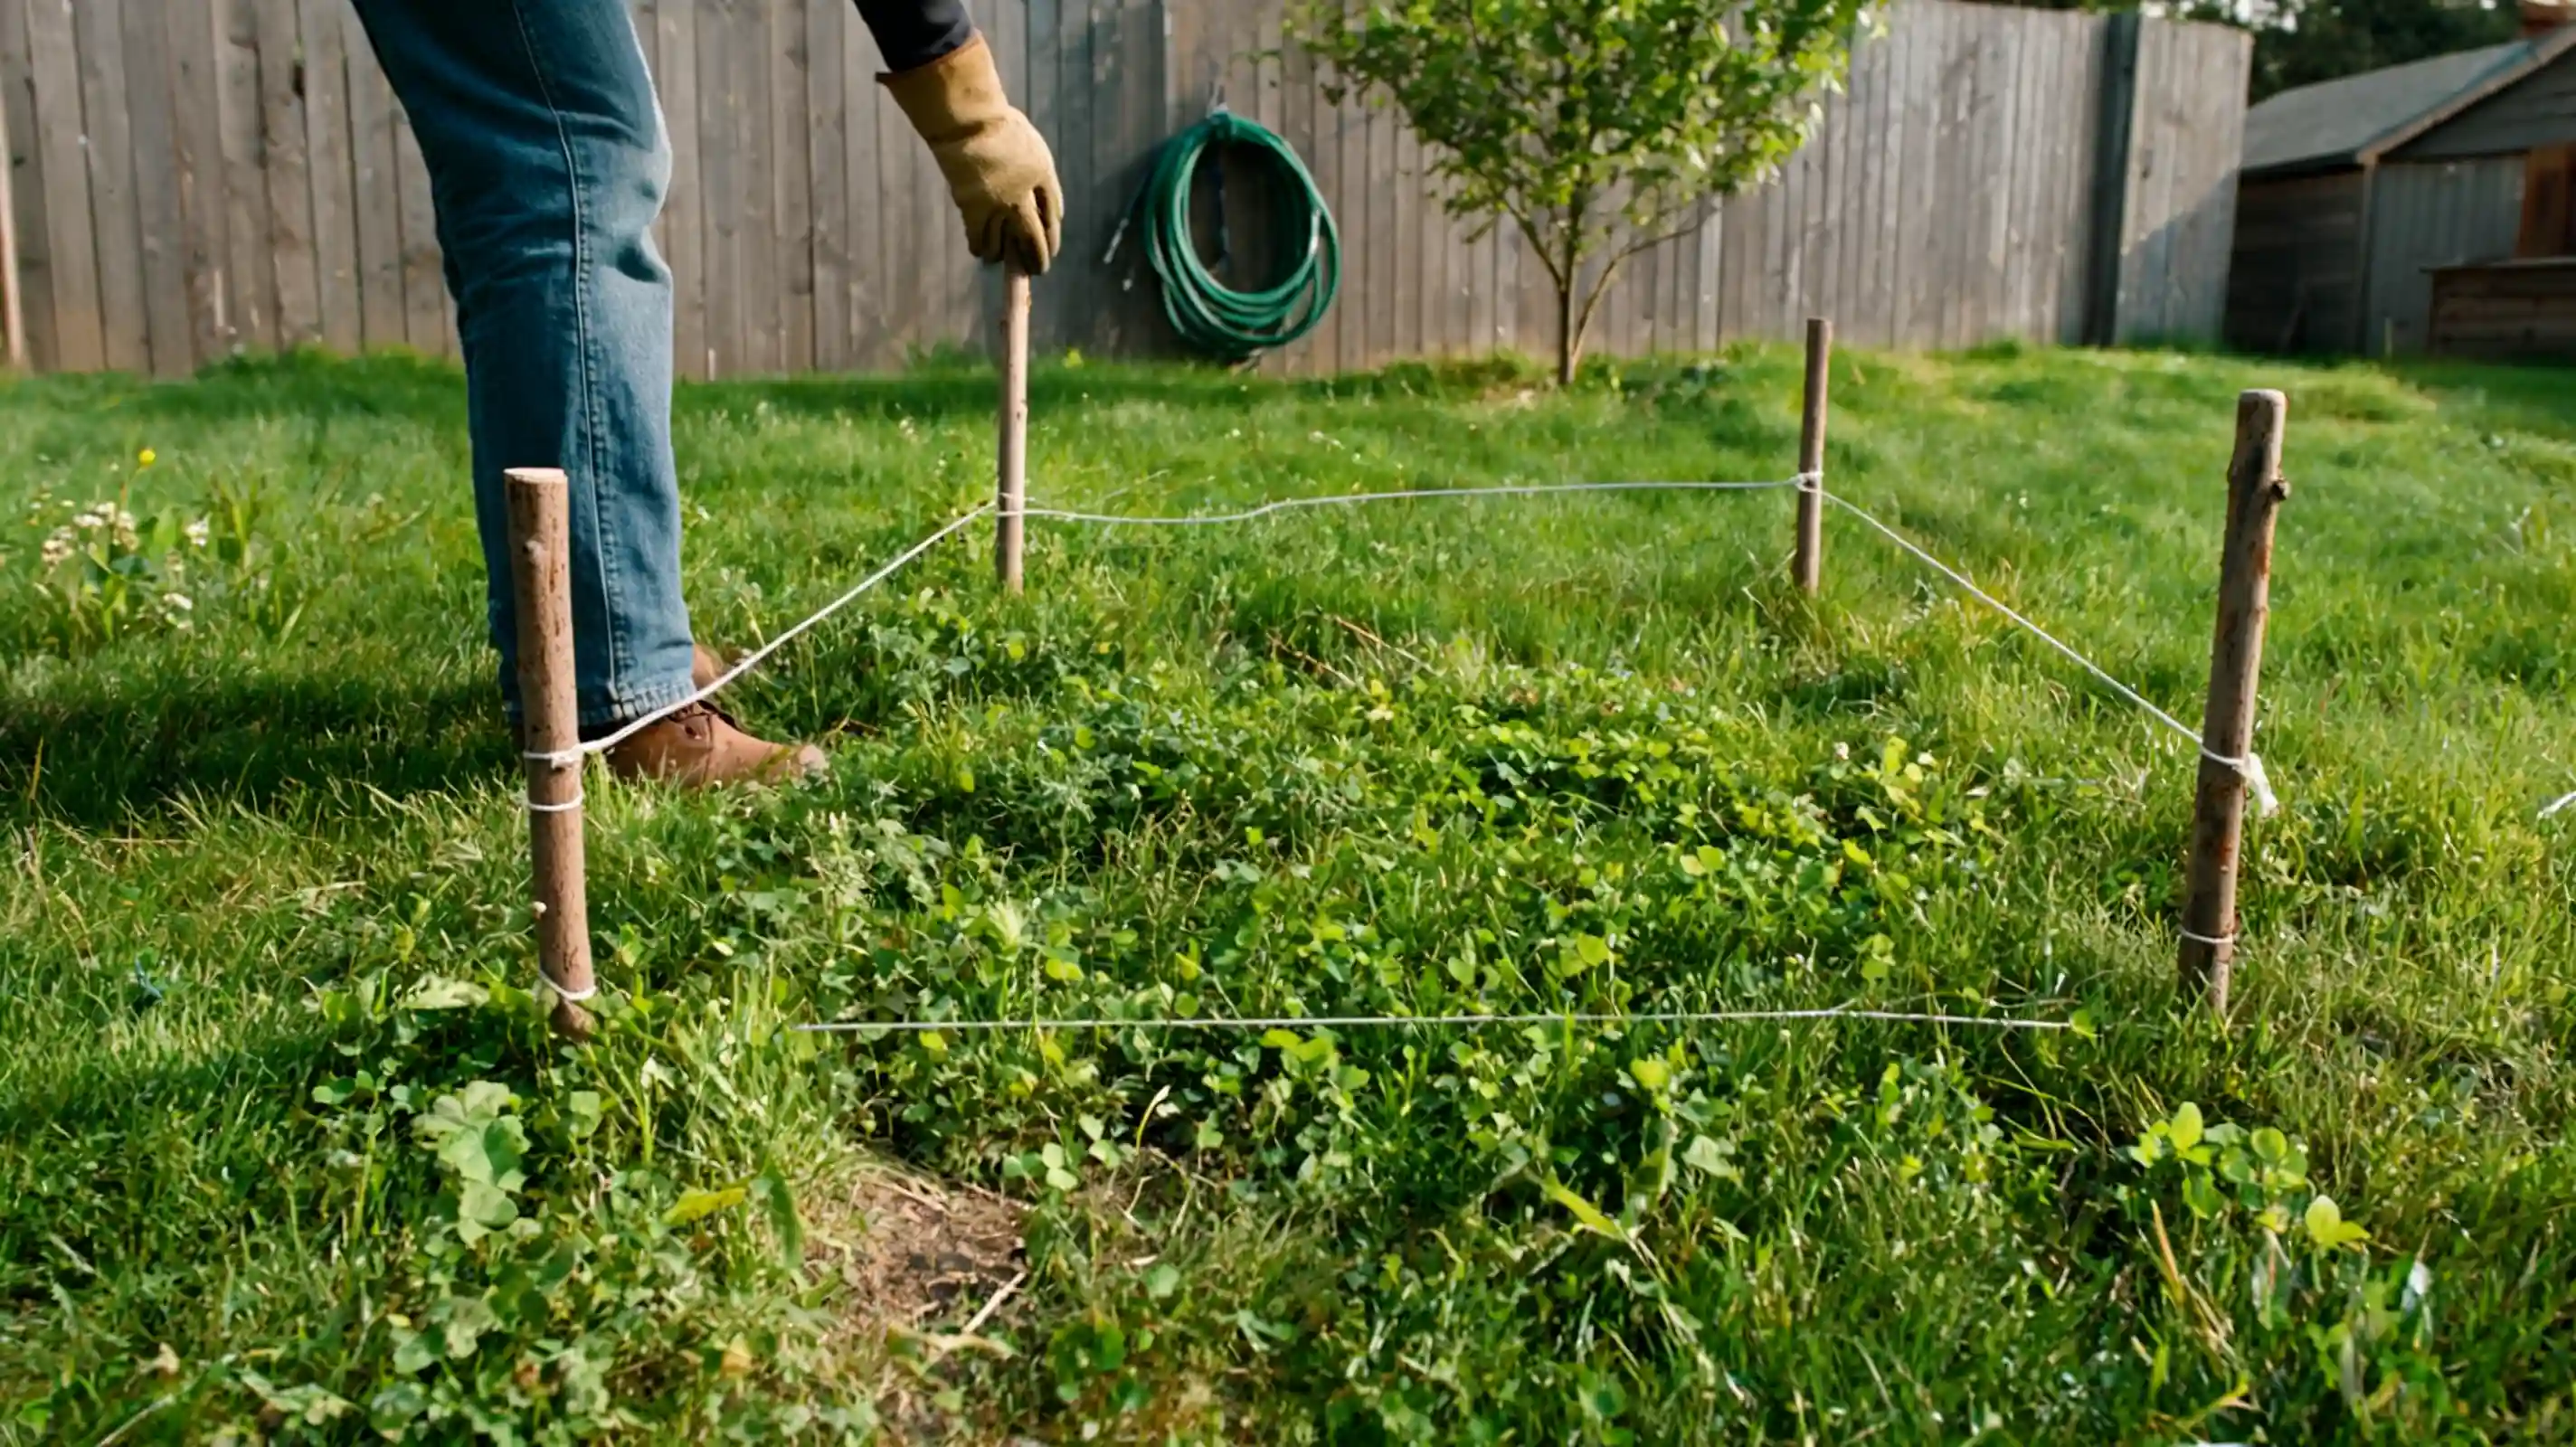
Pick a manageable area for your first no-till bed. Starting small makes it easier to understand how the layers settle and how the garden changes over time.
Mark the space clearly before adding materials so you know exactly where the bed will sit and how much material you need.
Step 2: Deal With Grass and Weeds

You do not always need to remove grass before starting a no-till bed. For stubborn grass or weeds, adding extra cardboard layers can help block growth from underneath.
This works because the covering reduces light exposure and slows unwanted plant growth. However, aggressive weeds may still need extra attention before the bed becomes fully established.
Step 3: Cover the Ground With Cardboard
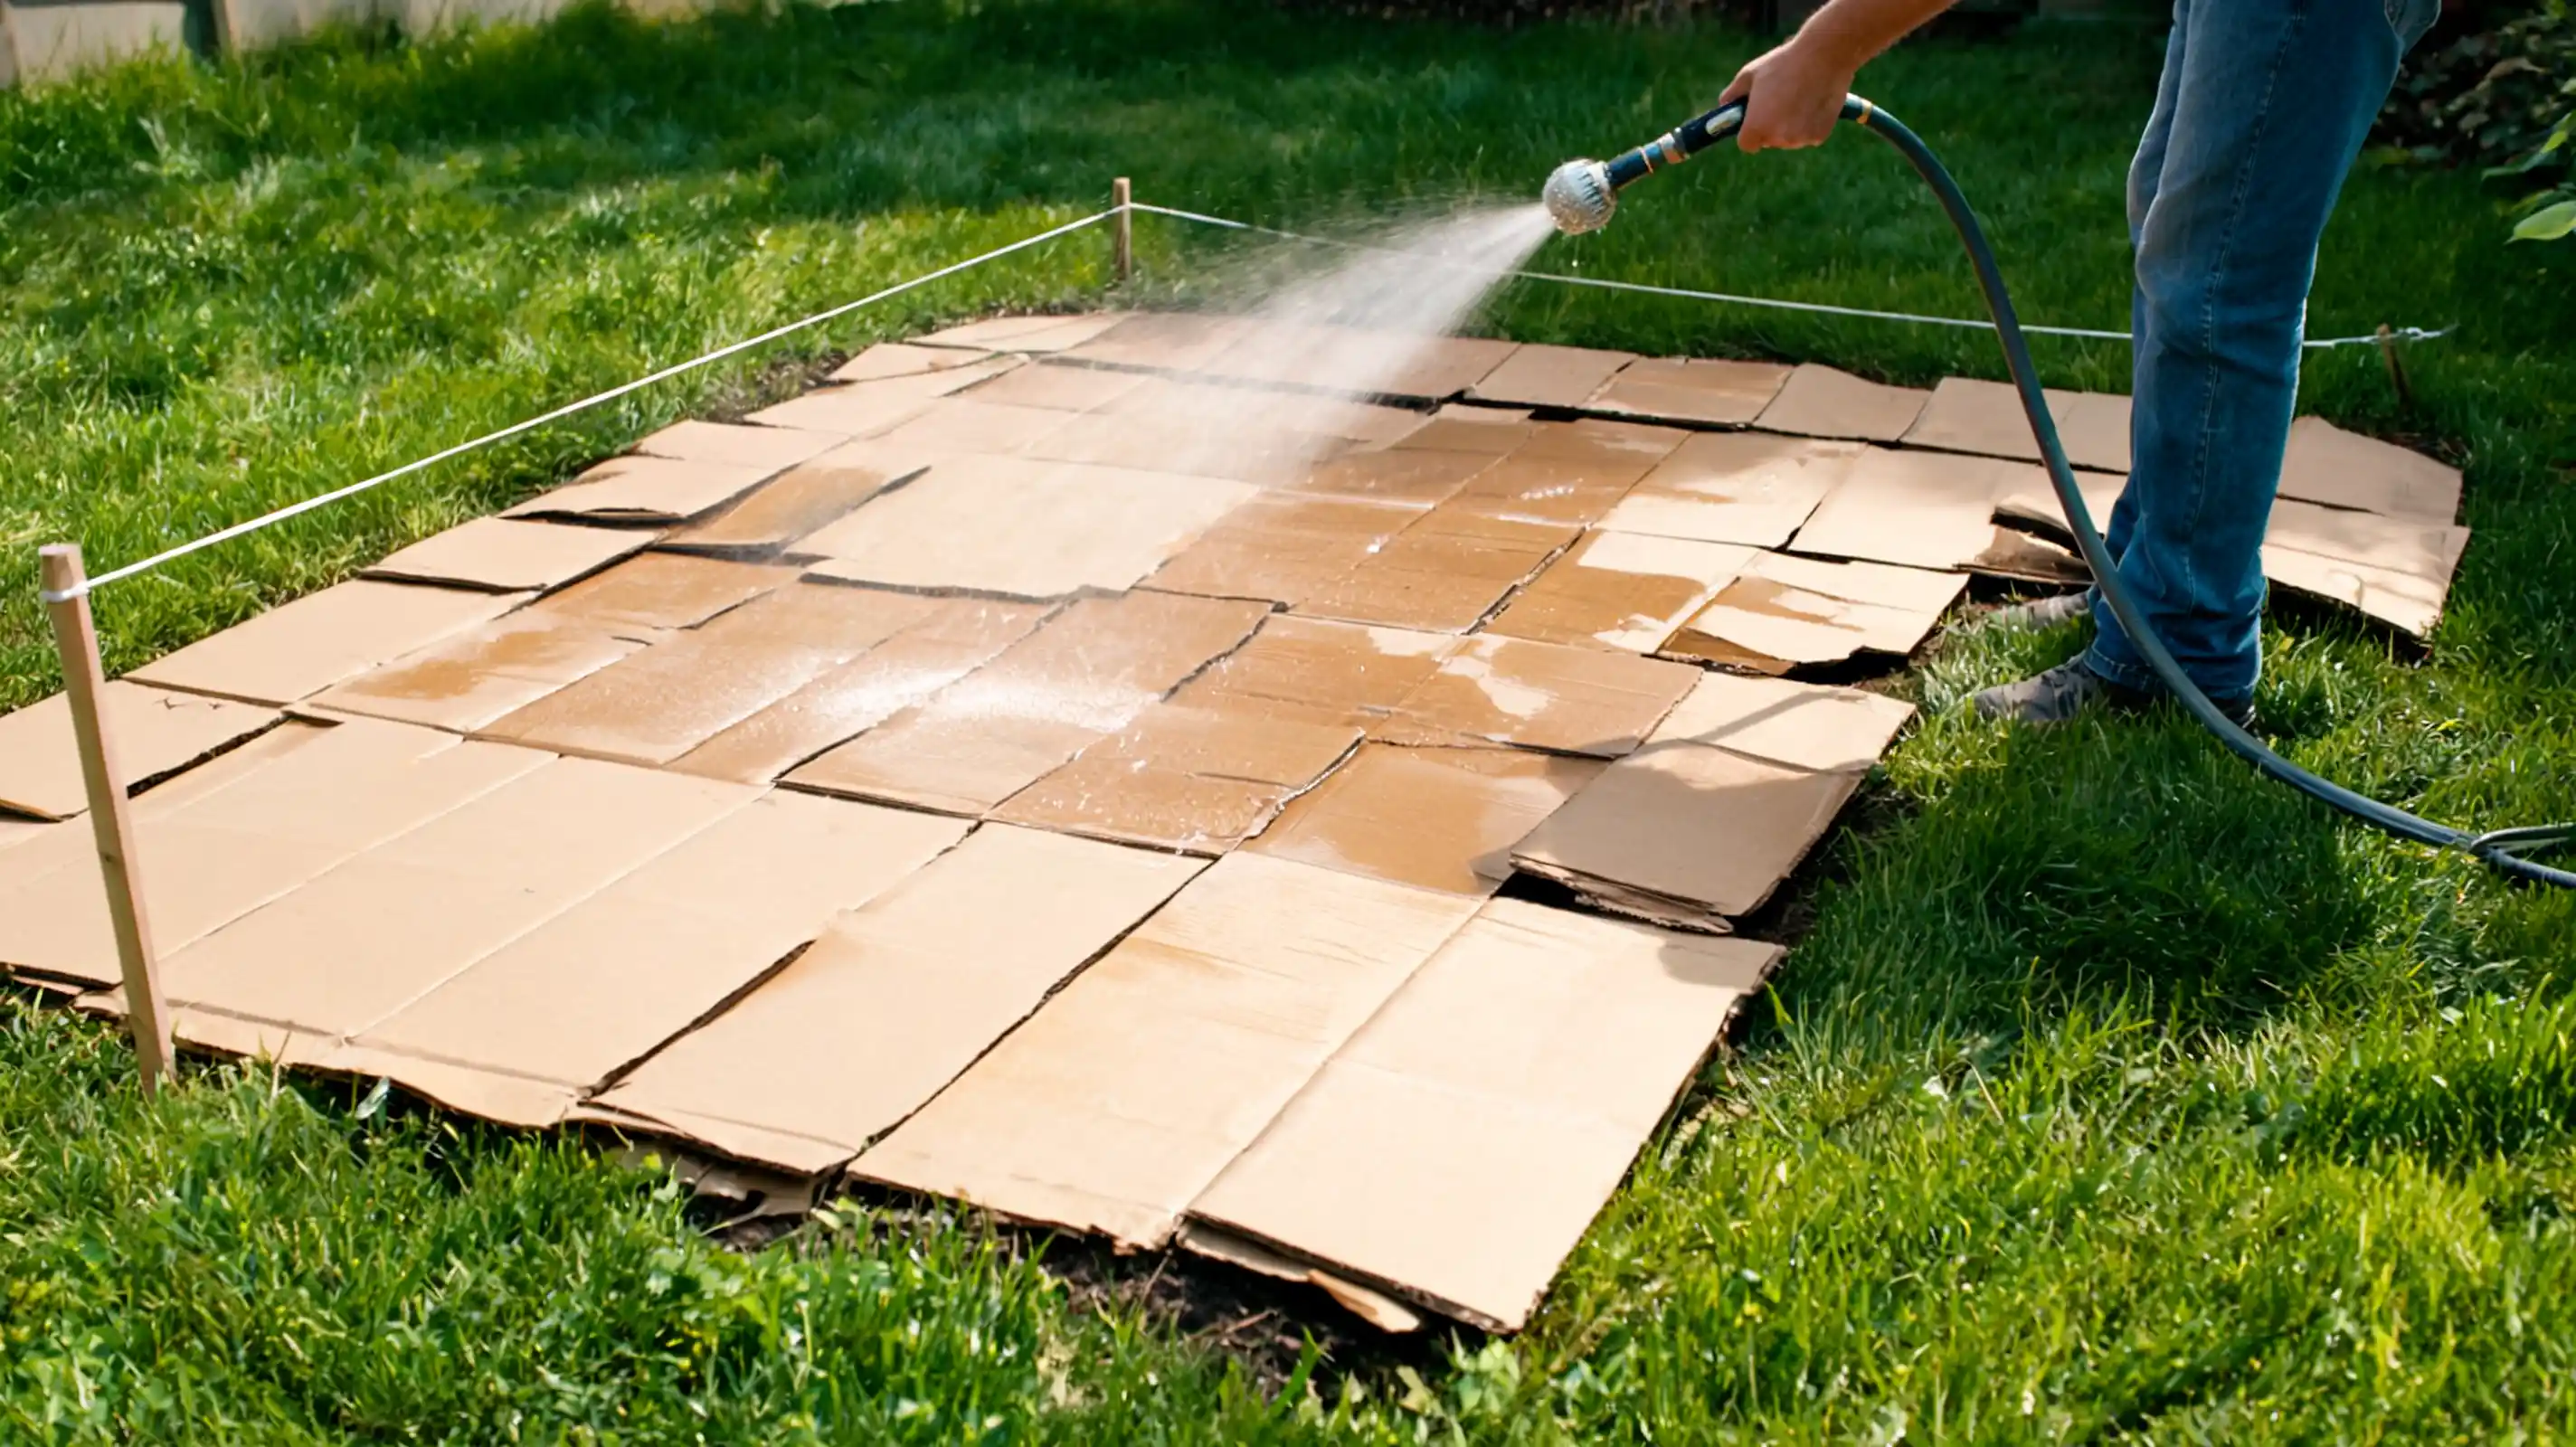
Remove all tape, stickers, and glossy print from cardboard before using it in your garden bed. These materials do not break down properly and can leave unwanted scraps behind.
Lay cardboard across the entire area with no gaps. Soak it well so it settles against the soil and creates the first layer of your no-till bed.
Step 4: Add Compost

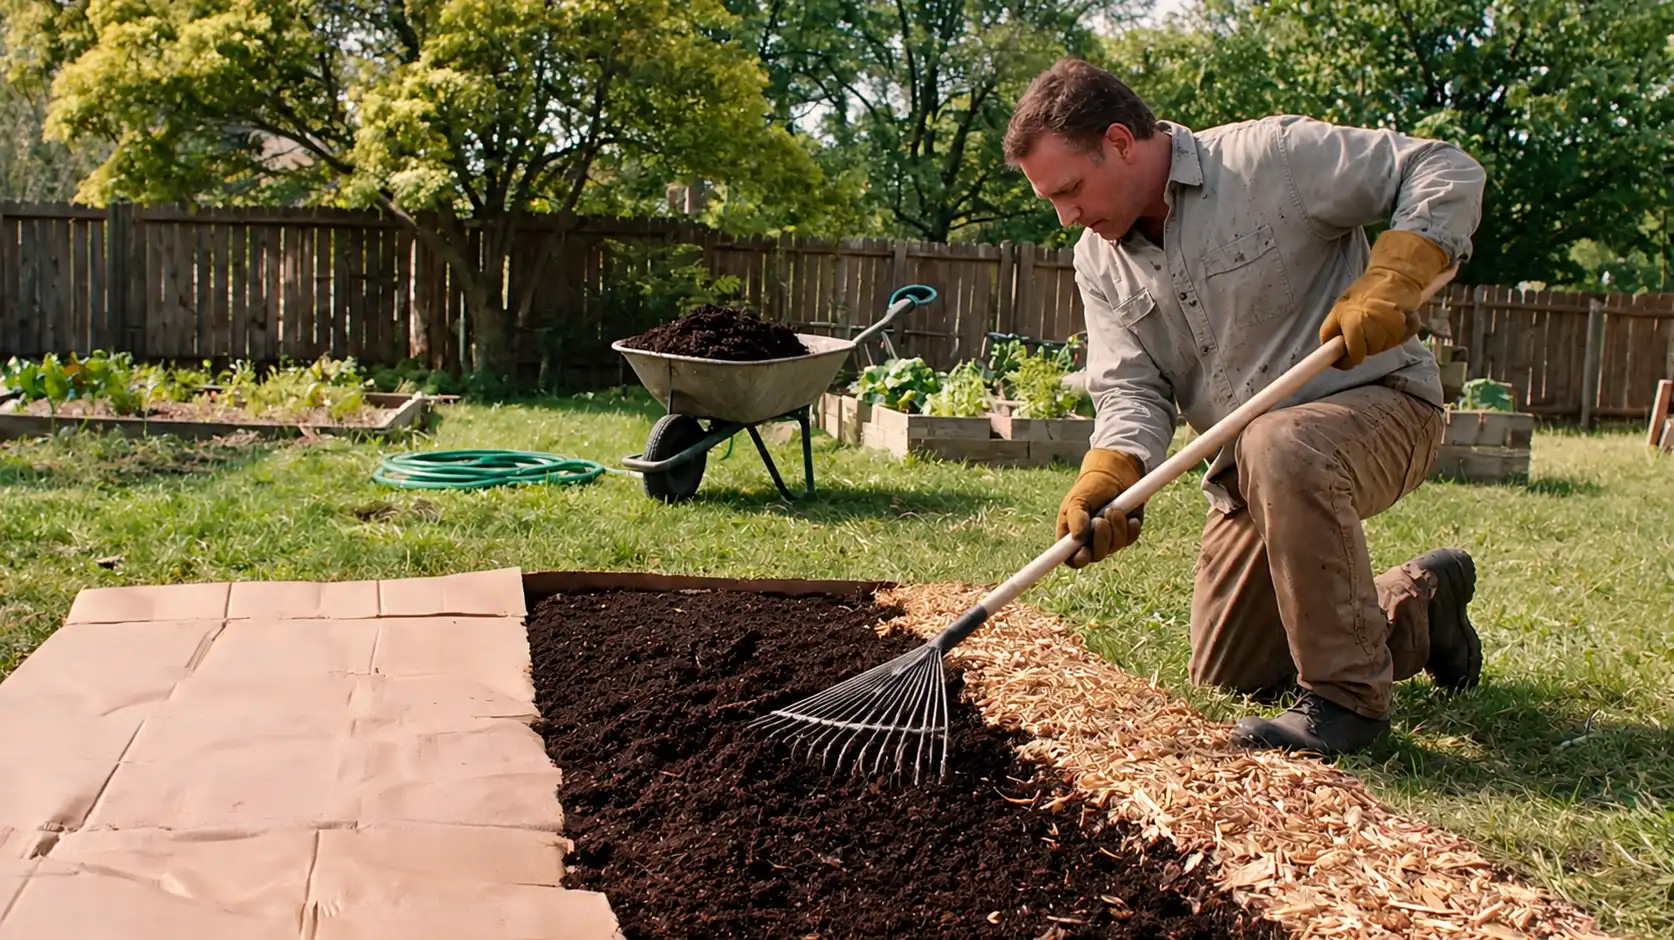
Spread about three to four inches of finished compost over the cardboard layer. This creates the main growing area where young roots can develop while the materials underneath continue breaking down.
Avoid using unfinished compost because it may still contain materials that are actively decomposing. A mature compost layer gives plants a more stable place to grow.
Step 5: Water the New Layers
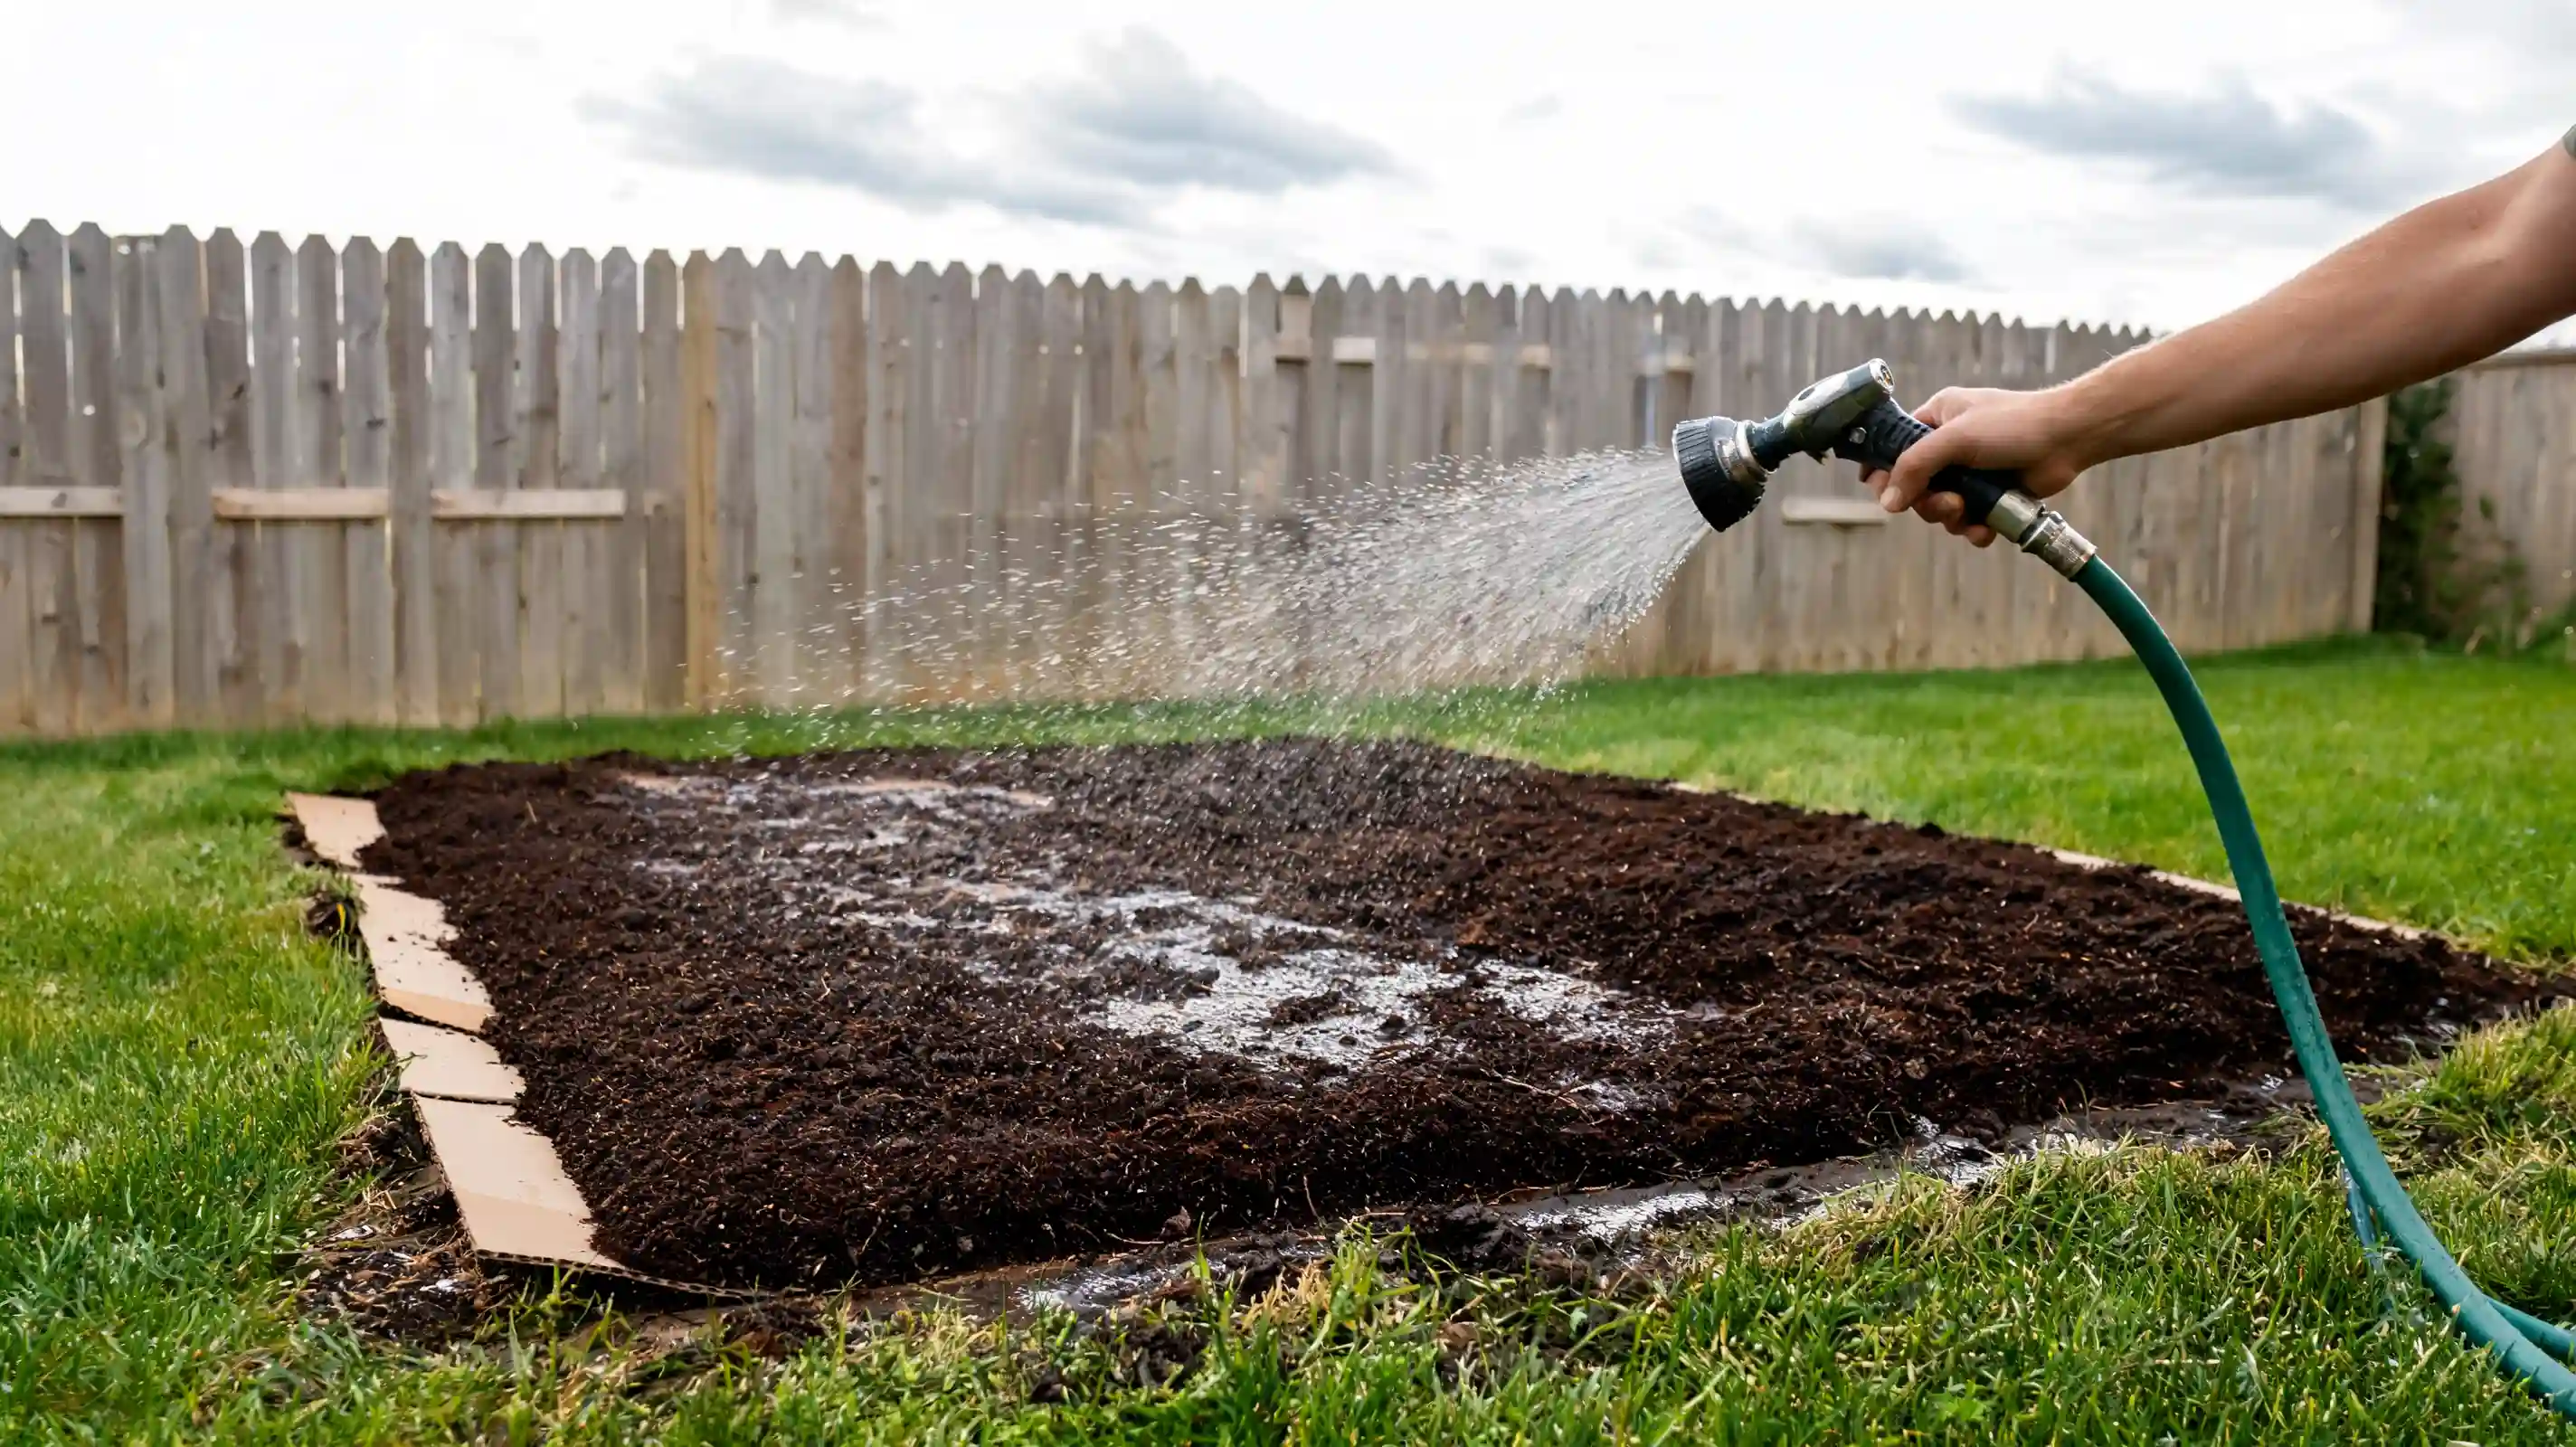
Water the entire bed after adding compost and other layers. Moisture helps the materials settle together and supports the natural breakdown process happening underneath.
A dry bed can take longer to develop because the layers need moisture to connect and begin changing. Keep the bed evenly moist, especially during the early setup stage.
Step 6: Add Mulch at the Right Time

Cover the bed with mulch after adding compost and water. Materials like straw, leaves, or wood chips help protect the surface and reduce moisture loss. This layering order matches the approach in these step-by-step mulch instructions, which start with a cardboard base before building up woodier material on top.
Keep planting areas clear if you plan to add plants soon. Fresh wood chips work well as surface mulch, but avoid mixing them directly into soil.
Tip: Fresh wood chips can temporarily reduce available nitrogen near roots if mixed into soil. They are generally safe when used as a surface layer.
No-Till Garden Layer Order
A no-till garden is built in layers that improve the growing area from the surface down. Oregon State University Extension recommends alternating green and brown layers over a cardboard base so the bed settles into rich soil rather than a single compacted block.
- Ground or grass: The existing area where the garden bed starts.
- Cardboard: Covers grass and weeds while creating the first layer to break down.
- Compost: Provides the main growing layer for plant roots.
- Mulch: Protects the surface, holds moisture, and helps limit weeds.
- Plants: Grow directly into the compost layer once the bed is ready.
Keeping these layers in place helps build soil over time without regular digging.
Compost vs. Mulch: Don’t Mix Them Up
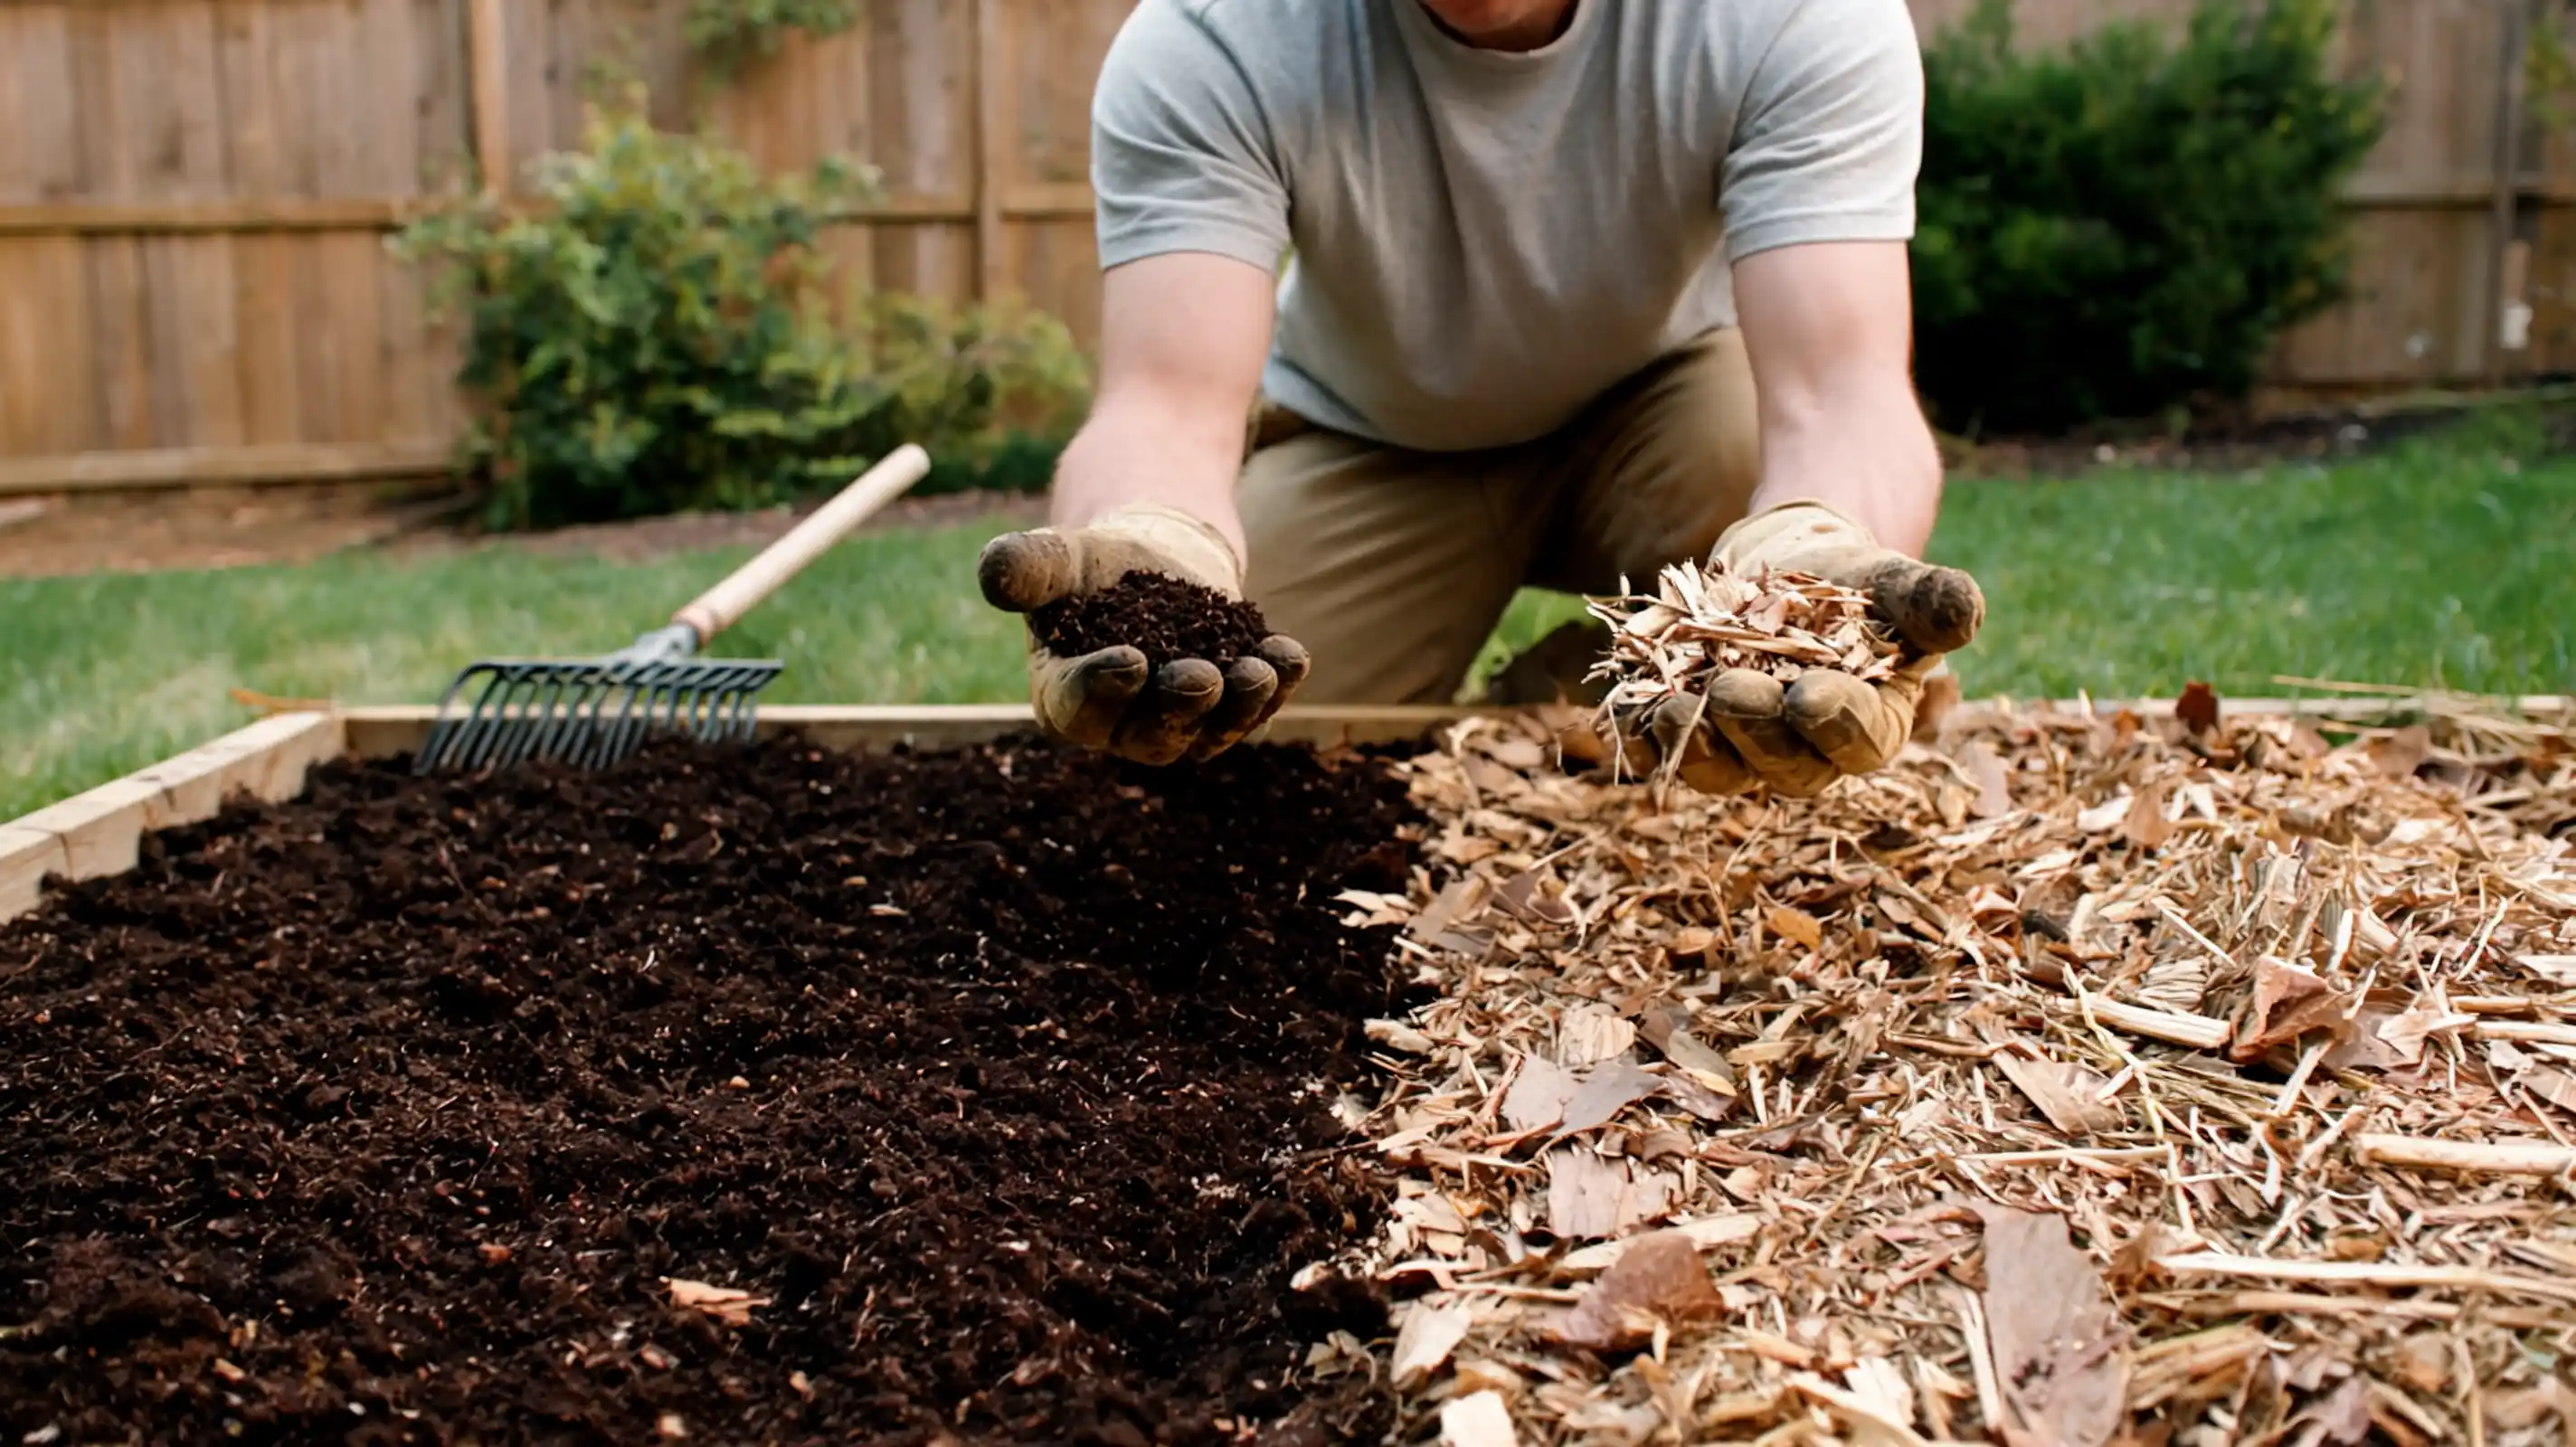
Compost and mulch are both important in a no-till garden, but they serve different purposes. Many beginners use them interchangeably, which can lead to mistakes when building and maintaining a bed.
Compost is fully broken-down organic material that adds nutrients and improves the growing layer. It mixes with the soil and gives plants access to nutrients as they grow.
Mulch sits on top of the soil surface. Materials like wood chips, straw, and leaves help protect the soil, hold moisture, and reduce weed growth.
The main difference is that compost feeds the garden, while mulch protects it. Using both together creates a better environment because the compost supports plant growth and the mulch protects the layers underneath.
Tip: Fresh wood chips are best used as surface mulch. Avoid mixing them into the soil because they can temporarily reduce available nitrogen near plant roots.
Real-World Tips for Managing a No-Till Garden Long-Term
Managing a no-till garden is mostly about maintaining the layers you have already built. Instead of major changes each season, small habits help protect the soil and keep the bed productive over time.
These simple practices help your garden continue improving:
- Add compost from the top: Spread fresh compost on the surface instead of digging it into the bed.
- Replace mulch as needed: Add more mulch when the layer becomes thin and bare soil starts showing.
- Water based on soil needs: Check moisture levels before watering because covered soil holds water longer.
- Avoid walking on beds: Use paths instead to prevent compacting the growing area.
- Leave roots after harvest: Cut plants at soil level and allow roots to break down naturally.
These habits protect the soil while letting natural processes continue. A no-till garden becomes easier to manage when you work with the soil instead of disturbing it.
Common Mistakes Beginners Make
Most problems in a new no-till garden happen when you rush the setup or use the wrong materials. Knowing these common mistakes early can help you avoid setbacks and build a stronger garden bed.
|
Mistake |
Why It Causes Problems |
|---|---|
|
Skipping the cardboard layer |
Grass and weeds can grow through and compete with your plants. |
|
Planting before the bed settles |
New layers may not have broken down enough for strong root growth. |
|
Ignoring soil quality before starting |
Poor drainage or compacted soil can slow improvement. |
|
Using contaminated materials |
Treated wood, weed-filled compost, or chemically treated cardboard can introduce unwanted problems. |
|
Expecting instant results |
Soil improvement takes time and usually happens over multiple seasons. |
These mistakes do not mean your garden has failed. You can correct most issues by adjusting your approach and giving the soil time to improve.
Frequently Asked Questions
Is no-till gardening better than traditional tilling?
No-till gardening can better protect soil structure and reduce disturbance. However, the best method depends on your garden conditions.
How long does it take for a no-till garden to work?
A no-till garden improves gradually. Some beds can be planted quickly, while others need months for layers to settle and break down.
Can I start a no-till garden on grass?
Yes, you can start on grass by covering it with cardboard and adding compost and mulch layers to block unwanted growth.
Can I use hay instead of straw for mulch?
Yes, but straw is usually preferred because hay often contains more weed seeds that can create extra problems later.
Can a no-till garden work in raised beds or containers?
Yes, the same layering method works in smaller spaces. Containers need more frequent moisture checks because they dry out faster.
What can you plant in a no-till garden?
Once your bed is ready, you can grow many common vegetables and herbs. Lettuce, herbs, tomatoes, peppers, beans, and squash are good options. Root crops usually perform better after the soil has had more time to develop and become easier for roots to move through.
Can you plant immediately into the compost?
Yes. You can plant directly into the compost layer if needed. Waiting longer simply gives the materials underneath more time to settle and develop.
Final Thoughts
No-till gardening is about building a healthier growing space by working with the soil instead of constantly disturbing it. Starting with one small bed gives you the chance to learn what works in your own garden.
The process becomes easier when you focus on steady improvements rather than quick results. Watch how your soil changes, and let each season teach you something new.
Have you tried this method in your own garden? Let me know in the comments what worked for you or what challenges you faced.