If you’ve ever walked past a fence covered in purple flowers and stopped in your tracks, there’s a good chance you were looking at a clematis.
It’s one of those plants that earns its place in any garden with flowers, available in almost every color, and forgiving once you know what it needs.
Whether you have a large garden wall to cover or a small patio with room for one pot, there’s a clematis that fits.
This blog covers everything from picking the right variety to pruning it correctly – including growing clematis in pots if you’re short on ground space.
What Makes Clematis Special
Clematis is one of the most popular garden plants for good reason. With careful selection, it’s possible to have flowers throughout the year – from winter and spring-flowering types right through to late summer and autumn varieties.
The variety within this one plant family is what sets it apart. You can go from a delicate bell-shaped flower to a large double bloom, from a plant that stays compact in a pot to one that climbs fifteen feet into a tree.
Once established, clematis grows quickly, flowers reliably, and comes back stronger every year. Few plants offer that kind of reward for that little ongoing effort.
Which Type is Right for Your Garden?
Getting this right before you buy saves a lot of frustration later. The three things worth thinking about are size, flowering time, and where you want to grow it.
Not all clematis behave the same way, and picking the wrong type for your space is the most common mistake beginners make. Use this table to match the right variety to where you want to grow it before you buy.
| Type | When It Flowers | Where to Grow It | Pruning |
|---|---|---|---|
| Spring clematis | March to May | Walls, fences, sheltered spots | Trim lightly after flowering |
| Early summer clematis | May to June | Trellises, obelisks, pergolas | Light pruning in early spring |
| Late summer clematis | July to September | Shrubs, large spaces, containers | Cut back hard every spring |
| Non-climbing clematis | Summer | Garden borders, pots | Cut back hard every spring |
How to Grow Clematis in the Ground
Clematis grows best in a sunny or partially shaded spot with moist, well-drained soil. The roots need to stay cool – avoid hot, dry positions and keep the base shaded with pebbles or low-growing plants.
Most types are adaptable, but all do better with shelter from strong winds and consistent moisture throughout the growing season.
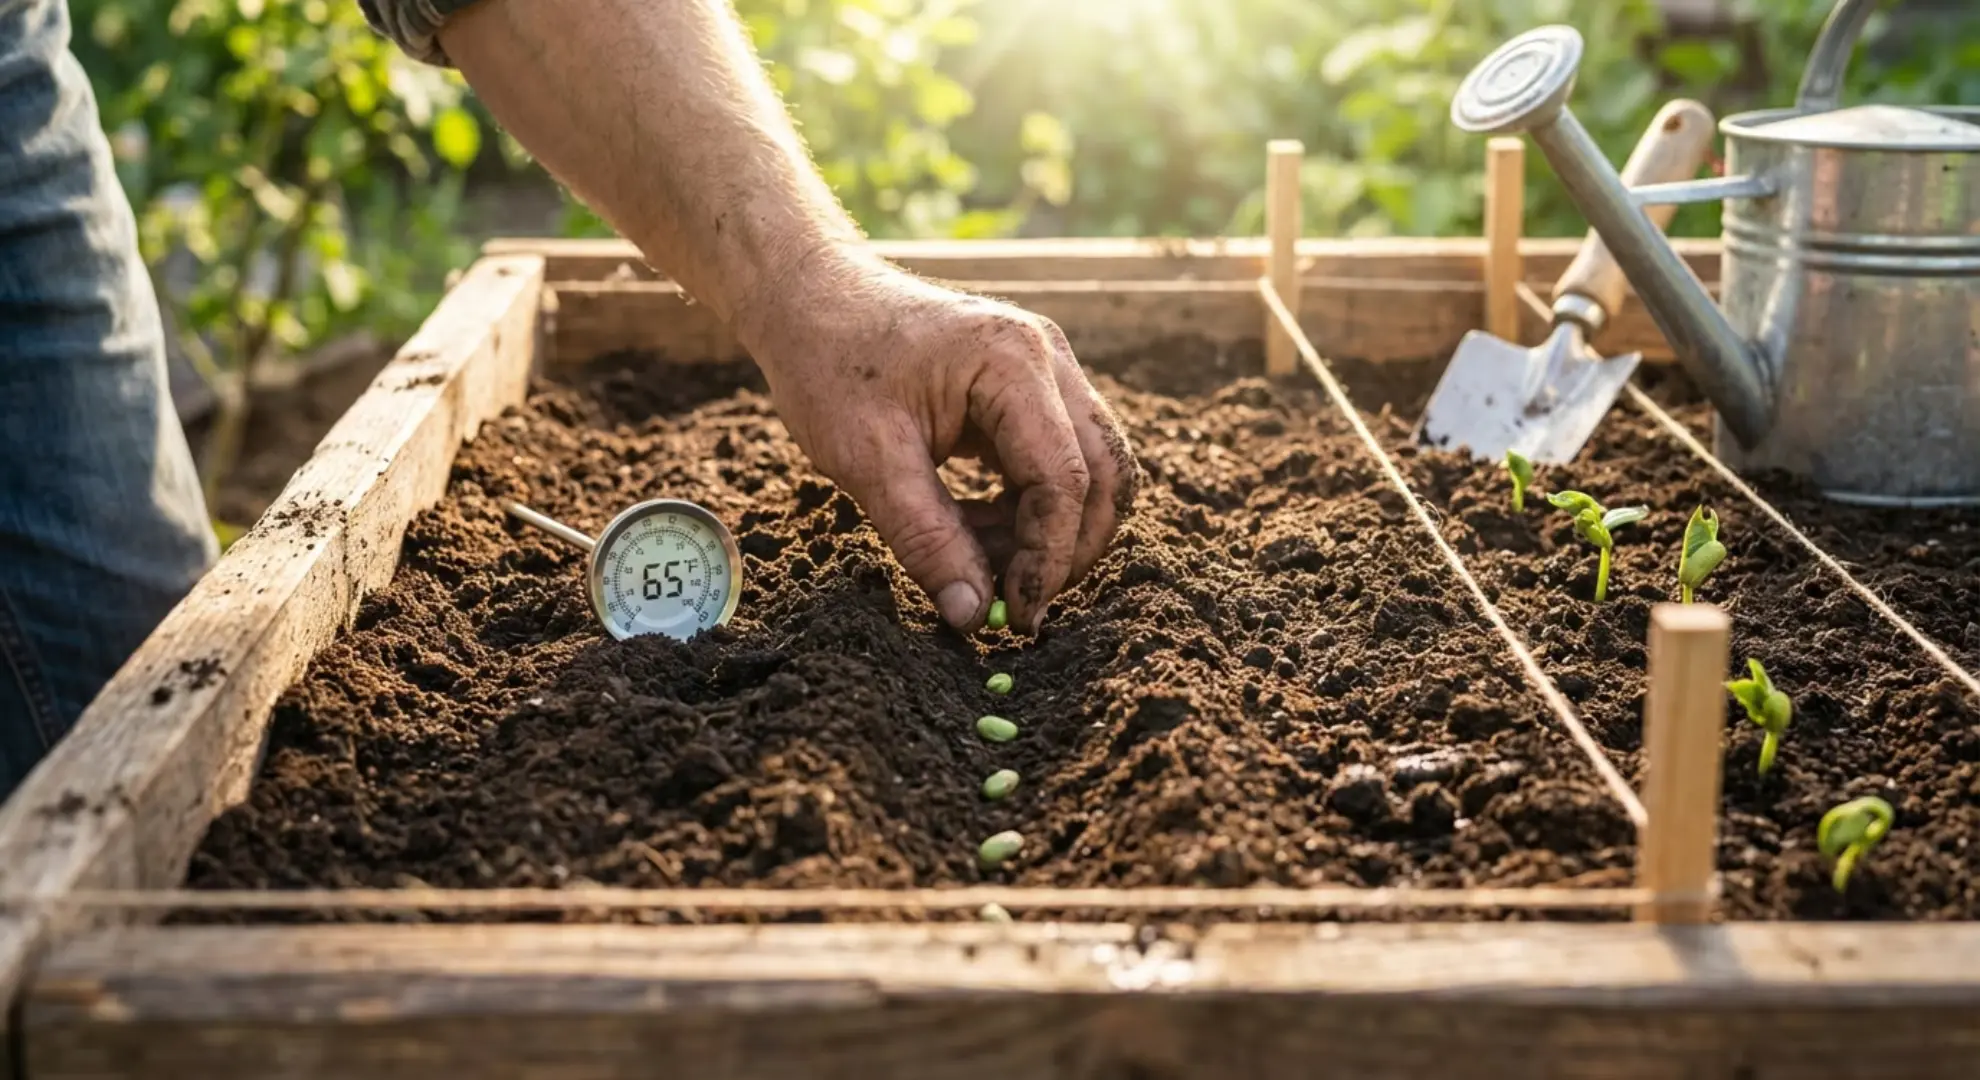
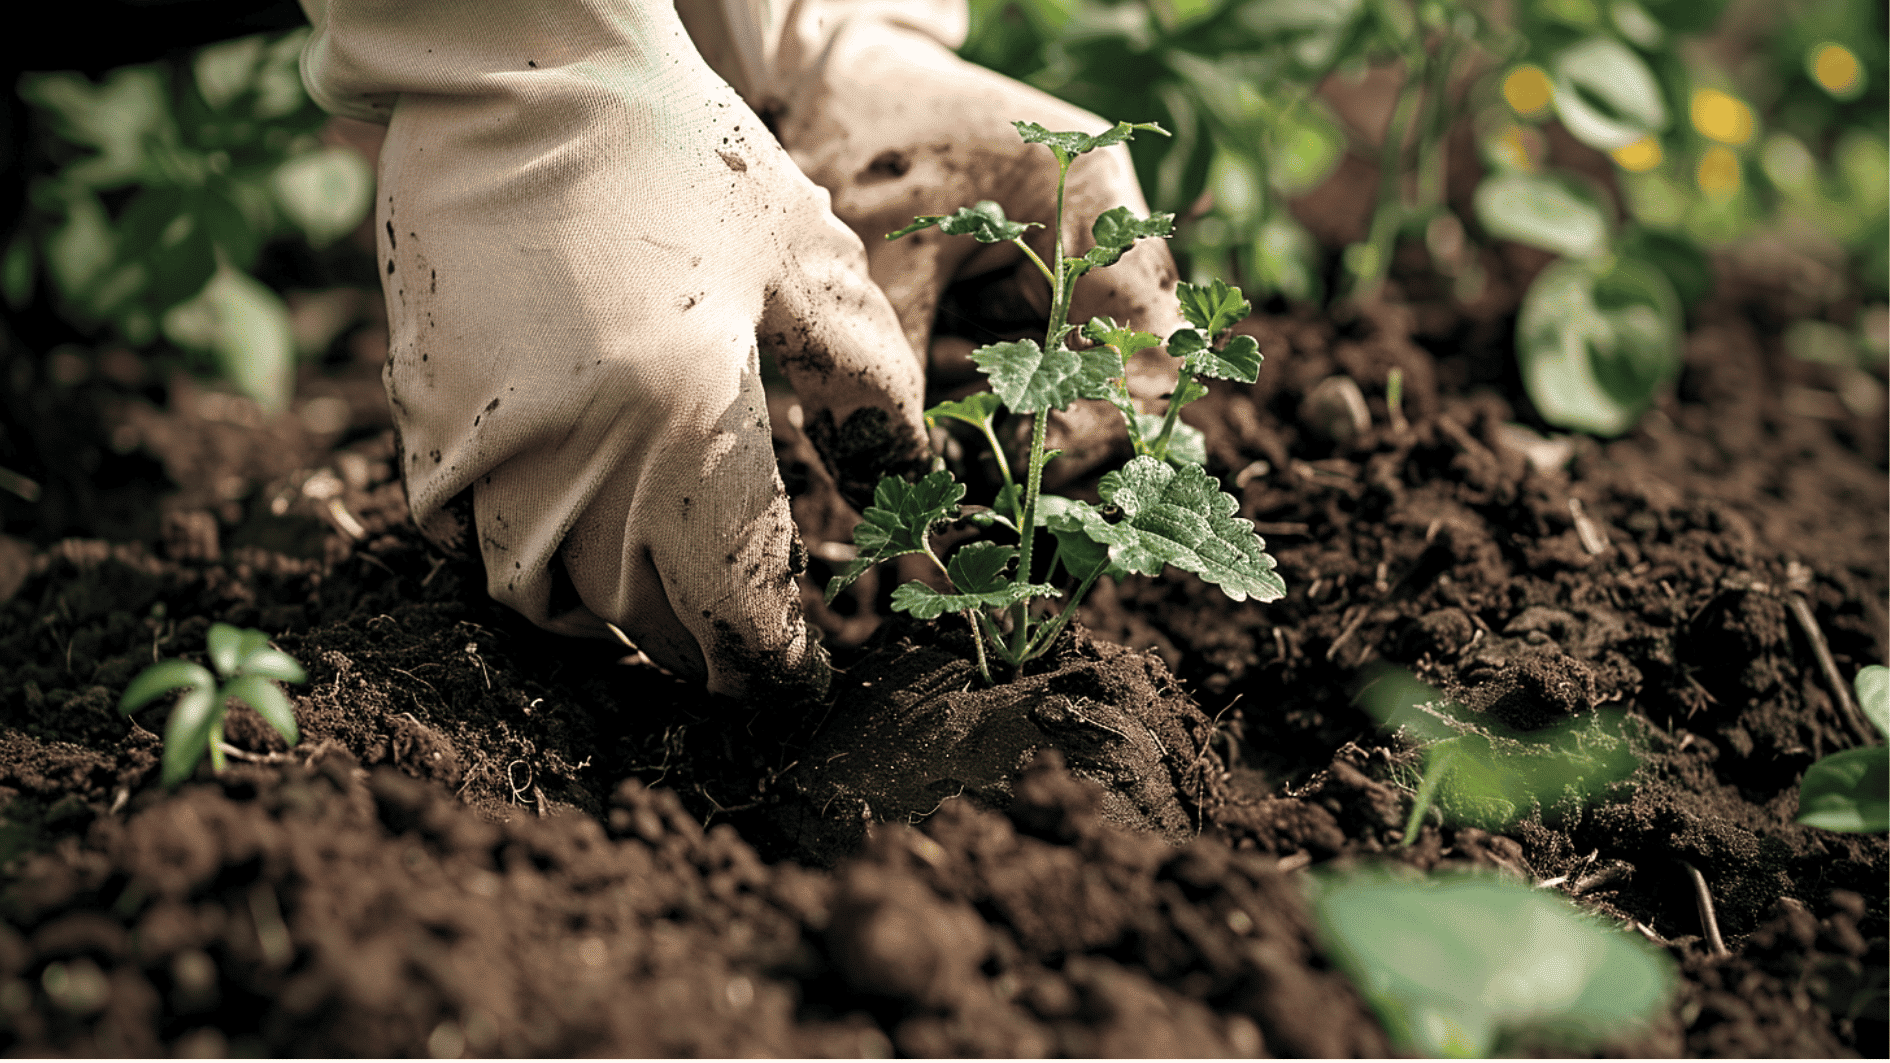
Step 1: Dig the Hole
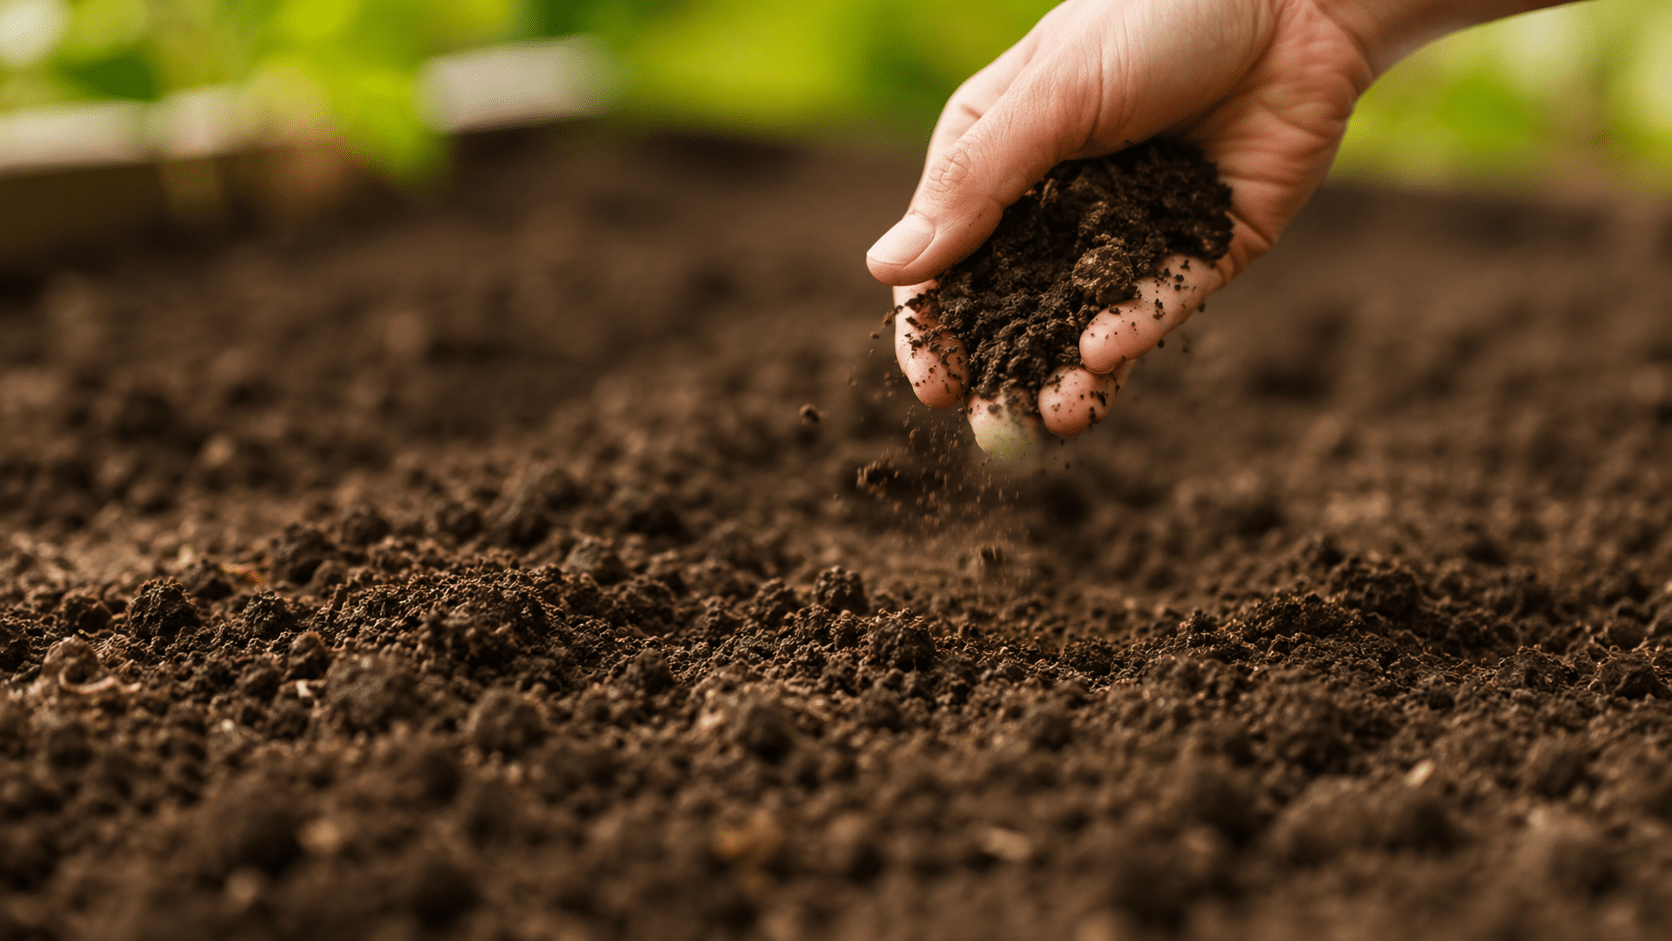
Dig a hole three times wider and twice as deep as the pot. The extra space gives roots room to spread out comfortably and builds a strong foundation from the start.
A hole that’s too small can cramp the roots and slow the plant down in its first season, so it’s worth taking the extra few minutes to get the size right.
Step 2: Improve the Soil
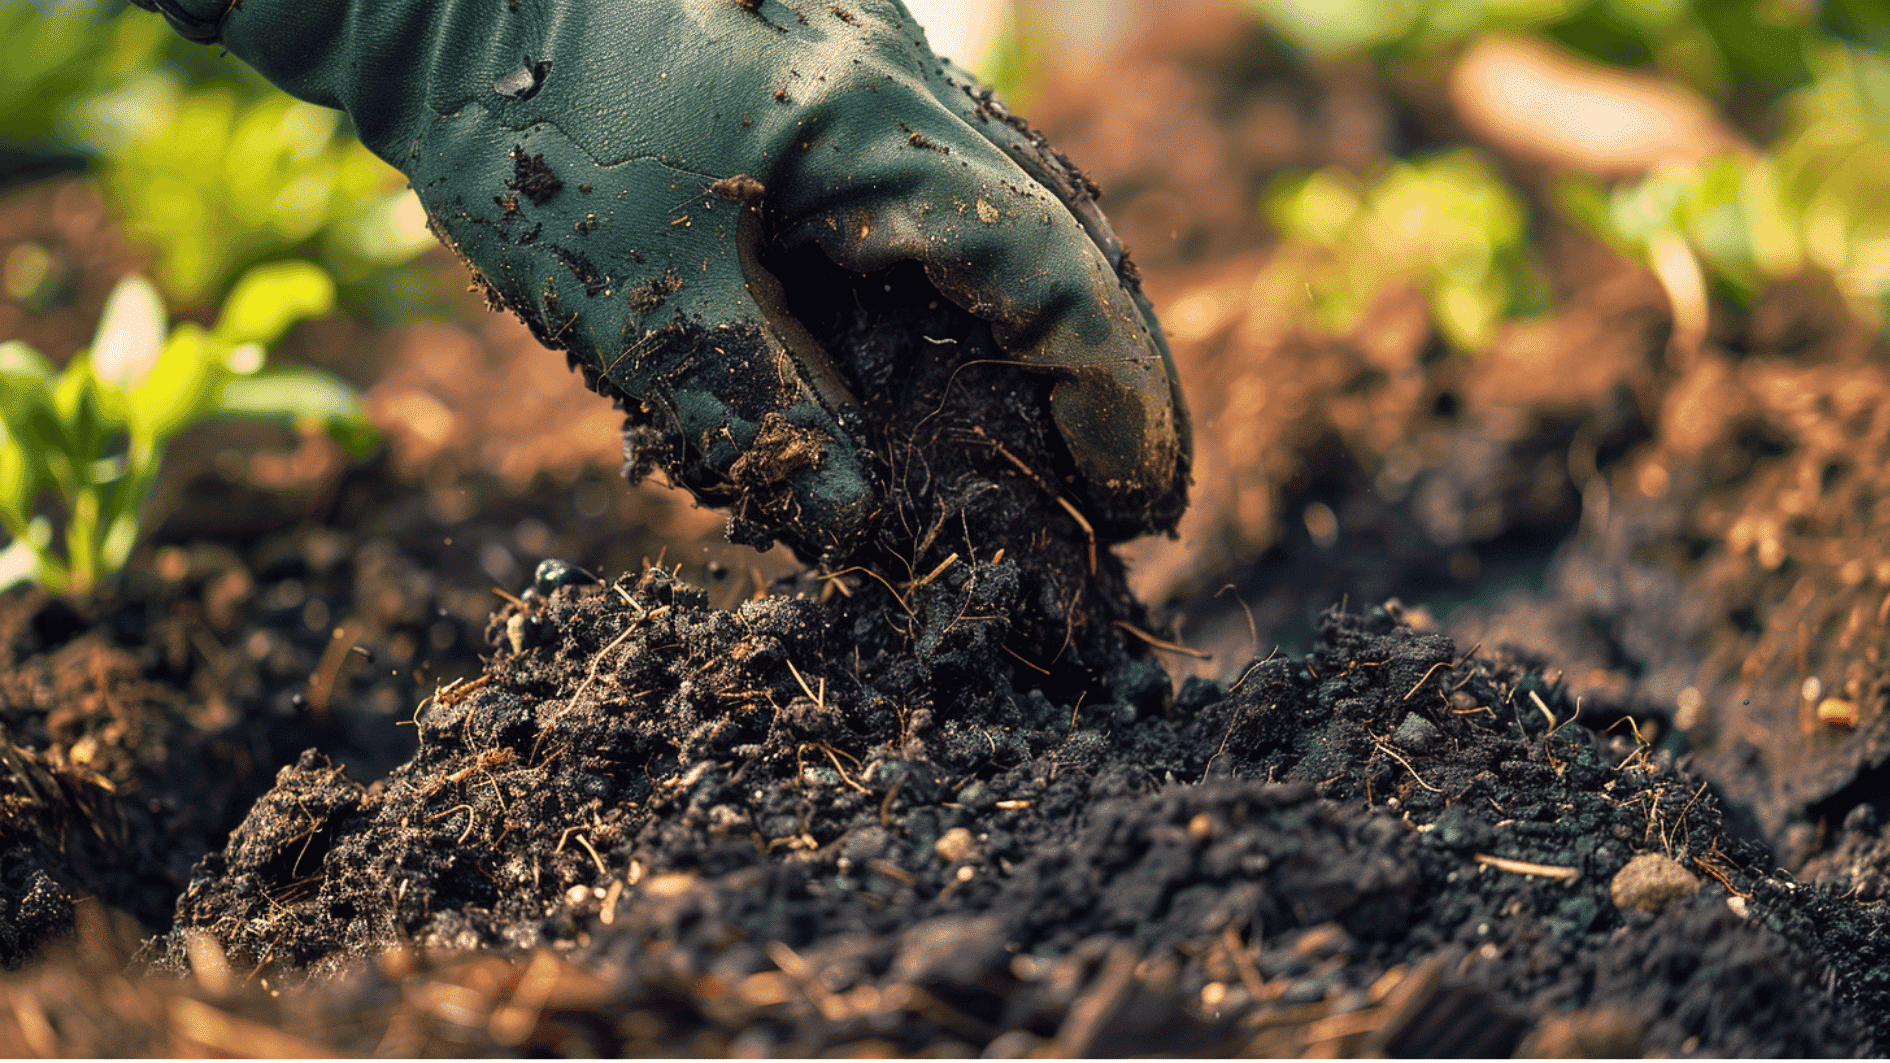
Mix compost or well-rotted manure into the dug-out soil before putting it back. This enriches the planting area and helps the roots settle into nutrient-rich soil from day one.
Aim for roughly one part compost to two parts soil – you don’t need to go overboard, but the richer the soil around the rootball at this stage, the faster the plant establishes.
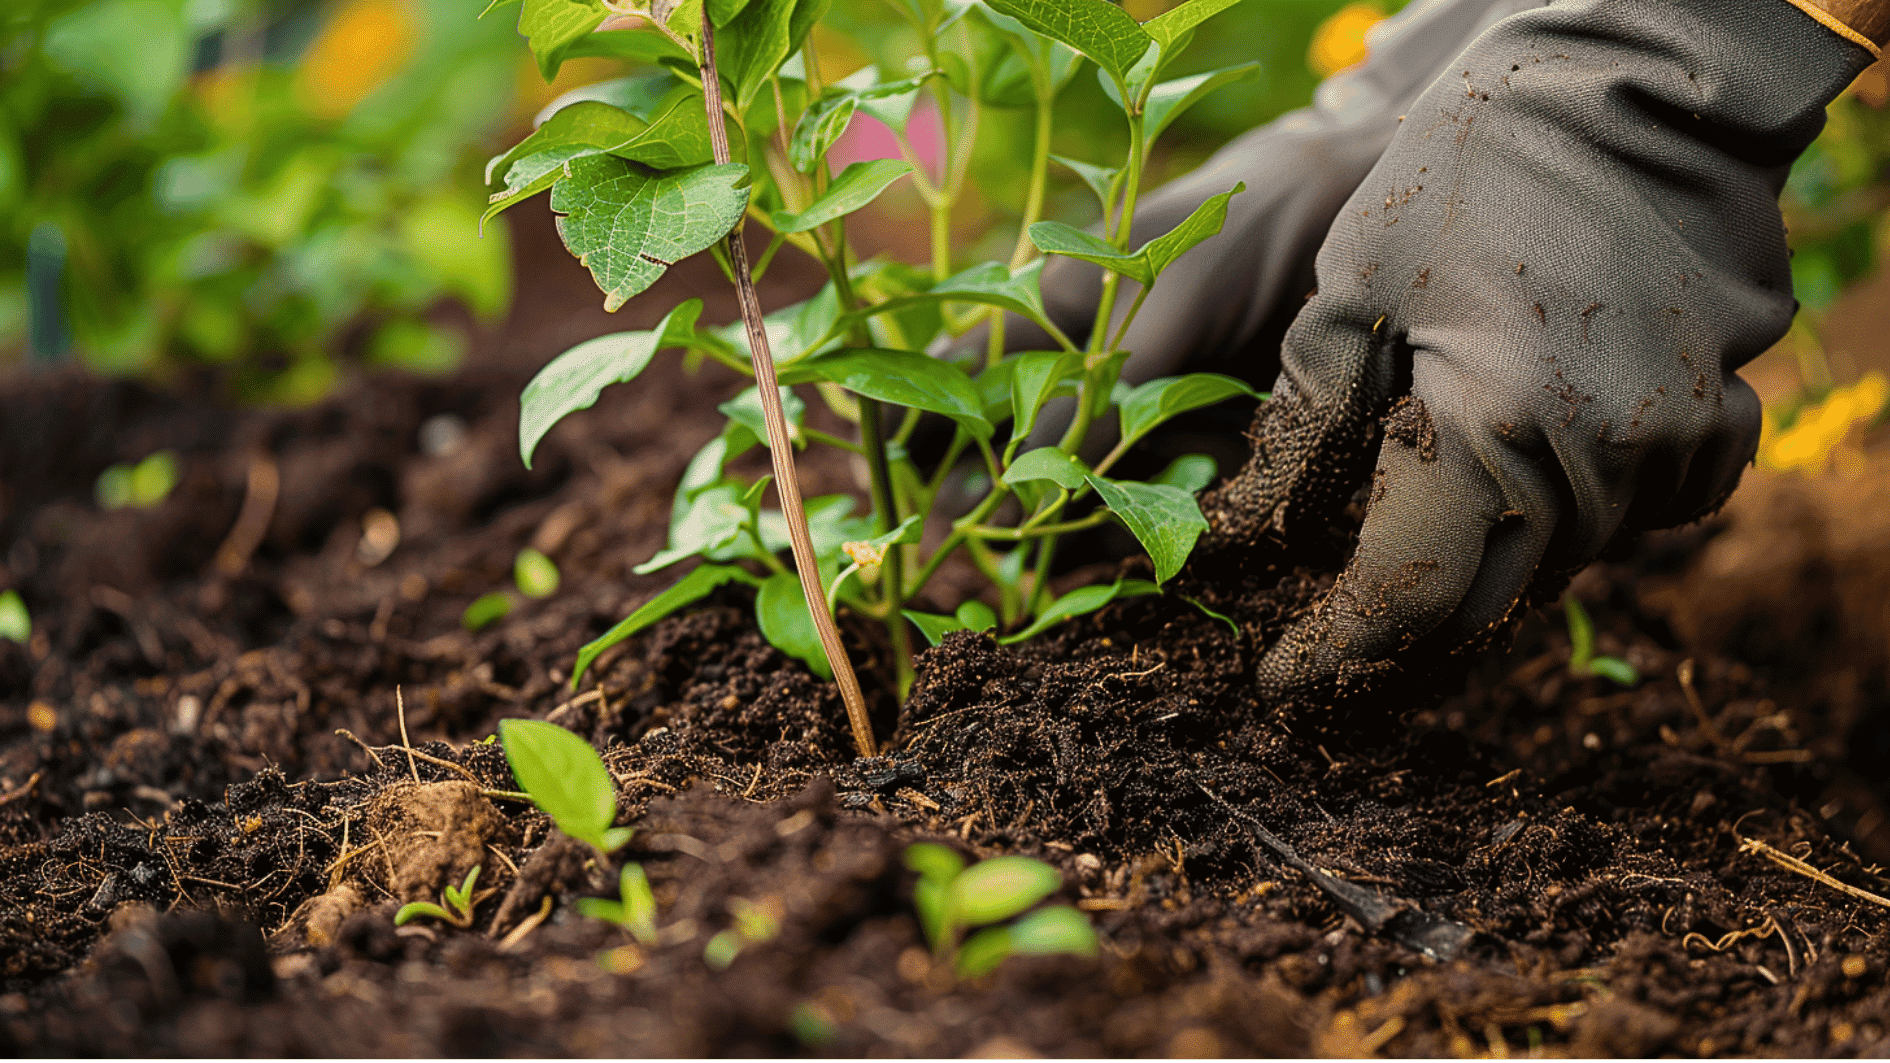
Step 3: Position the Plant
Angle the plant at about 45 degrees toward its climbing support, then place it in the hole. This naturally directs the stems without forcing or tying them right away.
If planting against a wall or fence, angle the stems slightly away from the surface. This encourages outward growth and stops stems from pressing flat against the wall.
Step 4: Plant Deep
Bury the crown 5–7.5cm below soil level, deeper than it sat in the pot. This protects against clematis wilt and encourages new shoots from below ground.
If wilt strikes and stems collapse, a deeply planted crown has healthy buds below soil level that can still push through and recover. Don’t rush or underestimate this step.
Step 5: Fill and Water
Fill the hole, firm the soil gently around the roots, and water slowly until soaked to 30cm deep. This removes air pockets, which cause roots to dry out and establish poorly.
If the soil sinks after watering, top it up and water again.
This is normal; it simply means the soil is settling properly around the roots.
Step 6: Mulch the Base
Spread a 5–7.5cm layer of compost or leaf mould around the base, keeping it away from the stem to prevent rotting. Apply in spring before the dry months begin.
Mulching locks in moisture, keeps roots cool, and reduces weeds. Top it up each year as it breaks down.
Step 7: Cut Back the Stems
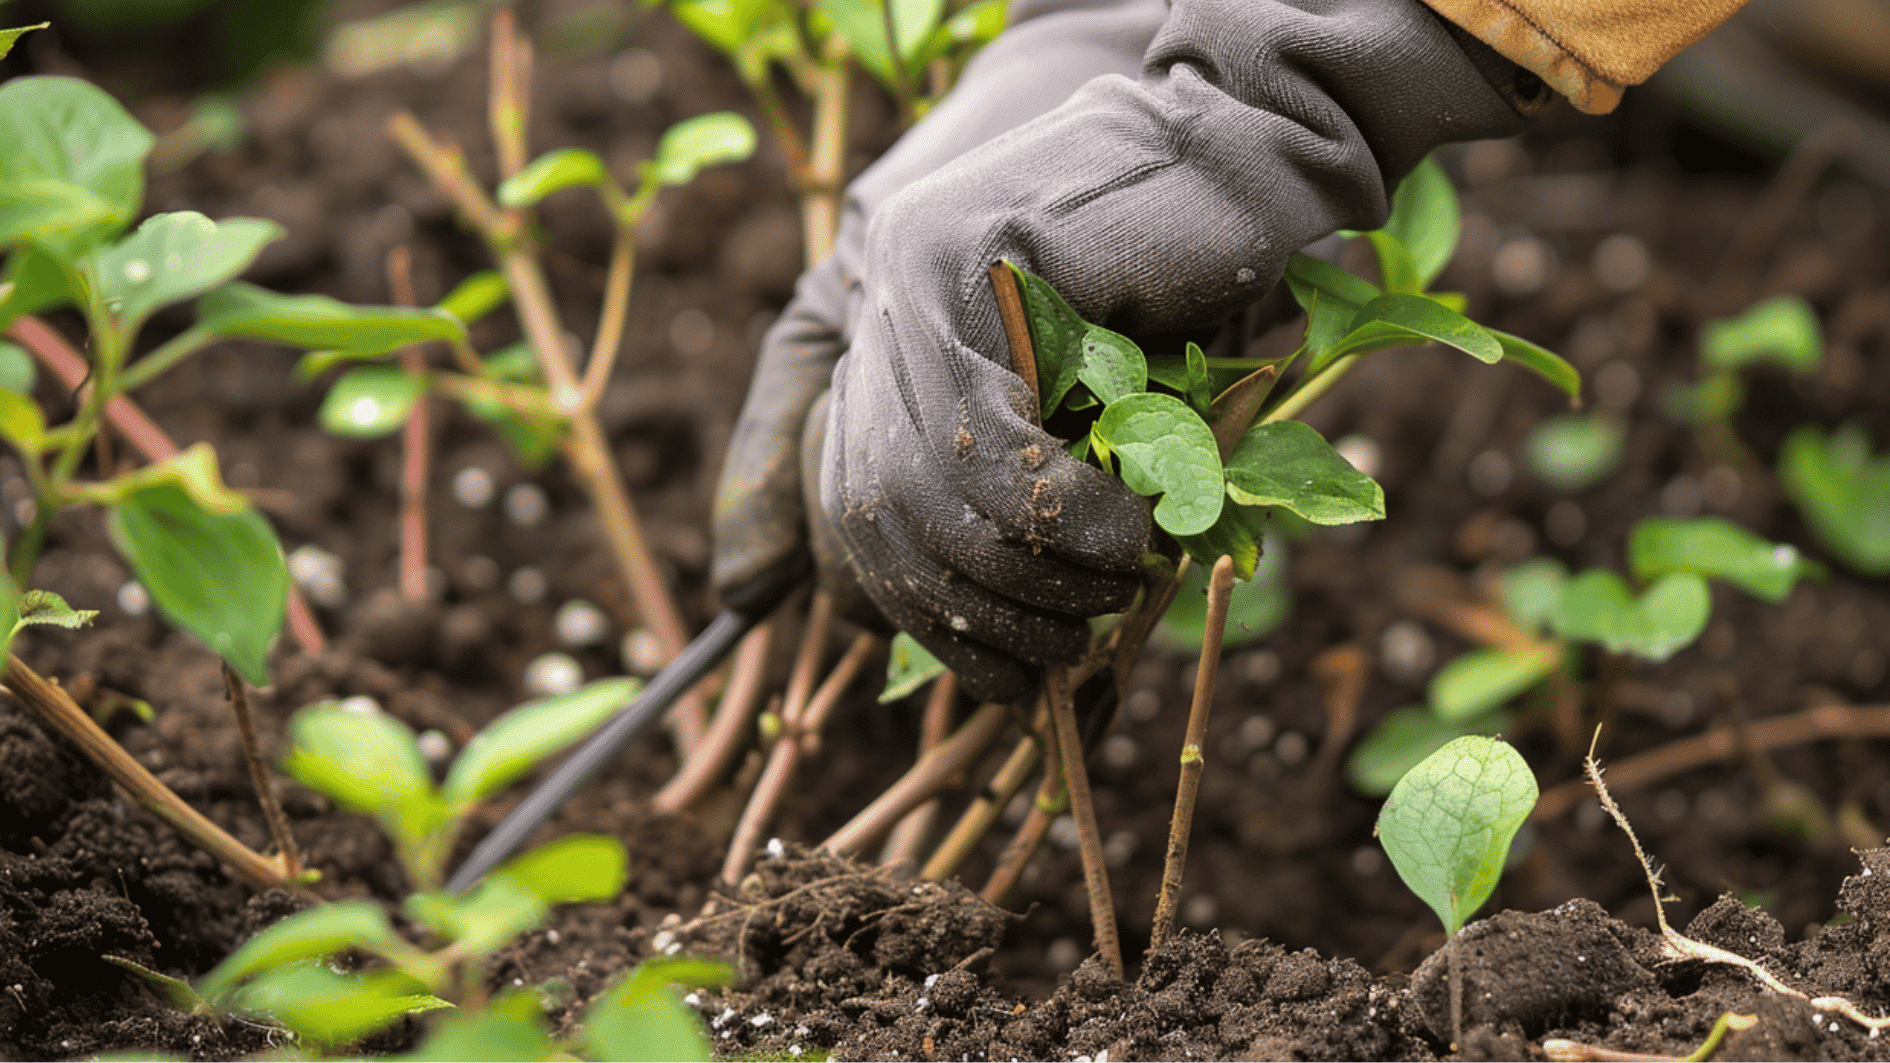
Cut all stems back to two leaf buds from the base. It feels harsh, but it stops the plant from wasting energy on top growth and forces it to build a strong root system first.
Use clean, sharp secateurs and cut just above a healthy bud. Don’t leave longer stems hoping for first-season flowers; the plant will reward your patience in the years ahead.
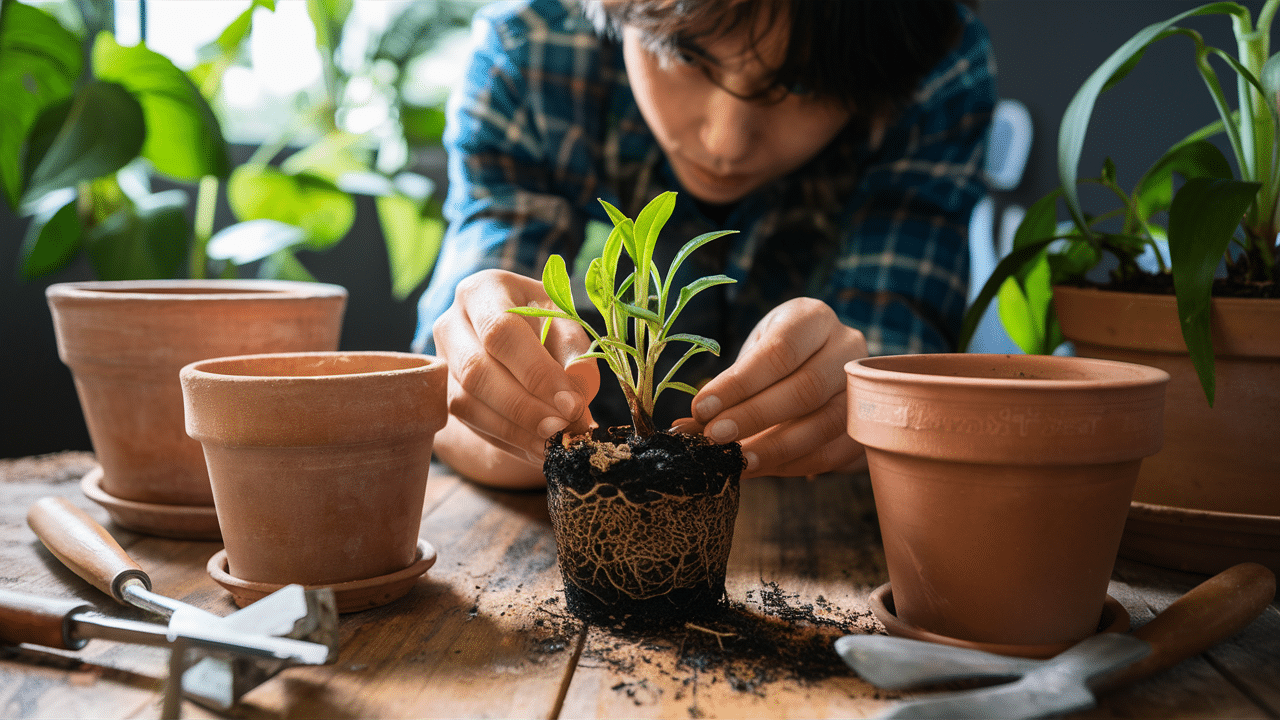
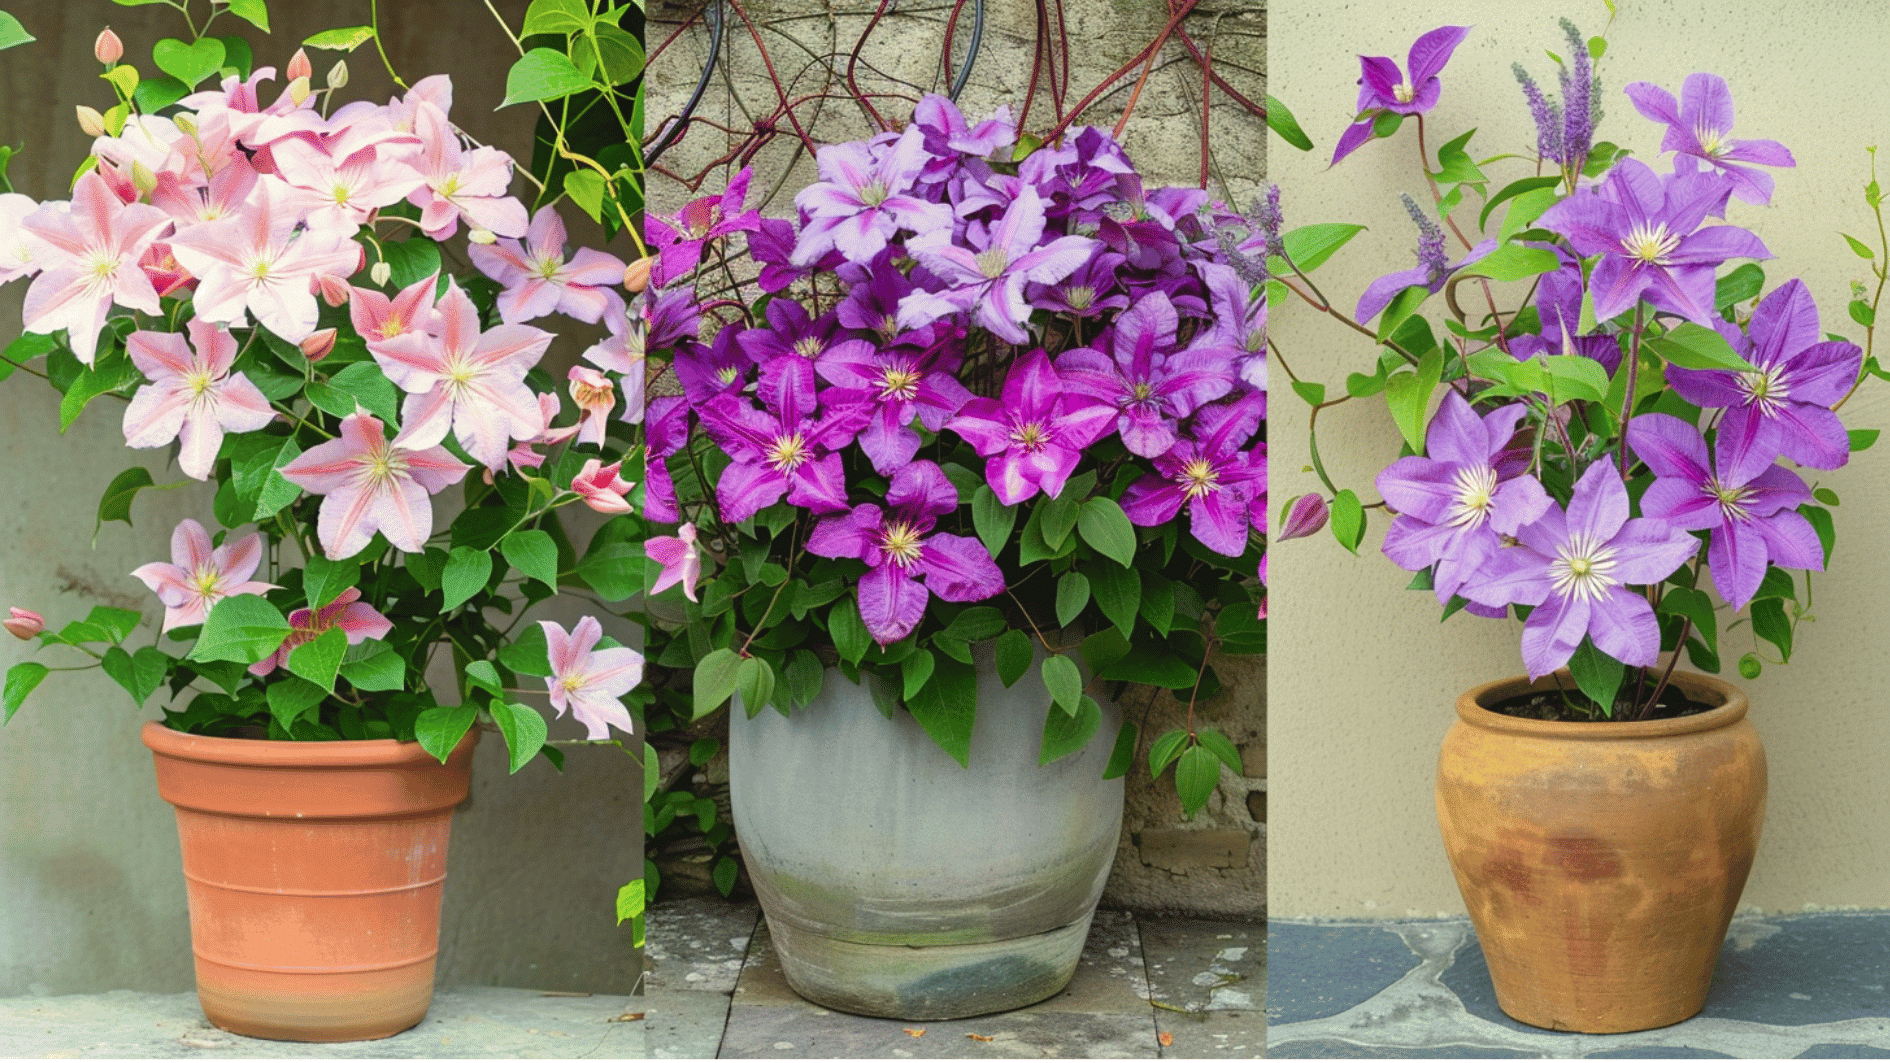
Growing Clematis in Pots
In case you don’t have enough space outside for a garden, you can grow clematis in a pot using the step-by-step instructions below.
Step 1: Pick a Big Pot
Choose a pot at least 45cm deep and wide – anything smaller restricts the roots, and the plant will struggle to establish. A larger pot also holds moisture better, which matters more in containers.
If choosing between two sizes, always go larger. Clematis roots spread more than most people expect, and the extra space makes a noticeable difference to establishment.
Step 2: Plant It Deep
Bury the crown 5cm below the soil surface, just like planting in the ground. This protects the plant from clematis wilt and encourages new shoots to grow from below soil level if anything goes wrong above ground.
It feels counterintuitive to bury a plant deeper than it sat in its original pot, but this single step is what separates a clematis that recovers from problems and one that doesn’t.
Take a moment to check the depth before filling in. Once the compost is back in place, it’s hard to correct without disturbing the roots.
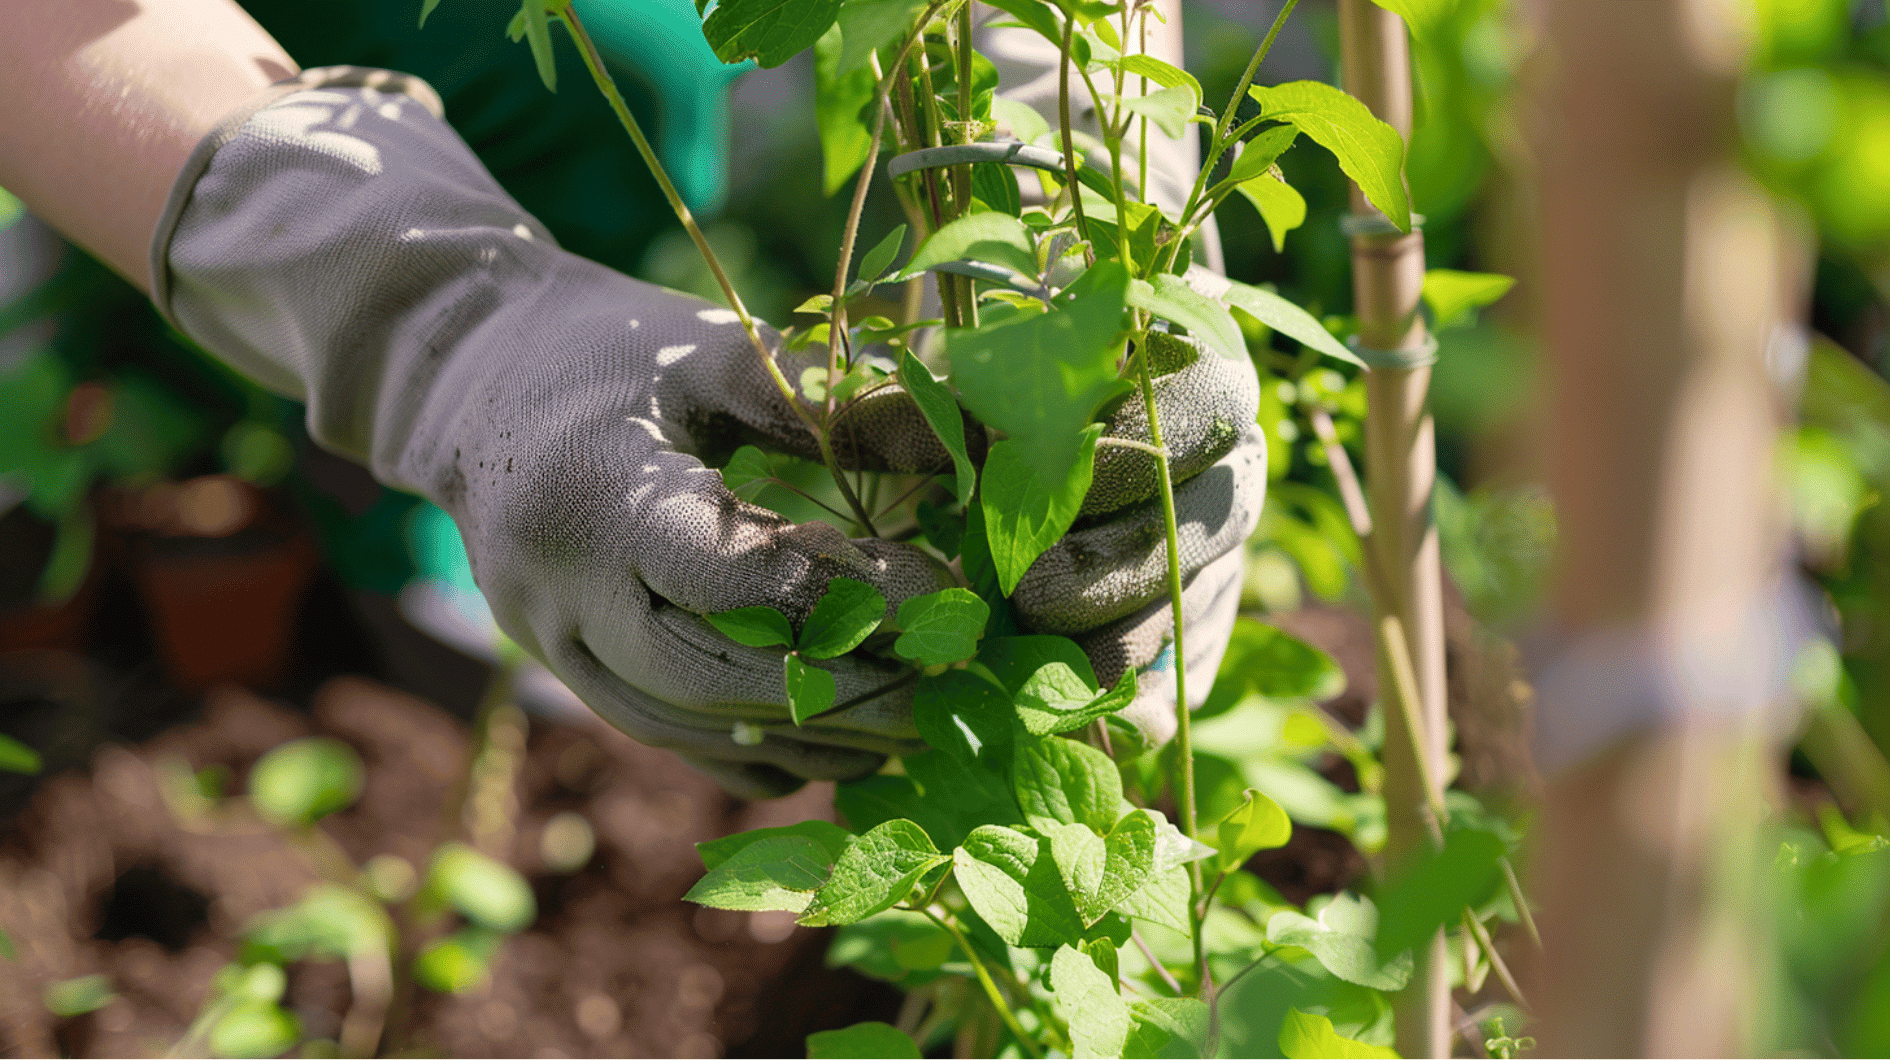
Step 3: Give It Something to Climb
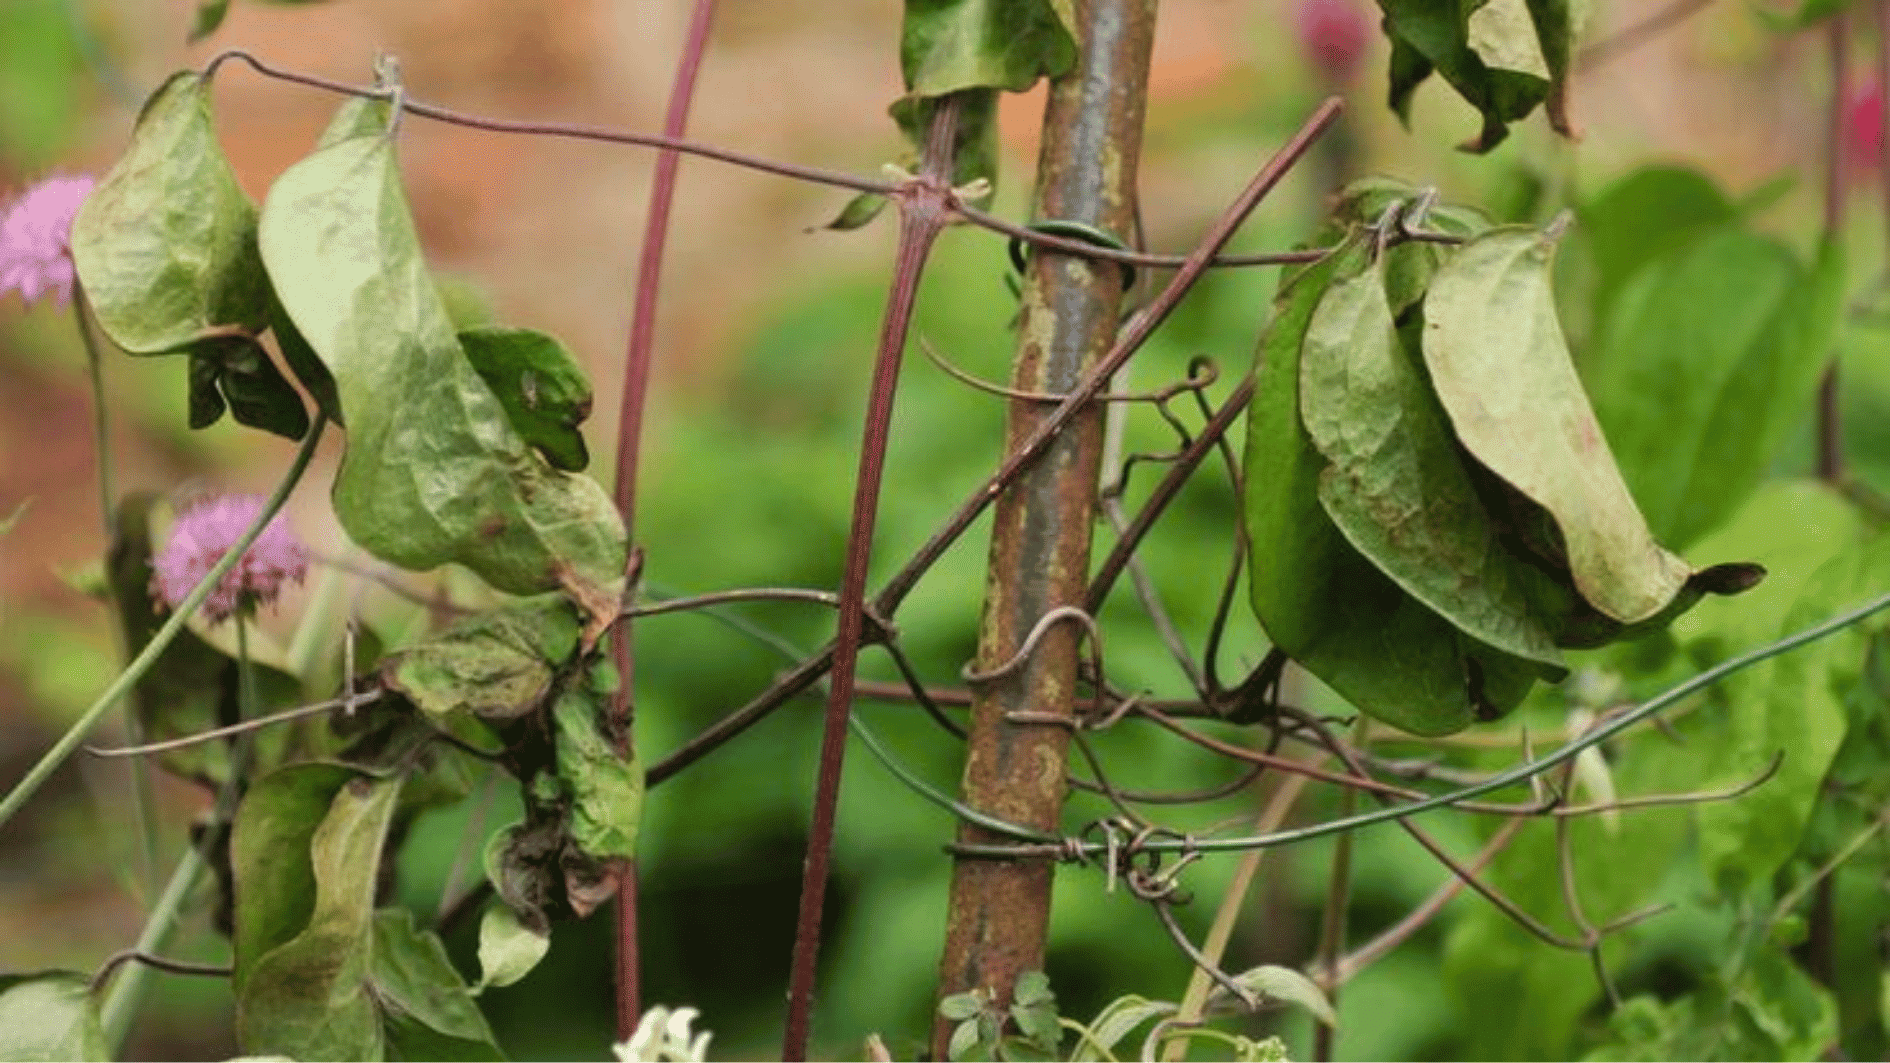
Push a small trellis or obelisk firmly into the pot before roots establish. Guide the stems toward it and tie loosely with soft twine. Avoid plastic ties – they cut into stems as the plant grows.
Do this before the roots spread rather than after – pushing a support into an established rootball can damage the roots and set the plant back. The support doesn’t need to be elaborate – a simple bamboo obelisk or small wooden trellis works perfectly.
As the plant grows, keep guiding new stems toward the support every few weeks, so they spread evenly rather than tangling into a dense mass at the top
Step 4: Cover the Soil With Pebbles
Top-dress the compost with a 2–3cm layer of pebbles or gravel. This keeps roots cool and prevents the compost from drying out too quickly, especially important in summer.
Any smooth pebble or decorative gravel works fine. Cover the compost fully without burying the stem bases.
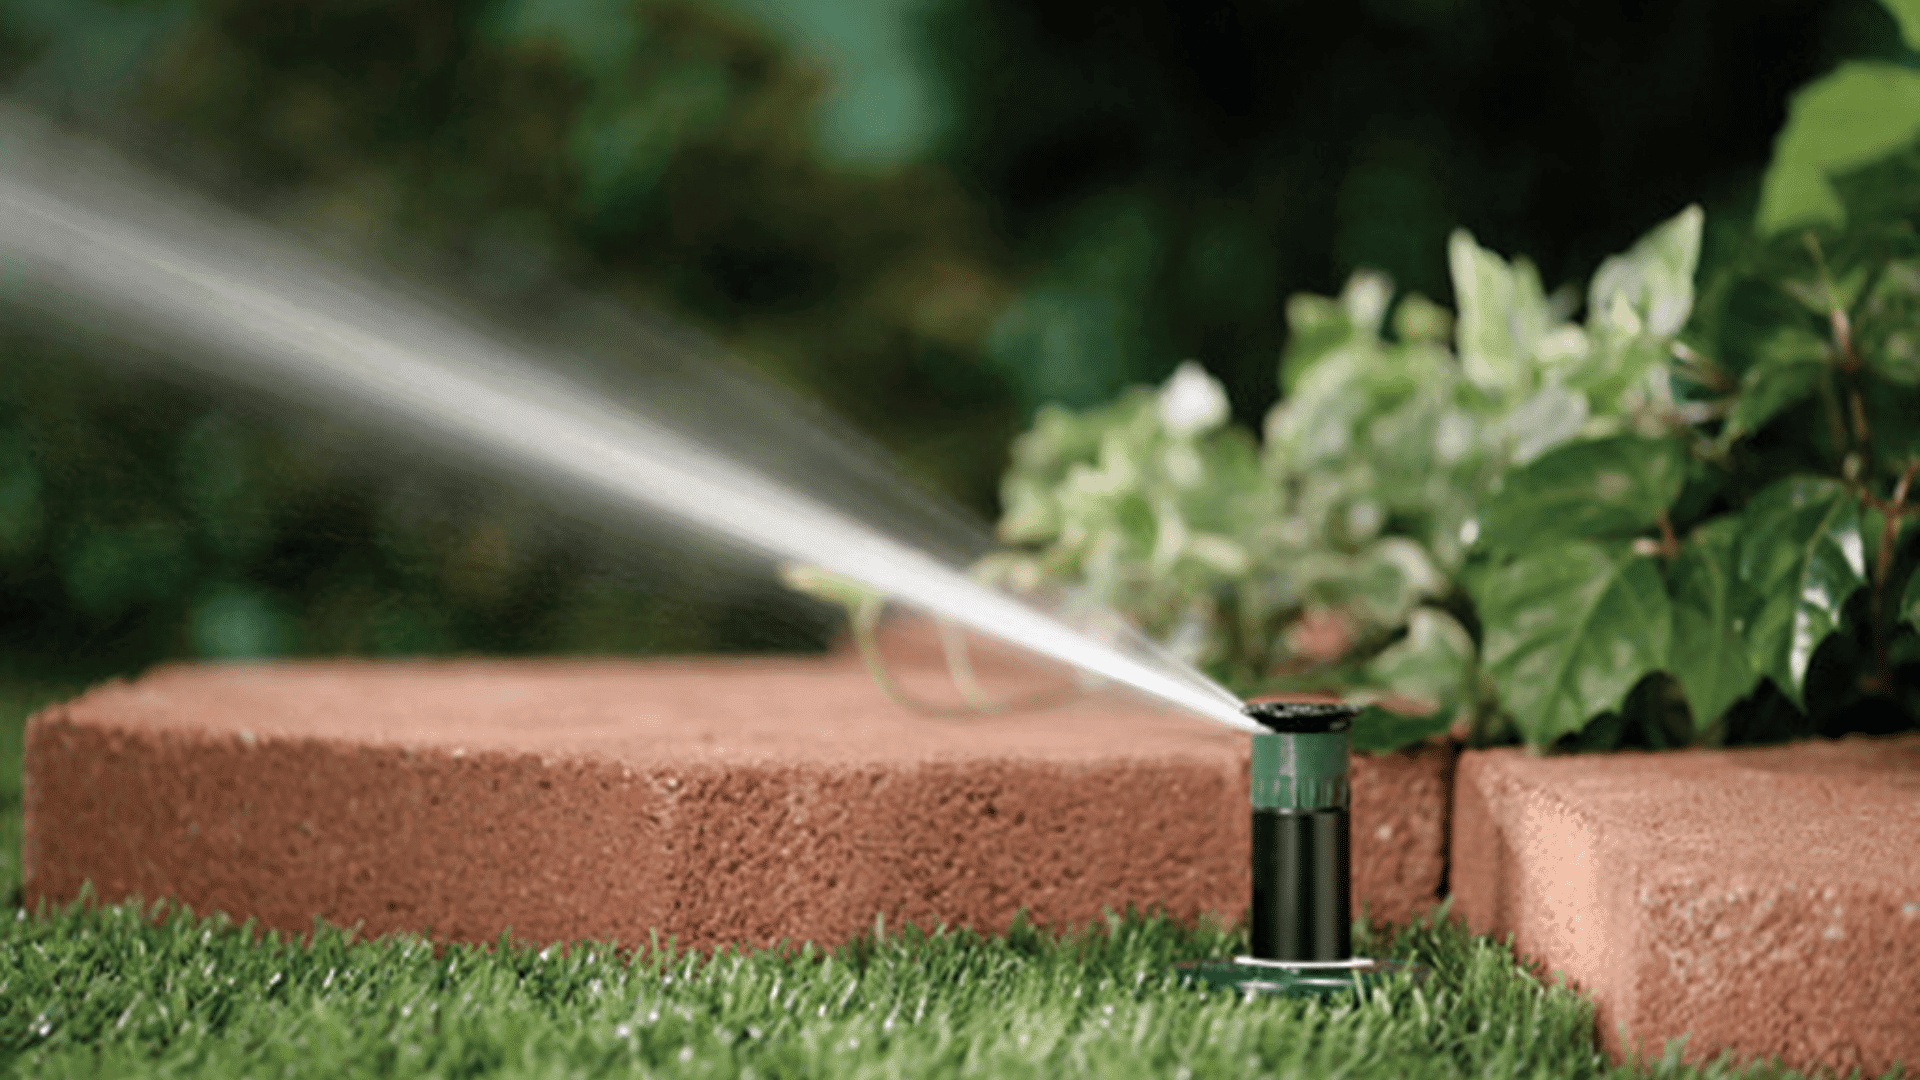
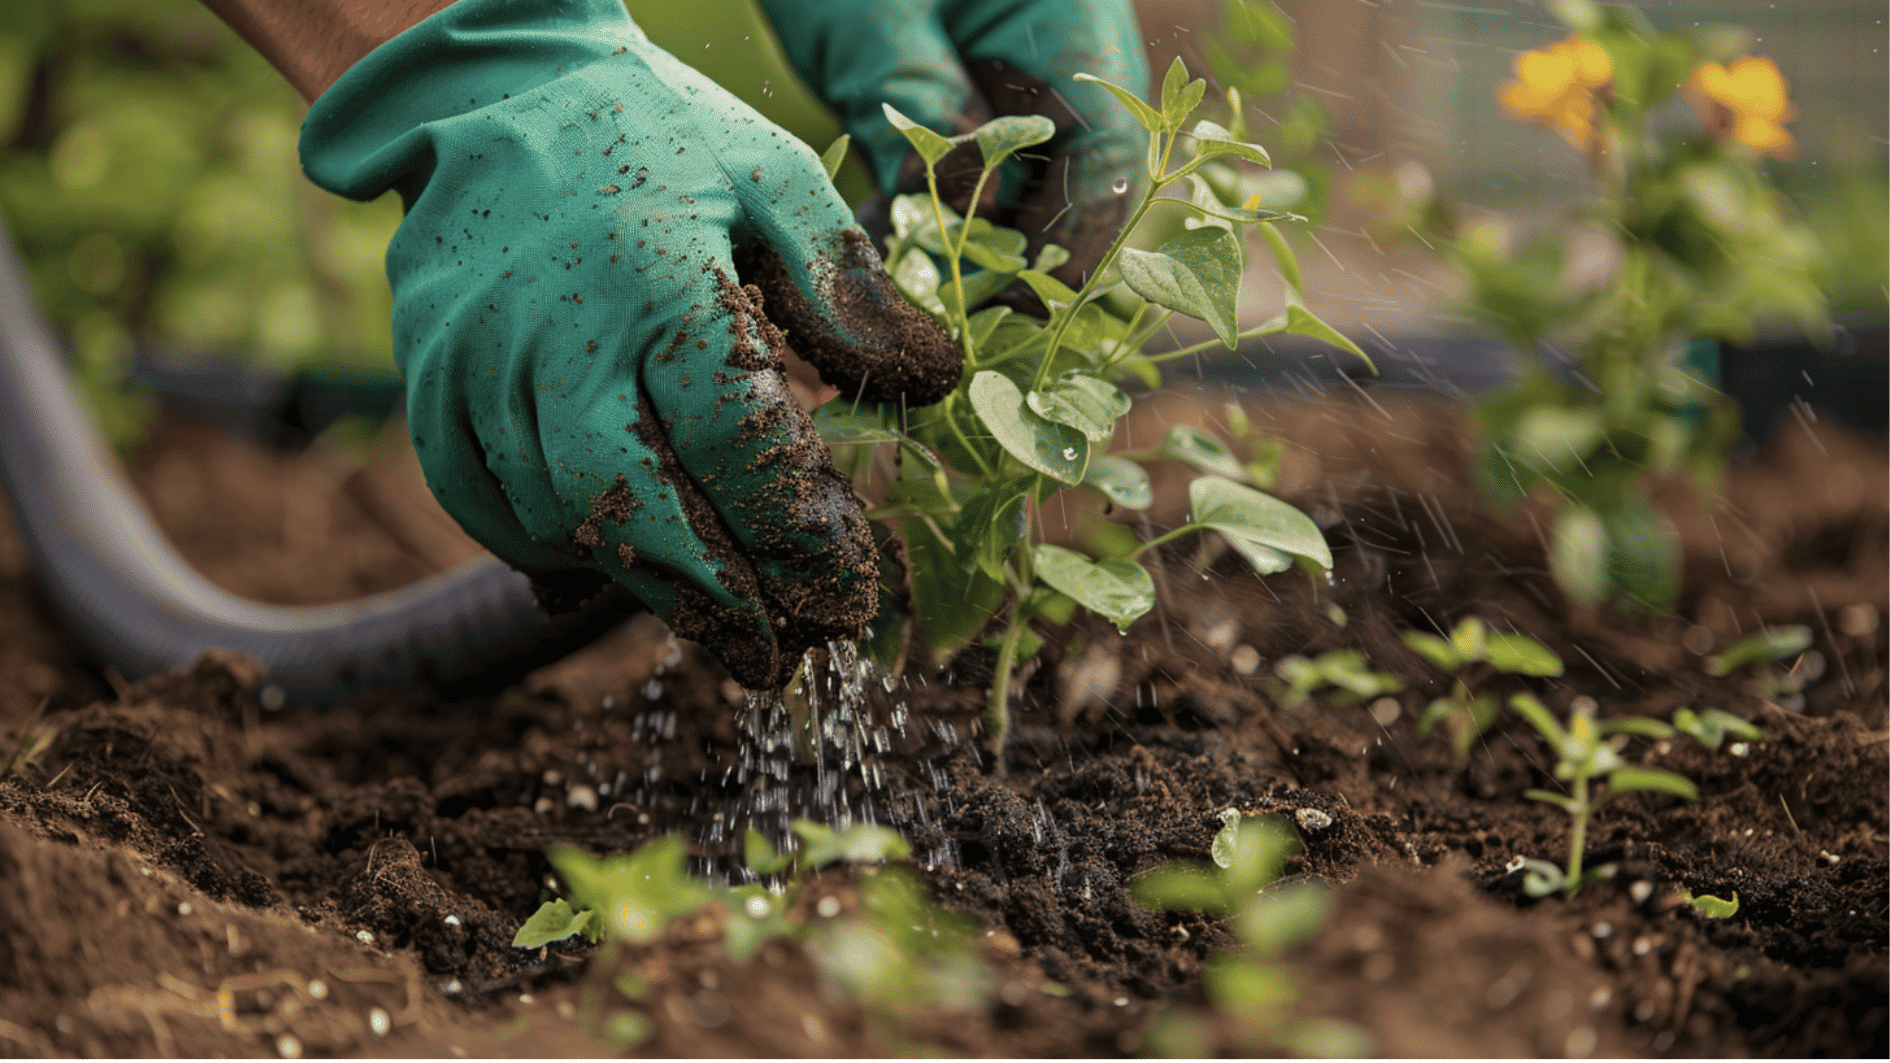
Step 5: Water and Feed Regularly
Water most days from April to October, soaking thoroughly until water runs from the drainage holes. Light watering never reaches the roots and encourages shallow growth.
Push a finger 2cm into the compost – if it’s dry, water immediately.
Feed every few weeks with liquid fertilizer through spring and summer. Container clematis rely entirely on what you give them.
Maintenance Tips: Keeping Your Clematis Healthy
Once established, clematis doesn’t ask for much. These three things cover most of what it needs:
| Care Task | What to Do | When |
|---|---|---|
| Watering | Keep soil moist – dry roots cause powdery mildew | First few seasons, then during dry spells |
| Feeding | Spread compost or well-rotted manure around the base; keep mulch away from stems | Every spring |
| Tying in stems | Use loose figure-of-eight knots with soft twine; avoid plastic ties | As stems grow |
| Pruning (early flowering) | Trim lightly after blooming – never cut back in winter | After flowering, before June |
| Pruning (late flowering) | Cut back hard in late winter for stronger growth | Late winter, every year |
Common Problems and How to Fix Them
Most clematis problems come from unsuitable growing conditions rather than disease or pests. Knowing what to look for early saves the plant before things get serious.
| Problem: Clematis wilt causes stems to suddenly collapse, turn black, and die back. Fix: Cut affected stems back to healthy growth at ground level so new shoots can grow from underground. |
| Problem: Powdery mildew appears as white powdery patches on leaves and stems, often due to dry soil. Fix: Keep soil consistently moist, remove affected growth, and improve watering. |
| Problem: Aphids, slugs, snails, and vine weevil larvae can damage clematis, especially in containers. Fix: Check under the leaves often, remove pests early, and inspect the roots if a container plant wilts despite having enough water. |
Frequently Asked Questions
How Deep Should I Plant Clematis?
Deeper than it sat in its pot. Bury the crown around 5- 7.5 cm below soil level. This helps the plant recover from wilt and encourages new shoots to grow from below ground.
Can Clematis Grow in Full Shade?
Not well. Most need sun or partial shade to flower properly. Some varieties tolerate bright shade, but flowering will be noticeably reduced.
How Do I Know When to Prune My Clematis?
Look at when it flowers. Spring-flowering: trim lightly after blooming. Early summer flowering – light prune by thirds in early spring. Late summer flowering – cut back hard to the base every spring.
Why is My Clematis Not Flowering?
Usually, there is too much shade, the pruning is done at the wrong time, or the plant is still settling in. Most clematis take a season or two before flowering well.
Before You Go
Avoid plants with just a few tall, spindly stems when buying. A healthy clematis should have several shoots emerging from the base, which usually indicates a stronger root system and better long-term performance.
Once planted, clematis rewards a little attention with years of reliable growth and impressive displays of flowers. Plant it deeply, keep the roots cool and moist, and prune according to its flowering type to help it thrive.
Whether it’s covering a fence, climbing through a shrub, or adding height to a patio container, clematis brings lasting color and interest to the garden.
Give it time to settle in, and you’ll often see its best performance from the second year onward.