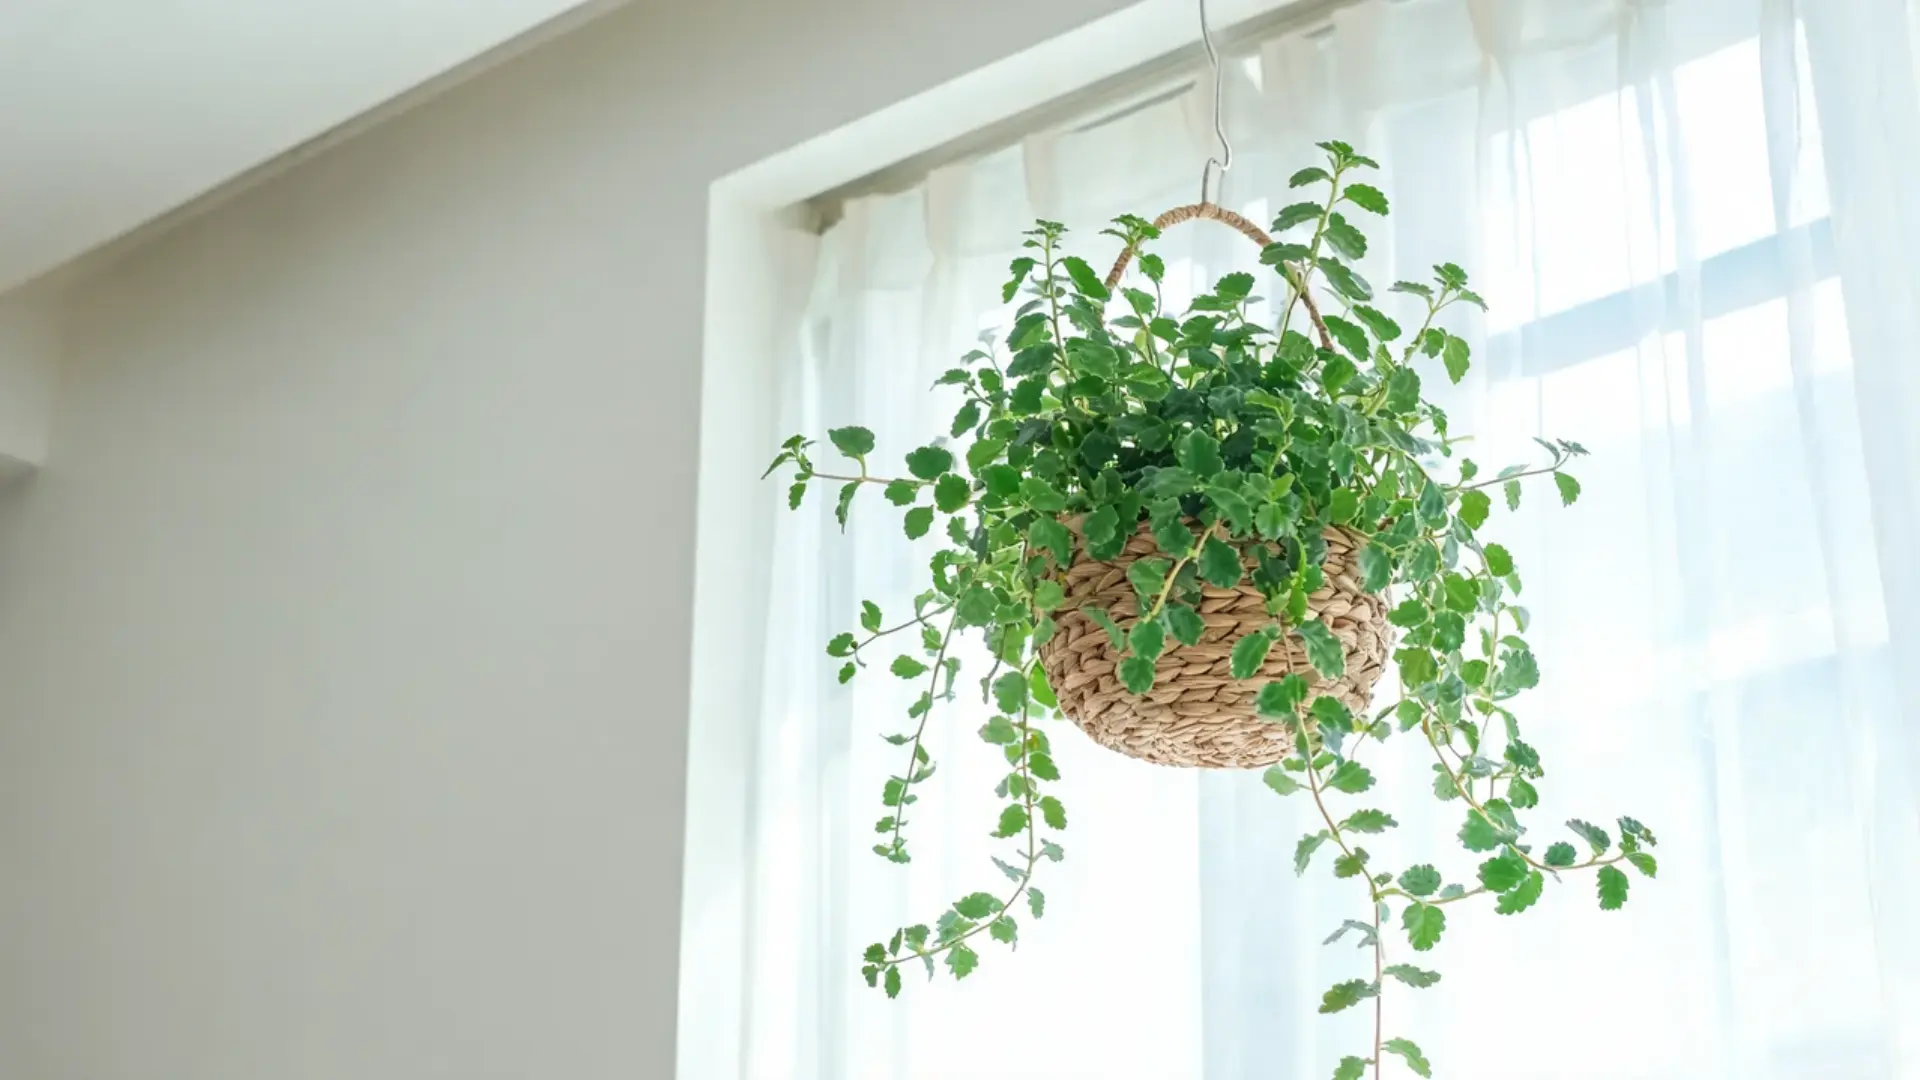
Swedish ivy care is about as low-maintenance as houseplants get. It grows fast, roots from almost any cutting, and still looks good even if you forget it exists for a week.
The trailing stems and glossy, scalloped leaves make it a natural fit for hanging baskets, where it can spill over the edges and cascade toward the floor, or raised planters, where it fills out quickly and adds a soft, layered look without much fuss.
Part of what makes it so popular is how little it asks for in return. It tolerates average indoor conditions and bounces back easily from small care mistakes that would set back a fussier plant.
What actually matters for keeping it healthy comes down to a few basics: Swedish ivy light requirements, watering, soil, and pruning, plus how to propagate Swedish ivy so a single plant can turn into several.
Why Swedish Ivy Is a Great Choice for Indoor Growing
Swedish ivy earns its reputation as one of the easiest houseplants to keep alive, and it’s worth knowing why before getting into the care details.
It grows fast enough that you’ll see visible progress within weeks, which makes it satisfying for beginners who want quick results. The trailing habit means a single plant fills out a hanging basket or shelf edge on its own, without needing extra plants crowded in to look full.
It also tolerates a wide range of indoor conditions, so an average room with a decent window is usually enough, no grow lights or humidity trays required.
On top of that, it bounces back easily from an occasional missed watering, and it’s one of the simplest plants to propagate, so a struggling plant can be replaced with a fresh cutting in weeks. That same easy, forgiving process is what makes rooting pothos cuttings in water such a popular starter project for beginners too. That mix of speed, forgiveness, and easy propagation is what the rest of this guide covers.
Tools Required to Grow Swedish Ivy
Have these on hand before you start so you’re not scrambling mid-step:
- A pot with drainage holes
- Well-draining potting mix
- A watering can or jug
- A balanced, water-soluble houseplant fertilizer
- Clean scissors or pruning shears
- A spot near an east- or west-facing window
How to Grow Swedish Ivy: Step-by-Step
Getting Swedish ivy established follows the same basic steps, whether you’re starting from a nursery plant picked up at a garden center or a rooted cutting from a friend’s plant. From choosing the right pot and soil to finding the ideal spot for light, here’s everything needed to help it settle in and grow well.
Step 1: Pick the Right Pot
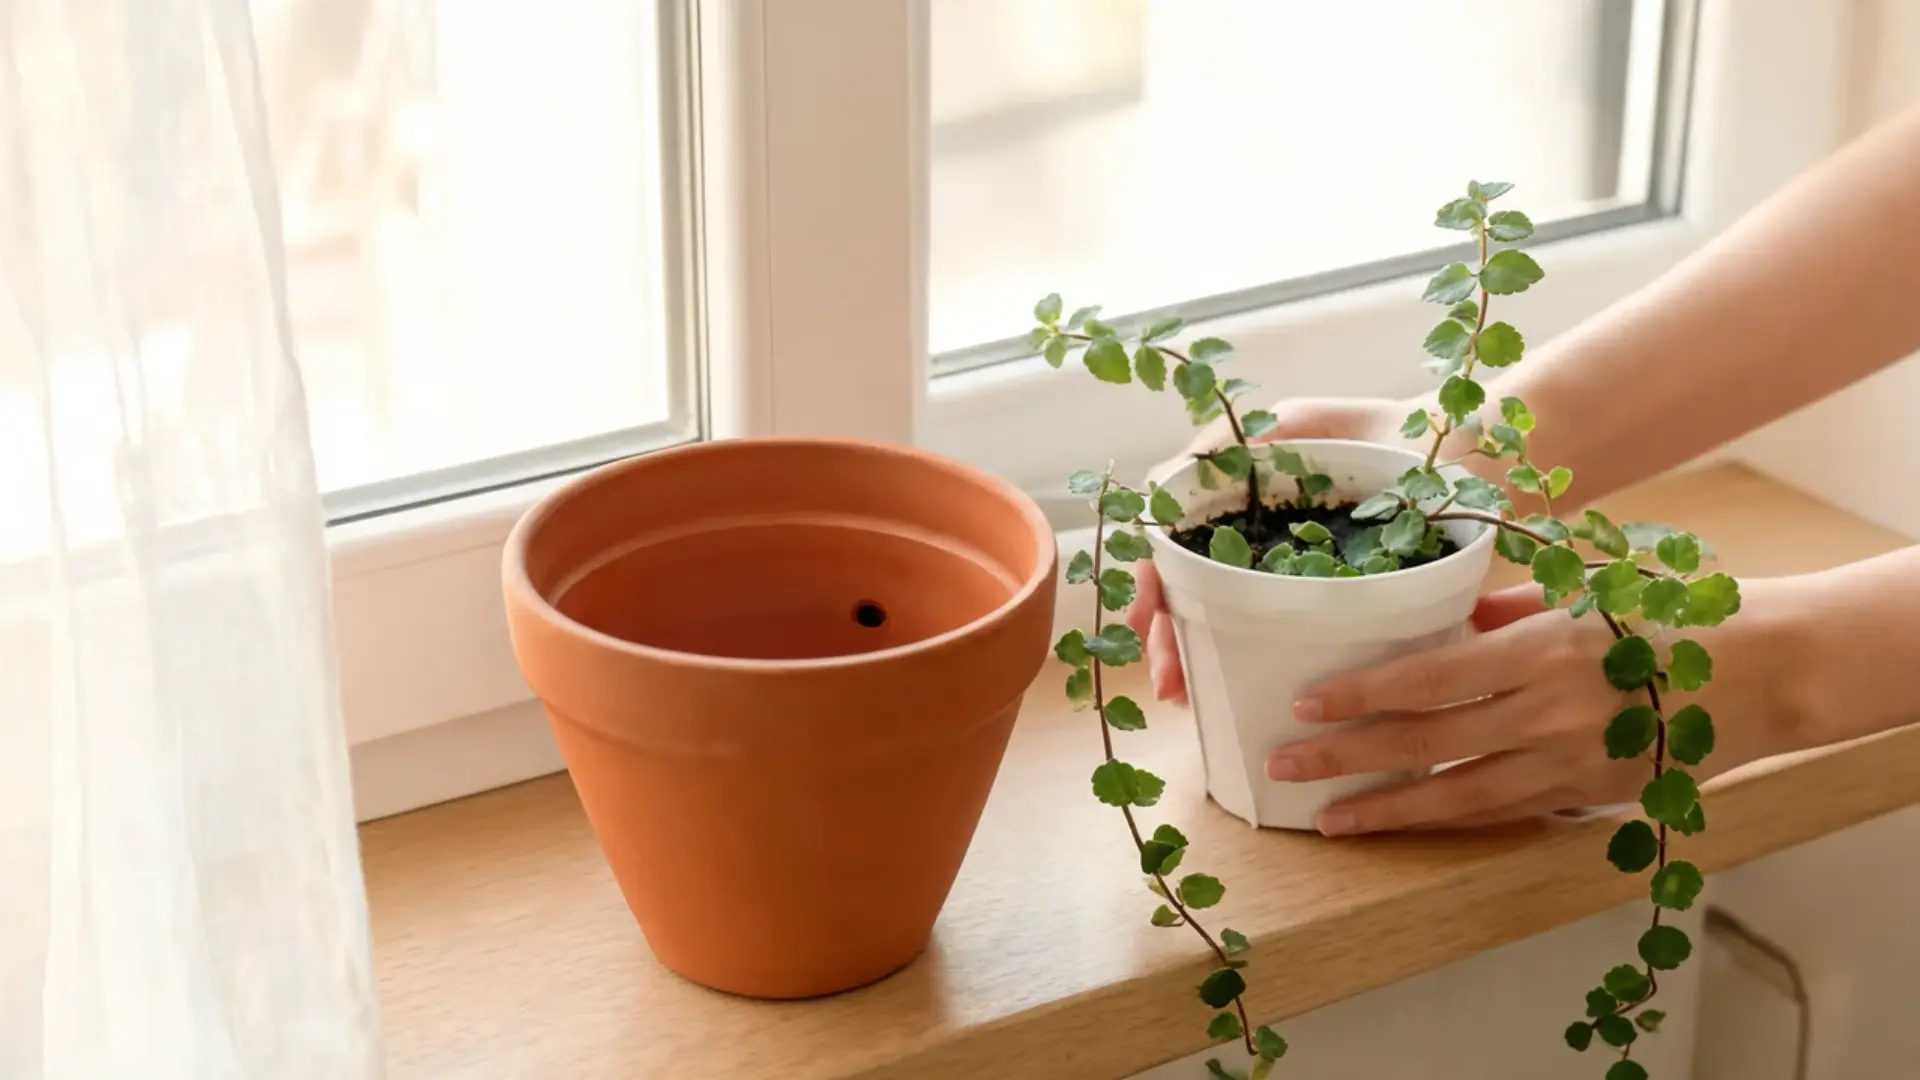
Pick a pot only slightly larger than the current root ball, since too much extra soil holds moisture and raises the risk of root rot. Confirm it has at least one drainage hole in the bottom before planting.
Terracotta pots and unglazed ceramic containers work especially well here, letting excess moisture evaporate through their porous sides instead of pooling around the roots.
Step 2: Use a Well-Draining Potting Mix
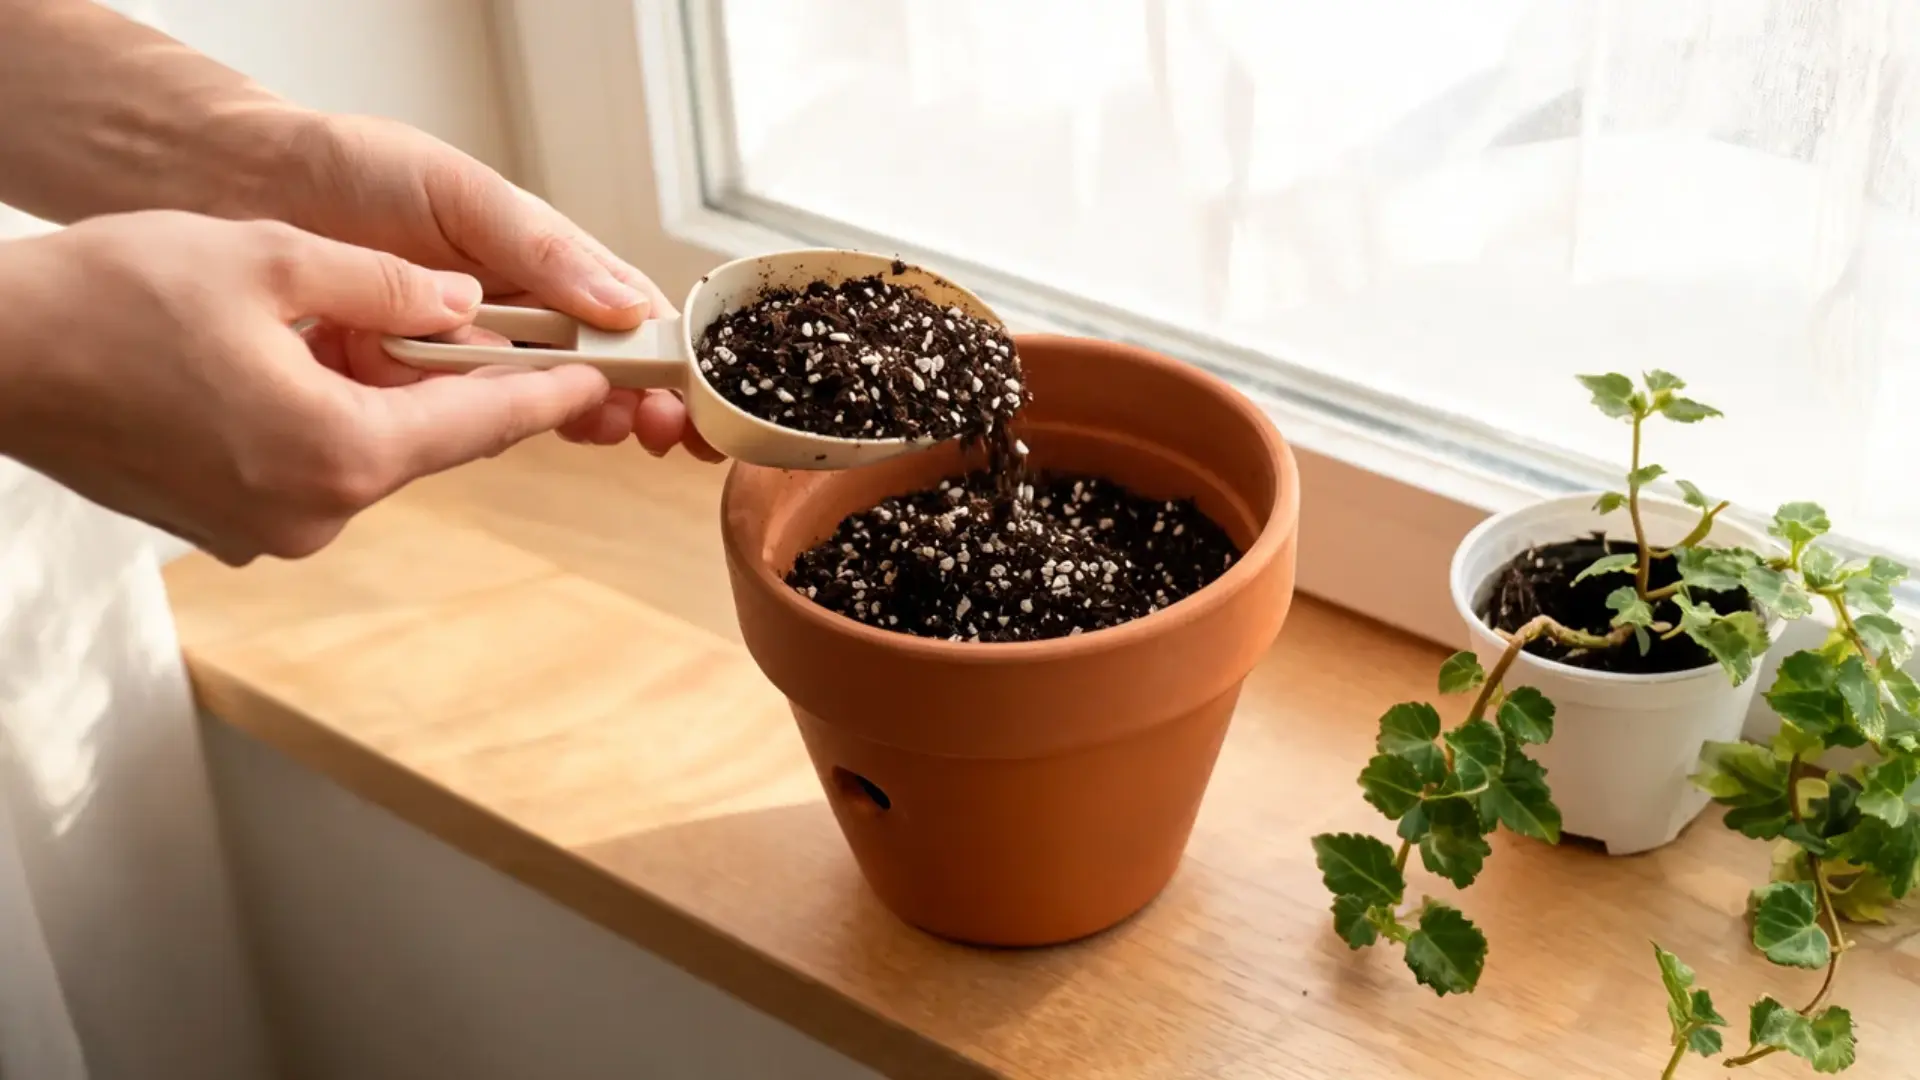
Fill the pot with a loose, well-draining potting mix, since Swedish ivy roots suffer quickly in soil that stays soggy.
A standard indoor potting soil works fine on its own, but mixing in some perlite improves drainage further and keeps water from pooling around the roots. Avoid heavy, dense soils, which hold onto moisture too long even in a well-sized pot.
Step 3: Plant It at the Right Depth
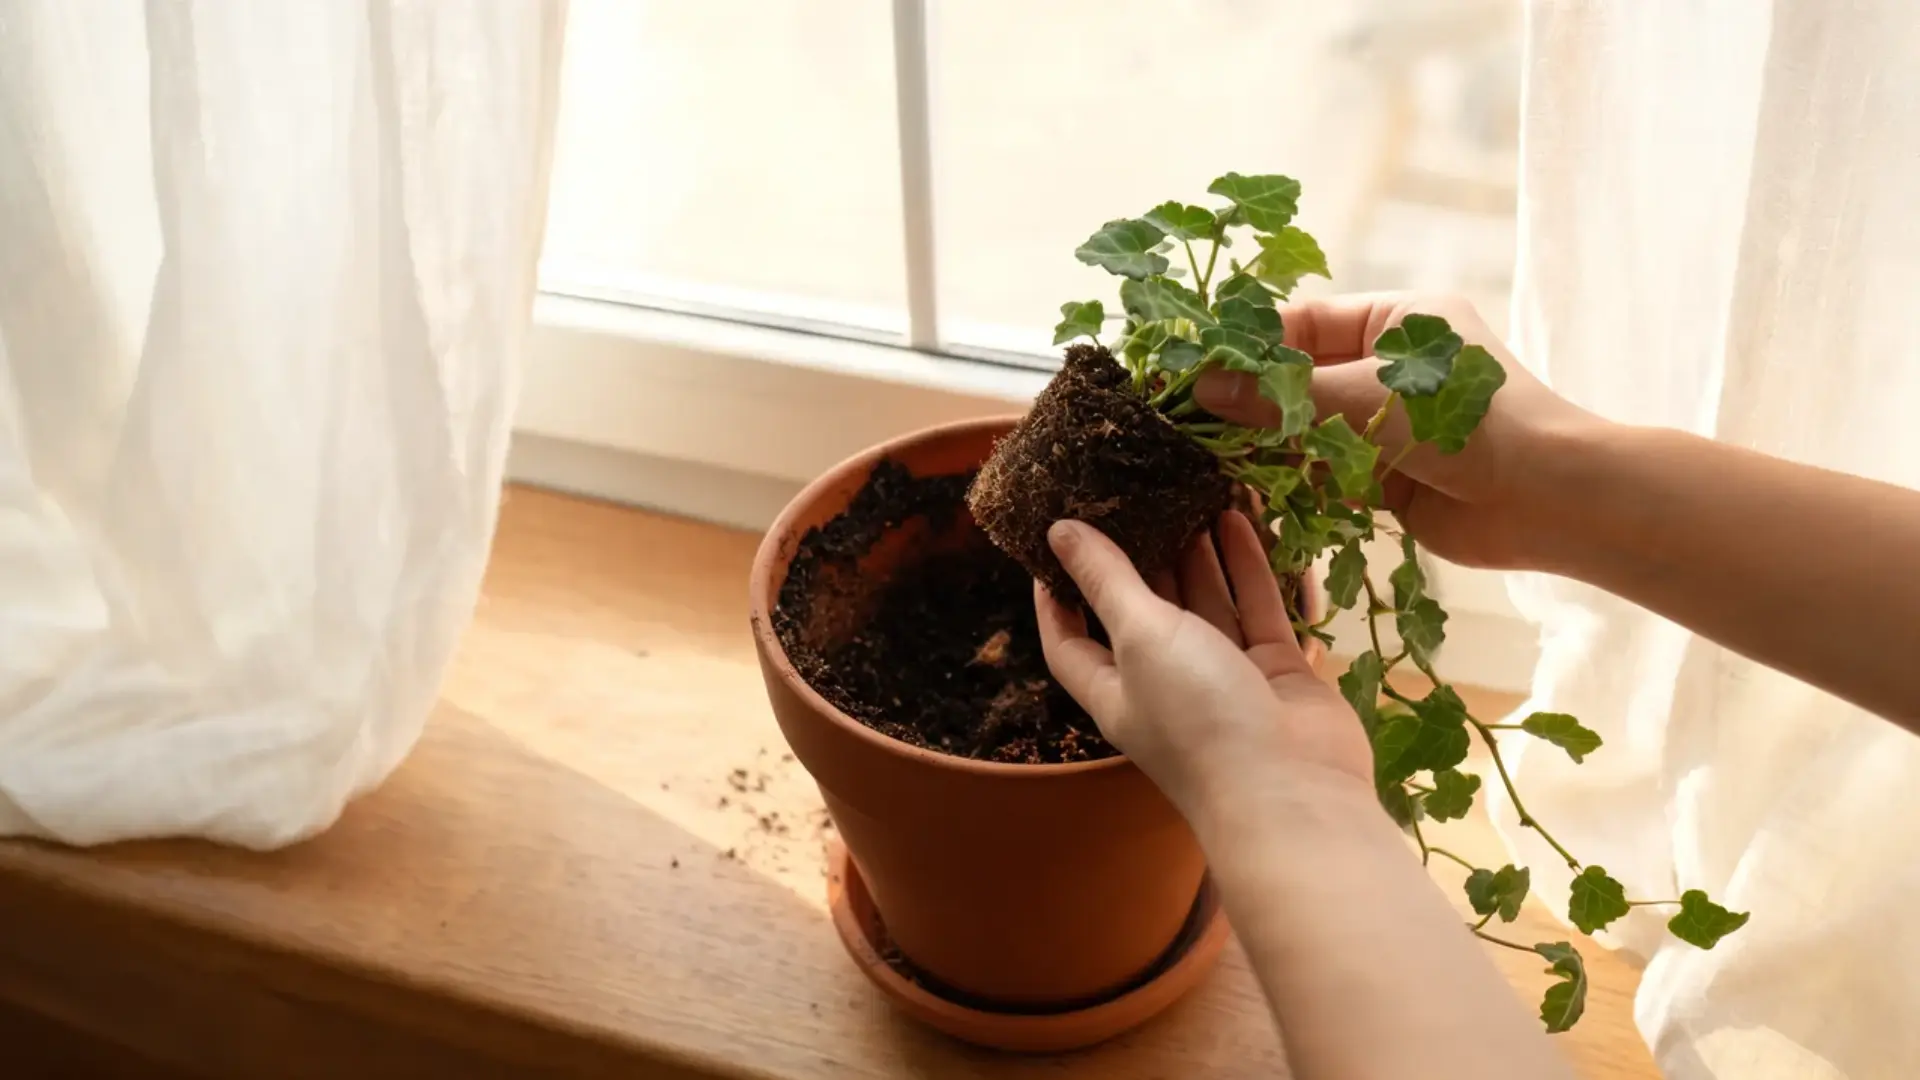
Set the root ball into the soil so the base of the stems sits level with the surface, since planting too deep can invite stem rot.
Fill in around the roots with soil, pressing down gently to close up large air pockets without compacting everything too tightly. A light touch here helps the roots settle in and start establishing without added stress.
Step 4: Water It In
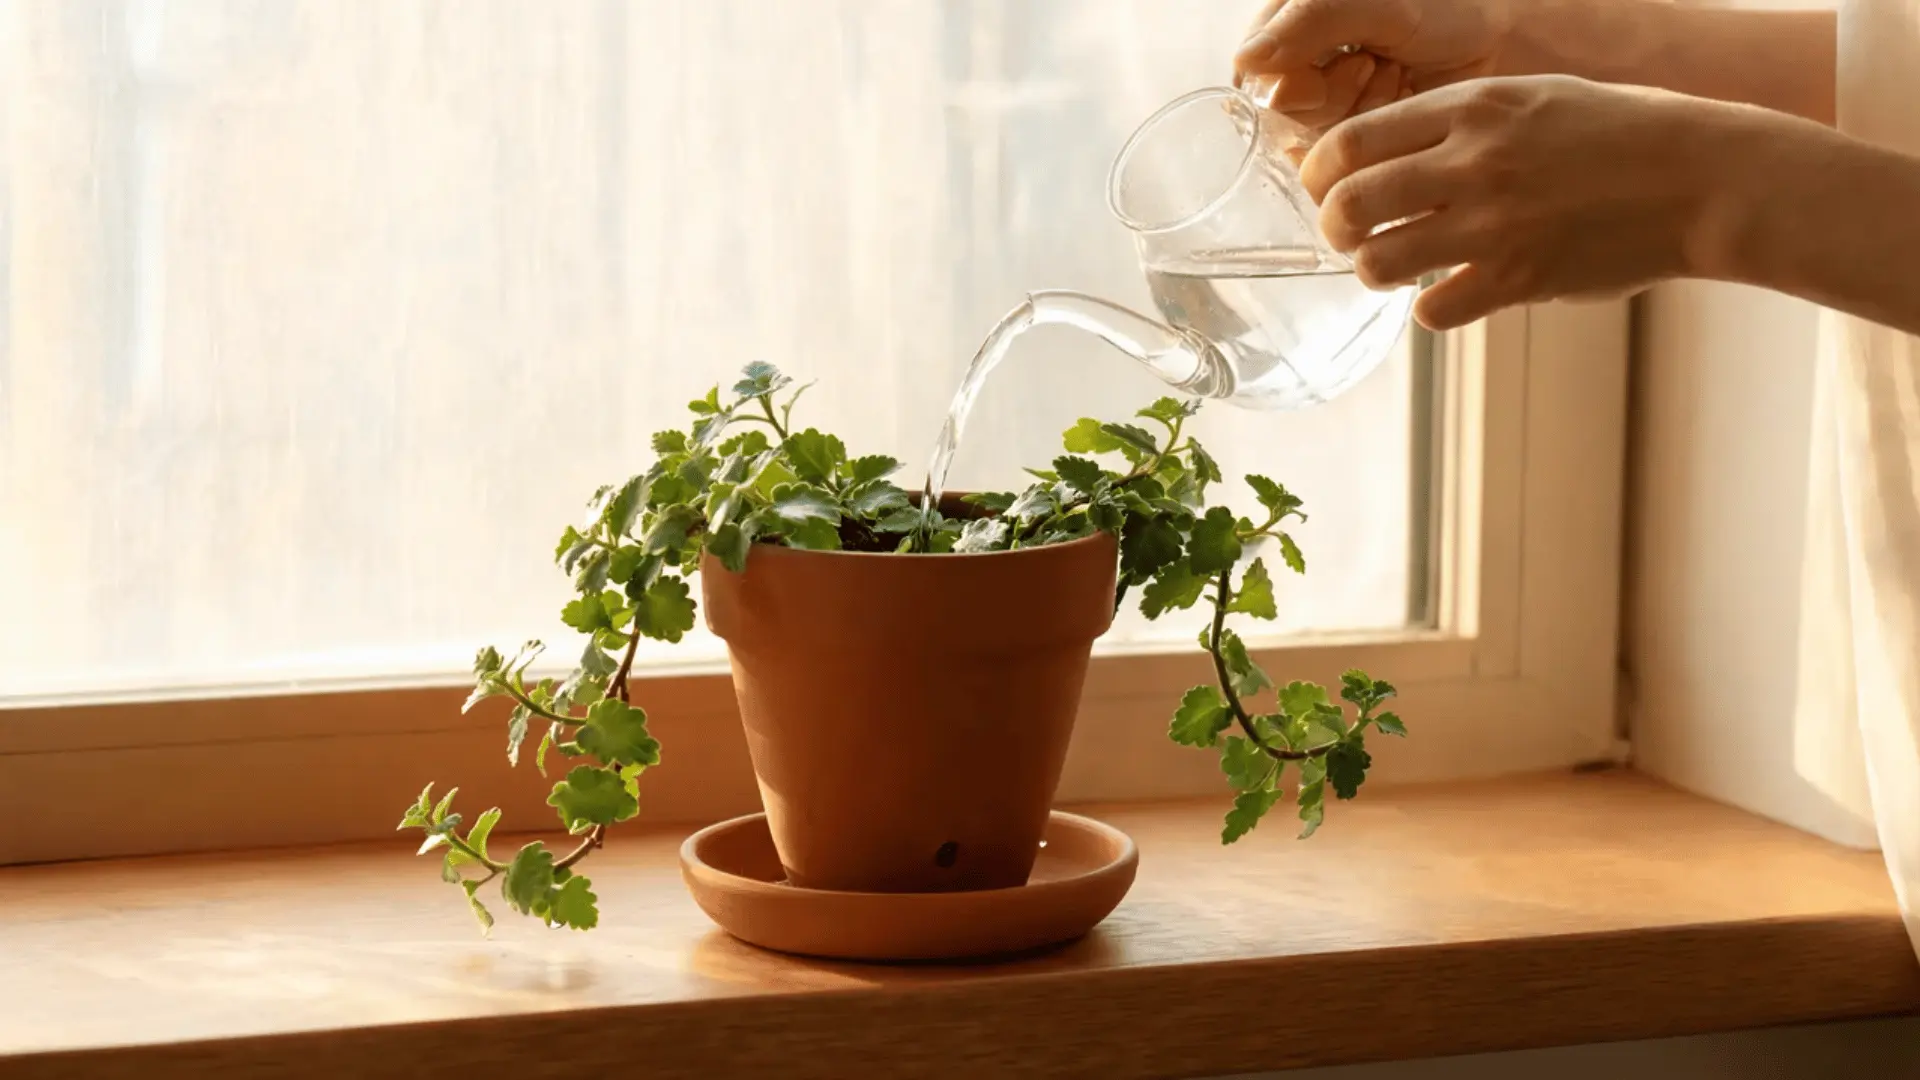
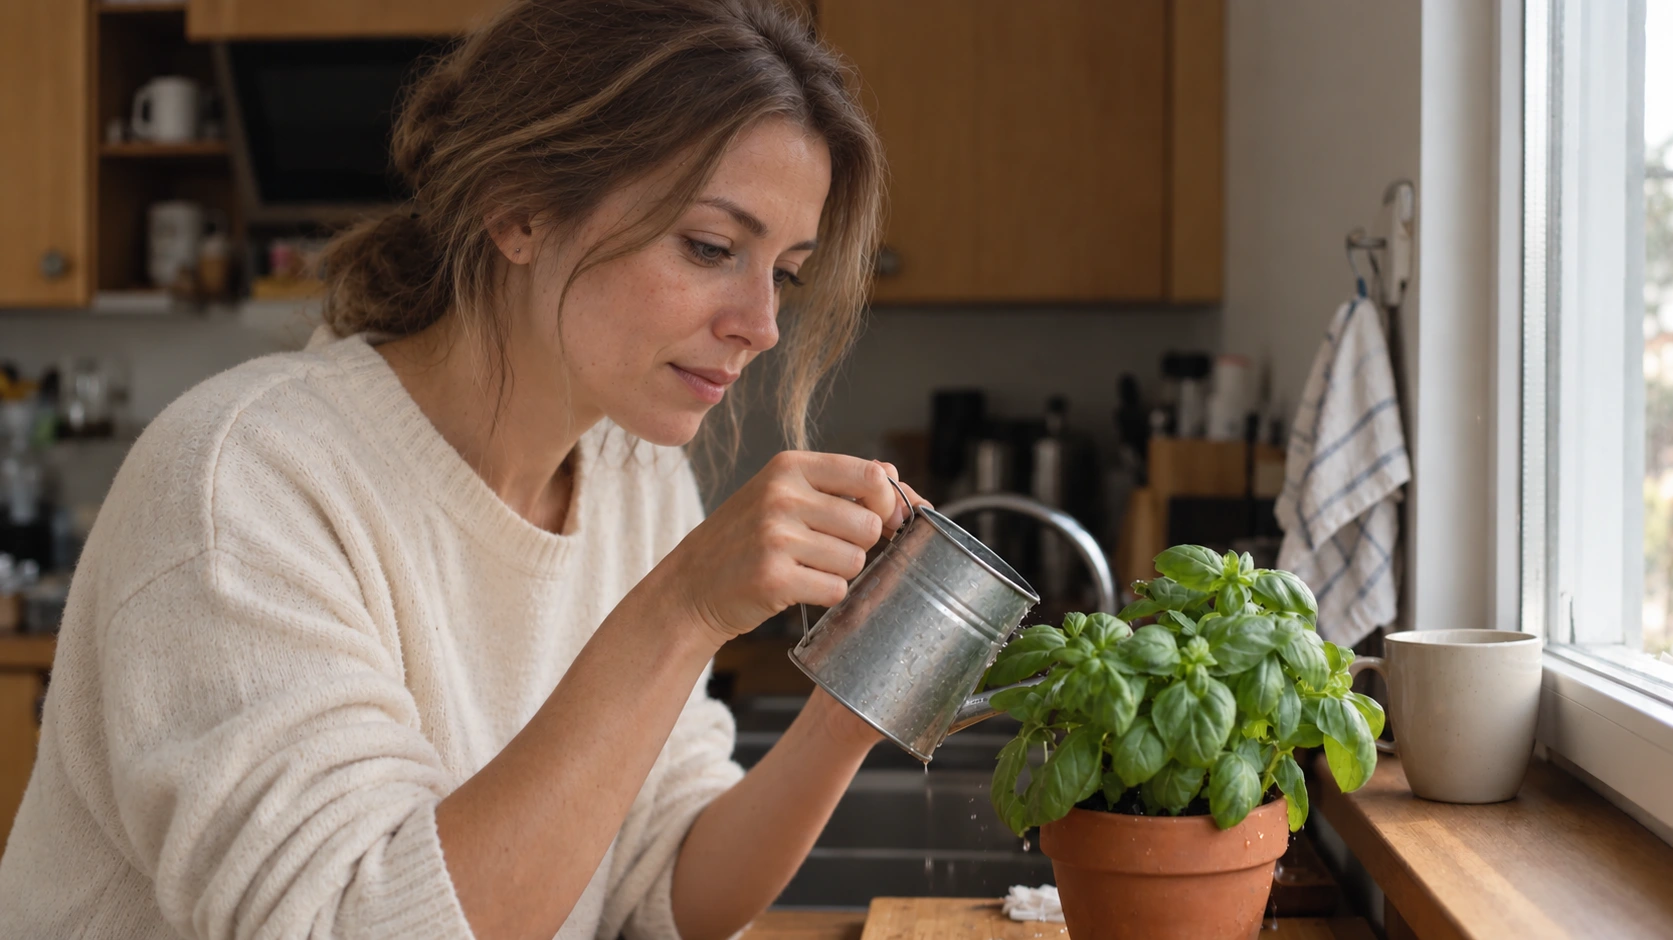
Water thoroughly right after planting, letting the excess drain freely out the bottom of the pot rather than pooling underneath the roots. After that first soak, let the top inch of soil dry out completely before watering again.
This short dry spell between waterings helps the roots settle in and adjust without ever sitting in excess moisture for long.
Step 5: Place It in the Right Spot
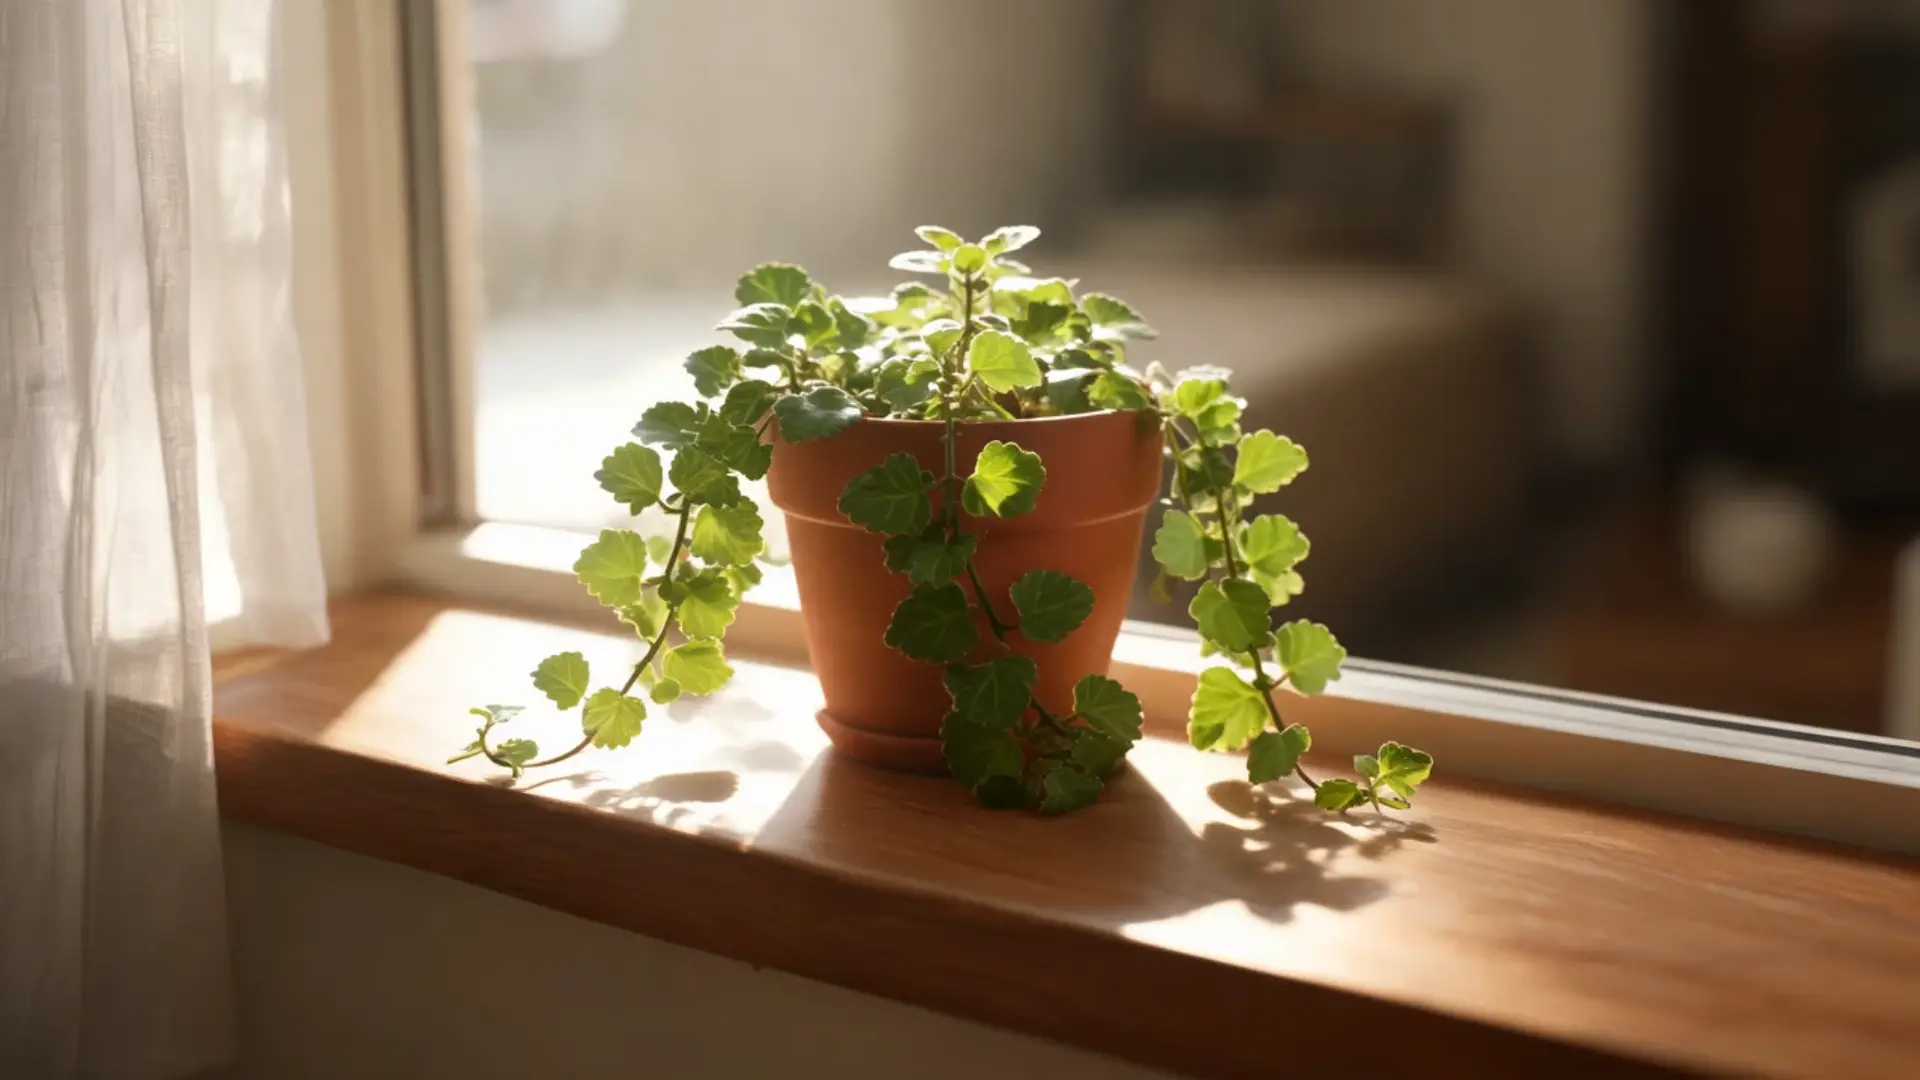
Position the plant near an east- or west-facing window, which usually delivers the bright, indirect light this plant prefers. Mild morning sun is fine, but harsh afternoon sun can scorch the leaves over time.
Keep it away from cold drafts, heating vents, and AC units, and move it somewhere brighter if the stems start stretching toward the light source.
Step 6: Feed It During the Growing Season
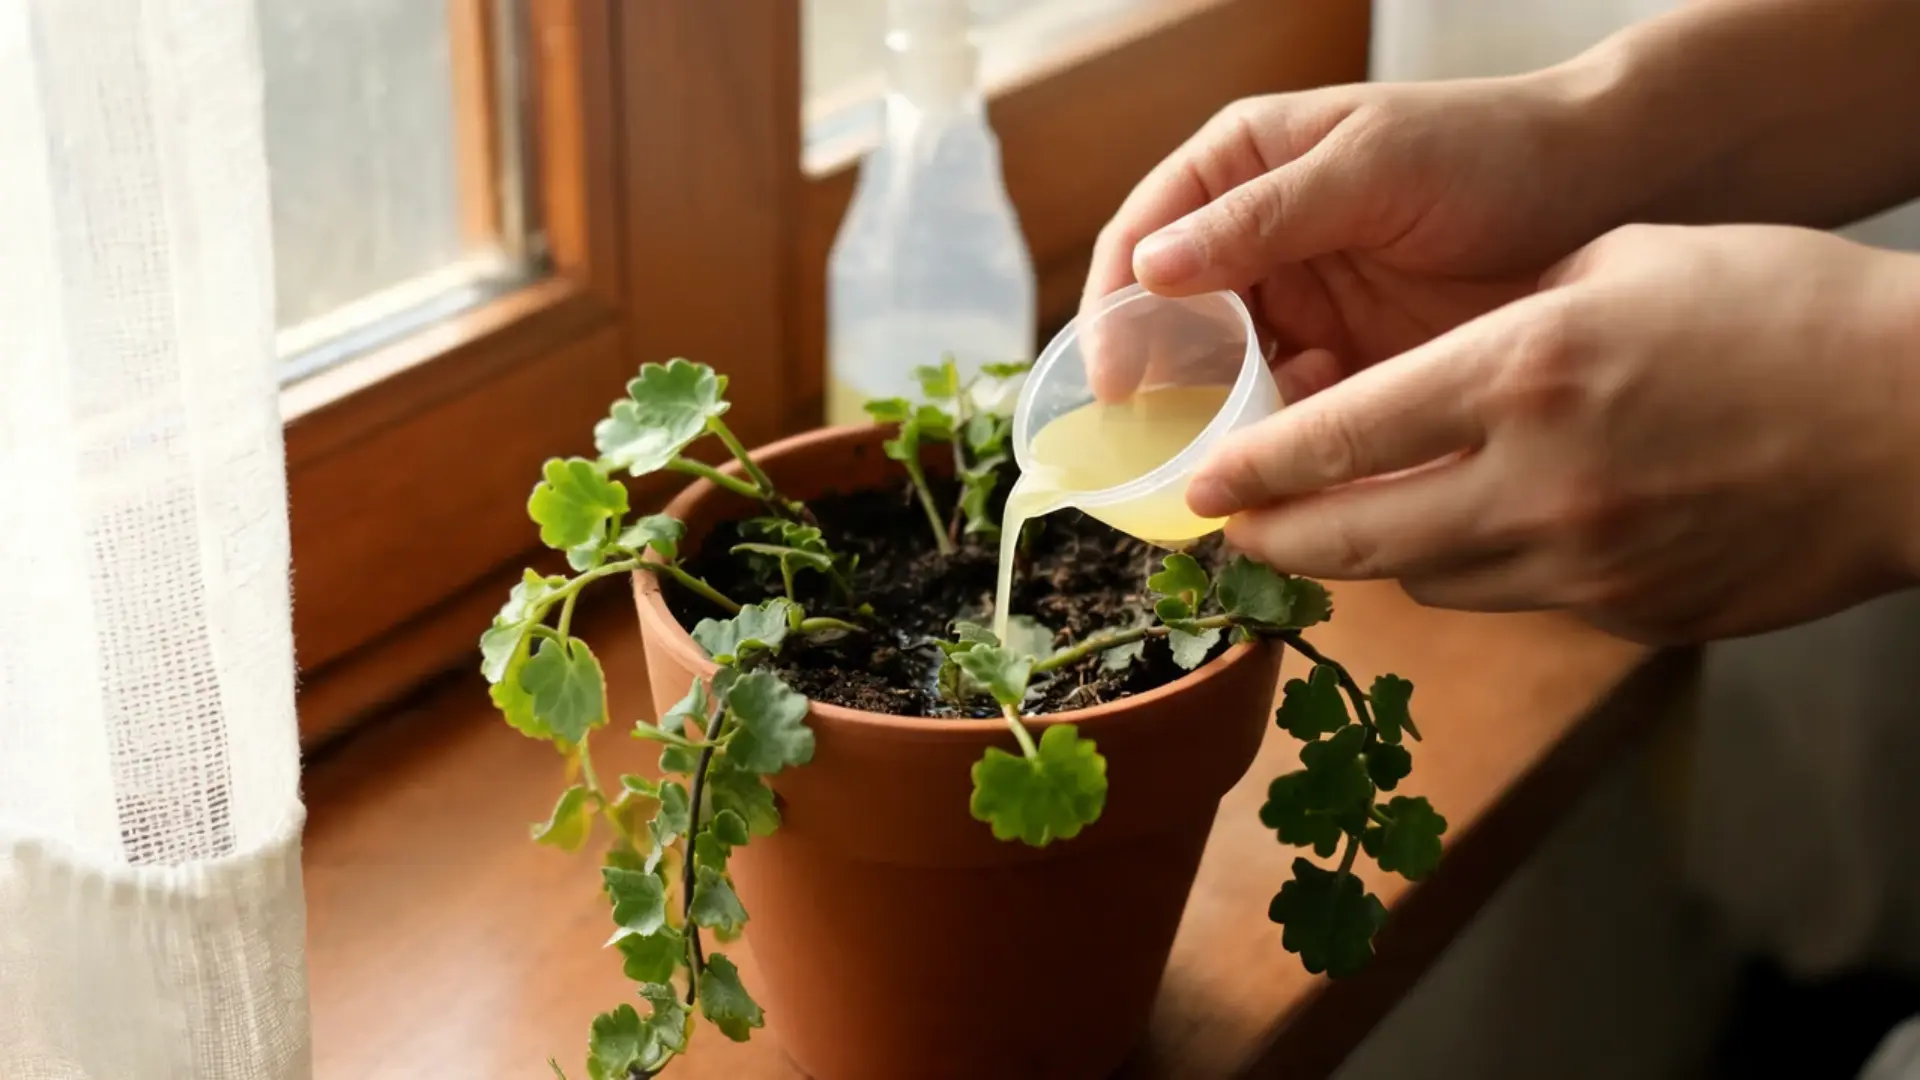
Once the plant is established, apply a balanced, diluted fertilizer every four weeks through spring and summer, which covers its main growing season.
Taper off gradually in fall as growth slows down naturally. In winter, go easy or skip fertilizing altogether, since the plant isn’t putting out much new growth and won’t use the extra nutrients anyway.
Swedish Ivy Light Requirements and Best Placement
Understanding Swedish ivy light requirements is the single biggest factor in how full and healthy the plant looks. Bright, indirect light is what keeps the stems compact and the leaves a rich, even green.
An east- or west-facing window is usually the best spot. Mild morning sun is generally fine and won’t cause any damage. What the plant can’t handle well is strong afternoon sun, which tends to burn the leaves or fade their color over time.
This lines up with guidance from the University of Florida IFAS Extension, which notes the plant does best in average room temperatures with steady, moderate light year-round. The plant tends to signal its own light problems pretty clearly:
Leggy, stretched-out stems with wide gaps between leaves usually mean the plant isn’t getting enough light and is reaching toward whatever source it can find.
Dull, reddish, or drooping leaves often point the other way, toward too much direct sun. If you notice either sign, the fix is almost always a change in placement rather than anything to do with water or soil.
Fertilizing, Pruning, and Repotting Swedish Ivy
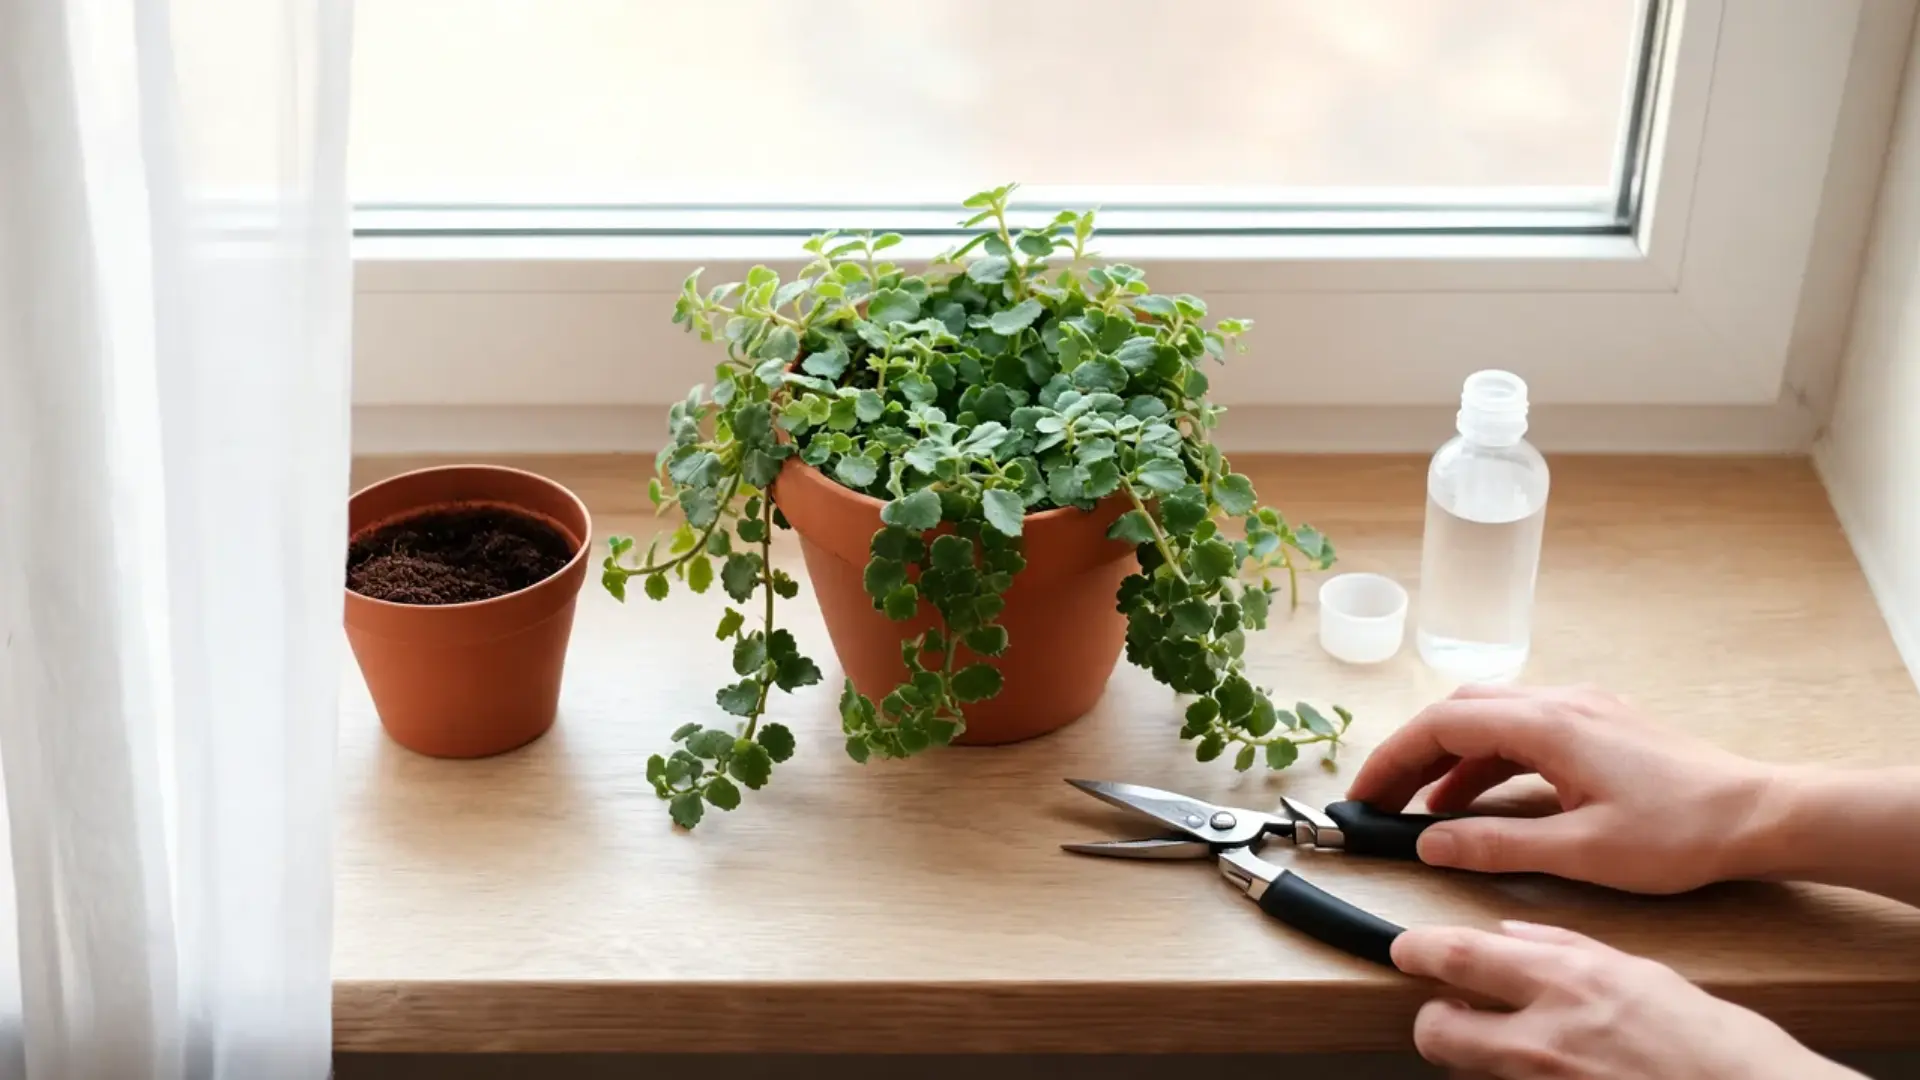
Feeding, trimming, and repotting all feed into the same goal: a plant that stays full and bushy instead of thin and woody. None of these tasks take much time or effort on their own, but skipping them for too long is usually why an otherwise healthy, established plant slowly starts looking tired, sparse, or overgrown.
1. Fertilizing
Feed Swedish ivy on a four-week schedule through the spring and summer months, using a diluted, balanced houseplant fertilizer. Reduce feeding during winter, when the plant isn’t putting out much new growth and doesn’t need the extra nutrients.
It’s worth going easy on nitrogen specifically. Too much of it pushes leafy growth at the expense of flowers, so an overfed plant often ends up with fewer blooms than one fed on a normal schedule.
2. Pruning
Cut back any long, bare, or leggy stems just above a node to keep the plant compact, and pinch new tips as they appear. Over time, this simple routine is what keeps Swedish ivy full and bushy rather than sparse and vine-like.
Remove faded flowers and any weak or thin stems while you’re at it. A plant trimmed regularly tends to end up fuller and more compact than one left to grow unchecked.
3. Repotting
Repot every one or two years, or sooner if roots start filling the container and circling the bottom. Spring or early summer is the best time, since the plant is entering its main growth period and recovers from the disturbance quickly.
That same one-to-two-year rhythm applies well beyond Swedish ivy, including when repotting a jade plant, another slow, steady grower that only needs sizing up occasionally.
When choosing a new pot, go only slightly larger than the current one. Too big a jump gives the roots more soil than they can use, which holds excess moisture and raises the risk of root rot.
How to Propagate Swedish Ivy
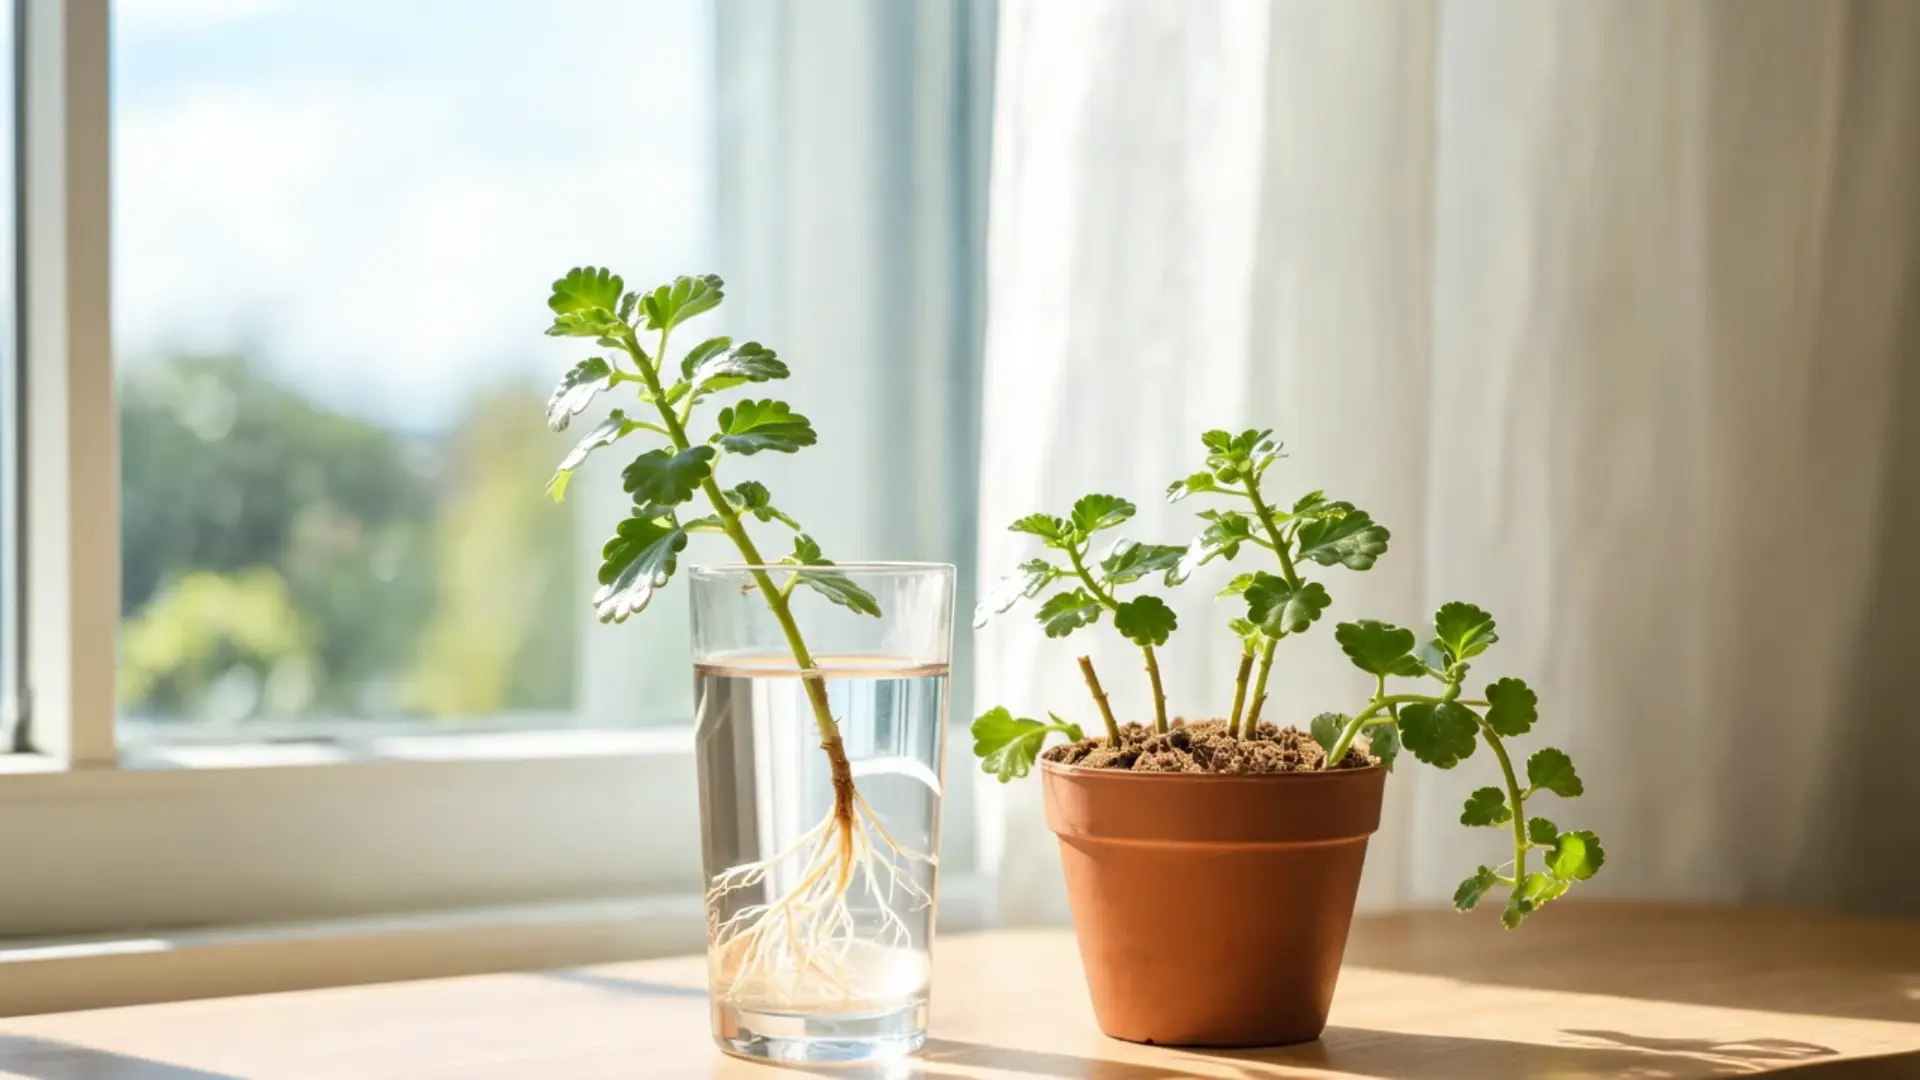
Learning how to propagate Swedish ivy is one of the easiest ways to fill out a thin plant or start new ones for free, and there are two simple ways to do it.
Propagation in Water:
- Cut a healthy stem just below a leaf node.
- Remove the lower leaves so they don’t sit in water.
- Place the stem in clean water.
- Keep it in bright, indirect light.
- Change the water when it starts looking cloudy.
- Transfer it to soil once healthy roots have developed.
Propagation in Soil:
- Take a healthy stem cutting.
- Remove the lower leaves.
- Place it in lightly moist, well-draining soil.
- Keep it somewhere bright with filtered light.
- Keep the soil slightly moist while roots develop.
Per the NC State Extension Gardener Toolbox, most Plectranthus varieties, including Swedish ivy, root readily from a single stem cutting with a node attached.
Either method works well, so it mostly comes down to preference. For a fuller-looking plant right from the start, try planting several cuttings together in the same pot rather than rooting just one at a time.
Swedish Ivy Care Tips
A quick reference for keeping your plant looking its best:
- Rotate the pot occasionally so the plant grows evenly instead of leaning toward the light source
- Wipe dust off the leaves every so often so they can absorb light efficiently
- Pinch growing tips regularly, even when the plant looks fine, to keep it bushy rather than letting it get ahead of you
- Check the soil with your finger rather than on a fixed schedule, since watering needs shift with the seasons
- Inspect the undersides of leaves every couple of weeks so pests get caught early
- Refresh the potting mix at each repotting rather than just moving the same old soil into a bigger pot
With these habits, Swedish ivy stays compact, balanced, and easier to manage through changing seasons. Small checks make a clear difference, helping you spot dry soil, dust, pests, or uneven growth before they turn into larger care problems indoors later.
Common Problems to Avoid
Most issues with this plant trace back to light or water, and both are easy to fix once you know what to look for.
| Problem | Likely Cause | Fix |
|---|---|---|
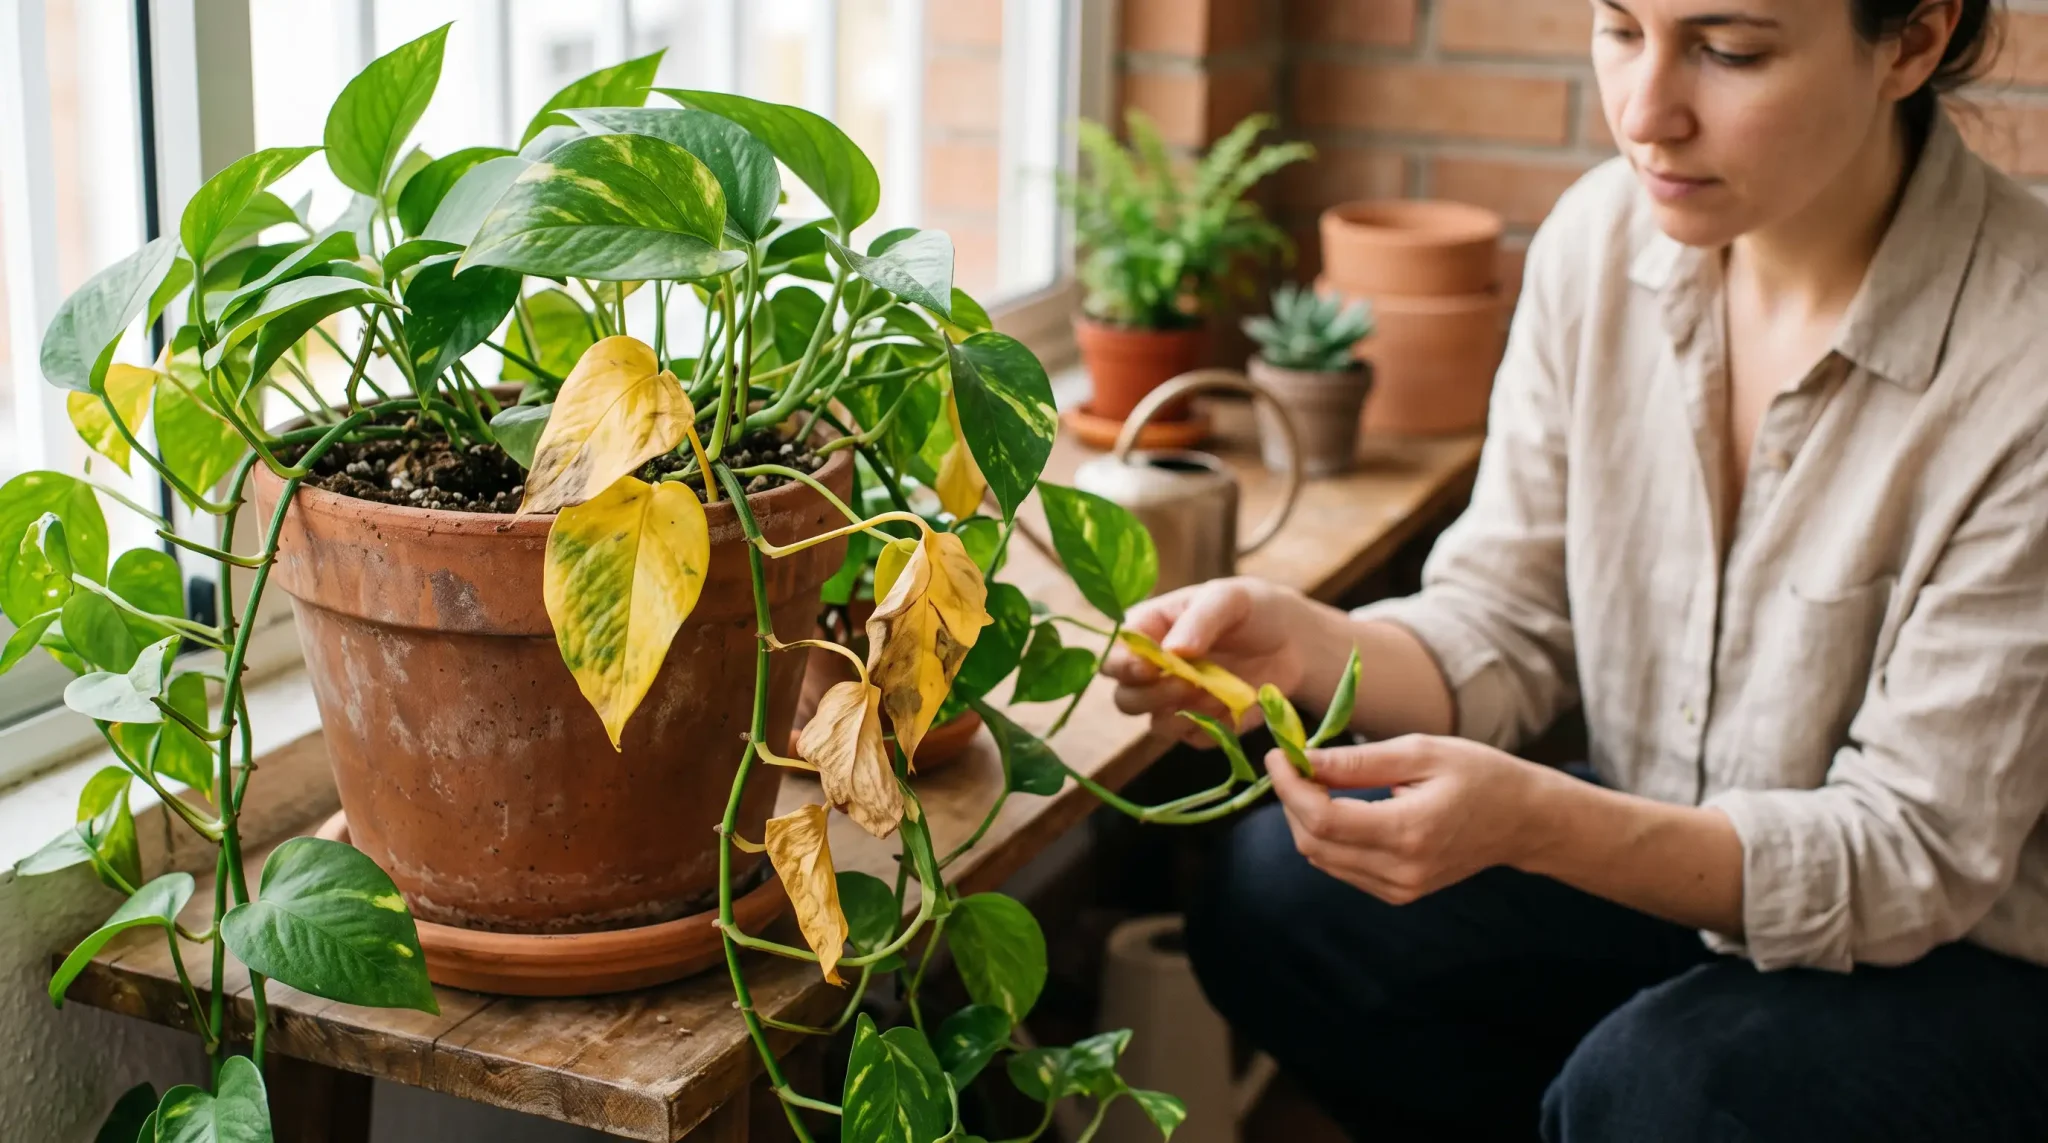
| Yellow leaves | Overwatering, poor drainage, or too little light | Let soil dry out between waterings, check the pot has drainage, move to a brighter spot |
| Drooping leaves | Dry soil or too much direct sunlight | Water thoroughly; if that doesn’t help, check for root rot |
| Leggy growth | Low light, lack of pruning, or both | Move to brighter indirect light and prune regularly to encourage branching |
| Pests (mealybugs, spider mites, aphids) | Often start on the undersides of leaves where they go unnoticed | Check leaves regularly; treat with insecticidal soap per the product label |
Most Swedish ivy problems improve once you correct light, watering, or pruning. Watch how the plant responds over the next several days, then adjust slowly. Early action protects healthy growth and helps the plant recover without extra stress.
Frequently Asked Questions
How much light does Swedish ivy need?
Swedish ivy grows best in bright, indirect light near an east-facing or filtered window. Mild morning sun supports leaves, but strong afternoon rays can scorch them. Rotate the pot weekly so every side receives even light and growth stays balanced.
How often should I water Swedish ivy?
Water Swedish ivy when the top inch of soil feels dry. Soak the soil until water drains from the bottom, then empty the saucer. Avoid keeping roots wet, since soggy soil may cause yellow leaves, weak growth, or root damage.
Why is my Swedish ivy becoming leggy?
Swedish ivy often becomes leggy when it receives too little light or goes too long without pruning. Move it to a brighter place, pinch back growing tips, and trim long stems. Regular pruning helps the plant develop fuller, bushier growth.
How do you propagate Swedish ivy?
Cut a stem below a leaf node, then remove the lower leaves. Place the cutting in water or moist soil and keep it in bright, indirect light. Roots often form within a few weeks when warmth and moisture remain steady.
Final Takeaways
Swedish ivy care really comes down to a handful of basics: bright indirect light, watering based on how dry the soil feels, well-draining soil, and regular pruning to keep growth full. Get those right, and there isn’t much else to worry about.
That’s the appeal of this plant. It’s forgiving of the occasional missed watering, doesn’t demand any special equipment, and still rewards you with steady, trailing growth from spring through fall. That mix of low maintenance and reliable results is why it’s such a common recommendation for beginners.
Since propagation from stem cuttings is so simple, one plant can easily turn into several more for filling out your own shelves or passing a few cuttings along to friends. Drop a comment below and let me know if this helped you.