Custom Roman shades can cost more than you expect, especially when you need them for more than one window.
I like a DIY version because you can choose your fabric, control the fit, and save money without making the project feel too big.
Here, you’ll learn how to make roman shades with clear steps for sewn and no-sew methods.
I’ll walk you through measuring your window, picking fabric, cutting the panels, adding folds, mounting the shade, and fixing common problems.
What are Roman Shades Used for?
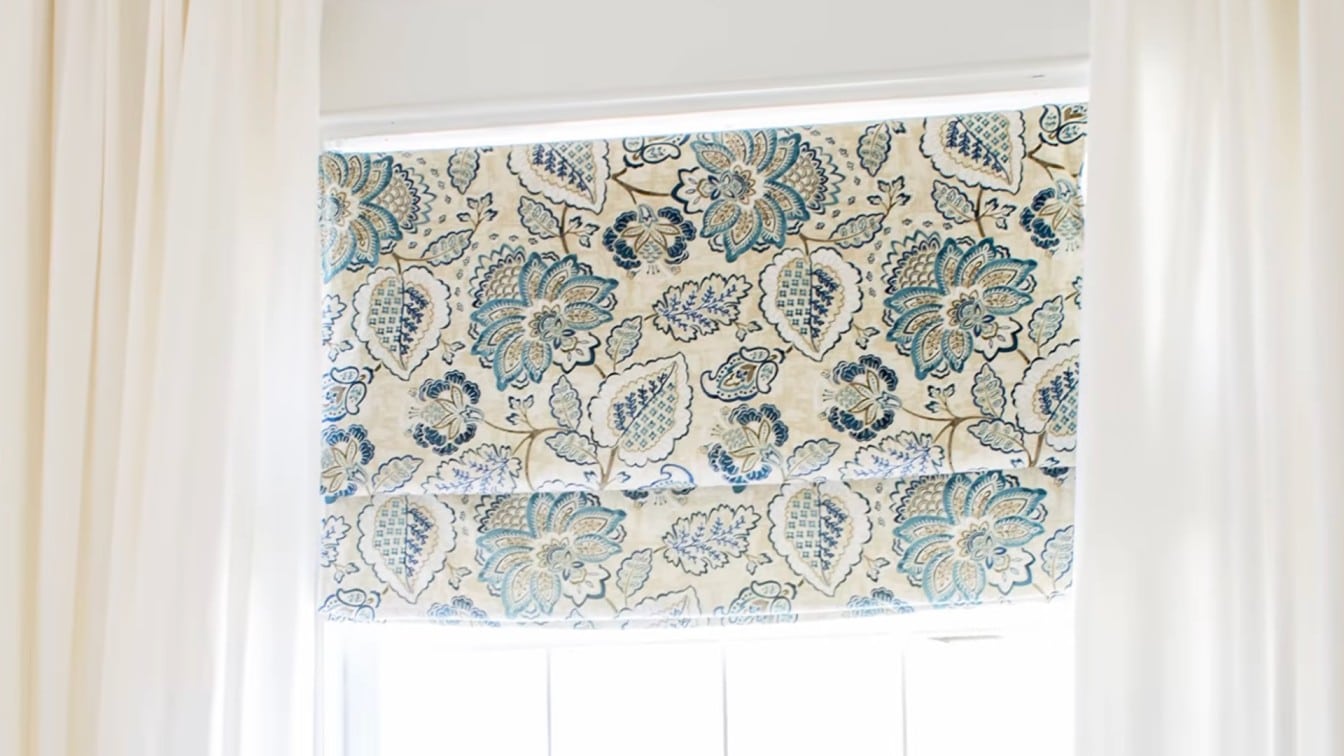
Roman shades are fabric window coverings that fold upward in soft, even sections when you raise them. When lowered, they sit flat against the window and give the room a clean, simple look.
They work like a mix between curtains and blinds. You get the softness of fabric with the easy up-and-down use of a shade.
Roman shades can be made with dowels for sharper folds or without dowels for a softer, looser look. Dowels are thin rods placed across the back of the fabric. They help the shade fold in even rows when pulled up.
You can also choose how much light control you want. A light fabric can filter sunlight, while lined or blackout fabric can block more light and add privacy.
Before You Start: Pick the Right Roman Shade Method
Before you buy fabric or supplies, choose the Roman shade method that fits your skill level, tools, and window needs. Some methods are better for daily use, while others work well for quick updates or rental spaces.
| Method | Best For | Skill Level | Sewing Needed |
|---|---|---|---|
| Sewn Roman shade | Clean, custom, long-term use | Medium | Yes |
| No-sew Roman shade | Quick beginner project | Easy | No |
| Mini-blind Roman shade | Fast makeover using old blinds | Easy | No |
| Faux Roman shade | Fixed fabric look, no moving parts | Easy | Optional |
Pick the method that fits your window, your tools, and how often you plan to use the shade.
Step by Step: How to Make Roman Shades With Sewing
This DIY version works well if you want a simple fabric shade that folds upward when pulled. Before you start, decide if the shade will sit inside or outside the window frame. These steps follow an inside-mount method, so measure your window opening carefully first.
Tools and Materials Required to Diy Roman Shades
- Main fabric and lining fabric
- Measuring tape and pencil
- Fabric scissors, pins, and clips
- Sewing machine and thread
- Iron
- 1/4-inch dowels
- Plastic rings and hand-sewing needle
- Nylon twine
- 1×2 furring strip
- Angle brackets, screw eyes, and screws
- Staple gun and staples
- Drill or screwdriver
- Fabric glue or hem tape
- Mini blinds
Note: Cordless options are safer for homes with children and pets. Sewn shades use dowels, rings, cords, and a board, while no-sew methods often use glue, hem tape, or mini blinds.
Step 1: Cut the Fabric and Lining
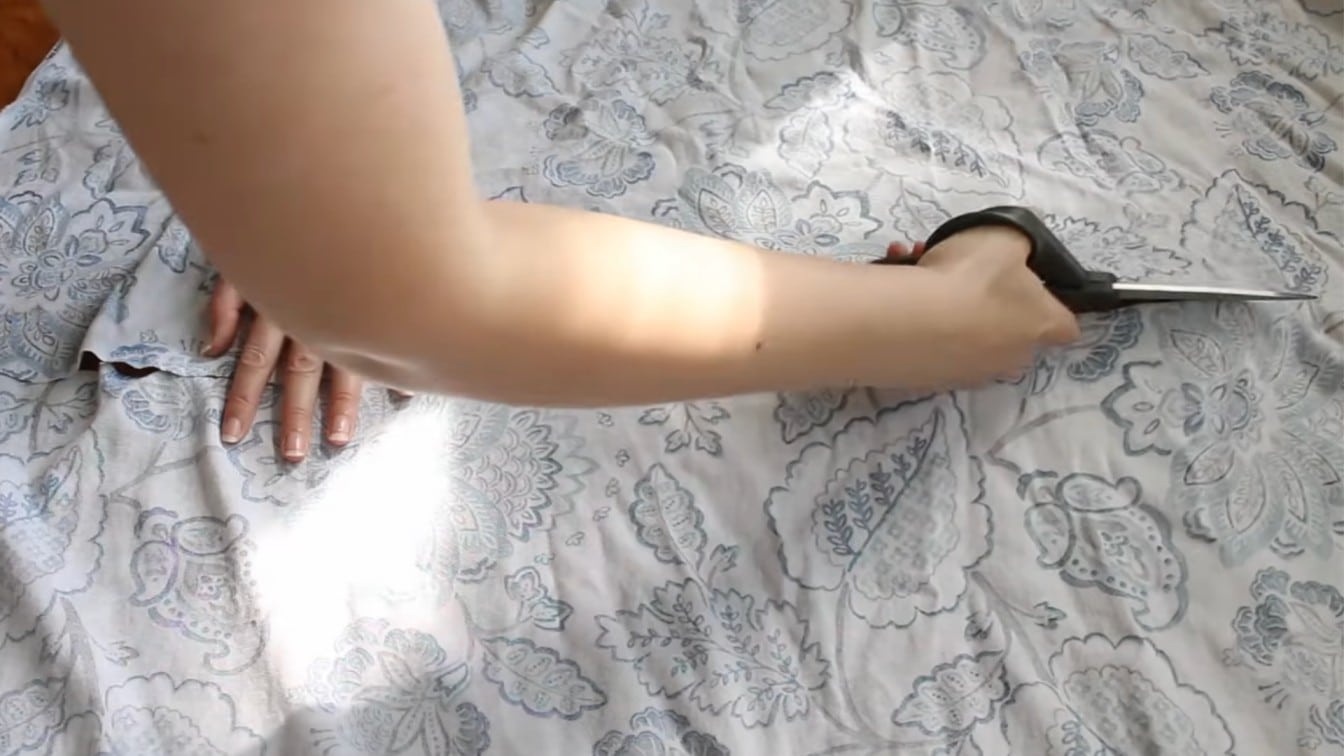
Cut the main fabric about one inch wider than the window so you have room for side hems. For the length, add at least seven inches to the window length for mounting space and dowel pockets.
If you want blackout lining, cut it to match the window width. Hem the lining edges too if the fabric starts to fray while sewing.
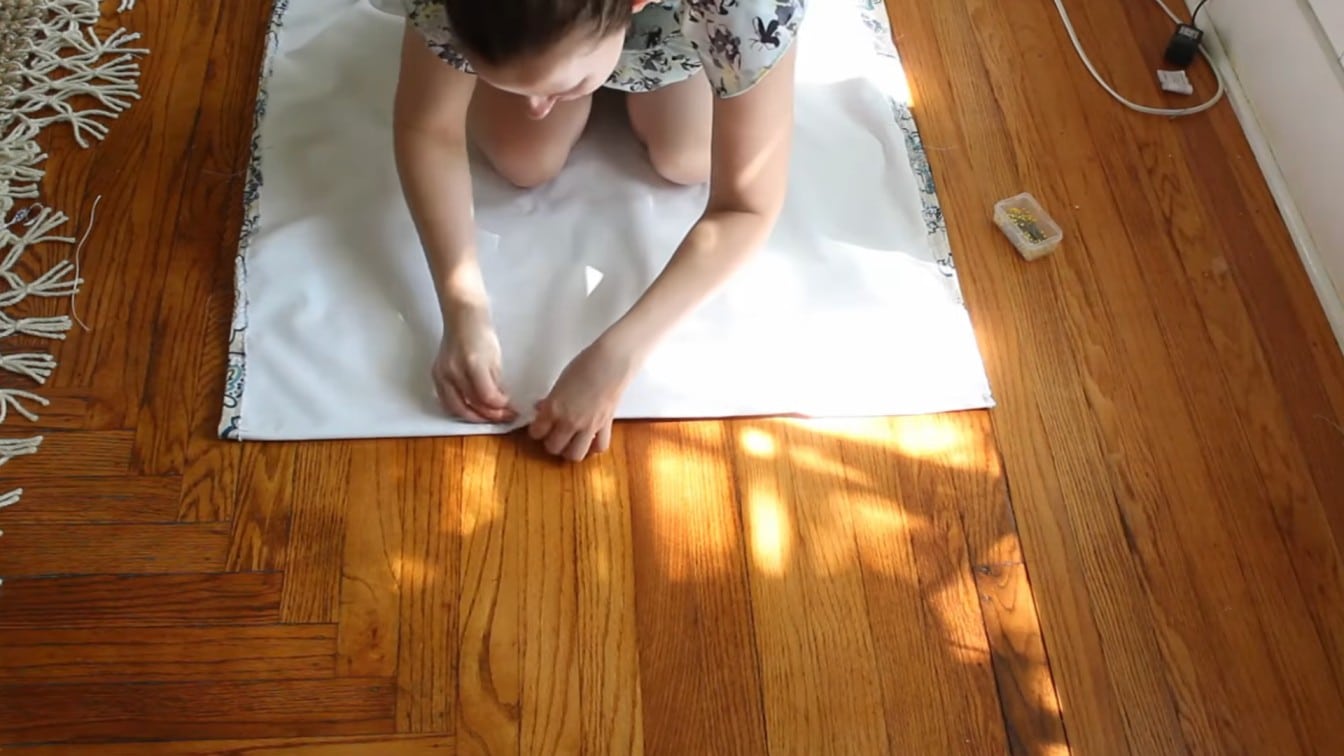
Step 2: Hem the Sides
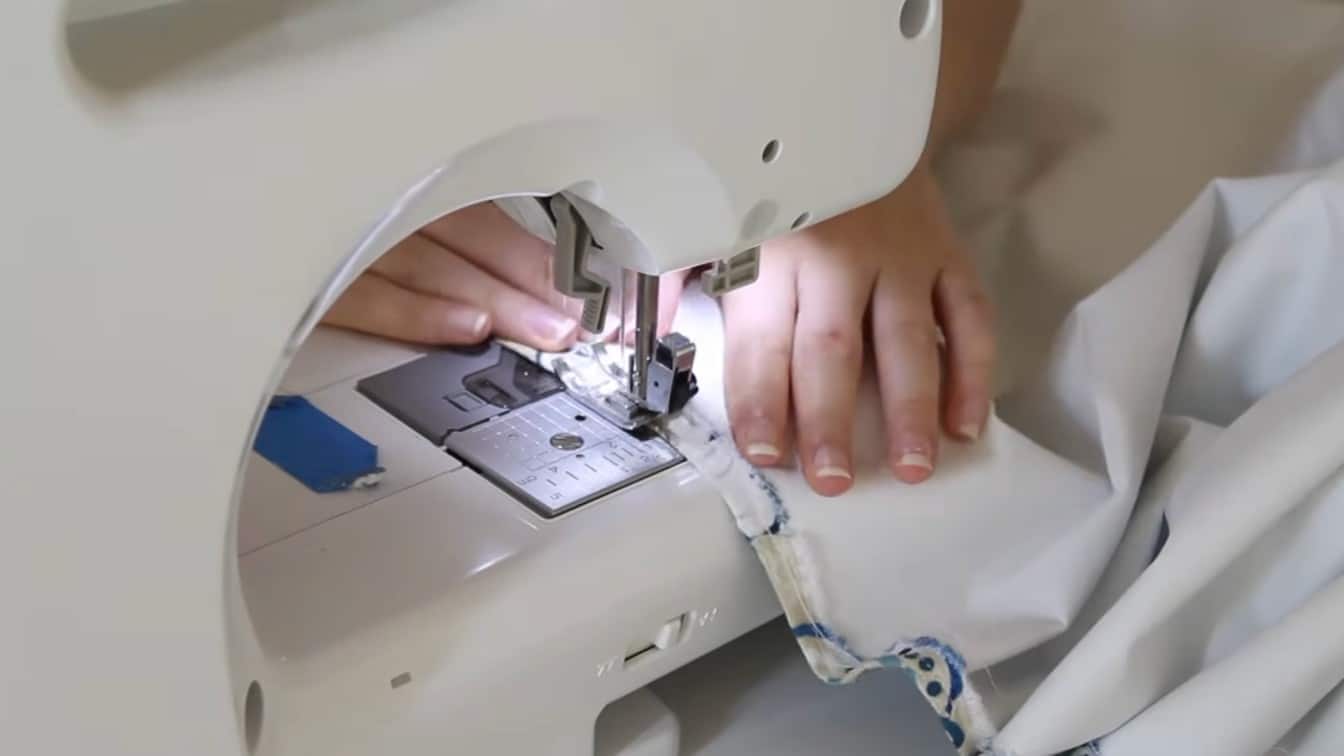
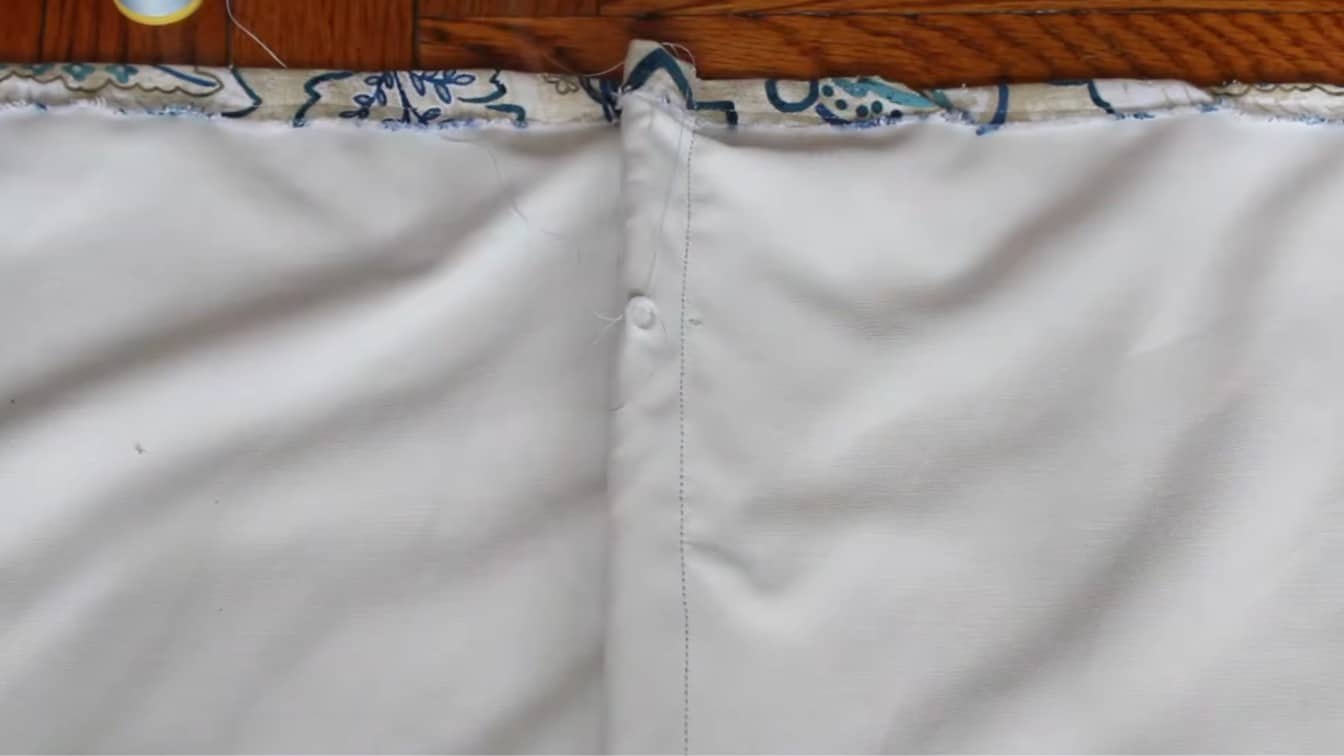
Lay the main fabric face down on a flat surface. Place the lining on top, centered between the side edges. Fold each side of the main fabric over the lining, then press the folds flat. Pin the folded edges in place and sew both side hems.
This keeps the shade edges neat and helps stop the fabric from fraying.
Step 3: Mark the Dowel Pocket Lines
Dowels help the Roman shade fold in even sections when you pull it up. Use this simple spacing formula: fabric length minus three inches, then divide that number by four. Mark the first dowel line near the bottom edge.
Then use your spacing number to mark the next three lines upward across the back of the fabric.
Step 4: Sew the Dowel Pockets
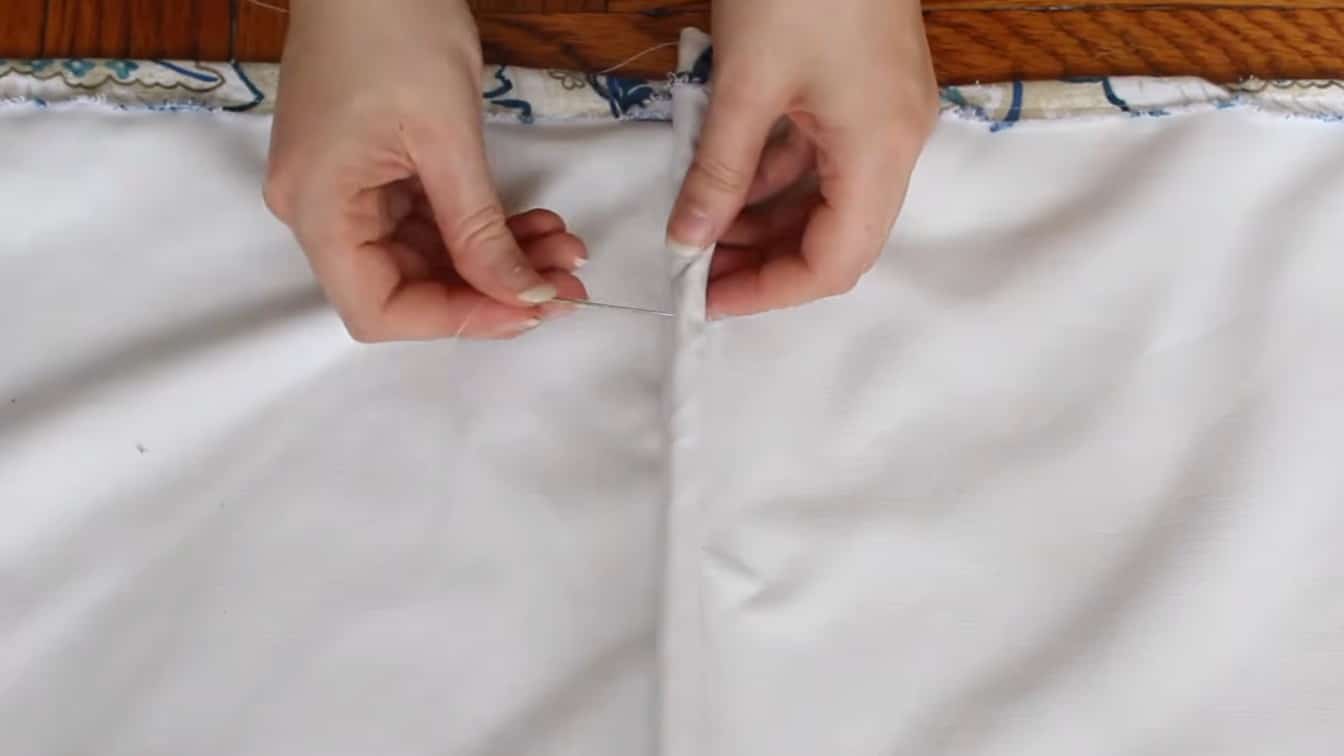
Start with the bottom pocket. Fold the bottom edge up about three-fourths of an inch and sew across it, leaving enough room for the first dowel.
For the other marked lines, fold the fabric at each mark and sew across. Keep each stitch line straight so the dowels slide in well and the shade hangs evenly.
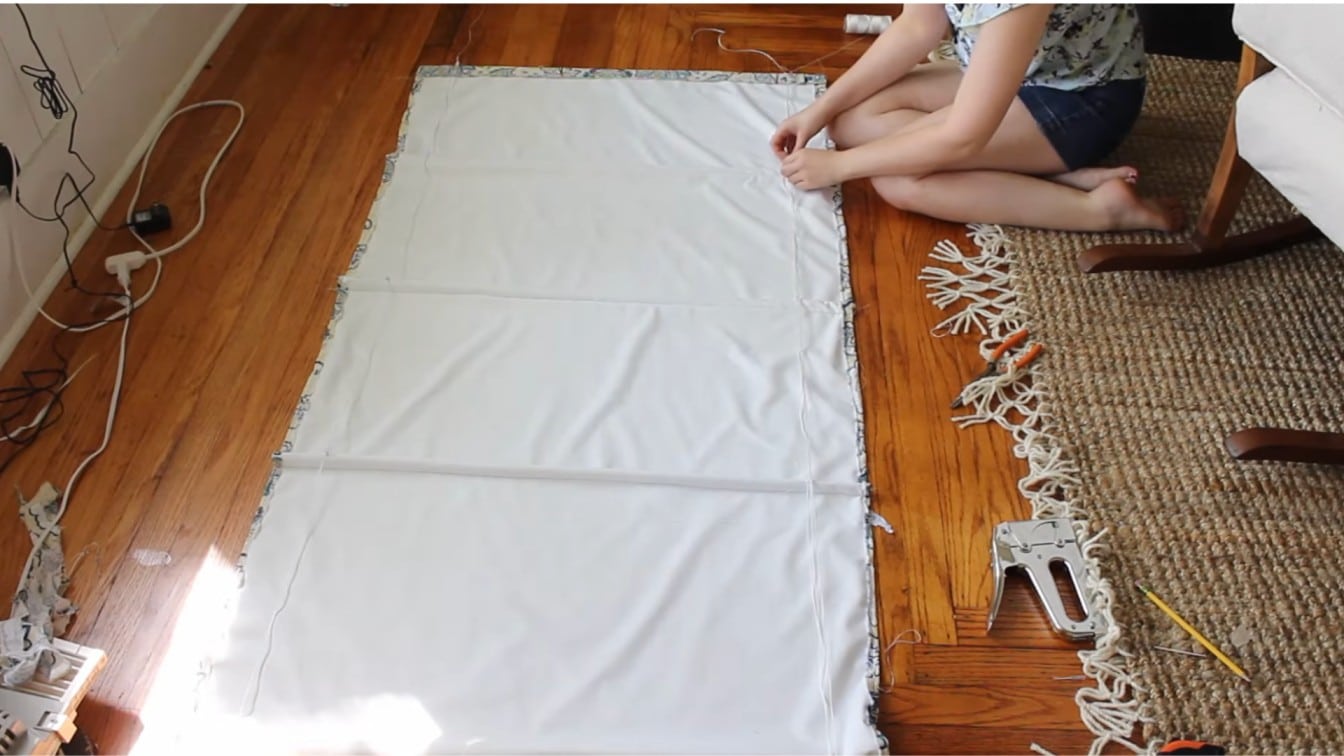
Step 5: Add the Plastic Rings
Hand sew plastic rings onto each dowel pocket on the back of the shade. Place one ring about three to four inches from each side edge. These rings guide the nylon twine that raises and lowers the shade.
Make sure every ring is tight and secure, because loose rings can make the shade pull unevenly.
Step 6: Build the Mounting Board
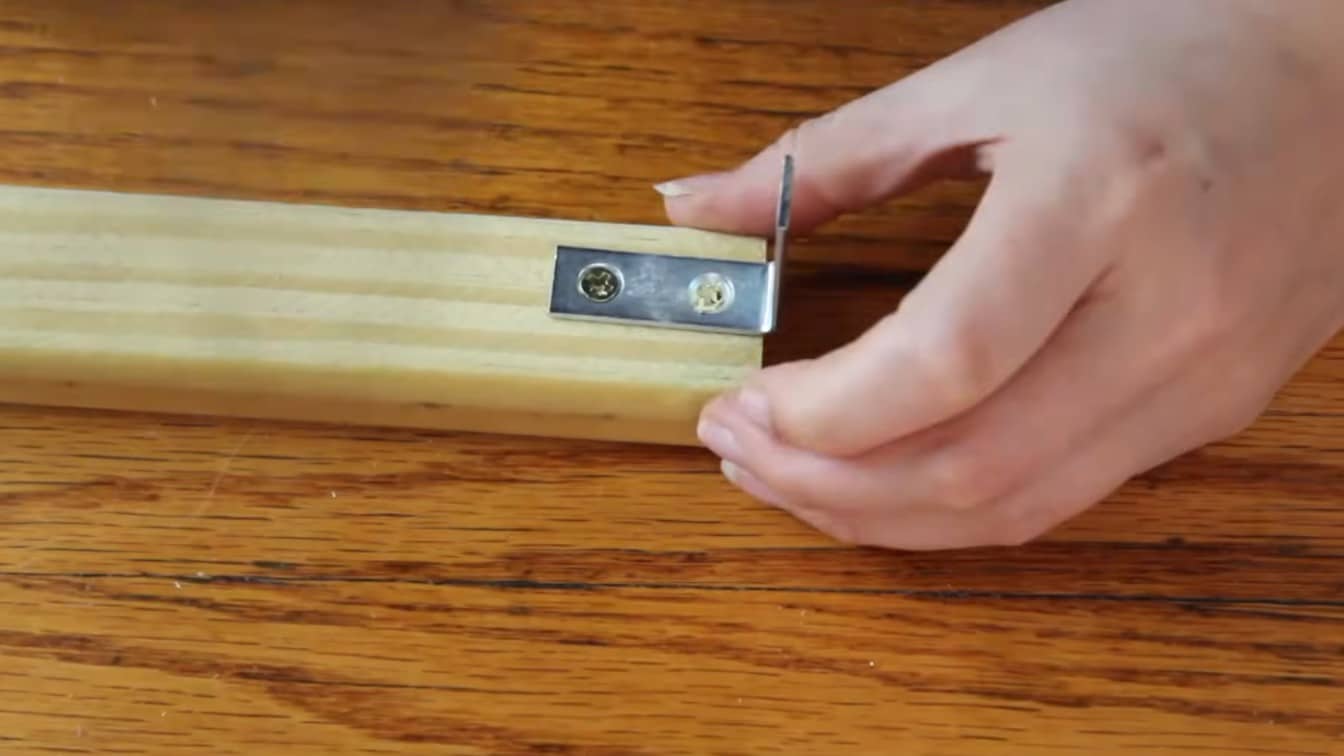
Cut the 1×2 furring strip to match the width of your finished shade. Attach one angle bracket to each end of the board. Then screw one screw eye into the board about three to four inches from each side.
This board holds the shade at the top of the window frame and guides the cords.
Step 7: Staple the Shade to the Board
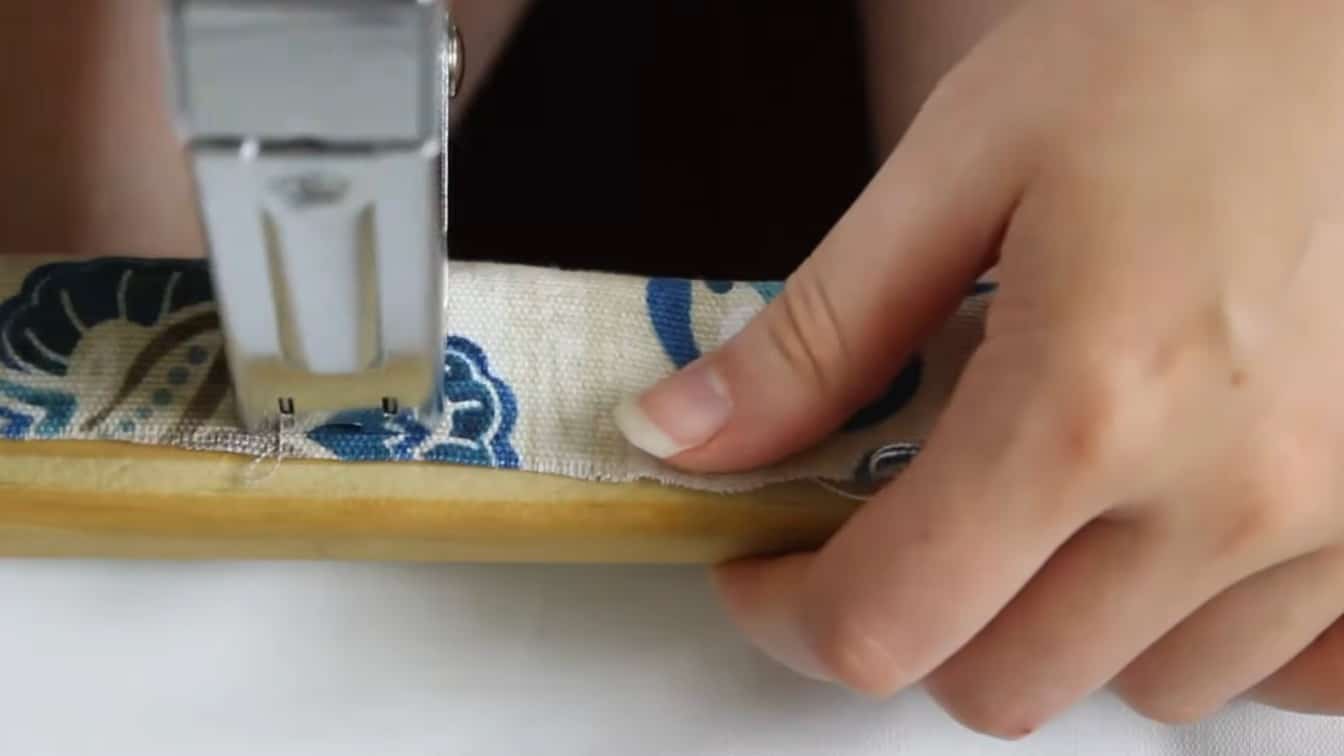
Place the top edge of the fabric against the mounting board with the back side facing you. Pull the fabric smooth, but do not stretch it too hard. Use a staple gun to attach the fabric across the full board. Add enough staples to keep it flat and secure.
Check that the shade hangs straight before threading the cords.
Step 8: Thread the Nylon Twine
Tie nylon twine to the bottom ring on one side of the shade. Thread it upward through the rings on that side, then through the screw eyes at the top. Repeat the same process on the other side.
Leave enough extra twine to pull the shade up and down, then tie the loose cords together after testing.
Step 9: Install the Shade
Hold the mounting board inside the window frame and secure it with the angle brackets. Once it is in place, pull the twine slowly to test the shade. The fabric should fold upward in neat sections.
If one side rises higher than the other, adjust the cord length until the bottom edge sits level.
For more details, refer to the video below.
How to Make No-Sew Roman Shades
If you want a simple window shade without using a sewing machine, this no-sew Roman shade method gives you a neat, custom look with basic supplies and an old mini blind.
Materials You’ll Need:
- Fabric
- Mini blinds
- Fabric glue
- Measuring tape
- Scissors
- Iron
- Pencil or chalk
- Clothespins or clips
- Mounting hardware
Step 1: Cut and Press the Fabric
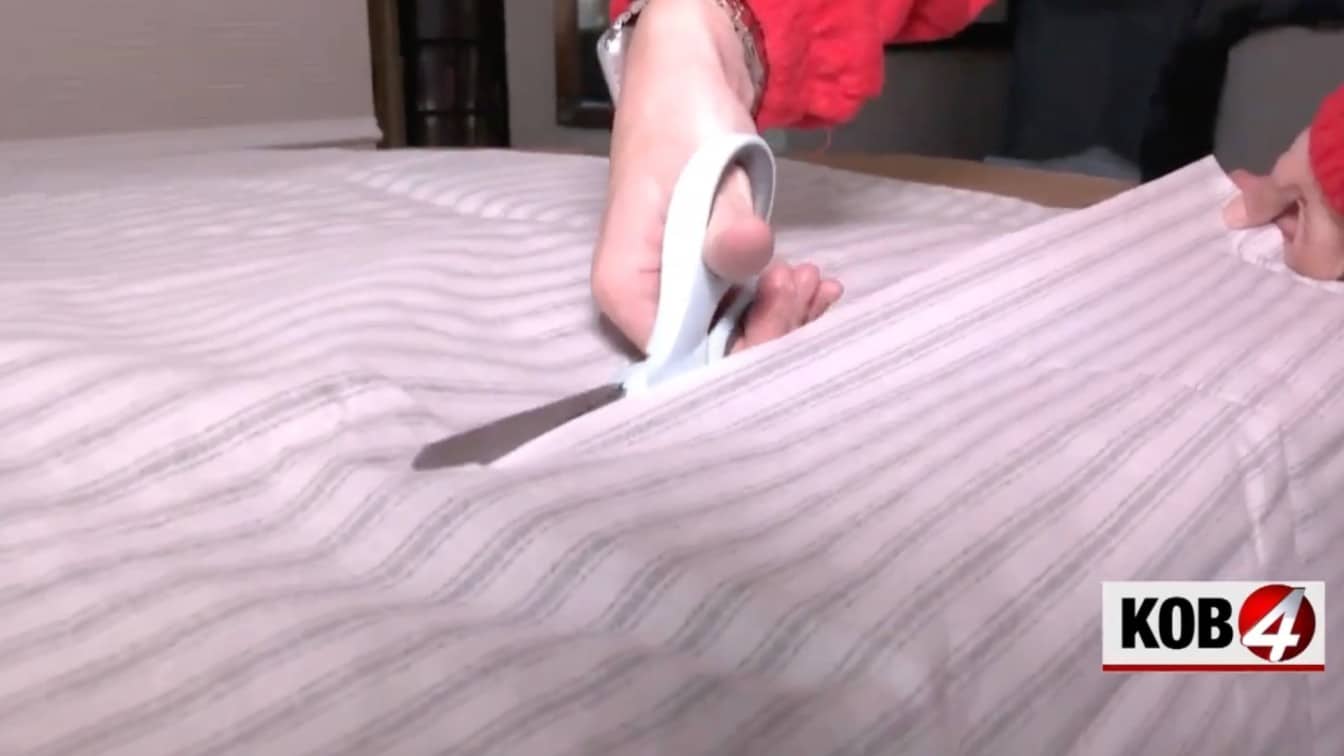
Lay the fabric flat on a clean table or floor, with the front side facing down. Measure your window, then cut the fabric to size with extra room for side and bottom hems. Press the fabric with an iron before you add glue.
Smooth fabric is easier to fold, and wrinkles can make the finished shade hang unevenly later on.
Step 2: Make the No-Sew Hems
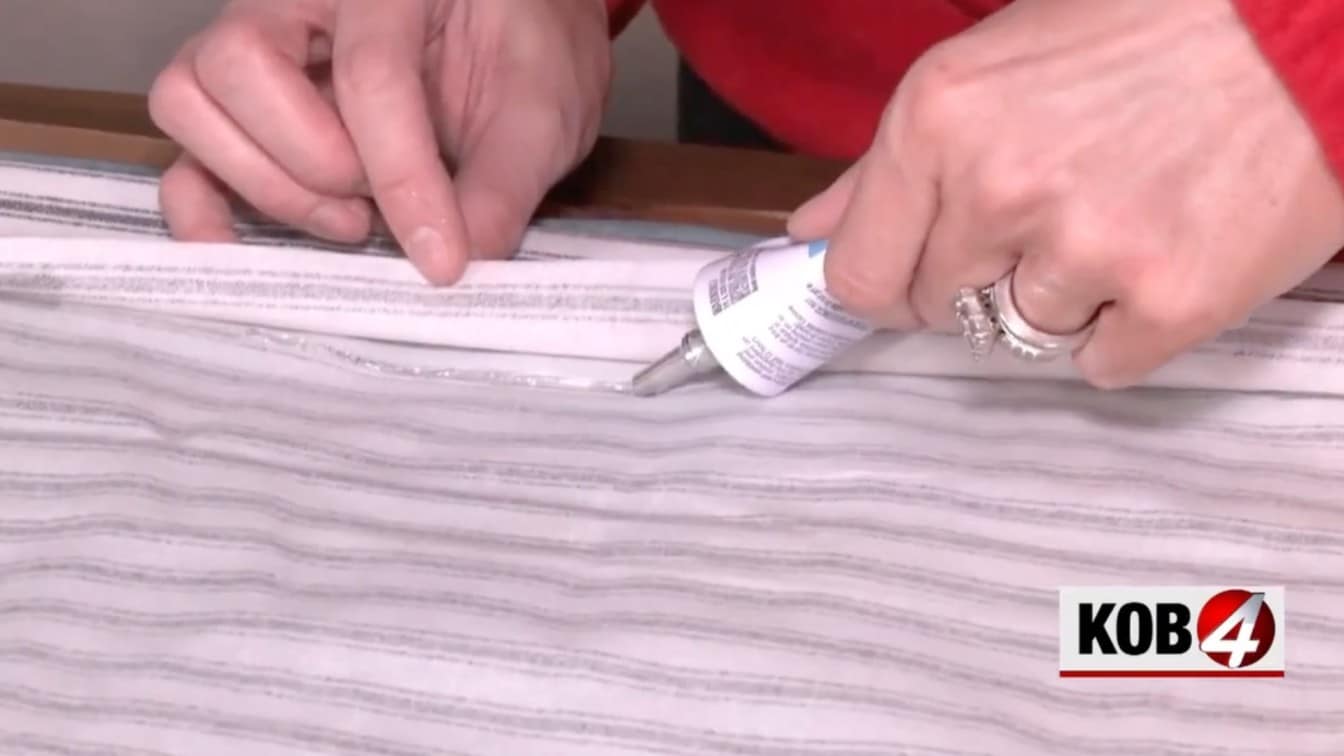
Fold one side edge toward the back of the fabric and press it flat. Add fabric glue or iron-on hem tape inside the fold, then press again to set it. Repeat on the other side and the bottom edge.
Use clips or clothespins while the glue dries, so the hems stay neat and flat.
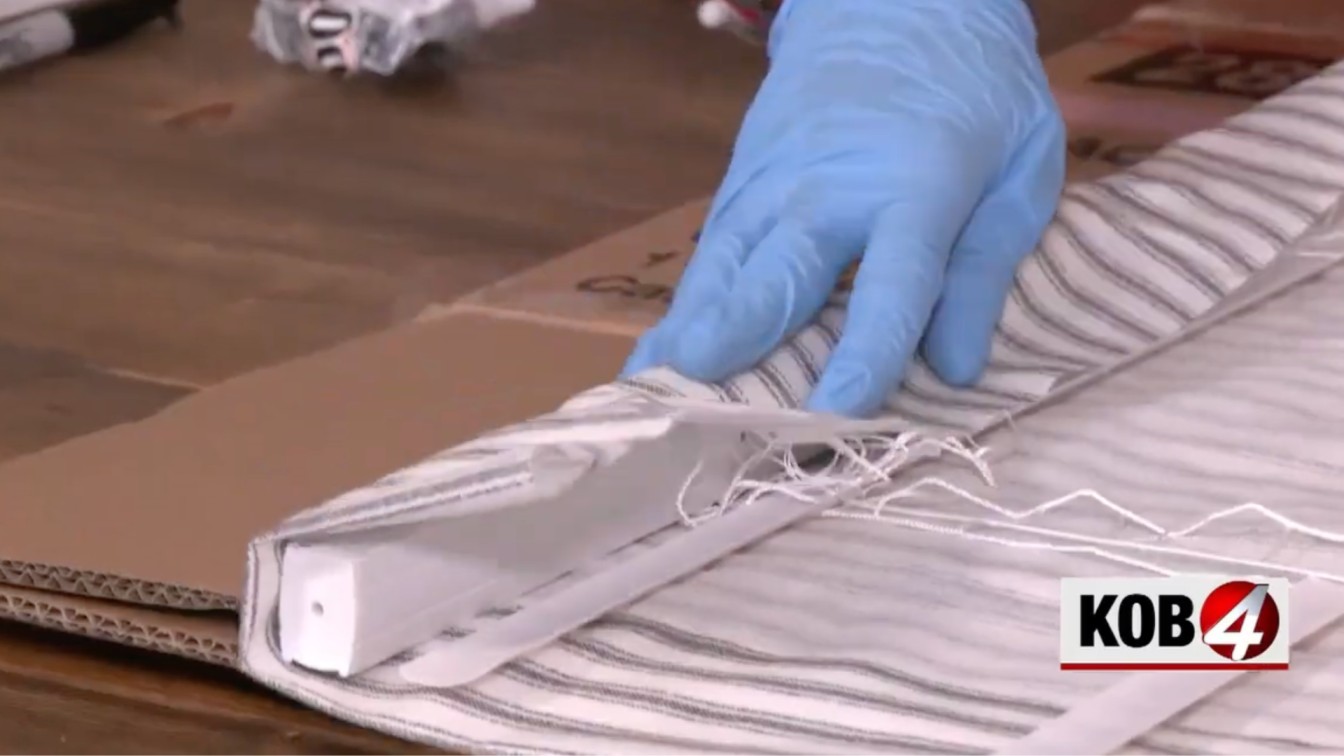
Step 3: Prepare the Mini Blinds
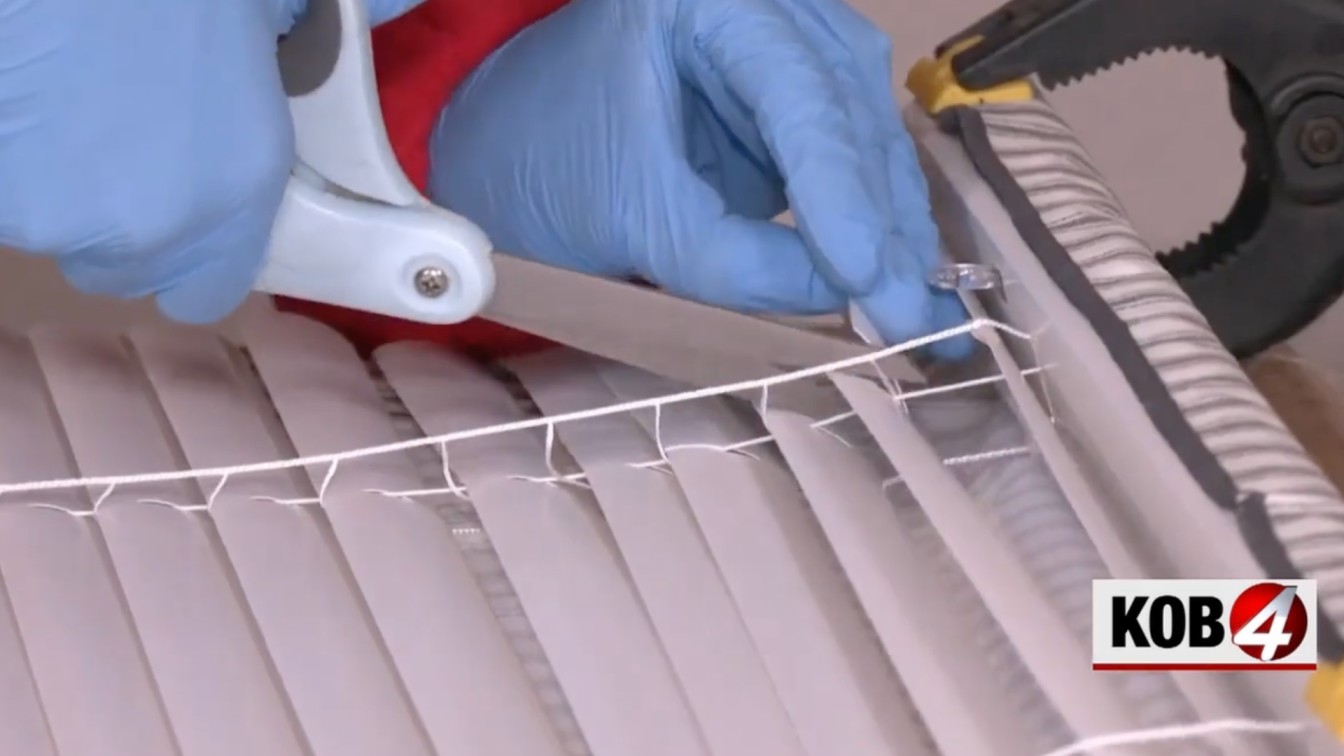
Lay the mini blinds fully open on the back side of the fabric. Cut away the ladder strings, but keep the main lift cords in place. These cords help the shade move up and down. Remove extra slats and keep only the ones needed for folds.
Handle the cords carefully so they do not tangle.
Step 4: Glue the Fabric to the Slats

Add fabric glue to the front side of each remaining slat. Press the slat onto the back of the fabric at your marked line. Keep the lift cords free from glue, or the shade may not move.
Work slowly from top to bottom, and press each slat flat so it dries in place.
Step 5: Attach the Bottom Rail
Wrap the bottom edge of the fabric around the bottom rail of the mini blinds. Add glue along the rail, press the fabric in place, and clip it while it dries. This step gives the shade a finished lower edge and helps it hang straight.
Let the glue dry fully before lifting the shade.
Step 6: Hang the Roman Shade
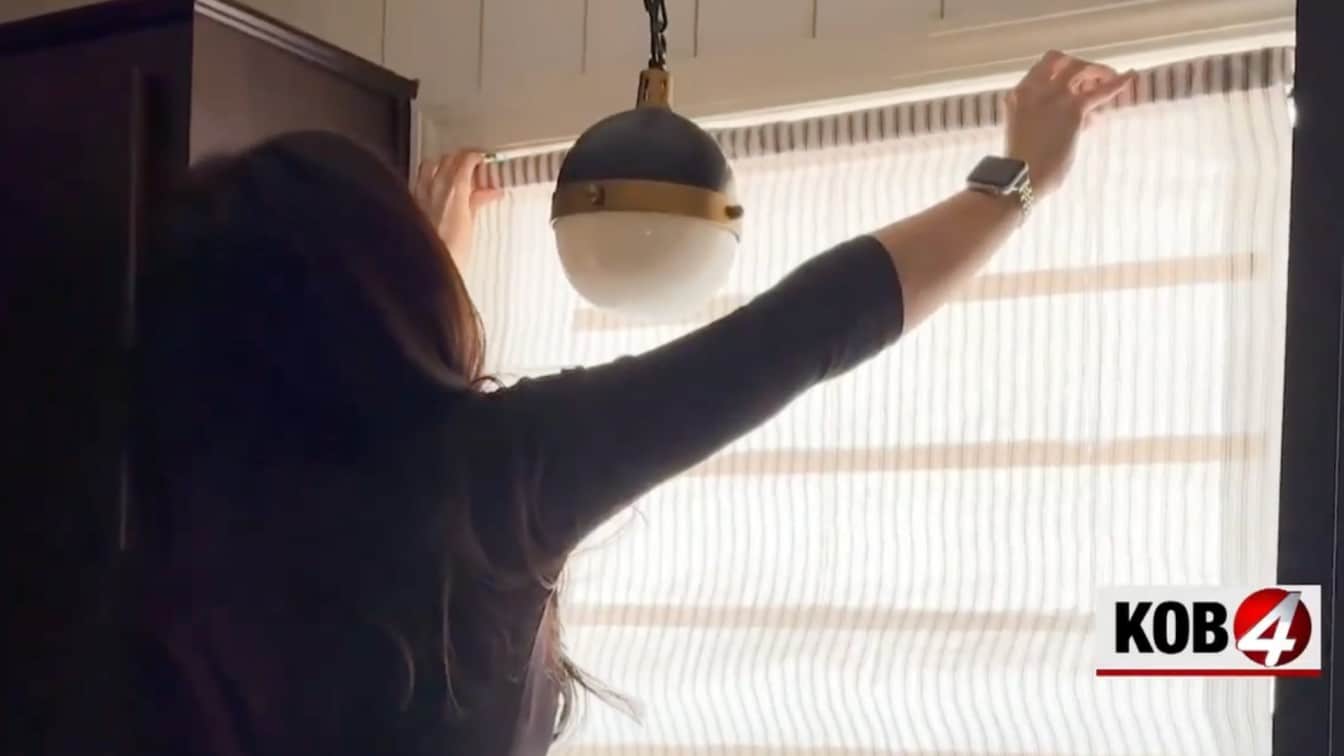
Install the Roman shade using the mini blind’s original mounting hardware. Snap or screw the shade into place, then lower and raise it a few times. Check that it sits straight and clears the window frame.
If the fabric feels heavy or loose, give the glue more drying time before daily use.
For more details, refer to the video below.
Sewn vs. No-Sew Roman Shades: Which Is Better?
Both methods can work well, but the right choice depends on how often you will use the shade. A sewn Roman shade is stronger for daily use, while a no-sew Roman shade is faster and easier for simple updates.
| Feature | Sewn Roman Shade | No-Sew Roman Shade |
|---|---|---|
| Durability | Better for daily use | Better for light use |
| Skill Level | Needs basic sewing | Beginner-friendly |
| Finish | Cleaner and stronger | Good but less firm |
| Time | Takes longer | Faster |
| Tools | Sewing machine needed | Iron, glue, or tape |
| Best Room | Bedroom, living room, office | Guest room, rental, small window |
I would recommend: choose sewn if the shade will be used daily. Choose no-sew for a quick project or decorative shade.
Inside Mount vs. Outside Mount: Which One Should You Choose?
Choose your mount type before measuring because it affects your fabric size, hardware, and final fit.
- Inside Mount Roman Shades fit inside the window frame. They give the window a clean, built-in look and work best when the frame has enough depth for the shade and hardware.
- Outside Mount Roman Shades hang above and around the window frame. They work well for shallow frames and can make the window look larger. They also block more side light because the fabric extends past the trim.
Tip: measure in three places for width and height, then use the smallest number for inside mounts.
Best Fabric for DIY Roman Shades
Fabric choice affects how your Roman shades fold, how much light they block, and how easy they are to sew. Some fabrics hold crisp folds, while others give you a softer shape.
- Medium-weight cotton: Cotton is a good starting point for beginners. It is easy to cut, press, sew, and line up before stitching.
- Linen or linen mix: Linen gives Roman shades a softer, more casual look. It can wrinkle more than cotton, so press it well before sewing.
- Upholstery fabric: Upholstery fabric works well when you want a stronger shade with more body. Avoid fabric that is too thick because it can be hard to fold and raise.
- Blackout fabric or lining: Blackout lining is a smart choice for bedrooms, nurseries, and media rooms. It helps block light and gives you more privacy.
- Sheer or light fabric: Light fabric works well when you want sunlight to pass through. It gives less privacy, so you may need to add lining.
Choose fabric based on how the room is used, how much light you want, and how often you plan to raise the shade.
Troubleshooting: Why Your Roman Shade Is Not Working Right
Small issues can show up after you test or hang your Roman shade. Use this quick table to find the cause and fix it before you remake the whole shade.
| Problem | Reason | Fix |
|---|---|---|
| Shade lifts crooked | Rings or cords are uneven | Realign the rings and rethread the cords |
| Folds look messy | Dowels are missing or uneven | Add dowels and press each fold flat |
| Fabric sags | Fabric is too light or unsupported | Add lining or more dowels |
| Shade will not lift | Cord is glued, tangled, or stuck | Check the full cord path |
| Bottom edge curls | No bottom weight | Add a dowel or weight bar |
| Shade hangs too short | Fabric was cut too short | Add a bottom band or remake the panel |
Test the shade slowly after each fix. This helps you spot the problem early and avoid pulling too hard on the cords or fabric.
Common Mistakes to Avoid
These mistakes can lead to crooked folds, weak seams, stuck cords, or shades that do not fit the window well.
- Measuring only once: Window frames can be uneven, even when they look straight. Measure the width and height in three places before cutting your fabric.
- Picking fabric that is too heavy: Very thick fabric may not fold well. It can also strain the rings, cords, and lift system when you raise the shade.
- Skipping the lining: Lining helps with privacy, light control, and a neater back side. It also gives the shade more body.
- Placing rings unevenly: Rings need to line up in straight rows. If they are uneven, the shade may pull higher on one side.
- Gluing over lift cords: This is common with mini-blind Roman shades. Keep glue away from the lift cords so the shade can move freely.
- Hanging the shade before testing: Test the shade on a flat surface first. Raise and lower it a few times before final mounting.
A few careful checks can help your Roman shade fold better, hang straighter, and work more smoothly.
Frequently Asked Questions
How much fabric is needed for Roman shades?
Measure the finished window width and length, then add 2 to 4 inches for side hems and 6 to 10 inches for top, bottom, and mounting space. Buy extra fabric for patterns or mistakes later.
How much does it cost to make Roman shades?
Most DIY Roman shades cost $20 to $80 per window, based on fabric, lining, hardware, and tools you already own. Reusing mini blinds can lower the cost, while blackout lining raises it.
Why can’t Roman glass get wet?
For Roman shades, too much water can stain fabric, shrink lining, weaken glue, and rust metal parts. Use light spot cleaning instead. For bathroom windows, pick moisture-friendly fabric and let the room dry well after showers.
Are Roman shades difficult to make?
Roman shades are not too hard if you measure carefully and follow each step in order. A sewn shade takes more time, while a no-sew or mini-blind method is easier for beginners.
To Sum Up
Learning how to make roman shades gives you more say over your fabric, size, privacy, and light control. You can match the shade to your room, choose a sewn or no-sew method, and adjust the fit for your window instead of settling for a ready-made option.
I suggest starting with one small window first. It gives you room to measure, cut, fold, and test the shade without wasting too much fabric.
Once you understand the process, making more shades for a full room feels much easier. Start with your window measurements, pick the method that fits your tools, and make one Roman shade before cutting fabric for the rest of your windows.