A broken garage door opener has a way of turning a perfectly normal morning into a stressful one. From my experience helping neighbors troubleshoot their setups, the fix is almost always simpler than it looks.
Most people assume the worst and call a technician right away, but many garage door opener problems are well within the reach of a careful DIYer. Before you pick up the phone, it is worth running through a few basic checks yourself.
Below, I’ll walk you through the most common issues, how to spot them fast, and exactly what to do to fix your garage door opener without spending a fortune or waiting days for a service appointment.
What is a Garage Door Opener and How Does It Work?
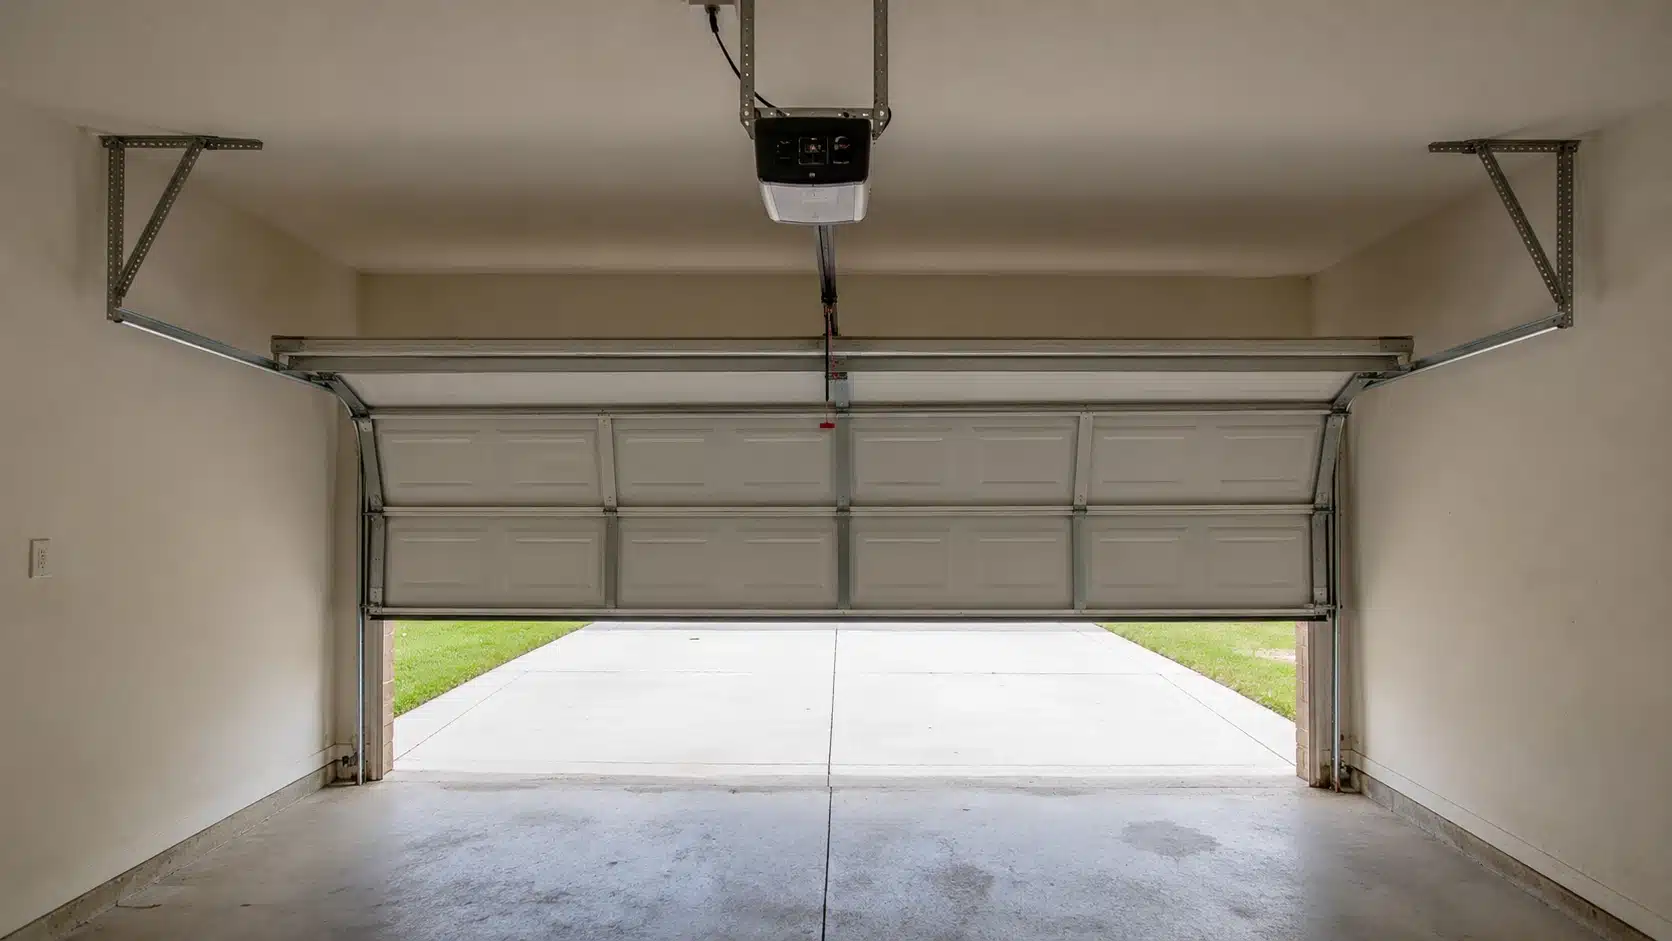
Understanding what you are working with makes every repair step cleaner. A garage door opener is a motorized unit that automates the lifting and lowering of your garage door using a drive system, typically a chain, belt, or screw mechanism.
A motor powers the drive, a trolley rides along the rail and physically moves the door, and a set of safety sensors near the floor confirm that the path is clear before the door closes.
Add in the remote, the wall button, and the logic board that ties it all together, and you have a system with several moving pieces, each capable of failing in its own way.
Knowing which part does what helps you zero in on the actual problem instead of guessing.
How to Diagnose Garage Door Opener Issues Before Fixing
A few minutes of systematic diagnosis saves a lot of unnecessary part swaps. Work through this checklist before picking up any tools:
- Power check: Is the unit plugged in and getting power? Does the outlet work with another device?
- Wall button test: If the wall button works but the remote does not, the problem is isolated to the remote.
- Sensor check: Are both indicator lights solid? Any blinking points indicate misalignment or obstruction.
- Manual test: Disengage the trolley and lift the door by hand. If it moves freely, the tracks and springs are likely fine, and the problem lies with the opener mechanics.
- Sound check: Does the motor make any noise when activated? Complete silence suggests a power or board issue. Grinding suggests a gear problem. Humming without movement points to the drive.
Once you have a clear picture of where the problem sits, the actual repair becomes faster, cheaper, and far less likely to involve replacing a part that was never broken to begin with.
Step-by-Step Guide on How to Fix Garage Door Opener
If your garage door has stopped opening, work through these steps in order. Most fixes take just a few minutes and require no special tools.
Step 1: Confirm the Opener Has Power
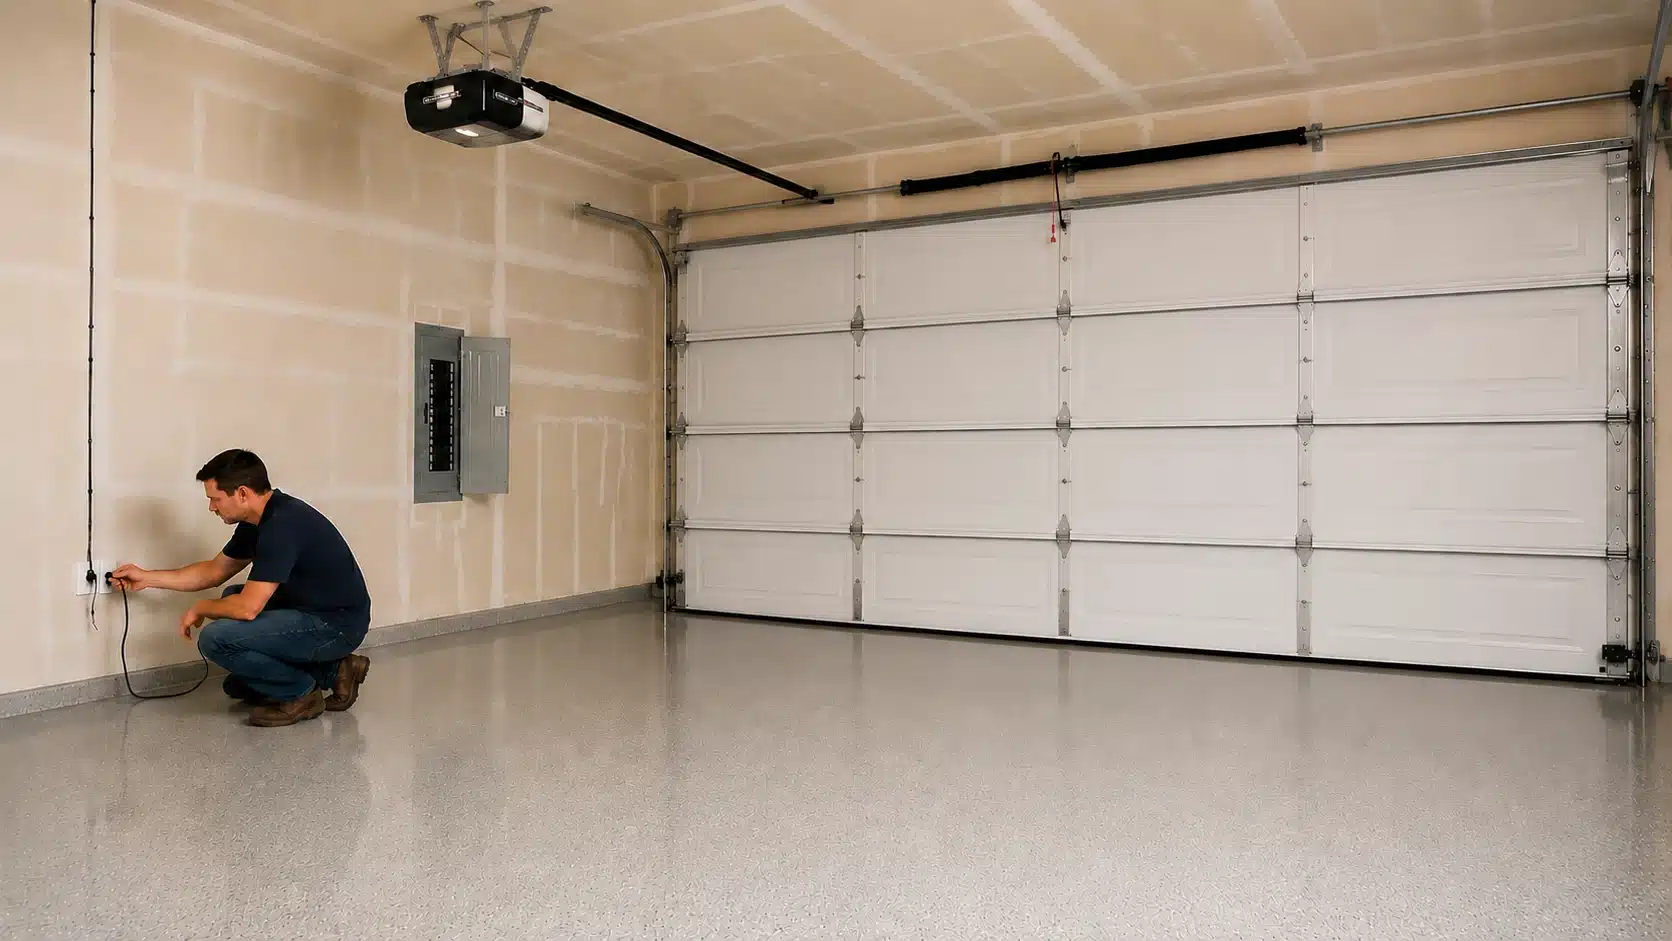
Check that the opener is plugged into a working outlet by testing the socket with another device. Head to your electrical panel and look for a breaker sitting in the middle position.
Flip it fully off, then back on. If the breaker trips again shortly after, contact an electrician, as the problem goes beyond the opener itself.
Step 2: Clear and Align the Safety Sensors
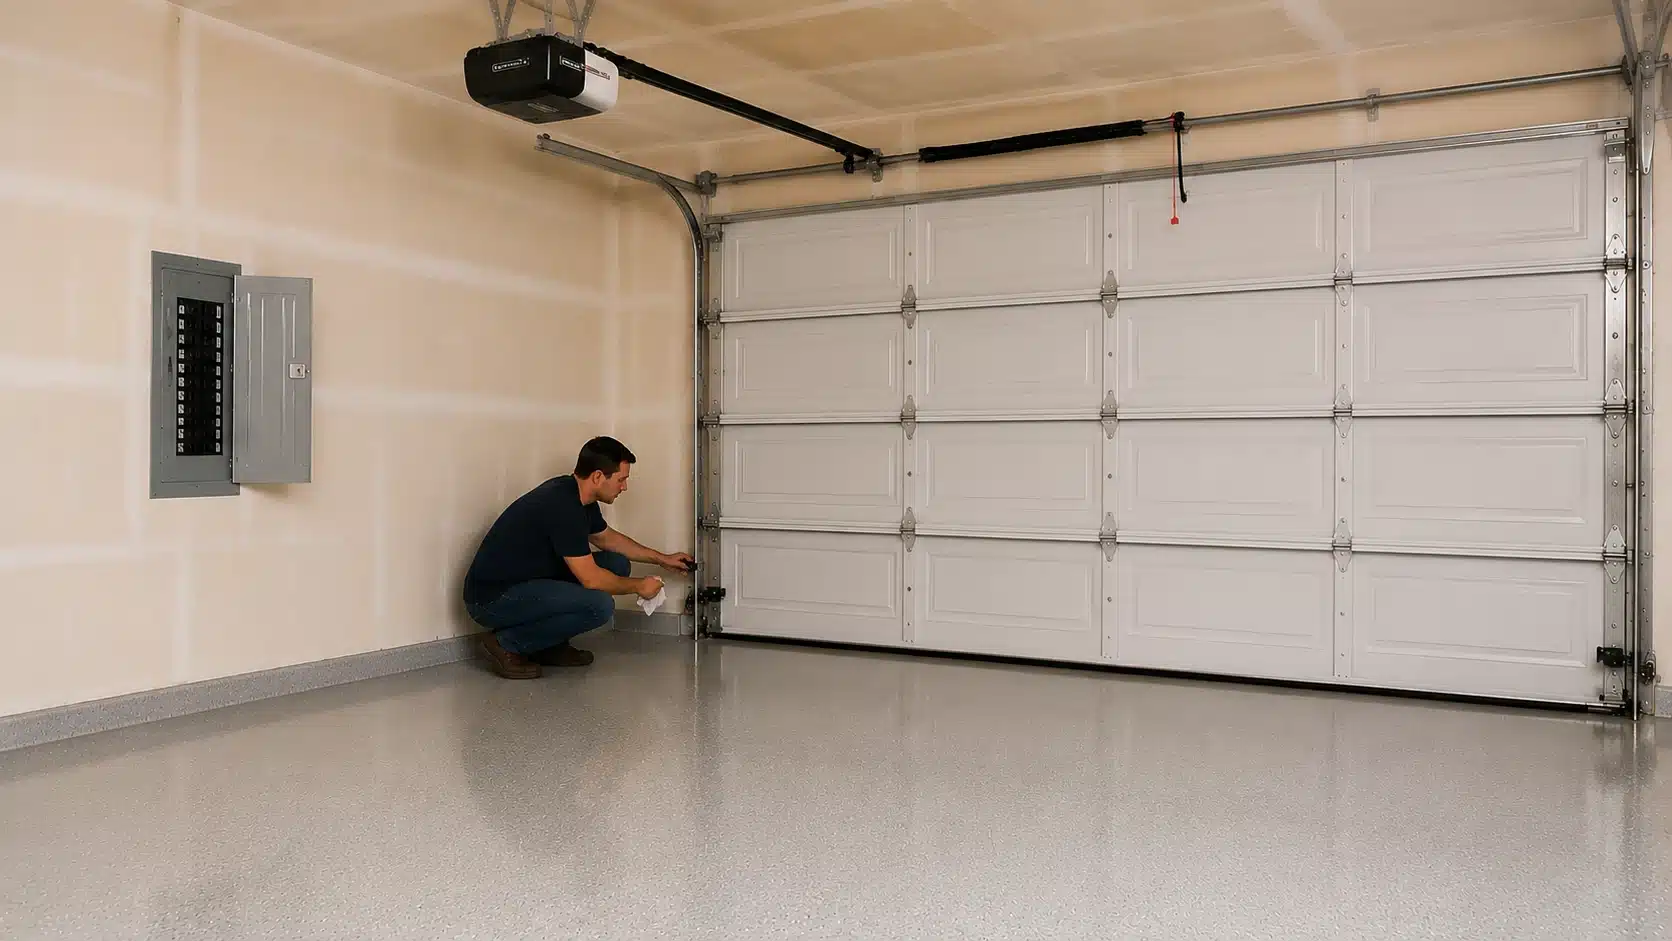
Look at the bottom of each door track for the small photo-eye sensors facing each other. Wipe both lenses with a soft cloth and remove anything blocking the path between them.
Adjust the sensor brackets until both indicator lights glow solid. A blinking light indicates the beam is still broken, and the door will not respond until the alignment is corrected.
Step 3: Re-engage the Emergency Release Trolley
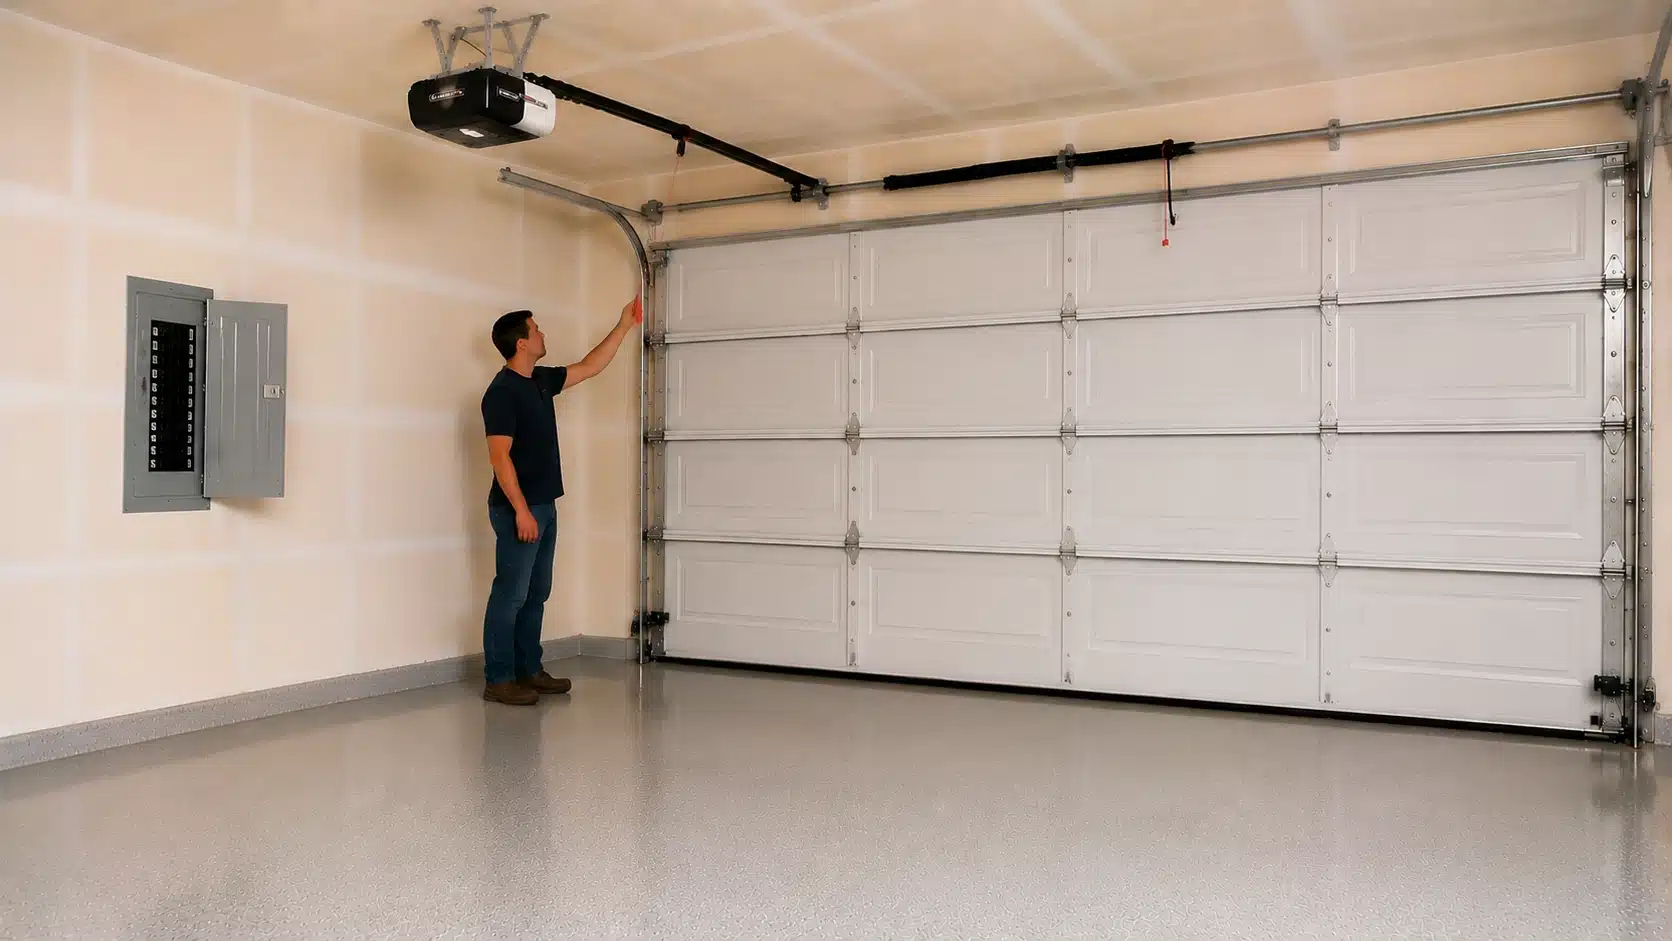
If the motor runs but the door does not move, the trolley may be disconnected. Pull the red cord hanging from the rail downward and toward the door.
Then manually slide the door until you hear the trolley click back into the carriage. Test the opener using the wall button to confirm the connection is restored before using the remote.
Step 4: Replace the Remote or Keypad Batteries and Reprogram
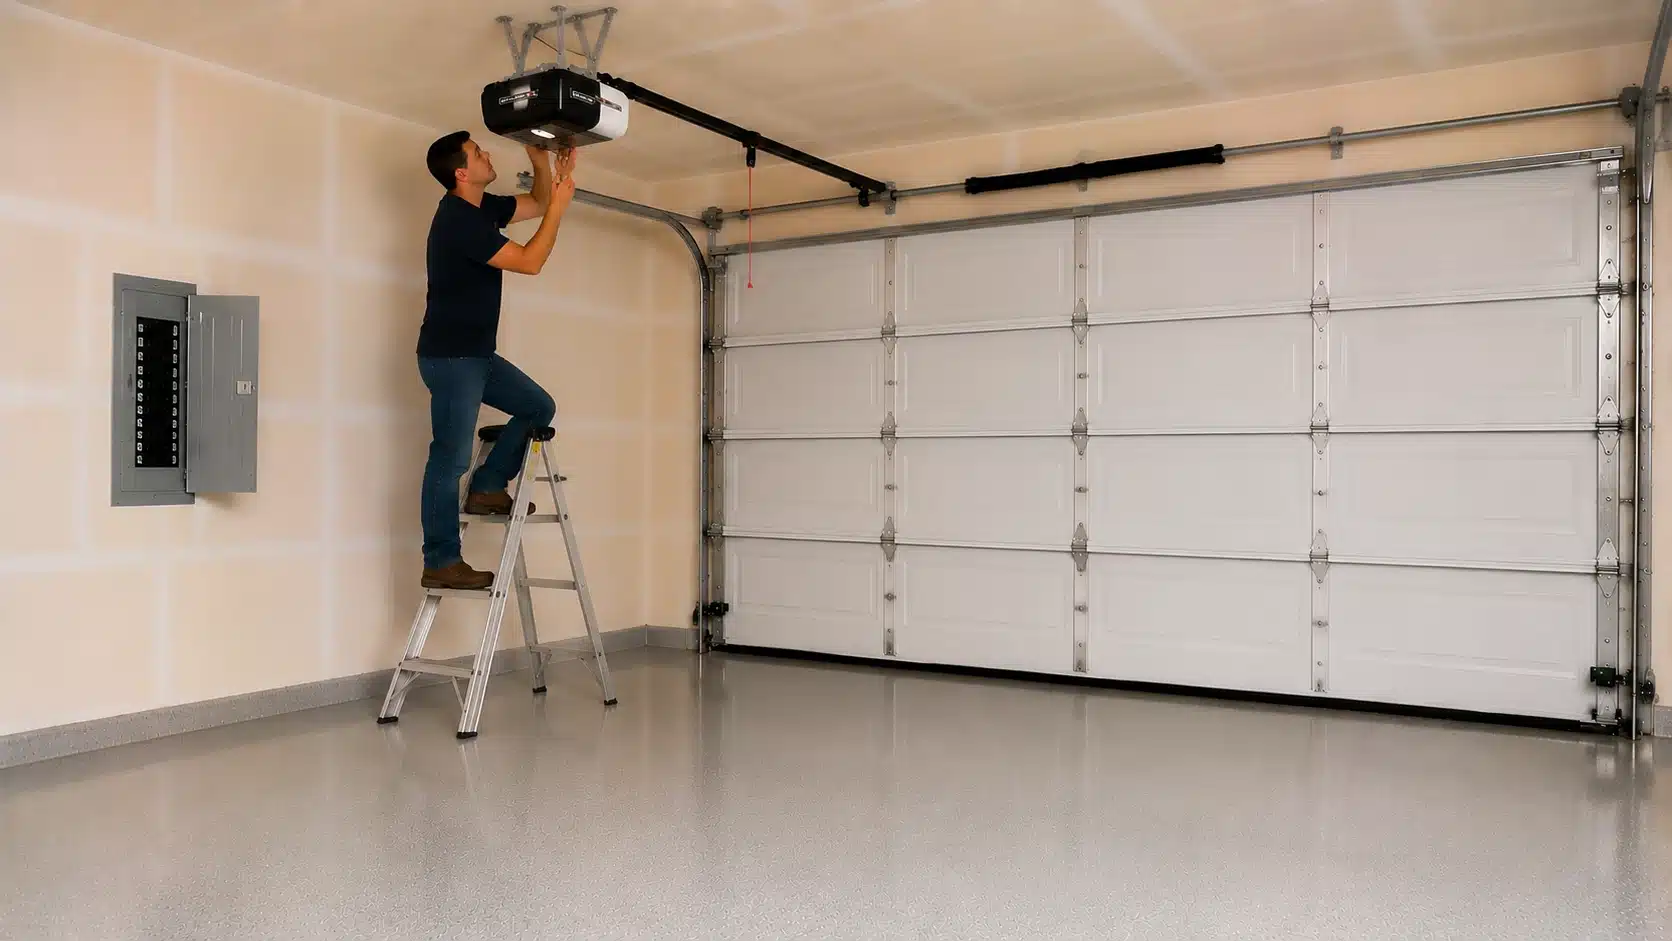
If the wall button works but the remote does not, start with fresh batteries that match the type listed in your owner’s manual, usually a CR2032 or a standard AA.
If that does not restore function, reprogram the remote by pressing the learn button on the motor unit, then pressing your remote button within 30 seconds to re-pair the two devices.
Step 5: Lubricate Moving Parts and Adjust the Limit Switches
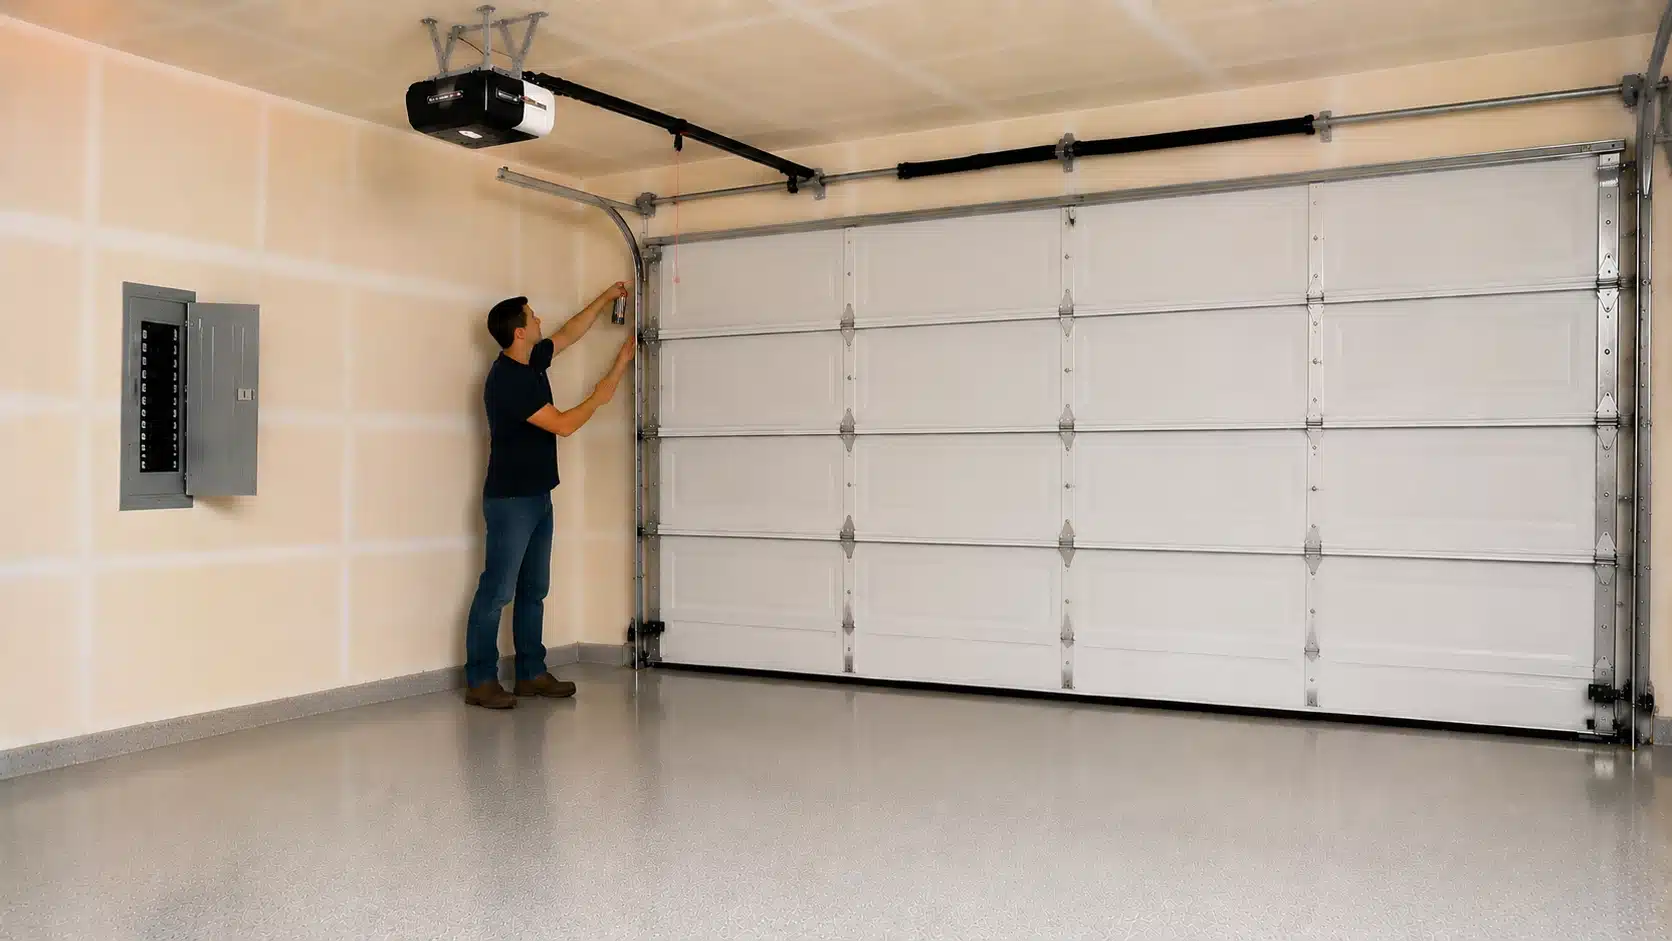
Apply a silicone-based spray or white lithium grease to the rollers, hinges, springs, and curved track sections. Skip WD-40 as it evaporates quickly. Next, locate the UP and DOWN adjustment screws on the motor unit.
Turn each in quarter-turn increments and test after every change until the door opens fully and closes flush with the ground without reversing.
Step 6: Tighten or Replace the Drive Chain or Belt
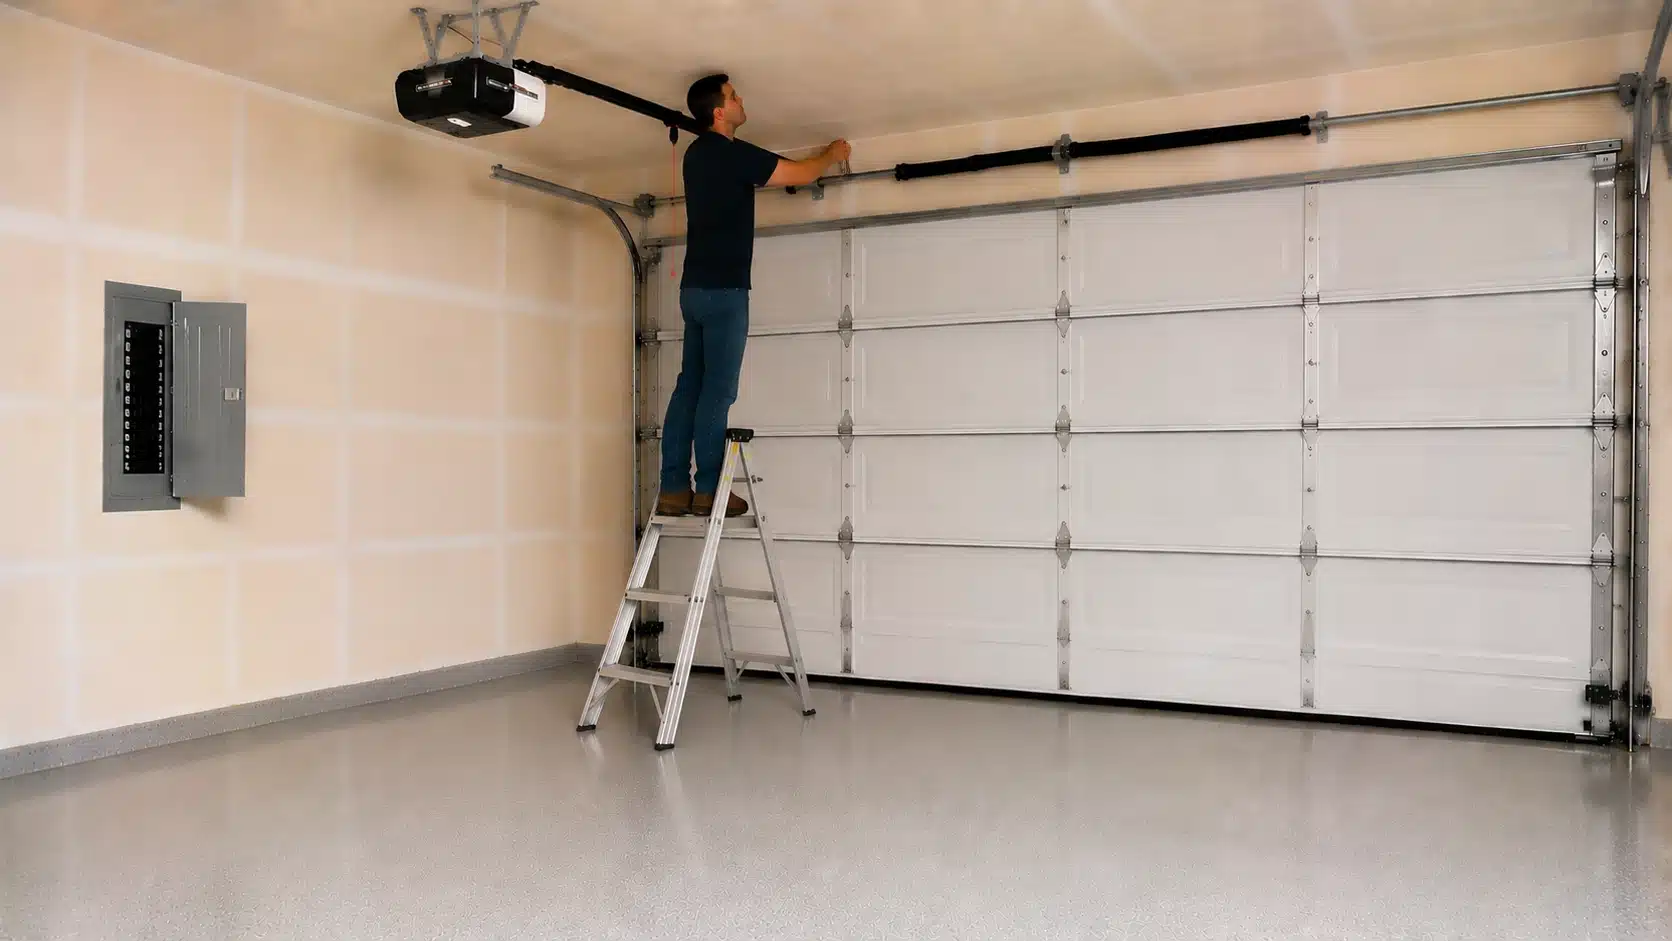
Look along the rail for a sagging, cracked, or slack chain or belt. A loose chain can often be tightened using the adjustment bolt at the front of the rail.
If the chain shows visible cracks or broken links, pick up a replacement kit matched to your opener brand and follow the manual instructions to complete the swap.
If your door is still moving after working through these steps, the fix is complete. Run it up and down two or three times to confirm everything is operating smoothly before calling it finished.
Smart Upgrades That Help Prevent Future Problems
Aging openers fail more often and cost more to maintain over time. A smart upgrade eliminates several common failure points before they ever become a problem worth fixing:
| Smart Feature | What It Does | Why It Helps |
| Real-time status updates | Sends live door status alerts to your phone | You always know if the door was left open, from anywhere |
| Built-in battery backup | Keeps the opener running during power outages | The door stays fully operational even when the power goes out |
| Self-diagnostic alerts | Flags issues like weak sensors or low battery in advance | Problems get caught early, before they cause a complete failure |
| Remote access control | Let’s you open or close the door from your phone | No need for a physical remote, useful if one is lost or stops working |
| Activity log | Records every open and close event with a timestamp | Useful for tracking access and spotting unusual patterns |
The upfront cost of a smart opener pays for itself faster than most people expect, especially when stacked against the recurring expense of service calls on an older, failure-prone unit.
Common Garage Door Opener Problems & How to Fix Them
Not every garage door problem needs a technician. Here are the three most common issues, what causes them, and whether you can handle the fix on your own.
1. The Door Won’t Open or Close
This is the most-reported garage door complaint, and the cause is almost always one of three things. Knowing which one you are dealing with determines your next move entirely.
- The problem: Blocked or misaligned sensors, a broken torsion spring, or a failing motor are the three most likely causes behind a door that refuses to open or close.
- Can you fix it yourself? Sensor issues are a clean DIY fix. A broken torsion spring is not, as the tension stored in it poses a serious injury risk and requires a professional.
- How to fix it: Wipe both sensor lenses, then confirm that both indicator lights are solid. If the sensors are fine, check the torsion spring above the door for a visible gap in the coil, and call a technician if you spot one.
Catching the right cause early means you either fix it in minutes or walk into a service call already knowing exactly what to tell the technician.
2. The Door Stops Midway or Reverses
A door that stalls or reverses mid-travel is not malfunctioning randomly. It is responding to something specific, and both common causes are well within DIY range.
- The problem: Either something is physically blocking or bending the track, or the limit switch is set too short, causing the opener to stop before the door reaches the floor.
- Can you fix it yourself? Yes, fully. Both a track obstruction and a limit switch adjustment are straightforward fixes that need no special tools or professional involvement.
- How to fix it: Run your hand along both tracks and remove any debris, bent sections, or loose hardware. Then find the DOWN adjustment screw on the motor unit and turn it in small increments until the door closes flush with the ground without reversing.
Once the track is clear and the limit switch is dialed in correctly, the door should complete its full travel without stopping or reversing again.
3. The Motor Runs but the Door Won’t Move
A running motor with a stationary door points to a break in the mechanical connection, not an electrical failure. The good news is that the most common cause can be fixed in seconds.
- The problem: The trolley may have been left disengaged after a manual release, the drive gear inside the motor unit may be stripped, or the chain or belt connecting the motor to the door may have failed.
- Can you fix it yourself? Trolley re-engagement is an instant DIY fix. A stripped drive gear is also DIY-friendly with the right replacement kit. A broken chain or belt follows the same path with a brand-matched replacement part.
- How to fix it: Check trolley engagement first by sliding the door manually until it clicks back into the carriage. If that does not resolve it, run the motor and listen for grinding, which indicates a stripped drive gear and requires a model-specific replacement kit.
Working through these causes in order keeps the repair fast and avoids replacing parts that are still in good condition.
How to Tell When Your Opener Needs Replacing, Not Repairing
Repeated repairs on an aging opener eventually cost more than a replacement. Most garage door openers last 10 to 15 years with regular use, and once a unit reaches that age, individual repairs tend to create a cycle of ongoing problems rather than solving them.
If the motor runs loudly, the door moves inconsistently despite recent repairs, or the unit lacks basic safety features like auto-reverse, those are clear signs the system is past its useful life.
Frequent breakdowns within a short window, say two or three repairs in a single year, are another strong indicator. At that point, investing in a new unit that meets current safety standards and offers smart features makes far more practical sense than continuing to patch an unreliable one.
Safety & Maintenance Tips Every Garage Door Owner Should Know
A garage door is one of the heaviest moving parts in any home. Keeping yourself safe during repairs and staying on top of basic maintenance makes a real difference in the long run.
- Unplug the opener before touching any part of the mechanism to eliminate the risk of the door activating while your hands are near moving parts.
- Never go near the torsion springs without professional help. They store significant mechanical energy and can cause serious injury if they release without warning.
- Wear safety goggles and gloves during any repair to protect against sharp metal edges, grease, and debris.
- Lubricate rollers, hinges, and springs with a silicone-based spray or white lithium grease every six months to keep the door moving quietly and reduce wear on all components.
- Tighten all visible bolts and screws every season, as vibration from regular use gradually loosens hardware across the entire door assembly.
- Test the auto-reverse monthly by placing a flat board in the door’s path. The door must reverse on contact. If it does not, adjust the force settings on the motor unit right away.
Running through this list twice a year takes under 30 minutes and goes a long way toward preventing the kind of failure that leaves you stuck outside on an early morning.
When to Call a Professional for Garage Door Opener Repair
Plenty of garage door opener fixes are well within DIY range, but some repairs cross a line where professional help is the only sensible option.
Torsion and extension spring replacement sits firmly in that category. The tension stored in these springs is enough to cause serious injury if something goes wrong mid-repair.
Broken or frayed cables carry the same risk and should never be handled without proper training and tools.
If the logic board or motor has failed, a technician can source the correct replacement parts and fit them without risking further damage to the unit.
Structural track damage also needs a professional eye, as a misaligned or bent track affects the entire door system. When in doubt about any repair, calling someone in is always the smarter, safer option.
Frequently Asked Questions
Why is my garage door opener not working all of a sudden?
Sudden failures are most often caused by a power interruption, a tripped breaker, dead remote batteries, or a sensor bumped out of alignment. Run through the basic checks, starting with power and sensors, before assuming a major component has failed.
Can a garage door opener be repaired?
Yes, the majority of opener problems are repairable. Sensor issues, remote problems, limit switch settings, lubrication needs, and worn drive components are all fixable with the right parts and a bit of patience. Complex electrical failures or a full motor burnout may require professional repair or full unit replacement.
Will unplugging a garage door opener reset it?
Unplugging the opener for about 30 seconds and plugging it back in performs a soft reset on the logic board. This clears minor software glitches and can resolve issues like an unresponsive button or erratic behavior after a power surge. It does not fix mechanical problems.
Final Thoughts
Most garage door opener repair come down to a methodical look at the basics: power, sensors, batteries, lubrication, and mechanical connections. From my own experience troubleshooting these systems, the problem is rarely as serious as it first seems.
Running through each step in order keeps the process manageable and usually surfaces the issue within the first few checks. For the repairs that fall outside of DIY territory, especially anything involving springs or cables, getting a professional on the job quickly is the right call.
Keep up with routine maintenance, replace worn parts before they fail completely, and your opener will give you reliable service for years to come. Drop a comment below and let me know if this guide helped your garage door become as stealthy as a cat.