A blank lower wall can make a room feel a little unfinished, even after fresh paint. Wainscoting fixes that by adding shape, shadow, and a custom look without tearing the room apart.
But can you install it yourself without ending up with crooked panels or messy trim?
You can, as long as you plan the layout before the saw comes out. Learning how to install wainscoting starts with checking the wall, choosing the right style, and knowing where every panel or trim piece will sit before you cut.
You’ll see what to check first, which style fits your space, and how each part of the job comes together before you start spending money and cutting material you may not need later. If you want a diy wainscoting project that looks clean instead of rushed, the early planning matters most.
What Wainscoting Can Do For Your Walls
Before you buy panels or trim, decide what role the wall needs to play. Wainscoting can protect lower walls in busy areas, but most DIYers choose it for the added structure it gives a plain room.
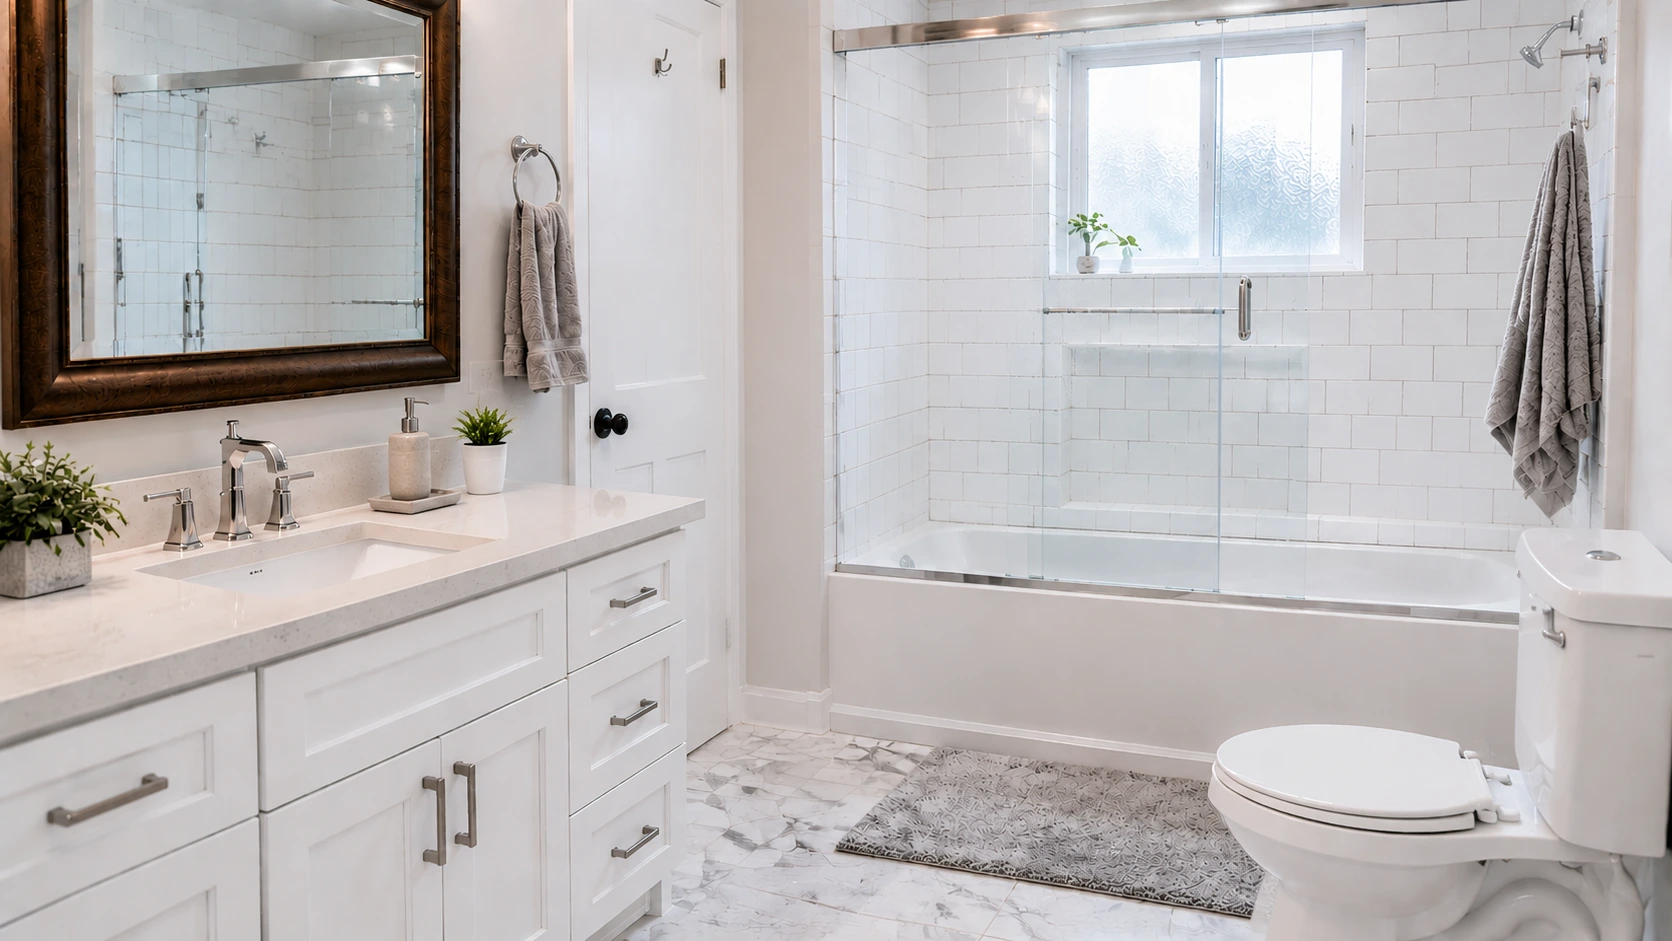
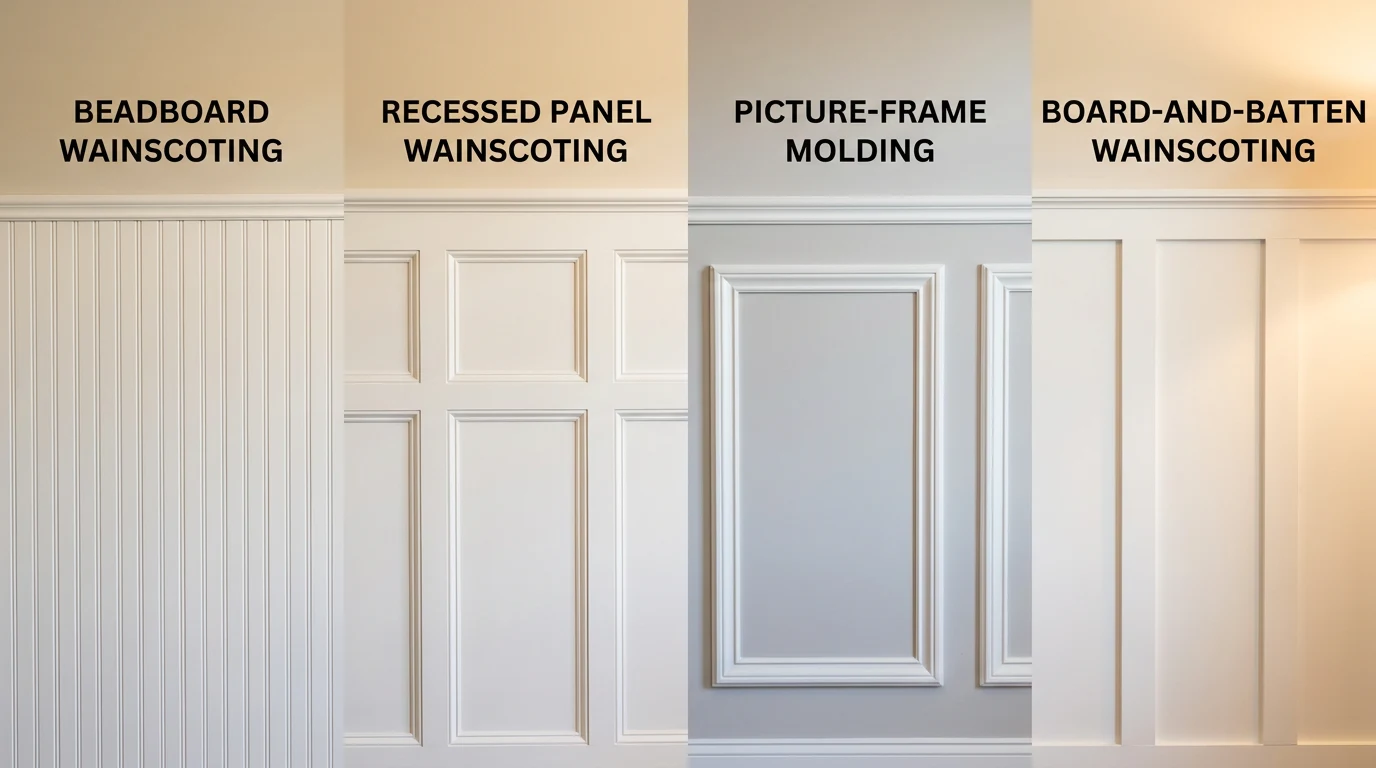
Beadboard feels casual and works well in bathrooms, laundry rooms, mudrooms, and cottage-style spaces. Recessed panel or picture-frame styles feel more formal and suit dining rooms, hallways, stairs, and bedrooms. In this wall condition matters too.
Smooth drywall makes trim-based layouts easier, while textured or uneven walls may need extra prep. If moisture is part of the room, choose sealed material and paint that can handle wiping. Once those choices are clear, the rest of the project becomes simpler and far less stressful for you overall.
Which Type of Wainscoting Should You Install?
Choosing the right wainscoting style before buying material helps you avoid wasted cuts, awkward trim, and a wall that feels wrong for the room. Use this quick comparison to match the style with your space, budget, and comfort level.
| Wainscoting Type | What It Looks Like | Best For | DIY Difficulty |
|---|---|---|---|
| Beadboard wainscoting | Vertical grooved panels that add texture | Bathrooms, laundry rooms, mudrooms, cottage-style rooms, and casual spaces | Beginner-friendly |
| Recessed panel wainscoting | Framed boxes with rails, stiles, and deeper trim detail | Dining rooms, hallways, stair walls, bedrooms, and formal living spaces | Moderate |
| Picture-frame molding | Decorative trim boxes are applied directly to the wall | Smooth drywall, accent walls, and budget-friendly updates | Beginner to moderate |
| Board-and-batten wainscoting | Vertical battens that create a clean, simple rhythm | Entryways, bedrooms, kids’ rooms, farmhouse-style rooms, and modern spaces | Beginner to moderate |
Beadboard is usually the simplest route for a faster wall update, especially if you want a simple panel likea shiplap wall. Recessed panels take more time, but they give the wall a stronger custom look when the room calls for a more finished trim detail.
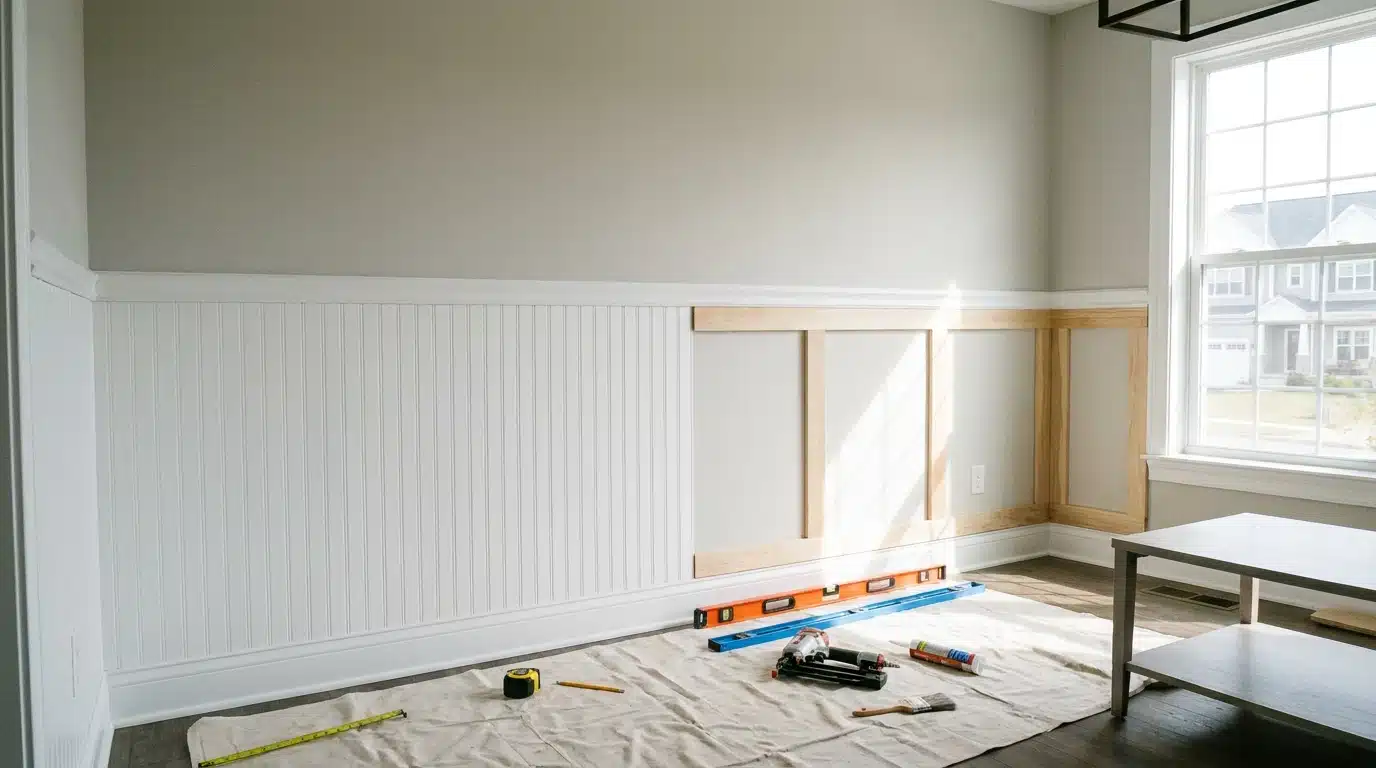
How to Prepare Your Wainscoting Layout
Before cutting anything, make sure the wall is clean, level, and planned around the room’s fixed details.
- Check the wall: Patch dents, sand rough spots, clean dust or grease, and choose moisture-safe material for bathrooms or laundry rooms.
- Review the baseboard: Keep it if it works with the panel thickness. Replace it if it is too thin, damaged, or uneven.
- Choose the height: Use one-third of the wall as a starting point, then adjust for windows, outlets, switches, vanities, and furniture.
- Mark a level line: Use a level or laser line instead of following the floor.
- Map interruptions: Mark studs, outlets, vents, doors, corners, and trim before cutting.
- Balance the layout: Divide the wall so end panels or trim sections do not look squeezed.
- Sketch before cutting: Make small spacing changes now, while they are still easy to fix.
Taking time to prepare and plan now helps every panel fit better, reduces mistakes, and gives your finished wainscoting a cleaner, more professional appearance.
How to Install Beadboard Wainscoting
Beadboard wainscoting is a good choice when you want a faster DIY wall update with visible texture. It works well in bathrooms because panels cover the wall quickly, but the job still needs careful cuts around trim, counters, pipes, and outlets. Before you start, gather the basic tools and materials:
Tools and Materials Required
- Tape measure
- Pencil
- Straight edge or saw guide
- Table saw or circular saw
- Jigsaw
- Brad nailer and compressor
- Hammer and finish nails
- Sandpaper
- Beadboard panels
- Top molding or trim
- Existing or new baseboard
- Brad nails or finish nails
- Caulk or silicone
- Wood filler or putty
- Paint
Step 1: Decide How the Beadboard Will Meet the Baseboard
Start by checking the baseboard that is already on the wall. If it is deep enough and still looks clean, you can install the beadboard right above it.
This saves time and avoids pulling off the trim, which may damage the wall. If the baseboard is thin, broken, or does not match the panel thickness, remove it and plan to add new base trim later. This choice affects the bottom edge, so decide before measuring and cutting.
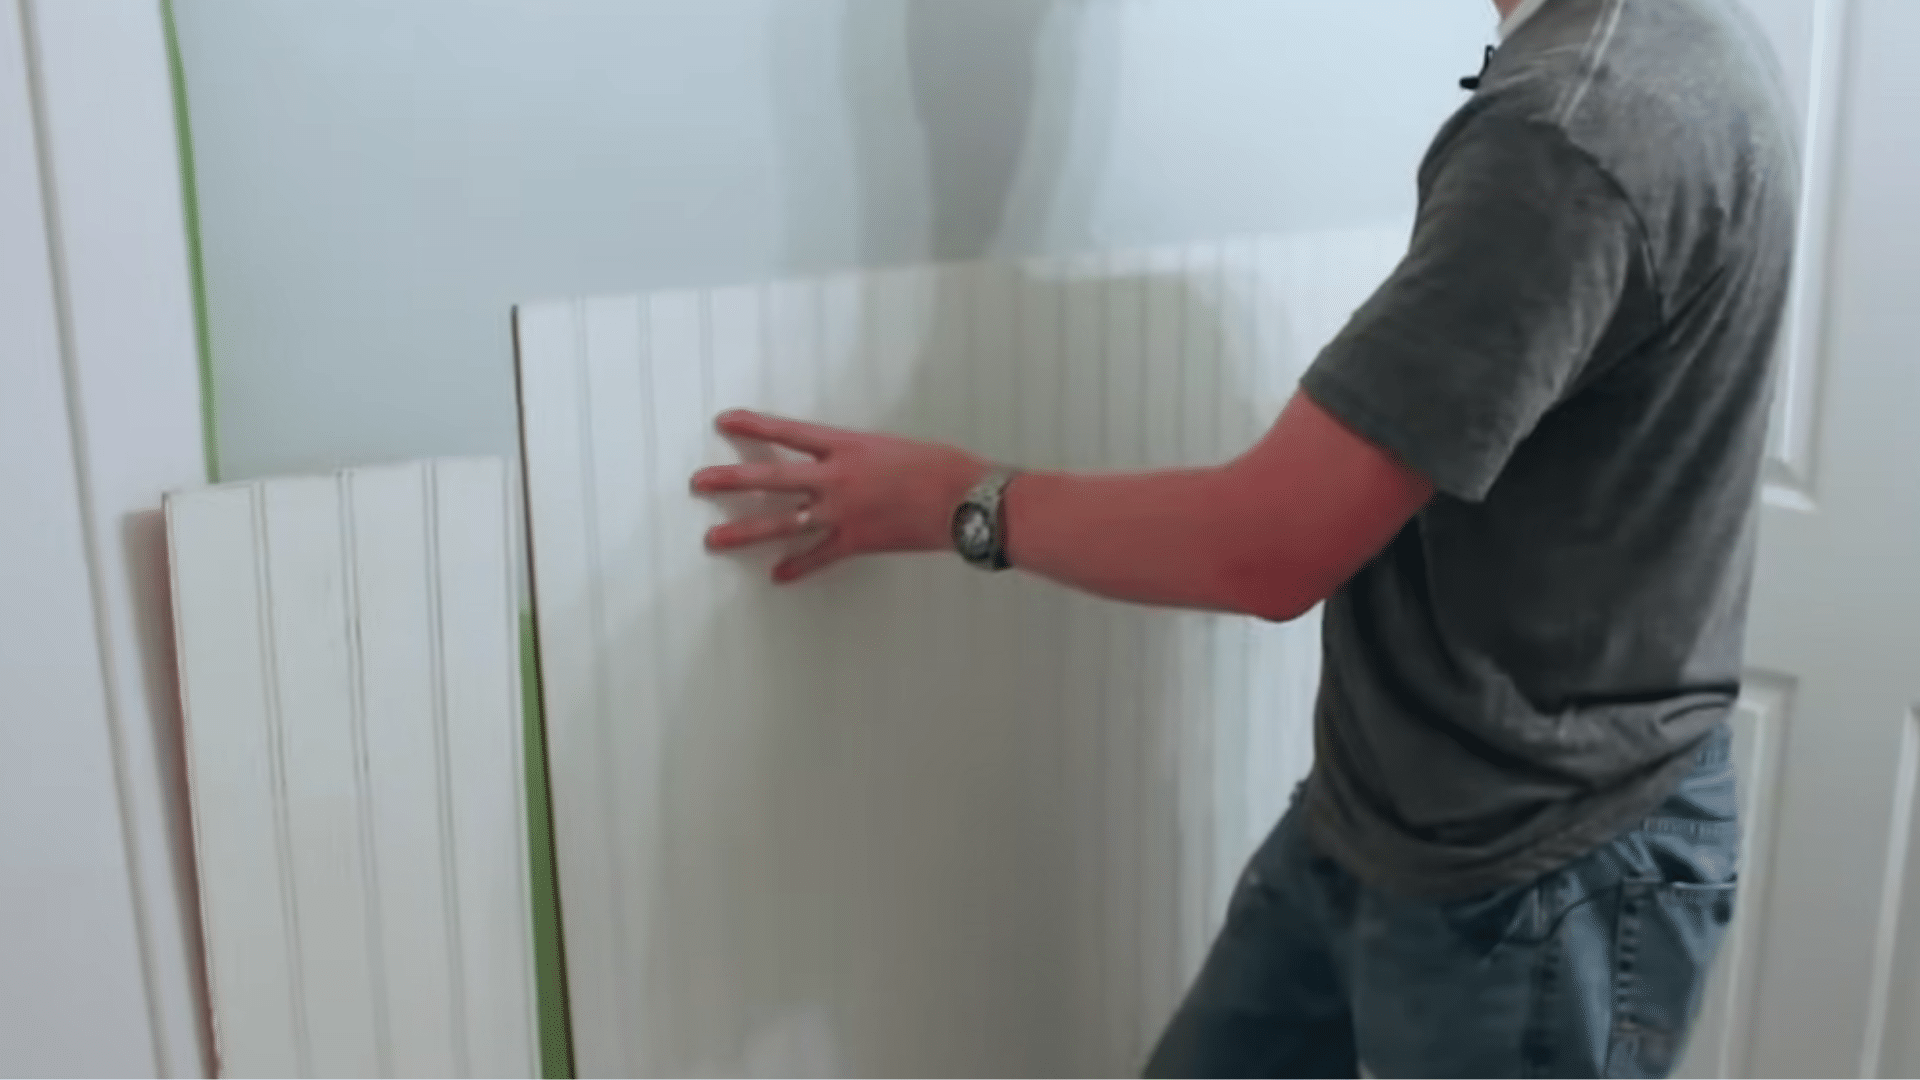
Step 2: Plan the Panel Direction Before Cutting
Look closely at the beadboard edges before you make any cuts. Many beadboard sheets are made so one side lines up neatly with the next panel.
If you cut from the wrong side, the joint may look uneven after installation. Choose the edge that will meet the existing panel, then mark your cut from that direction.
This helps the bead pattern continue across the wall. It is a small detail, but it makes the finished wall look much more planned.
Step 3: Cut the Beadboard Panels to Fit
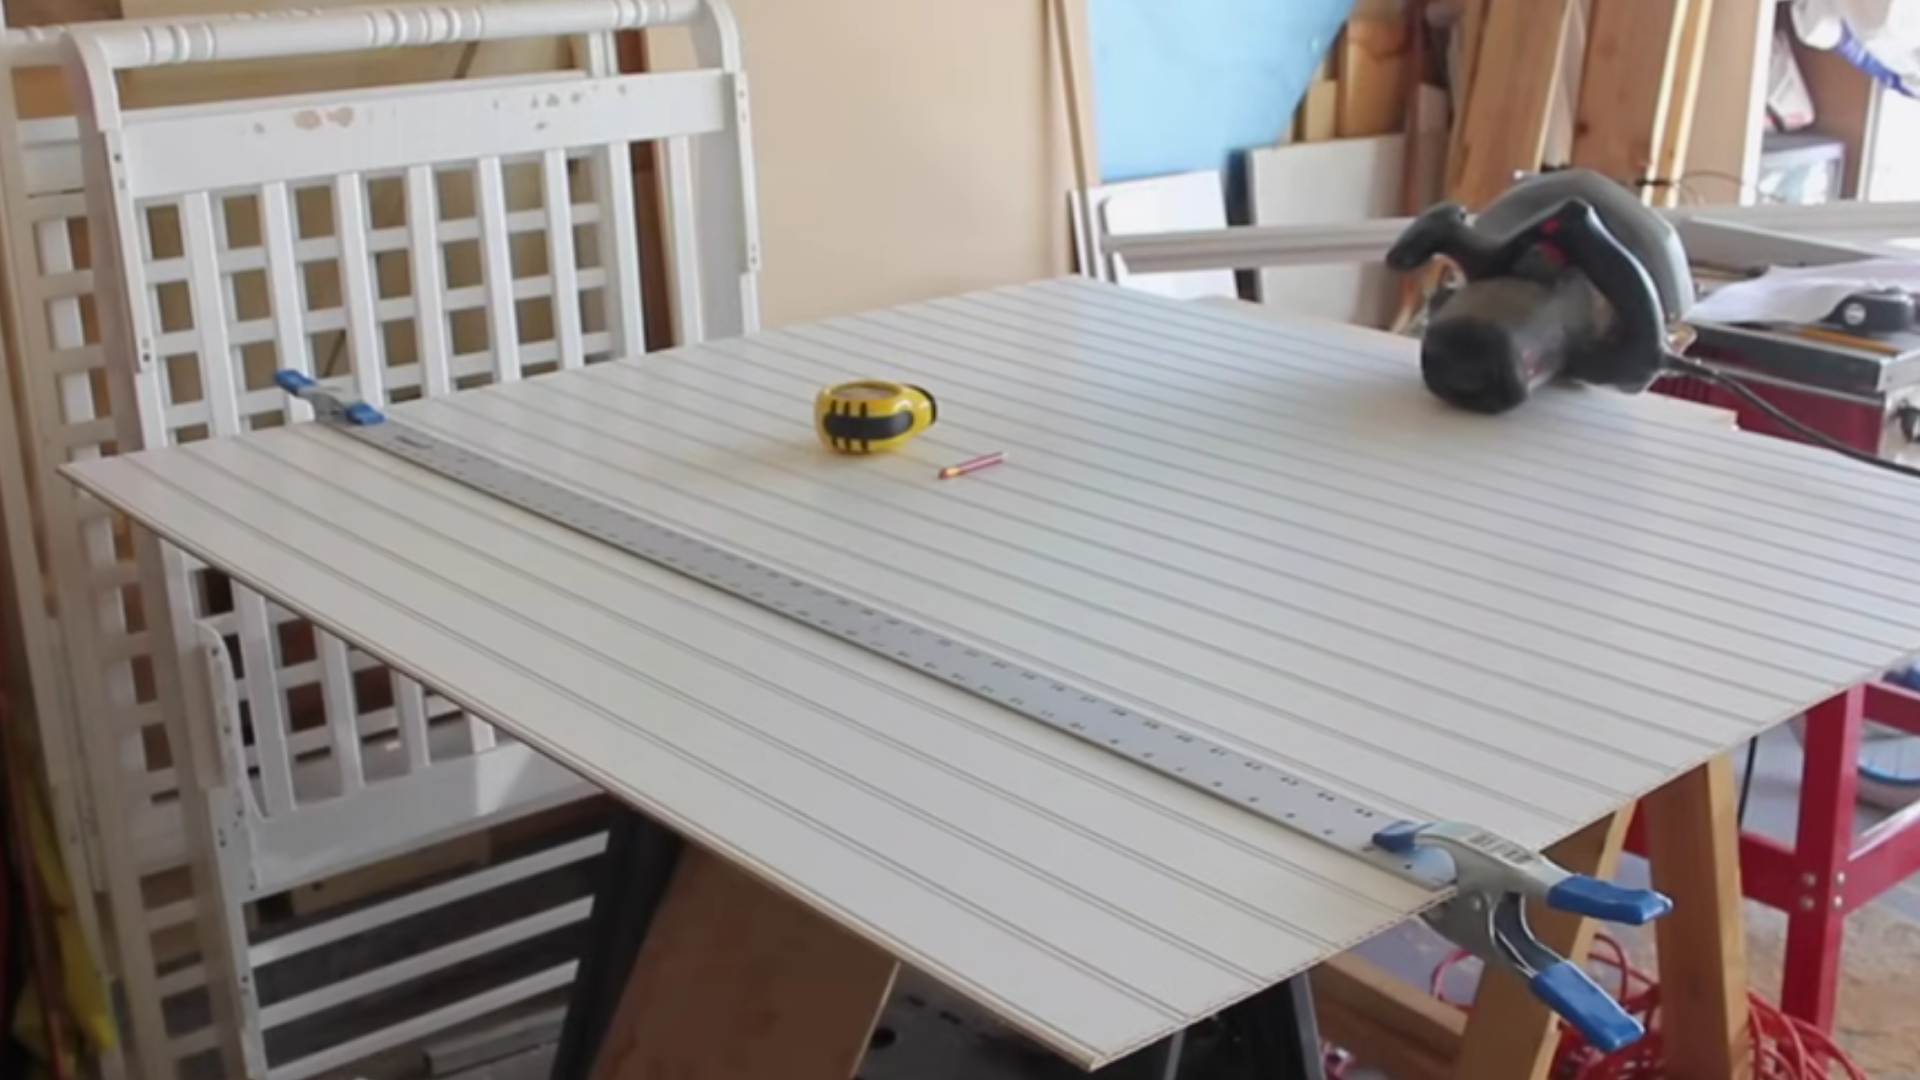
Measure the wall section, then transfer the measurement to the beadboard panel. Use a table saw, circular saw, or skill saw for straight cuts. If you are using a circular saw, clamp a straight guide so the blade stays on track.
Cut with the finished face down when possible, as the blade usually leaves a cleaner, more visible edge that way. If the cut edge gets rough, do not panic. Sand it smooth before painting or cover it with trim where possible.
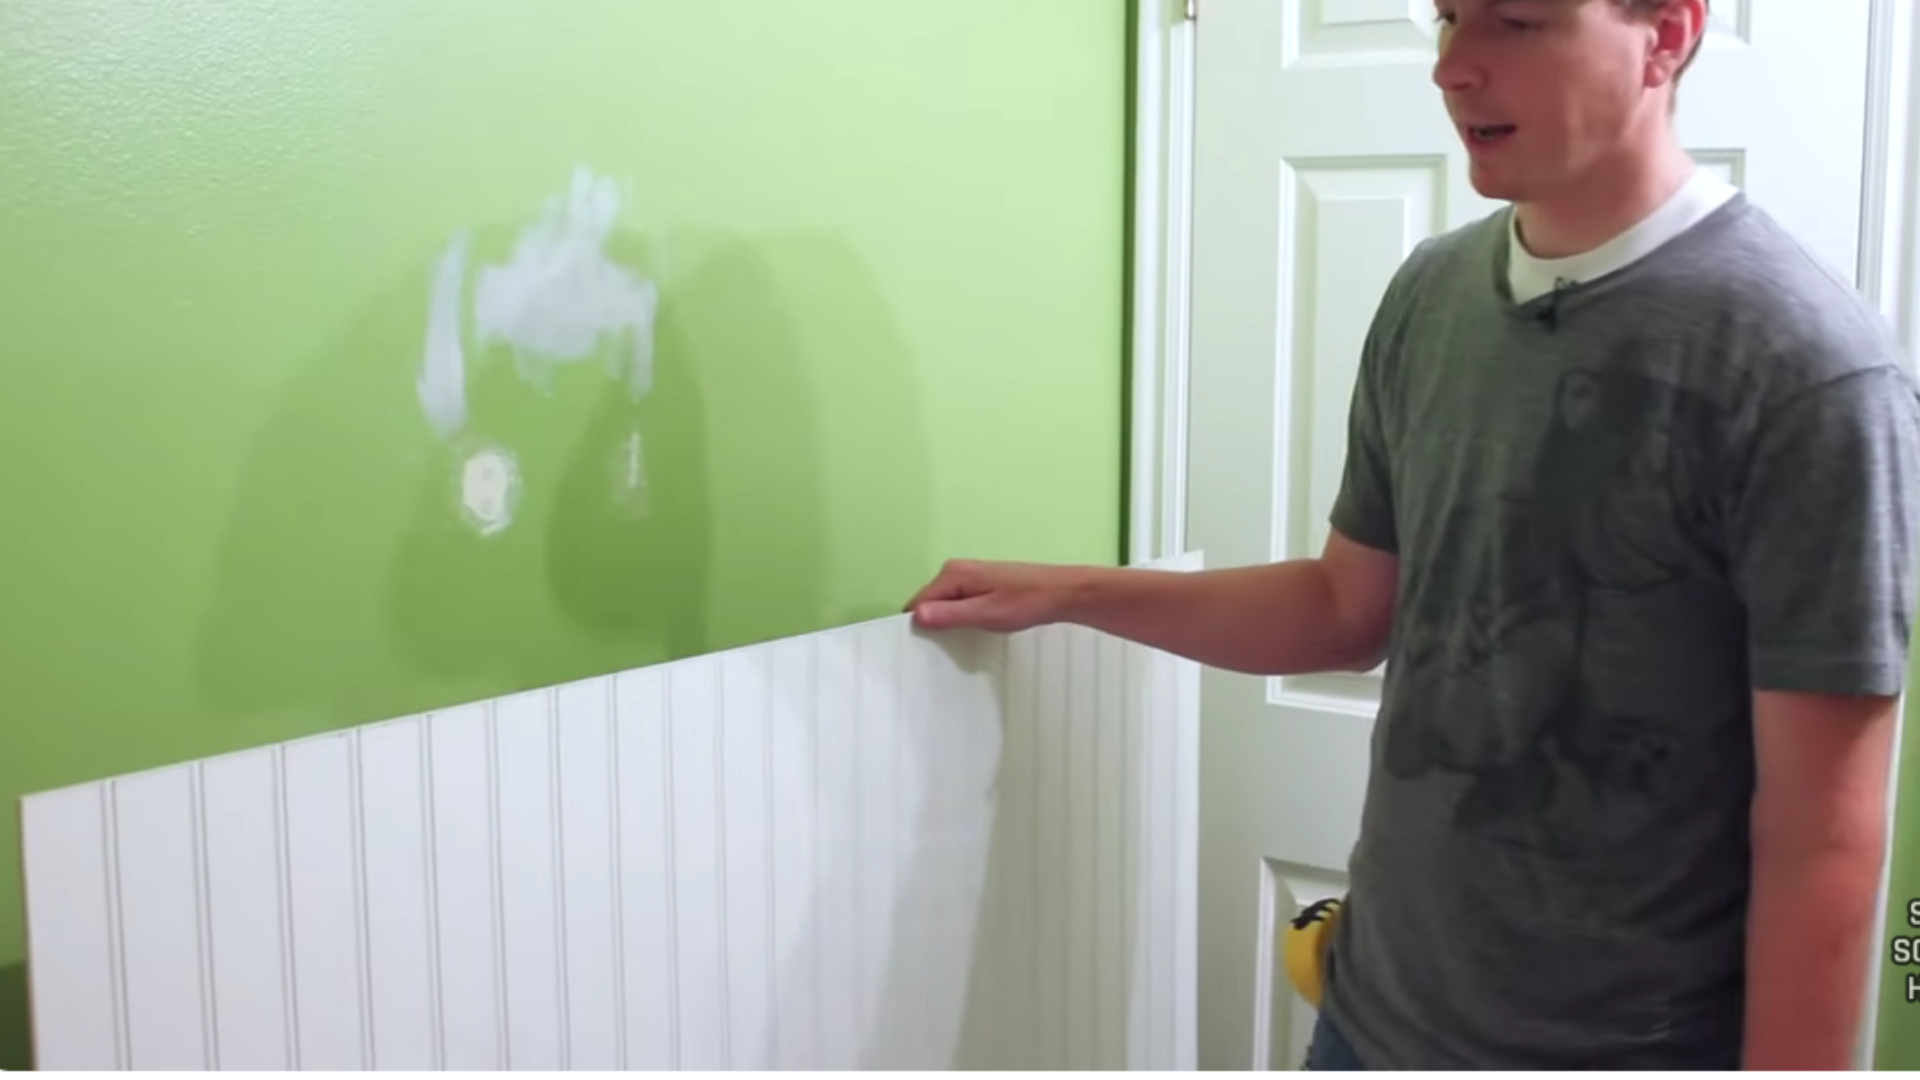
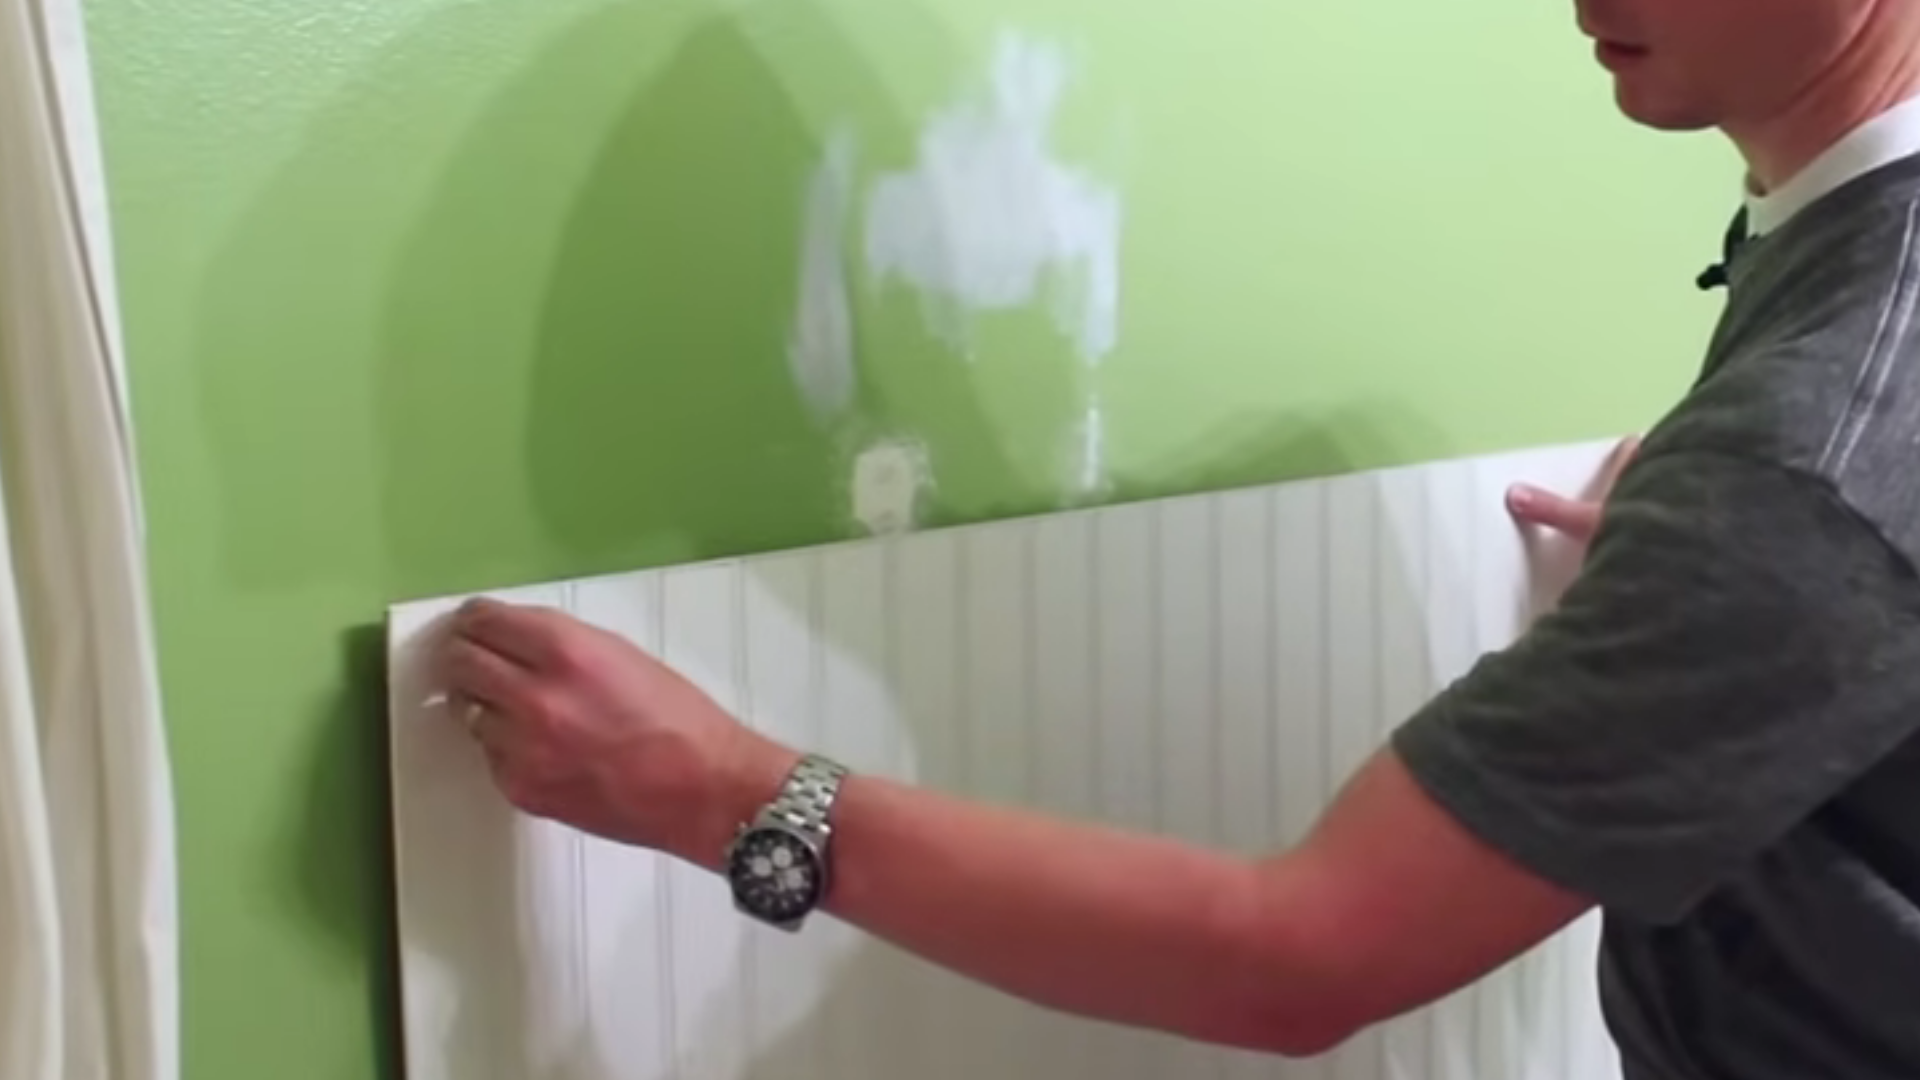
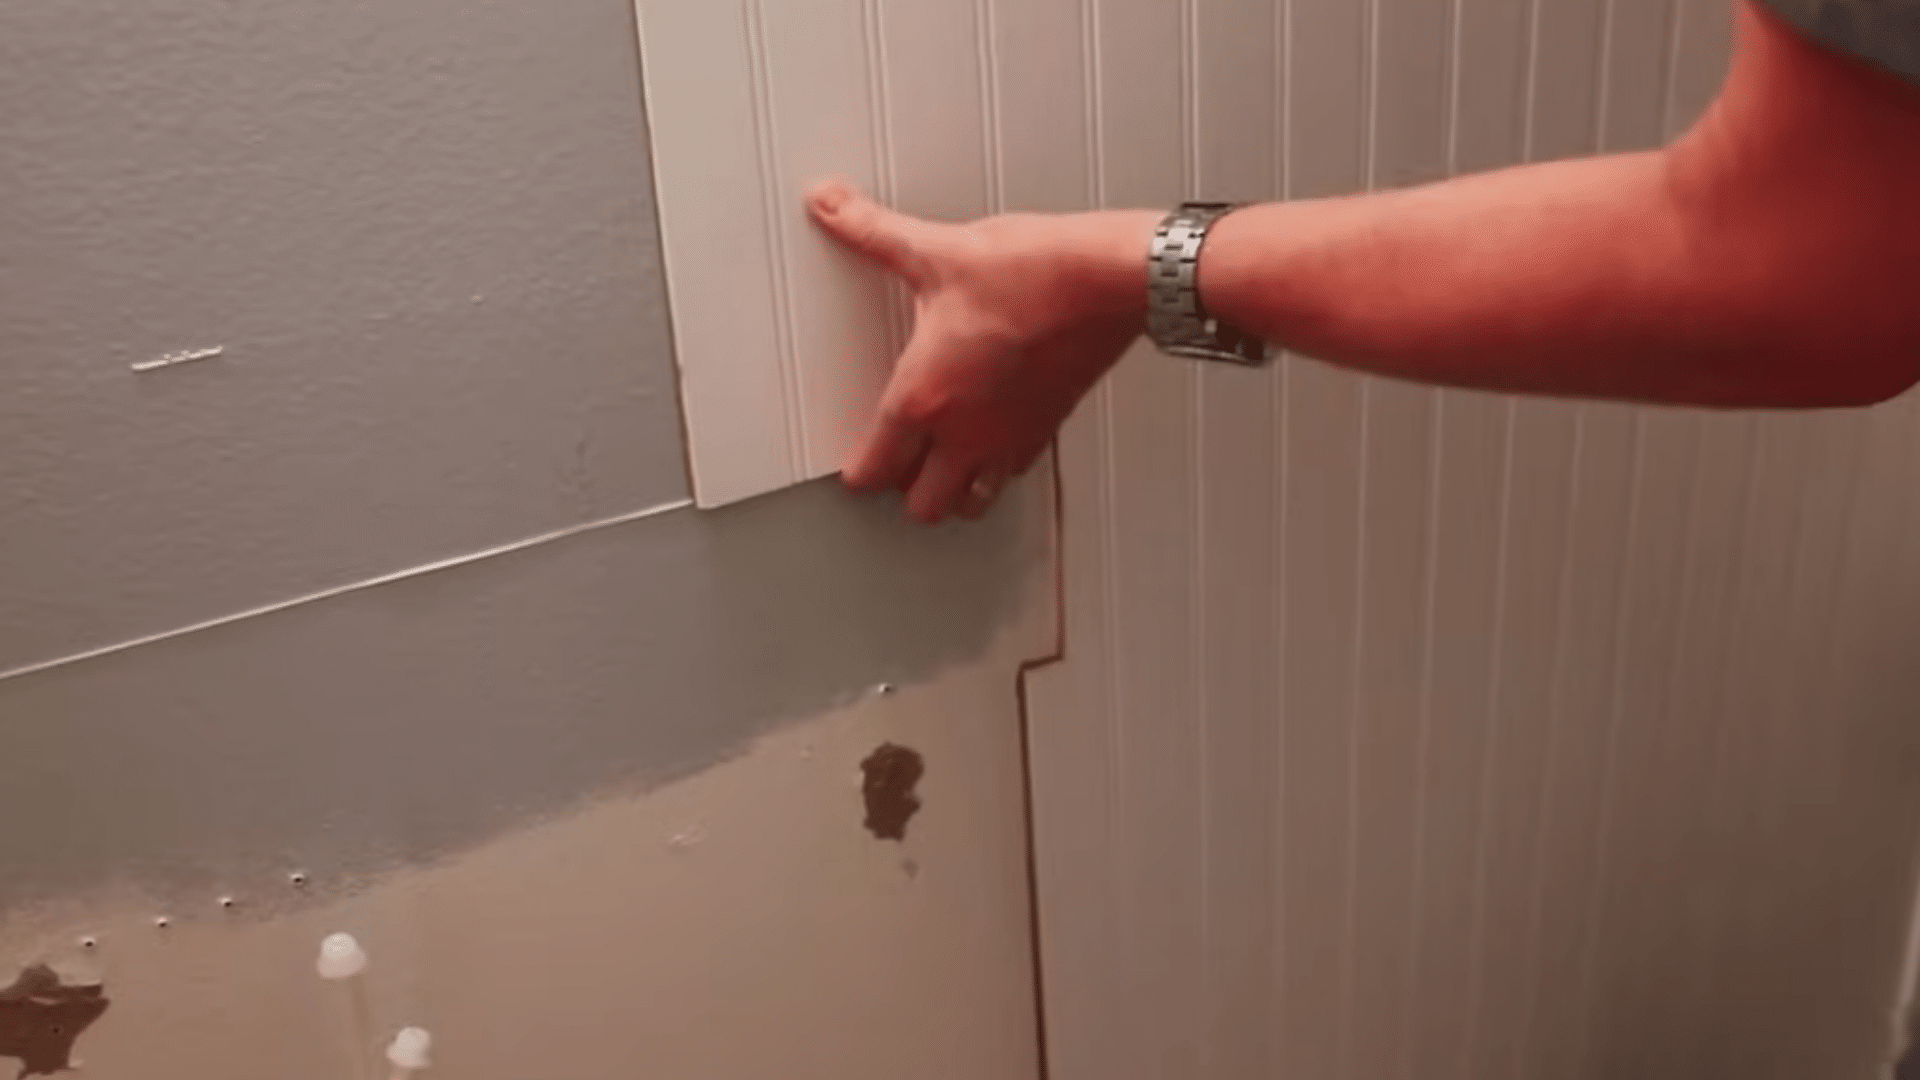
Step 4: Dry Fit Each Panel on the Wall
Before you nail anything, place the cut panel against the wall and check how it sits. Look at the baseboard, corner, countertop, vanity, and top line.
The panel should sit flat and tight without forcing it into place. If one edge feels too snug, trim or sand it before moving on. Dry fitting saves you from pulling off a nailed panel later. It also gives you a chance to check the bead pattern before the piece becomes permanent.
Step 5: Cut Around Pipes, Counters, and Outlets
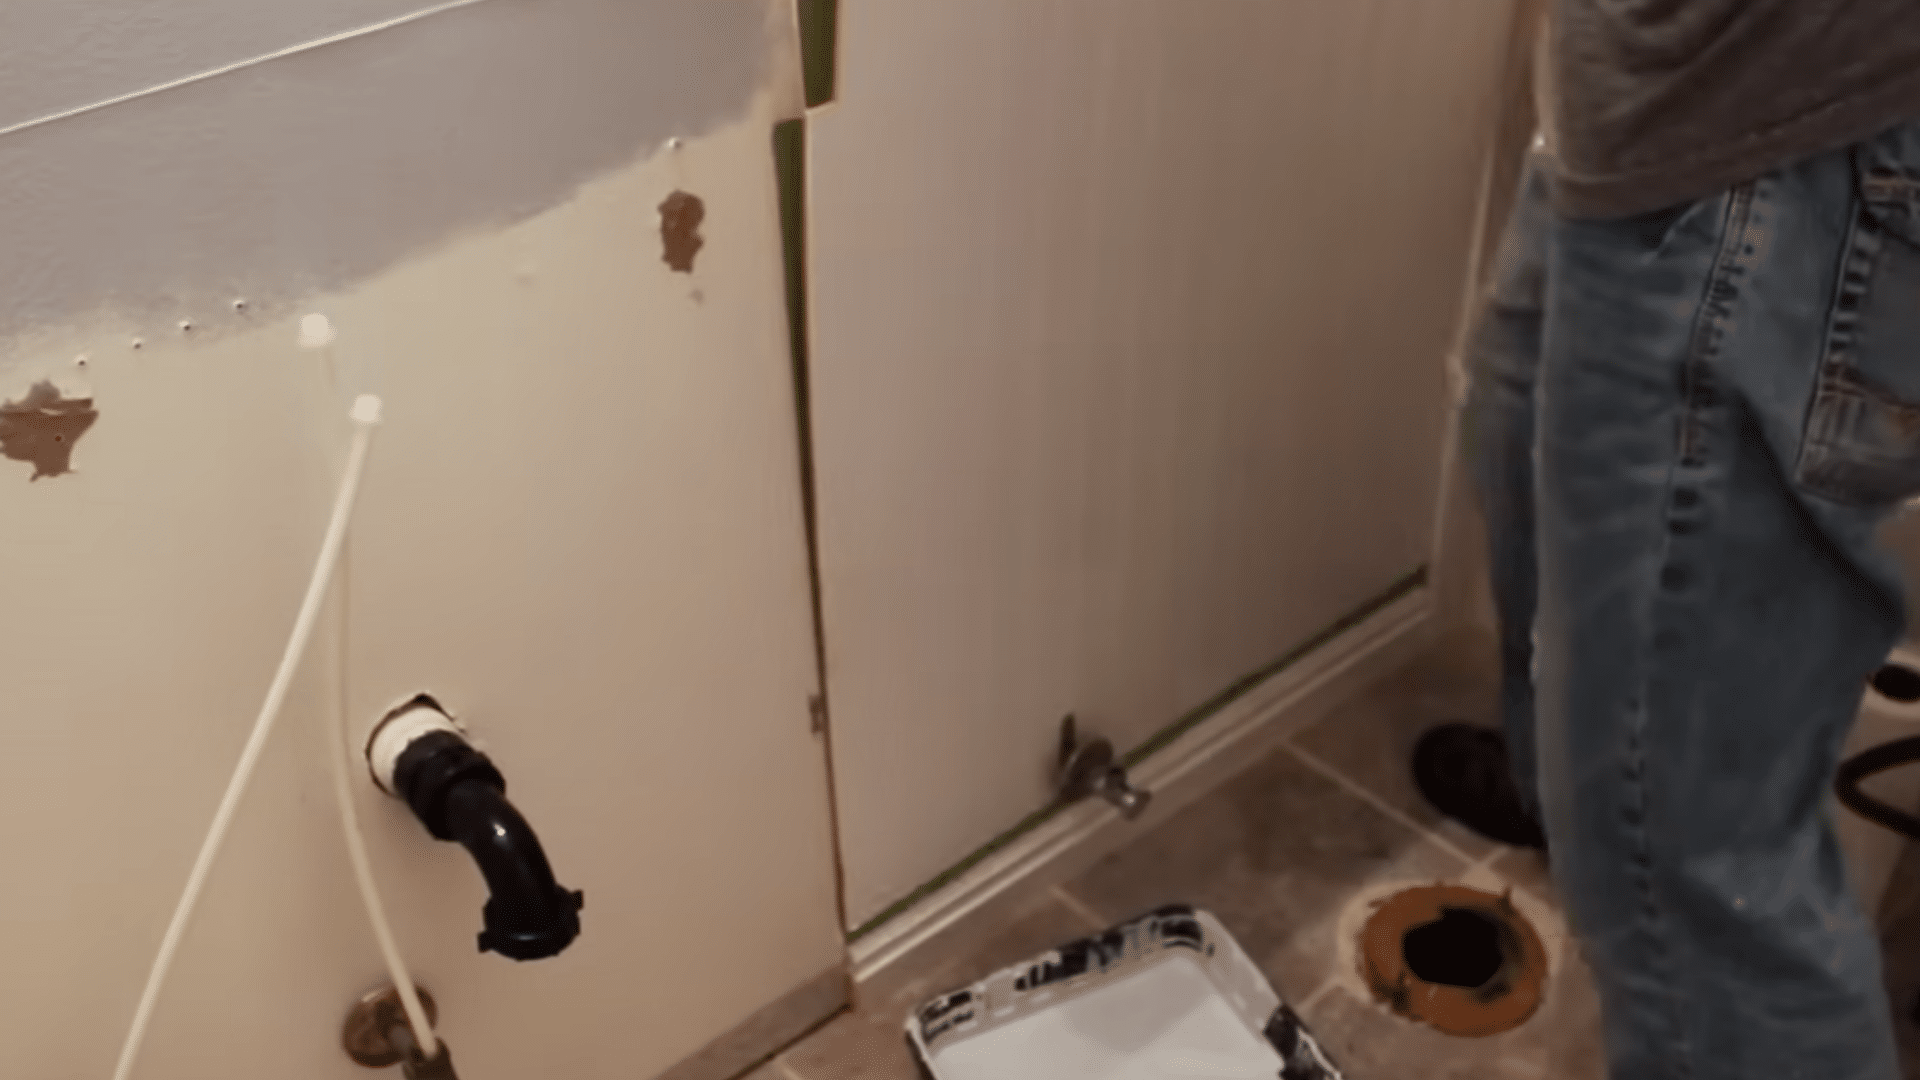
Some panels will need shaped cuts around plumbing, counters, outlet boxes, or vanity edges. Measure these areas carefully and mark them on the beadboard before cutting.
A jigsaw works well for curved or small cuts, while a circular saw can handle longer straight lines. Test the fit before fastening the panel. Around pipes, make sure the beadboard sits neatly behind trim rings where possible. Around outlets, turn off power first and use extenders if the panel changes wall depth.
Step 6: Attach the Beadboard to the Wall
Once the panel fits well, press it flat against the wall and fasten it in place. A brad nailer makes this faster, but finish nails can also work if you are doing it by hand.
Nail near the bottom, top, and edges where the panel needs support. If trim will cover some nail spots, place nails there when possible. If the nail heads stay visible, sink them slightly so you can fill and paint over them later.
Step 7: Match the Joints as You Add More Panels
As you move across the wall, keep each new panel tight against the last one. The bead pattern should line up as naturally as possible so the joint does not stand out after paint.
Check the seam before nailing, because small gaps become more noticeable once the wall is finished. If a panel needs to come out and be adjusted, do it before the trim is installed. Take your time here, because clean joints make beadboard look far better
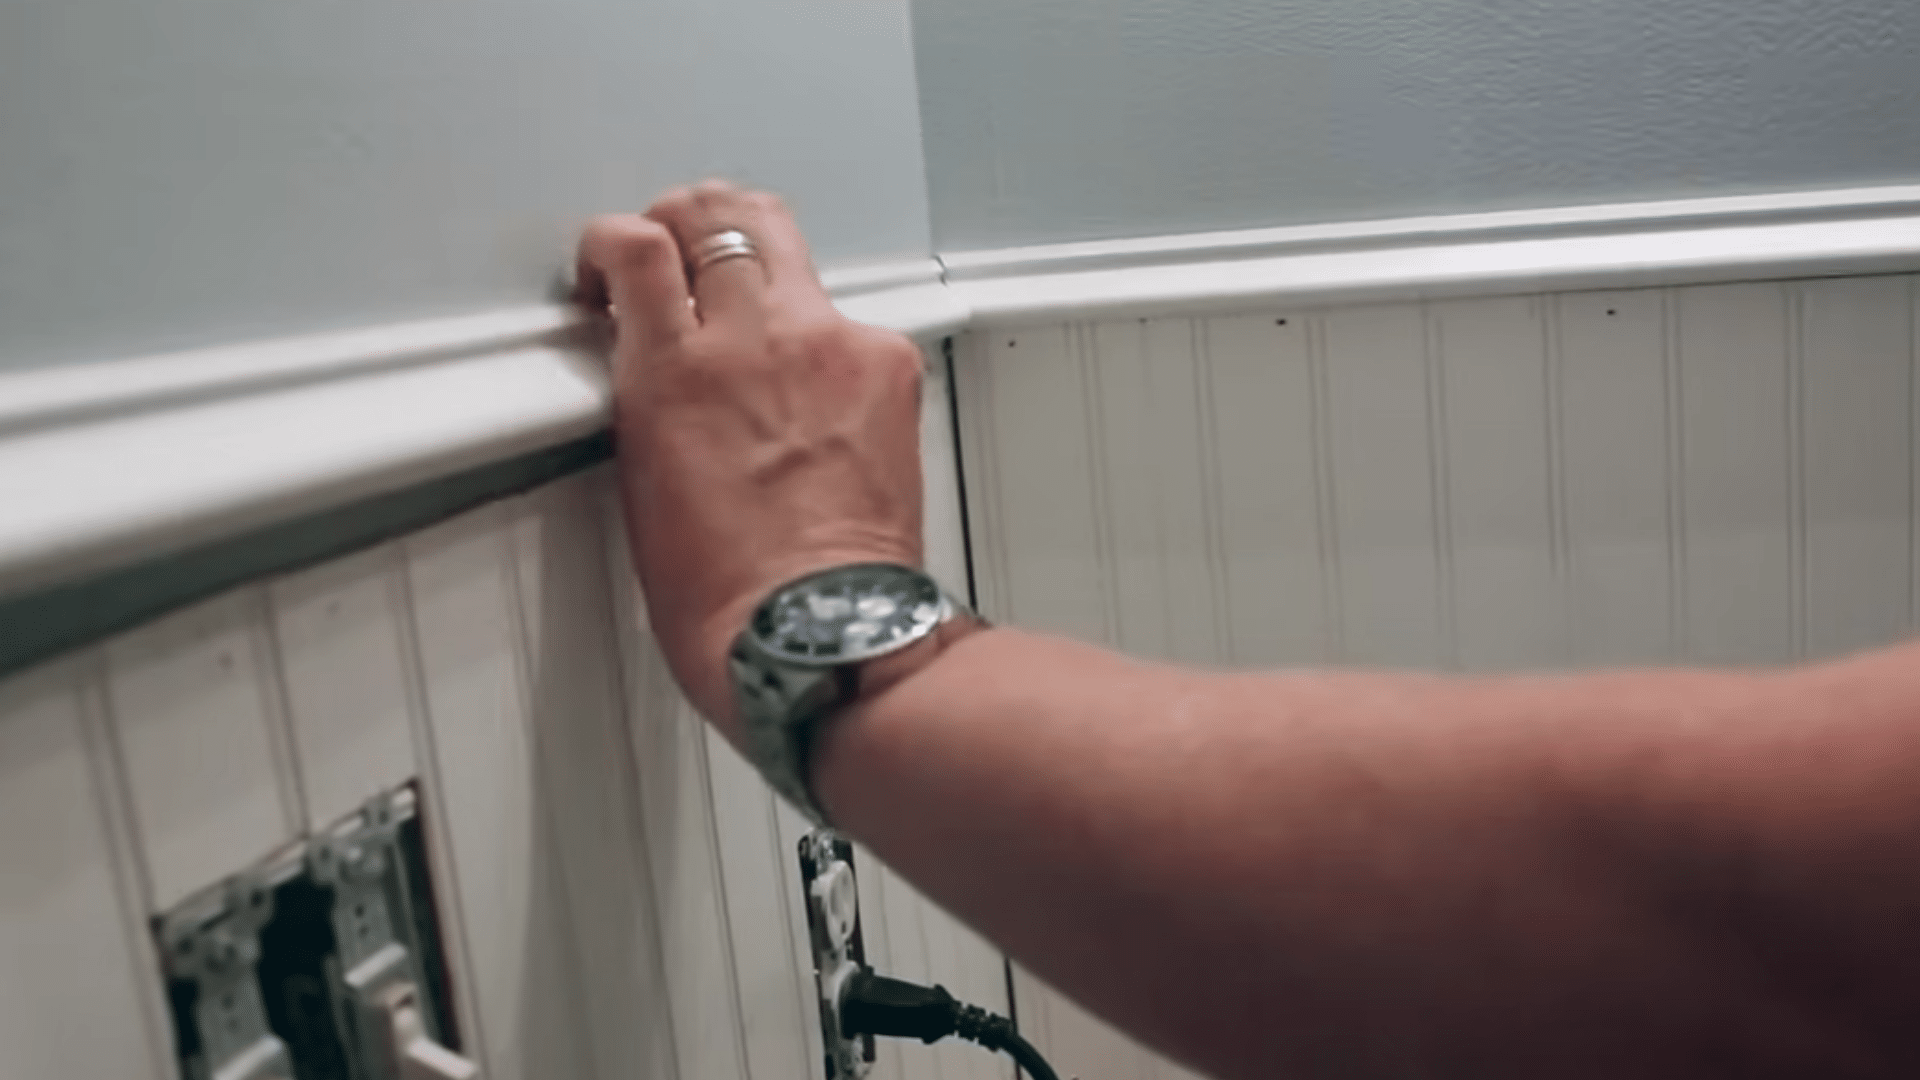
Step 8: Add Top Trim, Caulk, and Paint
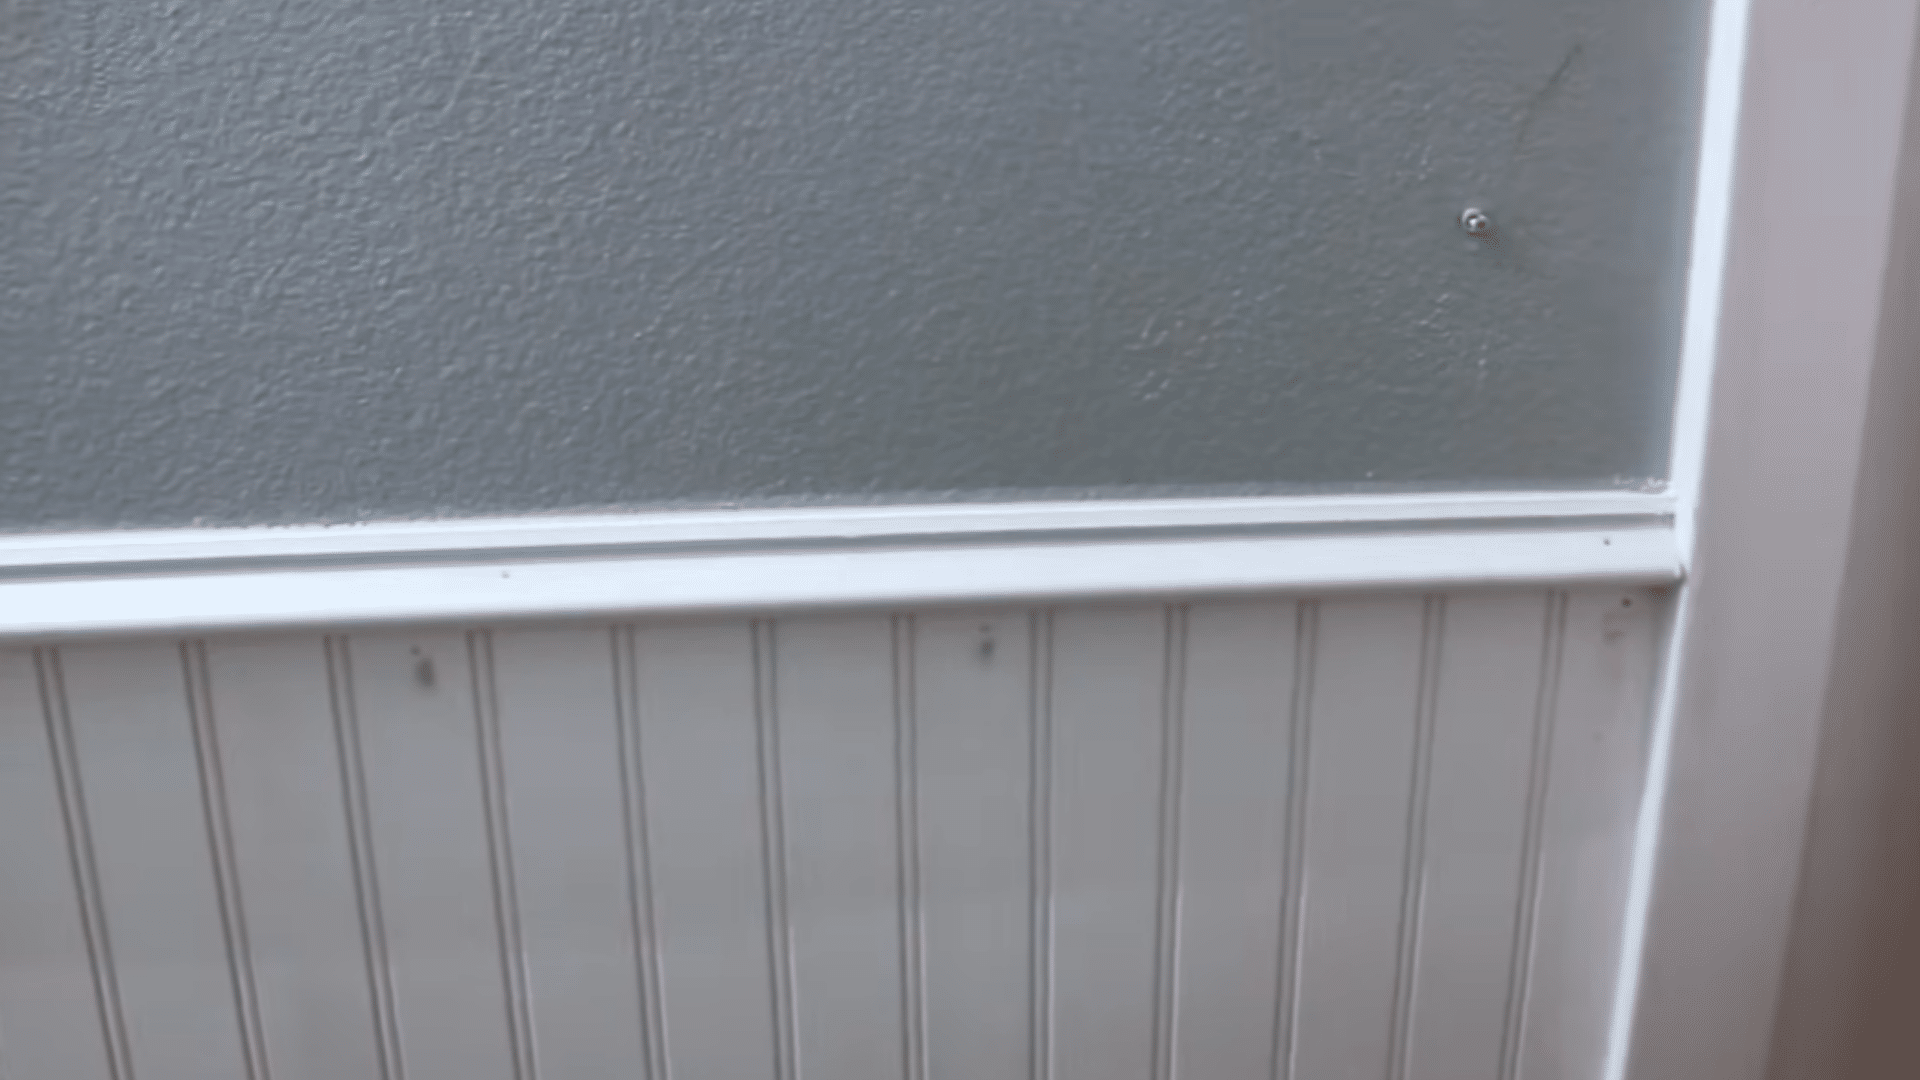
After all panels are attached, install the top molding or trim to cover the raw upper edge. Nail it in place, then caulk along the top, corners, joints, and any area where water may seep in, especially in a bathroom.
Fill nail holes and sand rough spots after the filler dries. Once the surface is smooth, paint the beadboard and trim with one or two coats. The final paint step ties the panels, trim, and seams together.
Watch the video for the step-by-step installation process:
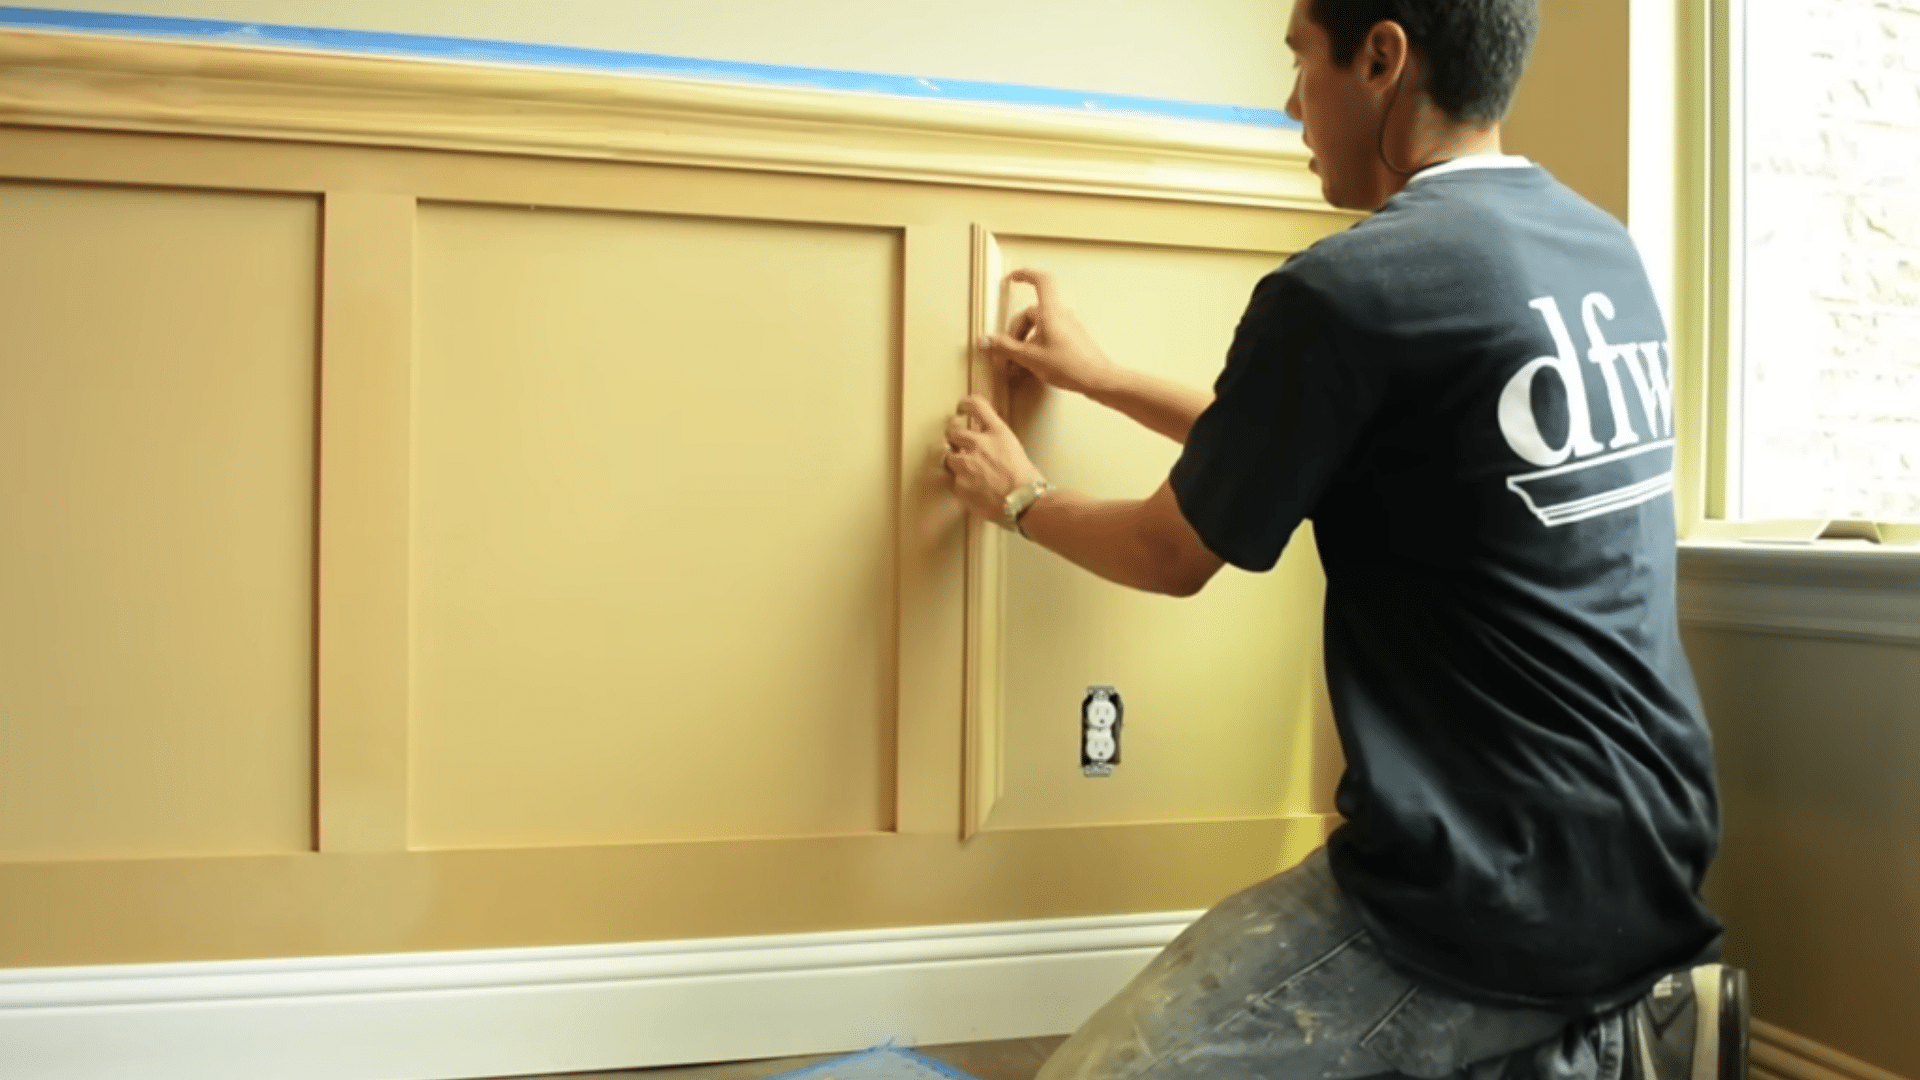
How to Install Recessed Panel Wainscoting
Recessed panel wainscoting gives the wall a deeper, more built-in look than flat trim alone. It takes more planning than beadboard because the panels, rails, stiles, and molding all need to line up cleanly before paint. Before you start, gather these tools and materials.
Tools and Materials Required
- TapE Measure
- Chalk Line or Snap Line
- Saw or Table Saw, miter Saw
- Pocket Hole Jig
- Pocket Hole Screws
- Clamp
- Spacer Block
- Brad Nailer or Finish Nailer
- Scrap Board or Spreader
- Orbital Sander or Sanding Block
- Thin MDF Sheets
- Mdf Boards
- Drywall Adhesive
- Chair Rail
- Baseboard
- Shoe Molding or Small Trim
- Panel Molding
- Caulk
- Primer
- Wood Filler
- Paint
Step 1: Mark the Wainscoting Height and Reference Lines

Start by deciding how high the recessed panel wainscoting should sit on the wall. Measure from the floor to your chosen height, then mark that point in several places across the wall. Use a chalk line to connect the marks so you have one clear reference line.
You can also mark the base, chair rail, and panel areas now to see the layout before anything is attached. This early visual check helps you catch height problems before cutting material.
Step 2: Cut and Attach the MDF Backing Sheets
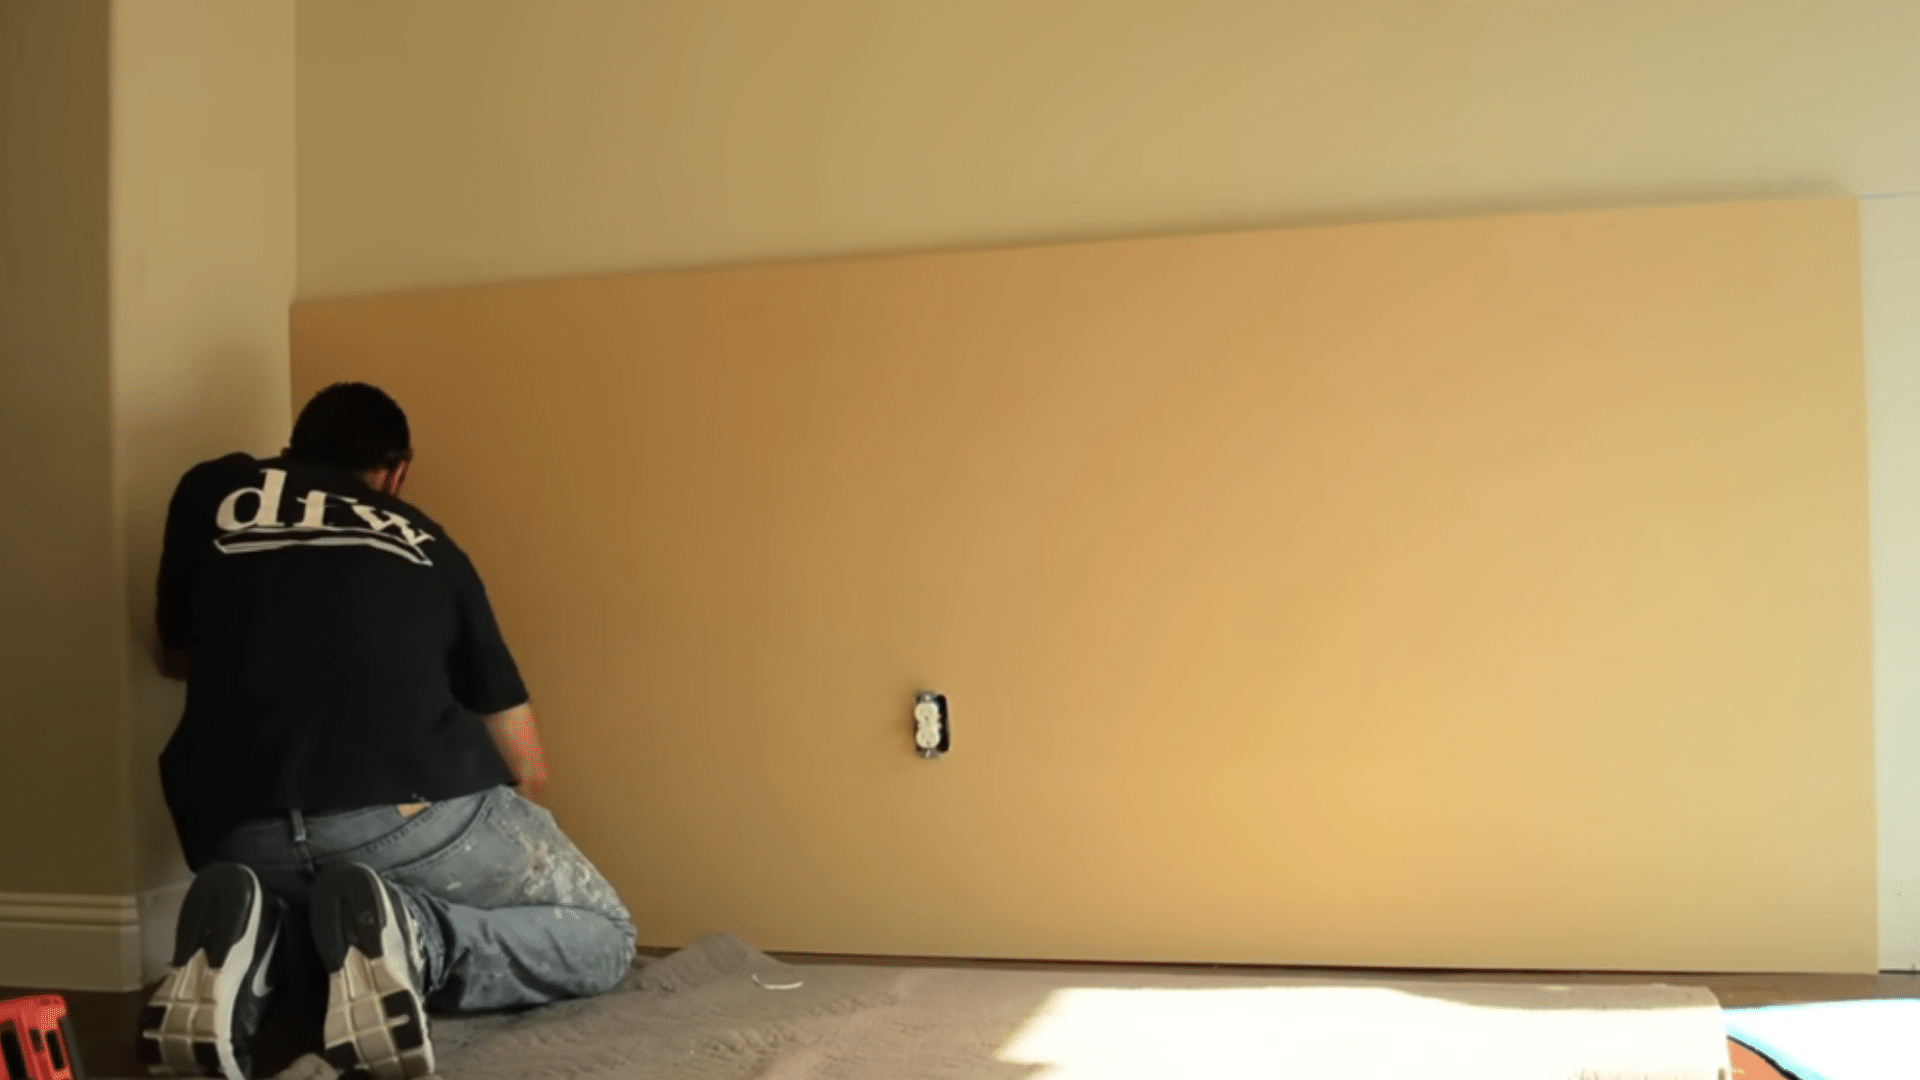
Cut the MDF sheets to fit the lower wall area, including any outlets or other openings. Before placing a sheet on the wall, apply drywall adhesive to the back and spread it out with a scrap piece so it does not create thick lumps.
Press the MDF firmly against the wall so it sits flat.
The backing layer matters because it adds depth to the recessed panels. Without it, the final design can look flatter and less detailed after trim is added.
Step 3: Build the Rail and Stile Frame With Pocket Holes
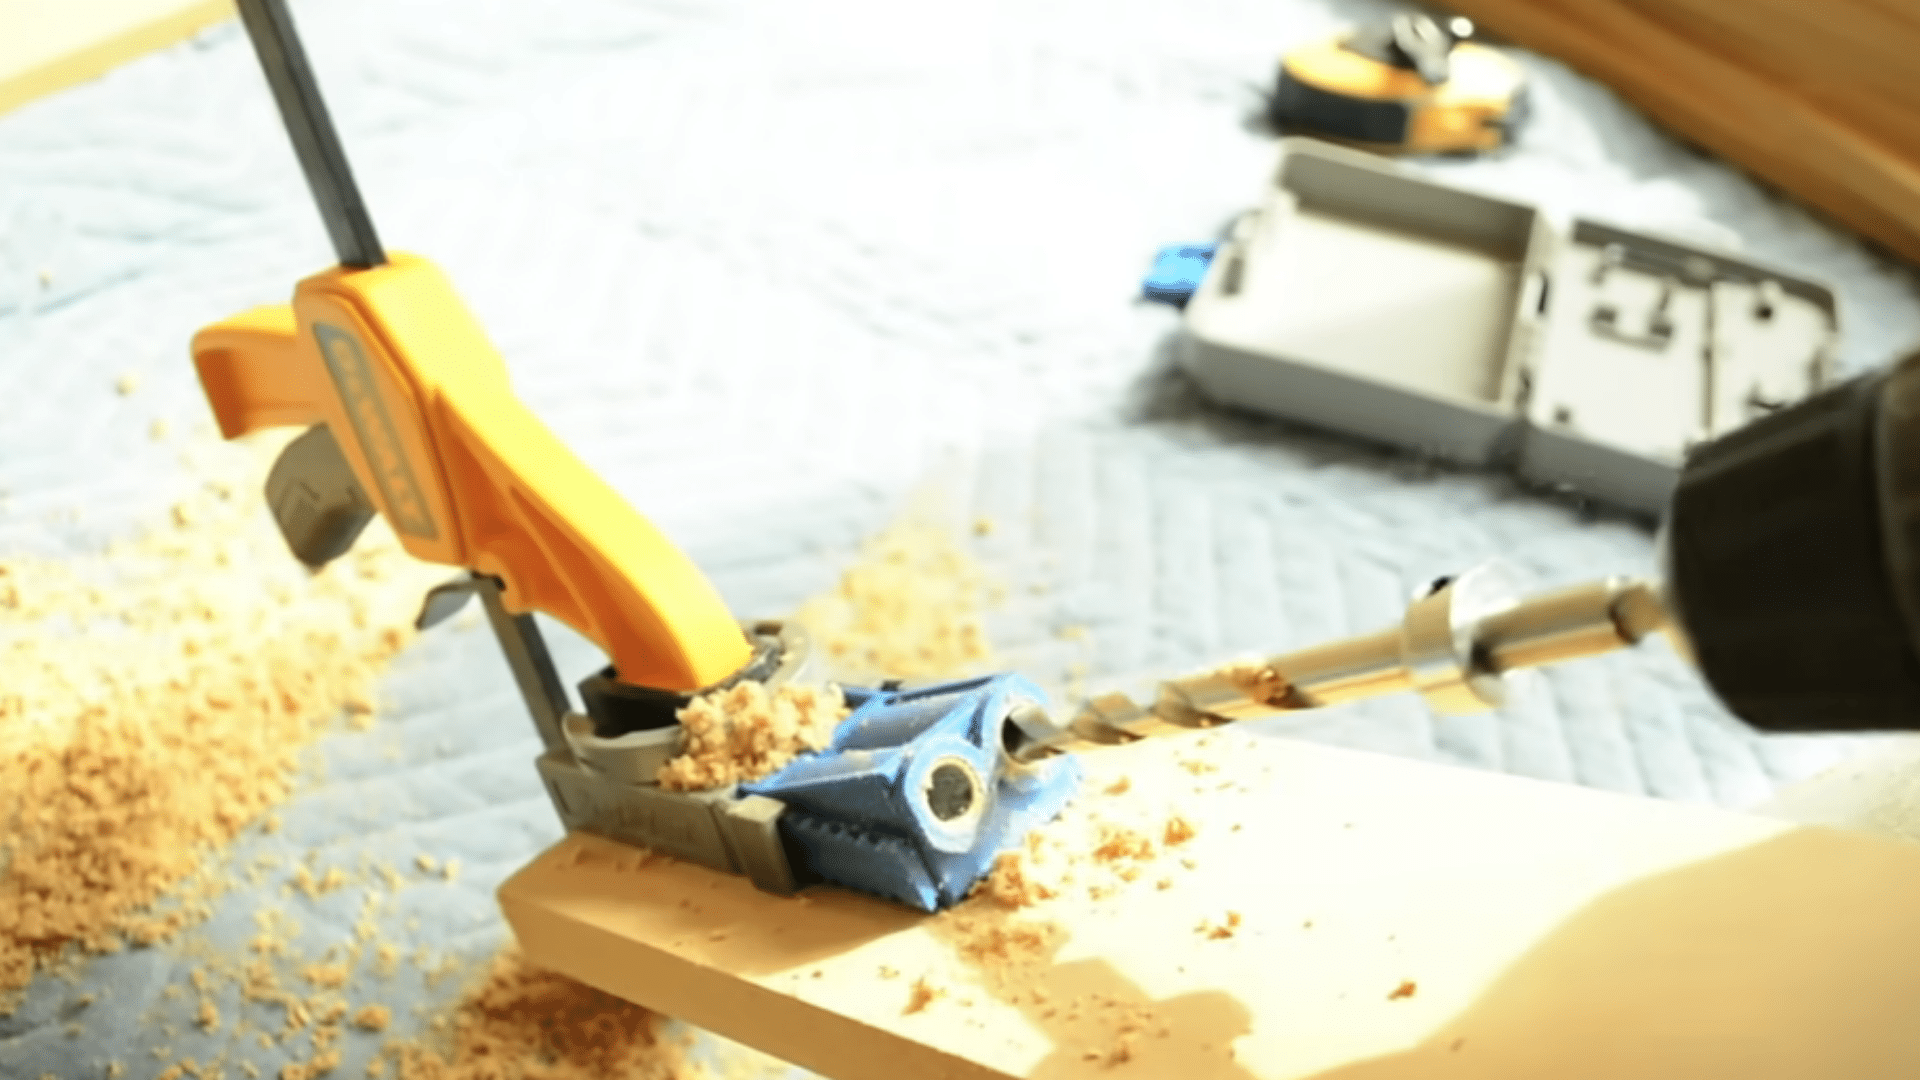
Cut the rails and stiles to match your layout, then connect them with pocket-hole joinery and screws before mounting the frame on the wall. Building the frame this way helps the pieces stay flush with each other, even if the wall is not perfectly flat.
Use a spacer block between openings so every panel section stays the same width. Work on a flat surface while fastening the frame, because twisted boards can make the finished wainscoting look uneven.
Step 4: Set the Frame on the Wall and Nail It in Place
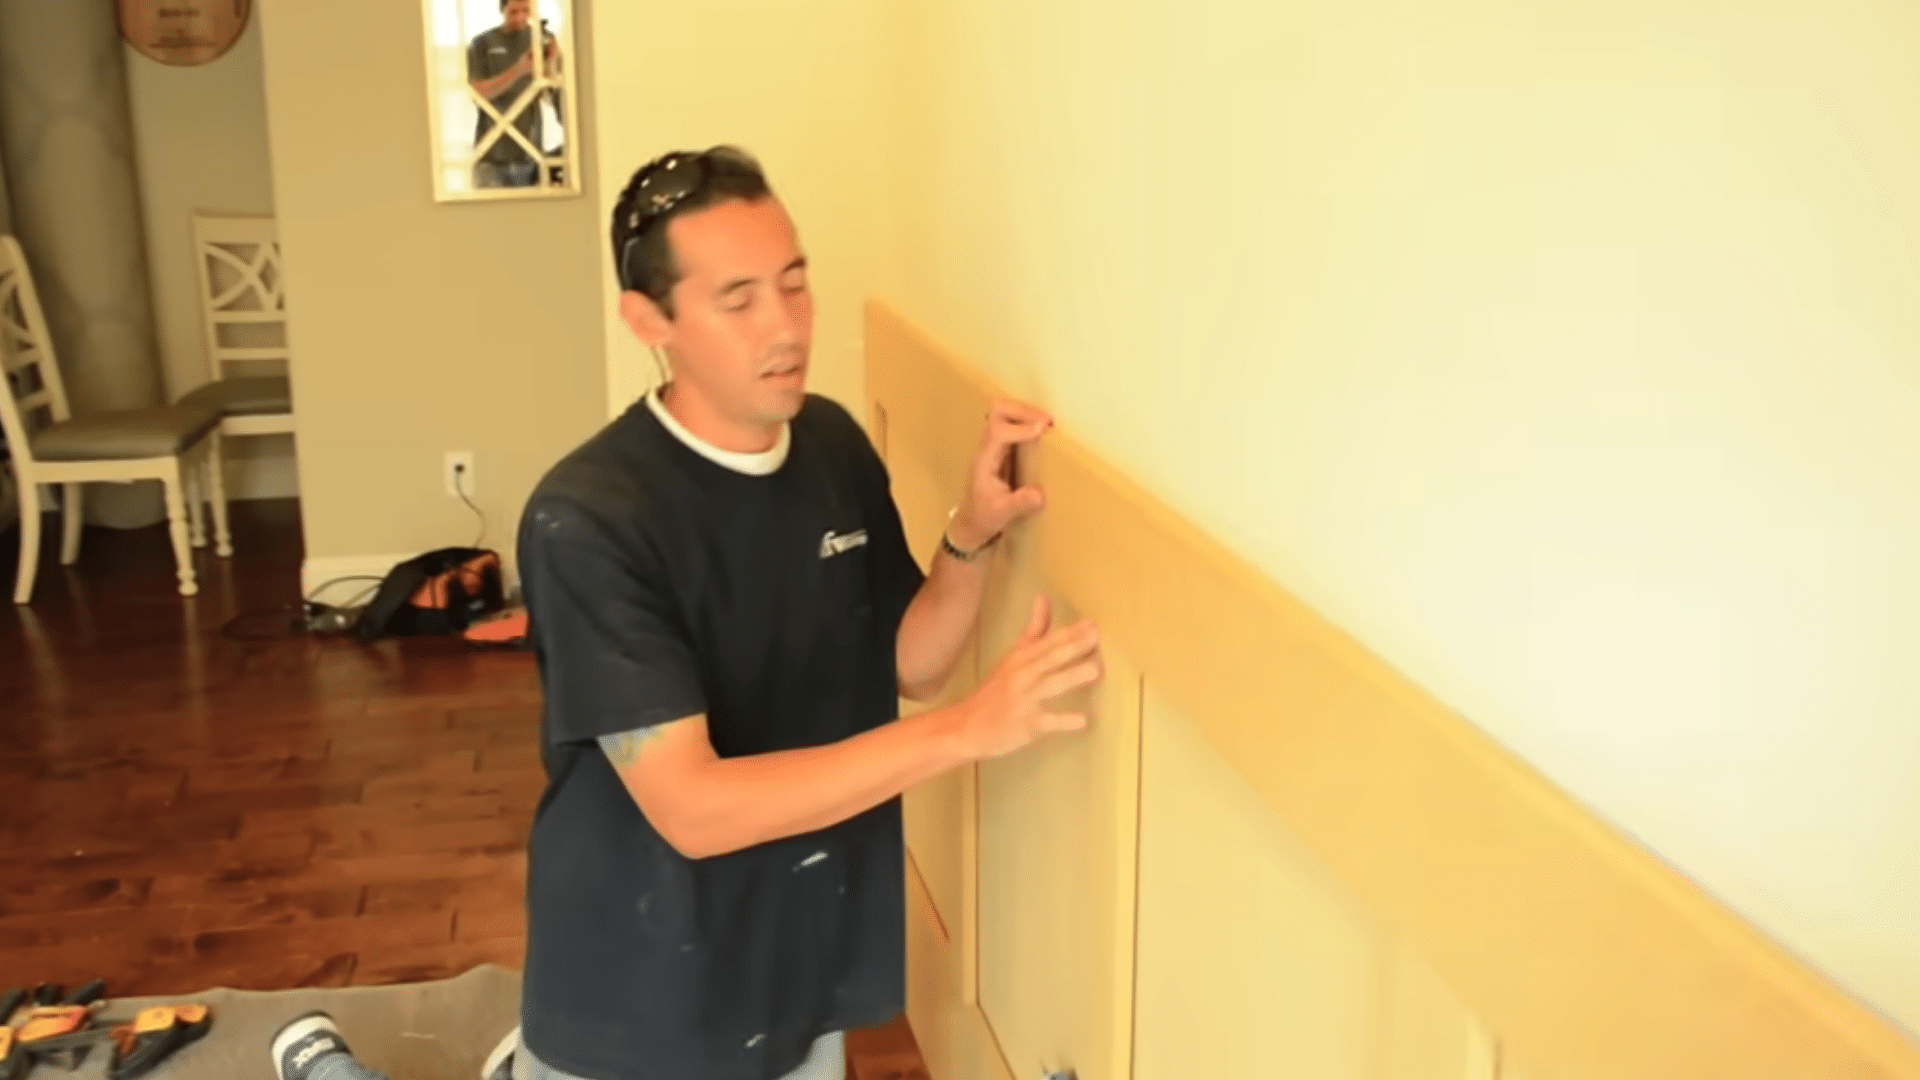
Once the rail-and-stile frame is built, turn it the right way up and place it against the MDF backing. Check that the top, bottom, and panel openings line up with the marks you made earlier.
Nail the frame in areas that will later be covered by chair rail, baseboard, or panel molding when possible. This reduces visible nail holes and gives you less filling to do. Step back before fastening everything fully so you can catch any uneven lines.
Step 5: Add Chair Rail, Baseboard, Shoe Molding, and Panel Molding
After the main frame is secured, install the chair rail along the top and the baseboard along the bottom. A small shoe molding or similar trim can help hide the seam where the top rail meets the backing. Then cut the panel molding for the inside of each recessed box.
A stop block on the miter saw helps keep repeated pieces the same length. When setting offset molding, push it firmly into position so the corners meet cleanly.
Step 6: Prime, Fill, Sand, Caulk, and Paint
Before painting, sand any raised joints or rough MDF areas while the panel openings are still easy to reach. Prime the whole surface, especially raw MDF and cut edges.
After primer dries, fill nail holes, sand again, and caulk seams where trim meets the wall or another board. Reinstall outlet covers only after the panel area is ready and clear of molding. Finish with a durable paint, such as a satin trim paint, so the recessed detail looks smooth and clean.
Watch the video for step-by-step installation:
Common Wainscoting Installation Problems and Fixes
Small problems can show up even when the main layout looks right. The best time to fix them is before painting, while panels and trim can still be adjusted.
- The top line looks uneven: This usually happens when measurements are taken along the floor rather than a level mark. Redraw a one-level guide on the wall and use it as your reference before cutting or fastening any additional pieces.
- Trim has gaps behind it: Wavy drywall or bowed boards can leave spaces. Use shims for larger gaps, then caulk only narrow seams. Do not use thick caulk to hide major uneven spots.
- Outlet covers no longer sit flat: Panels and trim can change the wall depth. Use approved outlet extenders and reinstall the covers only after the panel area is finished.
- Panels look crooked: This often means the pieces were attached before test-fitting. Dry fit each panel or frame first, check the layout from a few steps back, then fasten it.
- The end pieces are too narrow: The wall was not divided before cutting. Adjust the panel count or spacing so that both ends look balanced rather than squeezed in.
- The painted surface feels rough: Filler, primer, or caulk may have been painted too soon. Let each product dry, sand the surface to a smooth finish, then apply thin coats of paint.
- Bathroom panels start swelling: Exposed cuts or moisture-sensitive material can absorb water. Use moisture-aware products, seal cut edges, caulk vulnerable seams, and choose paint made for damp spaces.
These issues are normal DIY checks, not project failures. Fixing them early makes the final wall look planned rather than patched.
Wainscoting Project Cost and Time
Wainscoting costs depend on the wall size, material, trim details, room condition, and whether you install it yourself or hire a carpenter.
Simple beadboard panels usually cost less because they cover more wall area quickly. Recessed panel wainscoting costs more because it uses more trim, more cuts, and more finishing time.
Use this table as a planning range only. Prices can change based on your city, material quality, labor rates, waste, taxes, delivery fees, paint, wall repairs, and tool rentals.
| Wainscoting Type | Typical DIY Cost Range | Typical Pro Installed Range | Time Needed | Skill Level |
|---|---|---|---|---|
| Beadboard panels | $1–$10 per sq. ft. | $7–$20 per sq. ft. | 1 day for a small room | Beginner-friendly |
| Beadboard planks | $3–$15 per sq. ft. | $10–$25 per sq. ft. | 1–2 days | Beginner to moderate |
| Picture-frame molding | $2–$12 per sq. ft. | $10–$30 per sq. ft. | 1–2 days | Beginner to moderate |
| Board-and-batten wainscoting | $3–$15 per sq. ft. | $10–$25 per sq. ft. | 1–2 days | Beginner to moderate |
| Recessed panel wainscoting | $8–$25 per sq. ft. | $15–$40+ per sq. ft. | 2–3 days or more | Moderate |
| Raised panel or custom wood wainscoting | $15–$31+ per sq. ft. | $25–$50+ per sq. ft. | Several days | Advanced or pro-level |
For a simple single-room project, many installed wainscoting estimates fall between $1,000 and $4,500, while larger rooms, hardwood, raised panels, stair walls, or custom trim can cost more.
Some full-room professional examples run higher, especially when the job includes priming, painting, detailed molding, and finish carpentry.
Cost note: These numbers are broad U.S. planning ranges, not guaranteed quotes. Material prices and labor rates change often, so check local store pricing and get at least two or three contractor estimates before setting your final budget.
DIY wainscoting makes sense when the wall is flat, the layout is simple, and you feel comfortable cutting around outlets, trim, and corners.
Hire a pro for stair walls, moisture-damaged drywall, heavy texture, uneven corners, custom raised panels, or electrical work that needs more than basic outlet extenders.
Finishing Tips for a Clean DIY Wainscoting Look
Finishing is where the project starts to feel complete. The panels or trim may already be attached, but nail holes, seams, and raw edges can still make the wall look unfinished if this stage is rushed.
- Fill nail marks lightly: Press filler into the holes only, scrape away any excess material, and sand it smooth after it dries.
- Caulk narrow seams: Run a small bead where trim meets the wall, then smooth it before the caulk skins over.
- Prime raw surfaces: Coat MDF edges, bare wood, and patched spots so the paint dries more evenly.
- Paint with control: Brush the grooves and corners first, then roll flat sections with thin coats rather than heavy layers when refreshing your walls.
- Check in good light: Look across the wall after the first coat so missed seams or rough filler are easier to spot.
A clean paint line at the top trim makes a big difference. Painter’s tape can help, but remove it before the paint fully hardens so the edge does not tear.
Frequently Asked Questions
What paint finish works best for wainscoting?
Satin and semi-gloss are the most popular finishes for wainscoting because they are more durable and easier to clean than flat paint. Semi-gloss offers better moisture resistance, making it a good choice for bathrooms, mudrooms, and laundry rooms. Satin provides a softer appearance while still standing up well to everyday wear and occasional cleaning.
Can wainscoting be installed on only one wall?
Yes. Installing wainscoting on a single wall can create an attractive focal point without remodeling the entire room. It works especially well behind beds, in dining areas, entryways, or on accent walls. To make the design look intentional, use proper end trim and ensure the style complements the surrounding walls and architectural details.
Should I paint wainscoting before or after installation?
Many DIYers prime boards before installation, but the final coat of paint is usually best applied after everything is installed. Painting afterward allows you to fill nail holes, sand imperfections, and caulk seams for a seamless appearance. This approach creates a more professional finish and ensures all joints blend together smoothly.
Can wainscoting be removed later?
Yes, wainscoting can be removed, but the amount of wall repair required depends on how it was installed. Panels attached with nails typically leave small holes that are easy to patch. Adhesive-backed installations may pull drywall paper or texture away during removal, requiring additional patching, sanding, priming, and repainting before the wall looks finished again.
To End it All
Installing wainscoting becomes much easier when you slow down at the planning stage. Choose the right style for the room, check the wall surface, mark a level guide, and dry fit each piece before fastening anything permanently.
That early patience helps you avoid crooked trim, uneven seams, and wasted material.
Beadboard is usually the easiest starting point for a quick diy wainscoting project, while recessed panel wainscoting gives a more built-in look if you have time for careful layout and finish work.
Use this guide on how to install wainscoting as your step-by-step plan, work one wall at a time, and give the final caulk, filler, primer, and paint enough time to dry properly.