The first time I properly deep-cleaned a bathroom, I spent 45 minutes on the toilet, shower, and sink, then looked up and realized I had never touched the exhaust vent. Dust rained down on everything I had just scrubbed.
I had to start over. That one mistake taught me the most important rule of a bathroom deep clean: the order matters as much as the products.
A thorough deep clean takes two to three hours on your first pass and gets faster once you know the sequence. Below, I have fully covered every surface, the right products, and the exact order to keep you from having to redo steps.
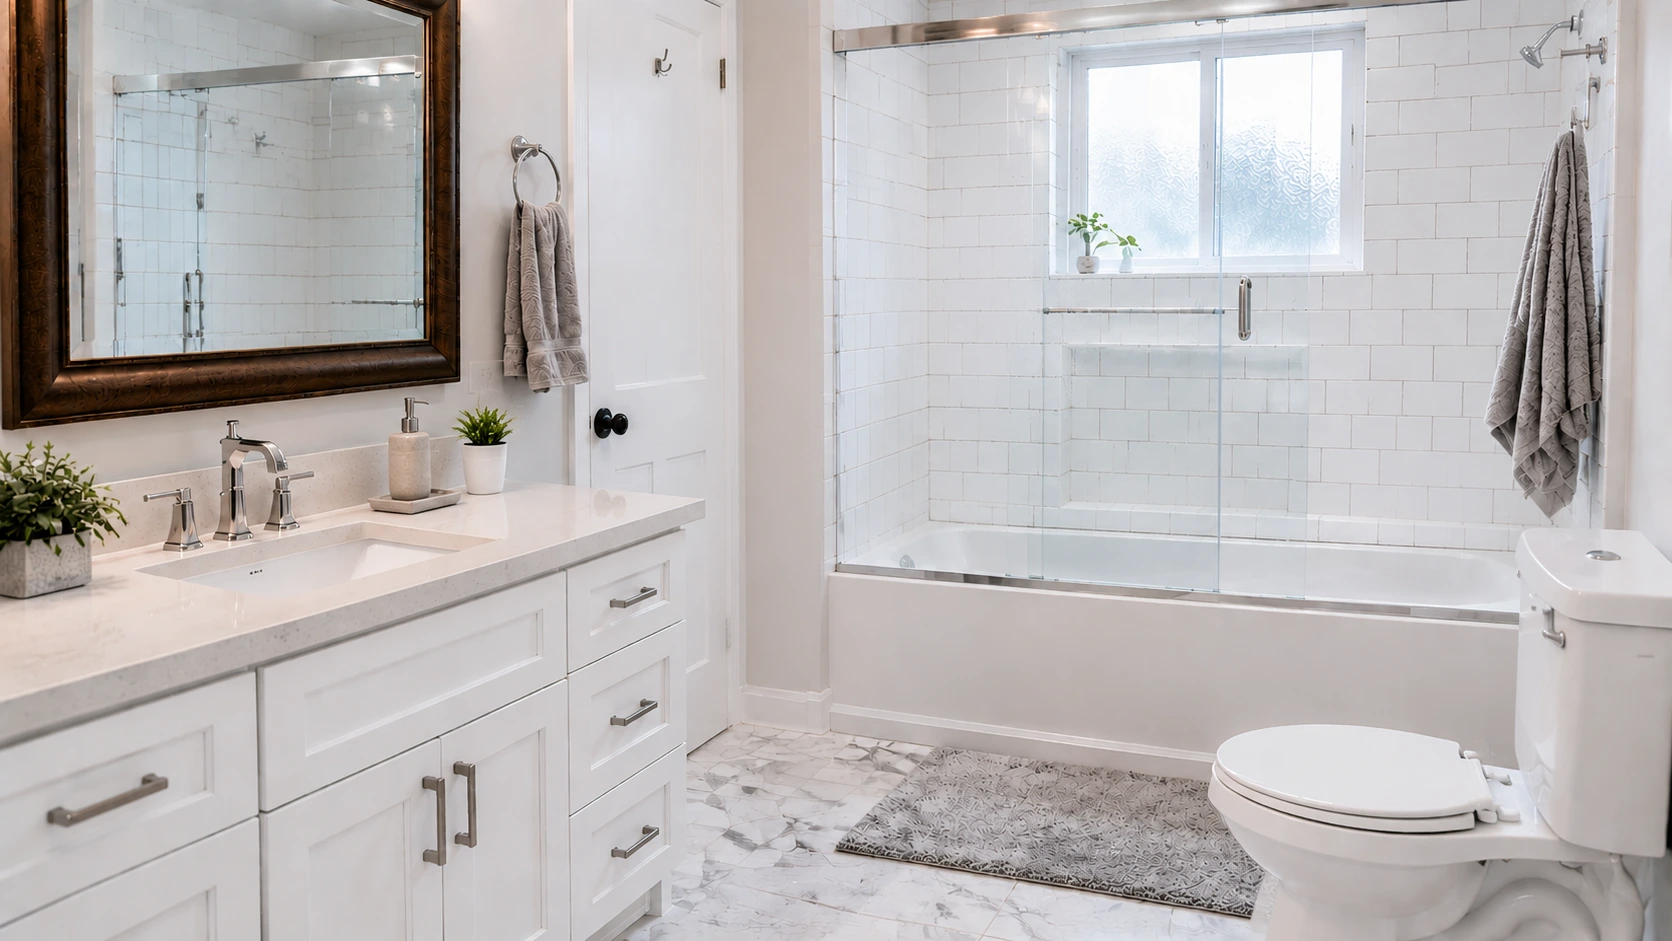
What Areas Does a Bathroom Deep Clean Cover?
A quick weekly wipe-down removes visible grime, but a proper deep-clean bathroom routine goes further by targeting areas where bacteria, mold, and mineral deposits accumulate over time.
High spots like exhaust vents and ceiling corners collect dust and lint that can fall onto other surfaces. Shower walls, tubs, and glass doors often develop soap scum, hard water stains, and pink bacterial growth.
Grout lines can harbor mold and mildew before it’s visible, while the toilet’s interior and exterior, especially under the rim and around the base, are often missed.
Sinks, faucet bases, and vanity counters trap grime in gaps, mirrors collect water spots and toothpaste splatter, and floors, along with floor grout, gather hair and moisture. Bath mats, towels, and shower accessories also carry bacteria if not washed regularly, making them crucial to include in a full clean.
| Project Card
Difficulty: 2 out of 5 |
Supplies You Need Before You Start
Do not start cleaning and then stop to hunt for a sponge. That is how you end up with a half-scrubbed wet shower while you dig under the sink. Get everything in one place first:
- All-purpose cleaner for counters, sink, and toilet exterior
- Toilet bowl cleaner or half a cup of baking soda for inside the bowl
- White vinegar, dish soap, and water mixed for shower walls and glass
- Baking soda paste (baking soda plus a small amount of water) for grout scrubbing
- Glass cleaner for mirrors
- Microfiber cloths, at least three, kept separate for toilet, sink, and general surfaces
- Stiff scrub brush for tile and tub
- Old toothbrush for grout lines, faucet bases, and hinge crevices
- Squeegee for glass shower doors
- Mop and bucket for floors
- Rubber gloves to protect hands from cleaners and bacteria
- Compressed air canister or a vacuum with a brush attachment for the exhaust vent
- A small bowl or zip-lock bag for soaking the showerhead in vinegar solution while you clean other areas
Having all your cleaning supplies ready ensures a smooth, efficient deep clean. Gathering everything beforehand saves time, prevents interruptions, and helps you tackle every surface thoroughly without missing any spots.
|
Tip: Color-code your cloths. Use one color only for the toilet, a different one for the sink and counters, and a third for general wiping. Cross-contamination is easy to prevent once you have a system in place. A strip of colored tape wrapped around the handle of each cloth keeps the system intact even when someone else helps out. |
How to Deep Clean a Bathroom Step by Step
The sequence below works top to bottom, so gravity moves dust and debris in the direction you are already heading. Skipping ahead or cleaning out of order means having to redo work. Follow the steps in order the first time, and the logic becomes obvious quickly.
Step 1: Declutter and Remove Items
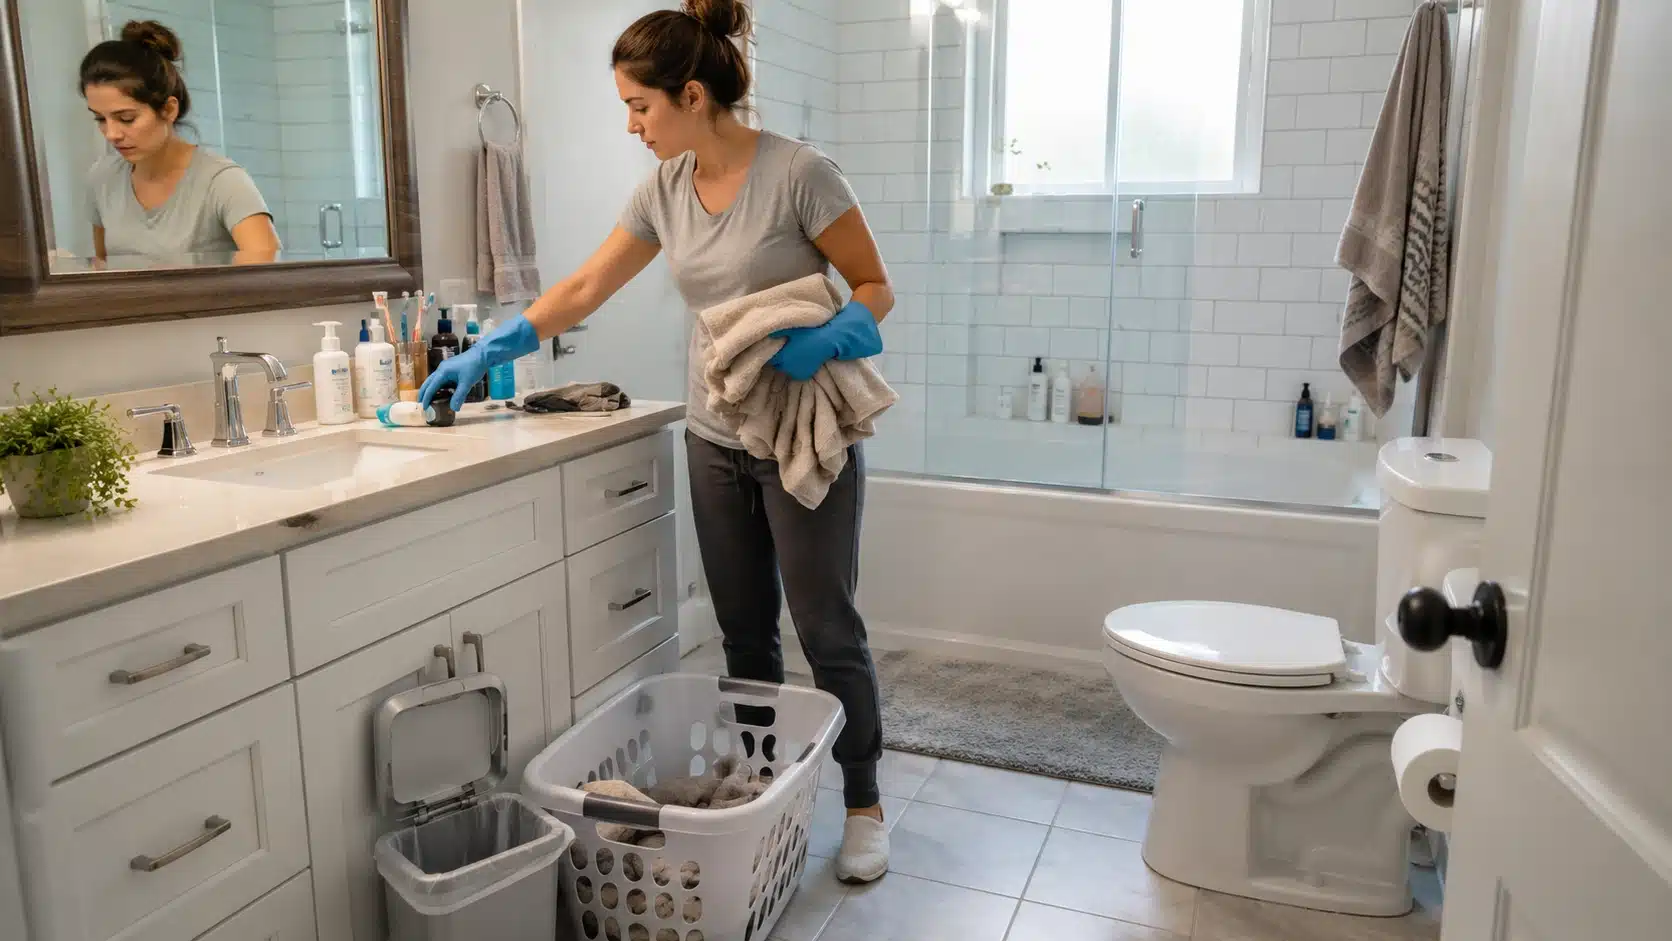
Start by removing all items from counters, shelves, and the shower area. Shake bath mats, pull towels and curtains for washing, and empty trash.
Clearing surfaces first gives full access and prevents cleaning around objects instead of under them. Discard expired or empty items to save time. This step sets the foundation for a thorough bathroom deep clean.
While pulling items out, wipe the base of each bottle or container before setting it aside. Product bottles sitting on a shower shelf develop a ring of soap scum and bacteria at the base that transfers right back to the surface you just cleaned. It takes a few seconds per bottle and saves you from dealing with a sticky shelf again in an hour.
Step 2: Dust High Areas and Vent
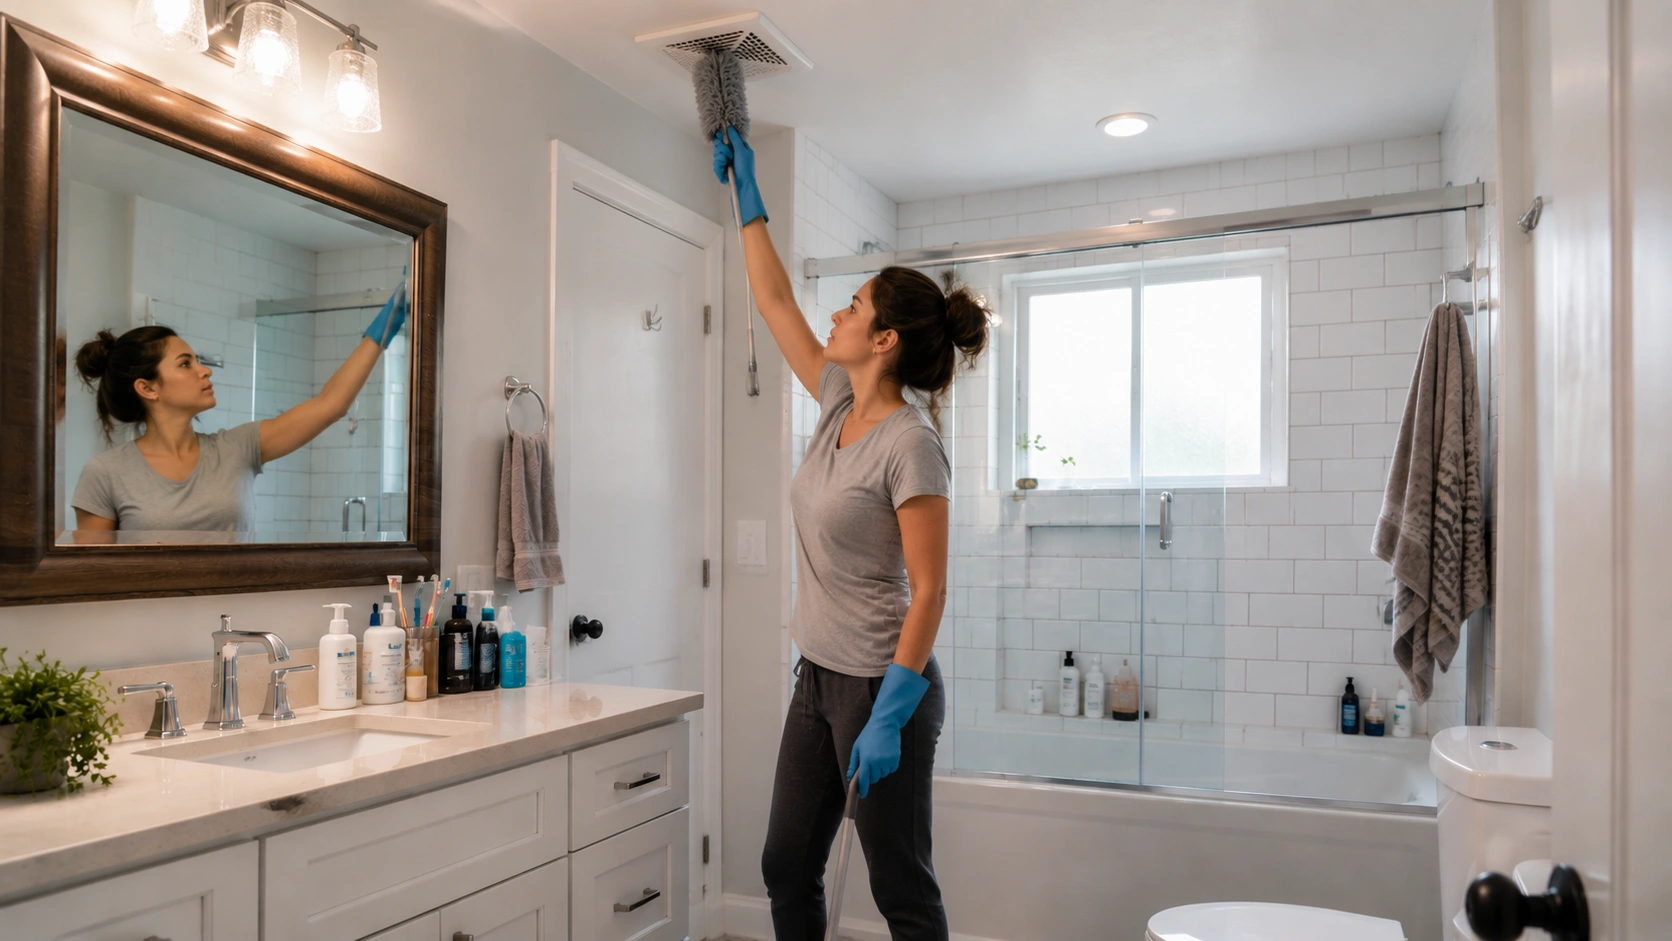
Dusting high areas prevents debris from falling onto already cleaned surfaces. A clogged exhaust vent does more than spread dust; it fails to pull moisture out after showers, which accelerates mold growth in grout and caulk.
If your vent cover feels warm or the motor sounds strained when you remove it, dust buildup is the likely cause. I noticed this in roughly a third of the homes I visited for consulting in Houston. A five-minute monthly vent cleaning prevents mold problems that take far longer to fix.
Step 3: Apply Cleaner and Let Sit
Spray shower walls, tub, tiles, and the toilet bowl with an appropriate cleaner. Walk away for ten minutes, allowing soap scum, mineral deposits, serratia marcescens, the airborne bacteria responsible for the pink or orange ring that forms on grout, tile, and caulk in humid bathrooms, to loosen.
Letting the solution dwell reduces effort while ensuring thorough removal. This step is crucial for achieving a deep, sanitary clean on all bathroom surfaces with minimal strain.
Use the dwell time productively. Fill a small bowl or zip-lock bag with equal parts white vinegar and warm water, and submerge the showerhead in it. By the time you reach that step, the mineral deposits will have softened enough to rinse away without scrubbing.
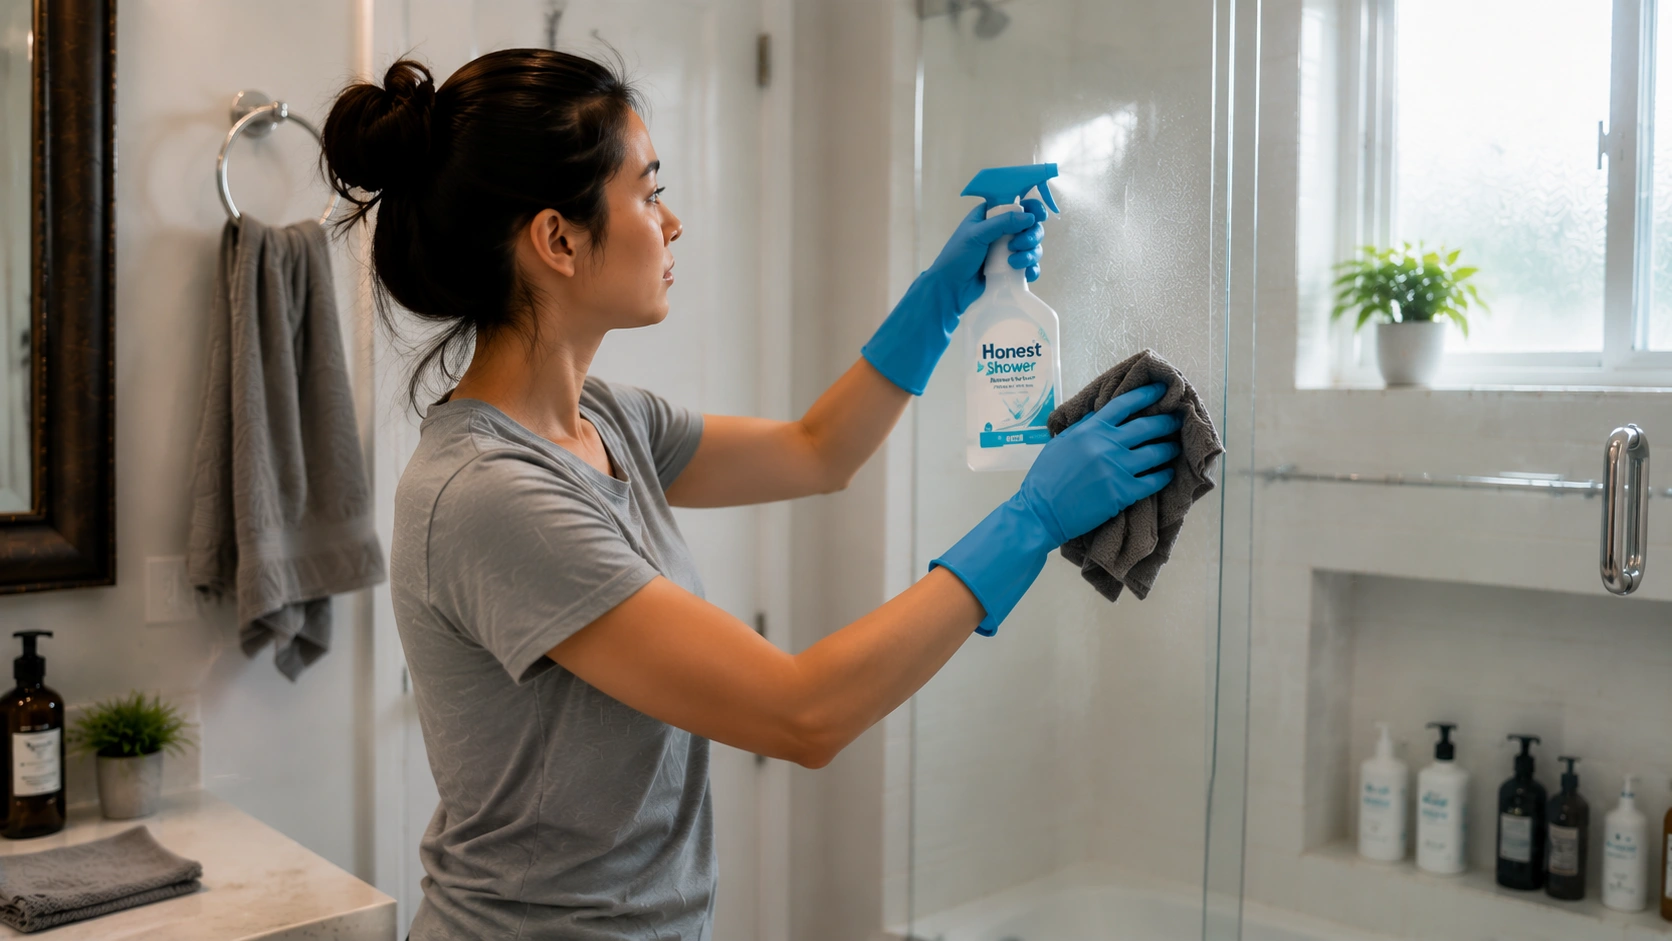
Step 4: Scrub Shower, Tub, and Grout
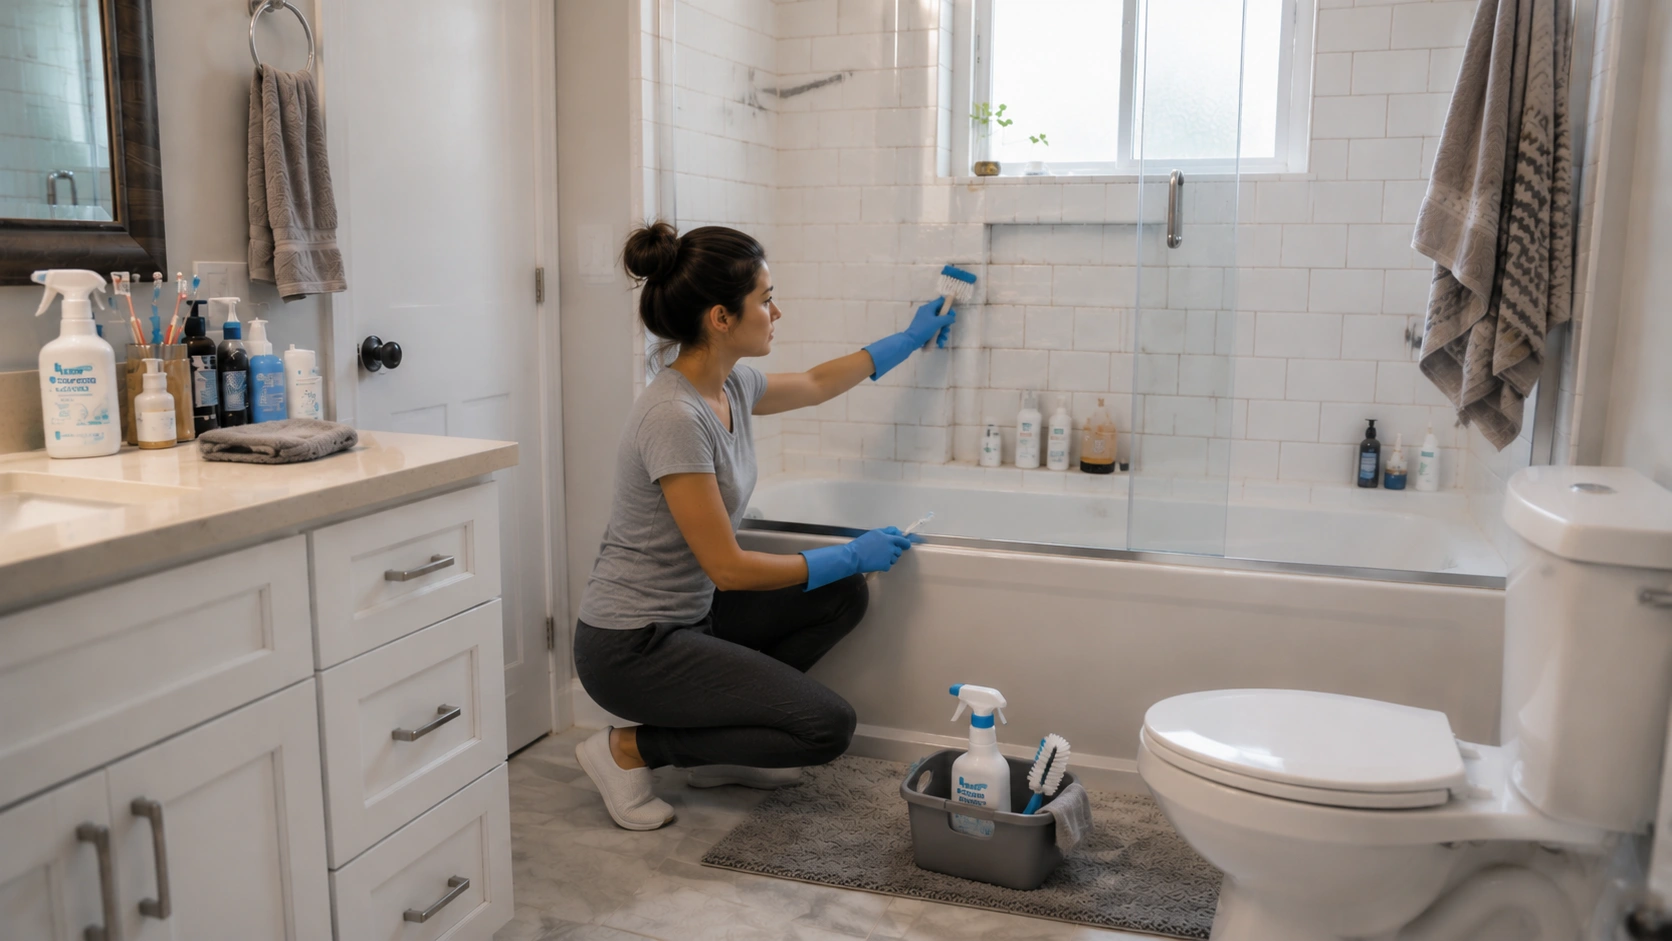
Use a stiff brush for tiles and tub surfaces, switching to a toothbrush for grout lines, faucet bases, and corners. Scrub glass doors in circular motions and rinse frequently.
Tackling grout and fixtures prevents staining and buildup. For glass shower doors, a used dryer sheet dampened with water lifts soap scum without scratching the glass. The same coating that prevents static cling in the dryer dissolves minor soap residue effectively.
A reader mentioned this trick years ago, and it has held up in practice. Dry surfaces with a microfiber cloth to avoid water spots.
For grout stained dark or showing visible mold, apply a paste of baking soda and a few drops of hydrogen peroxide directly to the line. Let it sit for fifteen minutes before scrubbing. Rinse thoroughly; hydrogen peroxide left on pigmented grout can bleach its color.
Step 5: Sanitize the Toilet
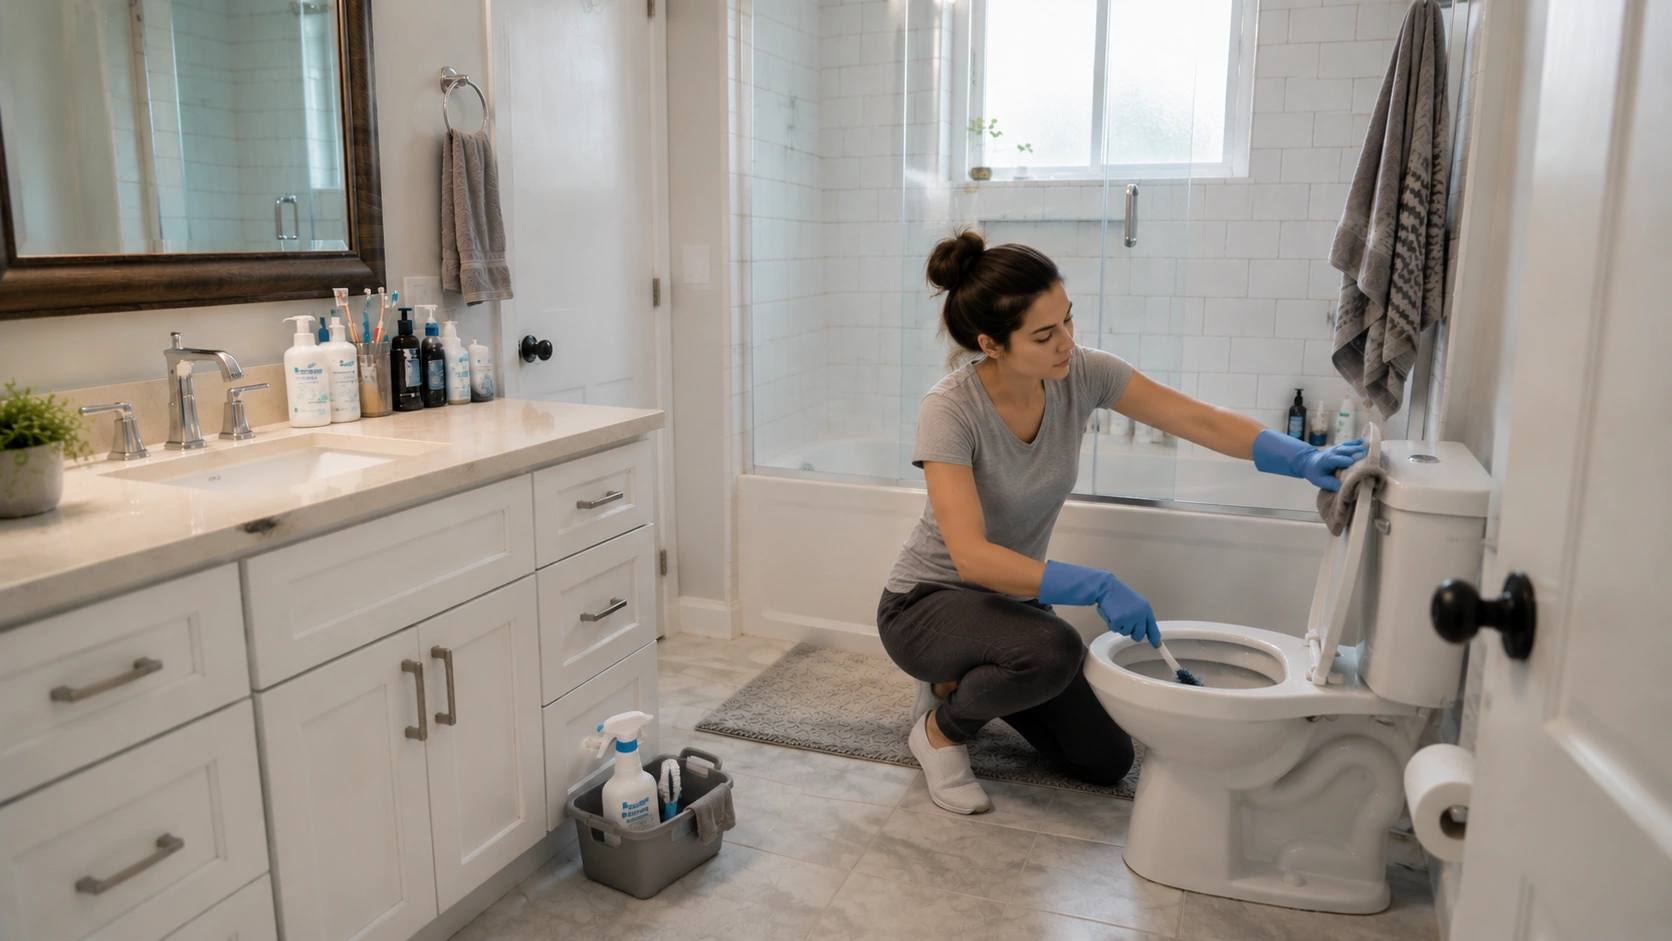
Scrub inside the bowl, including under the rim, with a dedicated brush. Wipe the tank, seat, hinges, base, and surrounding floor using a separate cloth.
These areas often harbor bacteria that are missed in weekly cleaning. Properly sanitizing the toilet and surrounding areas ensures hygiene and prevents unpleasant odors from developing over time.
Step 6: Clean Sink, Vanity, and Mirror
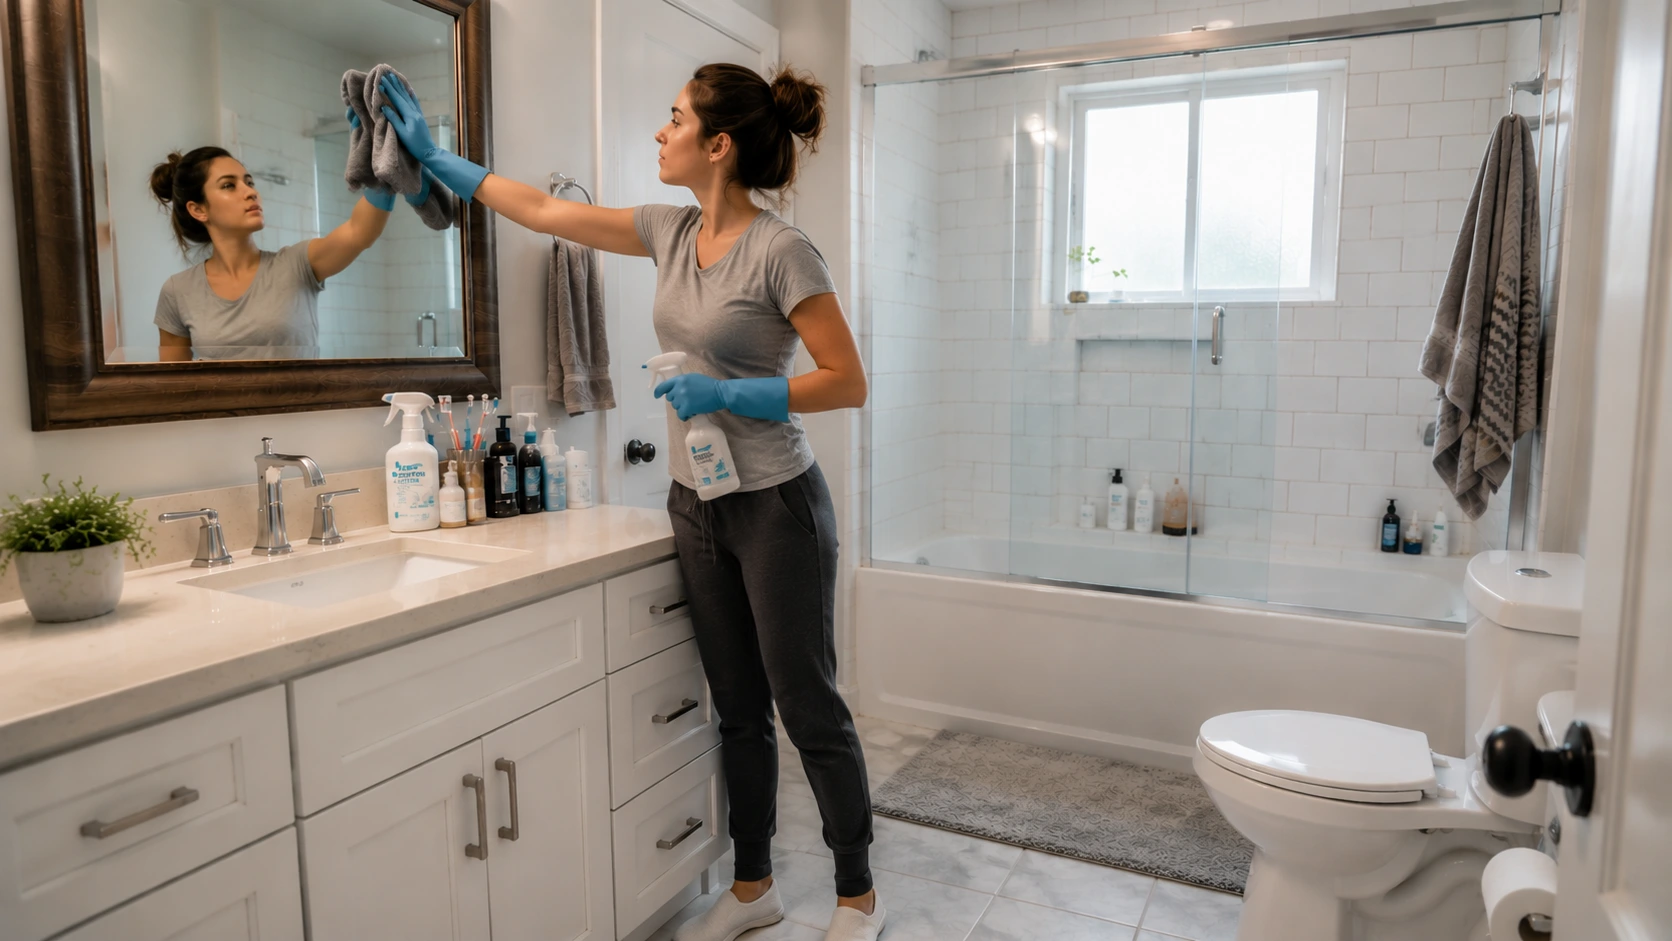
Spray the sink basin, faucet base, and counter with an all-purpose cleaner. Use a toothbrush for tight spaces around fixtures. Wipe the drain area and rinse thoroughly.
Clean the mirror by spraying onto a cloth to avoid overspray, then buff in multiple directions for streak-free results. This maintains polished vanity surfaces and a clean, inviting sink area.
Natural Products for Deep Cleaning a Bathroom
Natural cleaning products can handle many bathroom cleaning tasks effectively. They help remove grime, odors, and buildup while reducing the need for harsh chemicals in everyday deep cleaning routines. Several of these, white vinegar, lemon, and baking soda, are the same natural household substances useful in the garden, too.
| Natural Product | Best Use |
|---|---|
| Baking Soda | Gentle scrubbing for sinks, tubs, grout, and stubborn stains |
| White Vinegar | Removing hard water stains, mineral deposits, and soap scum |
| Dish Soap | Cutting through grease, body oils, and general grime |
| Lemon | Freshening surfaces and helping with light stains and odors |
| Hydrogen Peroxide | Treating some stains and helping clean mold-prone areas |
| Disinfectant Cleaner | Killing germs on high-touch surfaces when true disinfection is needed |
While natural products work well for many cleaning jobs, some situations require a disinfectant. Using one on toilets, handles, and other frequently touched surfaces is the main way to reduce germs.
| Caution: Never mix vinegar and bleach. The combination produces chlorine gas, which is harmful even in small amounts in an enclosed space like a bathroom. Use one or the other, not both, in the same cleaning session without thoroughly rinsing surfaces in between. |
How to Keep It Clean Between Deep Cleans
A full deep clean every four to six weeks is manageable if you do a few things consistently in between. The goal is preventing buildup rather than removing it:
| Frequency | Task |
|---|---|
| Daily | Squeegee shower glass or walls after use, wipe the sink after brushing teeth |
| Weekly | Spray and wipe shower walls, scrub the toilet bowl, wipe the vanity counter |
| Monthly | Wash bath mats and towels, wipe down the exhaust vent cover, and check grout for early mold |
| Every few months | Apply grout sealer to tile grout, descale the shower head, and replace caulk if it is cracking or lifting |
The single most effective daily habit is the squeegee. Thirty seconds after every shower cuts soap scum and hard water buildup significantly, which means less scrubbing every time you clean.
Bathroom Safety During Cleaning
Cleaning products that work well in a bathroom also need to be handled with basic precautions, especially in a small, enclosed space with limited airflow. Here are some safety rules:
- Wear rubber gloves every time, not just for bleach products. Extended contact with even mild cleaners dries and irritates the skin
- Open a window or run the exhaust fan whenever you use any spray cleaner, disinfectant, or bleach solution
- Use a non-slip mat on wet floors while cleaning to avoid slipping on surfaces you have just mopped
- Store all cleaners out of reach of children and pets, particularly products containing bleach or concentrated acids
- Never mix cleaning products without knowing whether they react. Bleach and ammonia, bleach and vinegar, and bleach and hydrogen peroxide all produce harmful fumes. The same caution applies when mixing any reactive substances at home — a principle worth keeping in mind whether you are cleaning indoors or mixing DIY pest remedies outdoors.
If you feel light-headed or notice a sharp chemical smell, leave the bathroom immediately, prop the door open, and let it air out for at least ten minutes before returning. Fume exposure in a small bathroom happens faster than most people expect.
Frequently Asked Questions
How can I remove stubborn water spots on mirrors without streaks?
Use a microfiber cloth with a small amount of white vinegar or glass cleaner. Wipe in circular motions, then buff dry. This prevents streaks and keeps mirrors clear without harsh scrubbing or chemicals.
How do I clean bathroom vents without removing them completely?
Turn off the fan, use a vacuum with a brush attachment, and wipe visible dust from the vent cover. Clean the blades with a damp cloth to remove buildup without full removal, keeping airflow efficient and safe.
Can I prevent mold in hidden corners like behind the toilet?
Keep these areas dry by wiping surfaces after cleaning and ensuring ventilation. Periodically inspect for moisture and wipe away any condensation to prevent mold and mildew in hard-to-see spots.
What is the easiest way to clean soap scum from shower doors?
Apply a mixture of vinegar and water, let it sit for a few minutes, then scrub lightly with a soft sponge. Rinse thoroughly and dry with a cloth to avoid streaks.
How do I clean grout between tiles without damaging it?
Make a paste of baking soda and water, apply it to the grout, and scrub gently with an old toothbrush. Rinse with warm water and dry. This keeps grout clean without abrasive chemicals.
Final Verdict
If I were doing this again, I would set a two-hour timer and commit to the top-to-bottom sequence before touching a single surface. The mistake I kept making early was cleaning reactively, tackling whatever looked dirty rather than following a fixed order.
That approach means redoing work and still missing spots like the exhaust vent and the toilet base.
A full bathroom deep clean done in the right sequence, with proper dwell time on cleaners, gets better results in less total time than a scattered approach ever will.
Start with the vent. Work down. The floor is always last. Drop a comment below and let me knwo how your bathroom turned out.