That cutting board you use every single day? It might be hiding more than just last night’s dinner stains.
Most of us rinse it off, maybe give it a quick scrub, and call it clean.
But true disinfection goes a little deeper than that. Keeping your kitchen safe starts with the surfaces your food touches most.
Rooted in trusted food safety standards, everything you need to know about disinfecting your cutting board, caring for it by material, and building cleaner cooking habits is right here.
Why Your Cutting Board Might Be Making You Sick?
Every time you slice raw chicken, chop fish, or prep unwashed produce, you’re potentially leaving behind traces of Salmonella, E. coli, and Listeria on your board.
These bacteria don’t just sit there quietly; they multiply, transfer to other foods, and quietly become a real health risk.
Cross-contamination happens faster than most people realize, and a simple rinse does nothing to stop it.
Disinfecting after handling raw meat, fish, or strong-smelling foods is what actually keeps your kitchen safe.
Cleaning vs. Disinfecting: What’s the Difference?
Most people use these two words interchangeably, but they actually do very different jobs in your kitchen.
Knowing the difference is what takes your food safety routine from surface-level to genuinely effective.
| Factor | Cleaning | Disinfecting |
|---|---|---|
| What it does | Removes visible dirt, grease, and food debris | Kills harmful bacteria and germs left behind |
| How it works | Soap and water break down residue | Specific solutions eliminate microbial traces |
| What it needs | Physical scrubbing action | Adequate contact time to work effectively |
| Is it enough alone? | No, germs can remain | Best done after cleaning first |
Step-by-Step: How to Disinfect a Cutting Board?
Disinfecting your cutting board does not have to be complicated. Follow these simple steps to keep your board clean, bacteria-free, and lasting longer.
Step 1: Scrape Off Any Excess Food
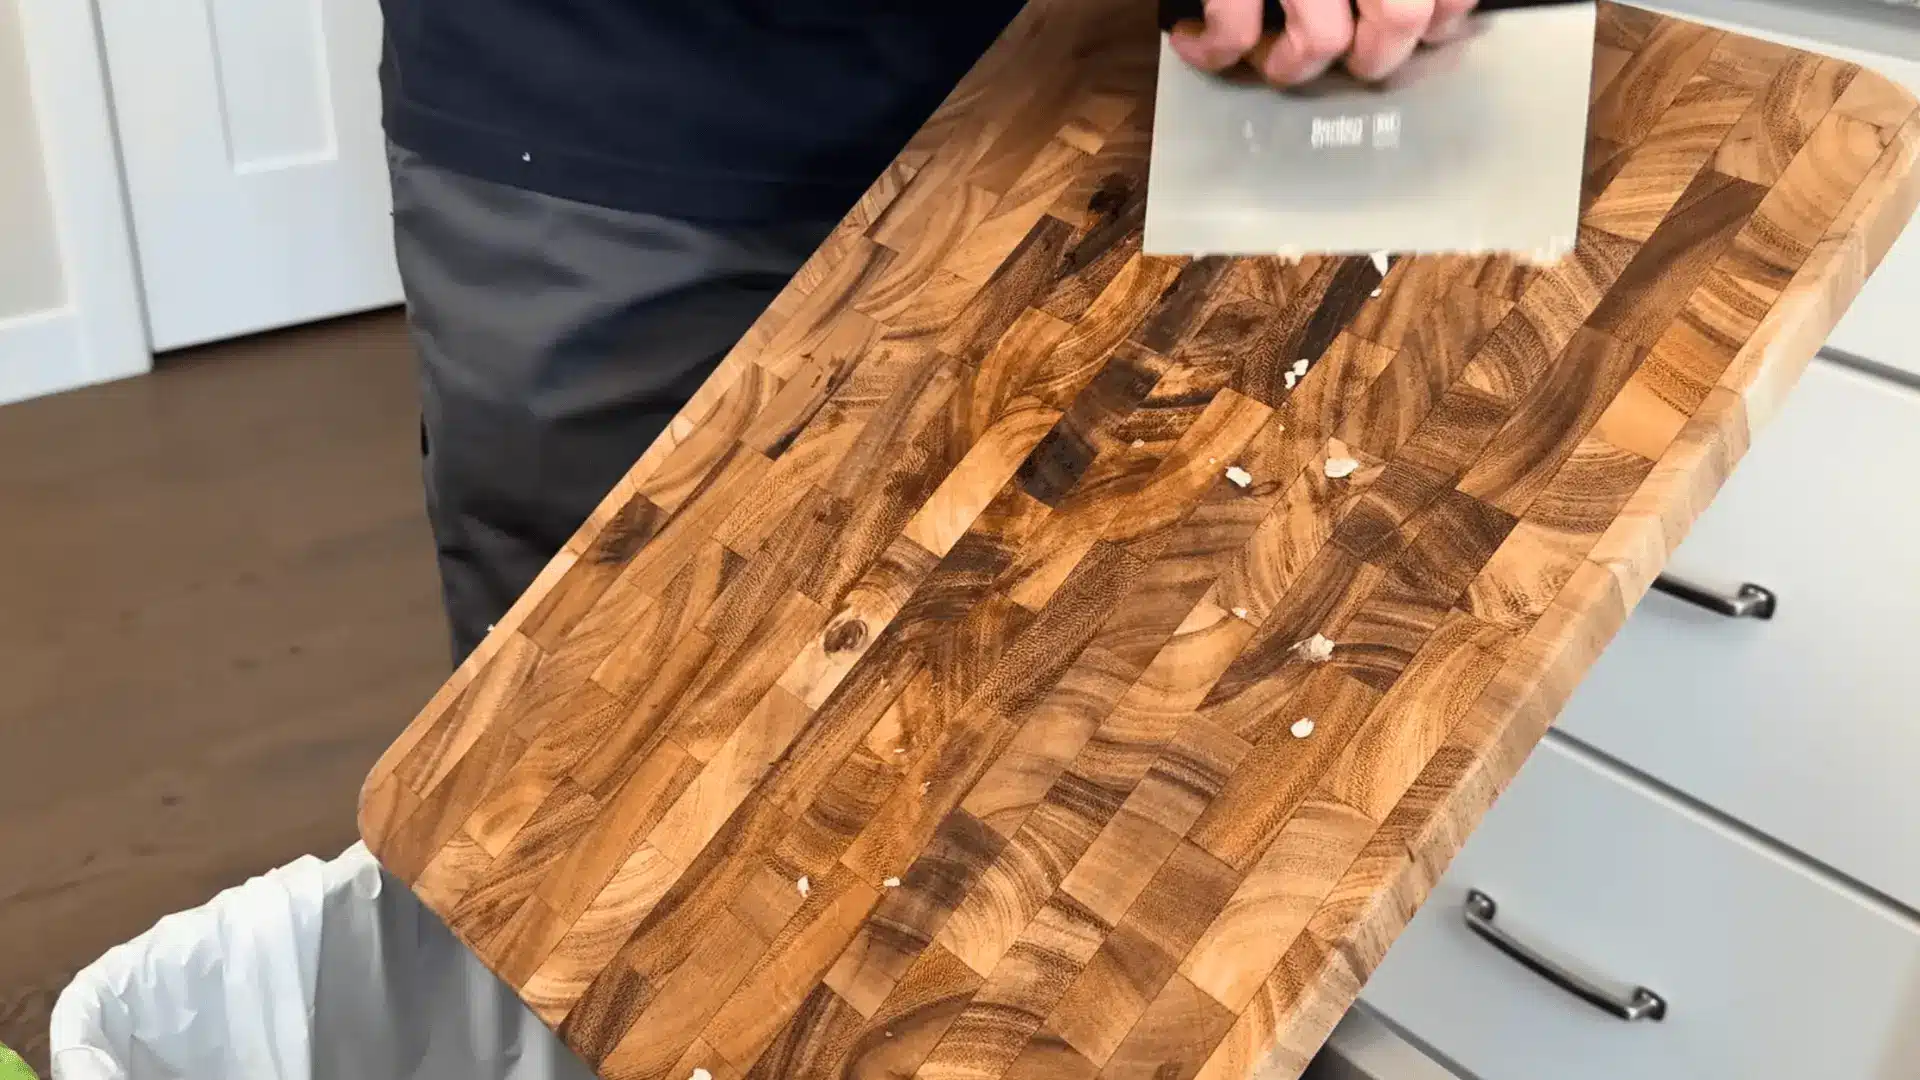
Before anything touches water, grab a bench scraper or the back of a knife and scrape off any leftover food bits from the surface.
This clears the way for a more effective clean and makes sure your soap and disinfecting solution work directly on the board rather than cutting through layers of leftover residue.
Step 2: Wash With Soap and Water
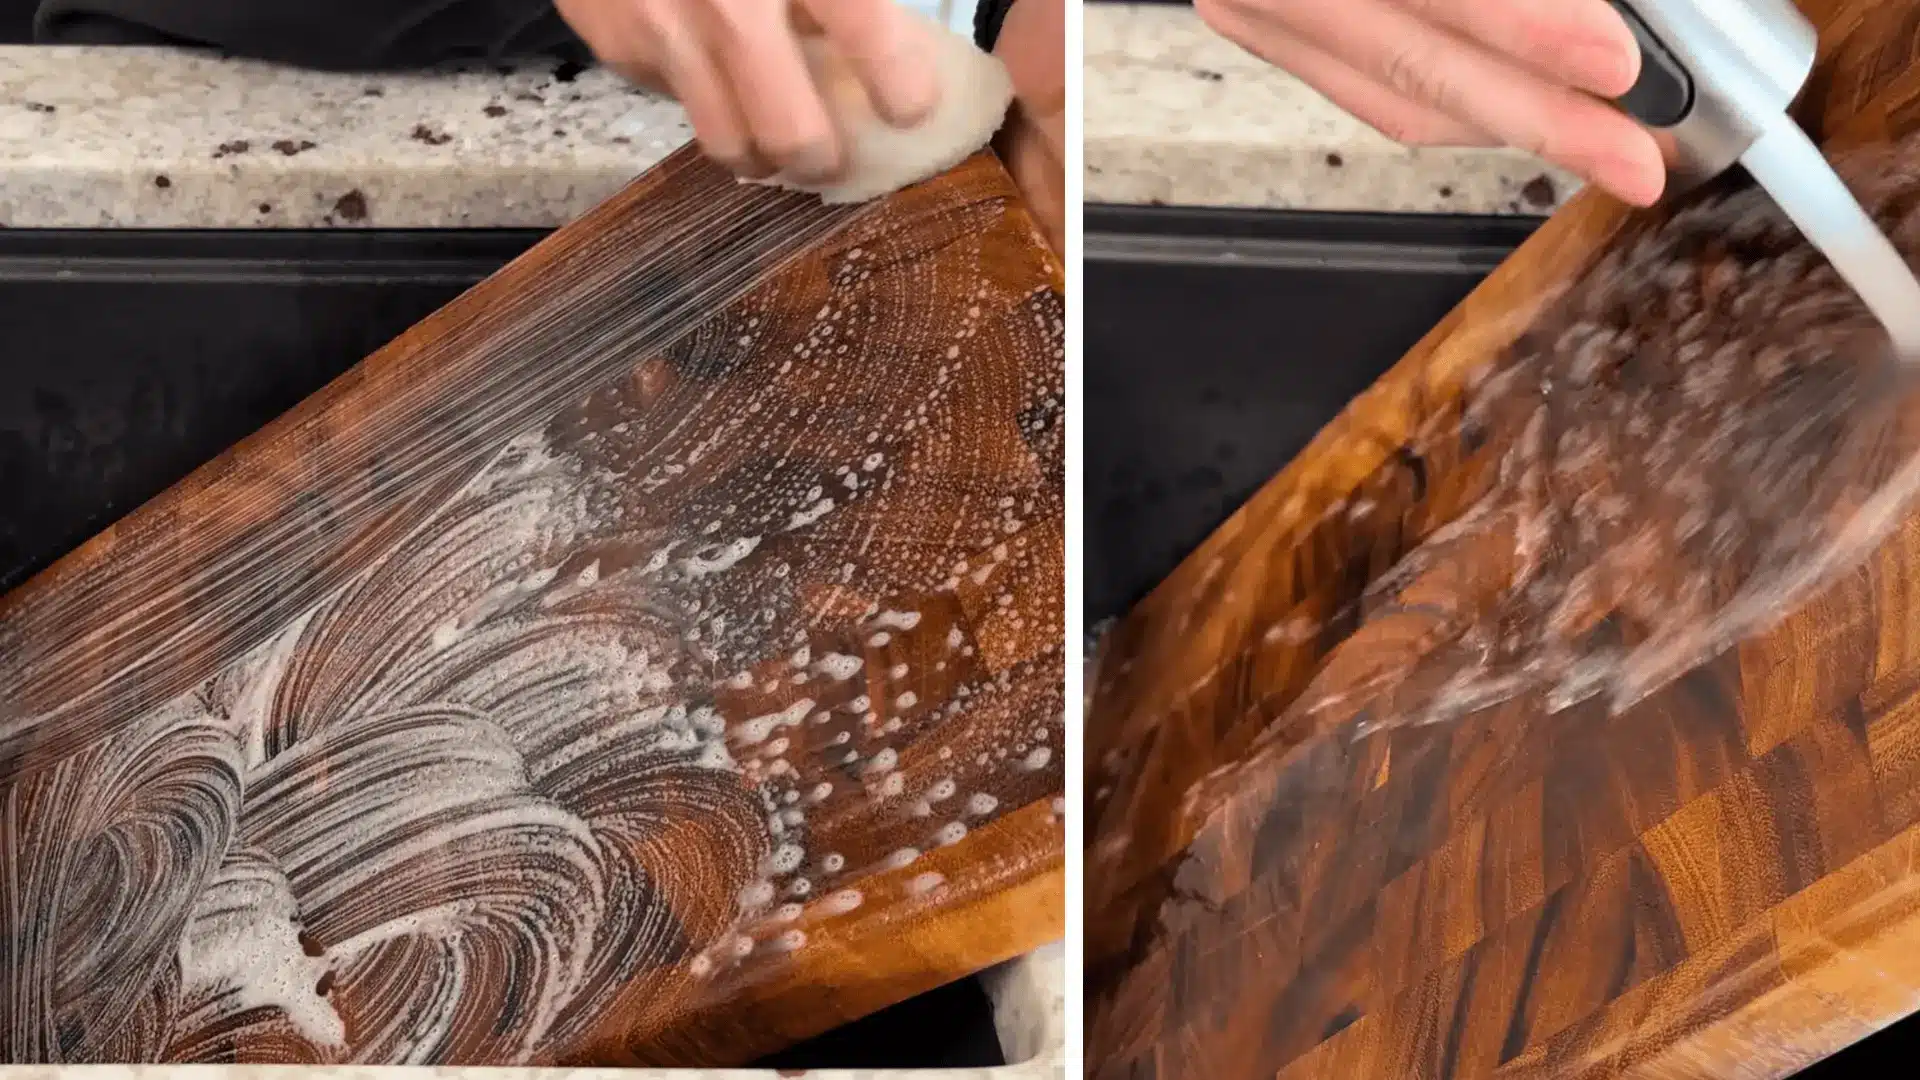
Add a few drops of dish soap to a non-scratch scrub sponge and scrub the entire board, including the sides and underside.
With wood boards, especially, wetting both sides matters since uneven moisture can cause warping and cracking over time. Rinse thoroughly with warm water and make sure no soap residue is left behind before moving to the next step.
Step 3: Apply Your Disinfecting Solution
Spray undiluted white vinegar or hydrogen peroxide evenly across the board and let it sit for about 15 minutes so it has enough contact time to actually kill bacteria.
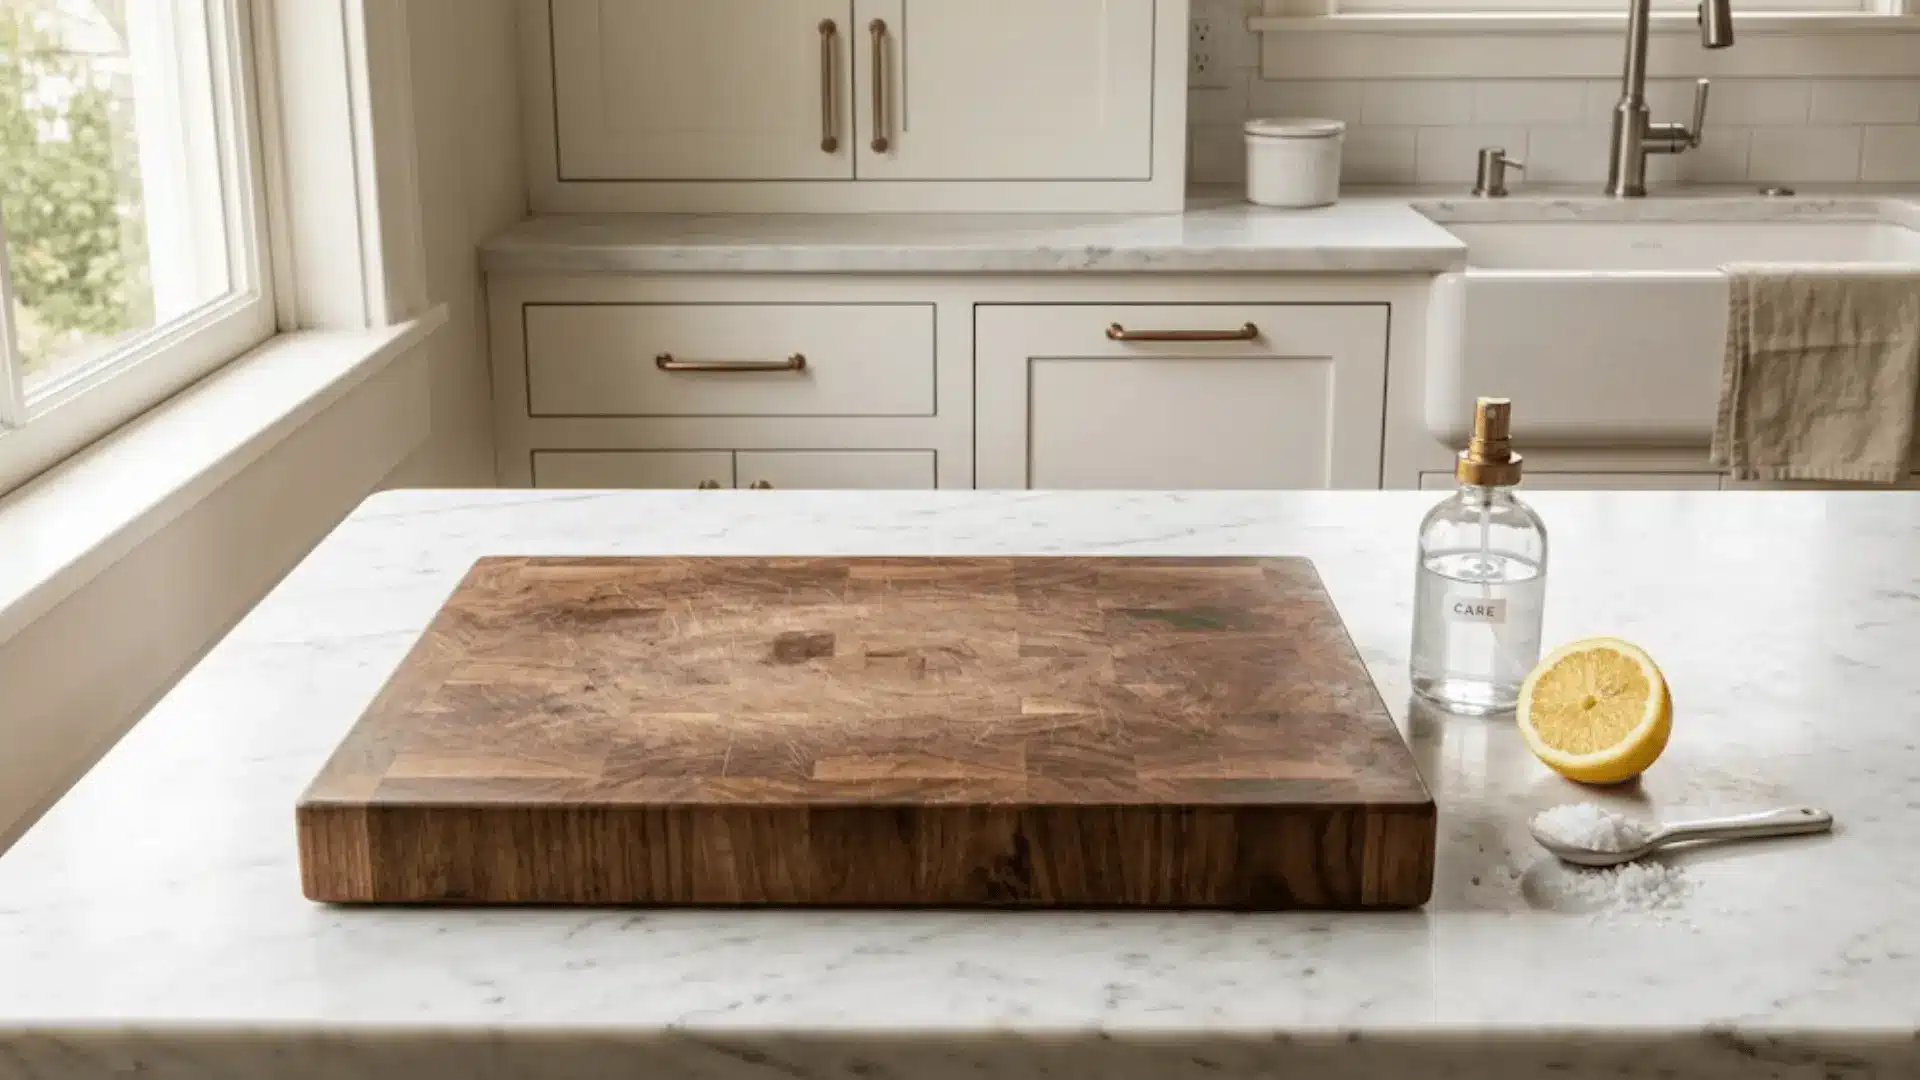
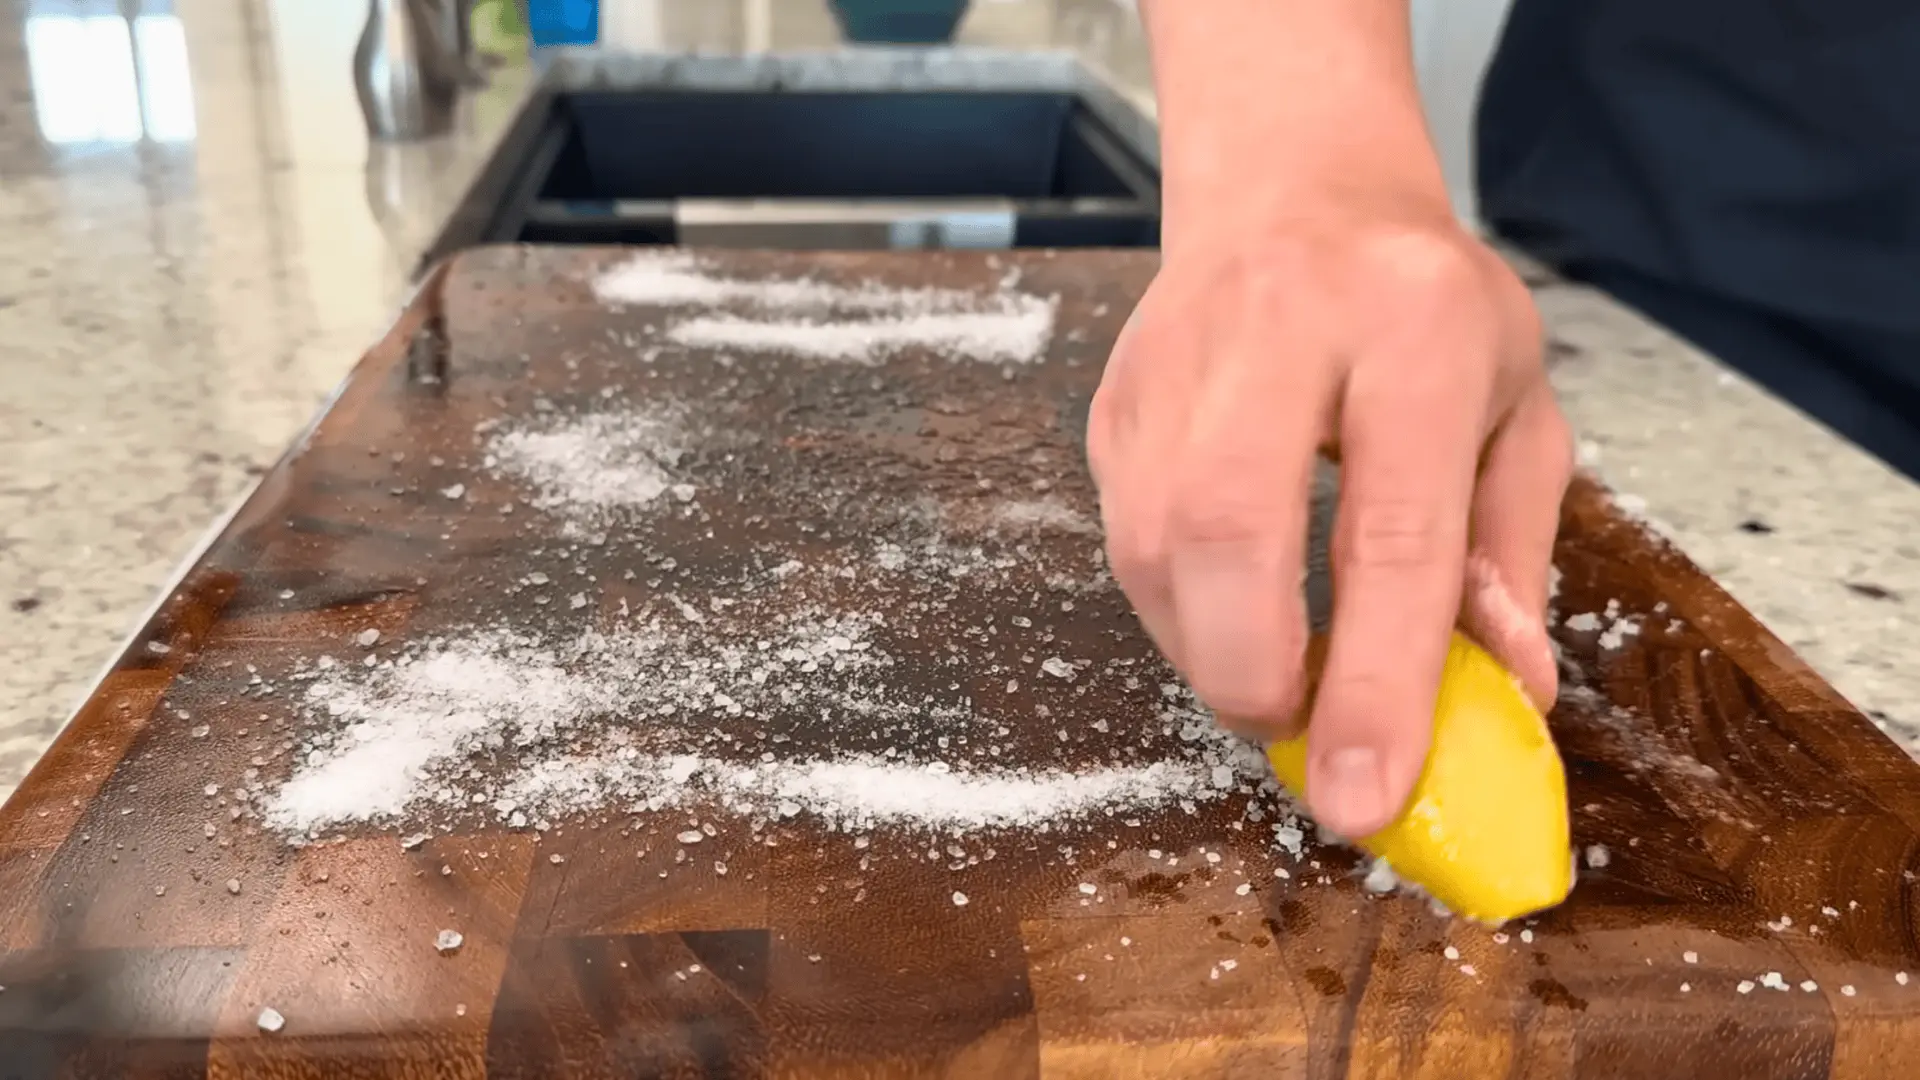
If your board has stubborn odors, spread coarse salt over the surface, scrub with a halved lemon, and let the mixture sit for at least five to fifteen minutes before rinsing. It is a natural option that cleans and deodorizes at the same time.
Step 4: Rinse and Dry Immediately
Once the solution has done its job, rinse the board well and wipe it down with a clean towel right away. Do not let it air dry flat on the counter.
Propping it upright against a wall allows air to circulate evenly around the board, preventing trapped moisture that leads to warping and splitting over time.
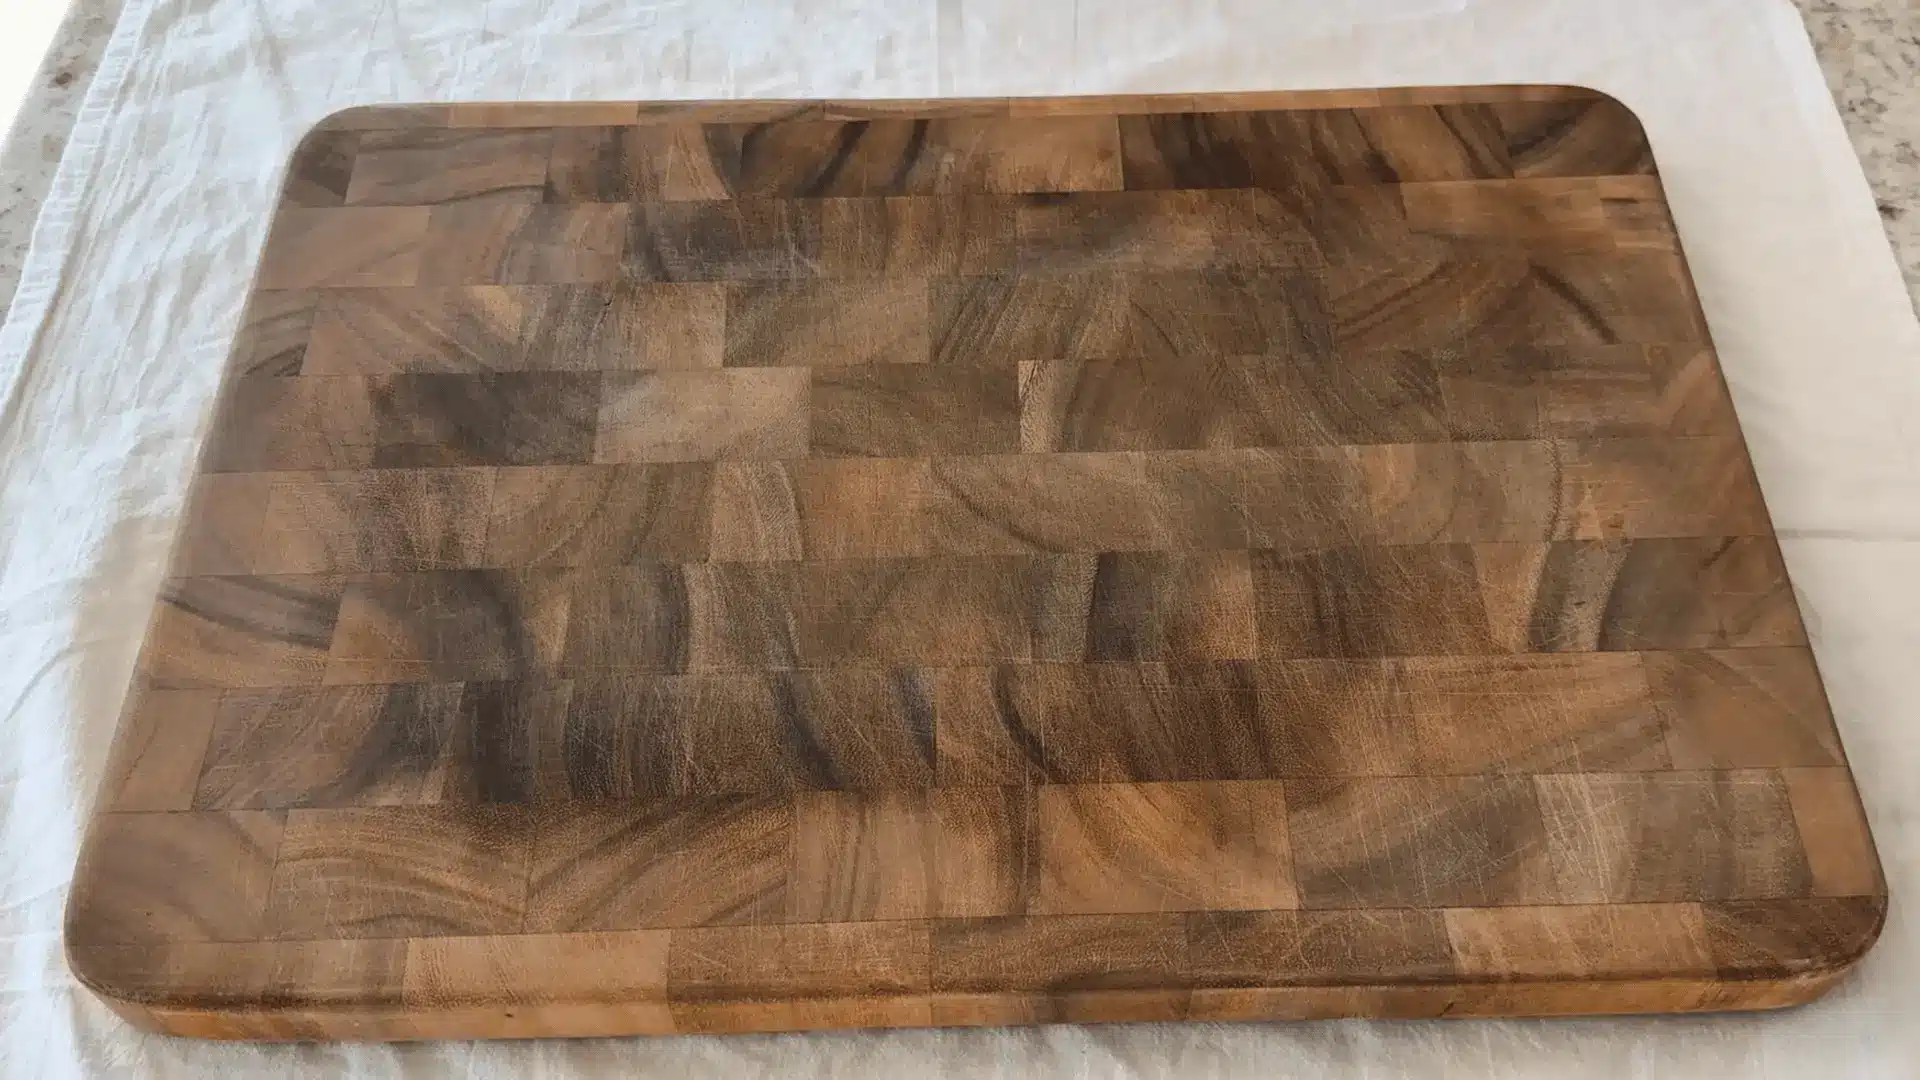
Step 5: Oil the Board After Drying
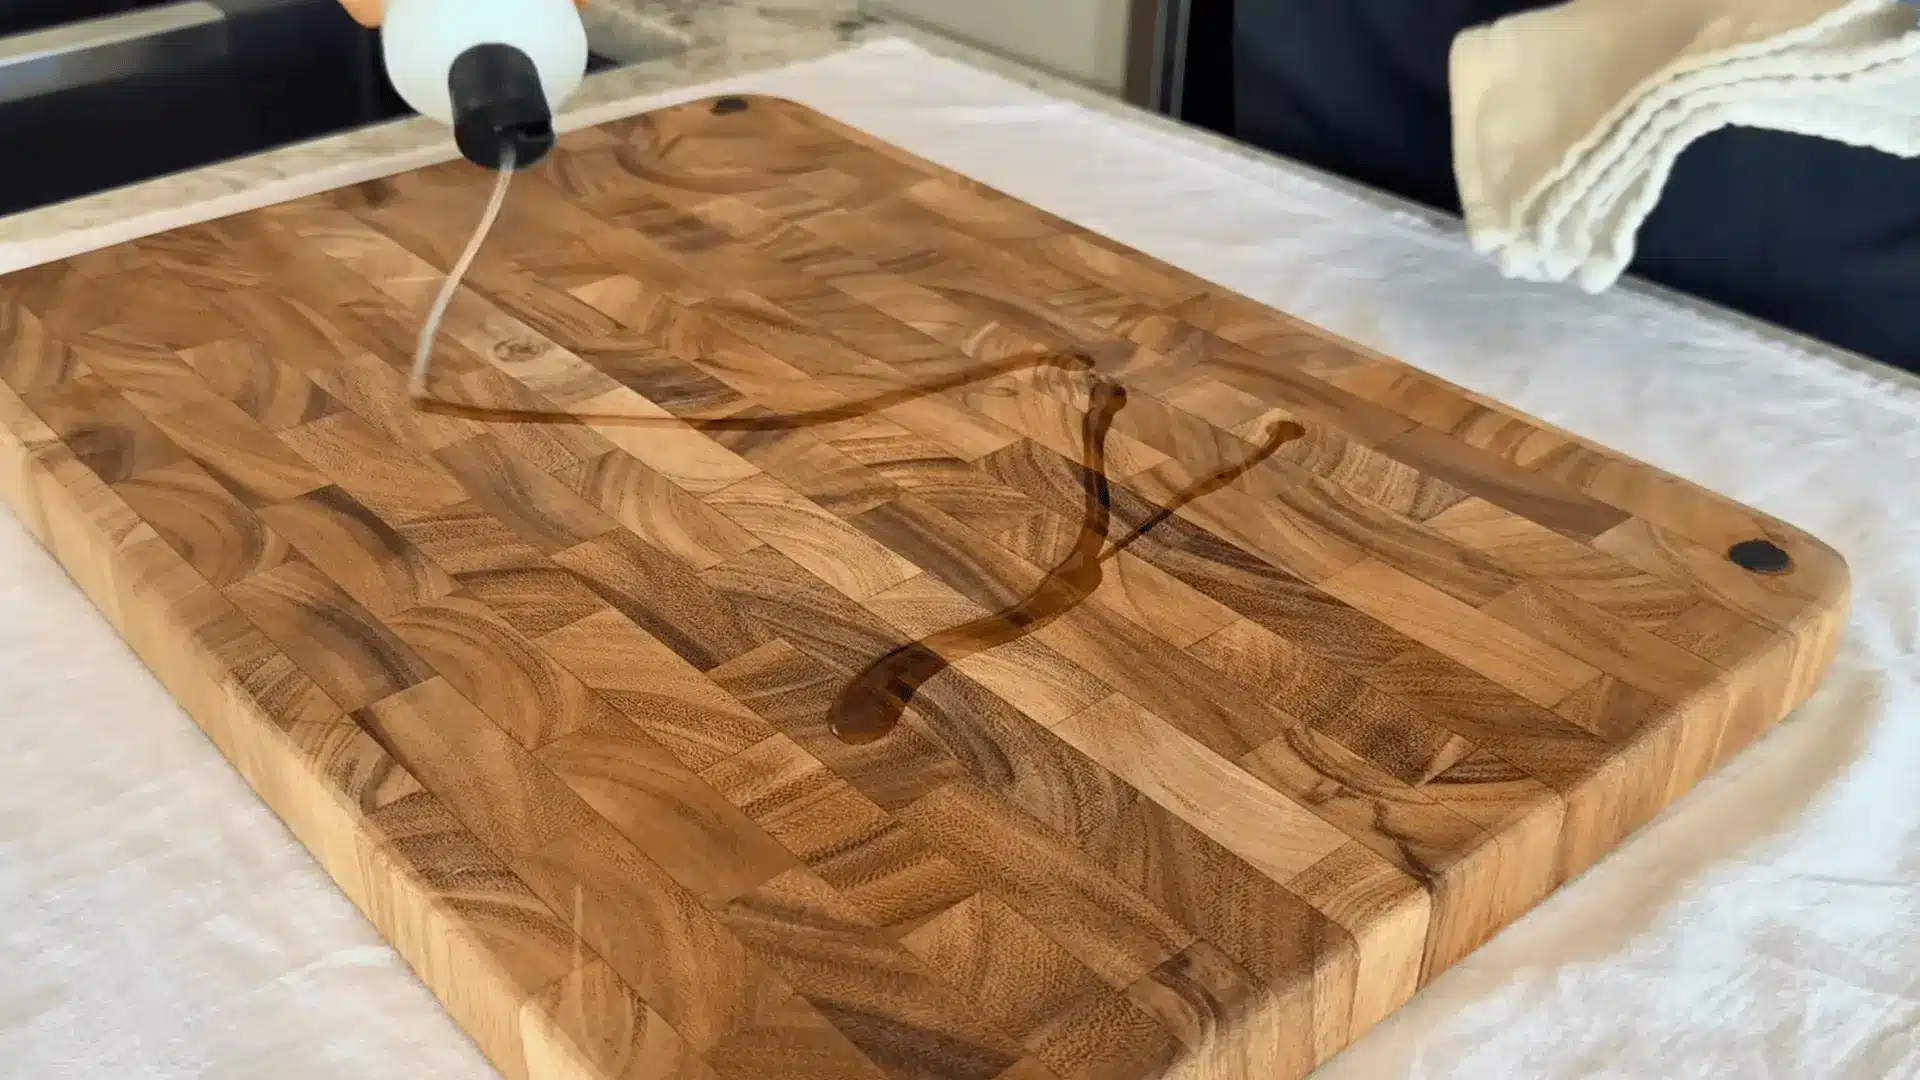
Once the board is completely dry, apply food-grade mineral oil in circular motions across the entire surface, sides, and bottom included.
Let it absorb for a full twenty-four hours before using the board again. This keeps the wood hydrated, restores its natural color, prevents cracking, and helps the board resist bacteria over time.
For a more detailed walkthrough of the process, check out the complete video tutorial below by
Clean That Up.
Recommended Disinfecting Methods
Not every disinfecting method works the same way, and the right one often depends on your board material. Here are the most trusted approaches to keep things properly sanitized.
1. Bleach Solution Method
The USDA widely recommends this method for effectively killing harmful bacteria on both plastic and wood cutting boards.
- Step 1: Mix a small amount of unscented bleach into a gallon of water.
- Step 2: Apply the solution evenly across the entire board surface.
- Step 3: Let it sit for a few minutes to allow full contact time.
- Step 4: Rinse thoroughly with clean water and dry immediately.
2. Vinegar and Hydrogen Peroxide Method
A great natural alternative for those who prefer keeping harsh chemicals out of their kitchen routine.
- Step 1: Spray undiluted white vinegar evenly across the board.
- Step 2: Let it sit for a few minutes, then rinse off completely.
- Step 3: Follow up by spraying hydrogen peroxide separately on the surface.
- Step 4: Let it sit, then rinse and dry as usual.
3. Dishwasher Method (For Plastic Boards Only)
The high heat of a dishwasher cycle makes it an easy and effective sanitizing option, but only for plastic boards.
- Step 1: Scrape off any leftover food debris before loading.
- Step 2: Place the plastic board securely in the dishwasher.
- Step 3: Run a hot water cycle for maximum sanitization.
- Step 4: Allow the board to dry completely before storing.
How to Disinfect Different Types of Cutting Boards?
Different board materials need different care, and using the wrong method can do more harm than good.
Here is a quick breakdown of what works best for each type.
| Factor | Wooden Boards | Plastic Boards | Bamboo Boards |
|---|---|---|---|
| Best Disinfecting Method | White vinegar or hydrogen peroxide | Bleach solution or dishwasher | White vinegar or hydrogen peroxide |
| Dishwasher Safe? | No, damages the wood | Yes, high heat sanitizes effectively | No, can cause splitting |
| Soaking in Water | Never, causes warping and cracking | Generally safe for short periods | Avoid, though, more moisture-resistant than wood |
| Drying Method | Prop upright for even air circulation | Air dry flat or towel dry | Prop upright, same as wood |
| Oiling Required? | Yes, monthly with mineral oil | No | Yes, occasional oiling is recommended |
Extra Tips for Food Safety
Disinfecting is just one piece of the puzzle. These small but impactful habits go a long way in keeping your kitchen genuinely safe.
- Use separate boards for raw meat and fresh produce to prevent cross-contamination.
- Dedicate a color-coded board to each food category so there is never any mix-up.
- Replace boards with deep grooves since bacteria love to hide and multiply in those cuts.
- Store boards upright and dry to prevent moisture buildup between uses.
- Never stack wet boards together, as trapped moisture creates the perfect environment for bacteria.
A clean kitchen starts with the right habits, and these simple switches can make a real difference in how safe your food prep space actually is.
That’s a Wrap
Your cutting board goes through a lot, and giving it the right care is one of those small habits that quietly make your kitchen a safer, cleaner place.
Now that you know how to disinfect a cutting board properly, the right methods, the material-specific care, and the little habits that actually matter, it all comes down to staying consistent.
A well-maintained board is honestly one of the easiest ways to protect the food you cook with love.
Got a tip that works for you? Drop it in the comments below!