Have you ever looked at a plain wall and thought it needed something special? A DIY plant wall might be just the thing to bring it to life. It’s a fun and creative way to add greenery to your home without using up any floor space. Whether you live in a small apartment or a big house, there’s always a wall that could use some extra charm.
Plus, plants help clean the air and make any room feel more relaxing. In this blog, I’ll walk you through everything you need to know to build your own plant wall, from planning and tools to plant choices and design ideas.
Don’t worry if you’re not super crafty; many of these ideas are easy enough for beginners. So let’s get started and turn your empty wall into a fresh, green, and eye-catching space!
Benefits of Having a DIY Plant Wall
What I’ve come to realise is that a DIY plant wall isn’t just pretty, it also comes with a lot of great benefits that can make your home feel better in more ways than one.
- Saves Floor Space: If you don’t have room for lots of pots on the floor, a plant wall gives you a way to enjoy greenery without using up space you need for furniture or walking.
- Improves Air Quality: Plants naturally help clean the air by removing dust and toxins. A wall full of plants can make your room feel fresher and easier to breathe in.
- Adds Beauty and Style: Plant walls look amazing. Whether you go for a neat design or a wild, natural look, they bring life and color to even the plainest walls.
- Reduces Stress and Boosts Mood: Being around plants has been shown to help people feel calmer and more relaxed. A green wall in your home can give you a peaceful spot to enjoy every day.
- Offers a Fun DIY Project: Making your own plant wall is creative and rewarding. You get to build something by hand, and the end result is something you’ll enjoy every time you walk into the room.
- Works in Any Room: You can build a plant wall in your living room, kitchen, bedroom, or even your bathroom. There are plant choices that do well in all kinds of lighting and spaces.
A DIY plant wall is a simple way to make your home healthier, prettier, and more peaceful. It’s more than just a project; it’s a gift you give to your space and yourself.
Planning Your DIY Plant Wall
Before you start building your plant wall, it’s important to take some time to plan things out. A little prep goes a long way and helps ensure that your plant wall turns out just the way you want it.
Choose the Right Spot
- Look around your home for a wall that gets some natural light.
- I usually prefer south or east-facing walls since they get the best light for most plants.
- Avoid areas with extreme heat or cold, like near heaters or drafty windows.
Think About the Size and Shape
- Measure the wall so you know how much space you’re working with.
- Decide if you want a full wall of plants or just a small section.
- Keep in mind how high you can safely reach for watering and trimming.
Pick Your Plant Wall Style
- Do you want a clean, modern grid or a more relaxed, natural layout?
- Some people use rows of shelves, others hang planters, and some build living panels.
- Sketch out a rough design so you have a clear idea before starting.
Choose the Right Plants
- Pick plants based on the light in the spot you’ve chosen.
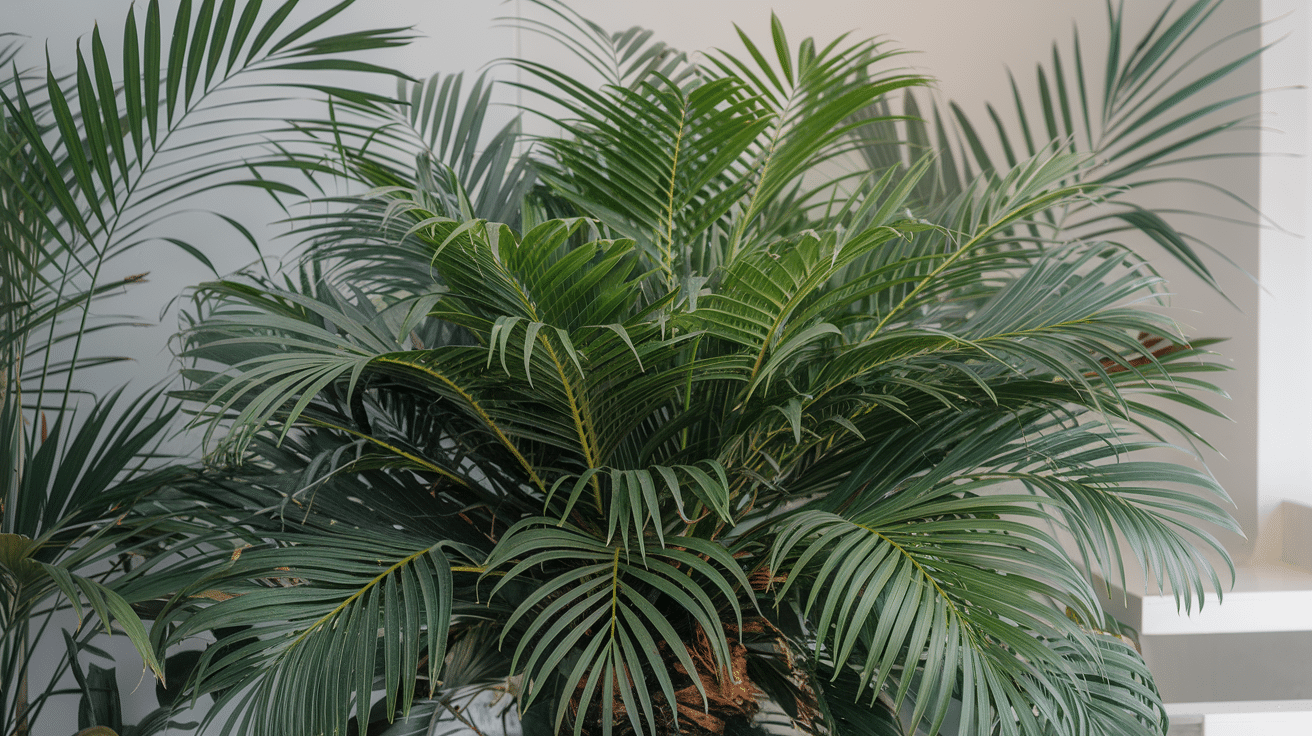
- For low light: try snake plants, pothos, or ZZ plants.
- For bright light: use herbs, succulents, or trailing vines.
A little planning now will save you time and trouble later. Once you’ve picked your wall, chosen your plants, and mapped out your design, you’ll be ready to start building a plant wall that’s beautiful, healthy, and easy to enjoy.
Step-by-Step Guide to Building Your Plant Wall
Ready to bring your DIY plant wall to life? Whether you’re working with hanging planters, shelves, or a full vertical system, the process is easier when you know exactly what you need and what to expect.
Materials You’ll Need
- Wall planters, shelves, or pockets (fabric, wood, plastic, or metal)
- Plants suited to your wall’s light conditions
- Mounting hardware (screws, anchors, wall hooks)
- Waterproof backing (optional for added wall protection)
- Drill and drill bits
- Screwdriver
- Level and measuring tape
- Pencil or chalk for marking
- Optional: grow lights, timer, misting bottle, watering can
Step 1: Measure and Mark Your Wall

Start by deciding how much of the wall you want to cover. Use your measuring tape to outline the space, and mark where you’ll place each planter or shelf. A pencil or chalk works well for this since you can erase or wipe it off later.
Be sure to use a level so your layout stays straight. It’s especially important if you’re using multiple planters or shelves stacked or lined up in rows. Planning the layout carefully at this stage will make the final display look clean and balanced.
Step 2: Install Waterproof Backing (Optional)
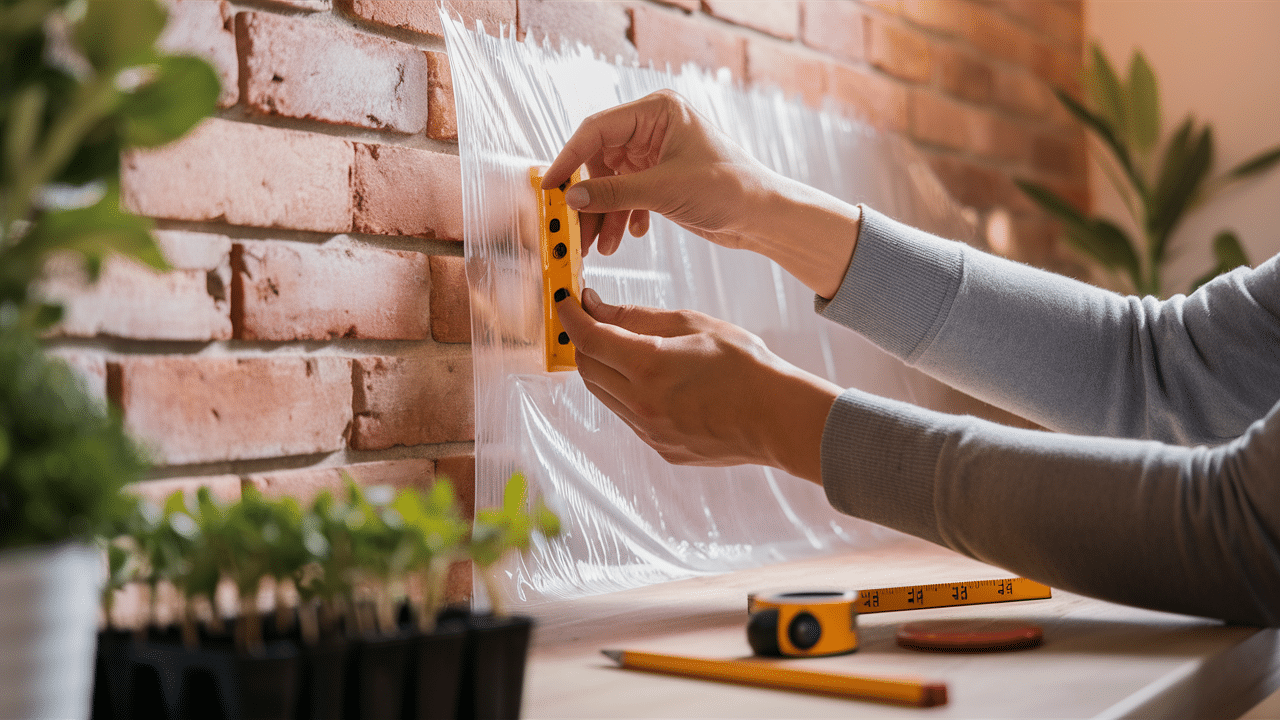
If your plant wall will be indoors and you’re worried about moisture, this step is worth the extra time. You can use a waterproof panel, a plastic sheet, or even a shower curtain liner.
I just cut it to fit the area and attached it behind the wall planters. It gives me peace of mind, especially if I plan to mist the plants or water them in place. This way, I know my wall stays safe from water damage.
Step 3: Secure Your Planters or Shelves
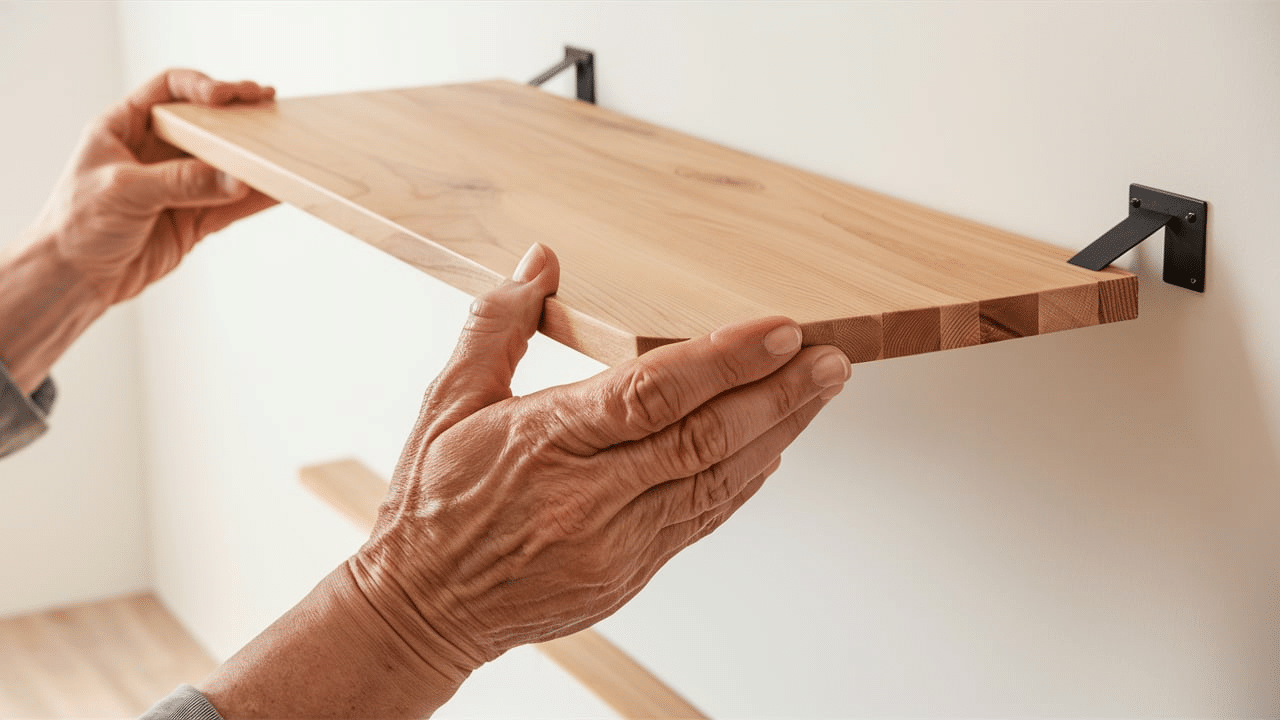
Use your drill to install screws or wall anchors where you marked earlier. If you’re using shelves, make sure the brackets are strong enough to hold the weight of both the shelf and the plants, for hanging pockets or small planters, wall hooks or screws spaced evenly work great.
Always double-check that everything is tightly secured. Once it’s loaded with soil and water, you don’t want anything slipping or falling. This is a good time to test each planter or shelf before moving on.
Step 4: Add Plants and Arrange Them
Now comes the fun part! Adding your plants! Place each one into your planters or on the shelves, starting with larger ones at the bottom and trailing or smaller ones at the top. This creates a cascading effect that looks full and lush. For plant enthusiasts looking to maximize space and healthy growth, layering garden planters offers an effective approach for creating lush vertical displays with proper soil and drainage.
I make sure to group plants with similar care needs together. That way, I don’t end up overwatering one while under-watering another. It also makes it easier to keep track of what each plant needs. I like to rotate my plants every so often, too, so they all get a fair amount of light and space to grow.
Step 5: Add Finishing Touches
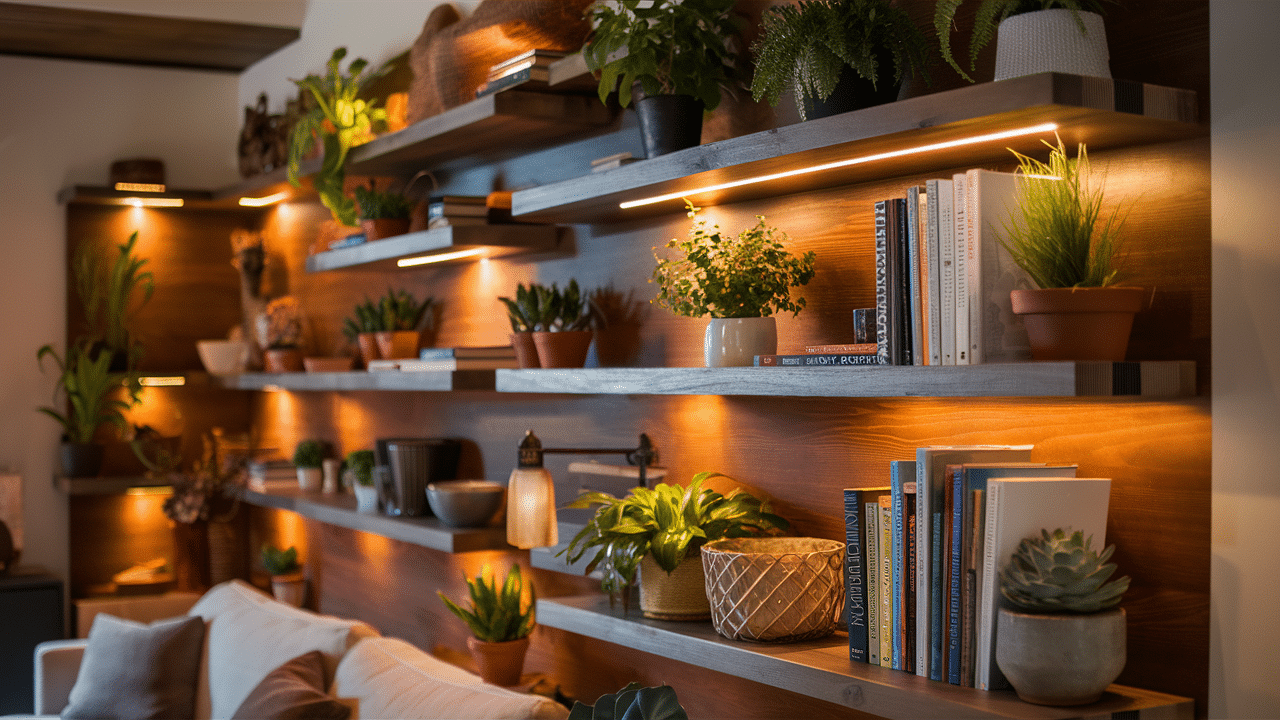
Once your plants are in place, step back and see if anything feels off or empty. You can fill in small gaps with décor like stones, mini signs, or even fairy lights. If your wall is in a dim spot, consider adding stick-on grow lights or a hanging lamp with a timer.
Want an extra touch of charm? Try labeling your pots or shelves with the plant names for a garden-inspired vibe. These small details can bring your whole plant wall together.
With these steps, you’ve just built a personalized plant wall that’s both beautiful and functional. Take your time, have fun with the design, and enjoy watching your greenery thrive on display!
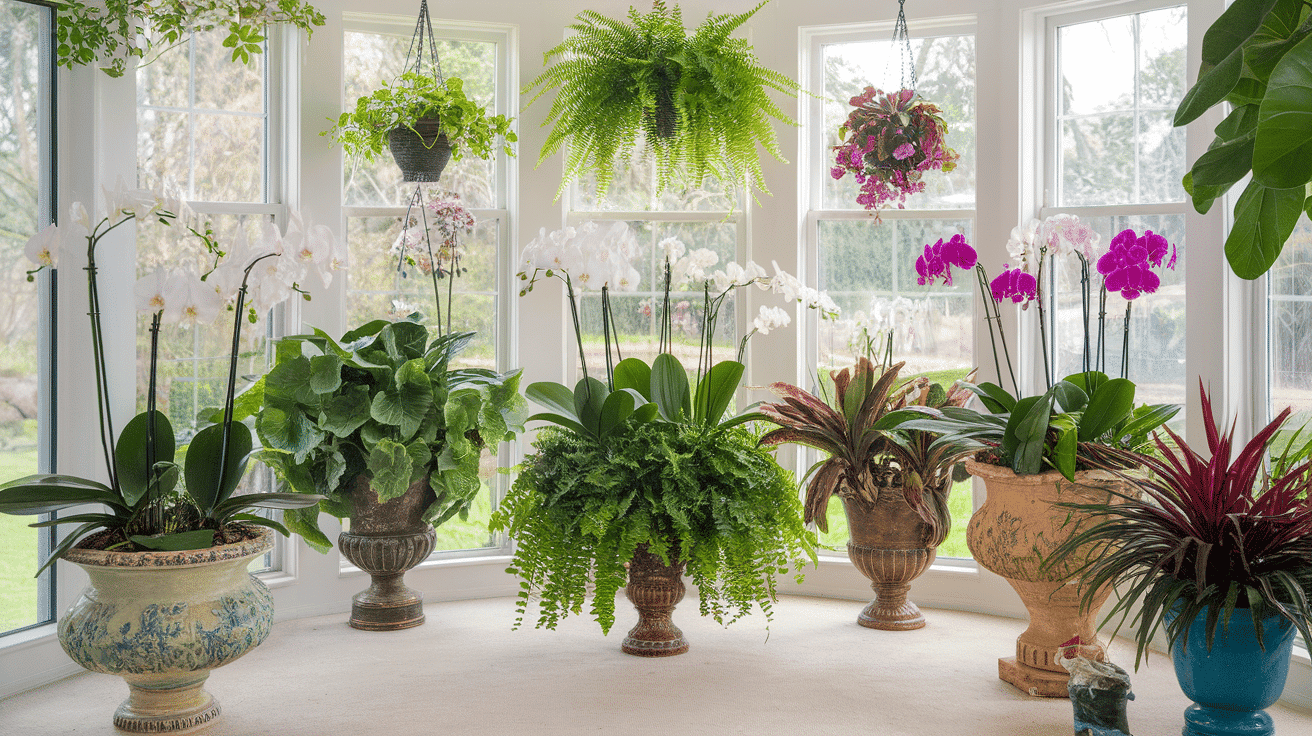
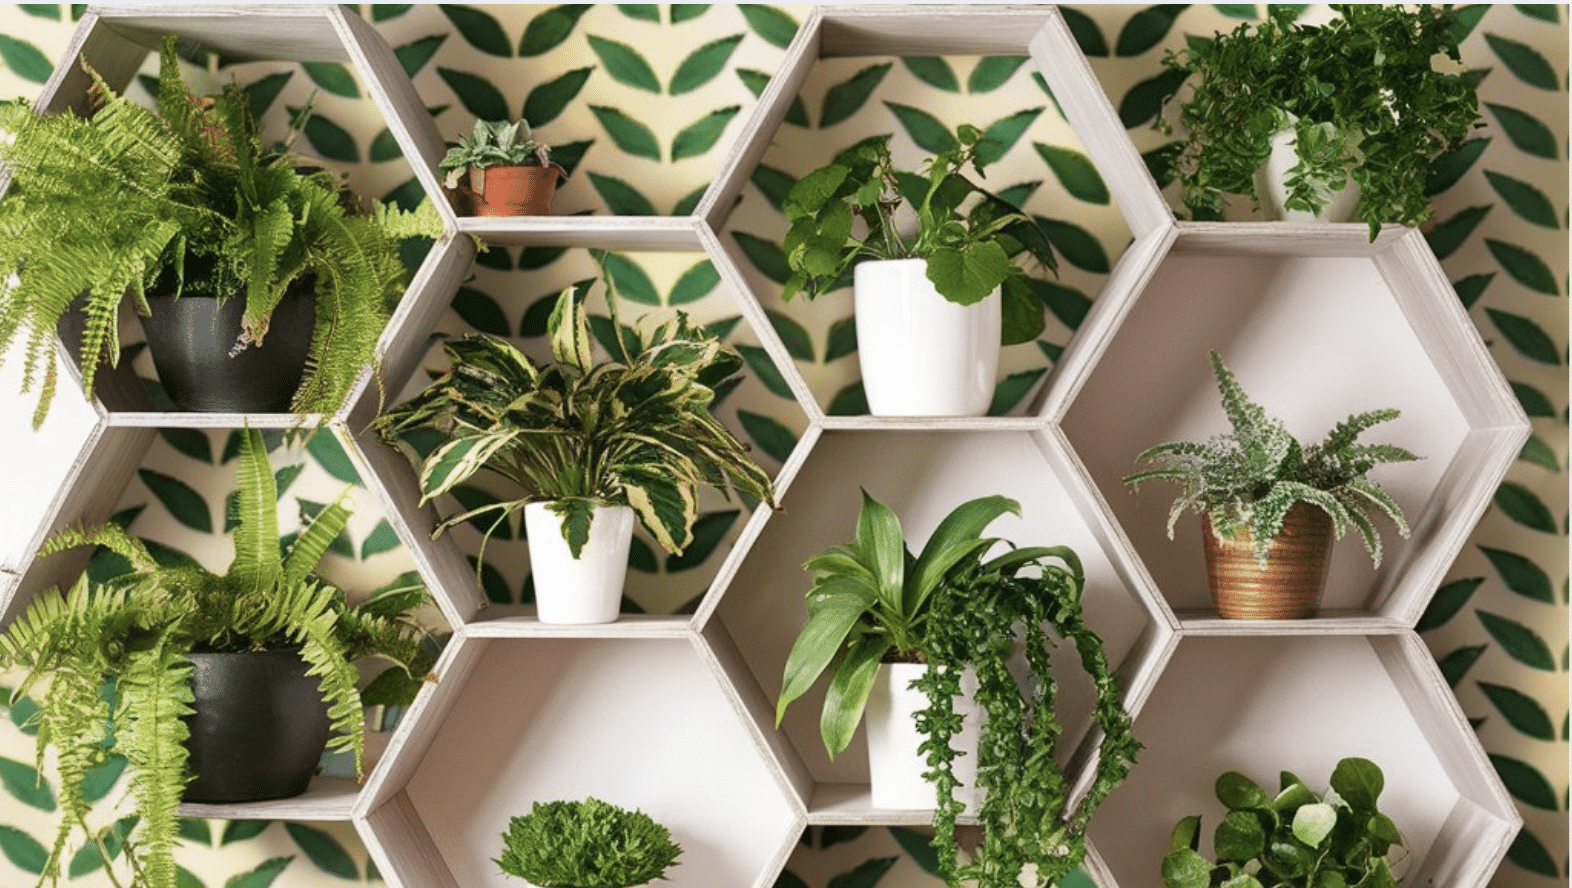
Creative DIY Plant Wall Ideas
There’s no one “right” way to build a plant wall. You can make it match your space, your style, and your skill level. Whether you love modern design, rustic charm, or cozy DIY projects, there’s an idea here to inspire your perfect green wall.
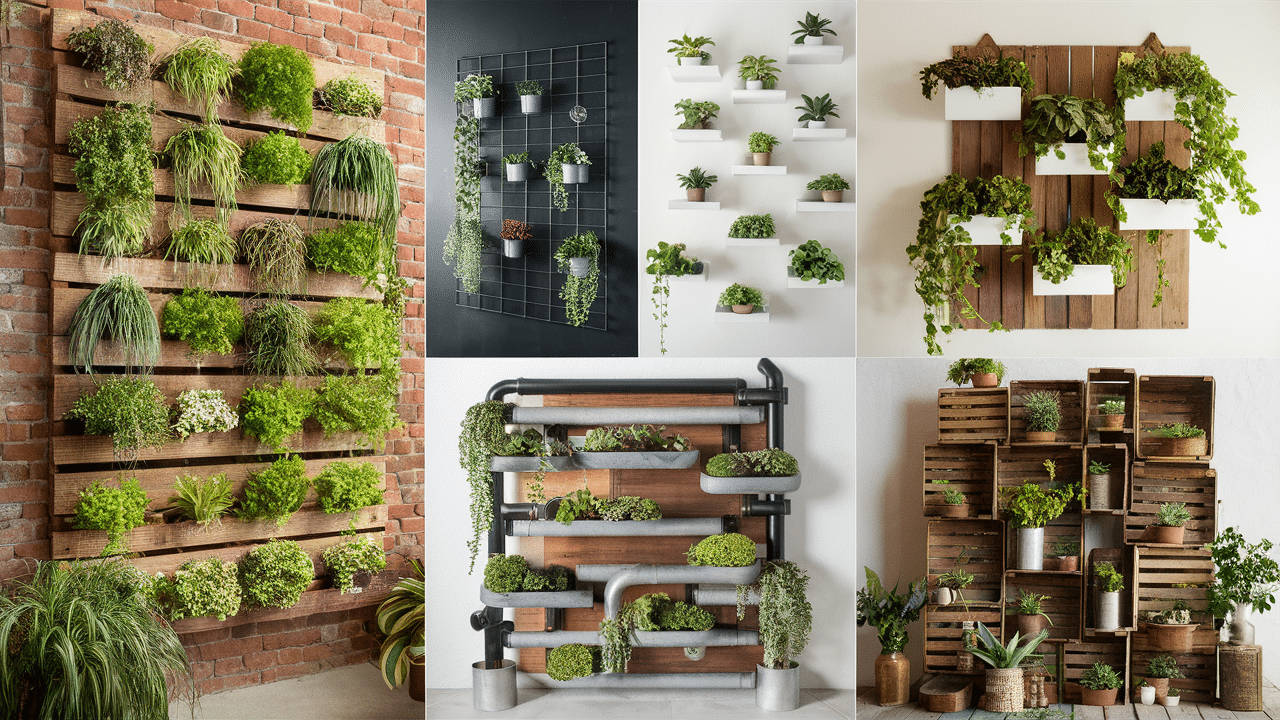
1. Vertical Pallet Garden: Turn an old wooden pallet upright to hold small pots or lined slots for herbs and trailing plants. This rustic look is perfect for this garden.
2. Grid Wall with Clips: Install a metal grid panel and use clips or S-hooks to hang small planters or baskets. It’s sleek, customizable, and space-saving.
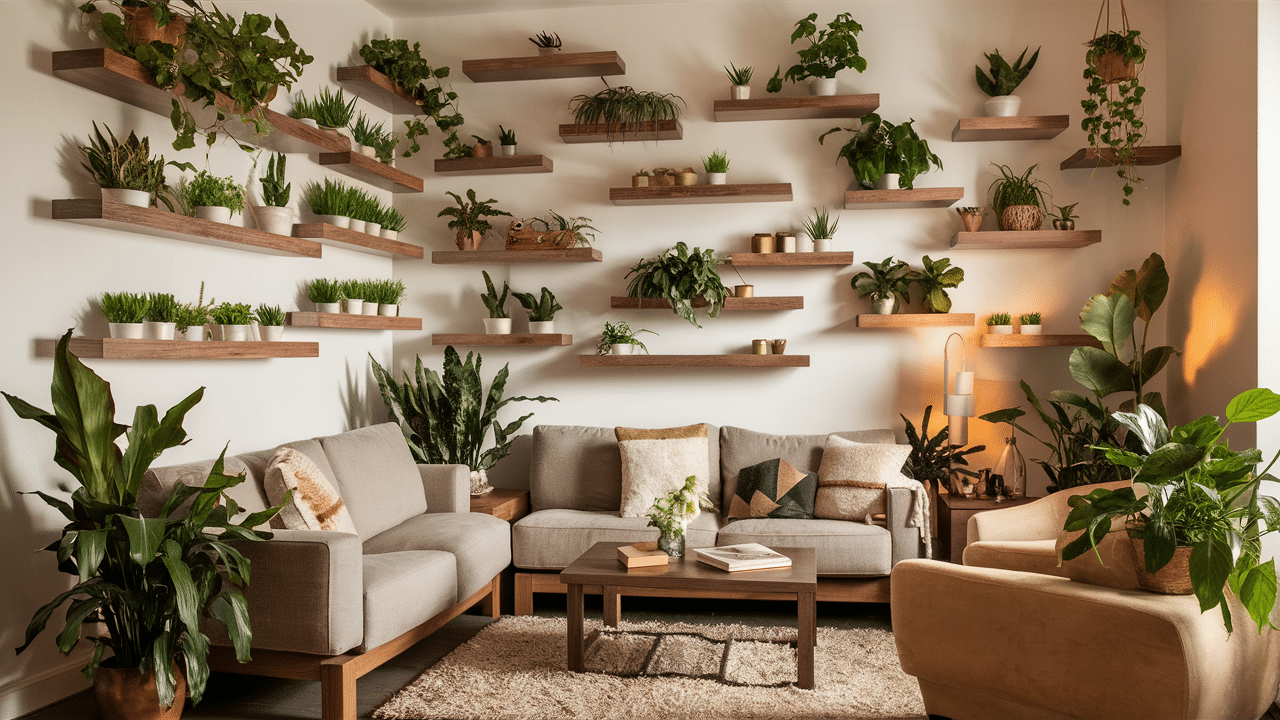
3. Floating Wall Shelves: Mount 2–4 wooden shelves in a stacked or staggered layout. Place small to medium plants on them for a tidy and simple design.
4. PVC Pipe Planter Wall: Cut wide PVC pipes in half lengthwise, mount them to a backing board, and fill with soil and plants. This works well for succulents and lettuce.
5. Wood Crate Stack Wall: Stack wooden crates on their sides and fill each with a plant or two. You can secure them together or leave them movable for a flexible design.
6. Wall-Mounted Trellis: Mount a decorative trellis to the wall and let vines grow across it naturally. It’s a beautiful way to create a living art piece.
DIY plant walls are a fun way to show your personality while adding greenery to your space. Pick an idea that suits your space and skill level, gather your materials, and enjoy building something that grows with you.
Adapting Plant Walls for Different Spaces
One of the best things about plant walls is their flexibility. Whether you live in a small apartment, a family home, or have an outdoor patio, you can find a way to make one work.
Indoor Spaces
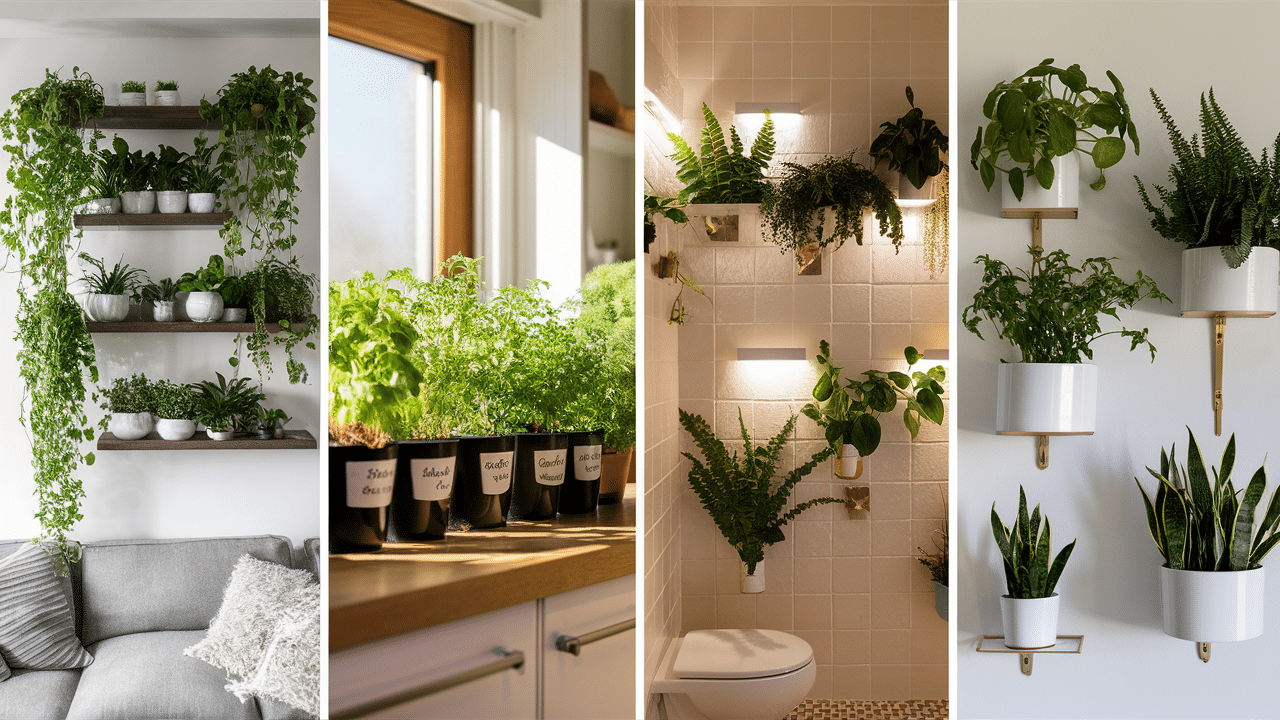
- Living Room: Add a bold plant wall as a natural focal point. Use shelves or a vertical garden system with trailing plants to create a calming vibe.
- Kitchen: Try a herb wall with basil, mint, parsley, and thyme. Hang small pots or use a pocket planter near a window for cooking convenience.
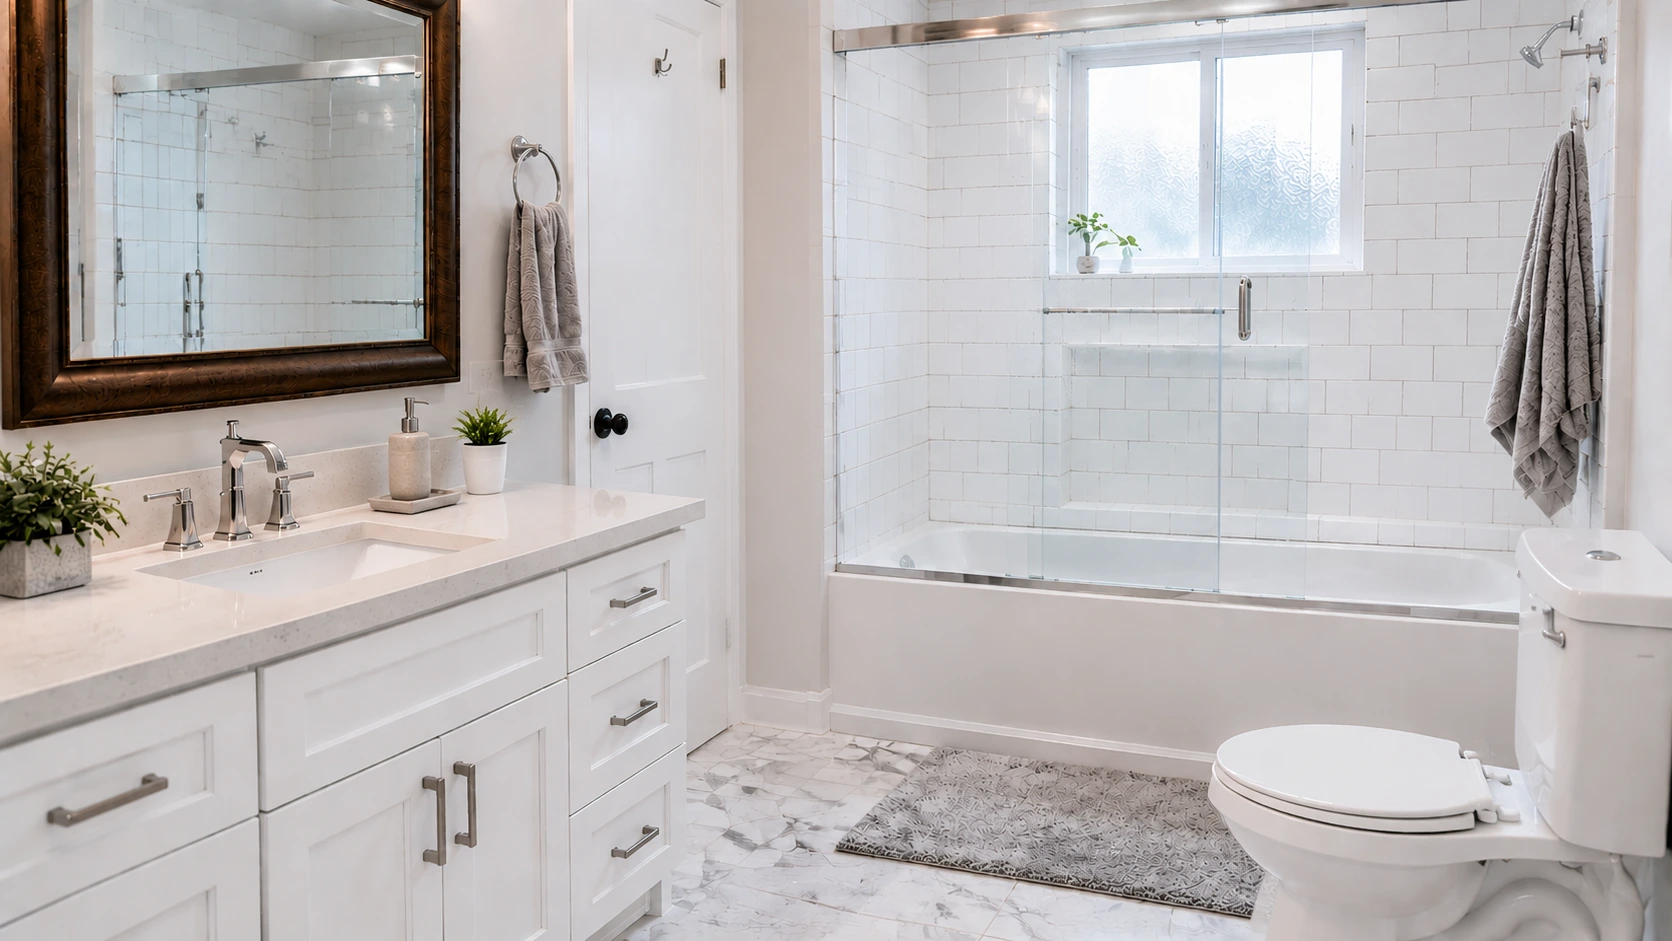
- Bathroom: Use moisture-loving plants like ferns or pothos. Choose planters that resist mold and can handle humidity, and add waterproof backing.
- Bedroom or Office: Keep it simple with a few mounted pots or shelves. Choose low-maintenance plants like ZZ plants or snake plants to create a relaxing environment.
Outdoor Spaces
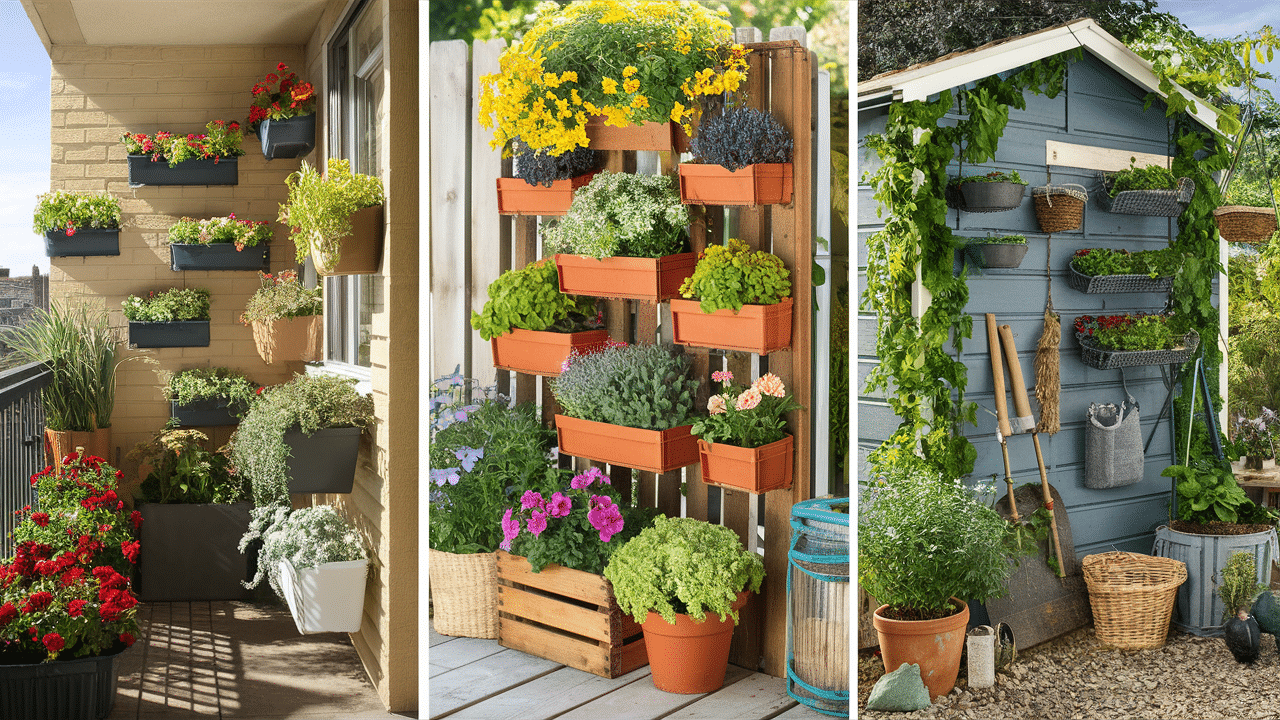
- Balcony: Grow flowers, herbs, or small vegetables on rail-mounted planters or wall-hung systems. Make sure your materials are weatherproof.
- Patio or Fence Wall: Hang wooden crates, trellises, or mounted pots along a fence or wall. Use sun-loving plants like succulents, petunias, or lavender.
- Garden Shed Wall: Create a vertical extension of your garden with climbing vines, hanging baskets, or mounted herb boxes.
Small Spaces and Apartments

- Narrow Hallways: Choose a vertical planter with a slim frame or a hanging fabric system. Stick to small, low-light plants like philodendron or peperomia.
- Corners and Entryways: Add corner shelves or grid walls for small potted plants. It brightens up the area without taking up valuable floor space.
No matter where you live or how much room you have, there’s a plant wall style that can fit right in. With a little creativity, you can add life and beauty to any part of your home—inside or out.
Conclusion
Building a DIY plant wall is a fun and rewarding way to bring more life into your home. Whether you have a small space or a large wall to work with, there’s a plant wall idea that will fit just right.
From choosing the best spot and picking the right plants to adding shelves, pockets, or custom planters, the options are endless. You don’t need to be a pro or spend a lot of money to make it beautiful, just start simple and let your creativity grow with your plants.
A green wall doesn’t just look good; it also helps clean the air and adds a calming touch to your space. So grab your tools, pick your plants, and get started. Your own plant wall is just a few steps away from becoming your favorite part of the house.