A plain backyard can feel like wasted space, but it does not have to stay that way. Small changes can make a big difference. You do not need a huge budget, fancy tools, or a full remodel to make your yard feel better.
With the right diy backyard ideas, you can turn your outdoor space into a spot for relaxing, eating, gardening, or spending time with family.
I will share simple and creative projects you can actually try. You’ll find quick weekend updates, budget-friendly upgrades, cozy seating ideas, garden projects, privacy fixes, and fire pit inspiration.
I’ll also cover common mistakes to avoid and how to choose the right project for your space.
How to Choose the Right DIY Backyard Project
The best DIY backyard project depends on your goal, skill level, budget, and how much care the project will need later.
- For relaxation, choose a hammock, a lounge chair, shaded seating, or a quiet corner.
- For dining, choose a table, patio, grill area, or outdoor meal space.
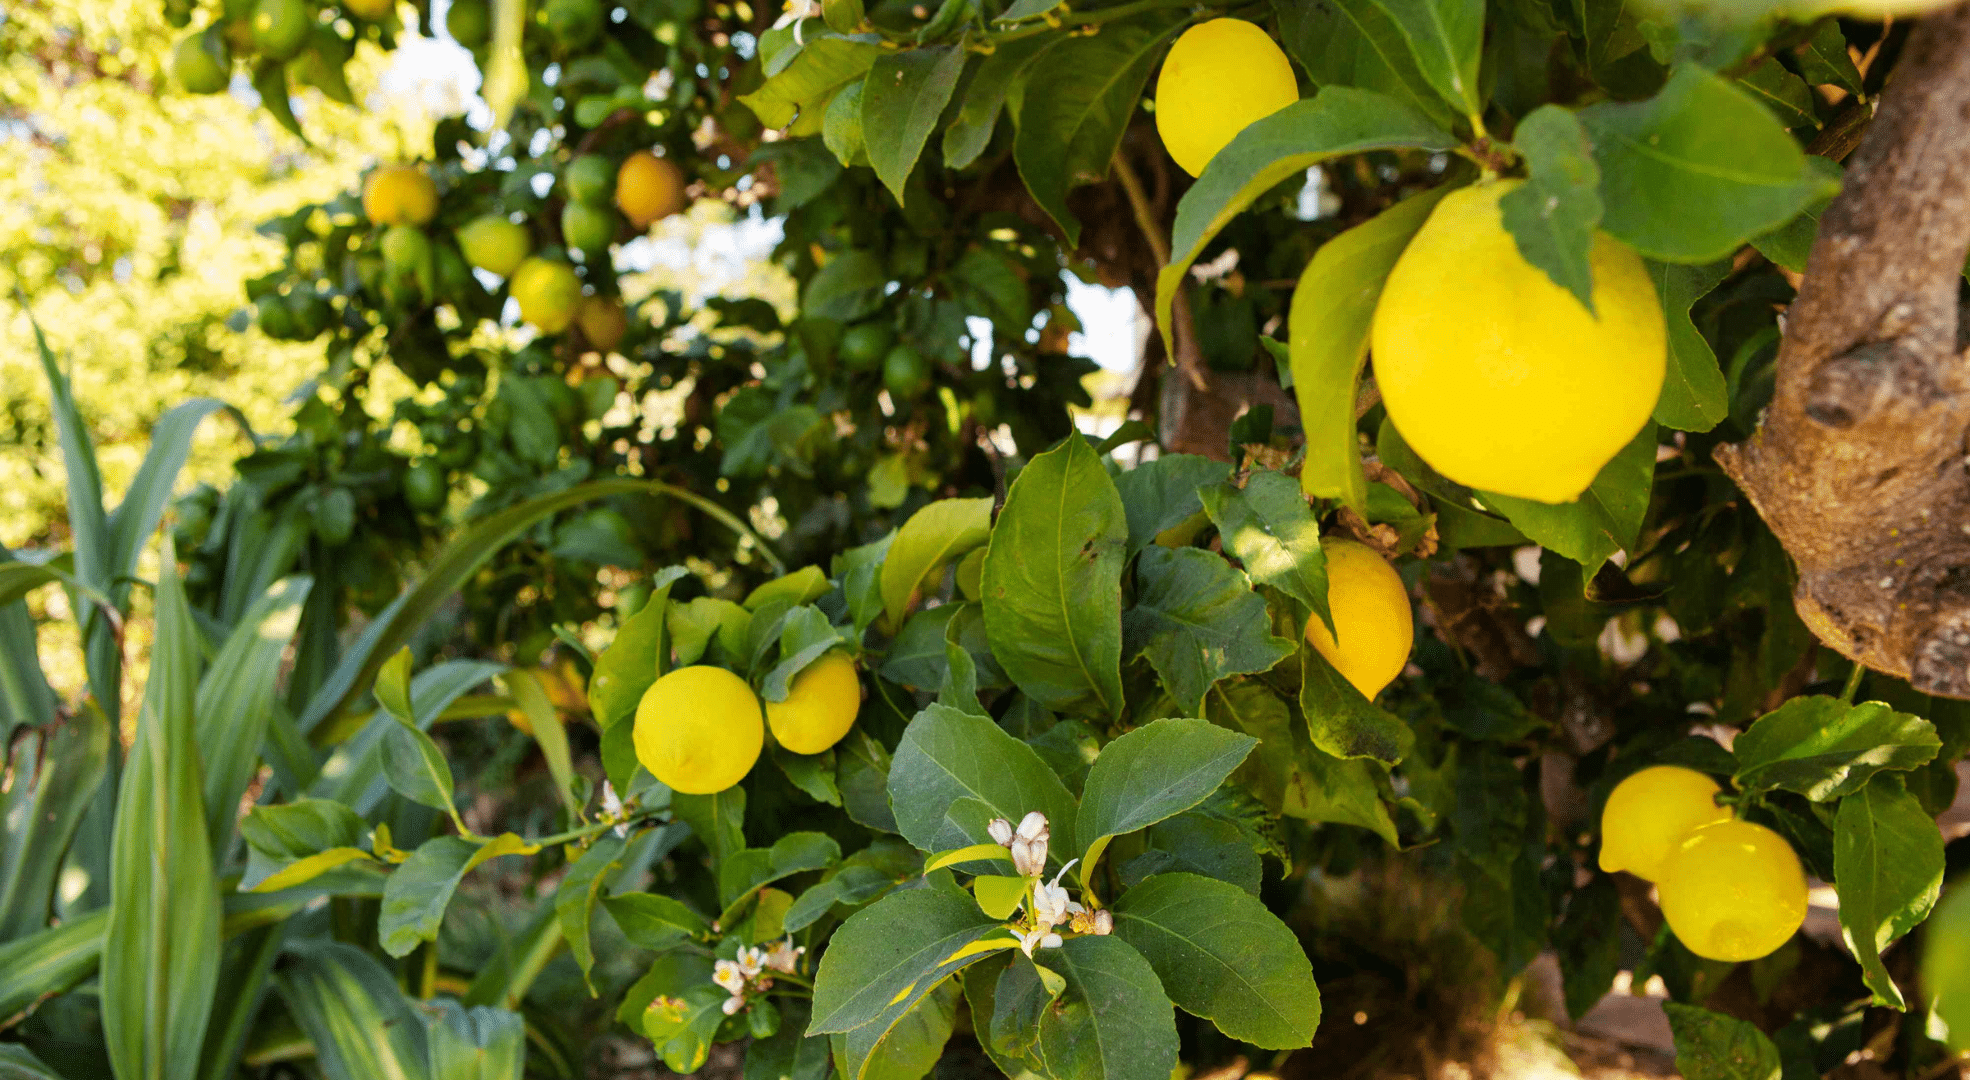
- For gardening, choose raised beds, planters, herbs, flowers, or a potting bench.
- For entertaining, choose a fire pit, a movie area, a bar cart, or a larger seating setup.
- For privacy, choose screens, fencing, tall plants, or outdoor curtains.
- For kids, choose a play area, sandbox, swing, or soft open lawn space.
- For beginners, start with lights, rugs, planters, paint, mulch, or small decor updates.
- For intermediate DIYers, try raised beds, garden paths, privacy screens, or simple furniture.
- For advanced DIYers, consider pergolas, decks, outdoor kitchens, plumbing work, or built-in features.
- For budgeting, include tools, materials, paint, sealers, plants, hardware, delivery, and cleanup.
- To save money, reuse old pots, wood, furniture, crates, or leftover pavers.
- For maintenance, remember wood needs sealing, fences need repainting, gravel needs leveling, and plants need regular care.
Choosing the right project from the start makes the work go more smoothly and gives you a backyard you will enjoy using.
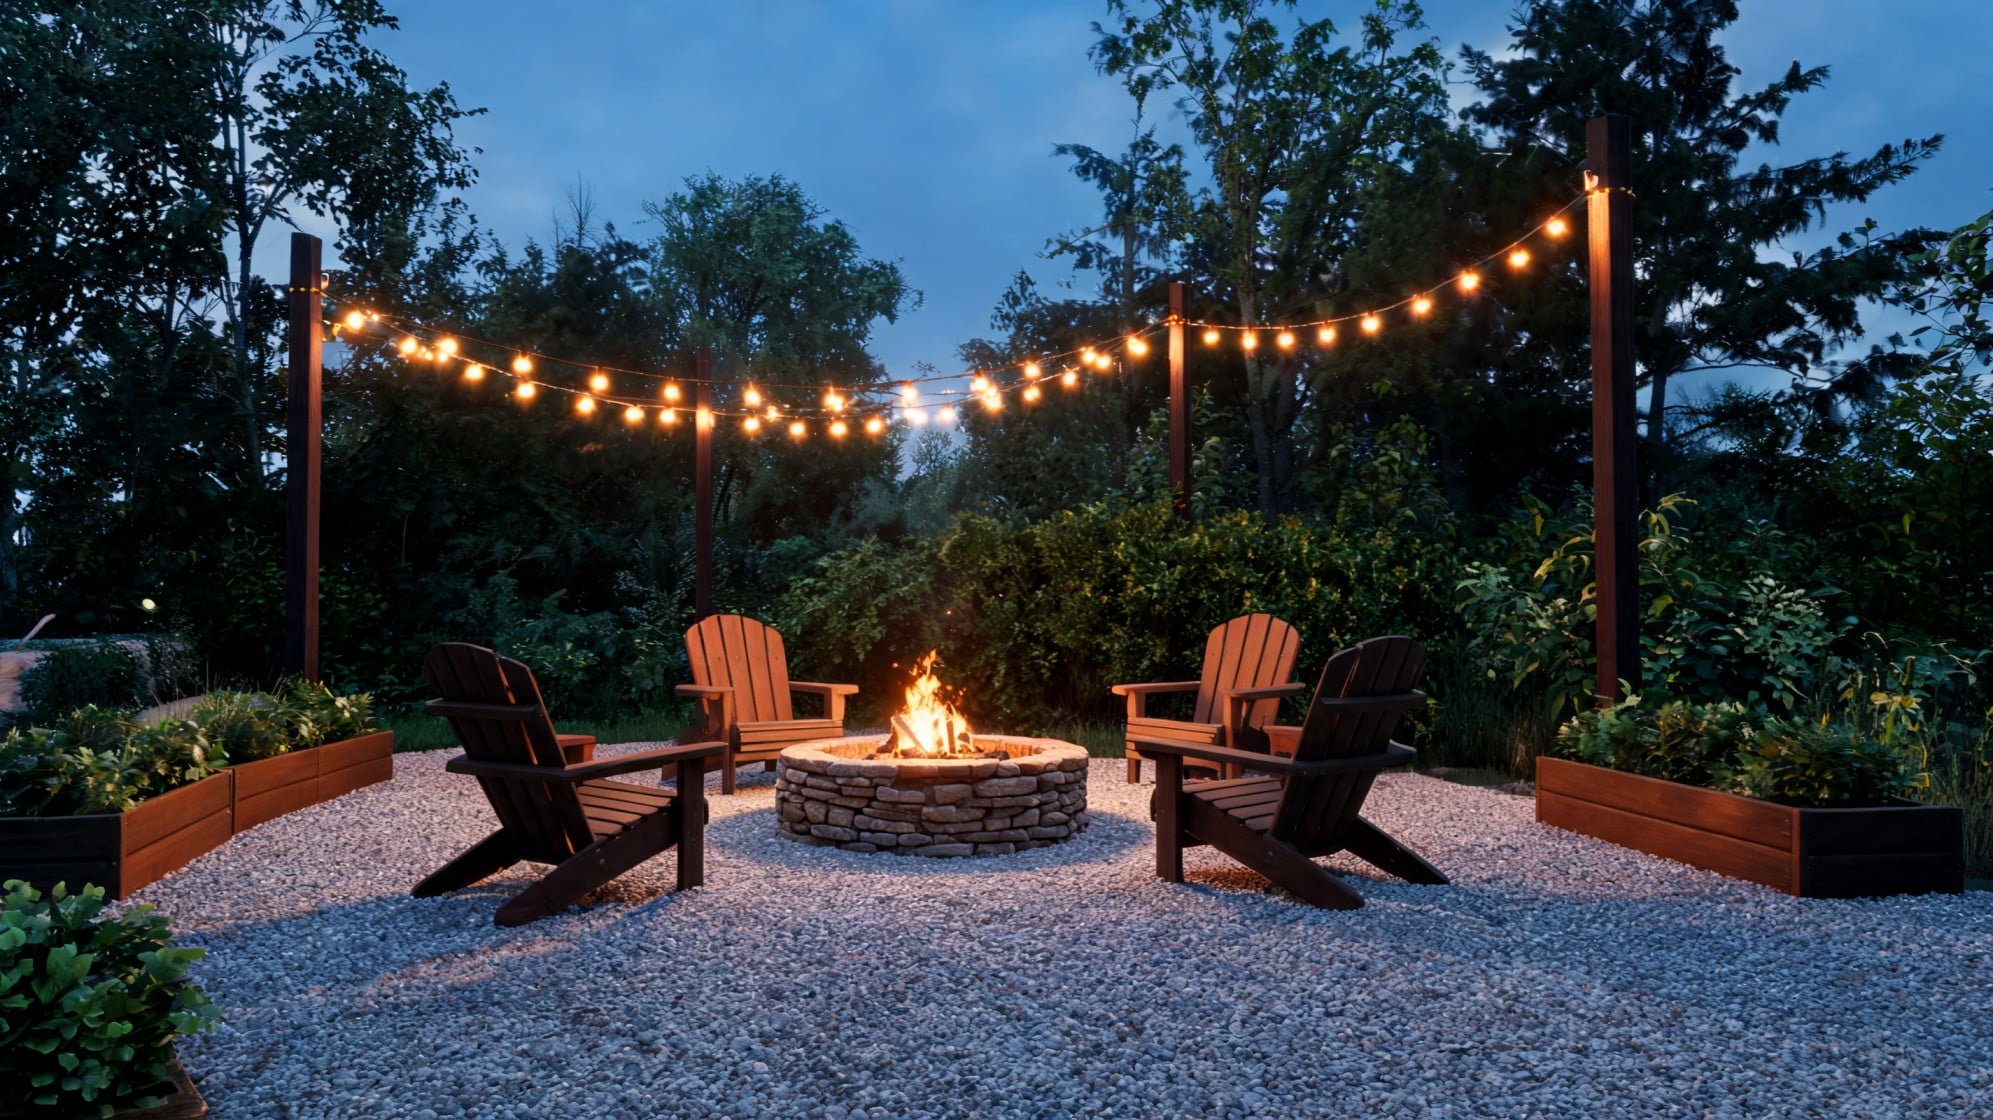
Backyard Fire Pit: Step-by-Step DIY
Building a fire pit is one of those backyard projects that feels big at first, but becomes much easier when you break it into simple steps.
Material Checklist:
- Wall stones or fire pit blocks
- Fire ring insert
- Paver base
- Gravel, river stones, or lava rocks
- Flat shovel
- Level
- Two-by-four board
- Tamper
- Dead blow mallet
- Fire-resistant landscape adhesive, optional
Step 1: Choose the Right Stones
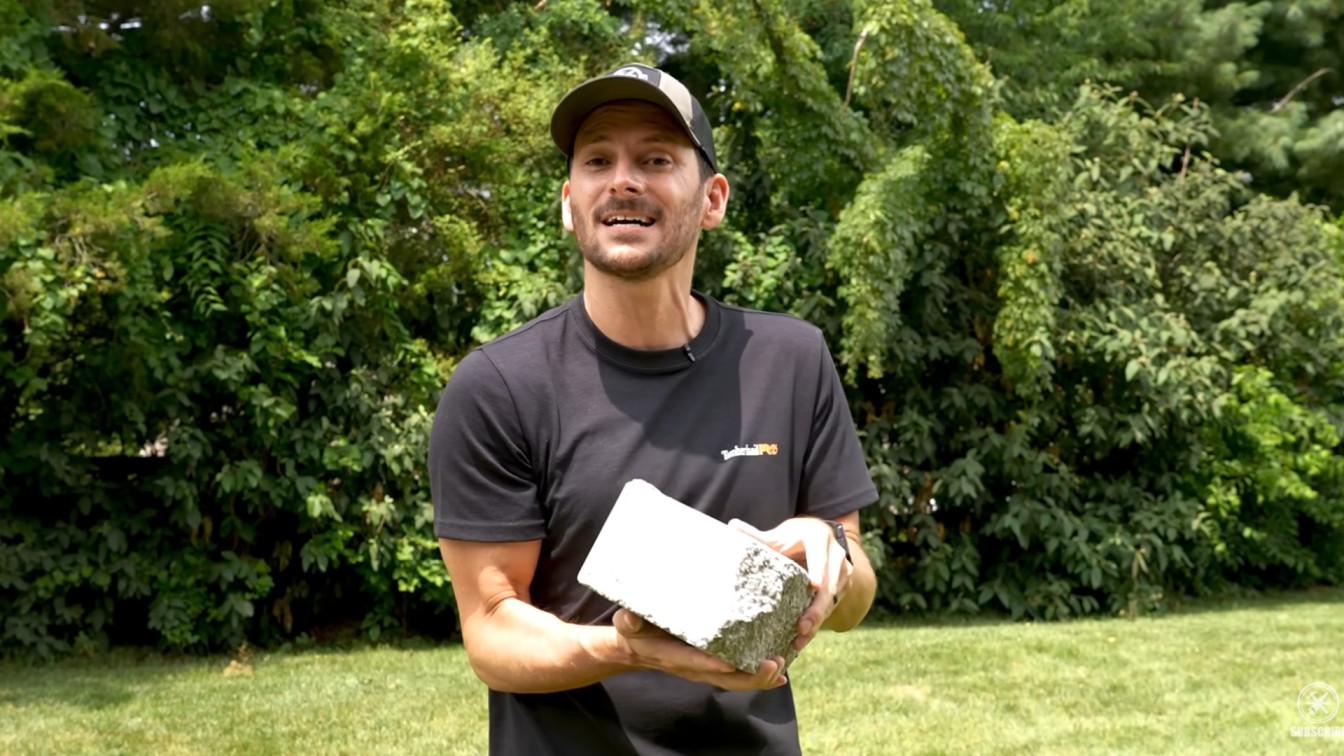
Start by choosing the main materials for your fire pit. Pick stones that can form a clean circle when placed edge to edge. Wedge-shaped wall stones work well because they naturally curve into a ring.
Avoid stones that leave wide gaps unless you like that look or plan to use spacer blocks.
Check the height, shape, price, and how the stones stack before buying. In the video, the better choice is the tumbled wall stone because it gives a wider fire pit and a tighter, cleaner circle for best results.
Step 2: Choose the Fire Ring Insert
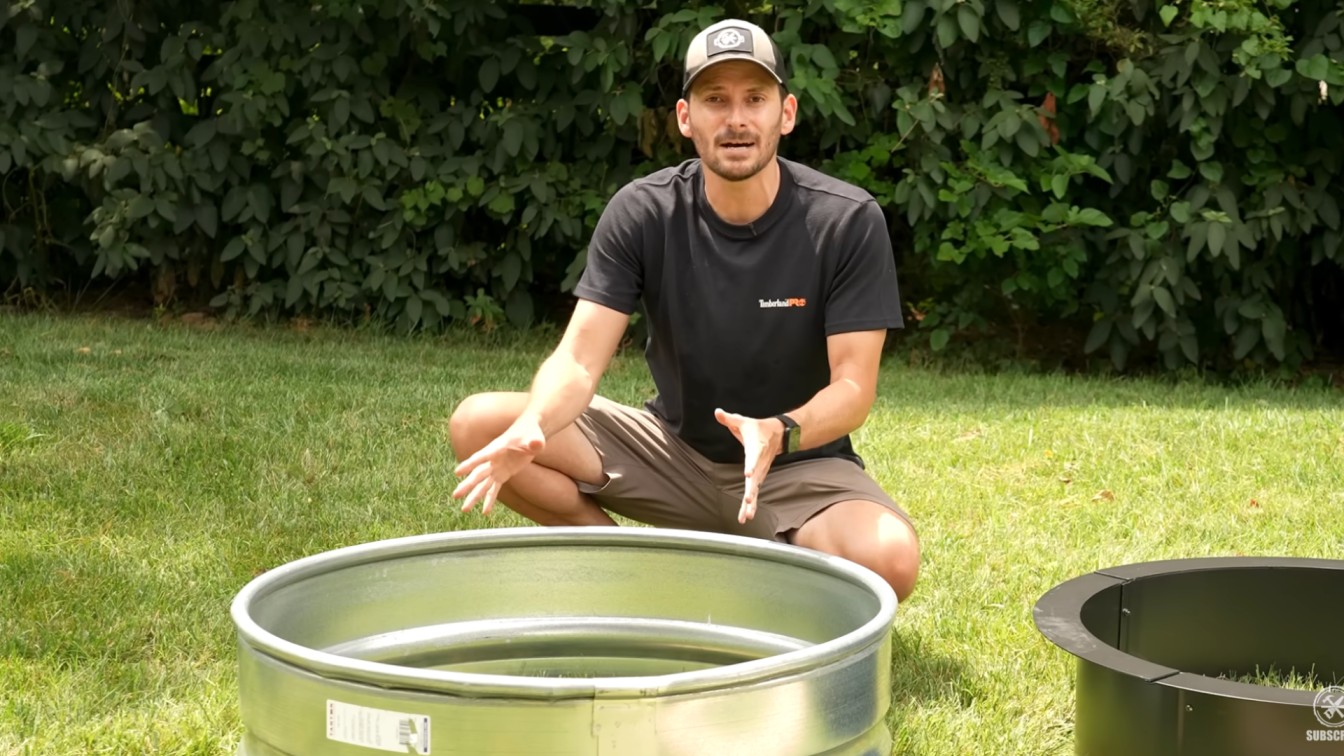
Choose a fire ring insert before you start digging. The insert protects the stones from heat and helps the fire pit last longer. A ring with a top lip is better because it sits over the stones and helps hold the top row in place.
Avoid a thin galvanized ring if it is bent or does not fit well. A deeper insert is usually better than a shallow one because it protects more of the inner wall and leaves more open space for the fire, making it safer for outdoor use.
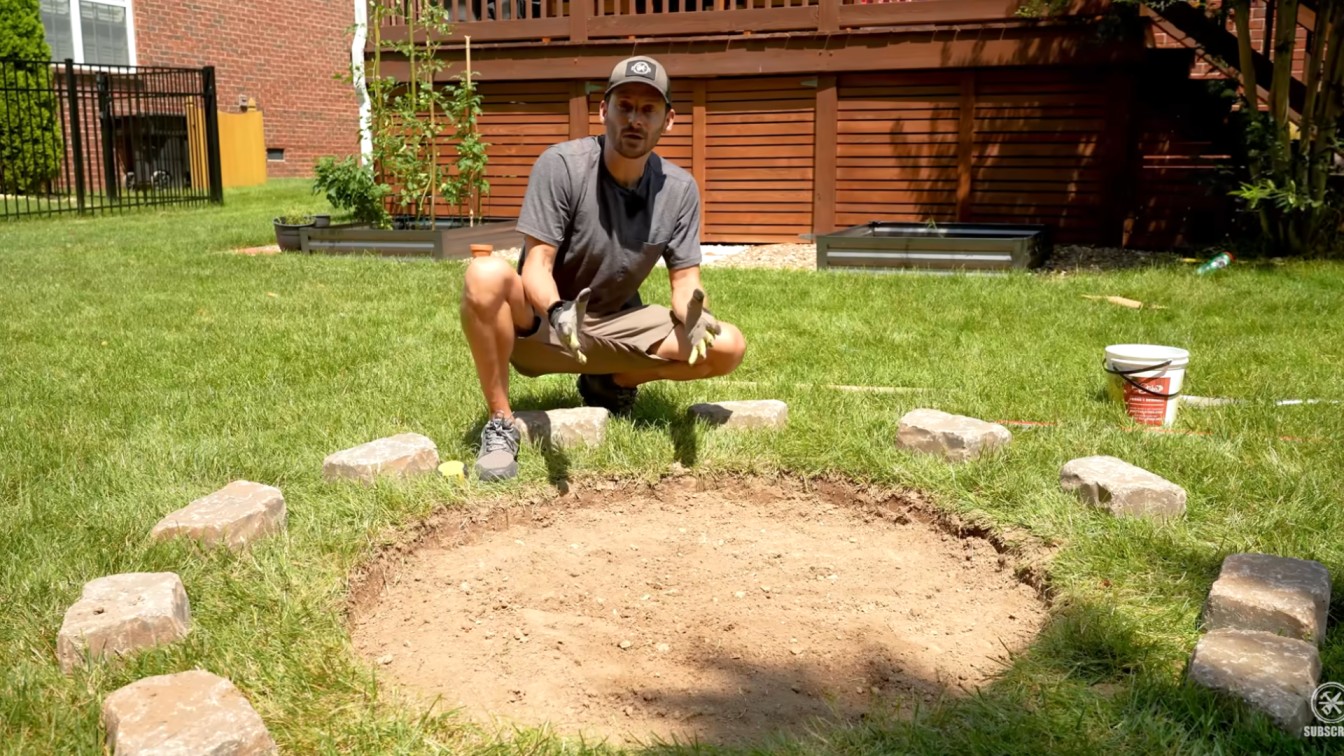
Step 3: Mark the Fire Pit Shape

Place the first circle of stones on the ground where you want the fire pit. This gives you a clear outline without needing a string or spray paint first. Adjust the stones until the circle looks even and the size feels right.
Once the circle is set, use a flat shovel to mark around the outside edge. If you want a small gravel border around the pit, mark a few inches beyond the stones. This border gives the finished fire pit a cleaner look once the project is complete.
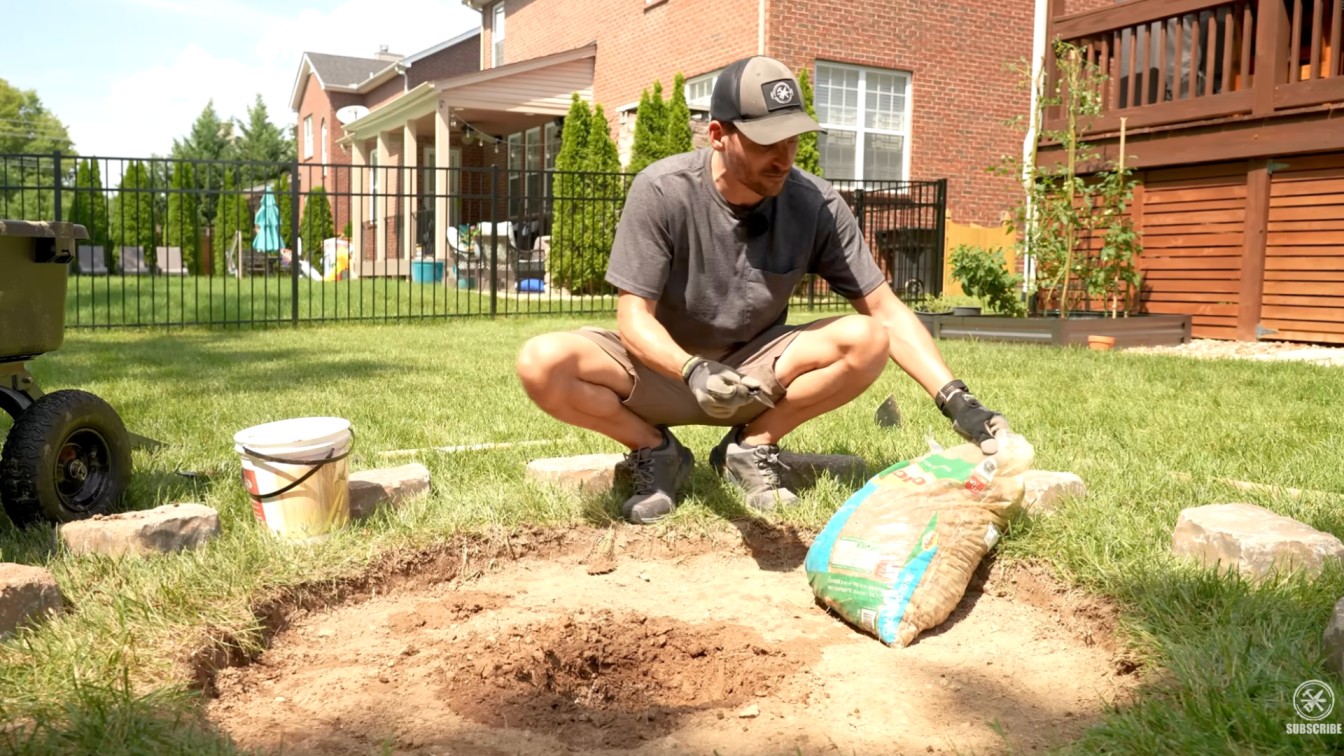
Step 4: Dig Out the Base Area
Remove the stones after marking the outline. Dig out the marked area about two to three inches deep so there is room for the base layer.
Keep the shape close to the circle you marked. Before digging deeper, make sure there are no buried utility lines where you plan to work. In the video, the builder recommends calling 811 before digging.
This free service marks underground lines, which helps you avoid damage, outages, or serious injury while preparing the fire pit area safely before the real digging work begins safely.
Step 5: Add a Drainage Hole
Check how well the ground drains before building the base. If your soil is hard clay or holds water, dig a deeper hole in the middle of the fire pit area. Fill this hole with gravel or river stones.
This creates a small drainage pocket under the fire pit. It gives rainwater more space to soak down instead of collecting inside the fire pit after bad weather below the finished fire pit base layer area.
Step 6: Spread the Paver Base
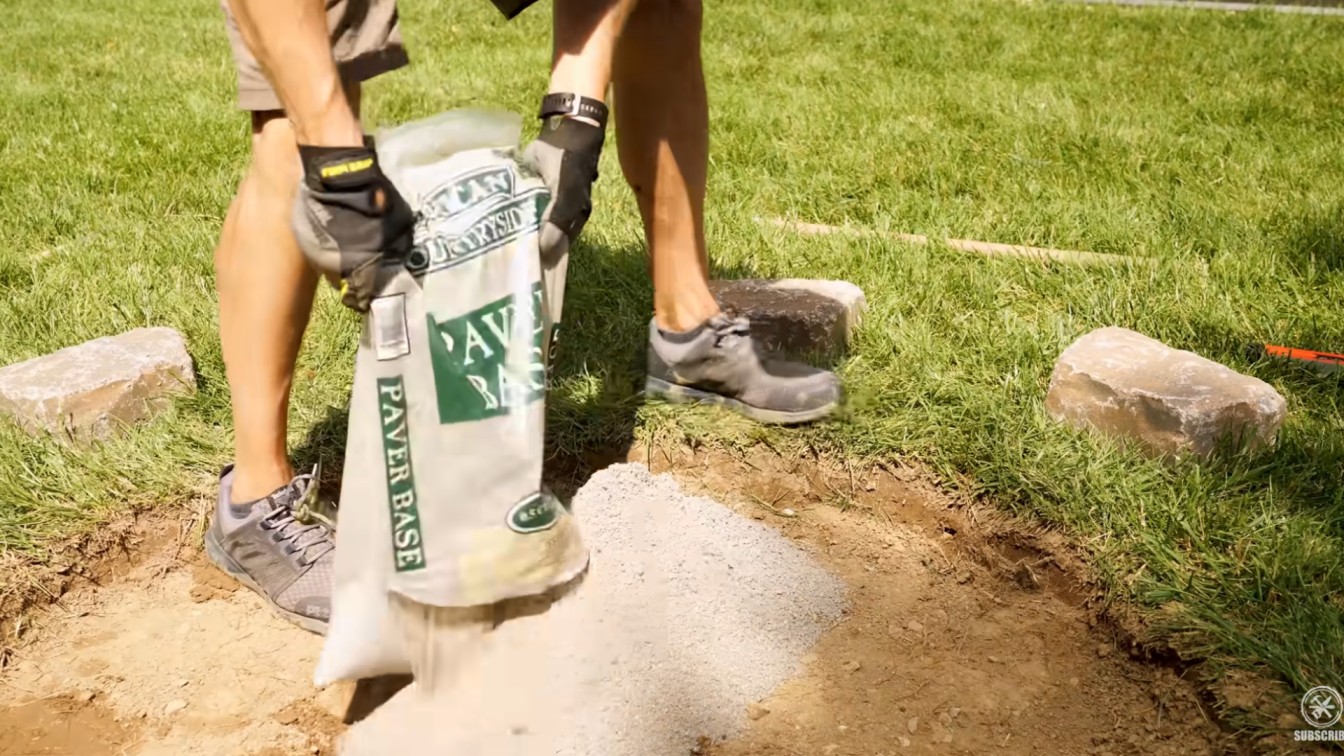
Spread paver base across the dug-out area. This layer helps level the ground and gives the stones a firm surface to sit on. Add the base a little at a time, then rake or spread it evenly. Use a straight two-by-four board to smooth the surface.
Tap the base down so it becomes compact and solid. Keep checking with a level as you work. If one side of the yard slopes, add more base to the low side until everything sits level before you carefully place the first stones.
Step 7: Level the Base
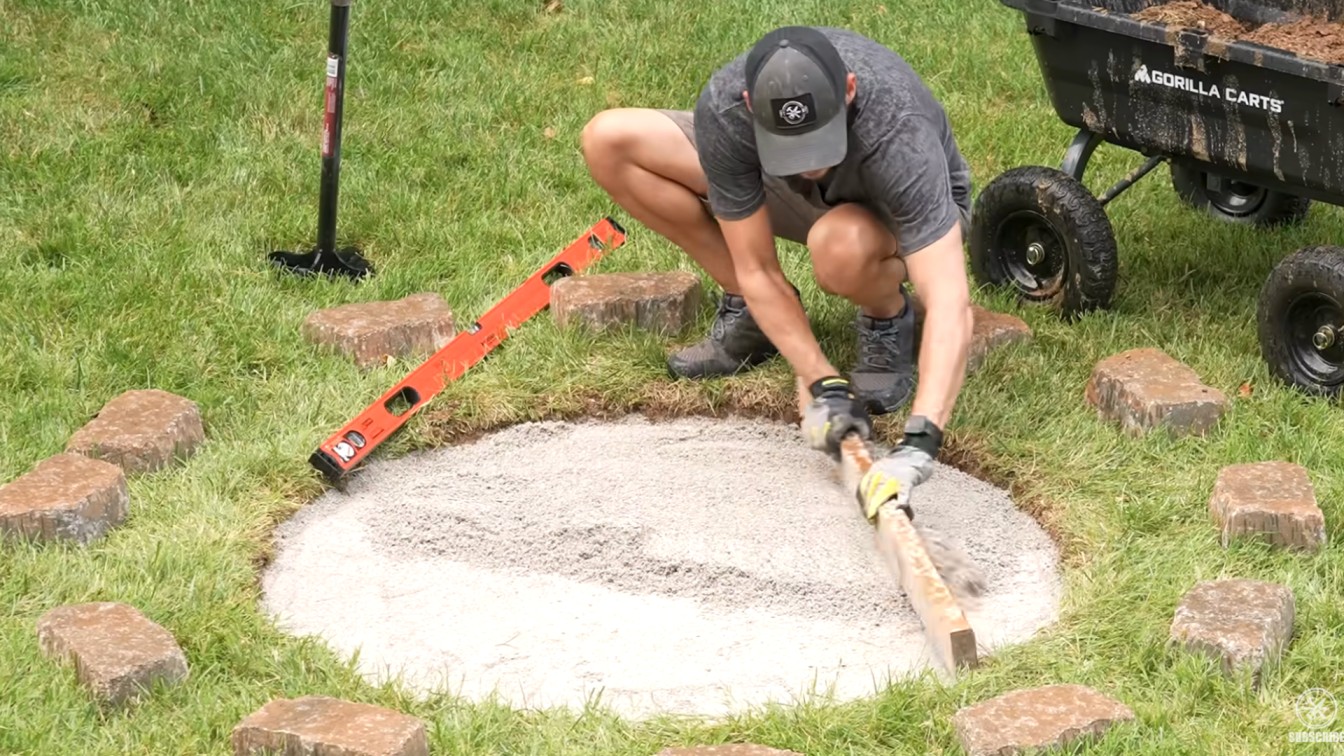
Check the base from several directions with a long level. Move the level across the circle, then turn it and check again. If you find a high spot, scrape away a little paver base.
If you find a low spot, add more base and tamp it down. A level base is very important because the stones will stack better and feel safer.
Take your time here. Fixing the base now is much easier than trying to carefully correct a wobbly fire pit later across the entire fire pit area today.
Step 8: Lay the First Row
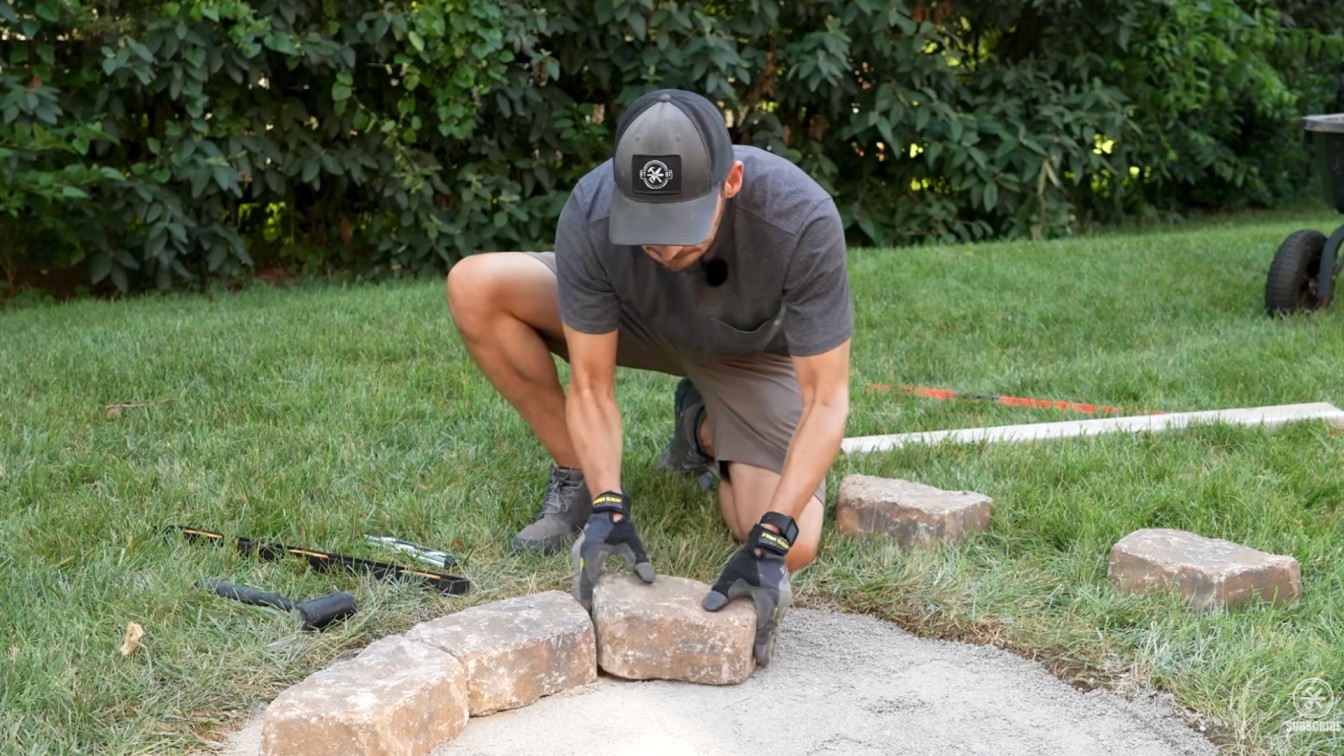
Lay the first row of stones on the leveled base. Start with one stone, then place the next stone tight against it. Keep going around the circle. Use a dead-blow mallet or a rubber mallet to tap stones into place.
Check each stone from side to side and front to back with a level. If a stone sits too high, remove some of the base beneath it. If it sits too low, add a little base. Keep adjusting until the first row feels steady, then place the next stone down carefully, too.
Step 9: Stack the Next Rows
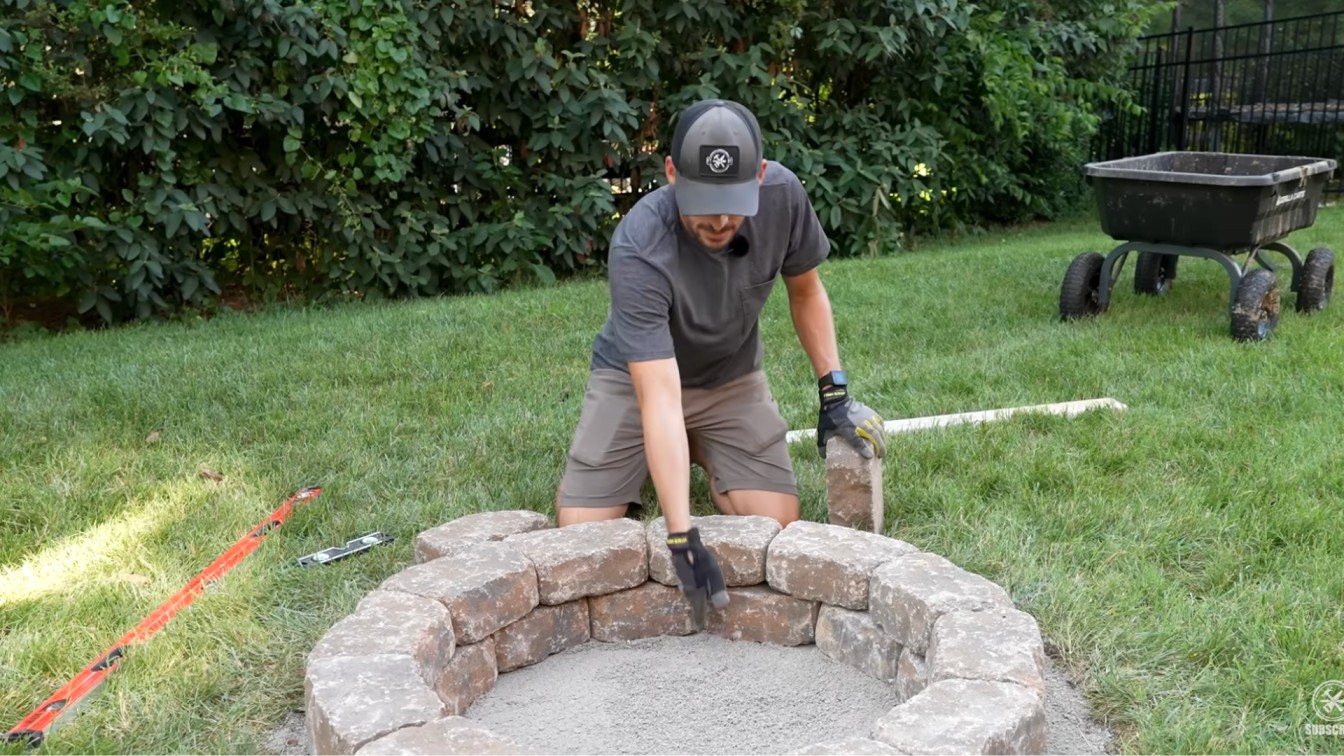
Stack the second row of stones on top of the first row. Offset the joints so the middle of each top stone sits over a seam below it. This makes the fire pit look better and helps the rows feel stronger.
Keep the stones close together as you work around the circle. If the last stone does not fit, gently adjust the ring outward. Do the same for the third row, lining it up neatly with the lower rows for a clean finished shape around the full circle as you.
Step 10: Place the Fire Ring
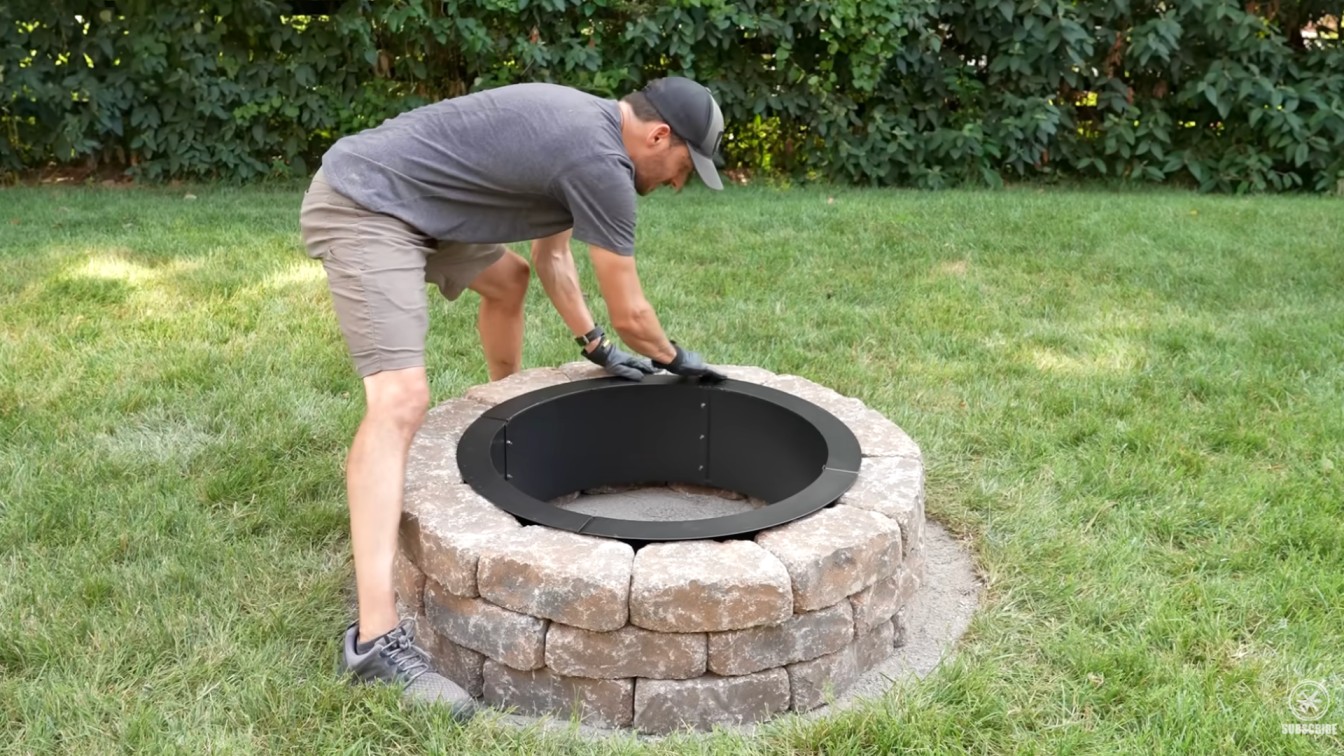
Set the fire ring insert into the center of the stacked stones. Lower it carefully because it may be heavy. The top lip should rest on the upper stones and help hold the top row in place.
Check that the insert sits evenly and has a small gap between the metal and the stone wall. This gap is useful for airflow and heat protection.
If the stones feel wobbly, use fire-resistant landscape adhesive or mortar to secure the rows after the first few fires have been safely completed.
Step 11: Add Rocks and Finish the Pit
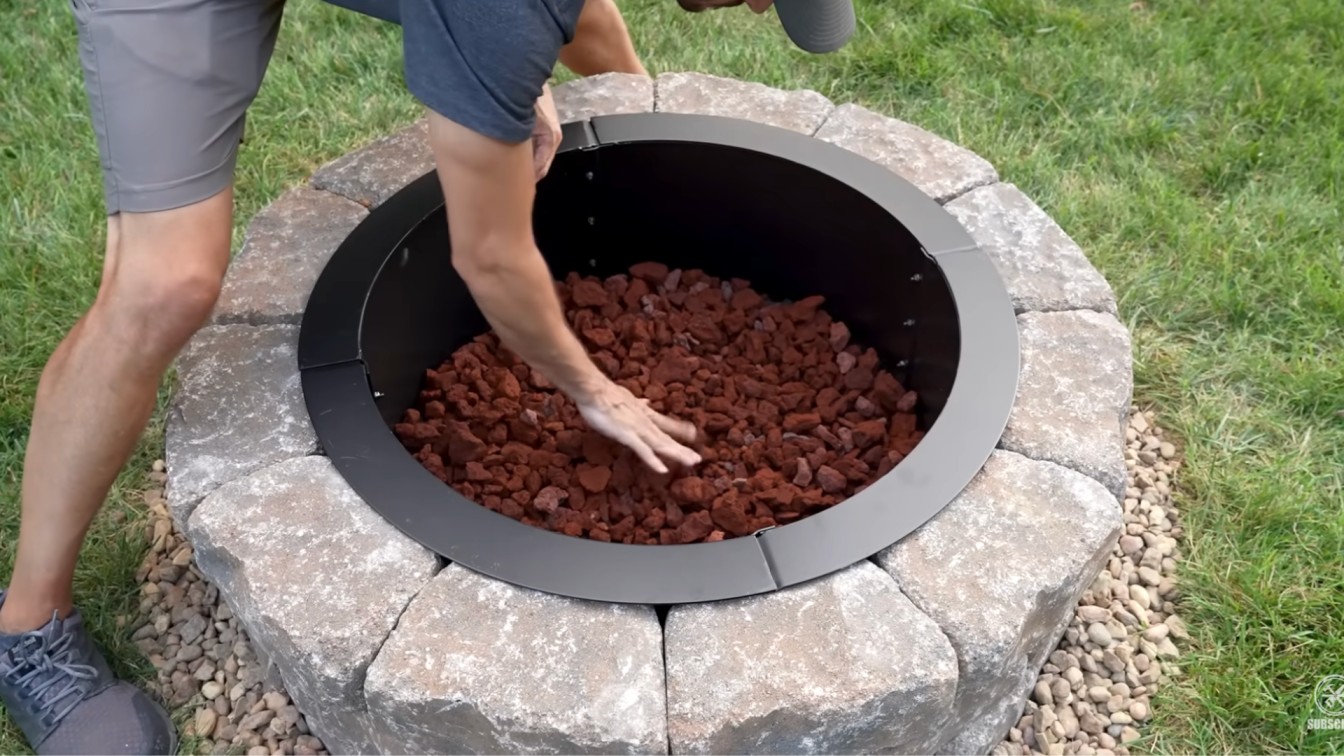
Fill the outside border with decorative stones or gravel to finish the edge. Then fill the inside bottom of the fire pit with lava rocks, pea gravel, or regular gravel until it reaches the lower edge of the insert.
Lava rocks work well because they allow airflow and help with drainage. Clean up loose material around the pit, then start a small test fire. Watch how the stones, insert, and base perform.
Make final adjustments before using the fire pit with guests, and then use it regularly with guests nearby outside.
For more details, refer to the video below.
Ideas and Inspiration to Transform Your Backyard
Your backyard does not need a huge budget or a complete makeover to feel more inviting. Sometimes, a few thoughtful changes can turn an empty or overlooked space into a place you actually enjoy spending time in.
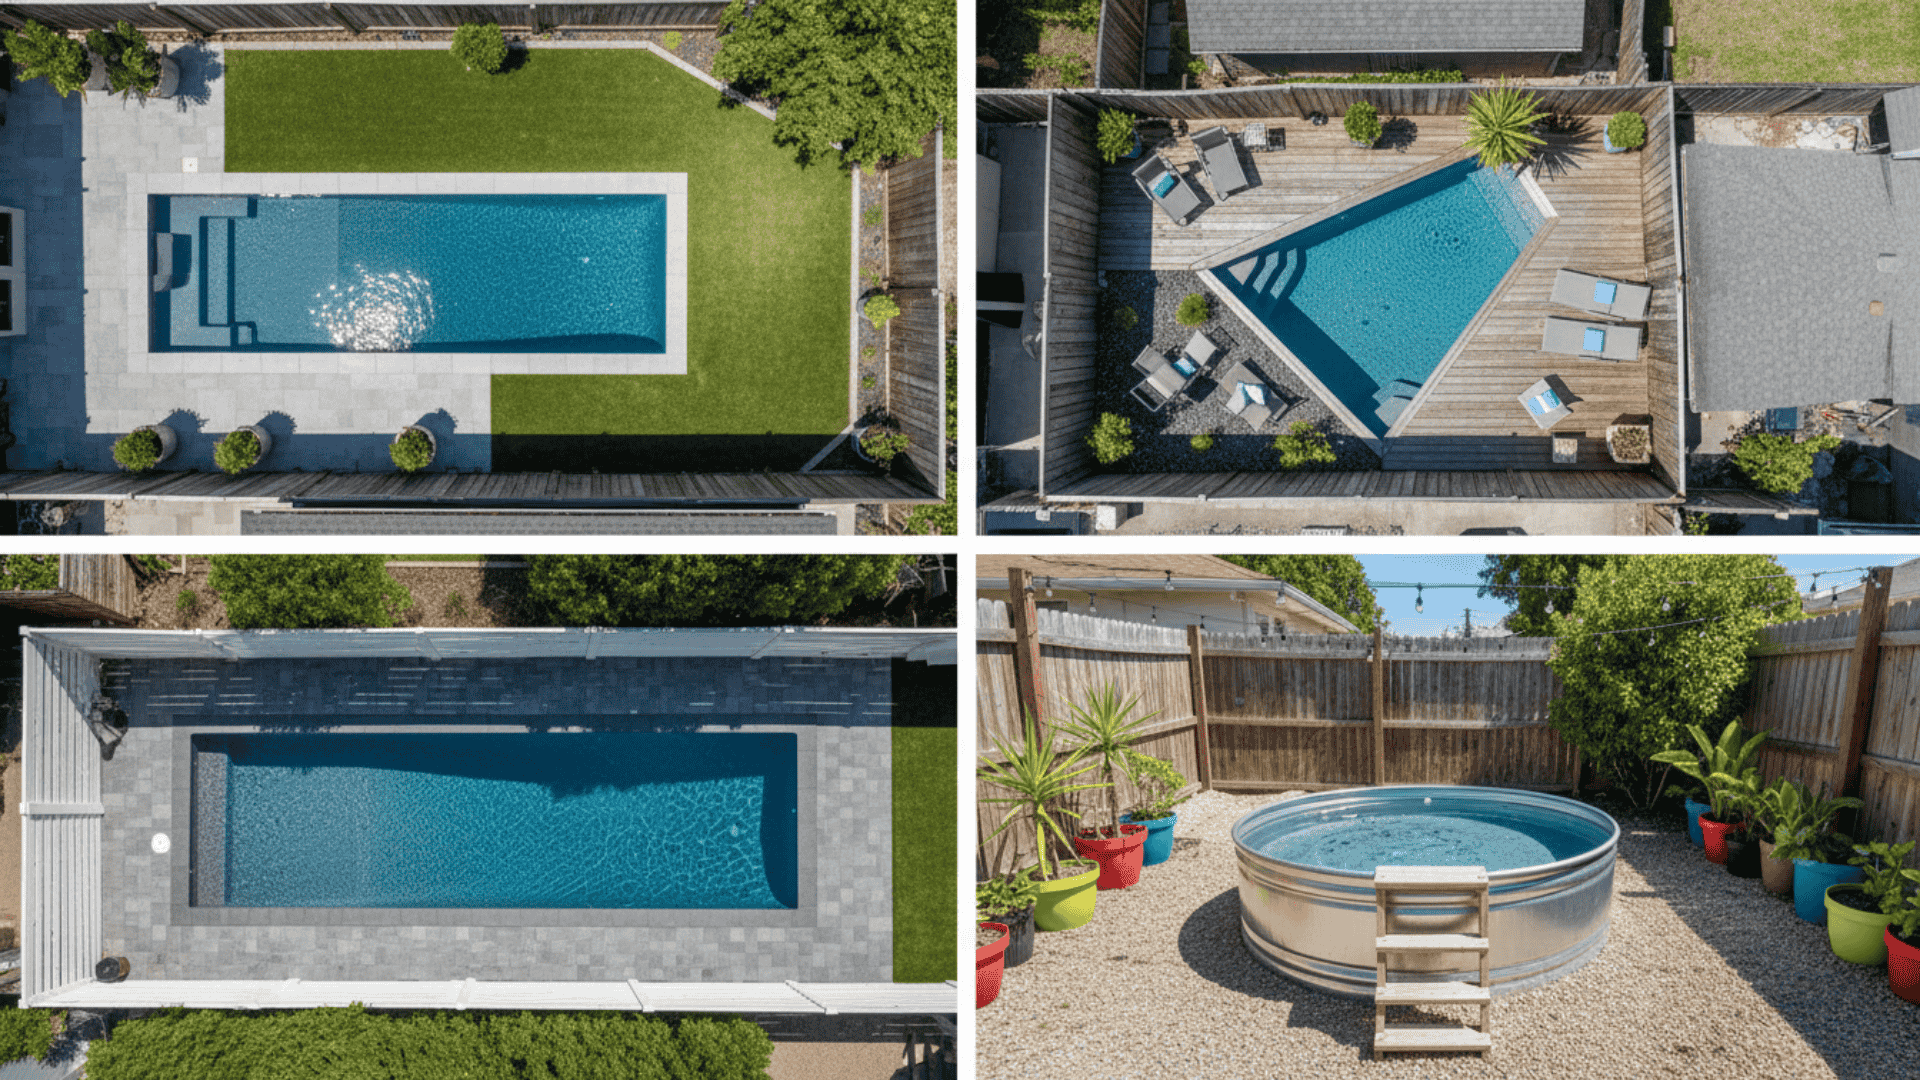
1. Pea Gravel Patio
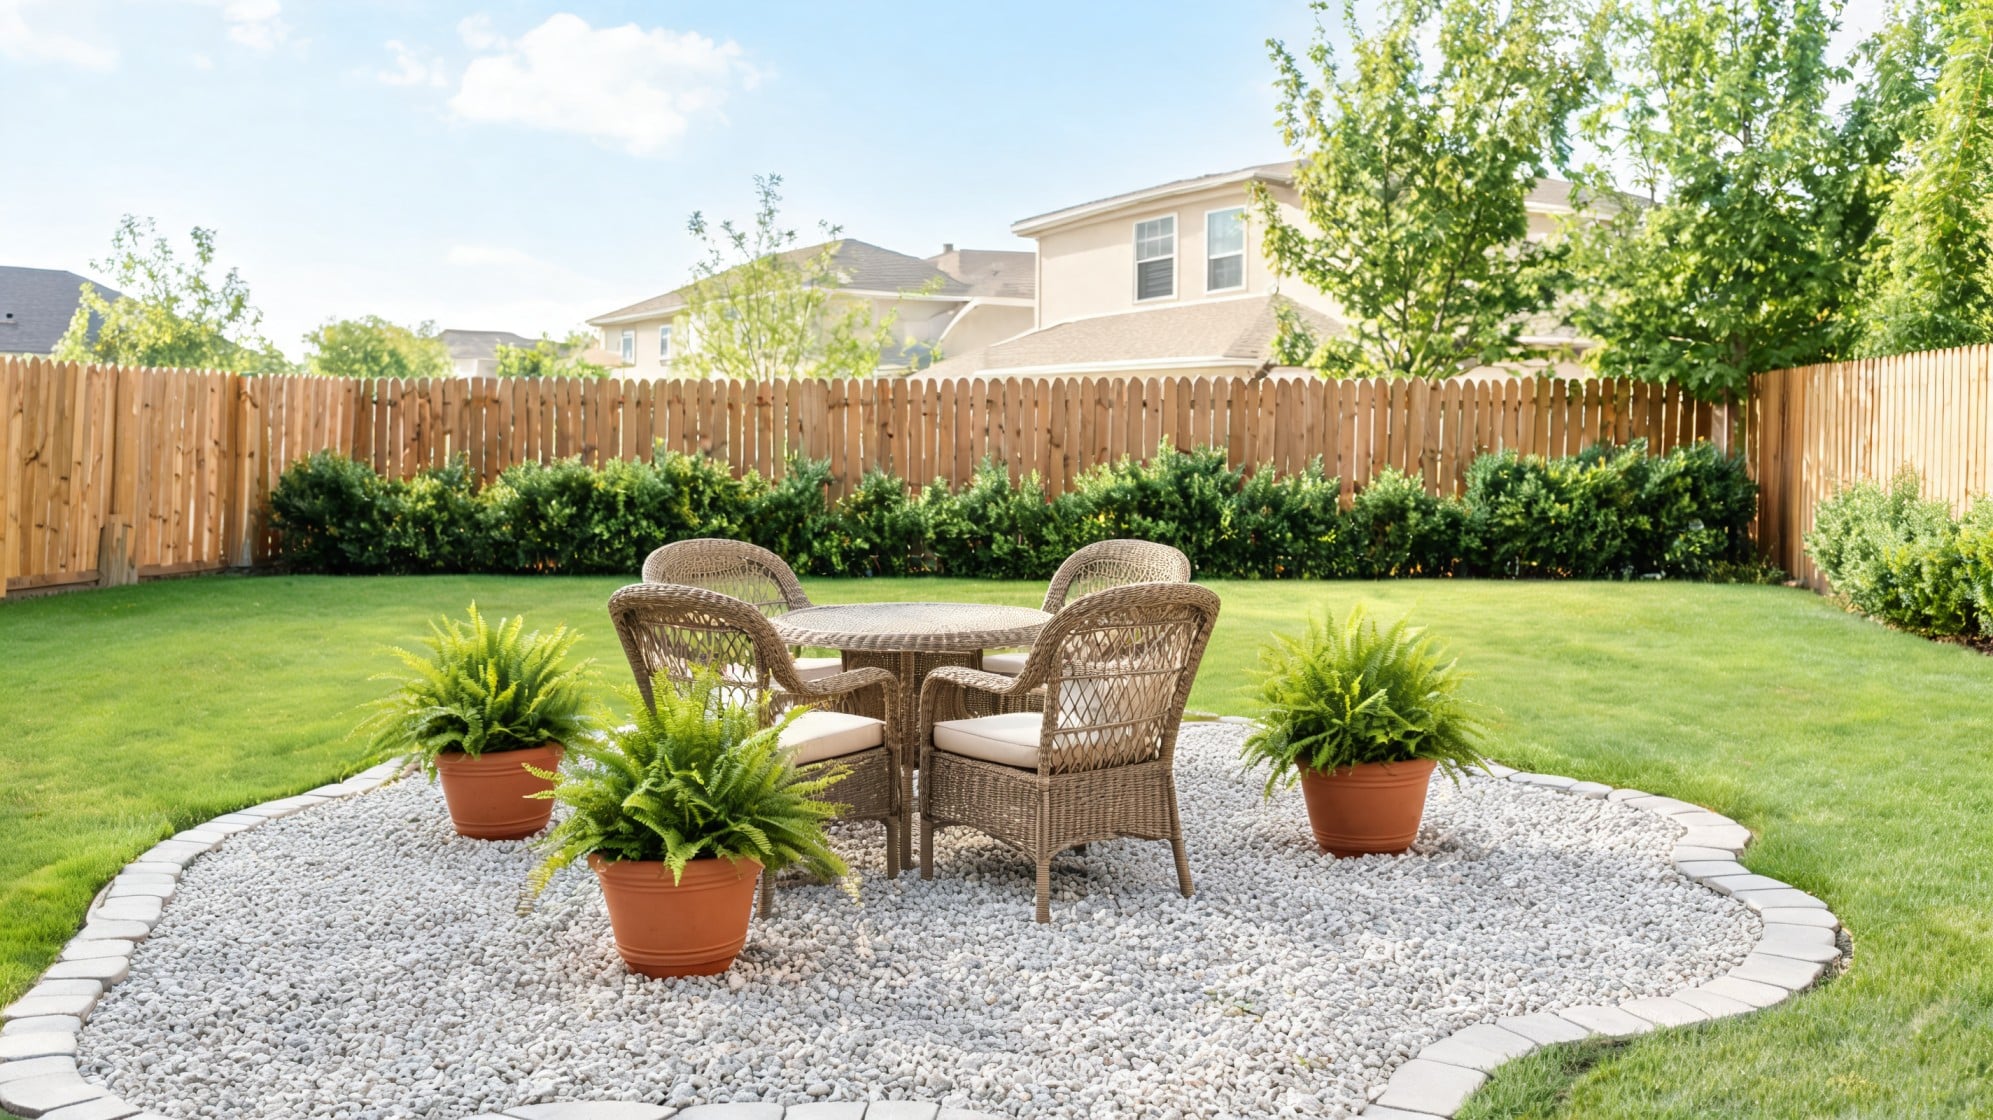
A pea gravel patio is a smart way to create a sitting or dining spot without using concrete.
First, choose a flat area that feels easy to reach from the house. Clear away grass, weeds, and loose soil. Then add landscape fabric to help block weeds. Spread pea gravel evenly over the space and use wood, brick, or stone edging to hold it in place.
This kind of patio works well with outdoor chairs, a small table, potted plants, and string lights. It feels casual, neat, and easy to update. It is also a budget-friendly choice for both small and large backyards.
2. Raised Garden Beds
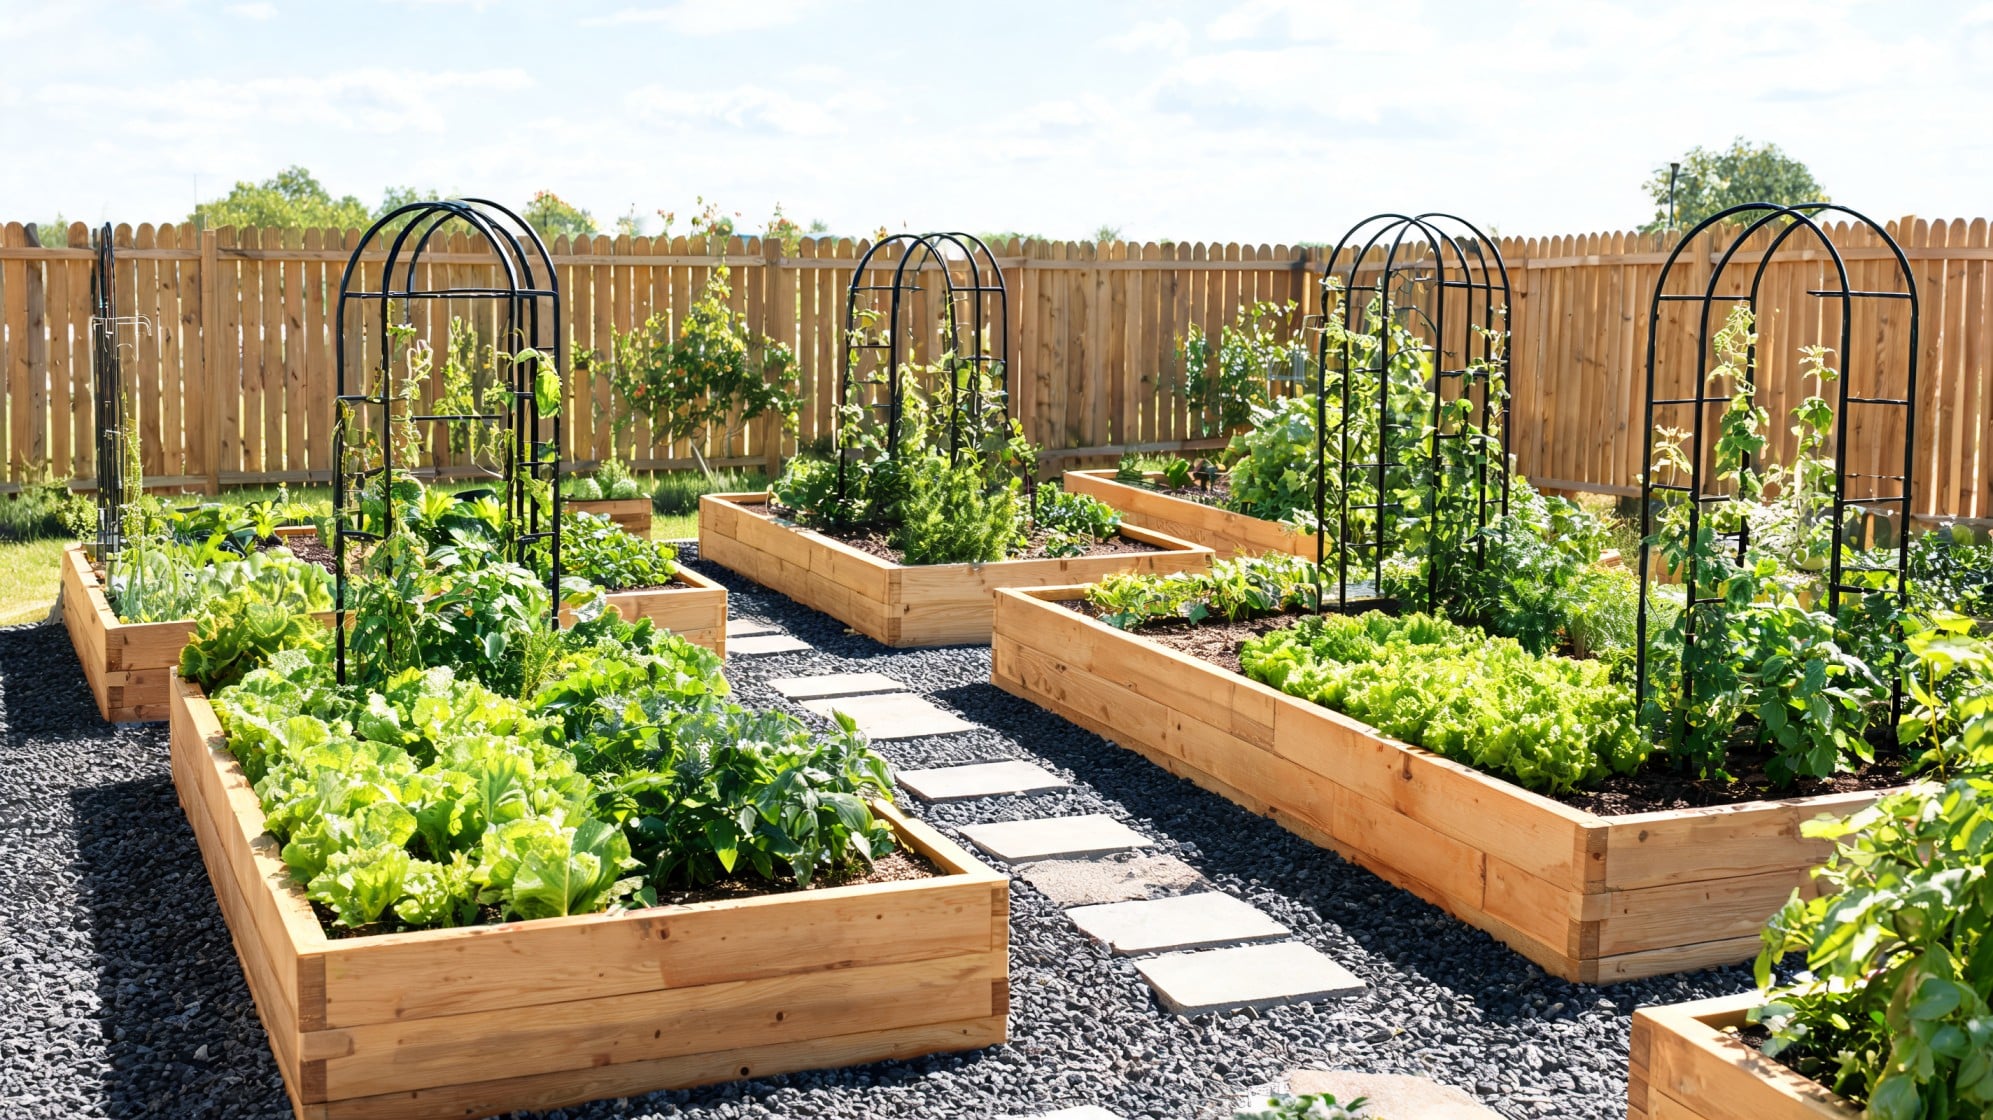
Raised garden beds are a great choice if you want to grow flowers, herbs, or vegetables in a cleaner, easier way. Since the soil stays inside the bed, it is simpler to water, weed, and care for your plants.
You can build raised beds with wood boards, metal frames, bricks, or stone blocks. Place them in a sunny spot, then fill them with healthy soil. Start with one or two beds if you are new to gardening.
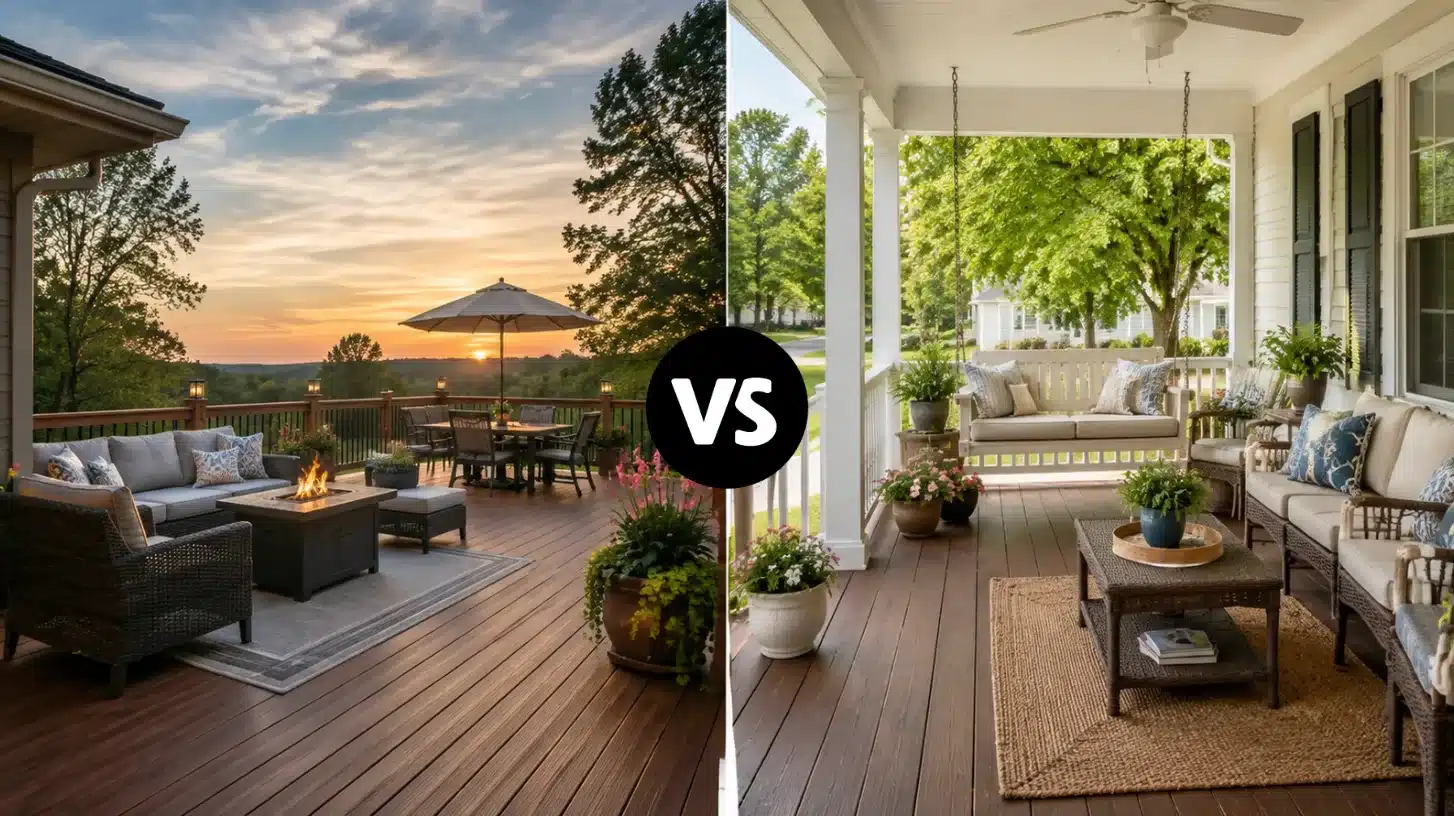
3. Build a Simple Pergola
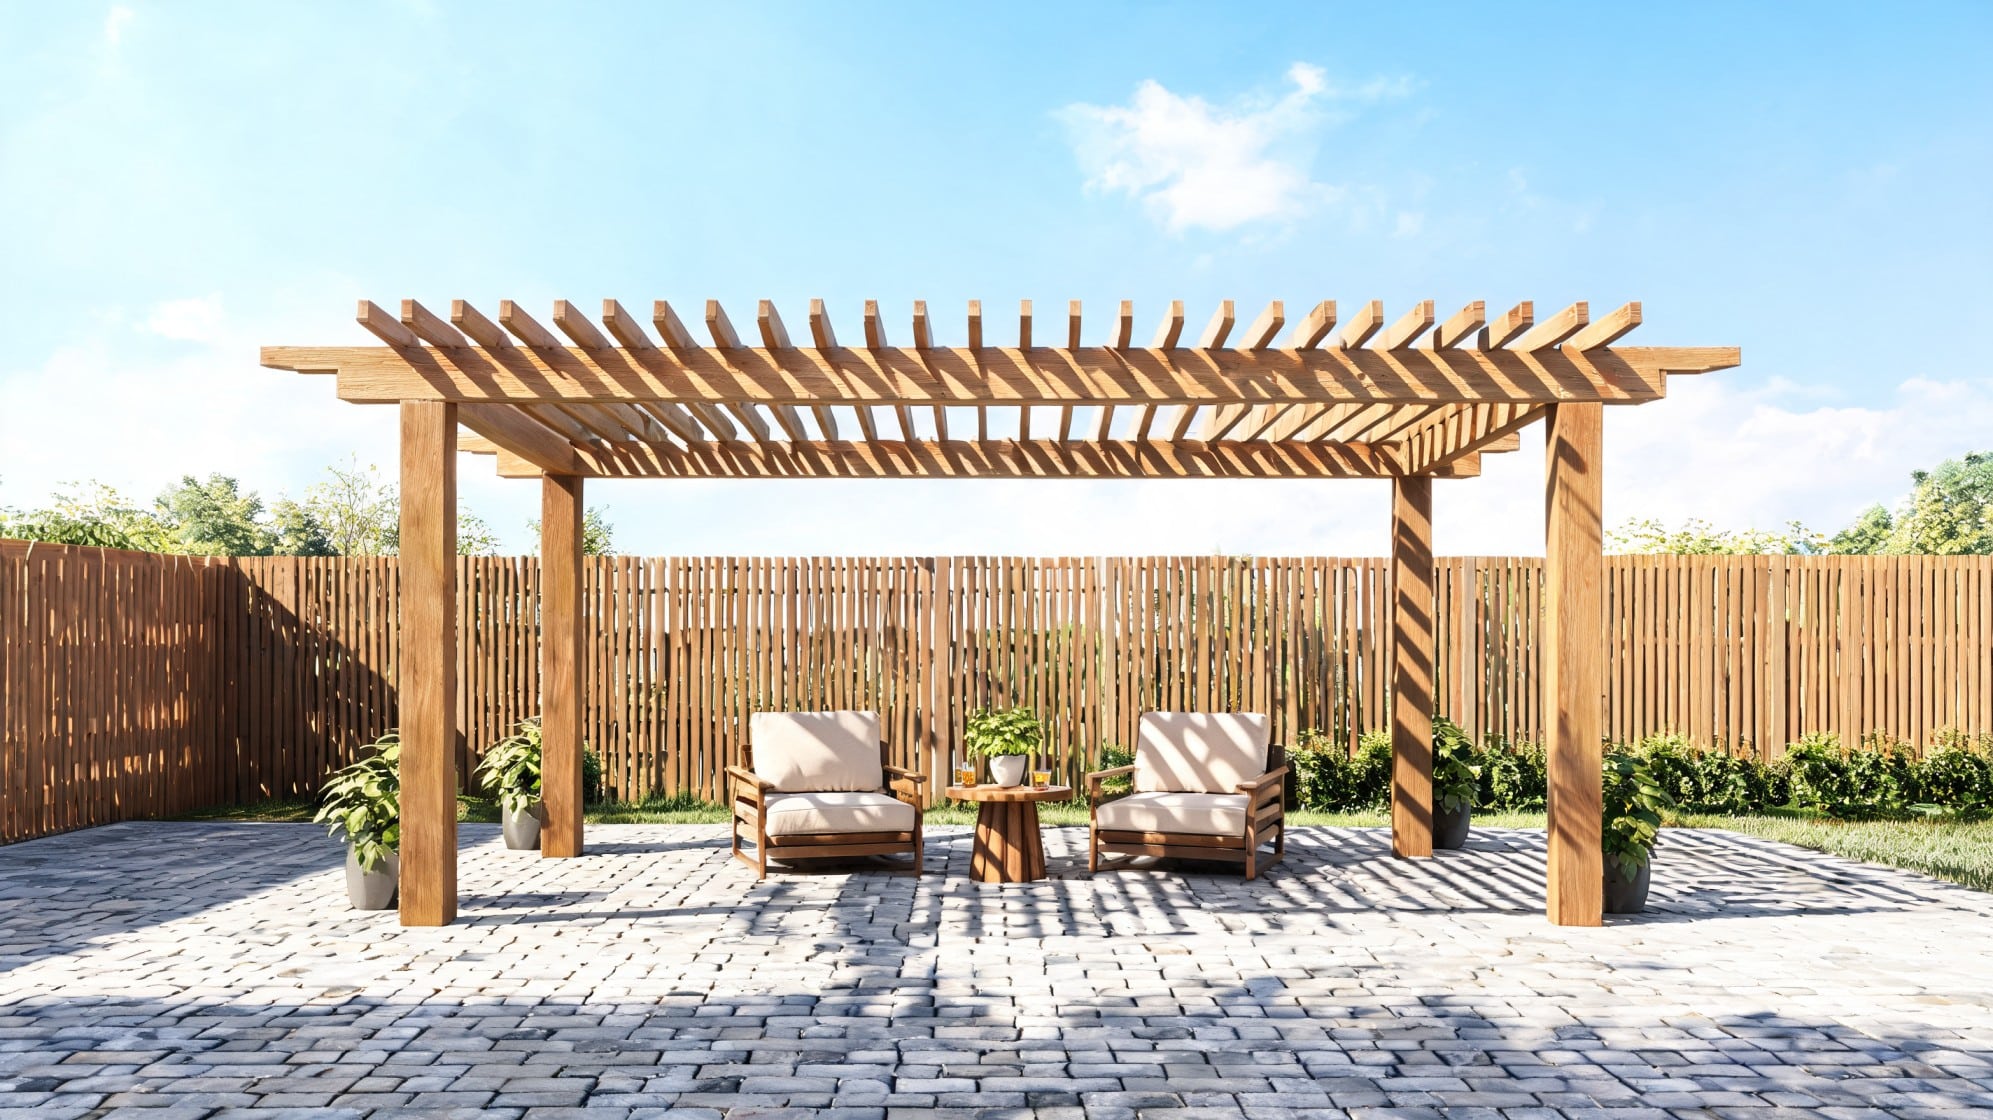
A simple pergola can give your backyard a clear place to sit, eat, or relax. It works well over a patio, dining table, lounge area, or garden path. You can build it with strong wood posts and top beams, then add lights, curtains, or climbing plants for shade and comfort.
A pergola makes the backyard feel more finished by creating a clear outdoor zone. Keep the design simple if you are doing it yourself. Make sure the posts are straight, deep, and secure.
4. Backyard Movie Area
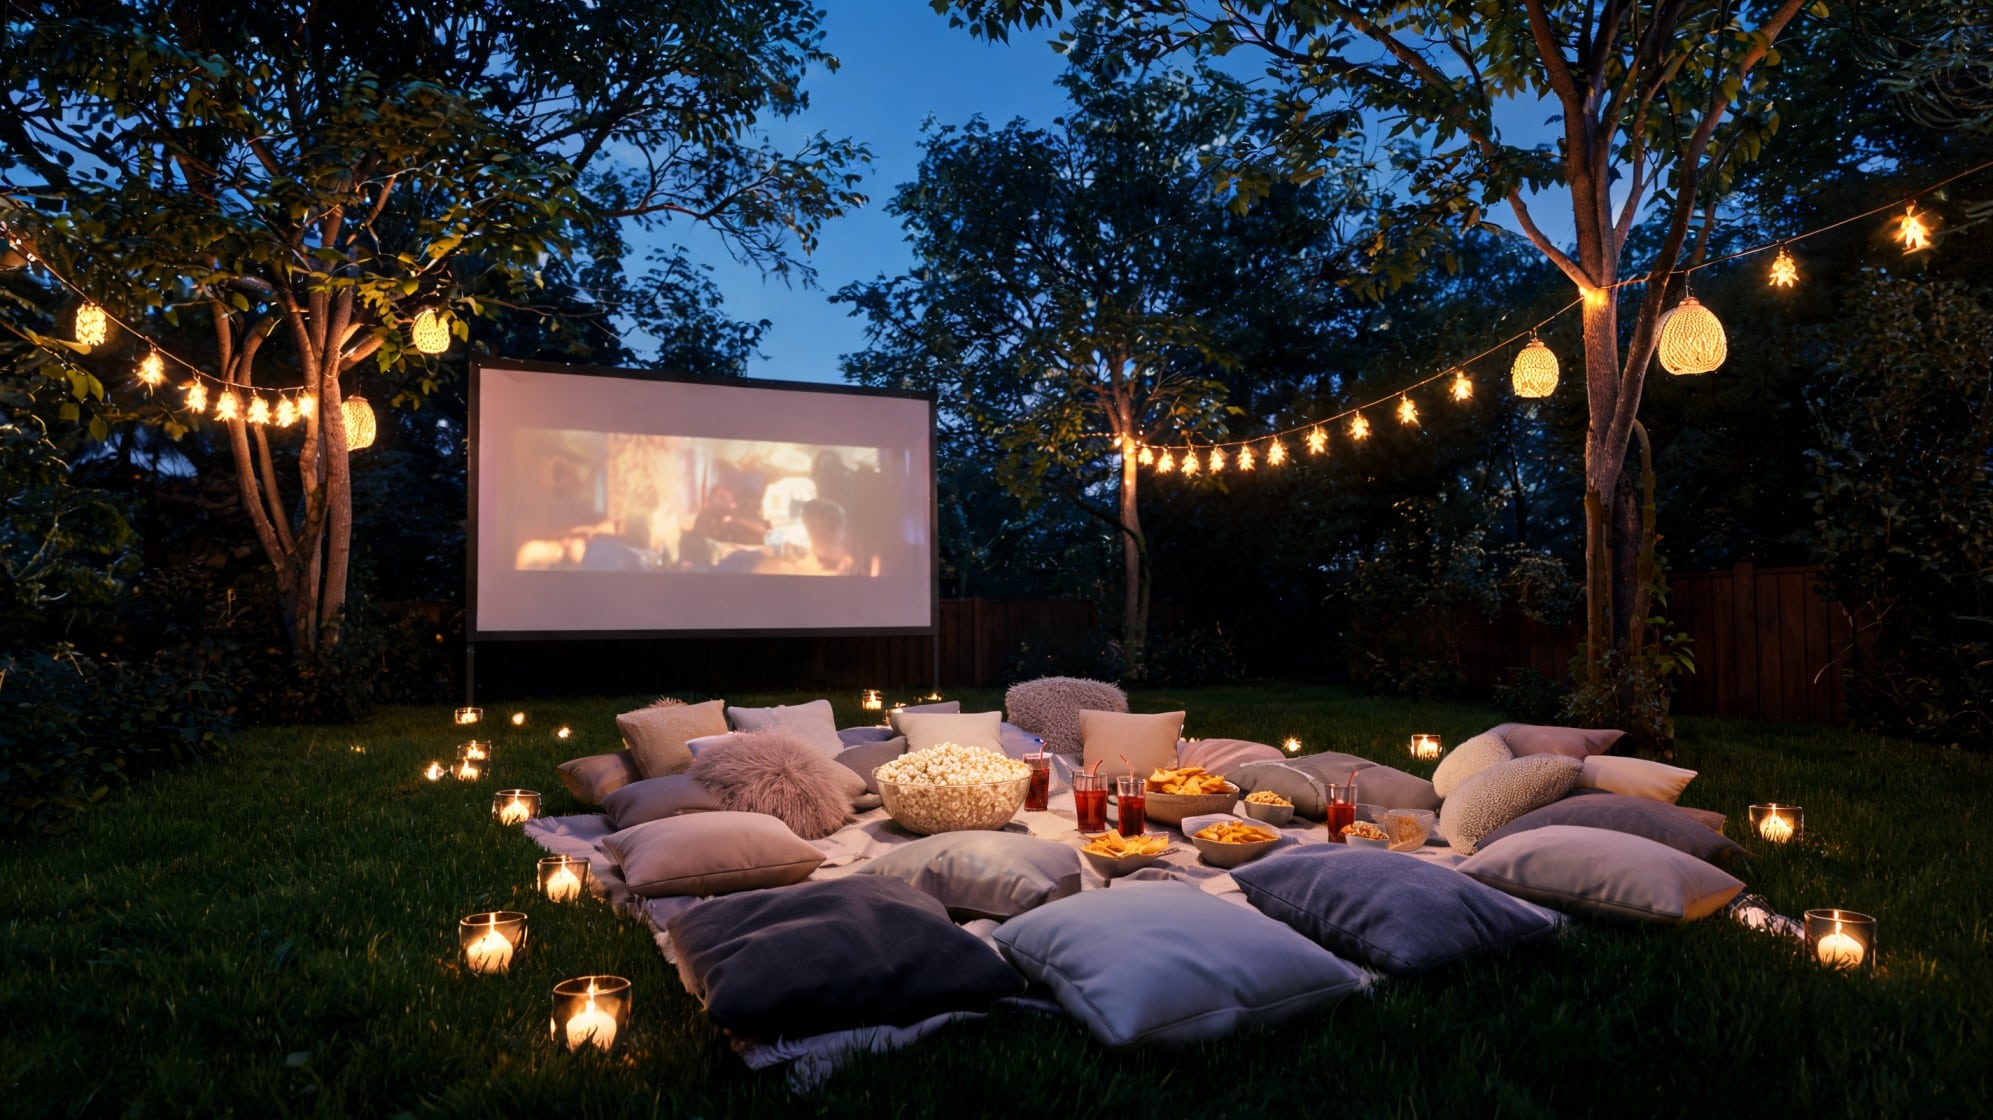
A backyard movie area is a fun project that does not need a major build. You can use a portable screen, a white sheet, or a plain wall as the movie screen. Add a projector, outdoor speaker, blankets, floor cushions, or simple chairs.
String lights can help people move around safely, but keep them soft so they do not affect the screen. This setup is great because you can take it down when you are done. It turns your backyard into an easy hangout space.
5. Hang String Lights
String lights are one of the easiest ways to make your backyard feel warm in the evening. You can hang them over a patio, along a fence, under a pergola, or between posts.
Choose lights made for outdoor use so they can handle the weather better. If you do not have trees or strong posts, you can place simple wooden poles in planters or the ground. String lights do not take much time to install, but they can make the whole space feel softer, brighter, and more ready to use.
6. DIY BBQ Station
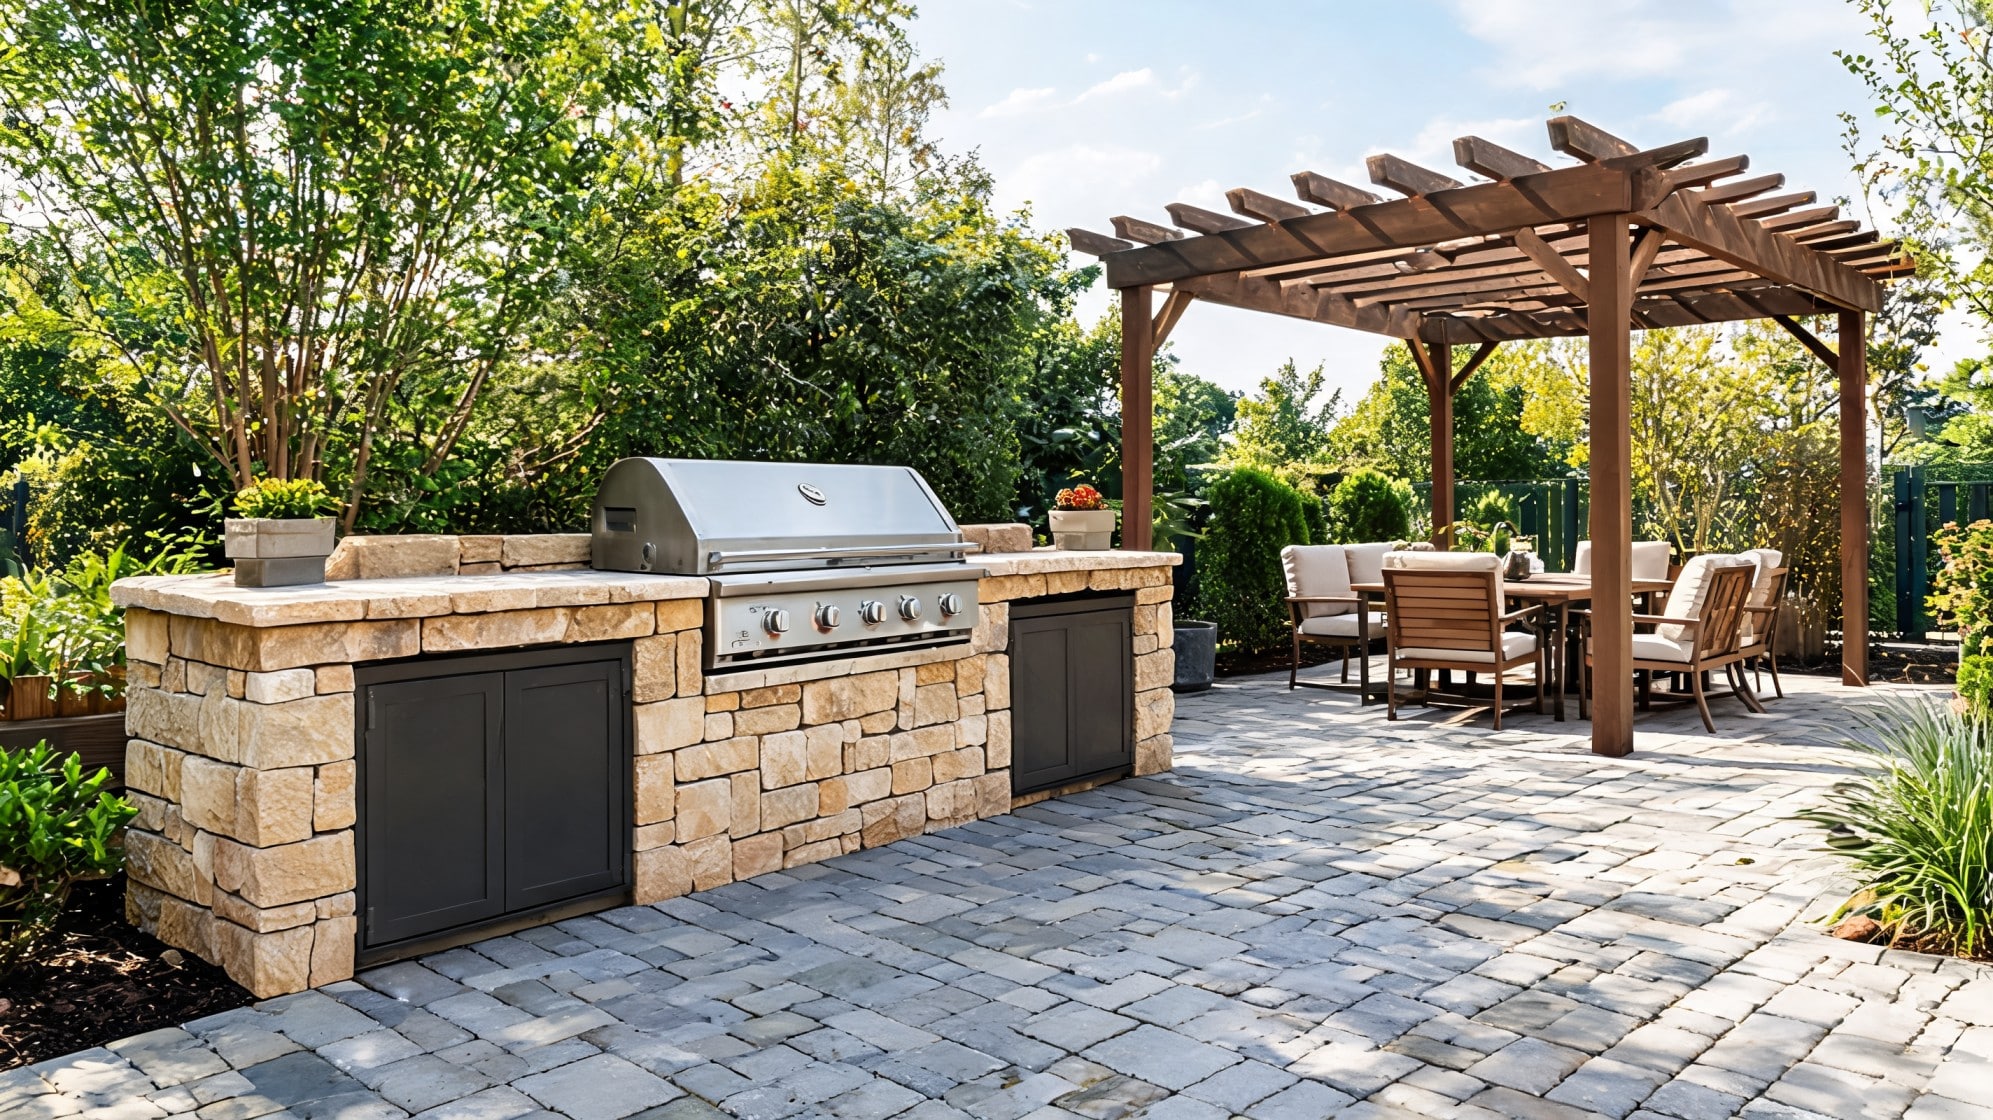
A DIY BBQ station can make outdoor cooking easier and more organized. Instead of keeping everything spread across tables or the ground, you can create a single, clear area for grilling tools, plates, seasonings, and prep work.
Build a simple counter beside your grill using wood, stone, or concrete blocks. Add shelves, hooks, or small storage boxes to keep items close. If you have enough room, leave space for cutting, serving, and setting down food.
Keep anything flammable away from the grill. This idea is useful if you often cook outdoors and want your backyard to feel more practical.
7. Create a Play Area for Kids
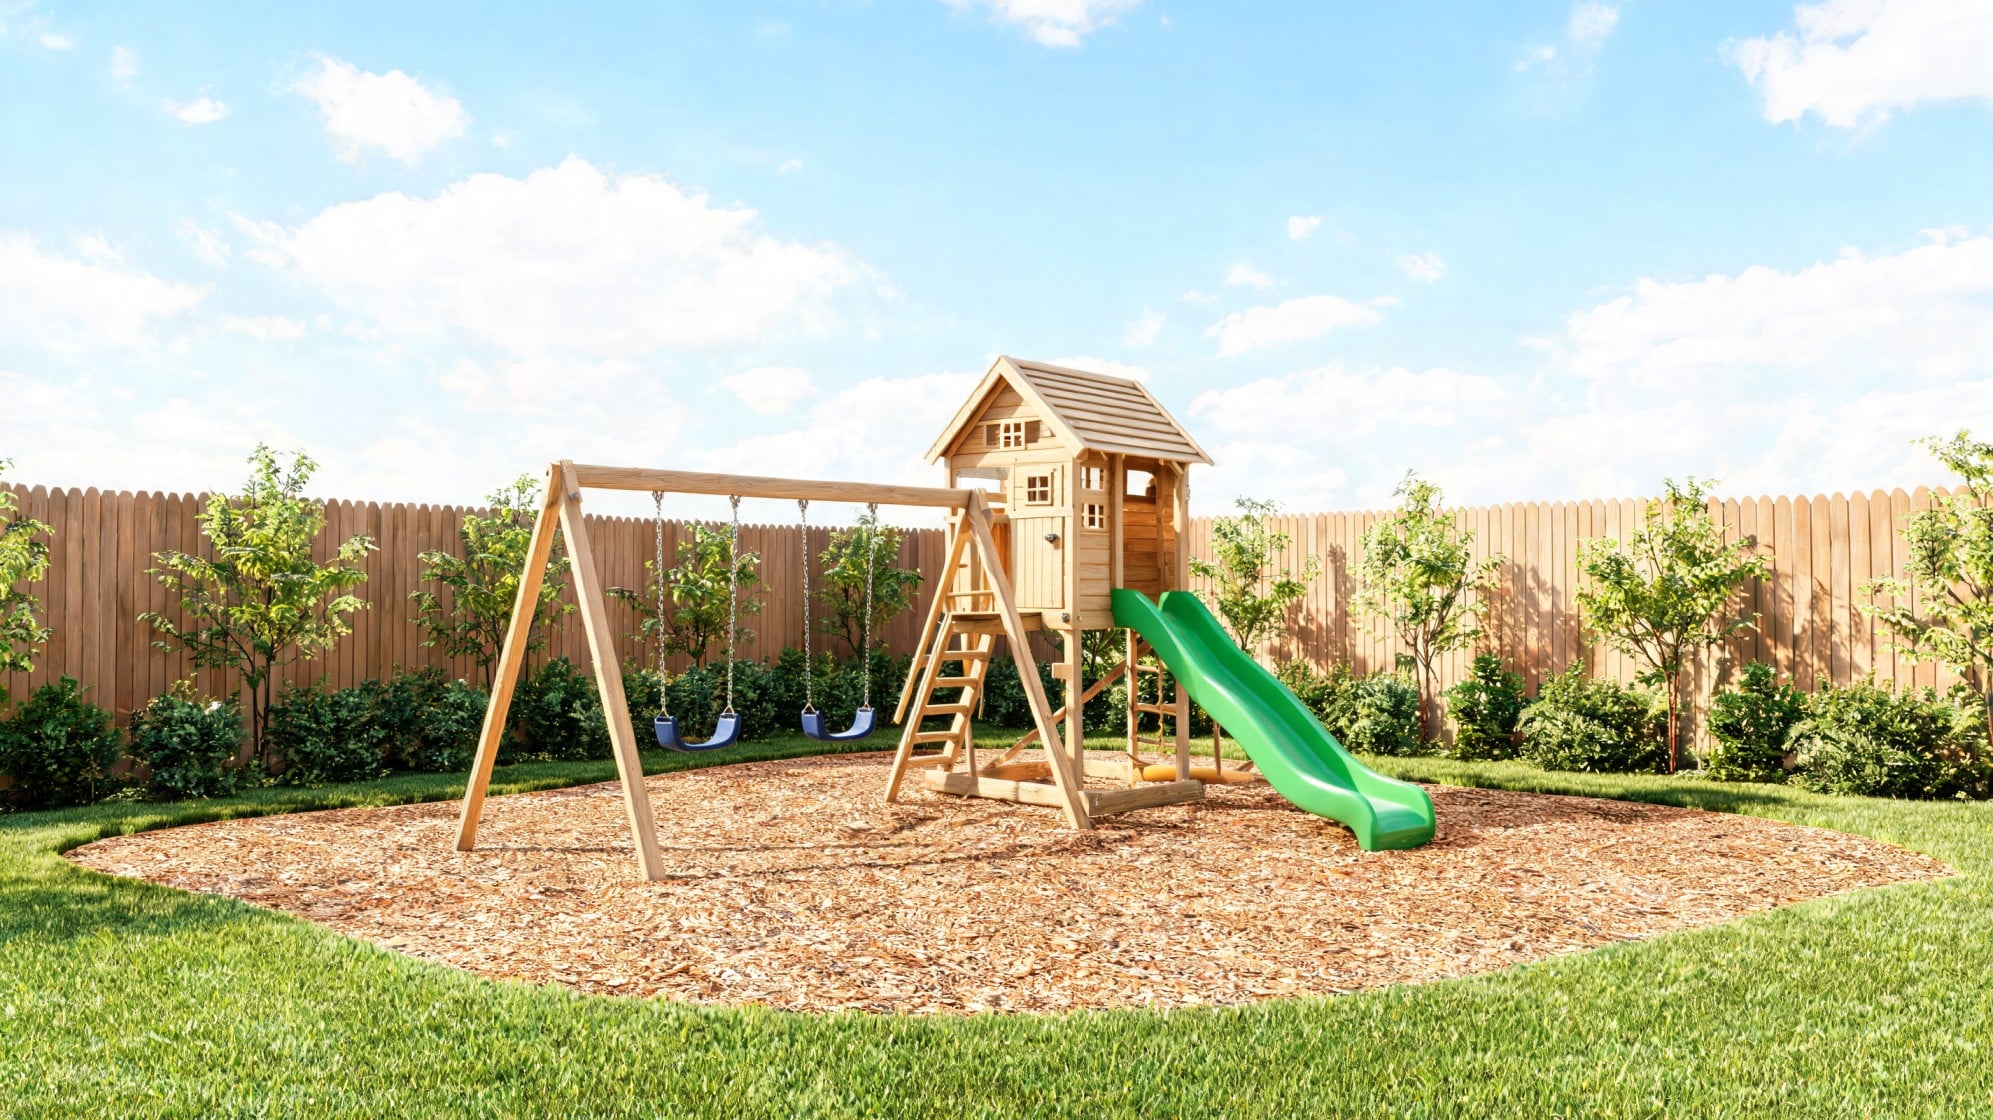
A backyard play area gives kids a safe and fun place to spend time outside. Choose a flat spot that you can easily see from the house, patio, or seating area.
You can add a sandbox, a swing, a small climbing frame, a playhouse, or a chalkboard wall. Use soft ground cover, such as grass, mulch, or rubber mats, under active play areas. Keep the setup simple and match it to your child’s age.
Add bins or baskets nearby for toys, balls, and outdoor games. This keeps the yard neater and makes cleanup easier. A play area helps the backyard work for the whole family.
How to Maintain Your Backyard
A backyard is easier to enjoy when you give it simple, regular care. You do not need to spend hours every week. Small tasks can keep the space clean, safe, and ready to use. Focus on the areas you use most, like seating, paths, plants, and outdoor furniture.
- Pick up leaves, sticks, and loose debris before they pile up. This keeps patios, paths, and seating areas neat.
- Water plants based on the weather and their needs. Too much water can be just as harmful as too little.
- Pull weeds while they are small. This stops them from spreading through garden beds, gravel, and patio edges.
- Trim plants, shrubs, and grass when they start blocking paths, seating areas, or windows.
- Sweep patios, decks, and walkways often so dirt, mud, and leaves do not build up.
- Level gravel or mulch when it shifts due to rain, foot traffic, or furniture.
- Clean outdoor furniture and cushions to keep them fresh and last longer.
- Seal wood features when needed, including decks, benches, fences, and pergolas.
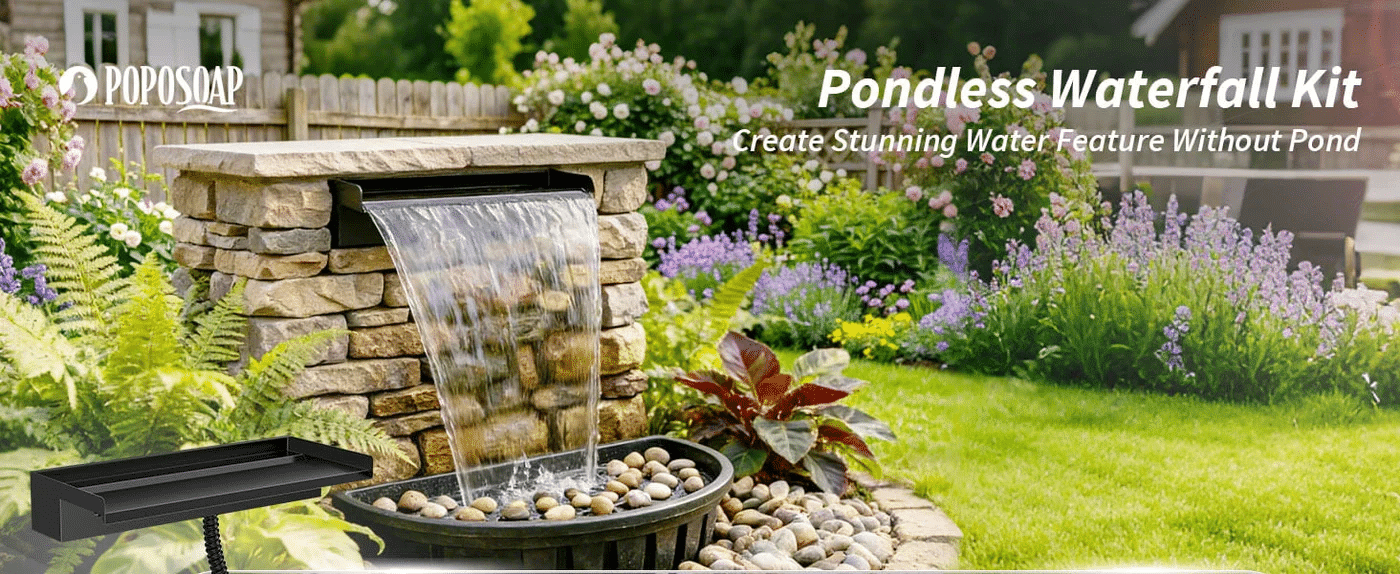
- Check the lights, fire pits, and water features to ensure they are clean and operating safely.
- Store small decor, pillows, and blankets during bad weather to prevent fading, mold, or damage.
With steady care, your backyard will stay comfortable, useful, and ready for everyday life. Think of maintenance as a small habit, not a big chore. A few simple tasks each week can help your outdoor space look better and last longer.
Frequently Asked Questions
What is the cheapest way to do a backyard?
The cheapest way to update a backyard is to start with small DIY changes. Add mulch, gravel, potted plants, string lights, or secondhand furniture. Paint old pieces instead of replacing them. Focus on one area first, such as a seating corner or garden bed.
What adds the most value to a backyard?
Useful outdoor spaces often add the most value. A clean patio, dining area, fire pit, privacy screen, good lighting, and healthy landscaping can make the backyard feel more practical. Buyers usually notice spaces that are easy to use, safe, neat, and ready for daily life.
What are the latest backyard trends?
Current backyard trends include outdoor rooms, fire pits, low-maintenance plants, gravel paths, vertical gardens, and spaces for dining or relaxing. Many homeowners also prefer durable materials, privacy features, and yards with clear zones for different uses, such as cooking, sitting, gardening, and play.
Final Words on Transforming Your Backyard
Your backyard makeover does not need to happen in one weekend or cost a huge amount of money. I think the best outdoor spaces come together little by little over time. One simple project can already make your yard feel more comfortable and enjoyable.
You might start with string lights, a fire pit, or a few planters. Later, you can add seating, a garden path, or a patio area when you are ready. Small changes are often easier to manage and help you figure out what works best for your space.
The most important thing is creating a backyard that fits your lifestyle and feels good to spend time in.
Pick one idea that matches your budget, skill level, and the way you want to use your outdoor space, then build from there.