Bad soil, bad timing, wrong fertilizer. Pick any one of these and your potato harvest suffers.
That is the part nobody tells you upfront. You can plant the right variety, water consistently, and still end up with a bucket of small, disappointing tubers at harvest. Nine times out of ten, the fertilizer is the problem.
Potatoes are heavy feeders. They need different nutrients at different points in the growing season. Feed them wrong early on, and the plant grows big and leafy while the tubers stay small.
This guide covers the best fertilizer for potatoes, the right NPK ratios, when to apply them, and what to avoid.
Why Potatoes Need More Fertilizer Than Most Vegetables
Potatoes are heavy feeders with shallow root systems. They cannot reach deep into the soil to pull nutrients the way other crops can.
On sandy, low-fertility soils, which is where many potato crops are grown, there is not much to draw from in the first place. The nutrient demand also scales with yield.
A larger harvest removes more nitrogen, phosphorus, and potassium from the field. That is why a proper potato fertilizer plan is not optional. It is the foundation of a productive crop.
The NPK Ratio Explained: What Do the Numbers Mean?
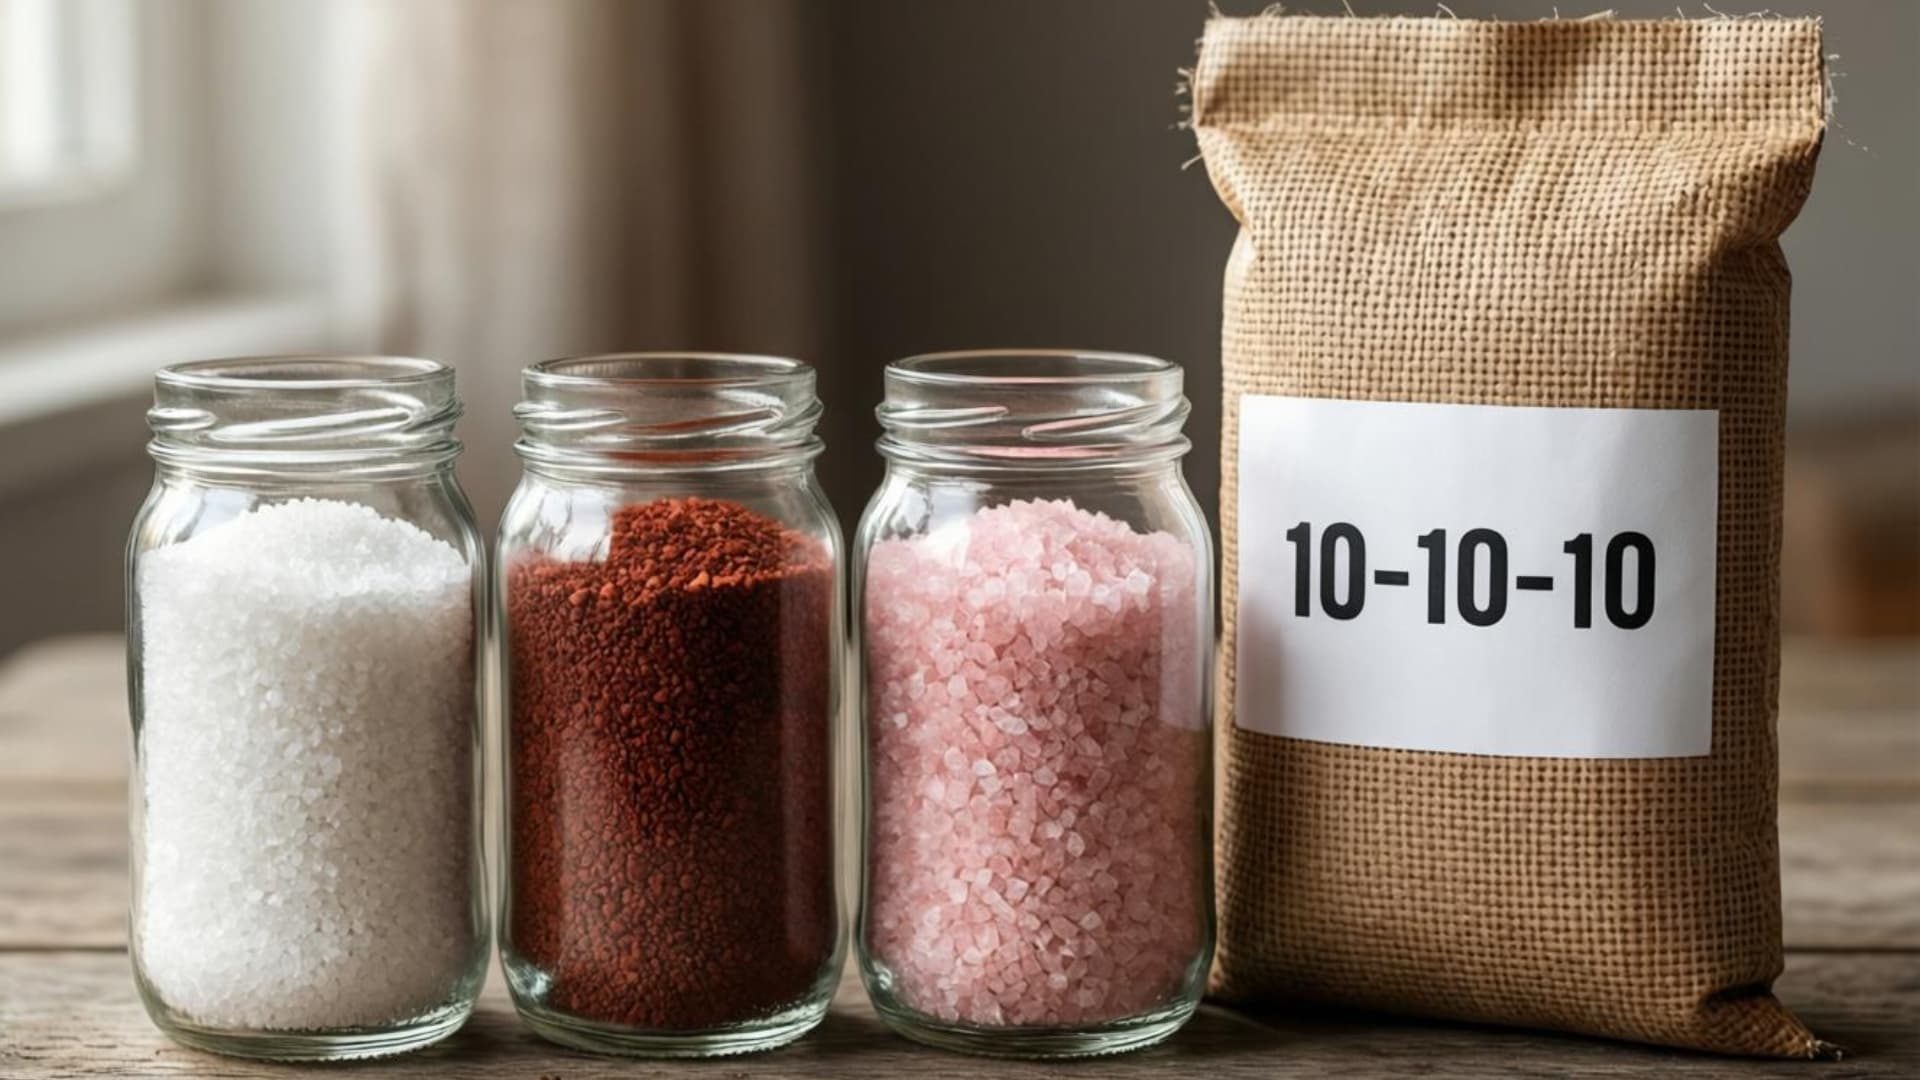
Alt text: Three glass jars filled with white, red, and pink fertilizer granules beside a bag labeled 10-10-10, representing balanced NPK fertilizer nutrients
Every fertilizer bag shows three numbers separated by hyphens. Those numbers represent the percentage of nitrogen (N), phosphorus (P), and potassium (K) in that product.
A bag labeled 5-10-10 contains 5% nitrogen, 10% phosphorus, and 10% potassium. For potatoes, a higher phosphorus and potassium ratio compared to nitrogen is generally the right starting point.
- Nitrogen (N): Builds leaves and stems. Important early in the season. Too much leads to lush foliage and small tubers.
- Phosphorus (P): Supports root growth and helps the plant form tubers. Potatoes respond strongly to phosphorus even when soil levels are already high.
- Potassium (K): The key nutrient for tuber size and quality. Demand peaks sharply during the tuber bulking phase.
A fertilizer with a ratio like 5-10-10 or 8-24-24 gives potatoes more of what they need for underground growth rather than top growth.
What Nutrients Do Potatoes Actually Need?
Potatoes need more than just the big three nutrients. Each element plays a specific role at a specific point in the growing season. Getting this right is what separates an average harvest from a full one.
| Nutrient | Role in Potato Growth | Best Time to Supply |
|---|---|---|
| Nitrogen (N) | Leaf and stem development | First 2 months |
| Phosphorus (P) | Root growth and tuber formation | At planting and early growth |
| Potassium (K) | Tuber size and disease resistance | Month 2 until 2 weeks pre-harvest |
| Calcium (Ca) | Cell structure and scab reduction | Early growth stage |
| Magnesium (Mg) | Supports overall nutrient uptake | Throughout the season |
| Sulfur (S) | Reduces sugar in stored tubers, boosts yield | Throughout the season |
| Boron (B) | Cell development in tubers | Apply to soil only, not leaves |
| Zinc (Zn) | Supports enzyme activity in the plant | As needed per soil test result |
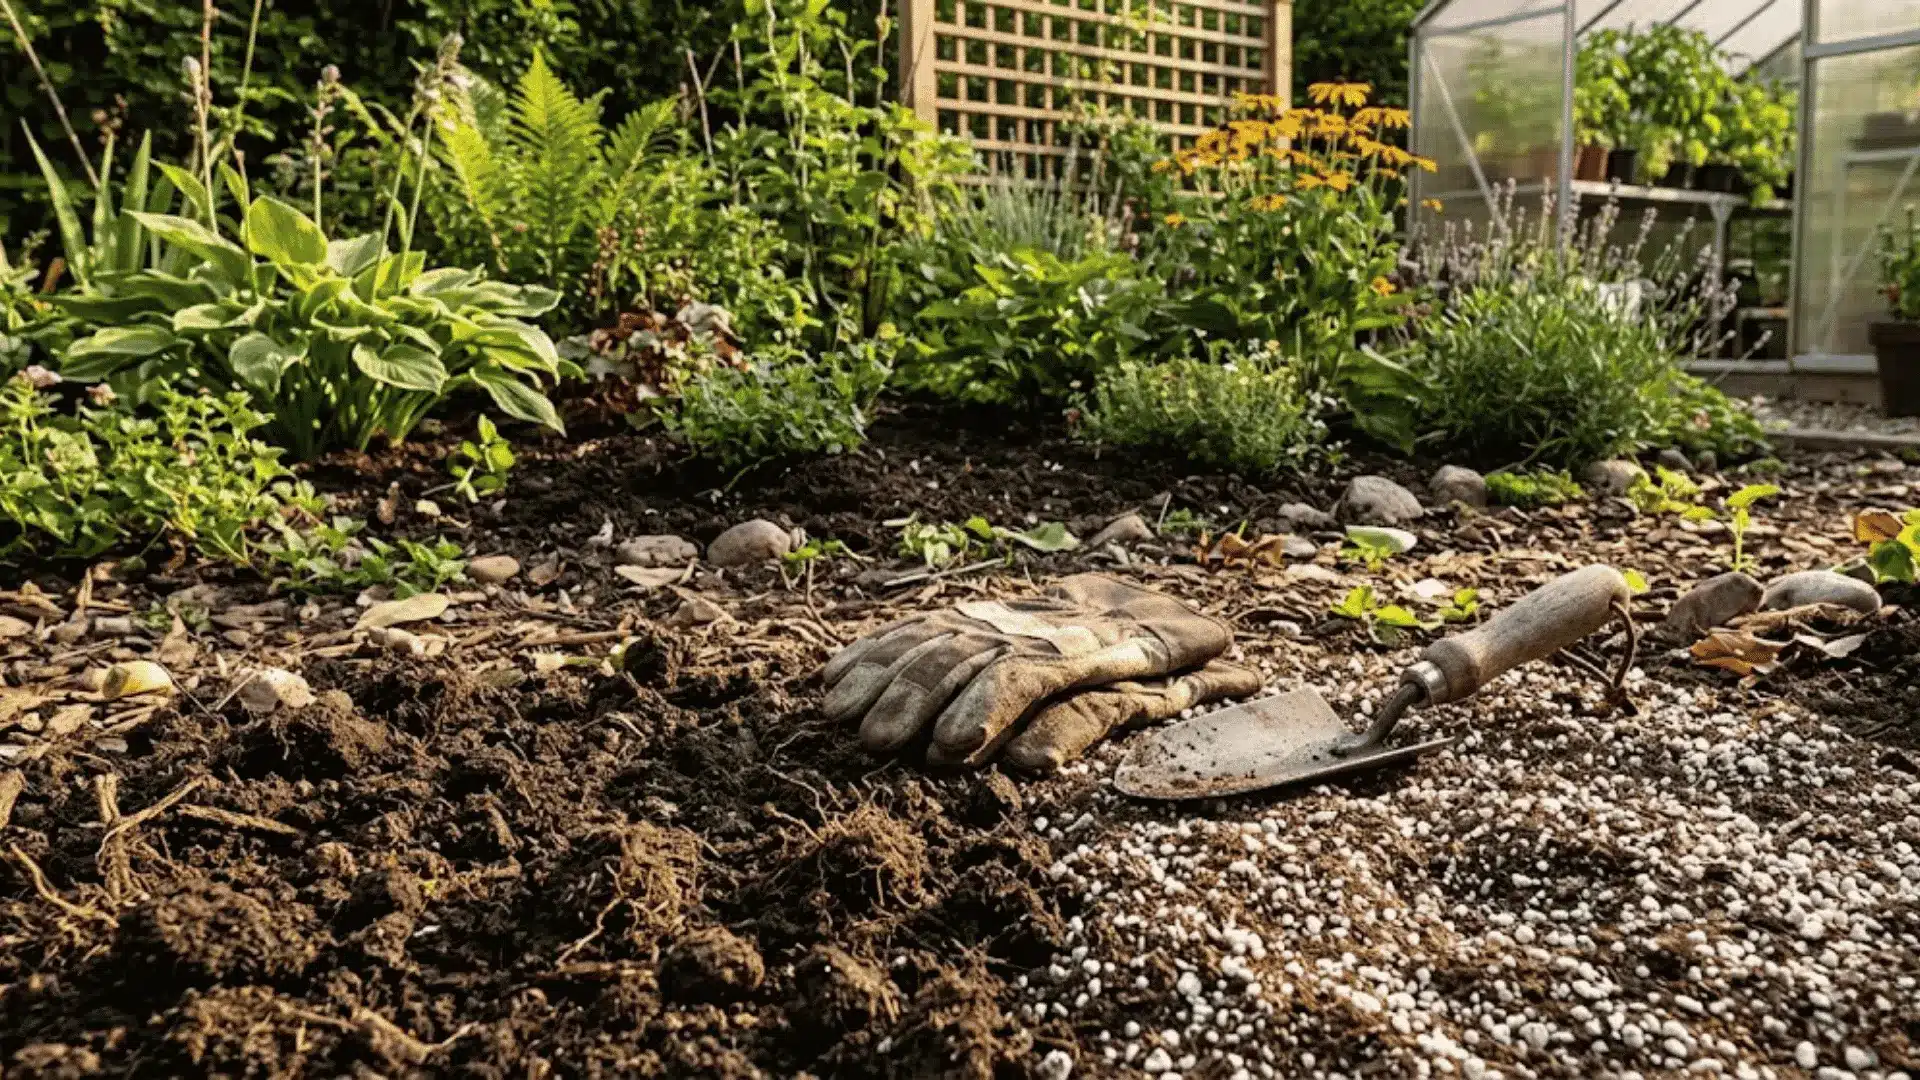
Test Your Soil Before You Fertilize
A soil test is the clearest picture you will get of what your soil has and what it is missing. It measures pH, organic matter, phosphorus, potassium, calcium, magnesium, zinc, and boron levels.
For potatoes, the ideal soil pH sits between 5.0 and 6.0. Above that range, scab becomes a real concern.
Without a test, you risk putting money into nutrients that already exist in your soil while the plant stays short on something it actually needs.
Sample the top 6 to 8 inches of soil before planting. It is a small step that removes a lot of guesswork.
Best Fertilizer for Potatoes: Types Compared
Not all fertilizers work the same way. The form your fertilizer comes in determines how fast nutrients reach the plant and how long they stay available in the soil. Knowing the difference helps you pick the right product for the right moment in the growing season.
1. Dry Pellet Fertilizers
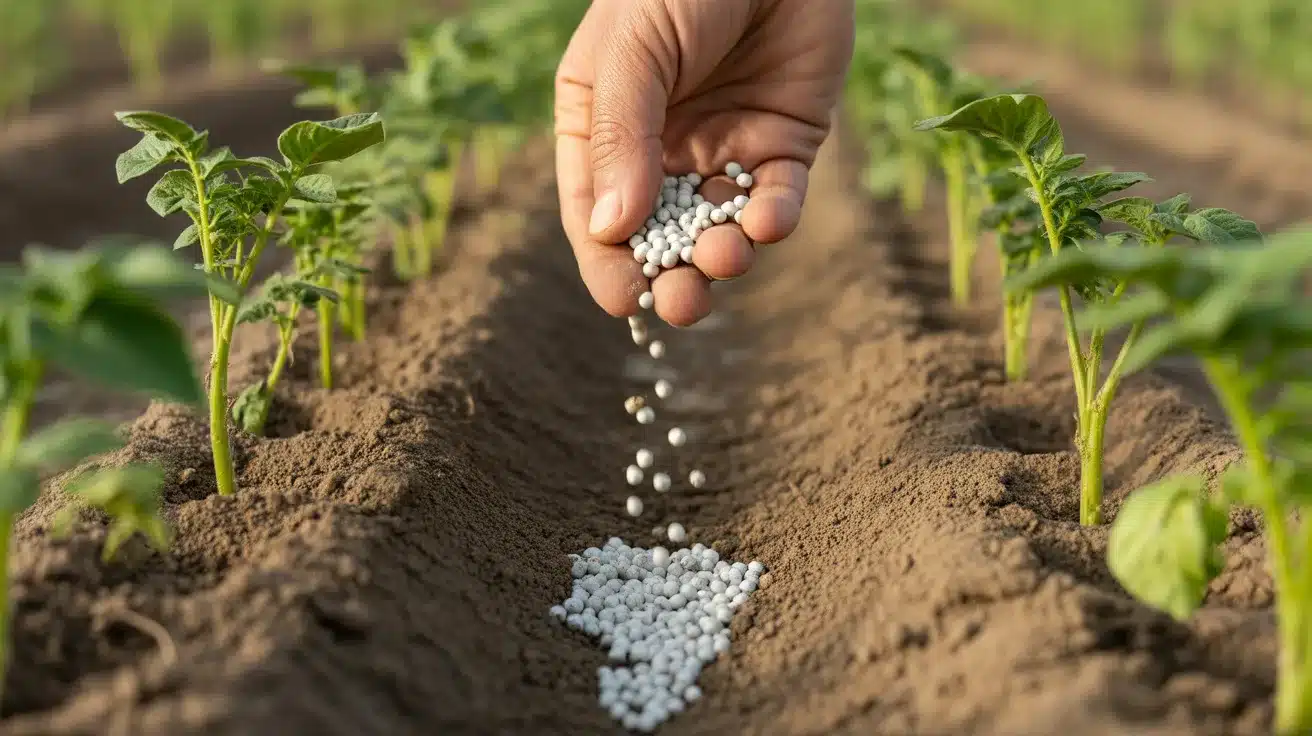
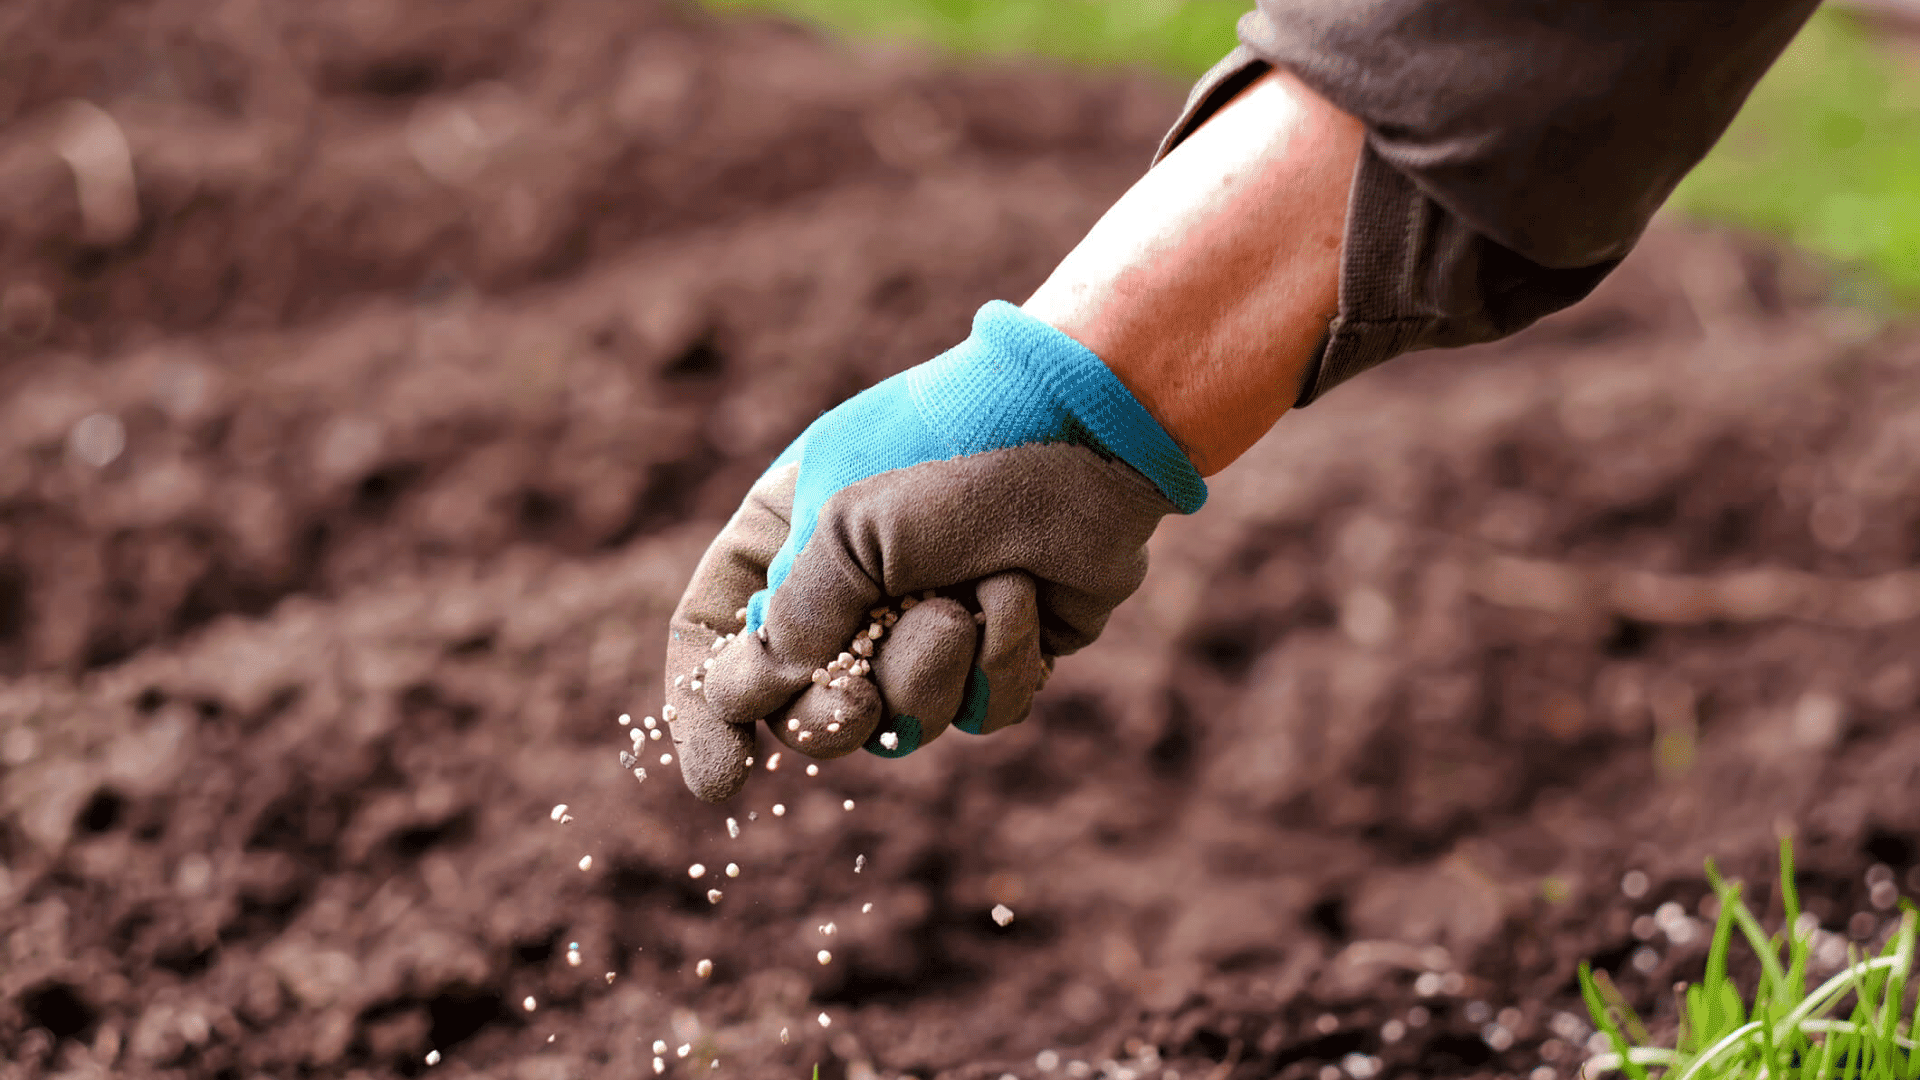
Alt text: Hand applying granular fertilizer to soil rows with young tomato plants growing in a garden bed
Dry pellet fertilizers are easy to spread and work well either before planting or as a side-dressing during the season. They break down slowly in the soil, releasing nutrients over a set period.
This makes them a reliable choice for steady, long-term feeding without constant reapplication.
Key options:
- 5-10-10 or 8-24-24 for general potato growth
- 14-7-21 for the tuber bulking phase
- 15-15-15 or 10-10-10 as a starter at planting time
2. Liquid Fertilizers
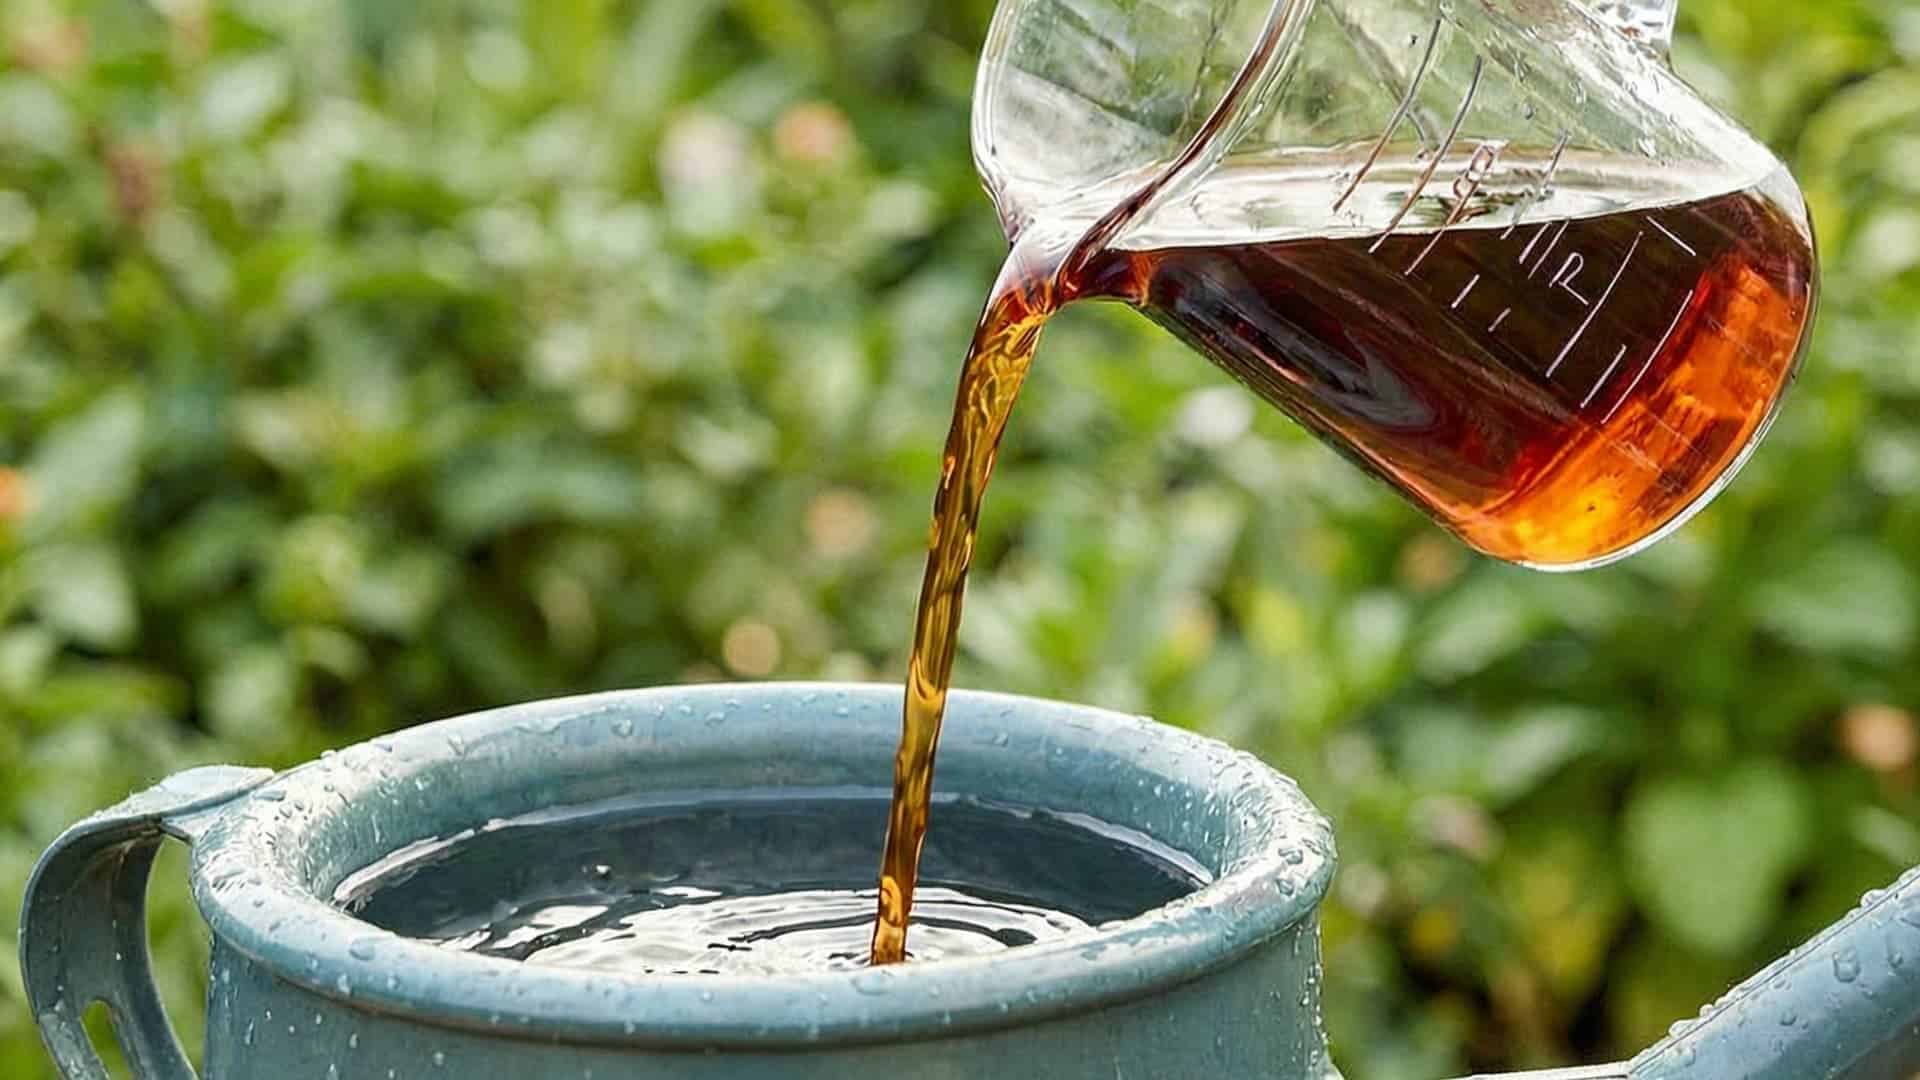
Alt text: Liquid fertilizer being poured into a watering can outdoors for feeding garden plants and improving soil nutrients
Liquid fertilizers act quickly. They are mixed with water and applied to the soil or directly to the leaves. They are especially useful when you spot a deficiency mid-season and need results fast.
A high-potassium liquid fertilizer works particularly well during the tuber development phase. Plants can visibly green up within a day or two after application.
Key options:
- High-potassium liquid feed during tuber development
- Fish emulsion for a fast organic nutrient boost
- Water-soluble 20-20-20 for early-season balanced feeding
3. Slow-Release Fertilizers
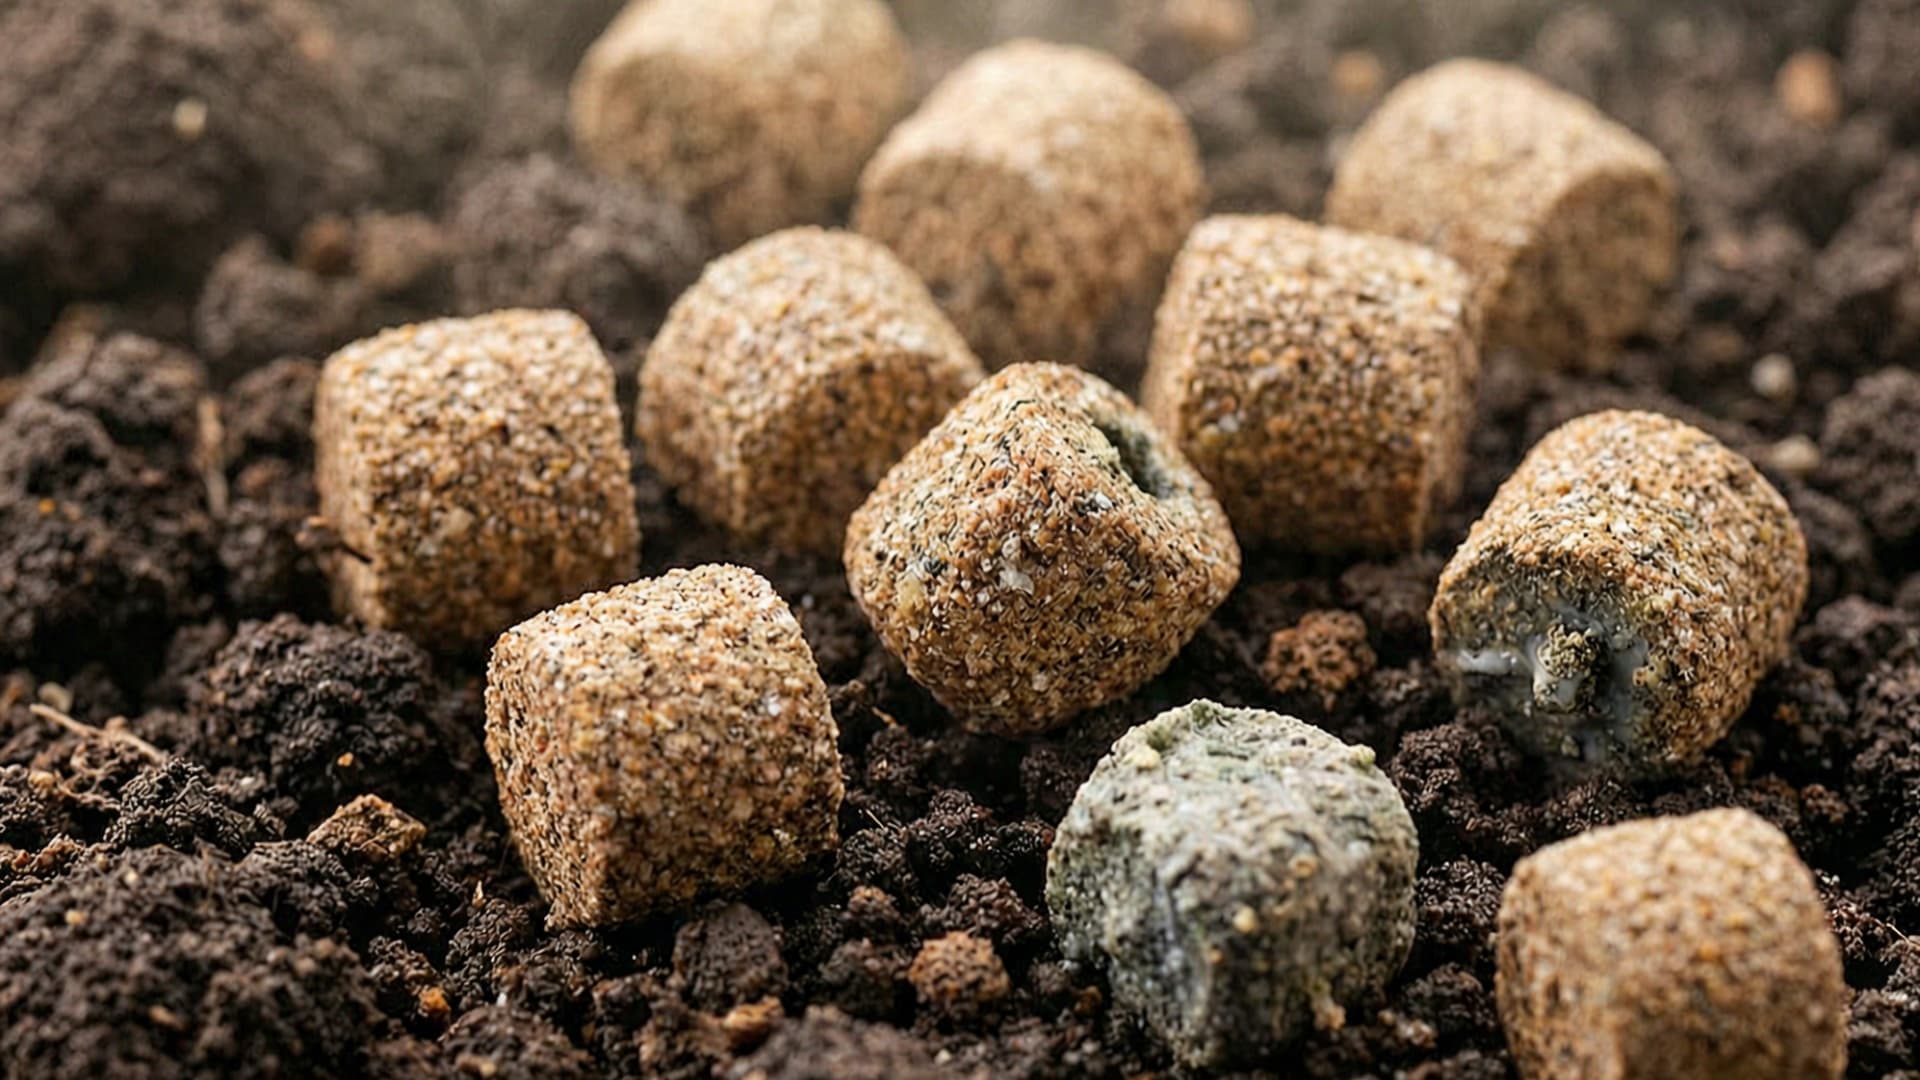
Alt text: Close-up of slow release fertilizer pellets placed on soil showing granular organic plant nutrients for garden use
Slow-release fertilizers feed the plant steadily over weeks or months. They lower the risk of nutrient burn and reduce the number of applications needed during the season.
They work well when mixed into the soil before planting or added during the first hilling.
Key options:
- Coated pellet slow-release blends
- Bone meal as an organic slow-release phosphorus source
4. Organic Fertilizers

Alt text: Different types of organic fertilizers including compost, bone meal, ash and mineral powders arranged in piles on a wooden surface
Organic fertilizers improve the soil while they feed the crop. They work more slowly than synthetic options, but they strengthen the soil ecosystem over time and rarely cause nutrient burn.
Research from Practical Farmers of Iowa confirmed that organic fertilizer applications consistently produced higher yields than unfertilized control plots.
Key organic options:
- Compost: Balanced and rich in trace nutrients. Add 2 inches to the soil before planting.
- Bone meal: High in phosphorus and calcium. Mix directly into the planting hole.
- Blood meal: Fast nitrogen source. Use carefully in early growth stages only.
- Fish emulsion: Provides nitrogen, phosphorus, potassium, and trace minerals. Apply as a soil drench or foliar spray.
- Well-rotted manure: Add before planting. Fresh manure burns roots and increases the risk of scab disease.
- Wood ash: A natural potassium source. Use about 250g per square meter. Use only pure wood ash with no plastic contamination.
- Fishmeal: A well-regarded organic option recommended by long-term organic potato growers.
Best NPK Ratios for Potatoes at Each Growth Stage
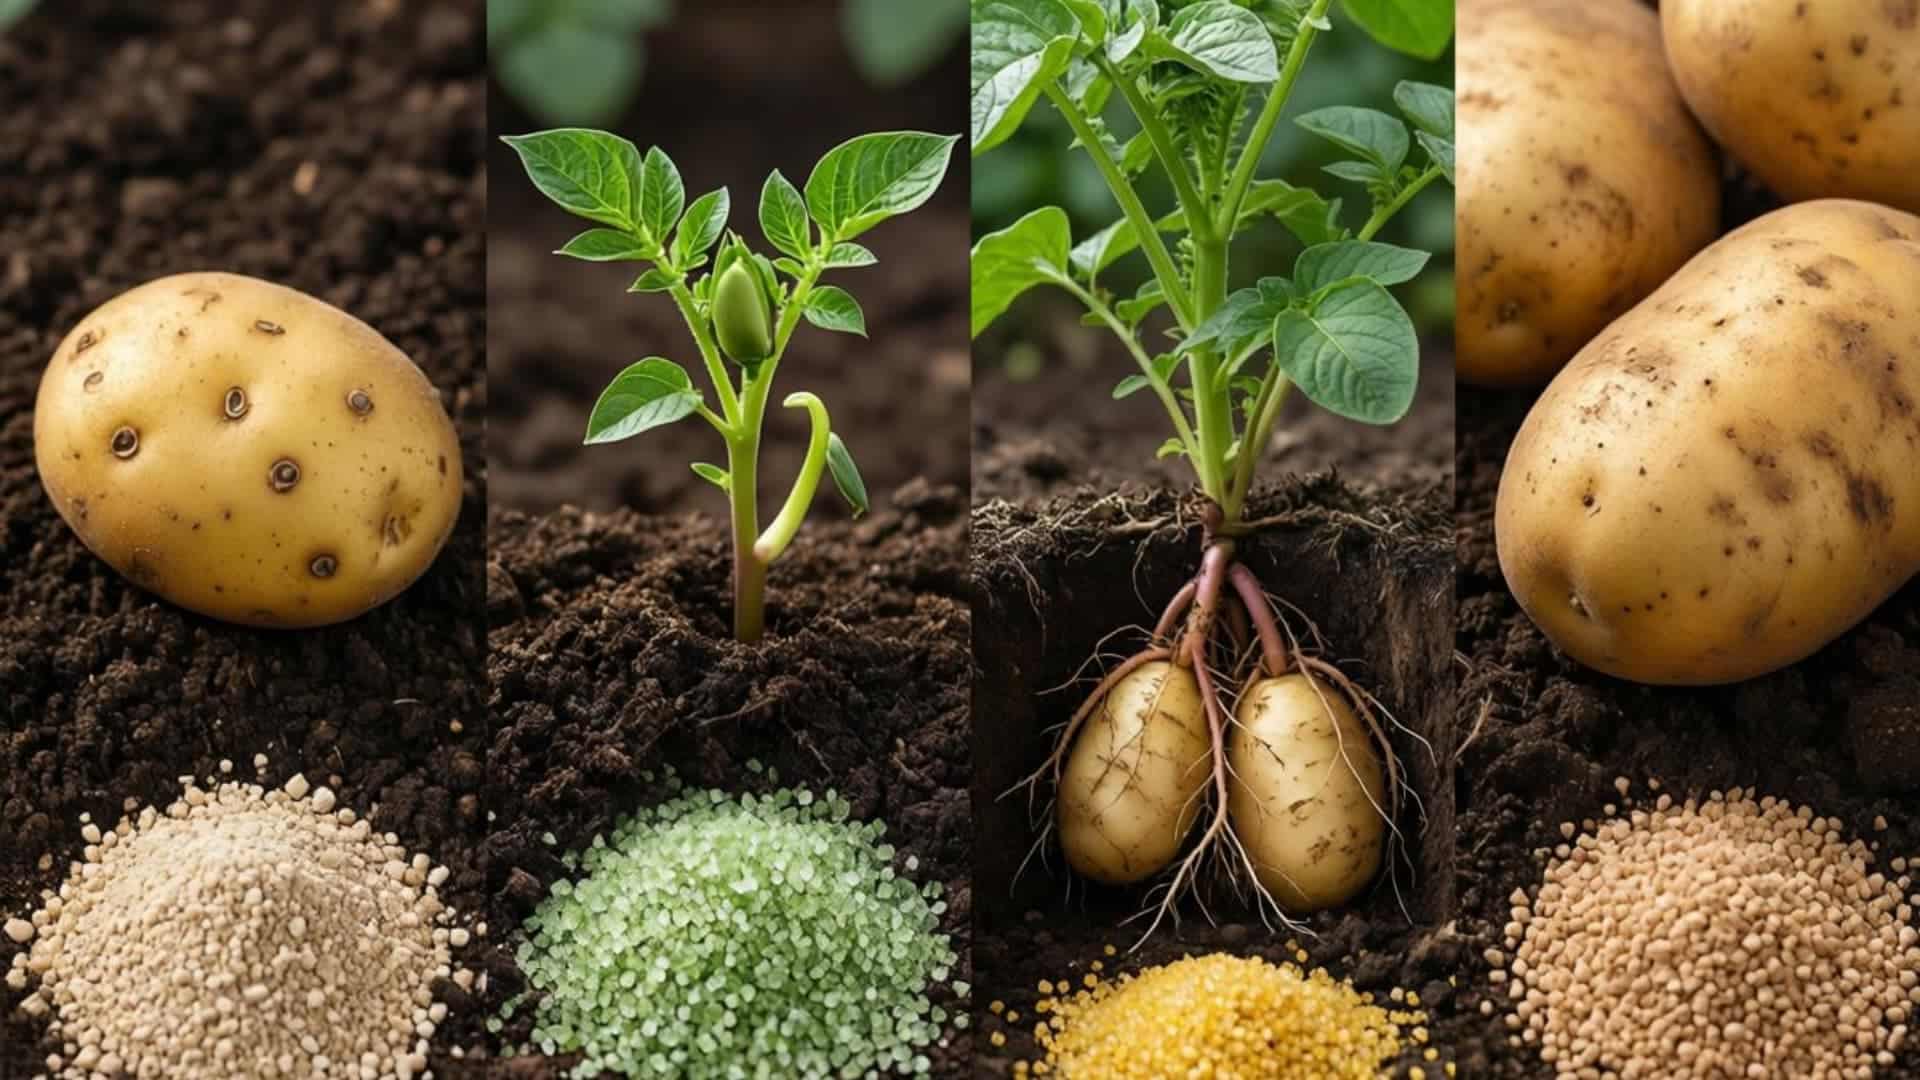
Alt text: Collage showing potato growth stages from seed potato to sprouting plant and mature plant with underground tubers, alongside different fertilizer granules for each stage
Feeding potatoes the same fertilizer from planting to harvest is one of the most common mistakes gardeners make. Their nutrient needs shift as they grow, and the fertilizer you use should shift with them.
1. Pre-Planting Stage
Before the seed goes in the ground, the focus is on building a strong soil foundation. Work compost into the soil and apply a balanced starter fertilizer like 15-15-15 or 10-10-10.
Add bone meal directly in the planting row for a phosphorus boost. If soil calcium is low, this is the right time to correct it.
2. Early Growth Stage (0 to 6 Weeks After Planting)
In the first month or two, the plant is building its above-ground structure: leaves, stems, and branches. Nitrogen demand is highest at this point.
A balanced fertilizer or one slightly higher in nitrogen works well here. Starter fertilizer should contain no more than 40 lb of nitrogen per acre to avoid early overfeeding. Split applications are far more effective than one large single dose.
3. Tuber Formation and Bulking Stage
This is where the real work happens underground. The plant forms and fills its tubers. Shift to a fertilizer with higher potassium content, such as 12-12-17 or 14-7-21.
Peak nutrient uptake for most potato varieties occurs between 20 and 60 days after the plant emerges. Apply the majority of your inputs during this window to get the best results.
4. Final Weeks Before Harvest
Stop all fertilizing about 2 weeks before you plan to harvest. Late nitrogen applications slow down maturity and reduce skin quality on the harvested tubers.
Focus on water management at this stage and let the plant complete its final phase on its own.
How and When to Apply Fertilizer to Potatoes?
The right product applied at the wrong time will not give you the results you are after. Here is a simple, season-long schedule that covers every key feeding window from soil prep to harvest.
- Before planting: Mix 2 inches of compost into the soil about one to two weeks before planting day.
- At planting: Apply one-third of your total fertilizer along the furrow and place phosphorus close to the seed piece.
- Two weeks after planting: Begin your regular feeding cycle. Apply dry or liquid fertilizer around the plants and water in well.
- First hilling, when plants reach 6 inches: Apply the second third of your fertilizer and mix compost into the soil as you hill.
- Every 4 weeks during active growth: Continue with side-dressing or liquid fertilizer applications as the season progresses.
- Second hilling: Apply the final third of your fertilizer at this stage.
- Two weeks before harvest: Stop all feeding and reduce watering completely.
Note: Always water fertilizer in after each application. Dry product sitting on the soil surface without moisture will not reach the roots.
Organic vs. Synthetic Fertilizer for Potatoes: Which One Wins?
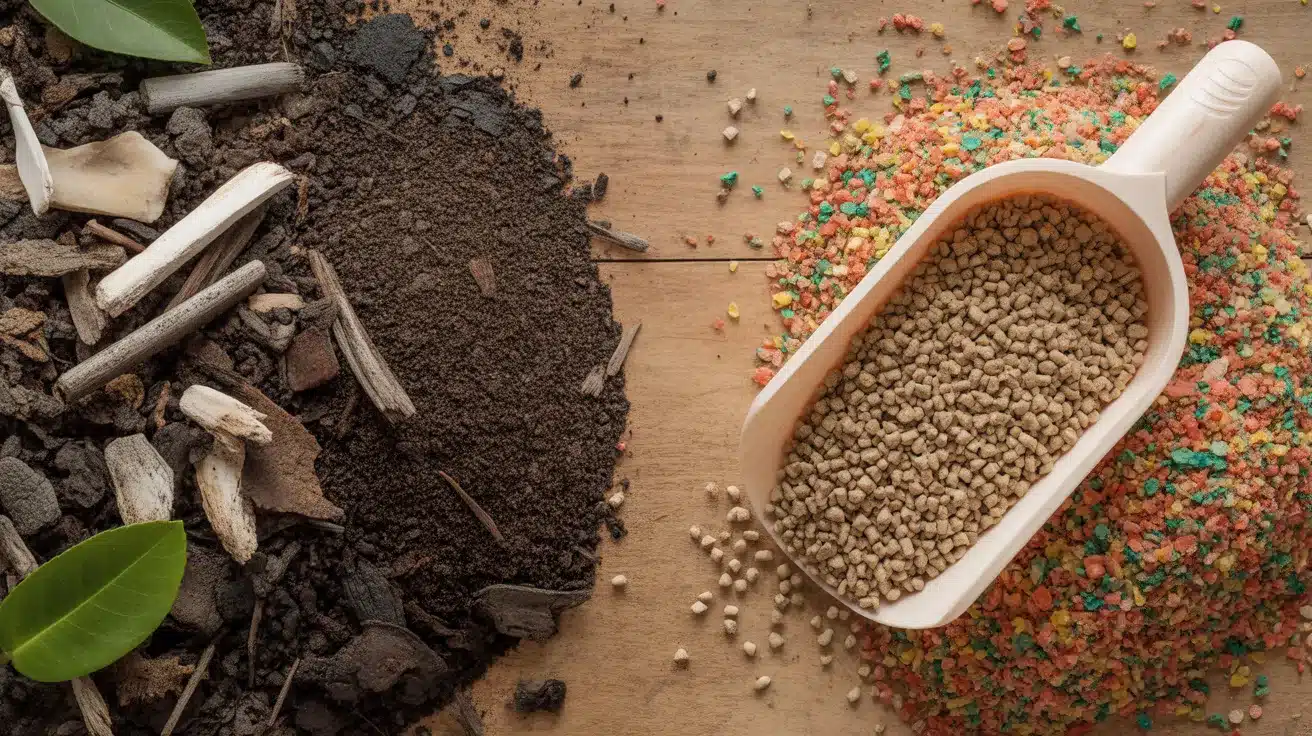
Alt text: Side-by-side comparison of organic soil with compost and wood chips and synthetic fertilizer granules with a scoop, illustrating organic vs synthetic fertilizer types
There is no single winner here. Both organic and synthetic fertilizers can produce strong potato crops. The better choice depends on your soil, your goals, and how much hands-on management you want to do through the season. Here is how they compare directly.
| Factor | Organic Fertilizer | Synthetic Fertilizer |
|---|---|---|
| Nutrient release speed | Slow and steady | Fast and precise |
| Effect on soil health | Builds soil structure over time | Does not improve soil long-term |
| Risk of nutrient burn | Very low | Higher if over-applied |
| Cost | Variable; lower for DIY options like compost | Higher for specialty blends |
| Ease of use | Requires more planning and prep time | Easy to measure and apply |
| Disease risk | Aged compost and manure can reduce scab | Over-application can stress the plant |
| Yield outcome | Fertilized plots consistently outperform unfertilized ones | Strong, predictable results with correct NPK |
| Best suited for | Long-term growers and certified organic operations | Growers who need precise, stage-by-stage nutrient control |
Fertilizing Potatoes in Containers and Raised Beds
Containers and raised beds drain faster than open ground. Every time you water, some nutrients leave through the bottom. Start by mixing a slow-release fertilizer into the growing medium before planting.
Then supplement with a liquid fertilizer every 2 to 3 weeks through the growing season to replace what has been lost.
Watch for yellowing leaves, which is often the first sign of a nitrogen shortage in contained setups. And avoid overwatering. Too much water flushes nutrients away before the roots can use them.
Summing It Up
Growing a strong potato crop is not complicated. It just takes the right fertilizer, the right timing, and a little patience.
Start with a soil test. Use more phosphorus and potassium than nitrogen, especially once tubers begin forming. Apply fertilizer in split doses throughout the season. Stop feeding two weeks before harvest.
That is the full picture. Small adjustments to how you fertilize potatoes can lead to noticeably bigger yields, season after season.
Now it is your turn. Have you tried a specific fertilizer for potatoes that worked well? Or do you have a question about your soil or your setup? Drop it in the comments below.
Frequently Asked Questions
What Fertilizer Increases Potato Size?
High-potassium fertilizers like 12-12-17 or 14-7-21 increase tuber size the most. Apply them once tubers begin forming and continue until two weeks before harvest.
What Is the Secret to Growing Big Potatoes?
The real secret is matching the right NPK ratio to each growth stage. More nitrogen early, more potassium and phosphorus once tubers start bulking underground.
What to Add to Soil for Good Potatoes?
Start with compost, bone meal, and a balanced granular fertilizer before planting. A soil test will tell you exactly what else your specific soil needs.
What Is the Best Way to Fertilize Potatoes?
Split your total fertilizer into three applications: at planting, at first hilling, and at second hilling. Always water it in well after each application.