I didn’t think much about my shower until I caught myself scrubbing the same corner for the third weekend in a row. Somewhere between the dish soap and the sponge, I started wondering why nothing under my sink worked so well anymore.
A diy shower cleaner turns out to be less about one magic formula and more about matching the right mix to the mess in front of you. Soap scum, hard water spots, and everyday grime each call for a slightly different approach, and the surface under your feet matters just as much as what you spray on it.
Quick Answer: What Is the Best DIY Shower Cleaner?
A diy shower cleaner is a homemade cleaning solution made with household ingredients to remove buildup from shower surfaces. You can prepare these cleaners as sprays, pastes, or scrubbing mixtures, depending on the residue you are removing.
- Soap scum: White vinegar and dish soap spray
- Hard water spots: The same vinegar spray, used only on safe, non-stone surfaces
- Daily maintenance: Hydrogen peroxide-based spray
- Stubborn buildup: Baking soda scrub
- Vinegar-free cleaning: Baking soda with hydrogen peroxide, or baking soda with lemon juice
No single formula works on every surface. Pick a recipe based on both the residue and the material you are cleaning.
Ingredients That Make a Homemade Shower Cleaner Effective
Every ingredient in a homemade shower cleaner plays one specific role, and mixing them outside their recipe usually wastes the ingredient instead of improving the result.
Vinegar, baking soda, dish soap, hydrogen peroxide, and dishwasher rinse aid each show up in different combinations below, so measure them as listed rather than combining formulas.
Cornell Cooperative Extension notes that vinegar’s acidity is what dissolves soap scum and hard water mineral deposits in the first place, which is why it shows up in two of the recipes below.
|
Ingredient |
Purpose |
Found In |
Avoid Using On |
|---|---|---|---|
|
White vinegar |
Loosens soap scum and hard water mineral deposits |
Vinegar and dish soap spray |
Stone tiles |
|
Baking soda |
Adds mild abrasive scrubbing action |
Baking soda scrub; vinegar-free peroxide and lemon formulas |
Fiberglass tubs, glass, stone tiles |
|
Dish soap |
Breaks down residue and oils on shower surfaces |
Vinegar spray; baking soda scrub; daily spray |
Use only the amount listed; extra soap can leave residue |
|
Hydrogen peroxide |
Targets mold and mildew stains |
Daily spray; vinegar-free mold and mildew formula |
Dark grout; store away from bright light |
|
Dishwasher rinse aid |
Reduces water spotting and smooths surfaces |
Daily spray only (1 tablespoon per 32 ounces) |
Don’t add to vinegar or baking soda formulas |
DIY Shower Cleaner Recipes for Daily Use and Deep Cleaning
These five recipes cover daily maintenance, soap scum, hard water buildup, and stubborn residue, and each one sticks to a single job so it keeps working the way it is supposed to. Follow the amounts as written and keep formulas separate rather than combining them.
1. DIY Daily Shower Cleaner Spray
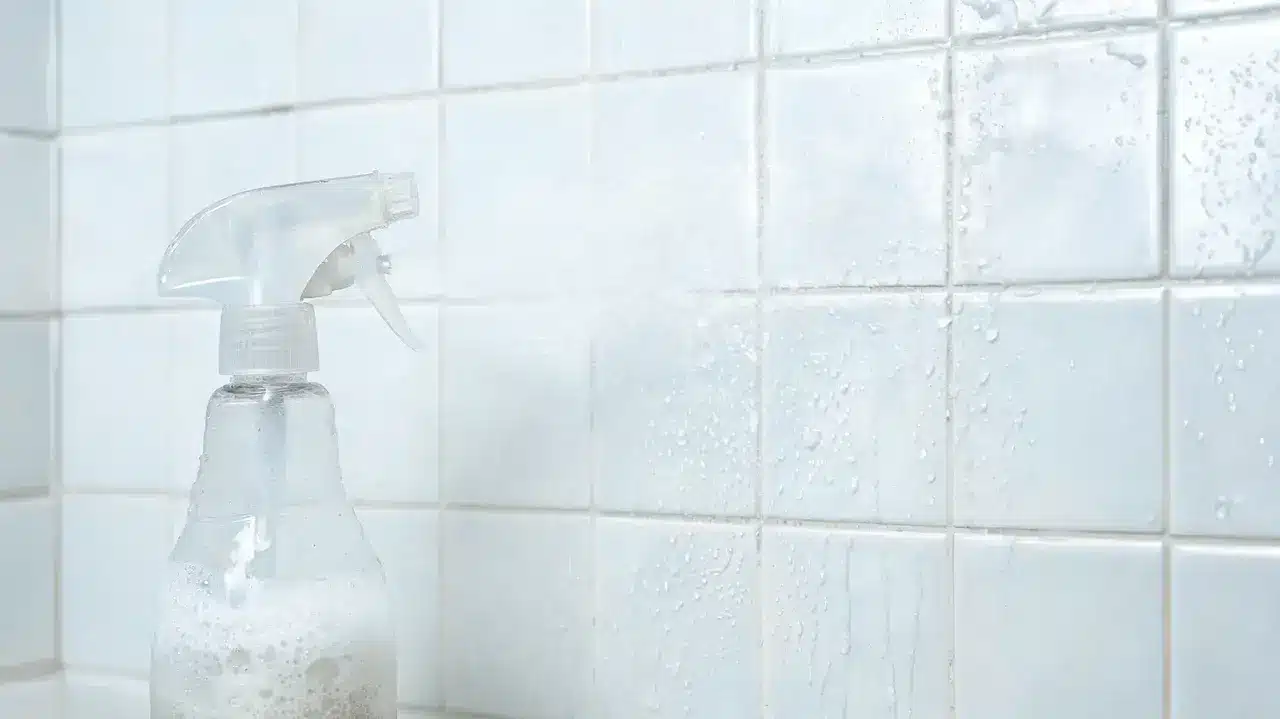
Best for: daily maintenance between deeper cleanings.
Ingredients:
- 1/2 cup hydrogen peroxide
- 1/2 cup rubbing alcohol
- 1 teaspoon liquid dish soap
- 1 tablespoon dishwasher rinse aid
- 3 cups water
- 32-ounce spray bottle
How to Make and Use It:
- Add the hydrogen peroxide, rubbing alcohol, dish soap, and rinse aid to the bottle.
- Slowly add the water, then close the bottle.
- Gently tip it back and forth to combine.
- Spray the shower walls after each use.
2. Best DIY Shower Cleaner for Soap Scum and Hard Water Stains
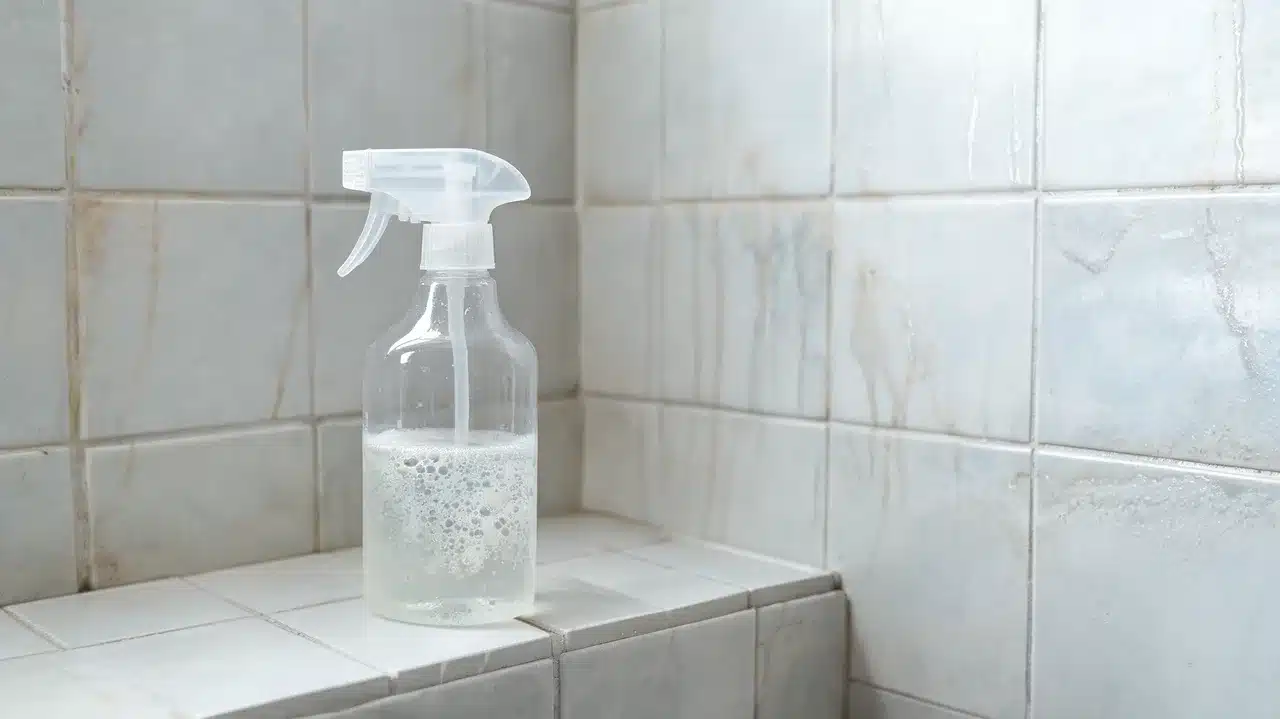
Best for: soap scum and the hard water spots that vinegar can safely reach.
Ingredients:
- Equal parts white vinegar and liquid dish soap
- Spray bottle
How to Make and Use It:
- Add equal parts vinegar and dish soap to the bottle.
- Swirl gently to combine.
- Spray the affected areas and let sit for 15 to 30 minutes.
- Scrub, then rinse with hot water.
3. Baking Soda Scrub for Stubborn Shower Buildup
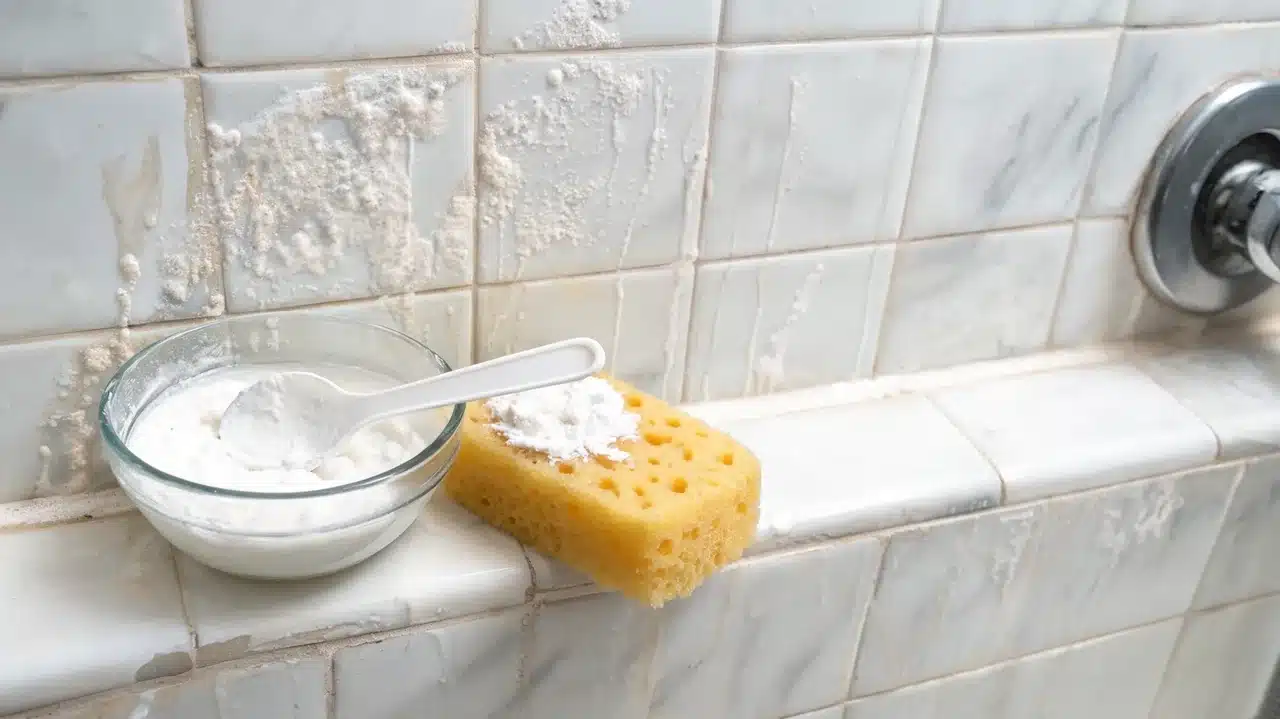
Best for: heavier residue that a spray alone won’t loosen.
Ingredients:
- Equal parts baking soda and liquid dish soap
How to Make and Use It:
- Mix baking soda and dish soap into a paste.
- Apply it to the buildup.
- Scrub gently, then rinse thoroughly.
4. DIY Shower Cleaner for Mold and Mildew (Vinegar-Free)
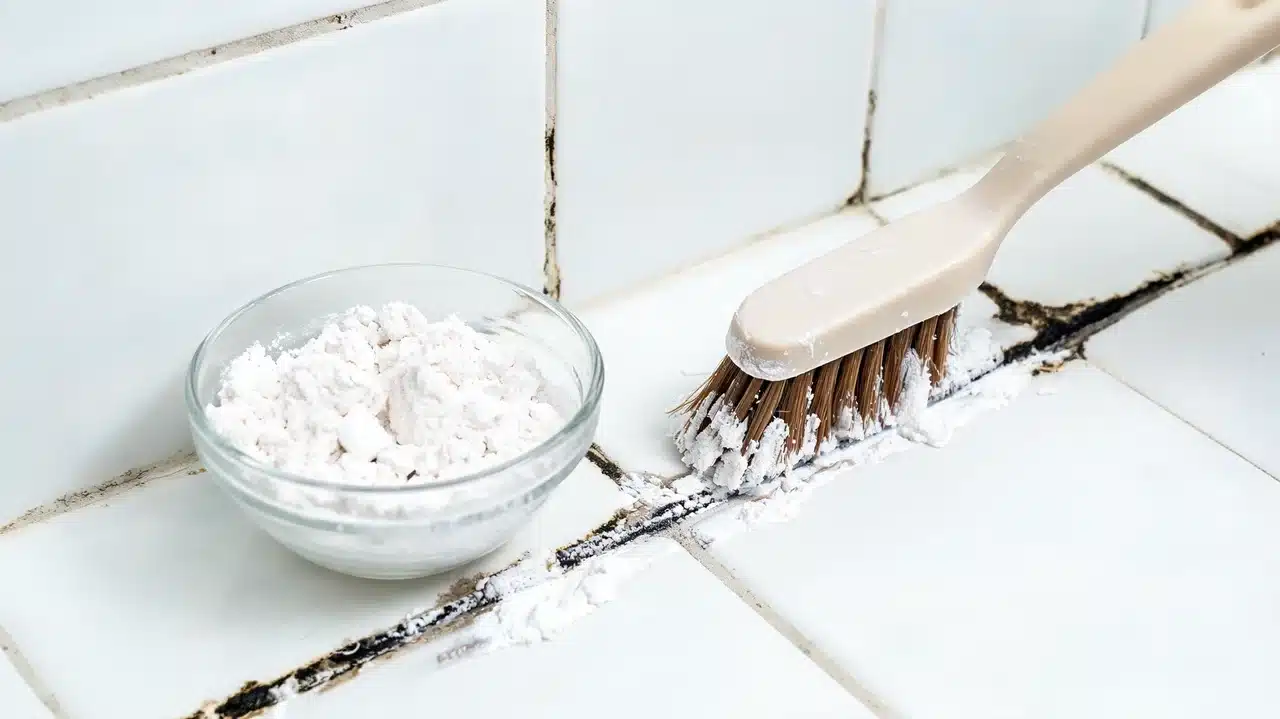
Best for: organic residue and mildew stains (vinegar-free).
Ingredients:
- 1/2 cup baking soda
- 1 cup water
- 1/4 cup hydrogen peroxide
How to Make and Use It:
- Mix the baking soda and water.
- Add the hydrogen peroxide.
- Apply to the affected area and let sit for 10 to 15 minutes.
- Scrub gently with a brush, then rinse.
This recipe handles surface mildew, not established mold. The EPA recommends bringing in a professional once mold covers more than about ten square feet or keeps coming back after cleaning.
5. Baking Soda and Lemon Juice Scrub
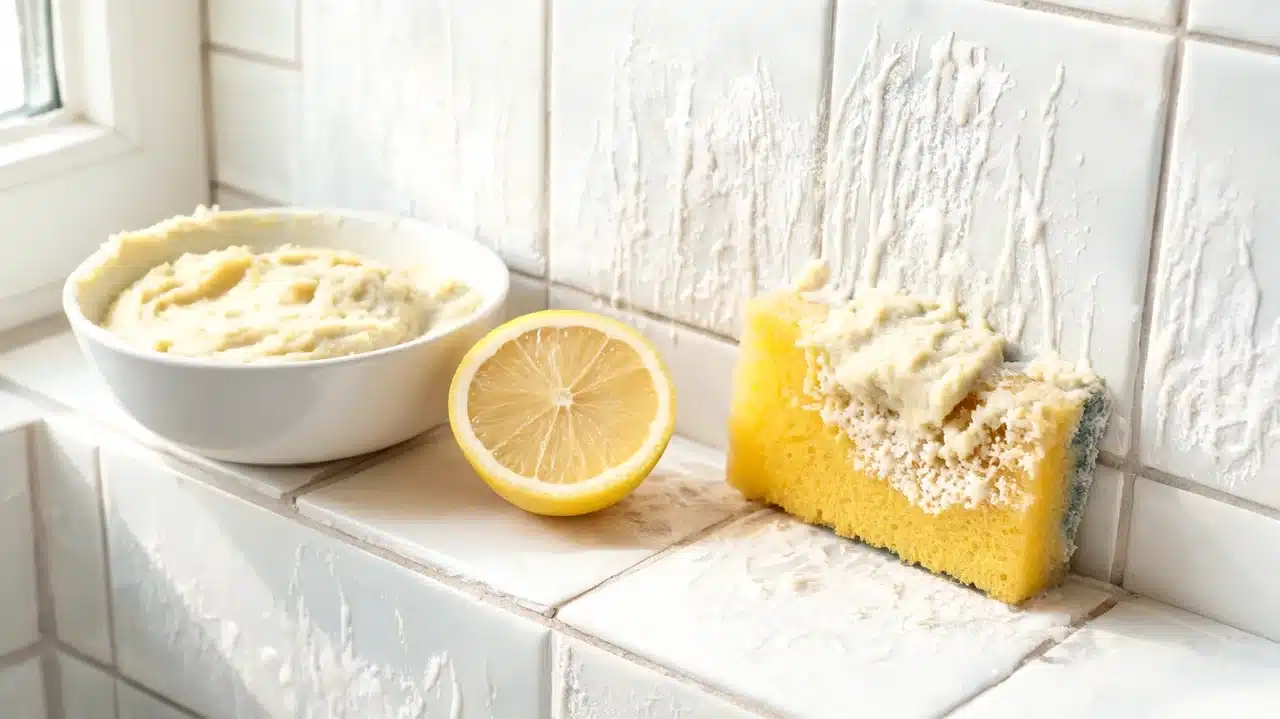
Best for: light soap residue, another vinegar-free option.
Ingredients:
- 1/2 cup baking soda
- 1 cup water
- 1/4 cup lemon juice
How to Make and Use It:
- Mix the baking soda and water.
- Add the lemon juice.
- Apply to dirty areas and let sit for 5-10 minutes.
- Scrub gently, then rinse with clean water.
This is the one I reach for when the vinegar bottle is empty, and the bathroom could use a smell that isn’t quite so much like a salad.
Which DIY Shower Cleaner Should You Choose?
Five recipes is a lot to scan when you want an answer. This table lines up each cleaner against the job it handles best, so you can jump straight to the one that matches your mess. Stains that have been sitting for a while often need the dedicated hard water stain removal steps rather than a quick spray.
|
Cleaner |
Best For |
Avoid On |
|---|---|---|
|
Vinegar and dish soap spray |
Soap scum and hard water spots |
Natural stone such as marble, granite, or travertine |
|
Baking soda scrub |
Stubborn, built-up residue |
Glass, fiberglass tubs, and natural stone |
|
Daily hydrogen peroxide spray |
Everyday maintenance between cleanings |
Dark or colored grout |
|
Baking soda and hydrogen peroxide |
Mold and mildew stains, vinegar-free |
Untested colored or sealed surfaces |
|
Baking soda and lemon juice |
Light soap residue, vinegar-free |
Untested colored or sealed surfaces |
How to Prevent Soap Scum and Buildup in Your Shower
Preventing buildup starts with controlling the water and moisture left behind after each shower. Running a squeegee over the walls and doors before the water dries significantly reduces residue.
Good bathroom ventilation during and after a shower also helps reduce lingering moisture and odors, and dealing with visible residue early beats letting several layers build up over time.
Squeegee daily and clean the shower every couple of weeks to keep buildup from becoming a bigger job. A consistent routine is more useful in the long run than waiting until the shower needs a heavy scrub.
How to Use DIY Shower Cleaner on Different Shower Surfaces
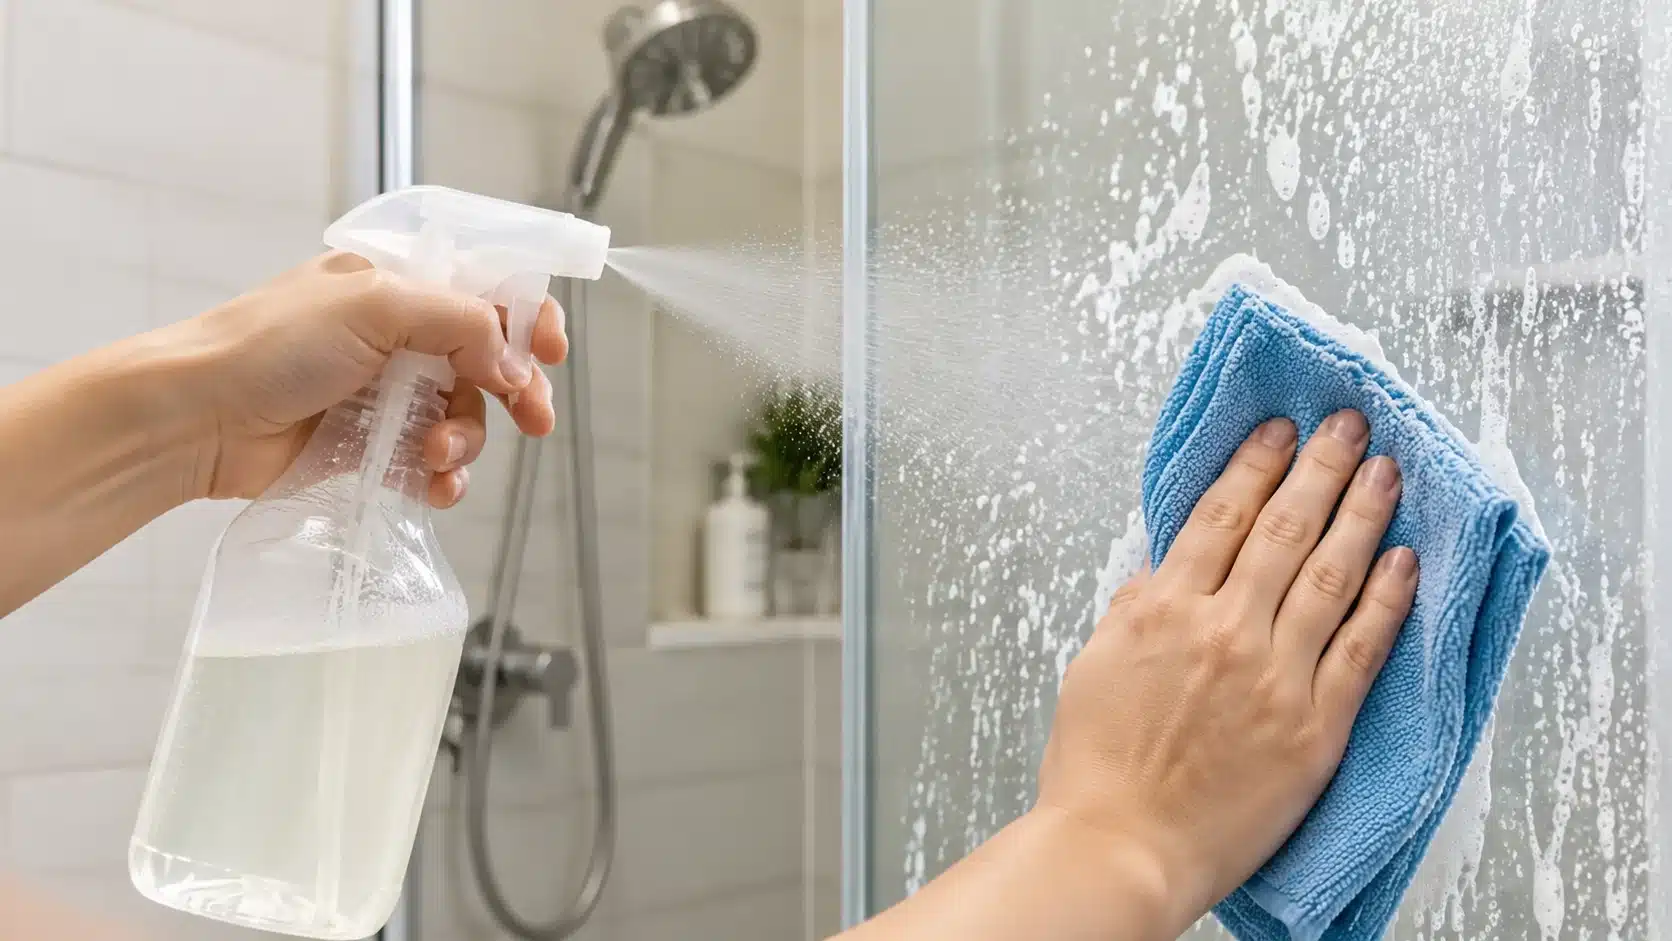
The right diy shower cleaner also depends on the surface you are cleaning, since tile, glass, curtains, and specialty materials each respond differently. Glass shower doors do best with the vinegar and dish soap spray, wiped off with a microfiber cloth rather than left to air dry.
|
Shower Surface |
How to Use DIY Cleaner |
Important Notes |
|---|---|---|
|
Tile and Grout |
Apply the recipe, let it sit for the listed time, then scrub gently and rinse. Use a soft brush on grout lines. |
Use hydrogen peroxide formulas with caution on dark grout, since they may lighten it. |
|
Glass Shower Doors |
Apply the vinegar-and-dish-soap spray, then wipe with a microfiber cloth. |
Skip baking soda formulas here; the mild abrasive can leave fine scratches on glass. |
|
Shower Curtains |
Soak separately in a vinegar-and-water solution when the fabric allows it, then rinse well. A full shower curtain cleaning routine covers fabric and plastic liners in more detail. |
Check the curtain material first and make sure no residue remains after washing. |
|
Surfaces That Need Extra Care |
Identify the material before choosing a cleaner, and test on a small hidden area first. |
See the comparison table above for which recipe to avoid on each material. |
Common DIY Shower Cleaner Mistakes
Most problems with a homemade shower cleaner come from changing a recipe or using it on the wrong surface, not from the ingredients themselves.
- Combining two recipes instead of using one at a time
- Using vinegar on stone, or baking soda on glass or fiberglass
- Skipping a patch test on an unfamiliar or colored surface
- Storing hydrogen peroxide sprays in bright light
- Adding extra ingredients beyond what the recipe calls for
Keep formulas separate, follow the amounts as written, and each one will keep working the way it was designed to.
Frequently Asked Questions
Can I use a homemade cleaner on my shower every day?
The daily peroxide spray is mild enough for regular use. Still, scrub-style recipes with baking soda are meant for occasional deeper cleaning rather than everyday use, since frequent scrubbing can wear on some finishes over time.
How long can a homemade cleaner be stored before it loses strength?
Peroxide-based mixtures lose potency fastest and work best used within a few weeks. Keep them in an opaque or dark bottle away from bright light, since light exposure is what speeds up the breakdown.
Is it safe to use vinegar-based cleaners on a natural stone shower?
No. Vinegar is acidic, and acids react with the calcium in stones such as marble and travertine, dulling or etching the surface permanently with repeated use. A pH-neutral stone cleaner is the safer choice for those surfaces.
What should I use on glass shower doors to avoid streaks?
The vinegar and dish soap spray works well on glass when you wipe it off with a microfiber cloth rather than letting it air-dry. Skip baking soda formulas here, since the mild abrasive can leave fine scratches on glass.
Can a homemade recipe get rid of black mold?
Homemade cleaners can lift surface mildew stains, but heavier mold growth needs more than a spray. If mold keeps returning or covers a large area, it typically calls for professional remediation instead of repeated cleaning.
Final Thoughts
My routine now takes about ten minutes after each shower, plus a real scrub every couple of weeks, and the difference really shows in much less scrubbing overall.
A diy shower cleaner works best when you pick the recipe that matches your mess, measure it out the way it is written, and check the surface first before spraying anything new on it.
Squeegee the walls, keep the bathroom ventilated, and let those small habits do most of the work between deep cleans. The right recipe, matched to the right surface, turns a dreaded chore into a quick one.