Getting seeds to sprout should feel simple, not frustrating. Learninghow to germinate seeds helps you give plants the right start by creating the conditions seeds naturally need to grow.
A little moisture, warmth, airflow, and timing can make a big difference in how quickly seeds sprout and how healthy seedlings become.
Some seeds grow well in soil, while others respond better to paper towels, soaking, trays, or special preparation methods. I’ve seen tiny changes in setup completely improve germination success, especially with slow or stubborn seeds.
That’s why understanding the method behind the process matters. Ahead, you’ll find practical ways to germinate different types of seeds, avoid common mistakes, and help young seedlings grow stronger from the very beginning.
What Does It Mean to Germinate Seeds?
Germination is the stage when a seed begins to grow into a new plant. Once it gets enough moisture, warmth, and oxygen, the seed coat softens, and the tiny plant inside becomes active. The first root usually grows downward to take in water and nutrients, while the first shoot grows upward toward light.
Inside the seed, stored food feeds the young plant as cells begin to grow. This is why steady moisture and the right temperature are so important.
Germination, sprouting, and seed starting are not exactly the same. Germination means the seed has begun to grow. Sprouting often refers to seeds grown for consumption, such as mung beans. Seed starting means growing seeds into young plants that can later be moved into a garden or pot.
What Do Seeds Need to Germinate?
Seeds may look inactive, but they need a few important conditions before growth begins. Understanding these basics helps improve germination success and supports healthier seedlings from the start
- Moisture: Seeds need water to soften the outer coat and activate growth inside.
- Warmth: Most seeds germinate faster at warm temperatures because heat promotes cellular activity.
- Oxygen: Seeds need airflow to breathe and produce energy during early growth.
- Light or Darkness: Some seeds need light to sprout, while others grow better in darkness.
- Good Seed Quality: Fresh, healthy seeds usually germinate faster and more reliably than old or damaged seeds.
- Proper Planting Depth: Seeds planted too deep may struggle to reach the surface, while shallow seeds can dry out quickly.
- Consistent Conditions: Sudden temperature changes or uneven moisture can slow down germination or stop it completely.
Once these conditions stay balanced, seeds germinate more consistently and grow stronger. Even small improvements in moisture, warmth, or airflow can make a noticeable difference in results.
Proven Methods to Germinate Seeds
Different seeds respond better to different germination methods. Knowing each option helps you choose the right setup for faster sprouting and healthier early growth.
Method 1: The Paper Towel Method
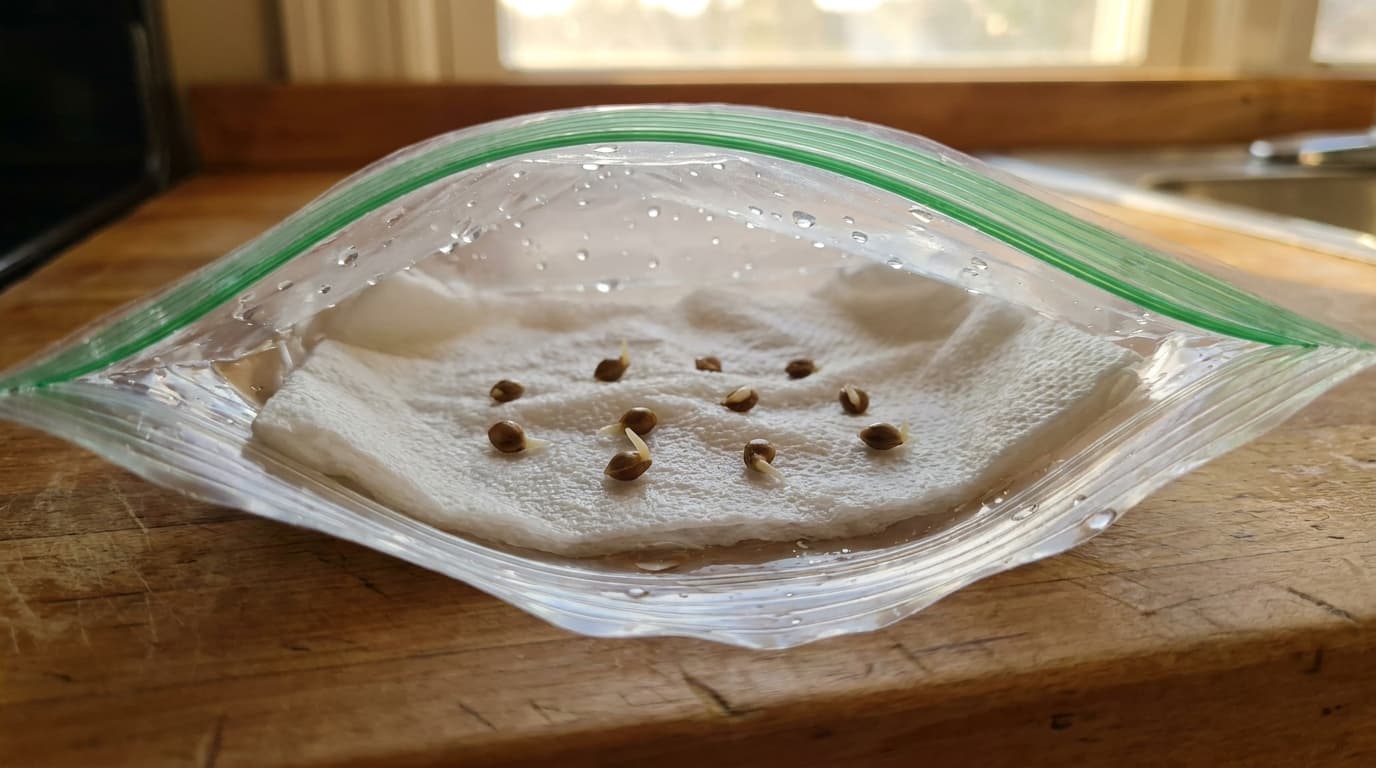
The paper towel method is one of the easiest ways to germinate seeds because it lets you see when the root appears. It is clean, low-cost, and useful for checking if old seeds are still able to sprout before planting them in soil
Materials Needed: Paper towels (2–3 sheets); Zip-lock plastic bag or a plate; Water (room temperature); Seeds
Steps:
- Dampen a paper towel until moist but not dripping, then place seeds evenly spaced on one half of it.
- Fold the other half of the towel over the seeds to fully cover them.
- Slide the folded towel into a zip-lock bag or sandwich it between two plates.
- Store in a warm, dark spot, like on top of your refrigerator, and check daily for moisture.
- Once a small root tail appears, carefully transfer the sprouted seed into soil immediately.
Ideal For: Tomatoes, cucumbers, peppers, beans, peas, and testing old seeds.
Method 2: The Direct Soil Method
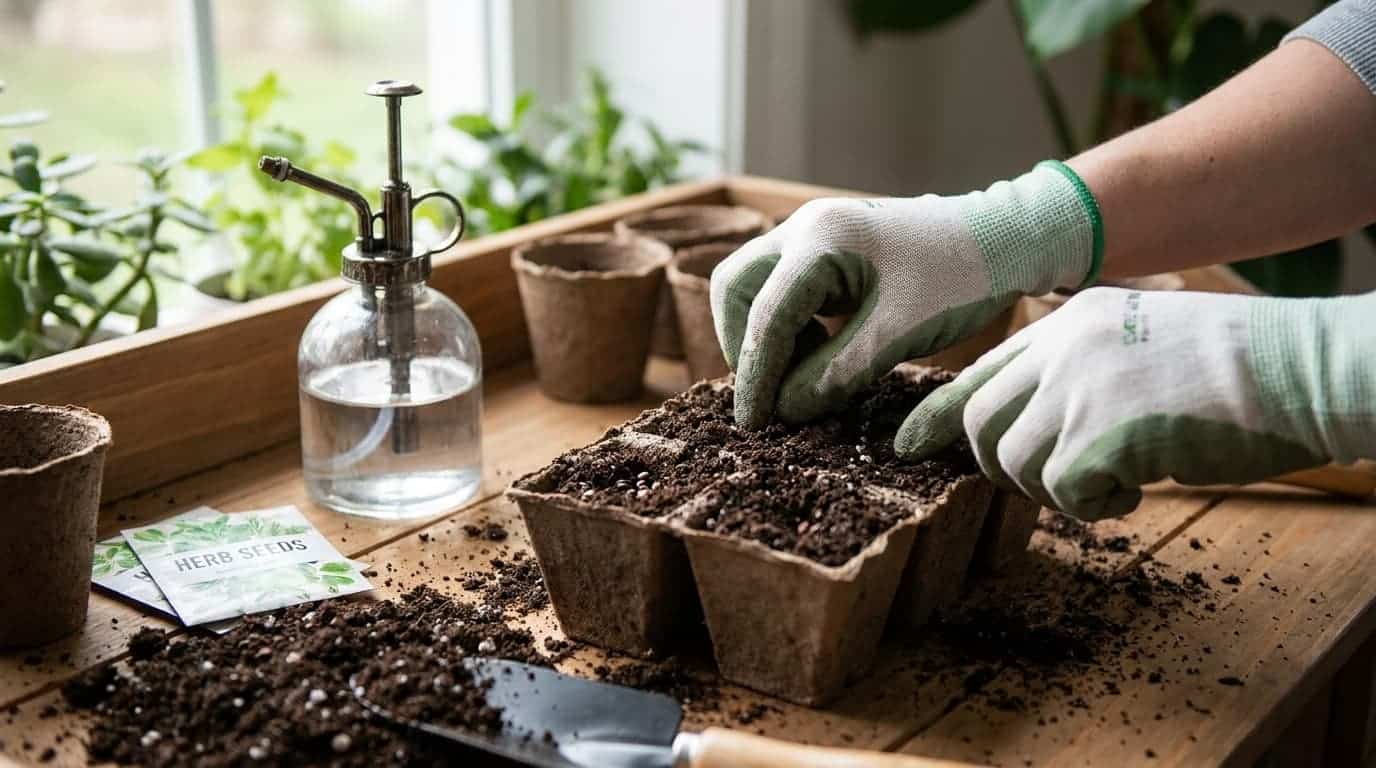
The soil method lets seeds germinate directly in the growing medium where their roots can settle naturally. It is one of the most practical methods for home gardeners because it reduces handling once the seed begins to grow
Materials Needed: Seed-starting trays or small pots with drainage holes; Seed-starting mix; Spray bottle or mister; Plastic wrap or humidity dome; Seeds
Steps:
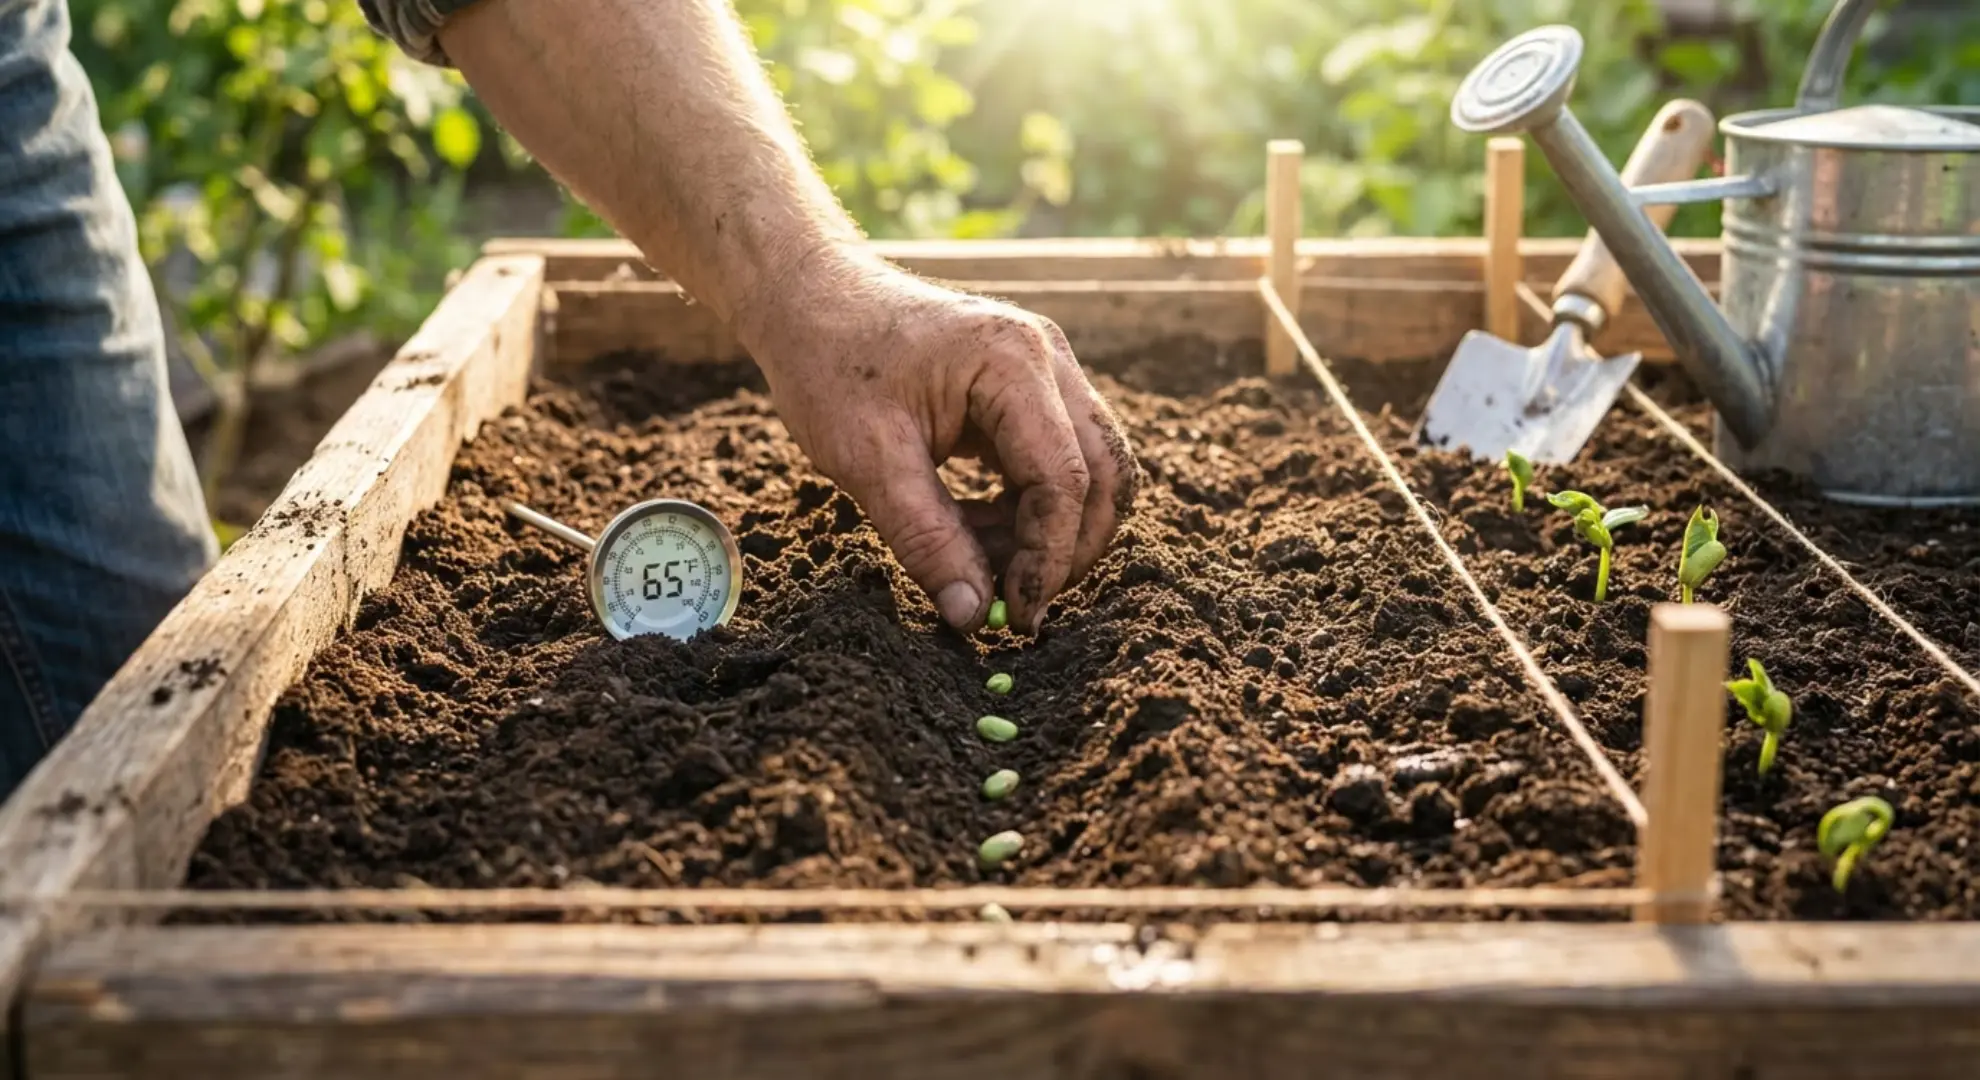
- Fill trays with seed-starting mix, pack gently to remove air gaps, and pre-moisten with a spray bottle until evenly damp.
- Make small holes at the correct depth using a pencil or a chopstick, following your seed packet instructions.
- Drop one or two seeds per cell, cover lightly with the mix, and press the surface gently to ensure soil contact.
- Mist the surface once more, then cover the tray with plastic wrap or a humidity dome to trap warmth and moisture.
- Place in a warm location, mist daily, and remove the cover as soon as the first sprouts appear.
Ideal For: Basil, marigold, lettuce, tomatoes, peppers, and most common garden seeds.
Method 3: The Water Soaking Method
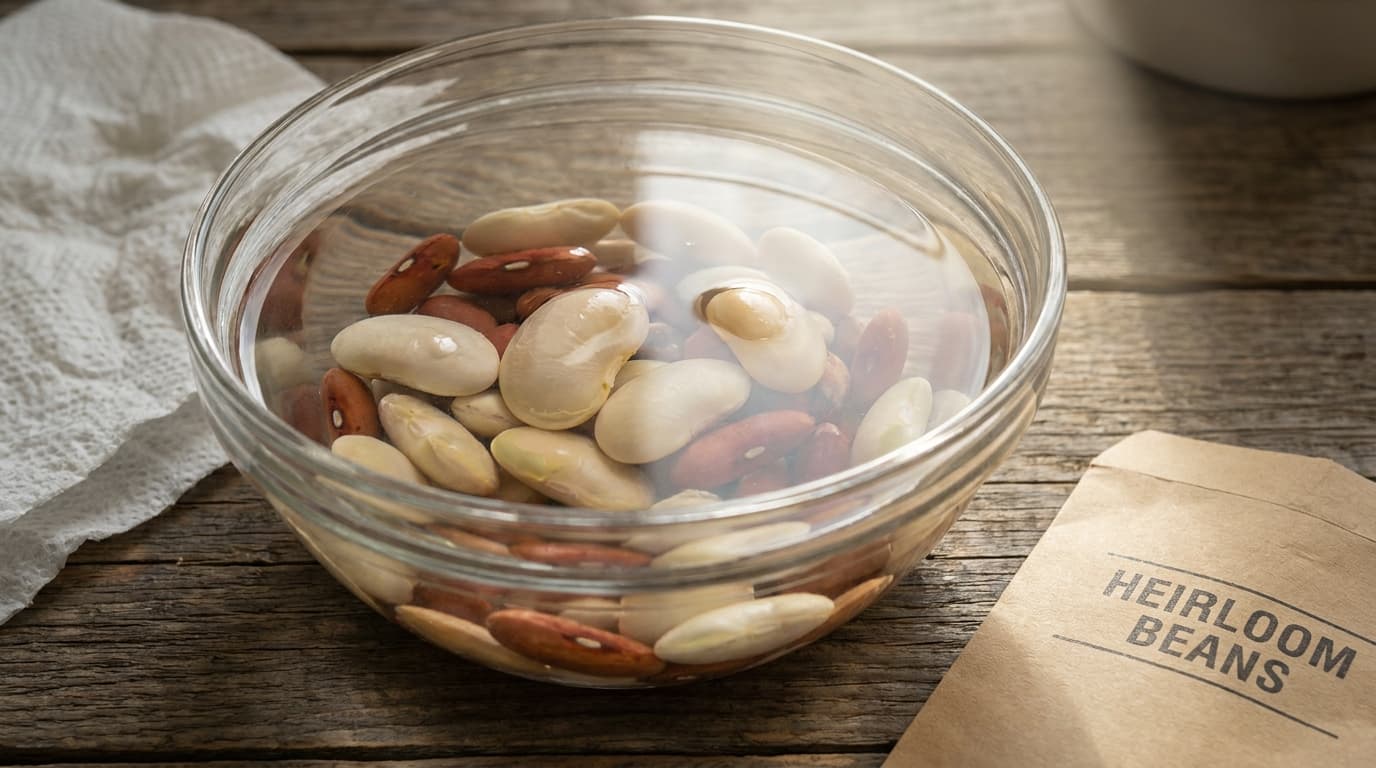
The water soaking method helps soften hard seed coats so moisture can enter faster. It is a useful pre-treatment before planting, especially for larger seeds that may take longer to wake up in soil.
Materials Needed: Bowl or glass jar; Room-temperature water; Seeds; Strainer, optional
Steps:
- Fill a small glass with lukewarm water, not hot, not cold, and drop your seeds in carefully.
- Leave seeds to soak for 12–24 hours depending on their size and hardness, checking every 8 hours.
- Seeds are ready when they visibly swell and the outer coat looks slightly softened.
- Drain the water, and pat the seeds lightly dry with a paper towel before planting.
- Plant immediately into pre-moistened seed-starting mix and do not leave soaked seeds sitting out for more than a few hours.
Ideal For: Beans, peas, pumpkin, squash, sunflower, corn, and other large seeds.
Method 4: The Seed Tray Method
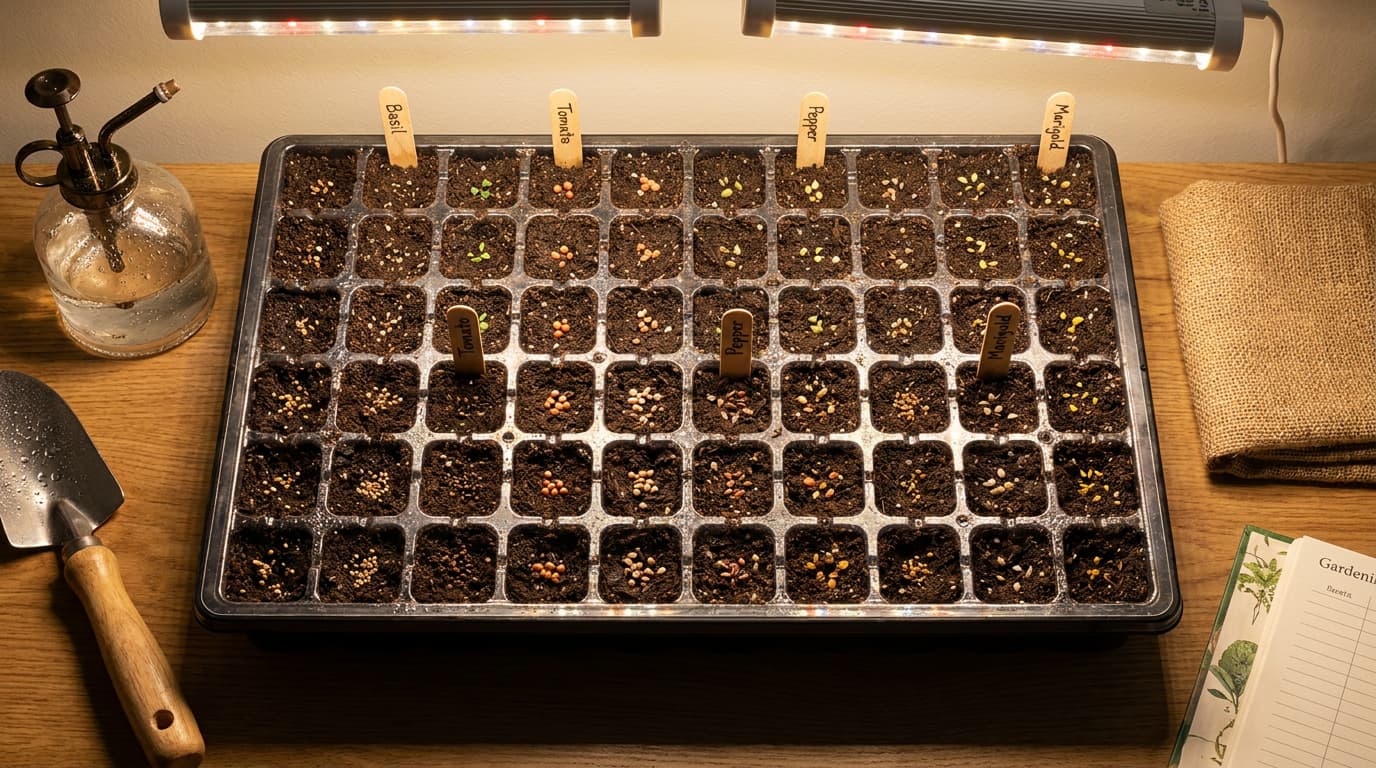
The seed tray method is helpful when starting several seeds indoors in a neat and controlled way. It keeps seedlings organized and makes it easier to move young plants into larger pots or garden beds later.
Materials Needed: Seed tray with drainage holes; Seed-starting mix; Seeds; Spray bottle; Humidity dome or plastic cover (optional); Plant labels
Steps:
- Fill each tray cell with seed-starting mix and water lightly before sowing to pre-moisten the medium evenly.
- Place one or two seeds in each cell at the correct depth based on your seed packet instructions.
- Cover seeds with a thin layer of the mix and press gently to ensure good contact between the seed and the soil.
- Label each cell clearly so you can track which variety is growing where as seedlings emerge.
- Place the tray in a warm spot, keep the mix consistently moist but not soggy, and remove the cover as soon as seedlings appear.
Ideal For: Carrots, radish, spinach, beans, peas, coriander, and zinnia.
Method 5: The Coco Coir Method
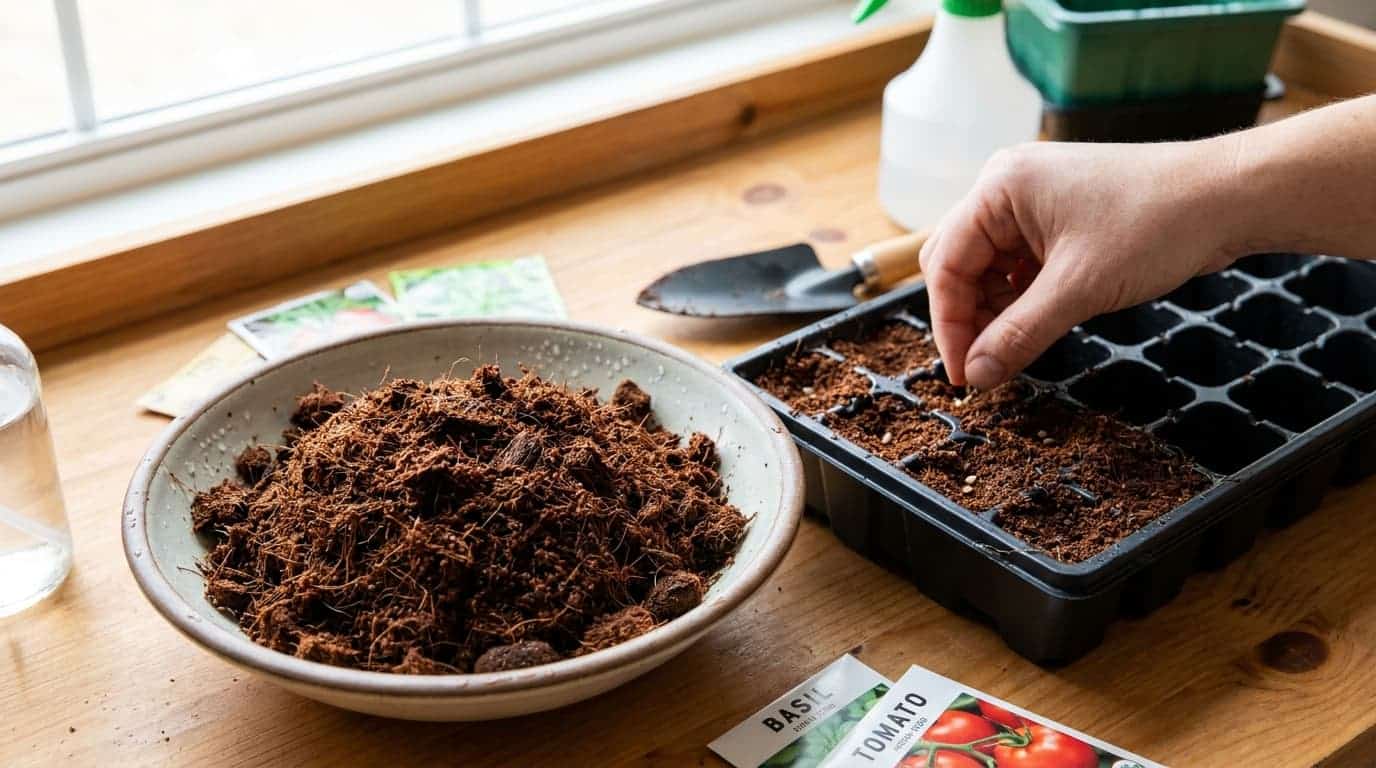
The coco coir method uses coconut husk fiber as a light and clean growing medium. It holds moisture well while still allowing air around young roots, making it useful for indoor germination.
Materials Needed: Coco coir block or loose coco coir; Water; Seed tray or pots; Seeds; Spray bottle
Steps:
- Place the coco coir block in a large bowl, add water gradually, and allow it to fully expand and absorb the moisture.
- Break the expanded coir apart with your hands until the texture becomes loose, light, and evenly crumbly throughout.
- Fill your seed tray or pots with the moist coco coir and level the surface gently without compacting it.
- Sow seeds at the correct depth according to packet instructions and mist the surface gently after planting.
- Keep the container in a warm location, maintain even moisture with daily misting, and move seedlings into bright light as soon as they sprout.
Ideal For: Flowers, herbs, tomatoes, peppers, cabbage, broccoli, and indoor seed starting.
Each method has its own use, cost, and care needs. Pick the one that matches your seed type, space, and growing goal.
Quick Glance at Methods of Germination:
| Method | Technique Used | Best For | Difficulty Level | Estimated Cost |
|---|---|---|---|---|
| Paper Towel Method | Moist towel germination | Fast seeds and seed viability testing | Easy | $1–$3 |
| Direct Soil Method | Soil-based germination | Home gardeners and the most common seeds | Easy | $3–$8 |
| Water Soaking Method | Pre-soaking | Large or hard-coated seeds | Easy | $0–$2 |
| Seed Tray Method | Controlled indoor germination | Starting many seeds indoors | Easy to Moderate | $5–$15 |
| Coco Coir Method | Soilless medium germination | Indoor germination and clean growing | Easy | $4–$12 |
Germinating Seeds Indoors vs. Outdoors
Choosing between indoor and outdoor germination isn’t just about preference; it’s about timing, climate, and the specific plant.
Indoors gives you full control over temperature, moisture, and light. Indoor seed starting is especially effective in colder climates, where it lengthens the growing season for slow-growing crops like watermelon, tomatoes, and pumpkins. Start seeds indoors 4–8 weeks before your last expected frost date, depending on the crop.
Outdoors suits fast-growing, cold-tolerant crops best. Some vegetables, like beans, are actually best started directly outdoors because they don’t transplant well. Root vegetables like carrots, beets, and radishes also prefer direct sowing since disturbing their roots during transplanting causes misshapen growth.
The safest approach? Start warm-season vegetables like tomatoes and peppers indoors, and direct-sow root vegetables and legumes outdoors once the soil temperature warms up. This hybrid approach gives you the best of both worlds and maximizes your garden’s productivity.
How Long Do Seeds Take to Germinate?
Seed germination time depends on the plant type, seed age, temperature, and moisture level. Some seeds sprout in just a few days, while others need several weeks. Radish, lettuce, beans, and basil are usually quick. Parsley, peppers, carrots, and some flowers often take longer.
Fast germination does not always mean better growth. A seed that sprouts slowly can still become a strong plant if conditions are right. The main thing is to keep the growing medium moist and warm during the expected germination window.
If seeds do not sprout by the usual time, do not give up right away. Check moisture, temperature, depth, and seed age first. Many germination problems come from conditions, not the seeds themselves.
How to Care for Seeds After They Sprout
After germination, seedlings need steady care to grow stronger. Light, water, space, and outdoor adjustment all help prevent weak or stressed growth.
- Give bright light: Move seedlings into strong light right after sprouting so they do not become tall, thin, or weak.
- Water without soaking: Keep the soil lightly moist, but not soggy. Water when the top layer starts to dry.
- Thin crowded seedlings: Keep the strongest seedling and snip weaker ones at soil level to avoid root damage.
- Harden off before planting outside: Place indoor seedlings outdoors for short periods, then slowly increase the time over several days.
With the right care after sprouting, seedlings grow stronger roots and healthier leaves. Once they look steady and well-rooted, they are ready for the next stage.
Best Seeds for Beginners to Germinate
Starting with beginner-friendly seeds makes the learning process easier and more rewarding. These seeds sprout quickly, tolerate small mistakes, and help build confidence early.
| Seed | Why It’s Beginner-Friendly | Germination Time | Best Method |
|---|---|---|---|
| Radish | Sprouts fast and grows well in garden soil. | 3–7 days | Direct sowing |
| Beans | Large seeds are easy to plant and quick to show progress. | 5–10 days | Direct sowing or soaking |
| Peas | Good for cool weather and simple direct sowing. | 7–14 days | Direct sowing or soaking |
| Sunflower | Large seeds make germination easy to watch. | 7–10 days | Soil or paper towel |
| Lettuce | Sprouts quickly when kept cool and moist. | 2–10 days | Soil surface sowing |
| Basil | Great for indoor seed starting in warm conditions. | 5–10 days | Seed tray |
| Marigold | A reliable flower seed for beginners. | 5–7 days | Seed tray or direct sowing |
| Zinnia | Germinates well in warm soil and grows fast. | 4–7 days | Direct sowing or seed tray |
Once these easy seeds feel manageable, trying slower or more delicate varieties becomes less intimidating. Understanding simple seeds first makes future germination methods easier to handle.
Mistakes to Avoid When Germinating Seeds
Germination gets easier when common mistakes are avoided early. Most seed problems come from wrong depth, uneven moisture, poor timing, or weak light.
- Planting seeds too deep: Deep planting can stop seedlings from reaching the surface. Follow the seed packet depth.
- Using heavy garden soil indoors: Dense soil can hold too much water and block airflow around young roots.
- Letting seeds dry out: Dryness can stop germination, even after the seed has started growing.
- Overwatering seeds: Soggy soil can cause seeds to rot before they sprout.
- Starting seeds too early: Seedlings kept indoors too long may become weak or rootbound.
- Putting seedlings in harsh sun too soon: Young seedlings need gradual outdoor adjustment before full sun exposure.
Avoiding these simple mistakes makes germination more reliable. Once the setup stays moist, warm, and balanced, seedlings get a much stronger start.
Tips for Better Seed Germination
A few small habits can improve germination results quickly. These tips help seeds sprout more evenly and keep young seedlings healthier after they appear.
- Use fresh seeds: Newer seeds usually germinate faster and more reliably than old seeds.
- Read the seed packet: It gives the right depth, spacing, timing, and light needs.
- Keep moisture steady: The growing medium should stay damp, not dry or soaked.
- Give enough warmth: Many seeds sprout faster when kept in a warm, stable spot.
- Use clean containers: Clean trays reduce the risk of mold and seedling disease.
- Label everything: Labels help track seed type, planting date, and germination time.
- Move sprouts into light quickly: Bright light helps prevent tall, weak seedlings.
These tips are simple, but they make a real difference. With better timing, clean supplies, and steady care, seeds have a stronger chance of sprouting well.
Frequently Asked Questions
Can old seeds still germinate?
Yes, old seeds can still germinate if they were stored in a cool, dry place. Germination rates usually decrease with age, so fewer seeds may sprout compared to fresh ones. Testing older seeds with the paper towel method helps check if they are still viable before planting.
Should seeds be covered while germinating?
Seeds can be covered with a humidity dome, plastic wrap, or light soil layer, depending on the method. Covering helps hold moisture, but it should be removed once sprouts appear to prevent mold and weak growth.
Can seeds germinate in the fridge?
Some seeds can germinate after being kept in the fridge, especially seeds that need cold stratification. The fridge does not sprout most seeds directly, but it helps break dormancy before planting them in warmer conditions.
Why do some seeds float in water?
Floating seeds may have trapped air, damage, or lower weight, but floating does not always mean they are dead. After soaking, plant the seeds that sink first and test floating seeds separately if unsure.
Can seeds germinate under artificial light?
Yes, seeds and seedlings can grow under artificial light. Many seeds do not need light until after sprouting, but once shoots appear, grow lights help seedlings stay short, strong, and healthy indoors.
Final Thoughts
Growing from seed gets easier once you understand what each seed needs. I like to think of it as giving the seed the right start, not forcing it to grow. You now know how to germinate seeds using methods like paper towels, soil, soaking, trays, and coco coir.
You also know what supplies help, which beginner seeds are easier, and what mistakes can slow things down. These steps matter because they save time, reduce failed attempts, and help you grow stronger seedlings.
Try one method with a few seeds first, watch what works, and adjust from there. Share your results in the comments or check out more seed-starting tips next.