You dig a small hole, drop in a potato piece, cover it with soil, and wait. That is really all it takes to get started.
But somewhere between planting and harvest, most people overthink it. They second-guess the spacing, the watering, the timing. Then the whole thing feels harder than it should.
Potatoes are one of the most forgiving crops you can grow. Get the basics right, and they will do most of the work for you.
This guide walks you through exactly how to grow potatoes, from picking the right seed potato to pulling your first harvest out of the ground.
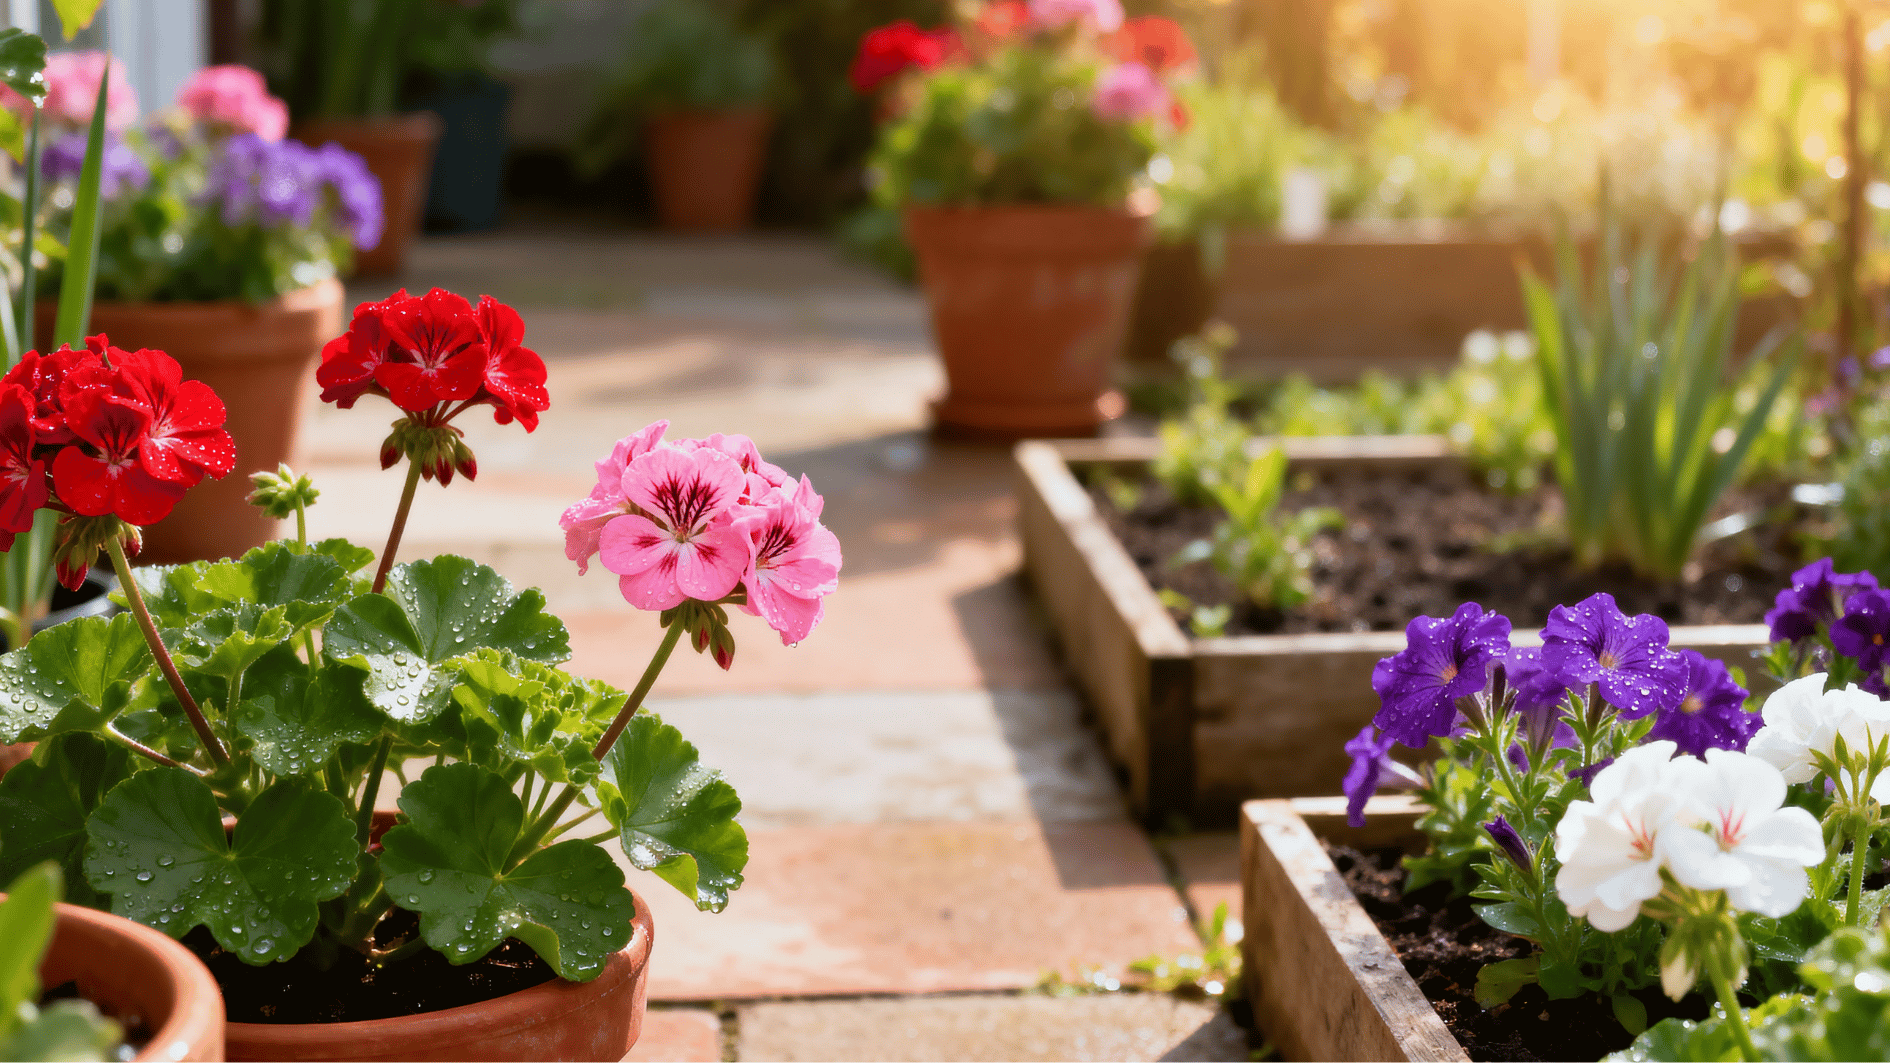
Why Grow Potatoes at Home
Store-bought potatoes are often treated with chemicals to prevent sprouting, which also affects their quality.
Growing your own means fresher taste, no unwanted sprays, and a crop that can feed your family for months. Potatoes grow in the ground, in raised beds, or even in bags on a balcony.
You do not need a large space or years of gardening experience. Just a sunny spot and a little consistency.
When to Plant Potatoes
Timing is everything with potatoes. Plant too early in cold, wet soil and your seed potatoes will rot before they sprout. Get the timing right, and the plants take off fast.
Potatoes grow best when the soil temperature is at least 45°F. Plant 2 to 4 weeks before your last average frost date.
| Region | Planting Window |
|---|---|
| Northern US (Zones 3 to 5) | Late March through early May |
| Central US (Zones 6 to 7) | February through March |
| Southern US (Zones 8 to 9) | Late August through October |
| Warm Climates (Zone 10+) | Late fall or early winter |
Pro Tip: Check your USDA plant hardiness zone to confirm your last frost date before planting.
Best Potato Varieties to Grow

Not all potatoes are the same, and picking the wrong variety can affect everything from harvest time to storage life. Here is a quick breakdown so you can choose what works best for you.
- Yukon Gold: A mid-season variety. Ready in 70 to 90 days. Great all-rounder for beginners. Works in most soil types.
- Dark Red Norland: An early variety. Ready in about 60 to 70 days. Best eaten fresh, not for long storage.
- Russet Burbank: A late-season variety. Takes 90 to 120 days. Ideal for long winter storage.
- Red Pontiac: A mid-season variety. Ready in 70 to 90 days. Good yield with reliable performance.
- Kennebec: A mid-season variety. Ready in 70 to 80 days. Resistant to several common diseases.
- Rose Finn Apple: A fingerling specialty variety. Unique flavor, great for roasting and salads.
- Purple Majesty: A specialty variety with deep purple skin and flesh. Grown for flavor and visual appeal.
First time growing? Start with Yukon Gold. It is forgiving, consistent, and performs well almost everywhere.
What You Need Before You Start
Before you put anything in the ground, a little preparation goes a long way. Having the right materials from the start saves you a lot of trouble later.
| What You Need | Details |
|---|---|
| Certified Seed Potatoes | Buy from a garden center or trusted supplier. Never use grocery store potatoes; they are treated with sprout inhibitors. |
| Loose, Well-Draining Soil | Compacted or waterlogged soil leads to poor crops and rot. |
| Soil with the Right pH | Target pH between 5.8 and 6.5. Test with a home soil kit. |
| Compost or Aged Organic Matter | Mix into the soil before planting to slowly feed plants throughout the season. |
| Full Sun Location | At least 6 to 8 hours of direct sunlight per day. |
| Garden Fork | Essential for hilling and harvesting without damaging tubers. |
| Low-Nitrogen, High-Phosphorus Fertilizer | Supports root and tuber growth at planting time. |
| Grow Bags or Containers (Optional) | At least 5 gallons. Use if you do not have in-ground space. |
How to Grow Potatoes from Planting to Harvest

Once you have your seed potatoes and your spot ready, the process is straightforward. Follow these five steps in order, and you will have a strong crop from the ground up.
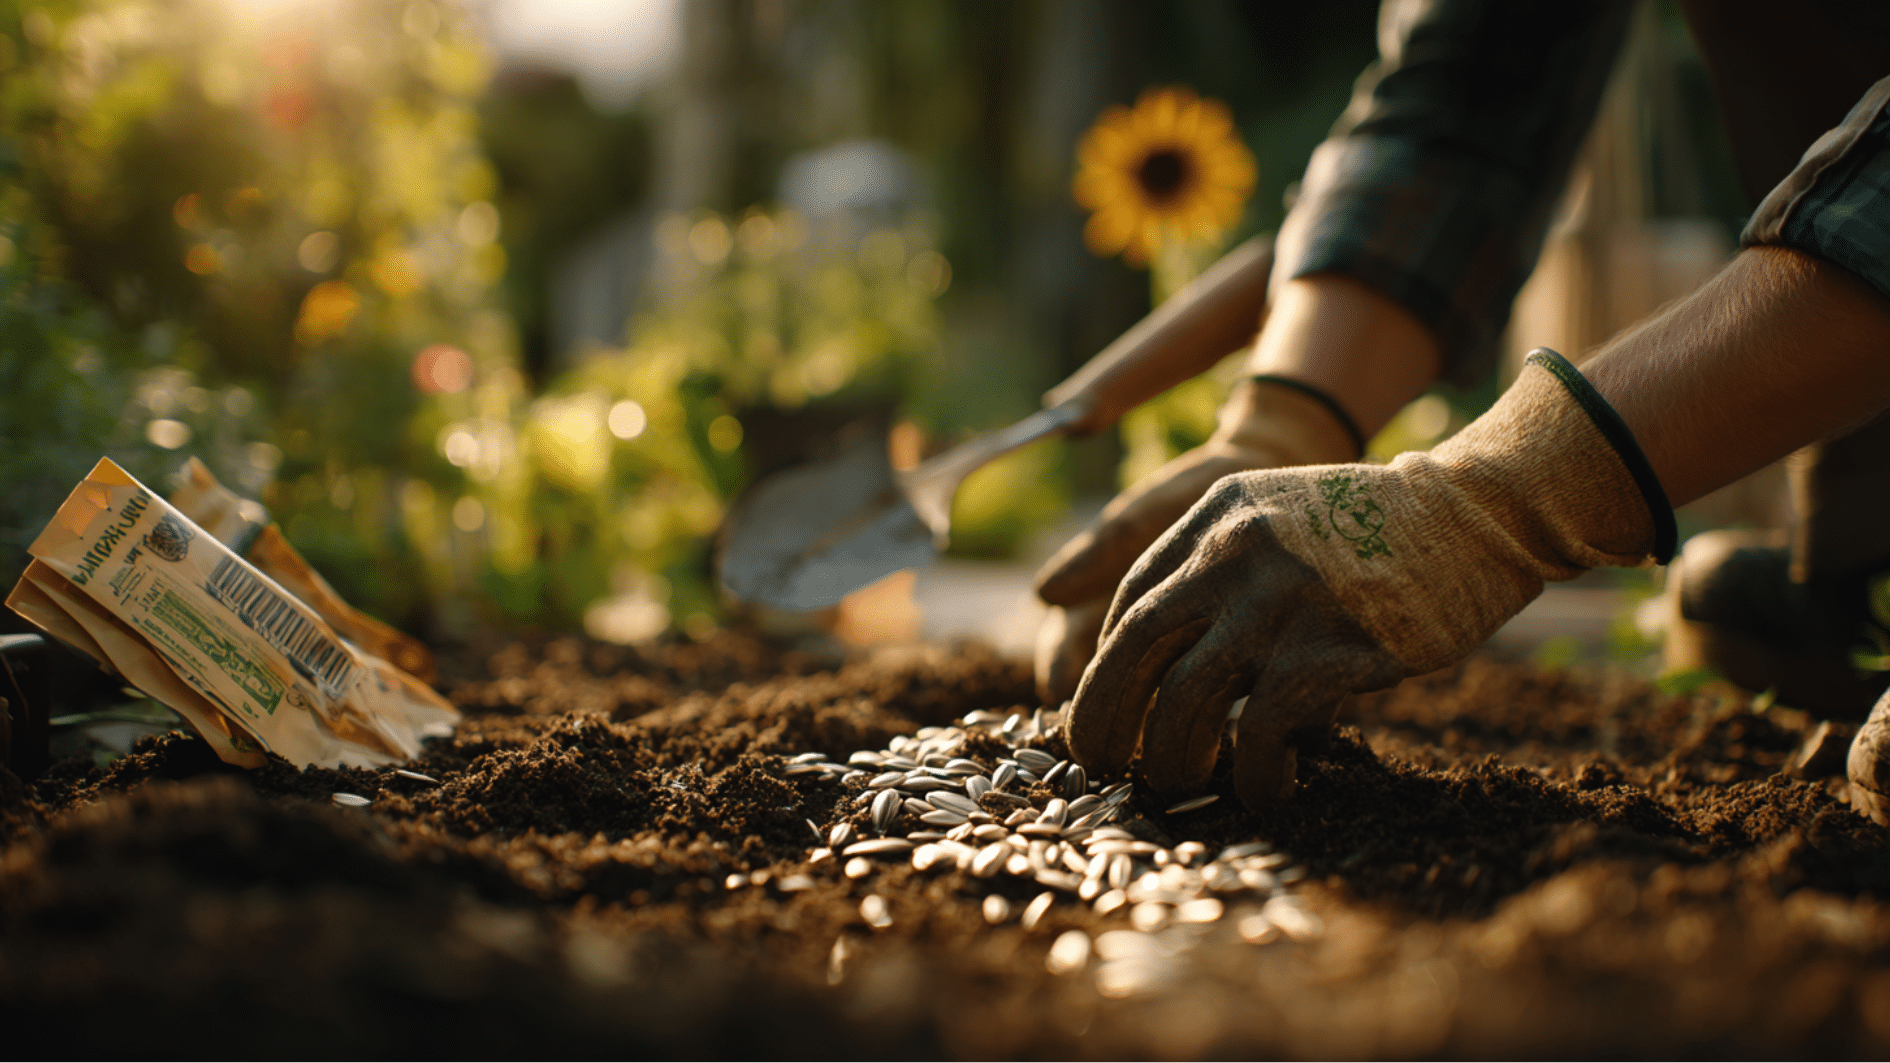
Step 1: Pick and Prepare Your Seed Potatoes
Always buy certified seed potatoes from a garden center or a trusted supplier. They are guaranteed to be free of disease, unlike grocery-store potatoes.
Once you have them, place the seed potatoes in a cool, bright spot, such as a windowsill, for 2 to 3 weeks before planting. This encourages the formation of short, strong sprouts.
Cut larger ones into golf-ball-sized pieces with at least 1 to 2 eyes each, then leave the cut pieces in a dry spot for 1 to 2 days so the surface seals over. This one extra step stops the pieces from rotting in the ground.
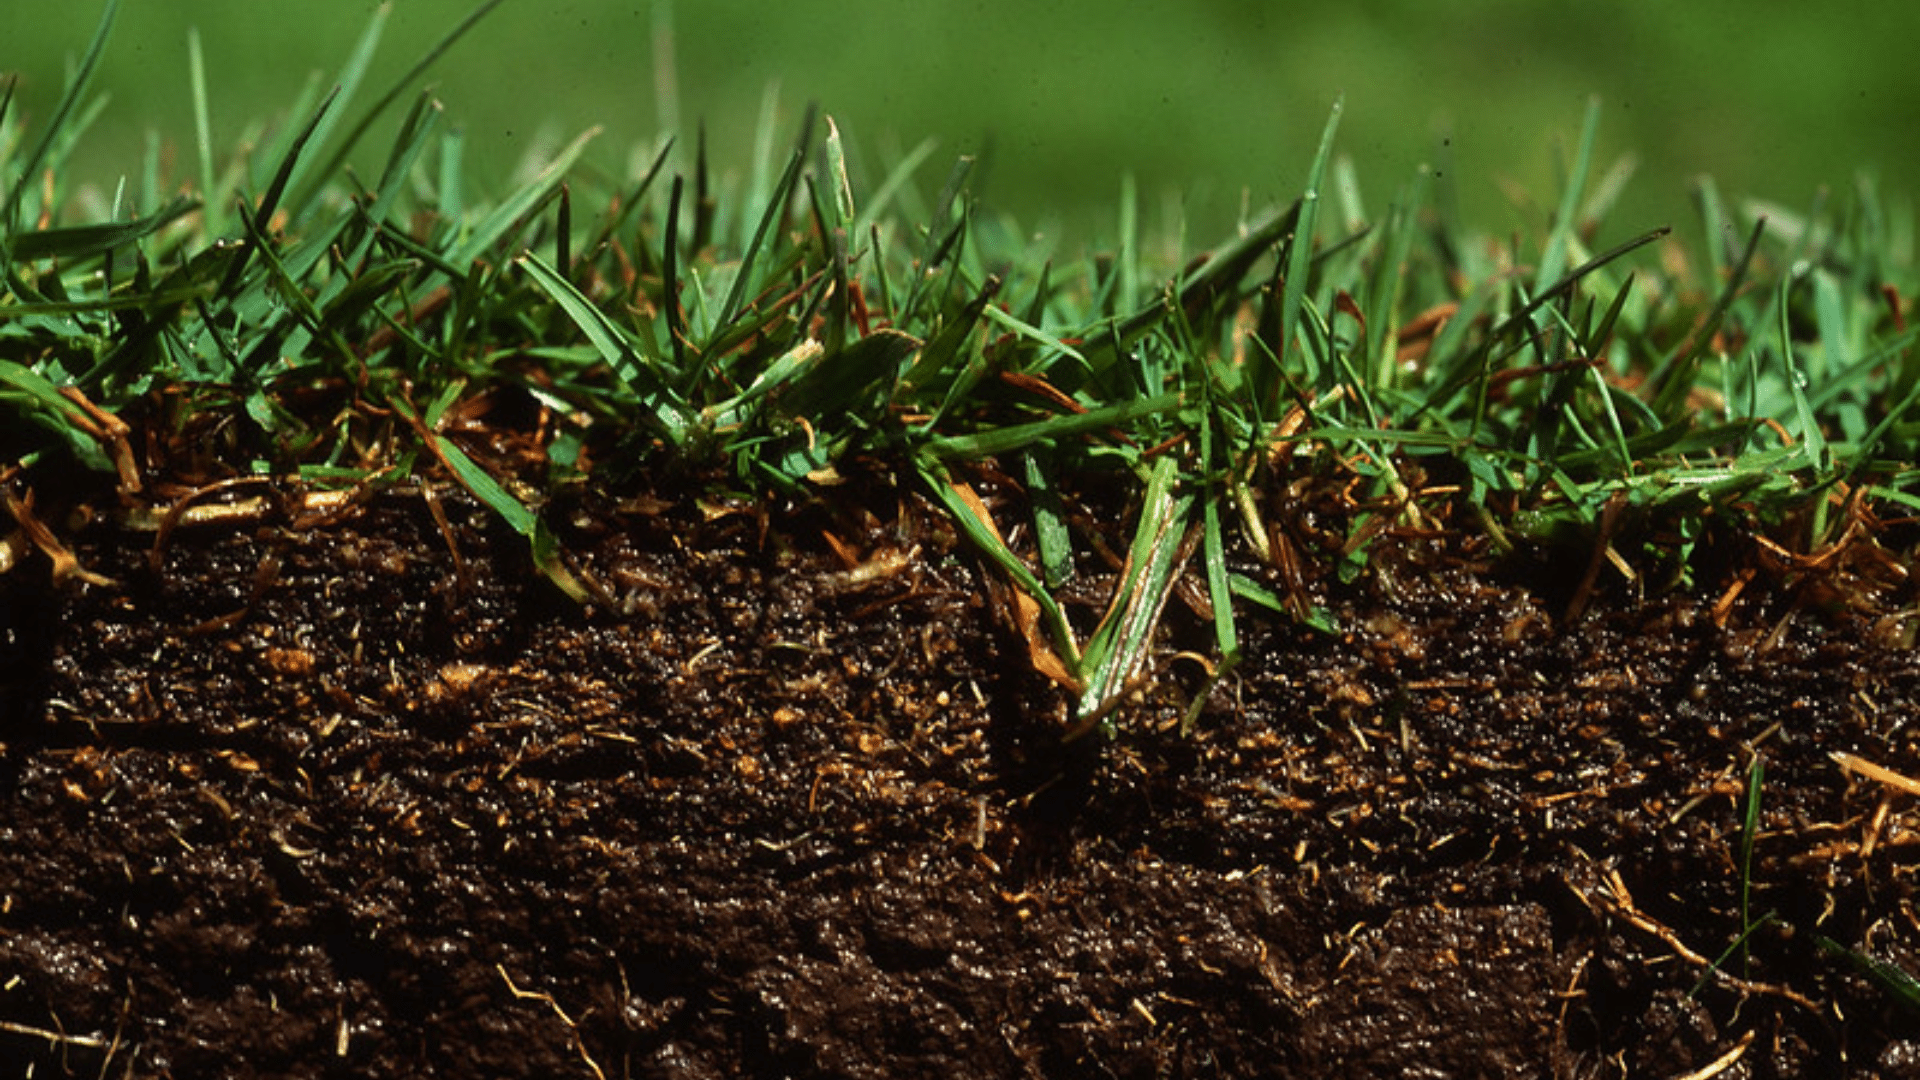
Step 2: Prepare Your Soil and Spot
Pick a spot that gets full sun for at least 6 to 8 hours a day. The soil needs to be loose and well-draining. Compacted or soggy soil is one of the main reasons potato crops fail.
Mix compost into the top several inches of soil before planting, and test your soil pH. Aim for 5.8 to 6.5. Also, avoid planting where tomatoes, peppers, or eggplants grew last season.
\These plants share diseases that can linger in the soil and affect your potato crop.
Step 3: Plant Your Potatoes
Dig a trench 6 to 8 inches deep. Place each seed potato piece cut-side down with the eyes facing up, spacing them 12 to 15 inches apart.
Keep rows 3 feet apart to give yourself room to hill the plants later. Add a small amount of low-nitrogen, high-phosphorus fertilizer to the trench, then cover the pieces with 2 to 4 inches of soil.
Do not fill the entire trench yet. Water the bed well right after planting. For containers or grow bags, start with 6 inches of potting mix, place the pieces on top, cover with 4 to 6 inches of soil, and keep adding soil as the sprouts grow.
Step 4: Hill Your Potatoes as They Grow
Once your potato stems reach 6 to 8 inches tall, mound soil, straw, or compost around the base of each plant. Cover the lower half of the stems and leave only 2 to 3 inches of leaves showing at the top.
Repeat this every time the plants grow another 6 to 8 inches, and stop once they begin to flower. Skipping this step is a common mistake.
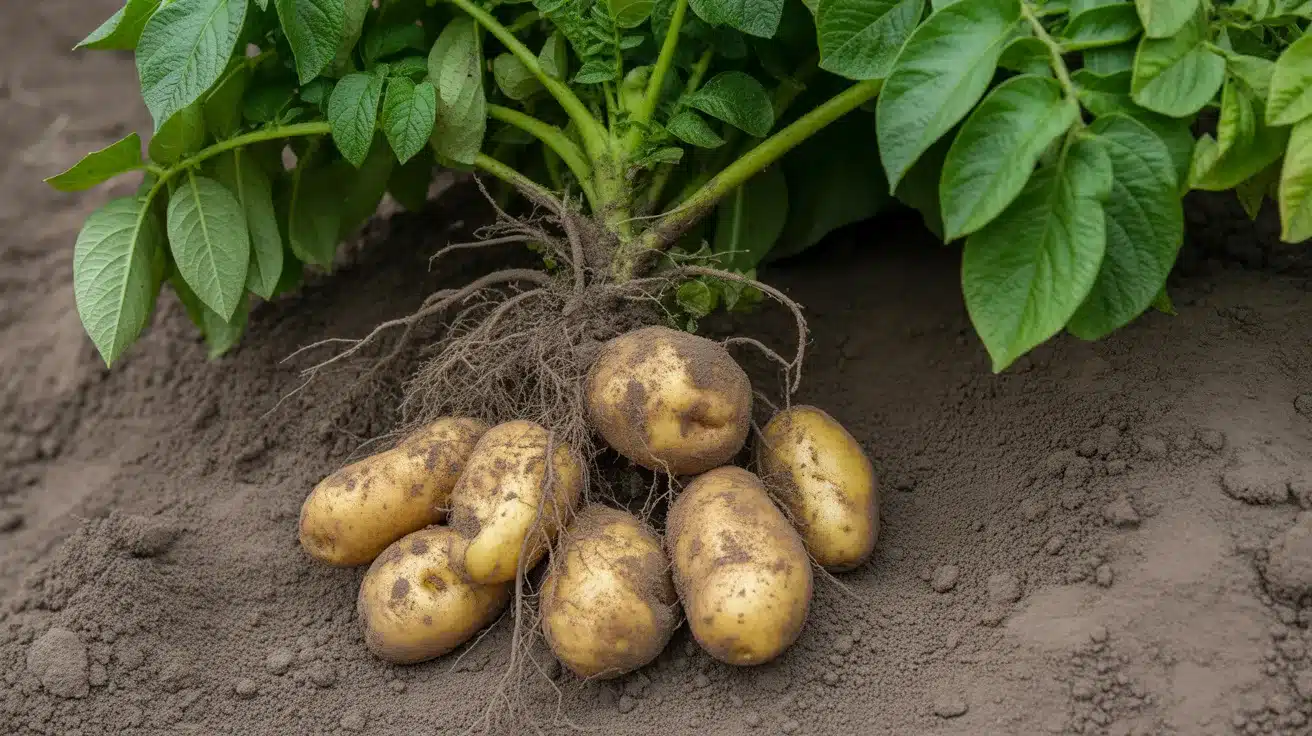
Potato tubers grow along underground stems, and if sunlight reaches them, they turn green and produce solanine, a toxic compound. Hilling keeps the tubers buried, protected, and producing.
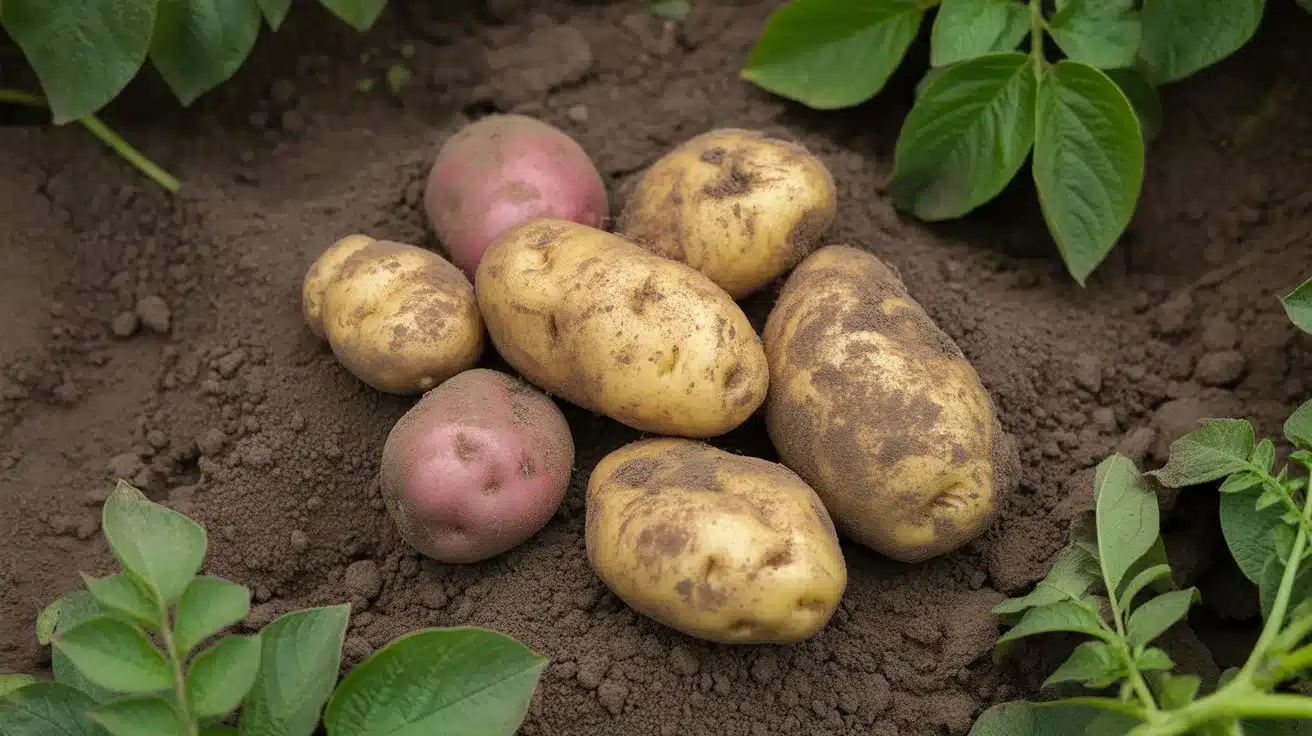
Step 5: Harvest and Store Your Potatoes
New potatoes can be pulled shortly after the plant flowers. For full-sized potatoes, wait until the foliage turns yellow and dies back completely, then wait another 2 weeks before digging.
Use a garden fork inserted 12 inches from the base of the plant. Lift gently, pull the plant upward, and search through the loose soil for any remaining tubers. Move harvested potatoes to shade right away.
To store them, cure in a cool, dark, humid space at 45 to 60°F for 10 to 14 days to harden the skin. Then store in a ventilated box at around 38 to 40°F. Properly cured potatoes last 3 to 6 months.
How to Care for Your Potato Plants
Growing potatoes does not demand constant attention. But a few consistent habits make the difference between a weak crop and a strong one.
- Watering: Give your plants 1 to 2 inches of water per week, always at the base, never over the leaves.
- Critical Watering Period: Keep the soil consistently moist during flowering, when tubers are forming underground.
- Stop Watering: Once the foliage starts to yellow and die back, stop watering so the skins can firm up before harvest.
- Fertilizing: Use a low-nitrogen, high-phosphorus fertilizer at planting, then add a balanced fertilizer mid-season if plants look pale or weak.
- Pest Checks: Walk through the patch every few days and check under leaves for Colorado potato beetles, aphids, and flea beetles.
- Disease Watch: Look out for early blight, late blight, and blackleg. Remove and destroy any infected plants right away; do not compost them.
- Crop Rotation: Never grow potatoes in the same spot two years in a row. A 3-year rotation keeps soil-borne disease from building up.
How to Know When Potatoes Are Ready to Harvest
The clearest sign is the foliage. When the leaves turn yellow and the stems start to die back, the plant has finished its work above ground and sent all its energy into the tubers below.
Do not dig right away. Wait about 2 weeks after the foliage dies. This rest period allows the skins to thicken, resulting in better flavor and longer storage life.
For new potatoes, you can check earlier, right after the plant flowers, by gently feeling around in the soil for small tubers without pulling the whole plant up.
The Takeaway
Growing potatoes is one of those things that feels rewarding every single time. You put something small in the ground, tend to it through the season, and pull out a harvest that can last you through winter.
Whether you have a backyard garden or a few grow bags on a balcony, the process is the same: good seed potatoes, the right soil, consistent water, and a little patience.
Start with one variety this season and see how it goes. Have you grown potatoes before, or is this your first time giving it a shot? Drop your experience or questions in the comments below.
Frequently Asked Questions
Can You Grow Potatoes From Potatoes?
Yes, you can. Cut a potato into golf-ball-sized pieces with at least one or two eyes, let them dry for a day, and plant them. Always use certified seed potatoes, though, as grocery store ones are treated with sprout inhibitors.
What Months Can You Plant Potatoes?
March through May works for most of the northern US, while southern regions can plant as early as February or as late as October. The rule is simple: wait until soil temperature reaches at least 45°F.
What Not to Do When Growing Potatoes?
Do not skip hilling, do not plant where tomatoes or peppers grew last season, and avoid overwatering or using high-nitrogen fertilizer. Exposing tubers to sunlight is also a common mistake that turns them green and bitter.
Will Coffee Grounds Help Potatoes Grow?
Coffee grounds can slightly lower soil pH, which potatoes prefer, but too much makes the soil overly acidic. Mix a small amount into compost rather than applying it directly around the plants.