I’ve planted green beans for years, and timing has always been the game-changer between a bumper crop and disappointing results. When to plant green beans depends on your soil temperature and frost dates.
They need soil at least 60°F, and all frost danger gone, typically 1-2 weeks after your last spring frost. I’ve learned this the hard way after losing seedlings to cold snaps.
You’ll find the best planting windows for your zone, how soil warmth affects germination, and the signs that tell you your garden is truly ready.
I’ll walk you through spring and fall planting schedules, variety-specific timing, and the mistakes that cost me harvests early on. Your green beans deserve the perfect start.
Why Green Beans Are Worth Growing
I’ve recommended green beans to every new gardener I meet. They’re forgiving, fast, and don’t demand much attention once they’re in the ground. You’ll see sprouts within a week, and most varieties produce beans in just 50-60 days.
I rarely deal with complicated feeding schedules or fussy care routines. You water them regularly, give them sun, and they do the rest. They handle minor neglect better than tomatoes or peppers, which I’ve seen struggle with inconsistent care.
Your main tasks are watering during dry spells and picking beans every few days.
No staking required for bush types, and pole varieties just need a simple trellis.
I’ve watched first-timers get hooked on gardening because green beans gave them that early confidence boost. You’ll feel a sense of accomplishment when you harvest your first batch, and that success builds momentum to try other crops.
When to Plant Green Beans for Best Results
Green beans thrive when soil is warm and frost is gone. Timing your planting around these two factors sets you up for strong germination and healthy plants:
Understanding Your Last Frost Date
I always check my last frost date before planting anything tender like green beans. You can find yours through your local extension office, online frost date calculators, or gardening apps that use your zip code.
This date tells you when freezing temperatures typically end in spring. I’ve learned to wait 1-2 weeks after that date before planting beans. You might feel tempted to plant early, but I’ve seen cold snaps wipe out entire rows.
That extra week or two gives the soil time to warm up and eliminates surprise frost risks. Your beans will germinate faster and grow stronger when conditions are truly stable.
Soil Temperature Requirements
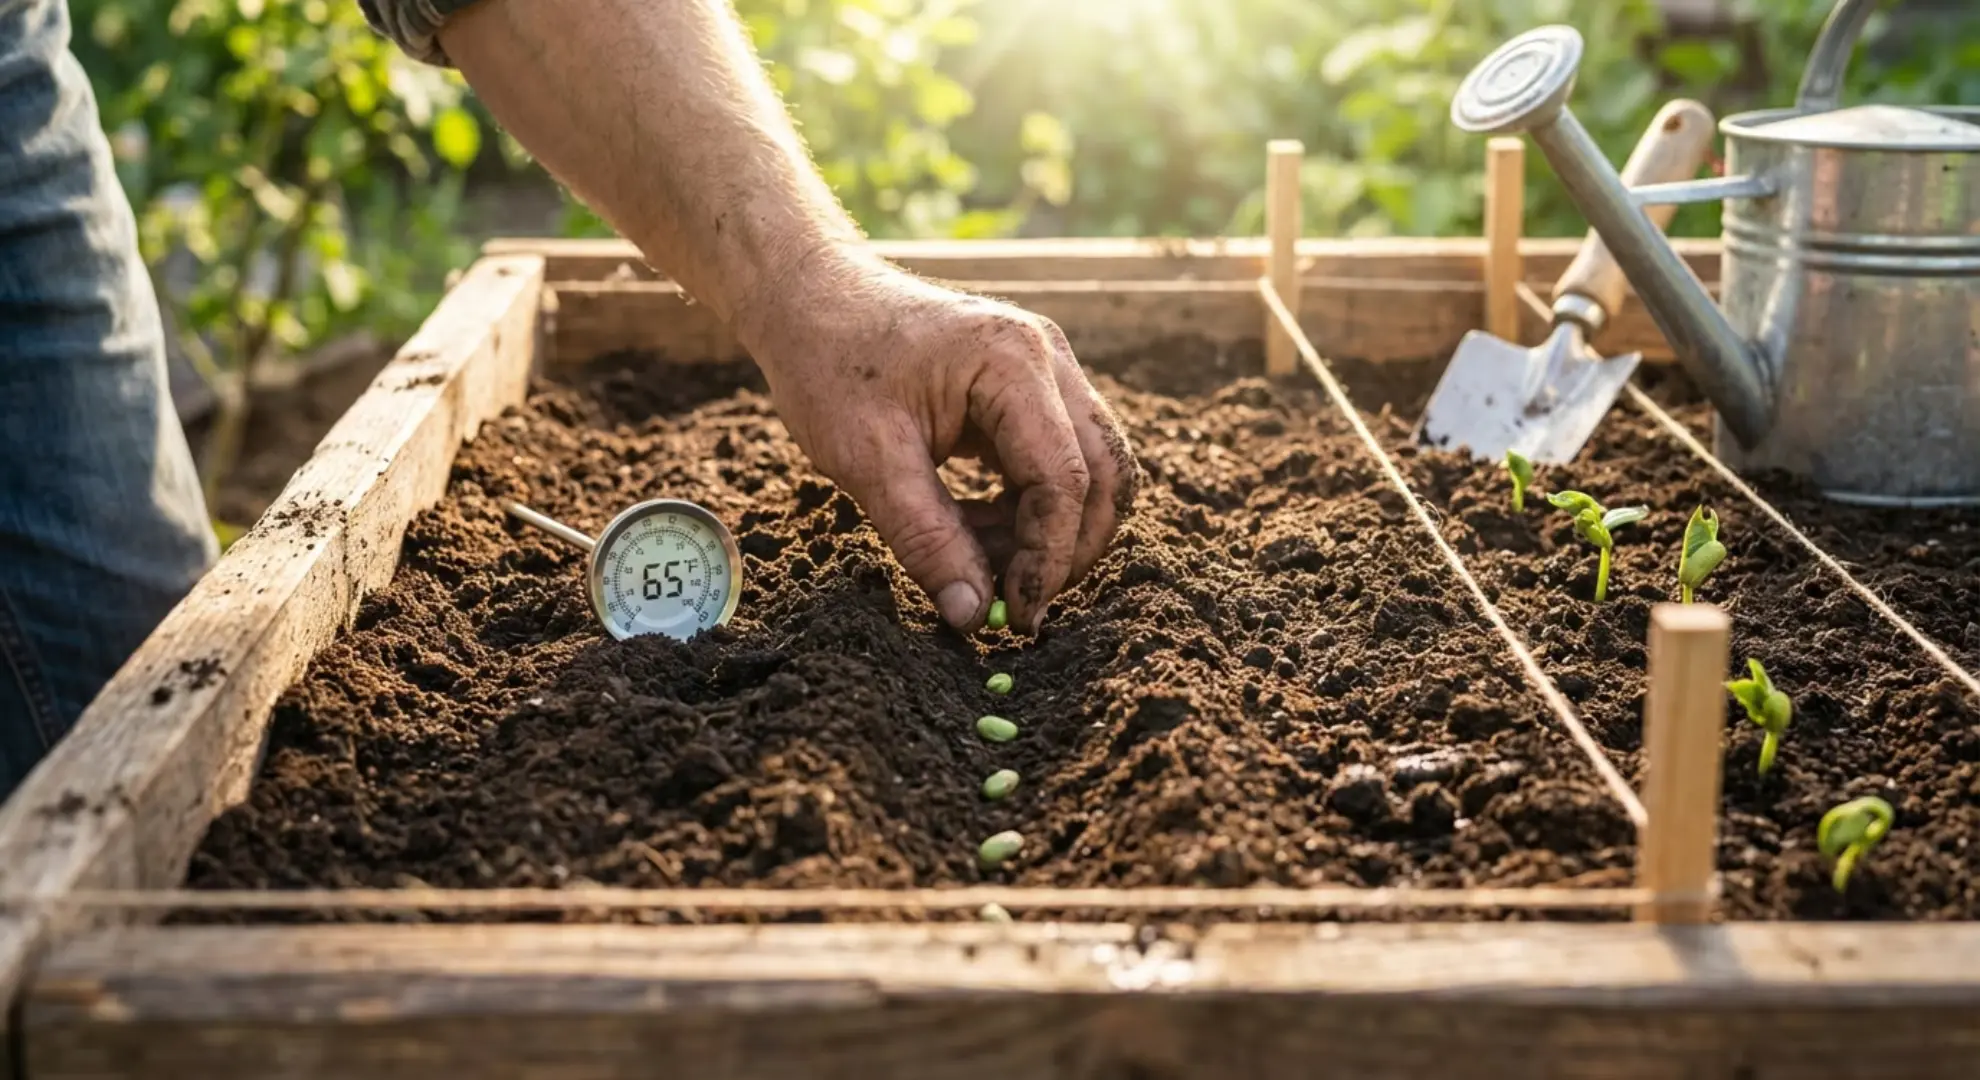
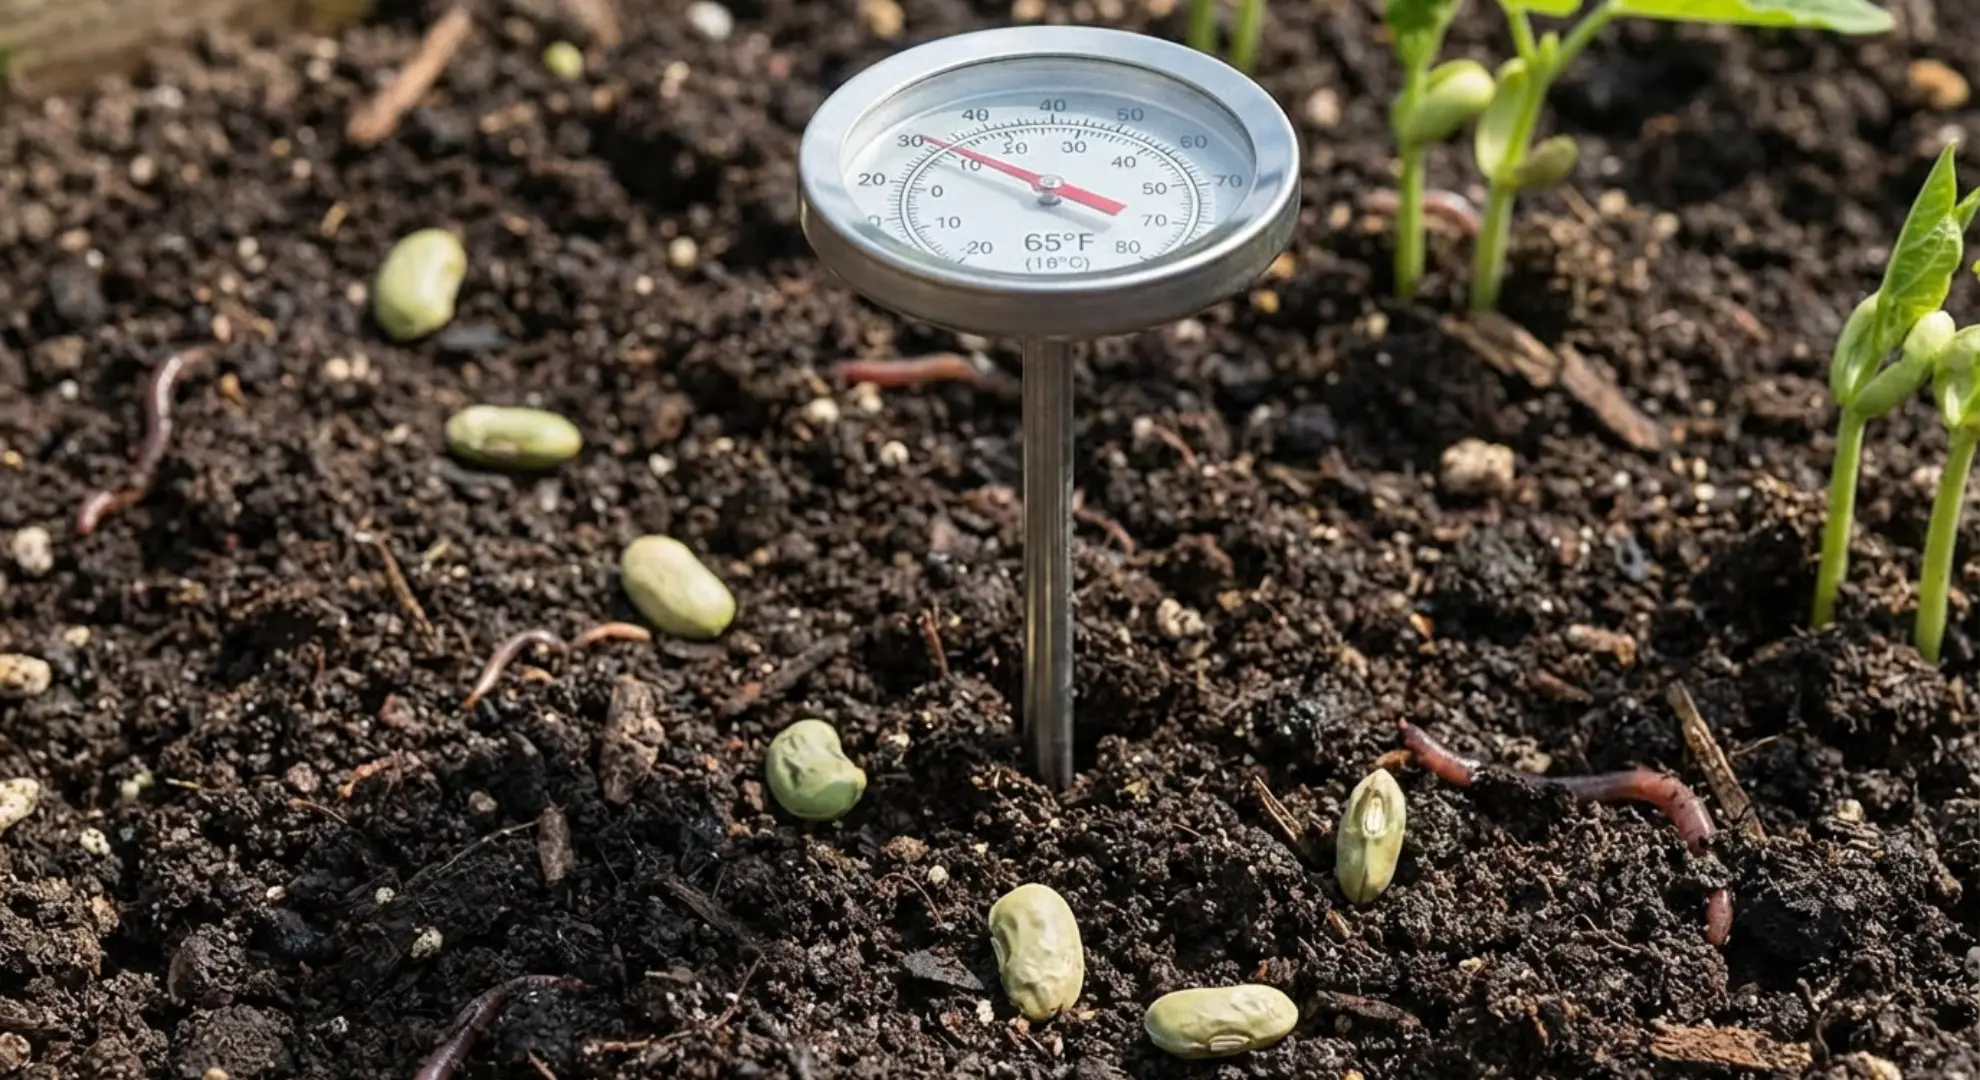
I never plant green beans until my soil hits 60°F, and I’ve seen the best results between 60°F and 85°F. You can check this with a soil thermometer, just stick it 2-3 inches deep in the morning.
I keep one in my shed because guessing has cost me seeds in the past. Cold soil below 60°F slows germination to a crawl or stops it completely. Your seeds might rot before they sprout if the ground stays cold and damp.
I’ve waited an extra week when May temperatures dipped, and those delayed beans still outperformed the ones I rushed into cool soil the previous year.
Warm soil means fast sprouting, usually within 7-10 days.
Best Months for Spring Planting
Your spring planting window depends entirely on where you garden. I’m in a zone where late April works perfectly, but you might plant in March if you’re further south or wait until June up north.
Most gardeners plant between April and June once soil warms.
I’ve talked to folks in Florida who start in February, while friends in Minnesota wait until late May. Check your local climate patterns and soil temps rather than following a generic calendar.
You’ll have better success matching your planting to actual conditions than forcing beans into the ground on a specific date.
Fall Planting for Extended Harvests
I plant a second round of green beans in mid-summer for fall harvest. You count backward 10-12 weeks from your first fall frost date to find your planting window. This usually lands in July or early August for me.
Your beans need enough warm weather to mature before cold nights arrive. I’ve had great luck with fall crops in zones 7 and warmer, where September and October stay mild.
You might struggle with fall beans in colder zones where August nights already dip into the 50s.
The plants grow well, but you need consistent warmth through harvest time for the best results.
Planting Green Beans by USDA Hardiness Zone
Your hardiness zone determines when soil warms up and when frost danger passes. I use these zone-specific windows as starting points, then adjust based on actual soil temperature and local weather patterns.
| USDA Zone | Spring Planting | Fall Planting |
|---|---|---|
| 3-4 | Late May – Early June | Not recommended |
| 5-6 | Mid-May – Early June | Late June – Early July |
| 7-8 | Mid-April – Mid-May | Mid-July – Early August |
| 9-10 | March – April | August – September |
| 11 | February – March | September – October |
These are general guidelines, not hard rules. I’ve seen warm springs push planting dates earlier and cold snaps delay them by weeks. You’ll get the best results when you combine zone information with real-time soil temperature checks and your local frost predictions.
Preparing Your Garden for Growing Green Beans
Getting your garden ready before planting saves you headaches later. I spend time on location, soil prep, and variety selection because these decisions shape your entire harvest.
1. Choosing the Right Location
Green beans need 6-8 hours of direct sunlight daily.
I’ve planted them in partially shaded spots before, and the plants grew tall and leggy with fewer pods. You want areas with good drainage where water doesn’t pool after rain.
I avoid low spots and the most exposed areas where wind shreds leaves.
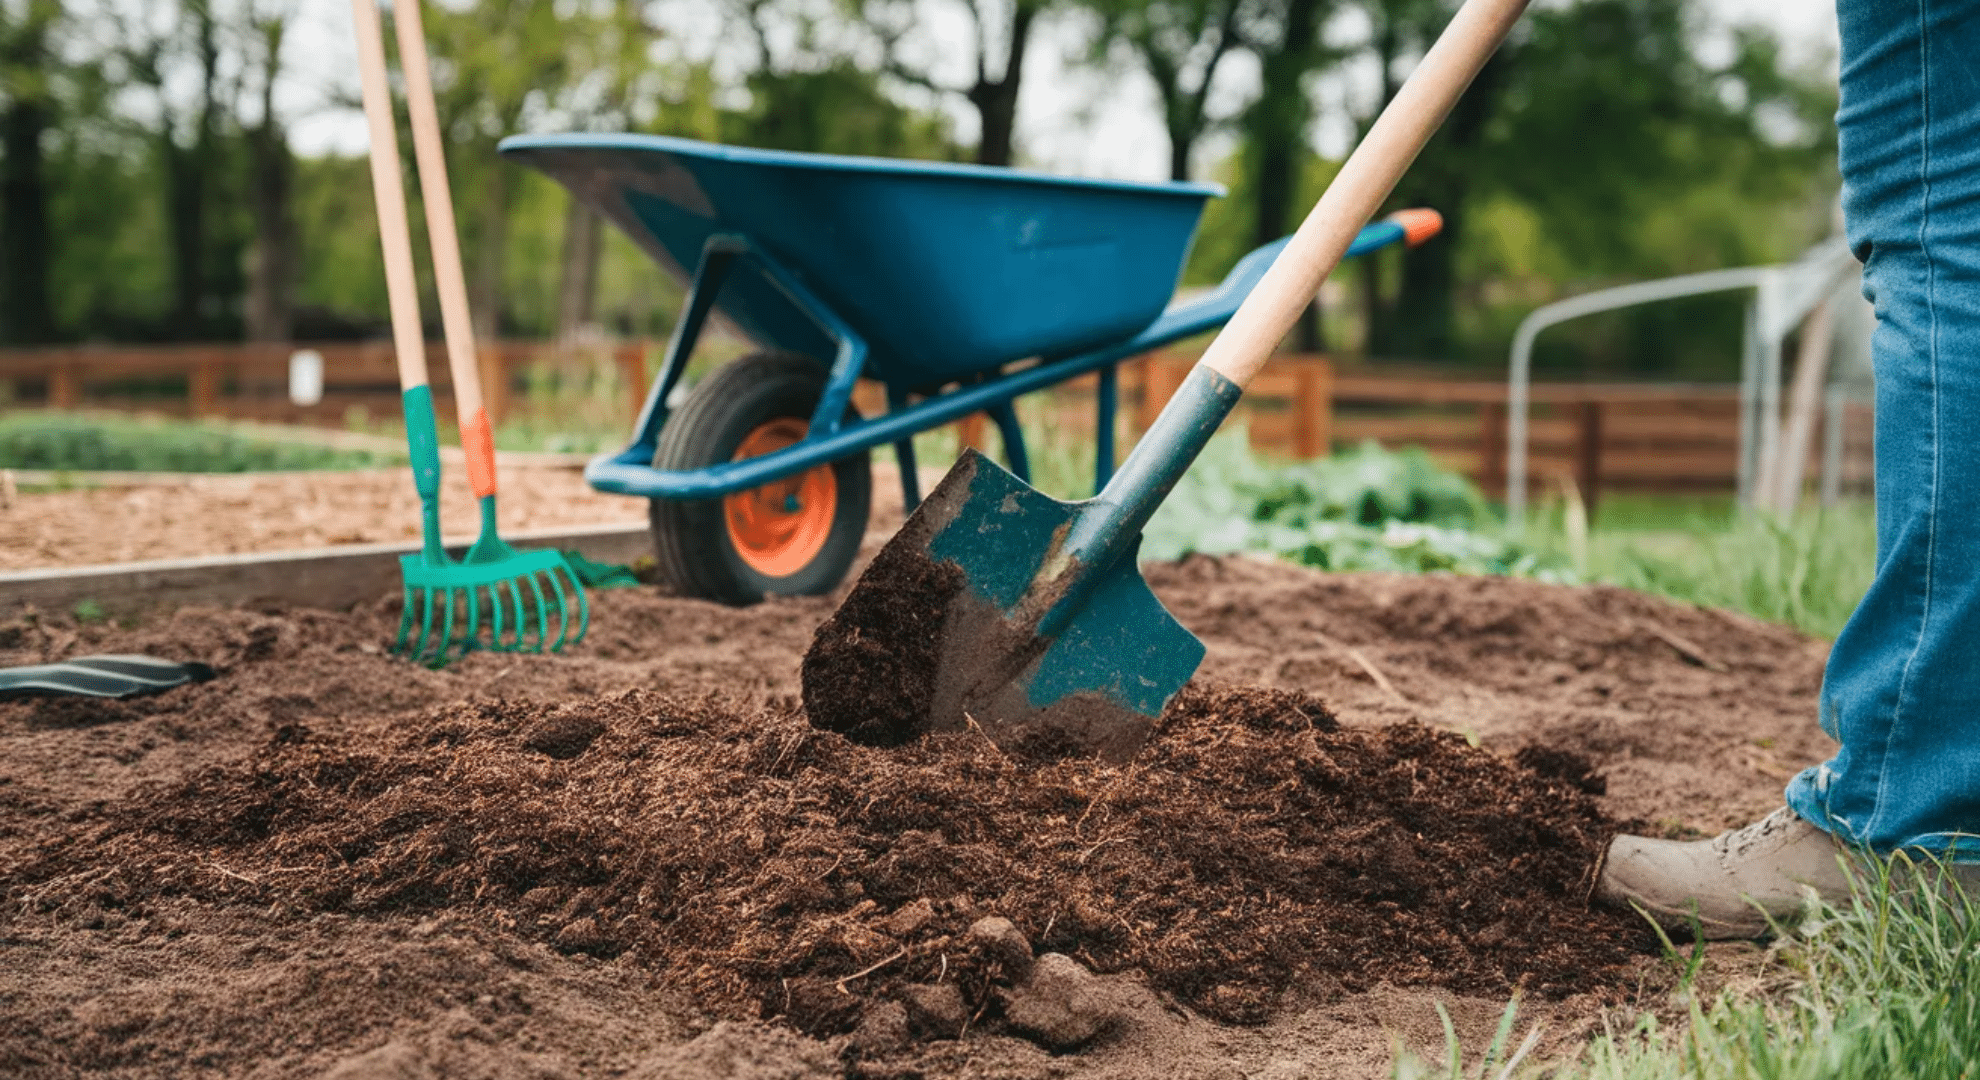
2. Soil Preparation and Testing
I work compost into my bean beds a few weeks before planting. Green beans prefer well-draining soil with a pH between 6.0 and 7.0. You can test your pH with a simple kit from any garden center.
Here’s something I learned the hard way: don’t add nitrogen-heavy fertilizers or fresh manure.
Your beans fix their own nitrogen, and too much gives you beautiful leaves with almost no pods.
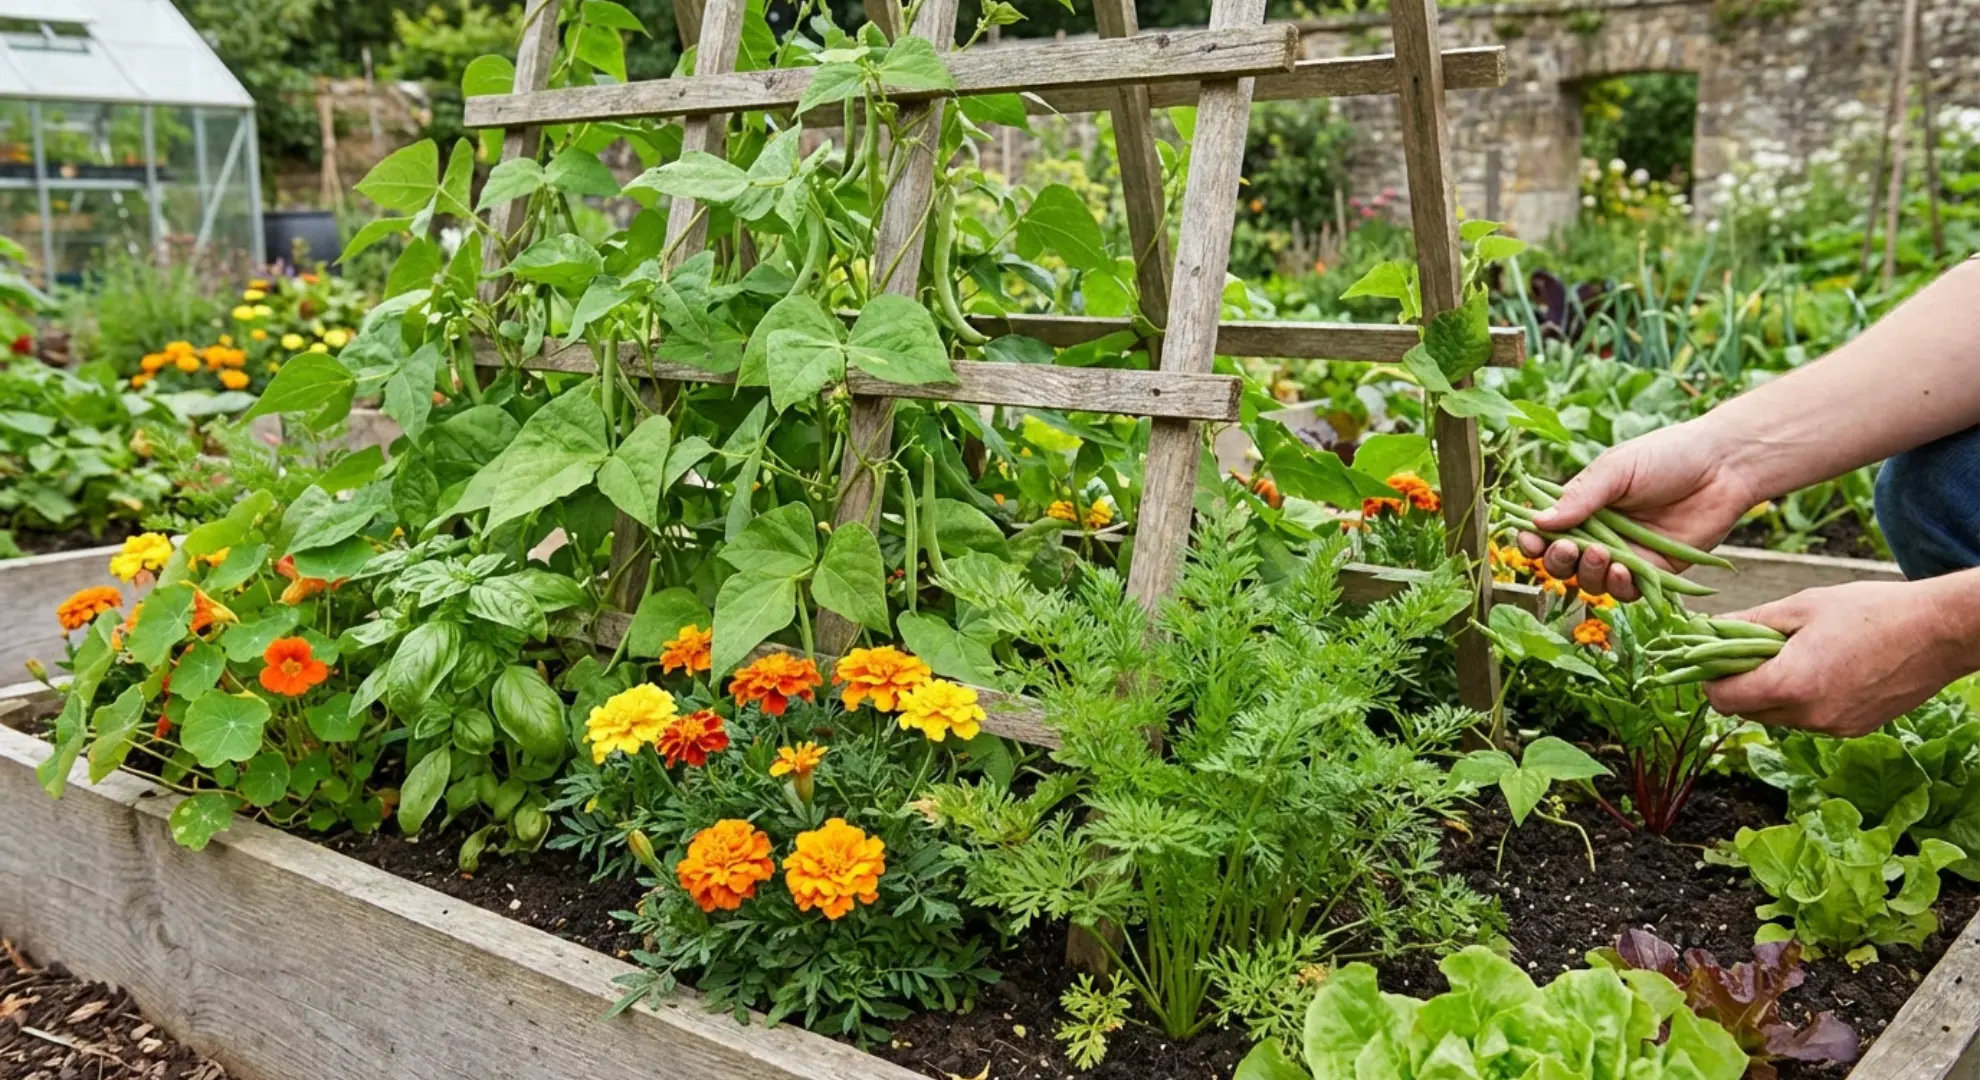
3. Selecting Bush vs. Pole Varieties
Bush beans grow compact at 18-24 inches tall and produce all their pods within 2 weeks.
I plant these for canning. Pole beans climb 6-8 feet and produce steadily for 6-8 weeks.
You need trellises, but they save ground space. Bush varieties mature faster, around 50-55 days, while pole types take 60-70 days.
Tools and Materials You’ll Need
I keep supplies simple: seeds, a garden trowel, a watering can, and measuring tape for spacing.
Darker, plump seeds germinate better than shriveled ones.
For pole beans, gather trellis materials like bamboo poles or wire panels before planting day. I set up trellises first, then plant seeds at the base.
Step-by-Step Guide to Planting Green Beans
Plant green beans correctly from the start and you’ll avoid common mistakes. I follow these steps every season, and they’ve helped me grow consistent crops without complications:
Step 1: Choose Your Bean Seeds
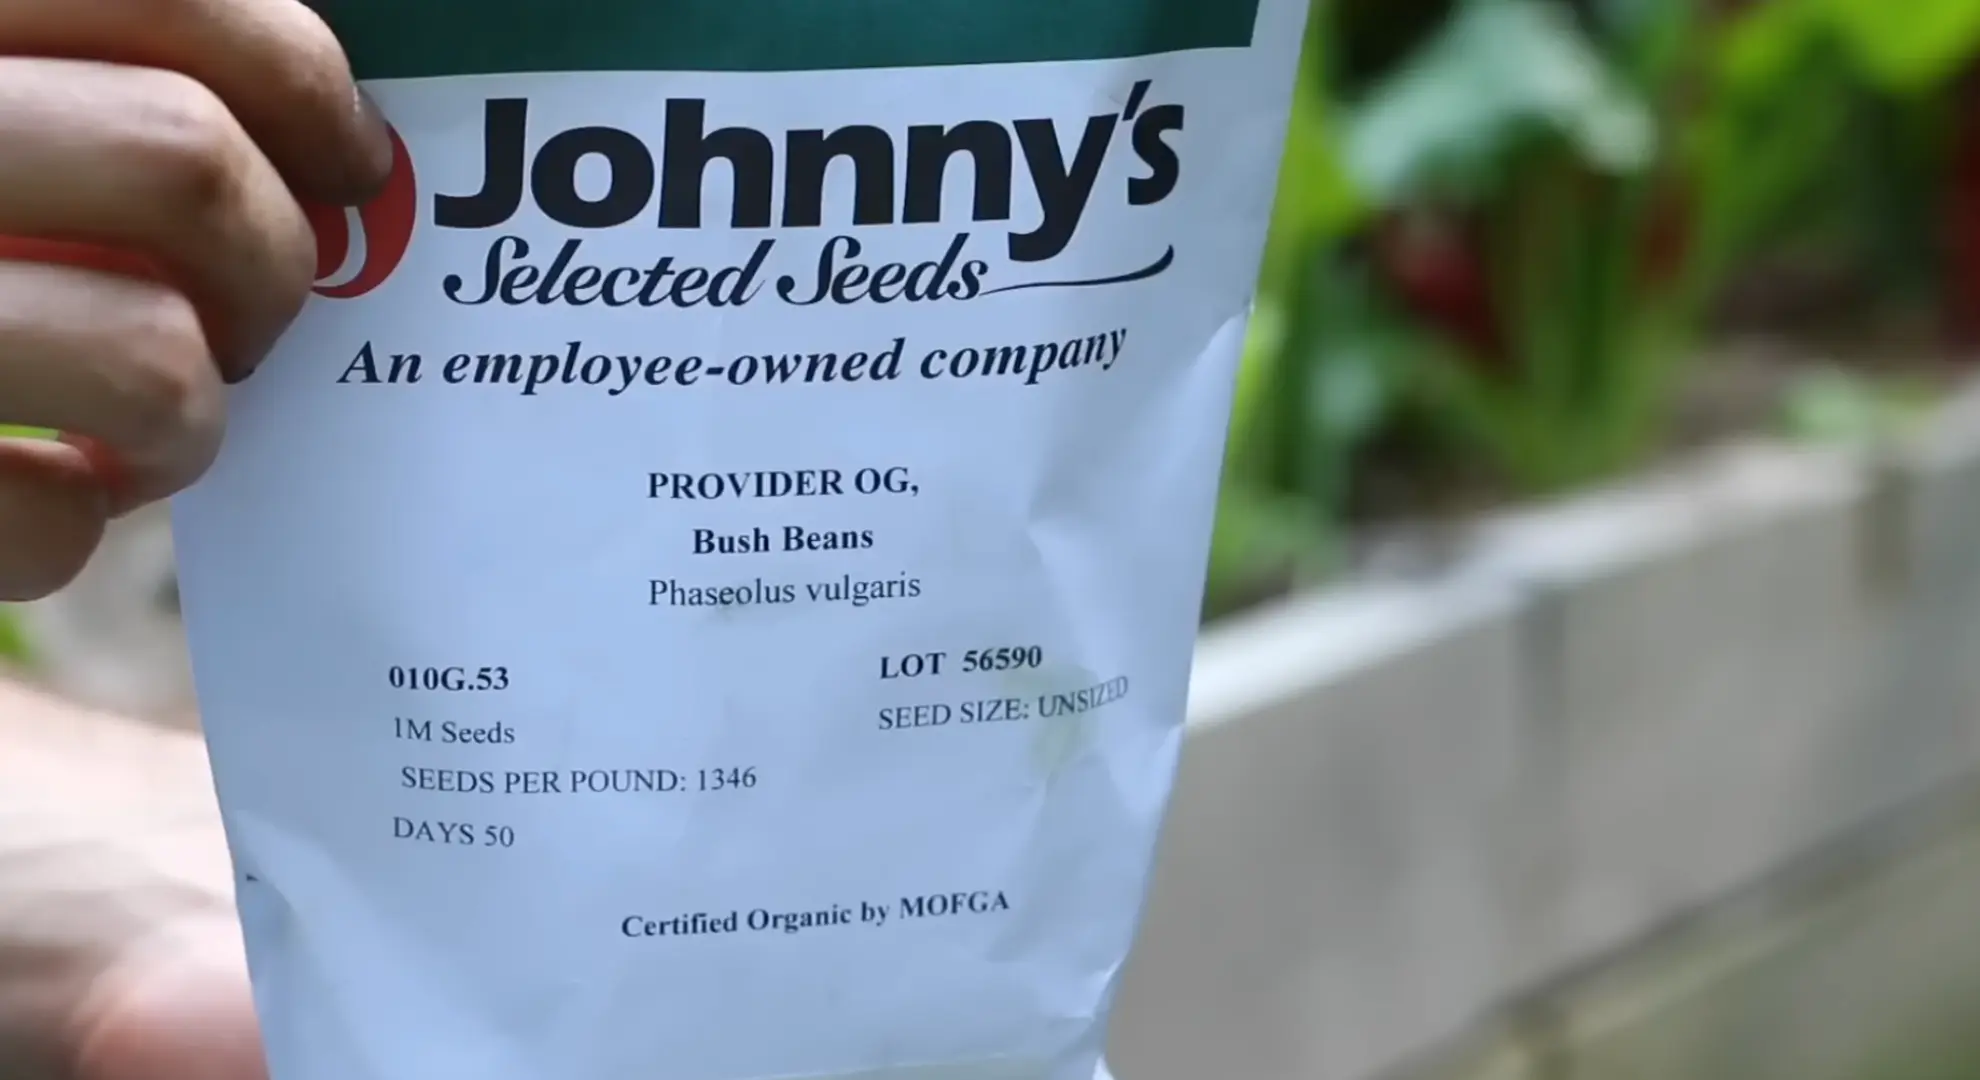
Select bean varieties based on your growing goals and climate. Provider beans work well in cooler zones and germinate in lower soil temperatures.
Bush varieties like Blue Lake or Contender mature in 50-55 days and produce concentrated harvests. Pole varieties such as Kentucky Wonder or Fortex take 60-70 days but yield continuously.
Check seed packets for days to maturity and disease resistance. Choose darker, plump seeds that show no shriveling or discoloration for best germination rates.
Step 2: Prepare the Planting Area
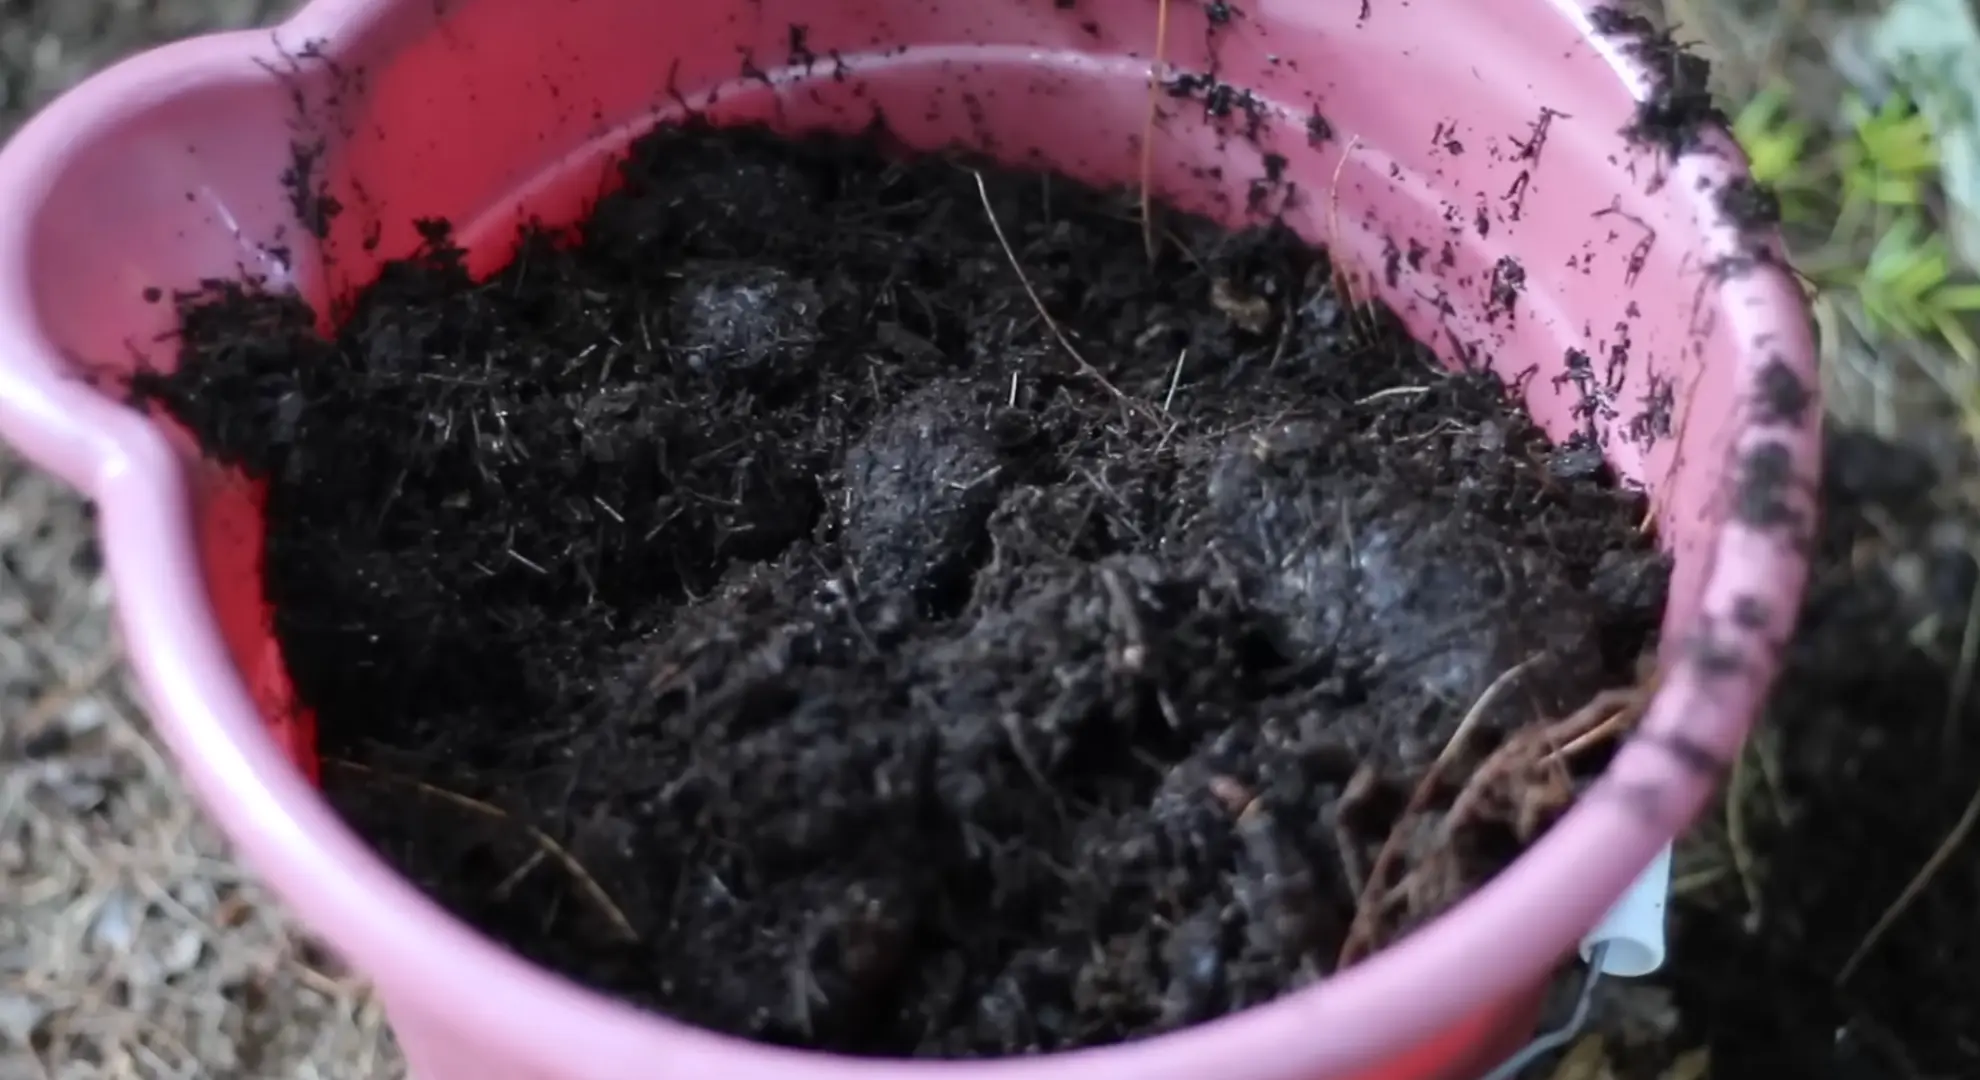
Work 2-3 inches of compost into your planting bed a few weeks before planting. Test soil pH and adjust if needed to reach 6.0-7.0 range. Break up any clumps and remove rocks or debris.
Create smooth, level planting rows or beds. Avoid adding nitrogen fertilizers or fresh manure, as beans fix their own nitrogen.
If planting pole beans, install trellises or support structures before planting so you don’t disturb seeds later.
Step 3: Check Soil Temperature
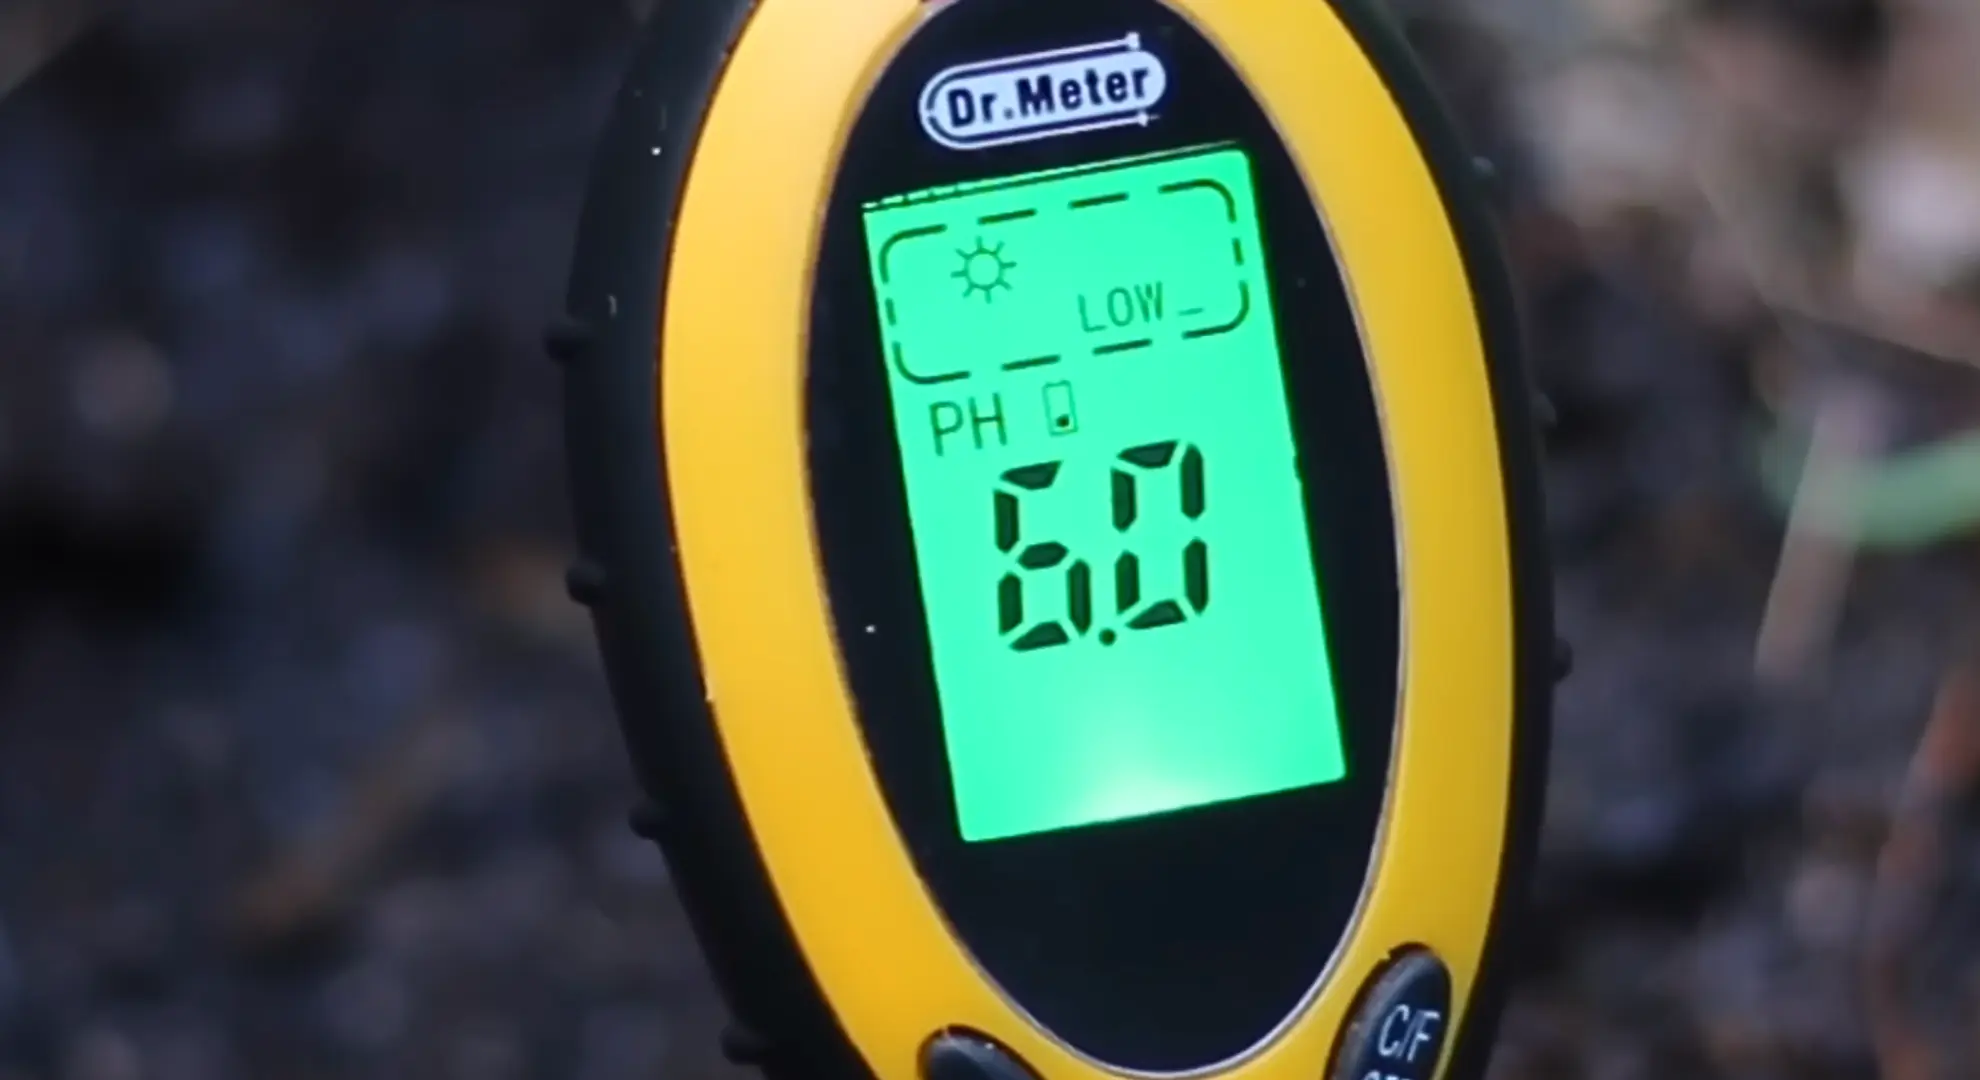
Use a soil thermometer to measure temperature 2-3 inches deep in the morning. Wait until soil reaches at least 60°F before planting. Soil between 60°F and 85°F produces the fastest germination.
Cold soil below 60°F causes seeds to rot or germinate slowly.
Take readings for several days to ensure temperatures stay consistently warm. Warm soil produces sprouts in 7-10 days, while cold soil can take 2-3 weeks or fail completely.
Step 4: Plant Seeds at Proper Depth
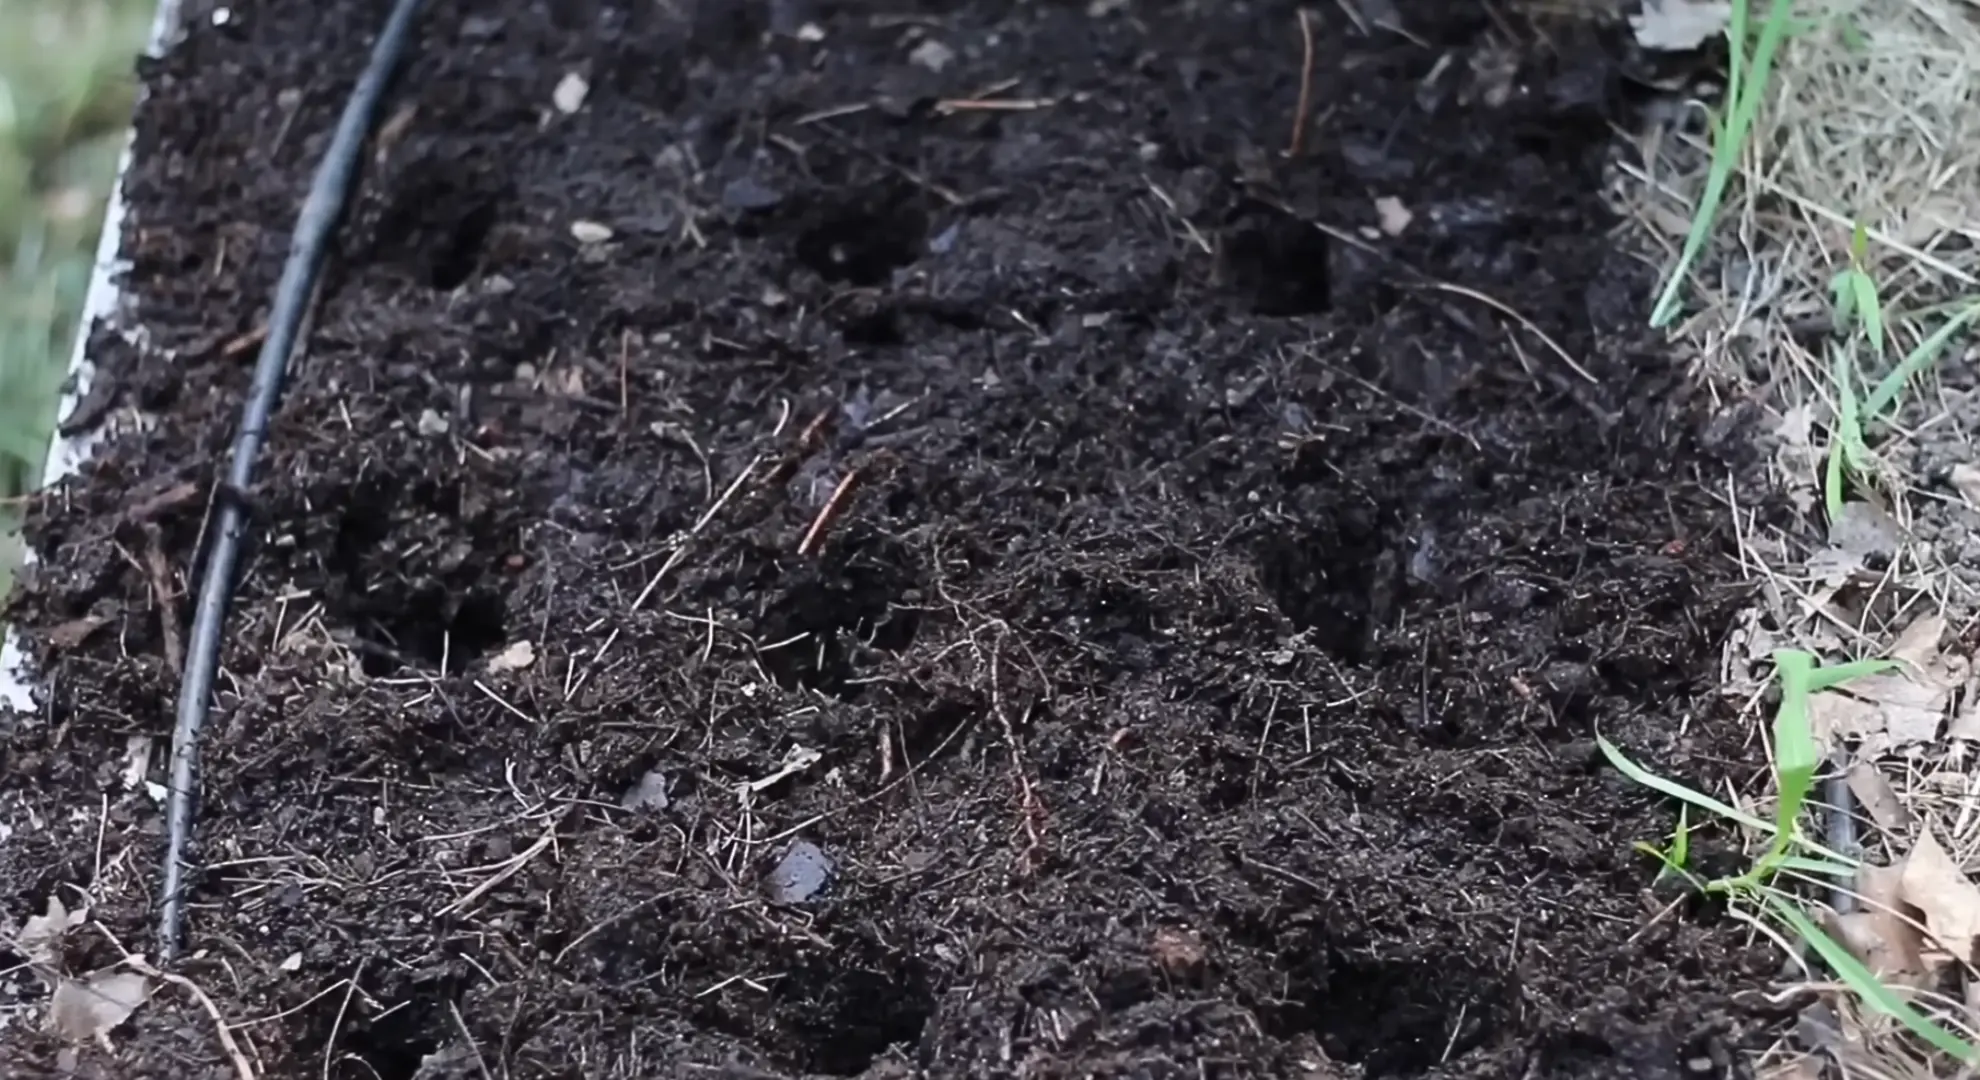
Plant bean seeds 1 inch deep in loose soil. Space bush bean seeds 3-4 inches apart in rows 18-24 inches apart.
Space pole bean seeds 4-6 inches at the base of supports. You can plant 9 seeds per square foot using square-foot gardening methods.
Press soil firmly over seeds to ensure good contact. Water gently after planting to settle soil around seeds without washing them away or creating puddles.
Step 5: Water Until Germination
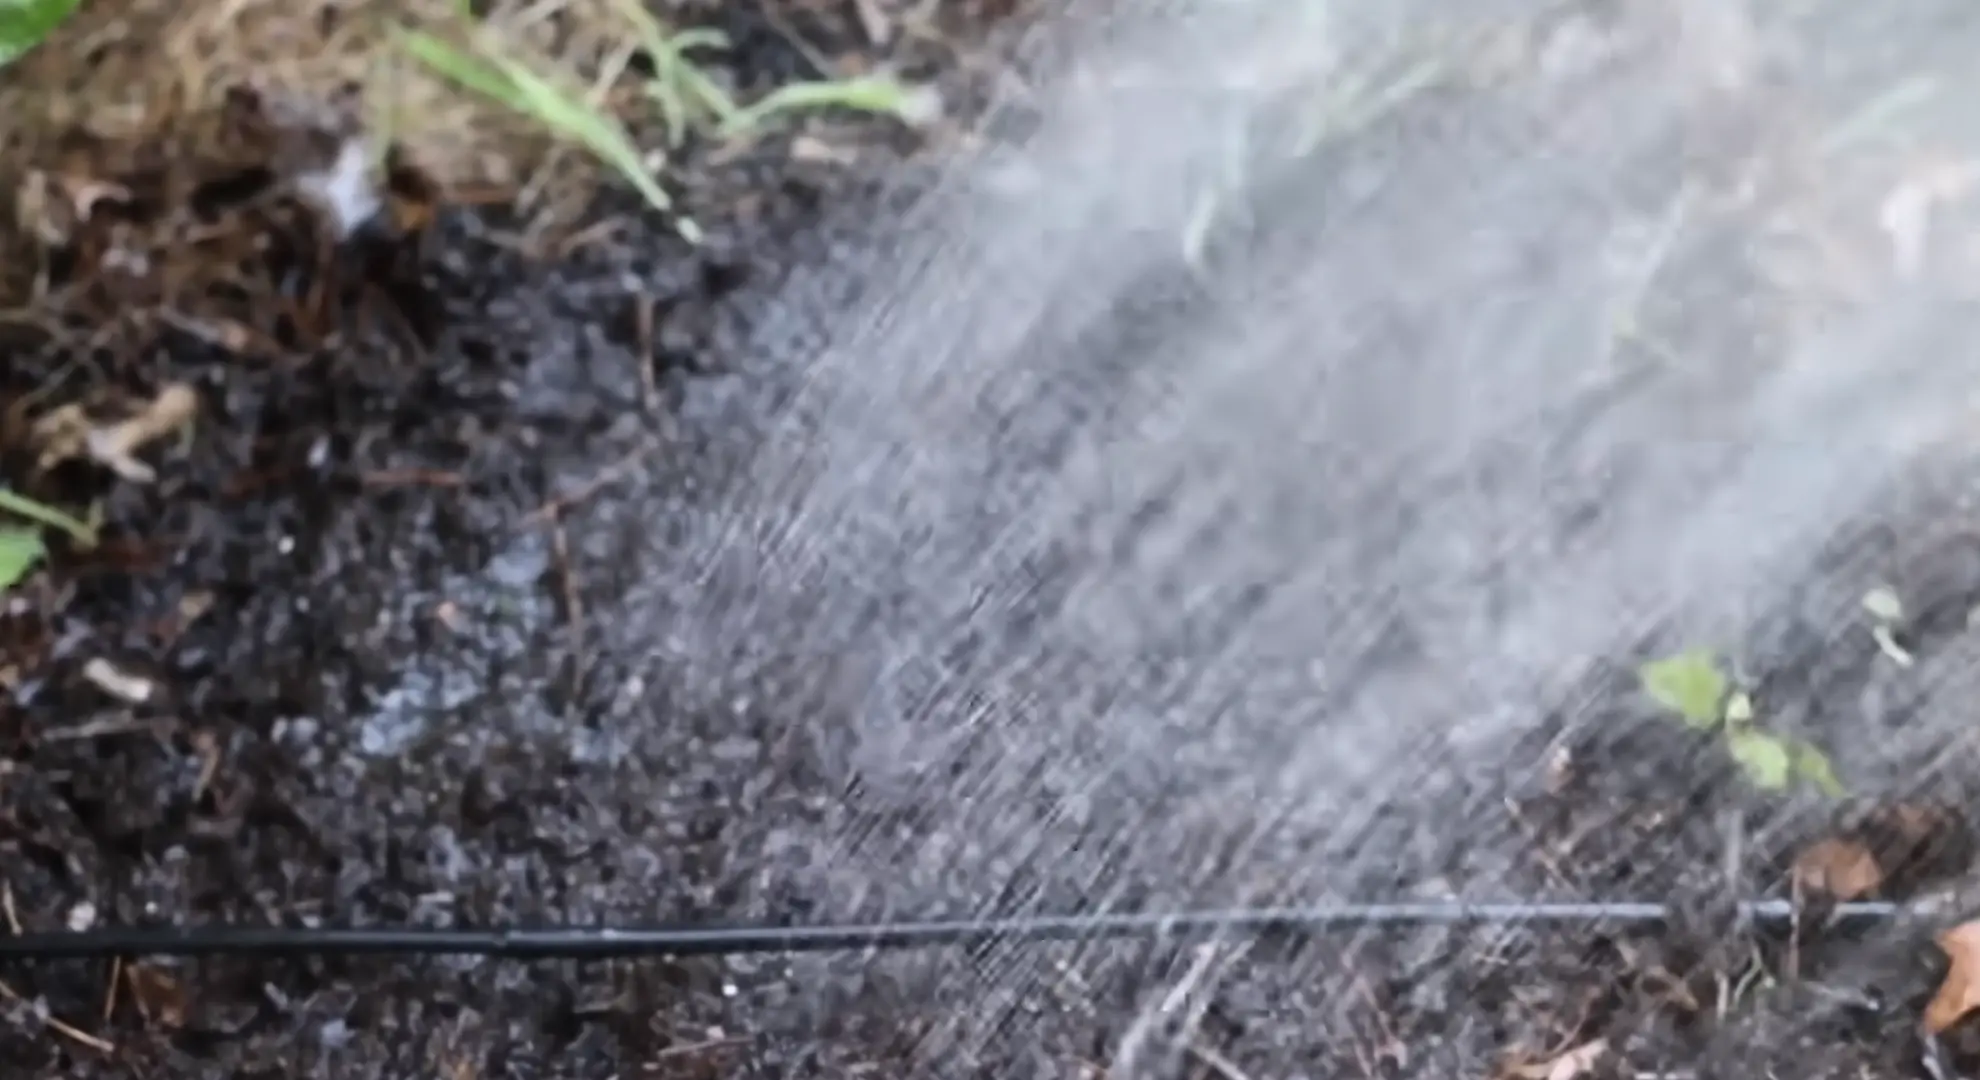
Keep soil consistently moist but not waterlogged until seeds sprout. Water gently with a shower setting or watering can to avoid displacing seeds. Check the soil daily by feeling the top inch; it should be damp.
Seeds typically germinate in 7-10 days with proper moisture and temperature. Avoid letting soil dry out completely during this critical period.
Once you see sprouts emerging, reduce watering frequency but maintain consistent moisture throughout the growing season.
Step 6: Apply Mulch After Sprouting
Add 2-3 inches of organic mulch around bean plants once they reach 3-4 inches tall. Grass clippings, straw, or shredded leaves work well. Keep mulch pulled back slightly from plant stems to prevent rot.
Mulch keeps soil moist, suppresses weeds, and moderates soil temperature. It breaks down over time and feeds beneficial soil organisms.
You’ll water less frequently and spend less time weeding when you mulch properly from the start.
If you prefer a visual walkthrough of the planting process, this video demonstrates each step in detail.
Succession Planting for Continuous Harvests
Plant green beans in stages and you’ll harvest fresh pods for months instead of weeks. I use succession planting to avoid feast-or-famine harvests and keep beans coming all season long.
Succession planting means sowing small amounts of seeds every few weeks rather than planting everything at once. You stagger plantings so crops mature at different times.
I use this method because bush varieties produce heavily for just 2-3 weeks, then production drops off. This gives you fresh beans from June through September instead of one overwhelming harvest in July. I plant new bean rows every 2-3 weeks from late spring through mid-summer.
Your first planting goes in when soil reaches 60°F. You continue planting until 10-12 weeks before your first fall frost. I stop planting by late July in my zone because August plantings won’t mature before cold weather arrives.
I select different varieties based on planting time. Early spring plantings get cold-tolerant varieties like Provider. Mid-summer plantings need heat-tolerant types like Jade or Maxibel that handle hot weather without dropping flowers.
You’ll see better germination when varieties match seasonal conditions.
I write planting dates on garden stakes with a permanent marker and push them into each row. You can keep a simple garden journal with planting dates and variety names. I set 2-week reminders on my calendar to plant the next succession.
Growing Green Beans in Containers and Small Spaces
You don’t need a big garden to grow green beans successfully. I’ve grown them in containers on patios and balconies with great results when space was limited.
Bush varieties work best for container growing since they stay compact at 18-24 inches tall. I use pots at least 12 inches deep and 12 inches wide for adequate root space. You can fit 4-6 plants per container, depending on size.
Pole beans need deeper containers, around 18 inches, plus a trellis or support. I’ve grown pole varieties in large fabric pots against railings where they climbed vertically and saved floor space.
Container beans need more frequent watering than in-ground plants since pots dry out faster.
You’ll water daily in hot weather. Use quality potting mix with compost mixed in rather than garden soil.
I feed container beans with diluted liquid fertilizer every 3-4 weeks since nutrients wash out with frequent watering.
Place containers where they get 6-8 hours of sun. You’ll harvest just as many beans per plant as in traditional garden growing.
Post-Planting Care for Healthy Green Beans
Once your beans are in the ground, consistent care keeps them productive. I follow these simple practices to support strong growth and maximize my harvest:
- Water deeply but infrequently: Beans need about 1 inch of water per week. I water at the soil level rather than overhead to prevent leaf diseases. You’ll water more often during hot, dry spells and less during rainy periods.
- Avoid overwatering: Soggy soil leads to root rot and poor growth. I let the top inch of soil dry out between waterings. You want moist soil, not muddy or waterlogged conditions that suffocate roots.
- Keep weeds under control: Weeds compete for nutrients and water. I pull them when they’re small or use mulch to suppress them. You’ll have healthier beans when weeds aren’t stealing resources from your plants.
- Watch for pests early: Aphids, bean beetles, and spider mites can damage crops. I check plants weekly and remove pests by hand when possible. You catch problems more easily when you inspect regularly rather than waiting for visible damage.
- Support pole beans as they grow: Pole varieties need guidance onto trellises. I gently wrap young vines around supports to get them started. You’ll prevent broken stems and tangled growth with early training.
- Fertilize lightly if needed: Beans fix their own nitrogen, so they need minimal feeding. I side-dress with compost mid-season if plants look pale or grow slowly. You risk all foliage and no pods with heavy nitrogen applications.
- Harvest frequently: Pick beans every 2-3 days once they start producing. I harvest when pods are firm and snap easily. You encourage more pod production when you keep plants picked regularly.
These care steps take just minutes each week but make the difference between mediocre and abundant harvests. You’ll notice stronger plants and better yields when you stay consistent with basic maintenance.
Companion Planting: What to Grow (and Avoid) Near Green Beans
Smart companion planting helps beans thrive while keeping pests away and maximizing limited garden space. I’ve seen better yields when I pair beans with the right neighbors:
| Good Companions | Why They Work | Plants to Avoid | Why to Avoid |
|---|---|---|---|
| Corn | Provides natural support for pole beans | Onions | Stunt bean growth |
| Carrots | Different root depths prevent competition | Garlic | Inhibit bean development |
| Radishes | Loosen soil and deter beetles | Fennel | Inhibits the growth of most plants |
| Cucumbers | Share similar water and sun needs | Sunflowers | Compete for nutrients |
| Squash | Ground cover reduces weeds | Brassicas | Stunt each other’s growth |
| Marigolds | Repel aphids and beetles | Peppers | Compete for similar nutrients |
I plant marigolds and radishes near my bean rows every season and notice fewer pest problems. You’ll get the best results by considering root depths, nutrient needs, and pest protection, rather than crowding incompatible plants together.
Troubleshooting Common Green Bean Problems
Even with good care, you’ll run into occasional issues with green beans. I’ve dealt with most of these problems and learned how to fix them quickly.
- Seeds don’t germinate: Cold soil below 60°F is usually the culprit. You might have planted too early or too deeply. Check soil temperature and replant at 1 inch depth when soil warms consistently.
- Yellow leaves on plants: This often means overwatering or poor drainage. I reduce watering frequency and check that water drains properly. You might also see yellowing due to nitrogen deficiency, though this is rare in beans.
- Flowers drop without forming pods; heat stress above 90°F often causes this. I provide afternoon shade with shade cloth during heat waves. You’ll see better pod set when temperatures moderate, or you plant heat-tolerant varieties.
- Holes in leaves: Bean beetles are likely feeding on your plants. I handpick them in the early morning when they’re sluggish. You can use row covers before flowering to prevent beetle damage entirely.
- Pods are tough and stringy: You waited too long to harvest. I pick beans when they’re pencil-thick and snap easily. You want to harvest every 2-3 days to catch pods at peak tenderness.
- Plants grow tall but produce few beans: Too much nitrogen creates lush foliage with poor fruiting. I avoid nitrogen fertilizers and fresh manure around beans. You’ll get better pod production with less feeding.
- White powdery coating on leaves: Powdery mildew thrives in humid conditions with poor air circulation. I space plants properly and water at soil level. You can remove affected leaves and improve airflow around plants.
- Stunted growth and poor yields: Compacted soil or pH problems restrict root development. I test soil pH and work in compost to improve structure. You might also check for root-knot nematodes if problems persist across seasons.
Most bean problems are preventable with proper timing, spacing, and watering. You’ll grow healthier crops when you catch issues early and adjust your care routine accordingly.
Harvesting and Storing Your Green Beans
Harvest green beans at the right stage and you’ll enjoy the best flavor and texture. I pick beans when they’re firm, snap easily, and reach about pencil thickness or slightly fatter.
Check plants every 2-3 days once pods start forming. You want to harvest before the seeds bulge noticeably inside the pod. I hold the stem with one hand and pull the pod with the other to avoid damaging plants.
Early morning picking works best when pods are crisp and full of moisture. Bush beans produce heavily for 2-3 weeks, while pole beans yield steadily for 6-8 weeks with frequent harvesting.
I store fresh beans, unwashed, in the refrigerator in a plastic bag for up to a week. You can blanch and freeze extras for long-term storage.
Beans can also be canned well if you follow proper canning procedures. The more you pick, the more your plants produce, so don’t let pods sit too long on the vine.
Conclusion
I’ve learned that timing makes all the difference when growing green beans, and now you have the knowledge to get it right from the start.
When to plant green beans comes down to waiting for 60°F soil and frost-free weather, but you also know how succession planting, companion choices, and proper care extend your harvest for months.
You’ll avoid the common mistakes that cost me crops early on: planting too early, overcrowding, or choosing the wrong varieties for your climate. The beauty of green beans is their forgiveness once conditions are right.
You give them warm soil, consistent moisture, and regular picking, and they’ll reward you with fresh pods all summer.
Ready to grow more of your own food? Check out other gardening guides for tips on companion crops like tomatoes, cucumbers, and herbs that pair perfectly with your bean harvest!