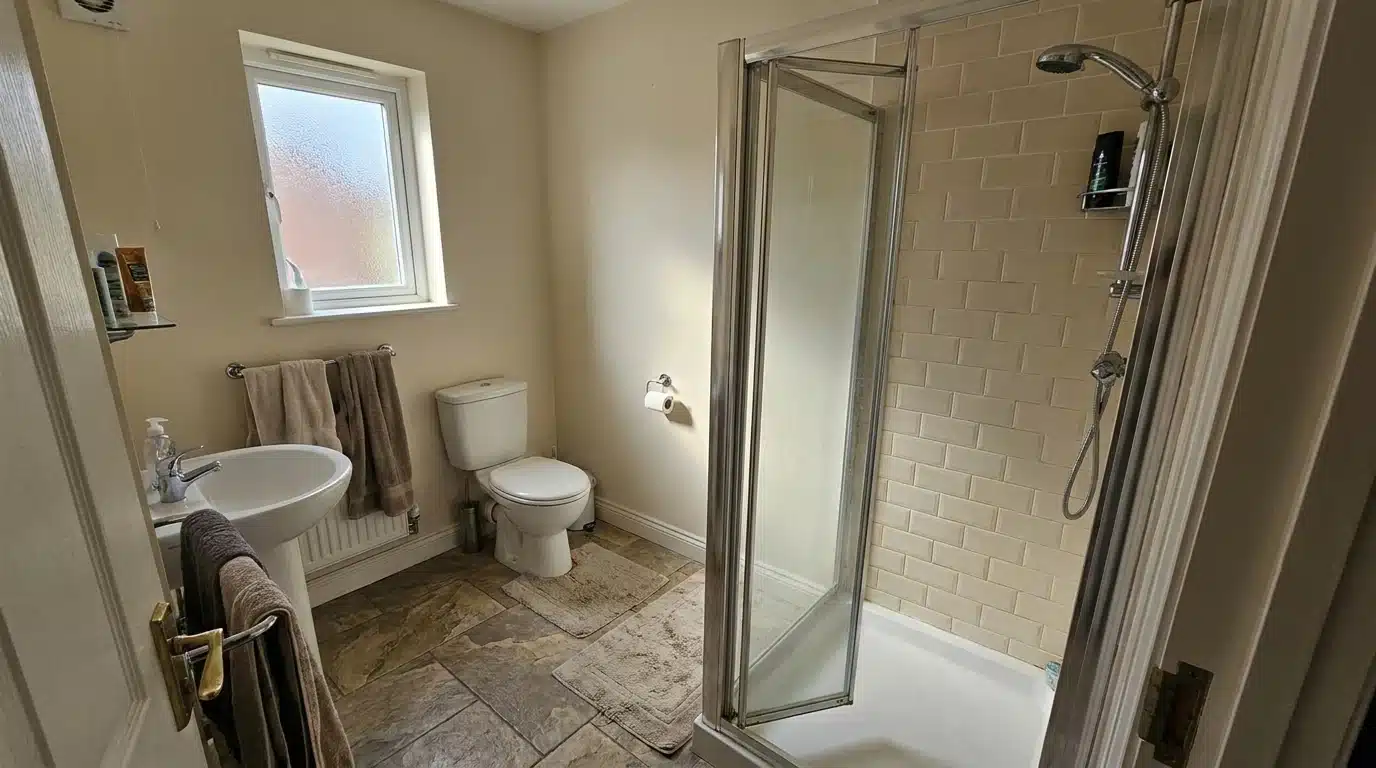
Your shower head would not budge. If you twist too hard, it could snap the arm right out of the wall.
Most stuck heads come down to mineral crust, old plumber’s tape, or a fitting that got overtightened years ago. A few extra pounds of force can crack the fitting or bend the arm hidden inside the wall.
Knowing how to remove a shower head safely comes down to matching your approach to what is actually holding it in place.
A standard head, a handheld, and a rain shower head each come off differently.
Here’s what causes the problem, what to grab first, and the exact steps for your fixture type.
What Makes a Shower Head Hard to Come Off?
A stuck shower head is not random. Knowing the cause first stops you from forcing it and cracking something:
- Mineral Buildup: Hard water leaves calcium and lime deposits inside the threads, hardening into a crust that grips like glue. This is the same mineral buildup behind those hard water stains on faucets and shower doors.
- Corrosion Between Metal Parts: Older fittings corrode when exposed to moisture over time. A penetrating oil spray loosens the rust so threads turn more easily.
- Over-Tightening During Installation: Extra force during the last installation makes the threads bind tighter. Let a vinegar soak sit longer here since force alone won’t help.
- Plumber’s Tape Residue: Old tape breaks down and sticks like adhesive. Wipe the threads with a vinegar-dipped cloth to soften it first.
- Warped Plastic Components: Heat and steam cause plastic fittings to swell over time. Run cool water over the fitting to shrink it slightly before twisting.
Knowing the cause helps you pick the right approach before you touch a wrench.
What You’ll Need Before You Start
Before you touch the shower head, gather a few basic supplies.
That way, you won’t be running back and forth across the bathroom hunting for a wrench halfway through the job.
- Adjustable wrench or pliers
- Old cloth or rag
- White vinegar (dissolves mineral buildup)
- Plumber’s tape, also called Teflon tape (reseals the threads on reinstall)
- Small bucket or towel
Once these are within arm’s reach, you are set to match your removal steps to whichever shower head type you are working with.
Step-by-Step: How to Remove Different Types of Shower Heads?
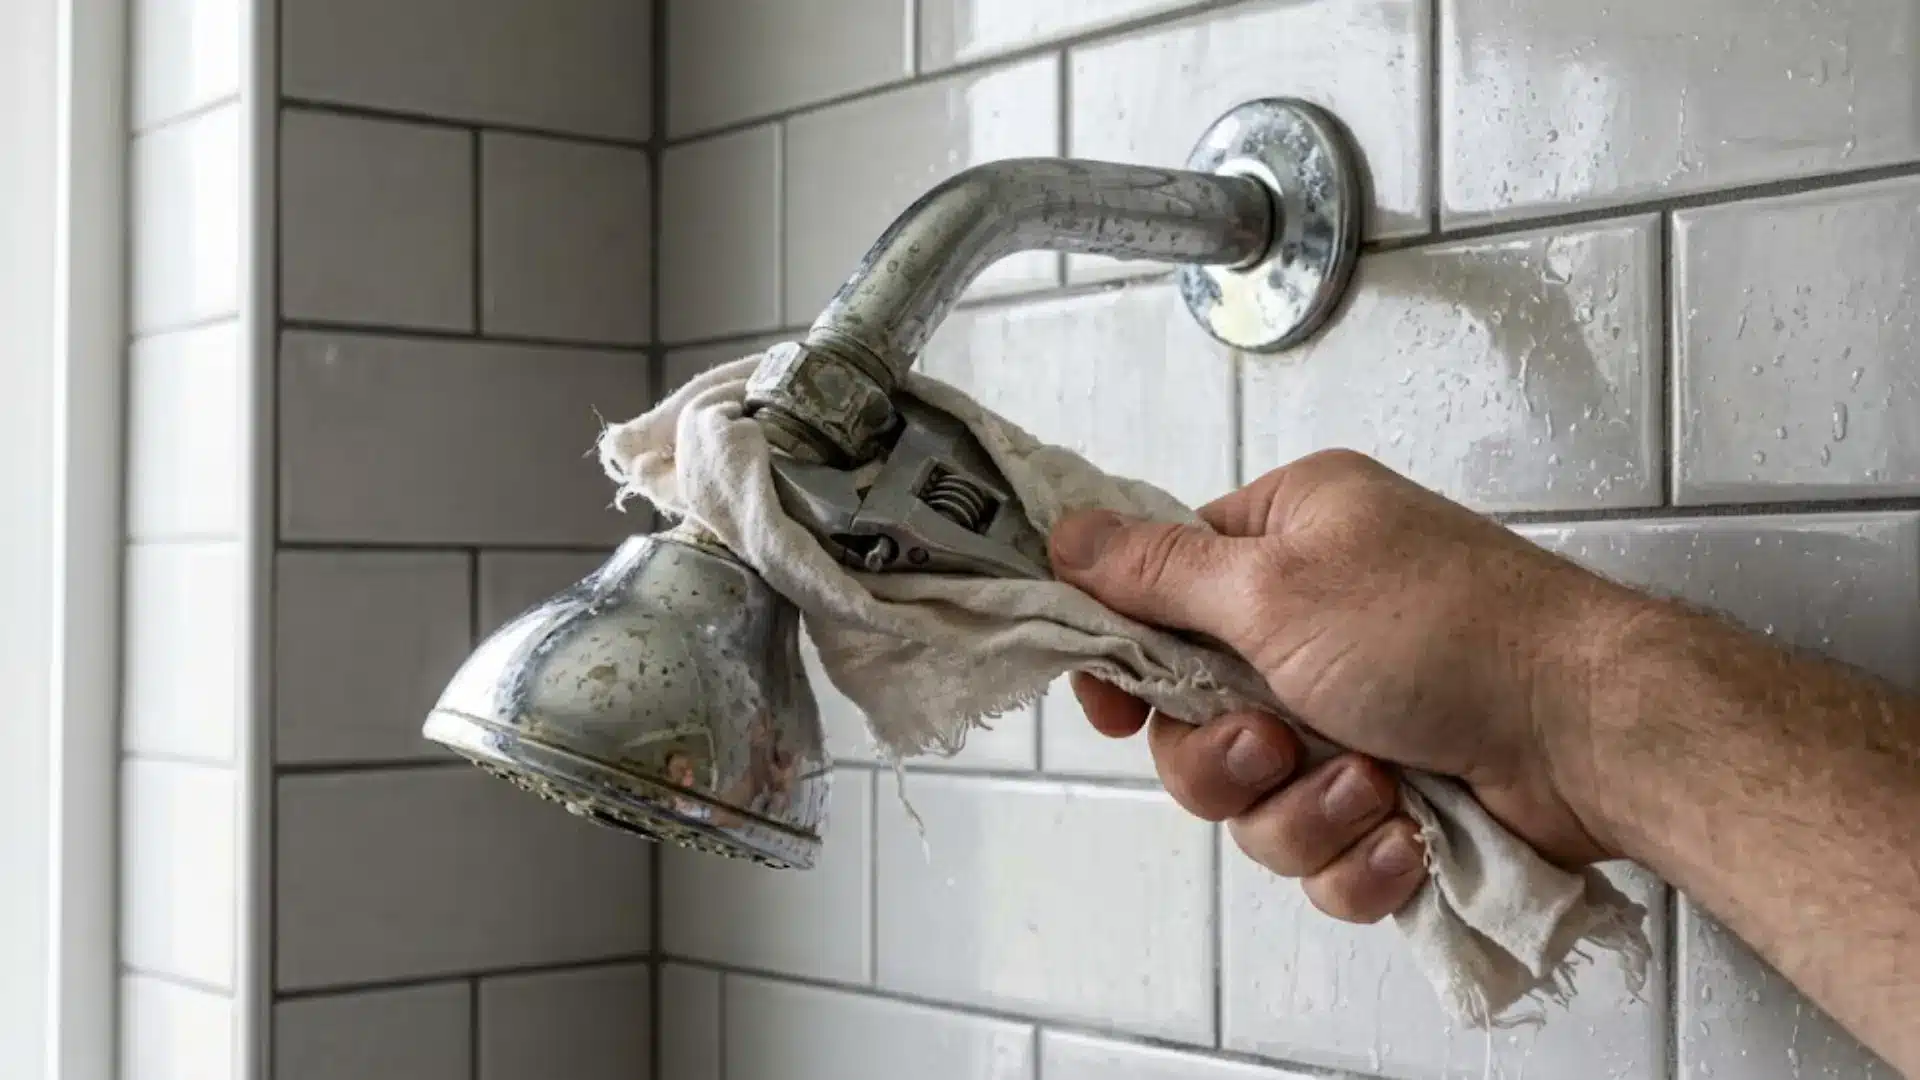
Each shower head type comes off a little differently, and using the wrong approach can bend a bracket or crack a seal.
Find your type below and follow the steps built for it.
1. Standard Shower Head
This is the most common type found in most homes. It attaches directly to the shower arm using a simple threaded connection, making it one of the easier fixtures to remove.
Step-by-Step
- Step 1: Wrap the cloth around the connector nut.
- Step 2: Grip the wrench and turn counterclockwise.
- Step 3: Hold the shower arm steady with your other hand.
- Step 4: Twist the head off once it loosens.
- Step 5: Wipe old tape residue from the threads.
Pro Tip: Turn slowly to avoid snapping brittle plastic threads.
2. Fixed Wall-Mounted Shower Heads
These heads sit flush against the wall or ceiling arm and follow the standard threaded removal process, though buildup around the base can make them tougher to loosen.
Step-by-Step
- Step 1: Soak the connection in vinegar if it’s stuck.
- Step 2: Wrap the cloth around the base nut.
- Step 3: Turn counterclockwise with steady, even pressure.
- Step 4: Support the arm so it doesn’t twist with it.
- Step 5: Remove the head and inspect the washer.
Pro Tip: Never force a stuck head; soak longer instead.
3. Handheld Shower Heads
Handheld models detach at the hose connection rather than the wall arm. Removing one means checking the washer inside the fitting, not just twisting the head itself.
Step-by-Step
- Step 1: Locate the connector between the hose and the head.
- Step 2: Hold the hose steady near the fitting.
- Step 3: Twist the head counterclockwise to detach it.
- Step 4: Check the rubber washer for wear or cracks.
- Step 5: Set the head aside on a towel.
Pro Tip: Replace a worn washer before reattaching anything.
4. Rain Shower Heads
These fixtures run larger and heavier, so keeping pressure off the ceiling or wall mount matters more here than with smaller shower heads.
If you are weighing a switch to a rainfall style during a bigger bathroom remodel project, plan on a second set of hands for the mounting bracket.
Step-by-Step
- Step 1: Support the head’s full weight with one hand.
- Step 2: Loosen the mounting nut slowly with the wrench.
- Step 3: Avoid pulling down on the ceiling arm.
- Step 4: Rotate the head, not the mounting bracket.
- Step 5: Lower it gently once it’s free.
The Vinegar Bag Method for a Badly Stuck Head
A quick vinegar wipe handles light mineral crust, but a shower head that won’t budge after that needs a longer soak.
Fill a plastic sandwich bag about a third full with white vinegar, slide it up over the connection so the joint sits fully submerged, and secure it in place with a rubber band.
Let it sit for several hours, or overnight for heavy calcification.
Once the bag comes off, try the head by hand first. If it still resists, wrap the cloth around the fitting and add the wrench, turning counterclockwise with steady pressure rather than a hard jerk.
Skip this step on plastic fittings that have already started to warp, since a longer acid soak can make brittle plastic more likely to crack.
What to Do After Removing the Shower Head?
Once the shower head is off, do not rush straight into installing something new. Take a moment to clean the exposed threads on the shower arm. Wipe away leftover tape, grime, or mineral crust with a dry cloth.
Leftover residue affects how well anything seals against the arm later. Check the threads closely for rust spots, cracks, or bent metal you might have missed.
Look at the arm’s connection to the wall or ceiling too. A loose or wobbly arm needs attention before you move forward with anything else. Inspect the old head itself for cracked seals, worn washers, or clogged nozzles.
This helps you decide whether it is worth keeping or replacing. If you are keeping the old head for later, rinse it and let it dry fully before storing it away.
Step-by-Step: How to Install a Shower Head Easily?
With the arm clean and inspected, you are ready to attach your shower head. Whether it is the same one or a fresh upgrade, these steps help you get a tight, leak-free seal.
Step 1: Apply Plumber’s Tape to the Threads
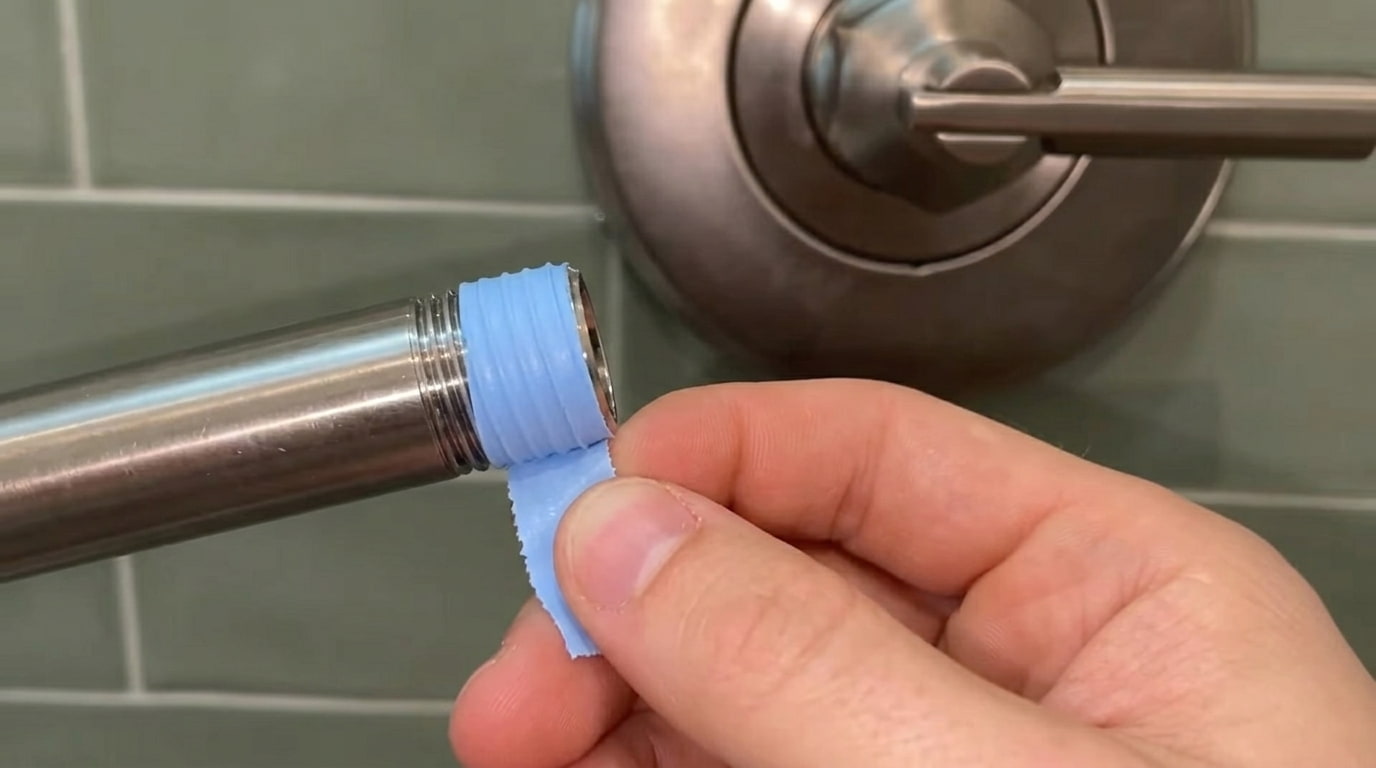
Wrap plumber’s tape clockwise around the shower arm threads, following the same direction you’ll twist the head on later.
Overlap each pass slightly so the tape lays flat without bunching up. Three to four wraps usually creates enough of a seal to prevent slow drips.
Skipping this step, or wrapping it the wrong direction, often leads to leaks once water starts flowing through the connection again.
Step 2: Thread the New Head by Hand
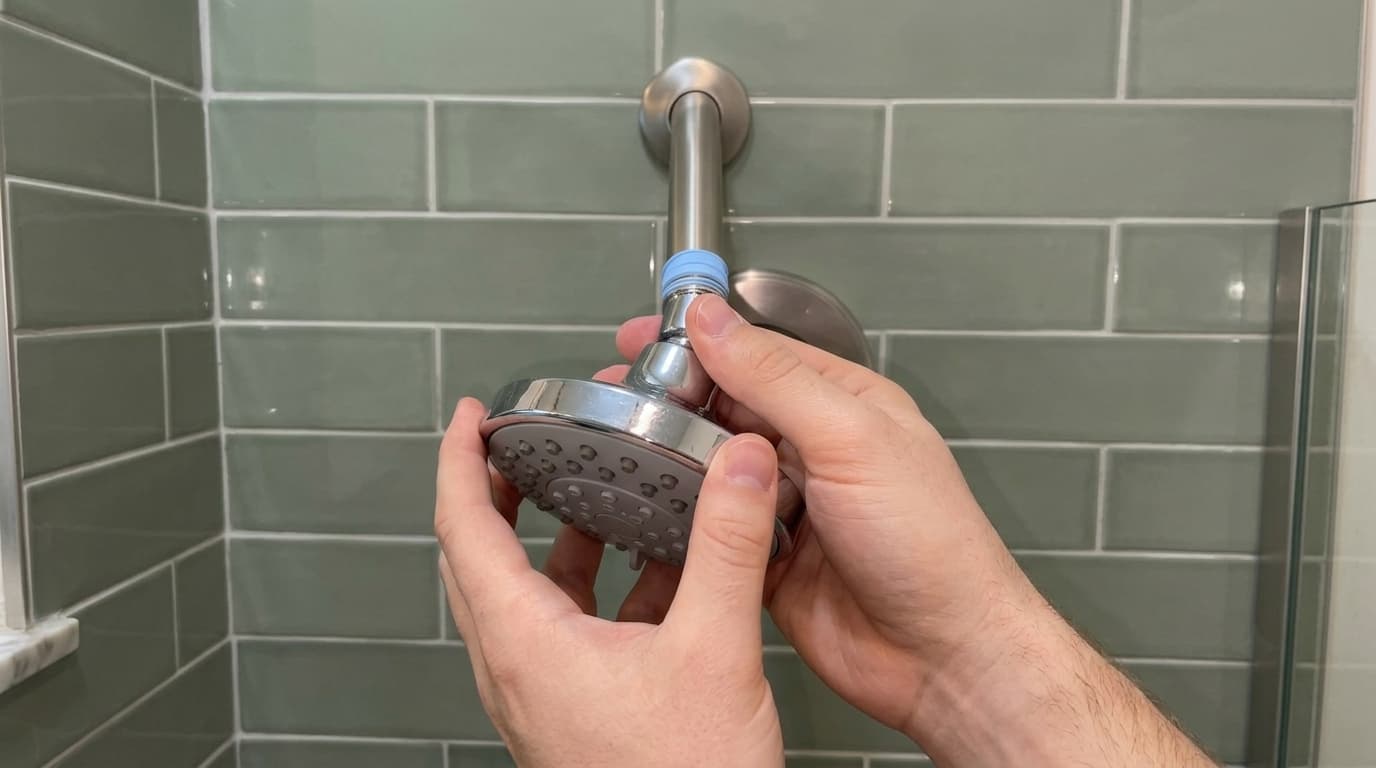
Start by twisting the shower head onto the arm using just your hands, turning it clockwise.
This lets you feel whether the threads are catching properly before you add any tools into the mix.
Hand-tightening also cuts the risk of cross-threading, which can damage both the head and the arm. Keep turning until the head feels snug and resists easy movement.
Step 3: Tighten with a Wrench Carefully
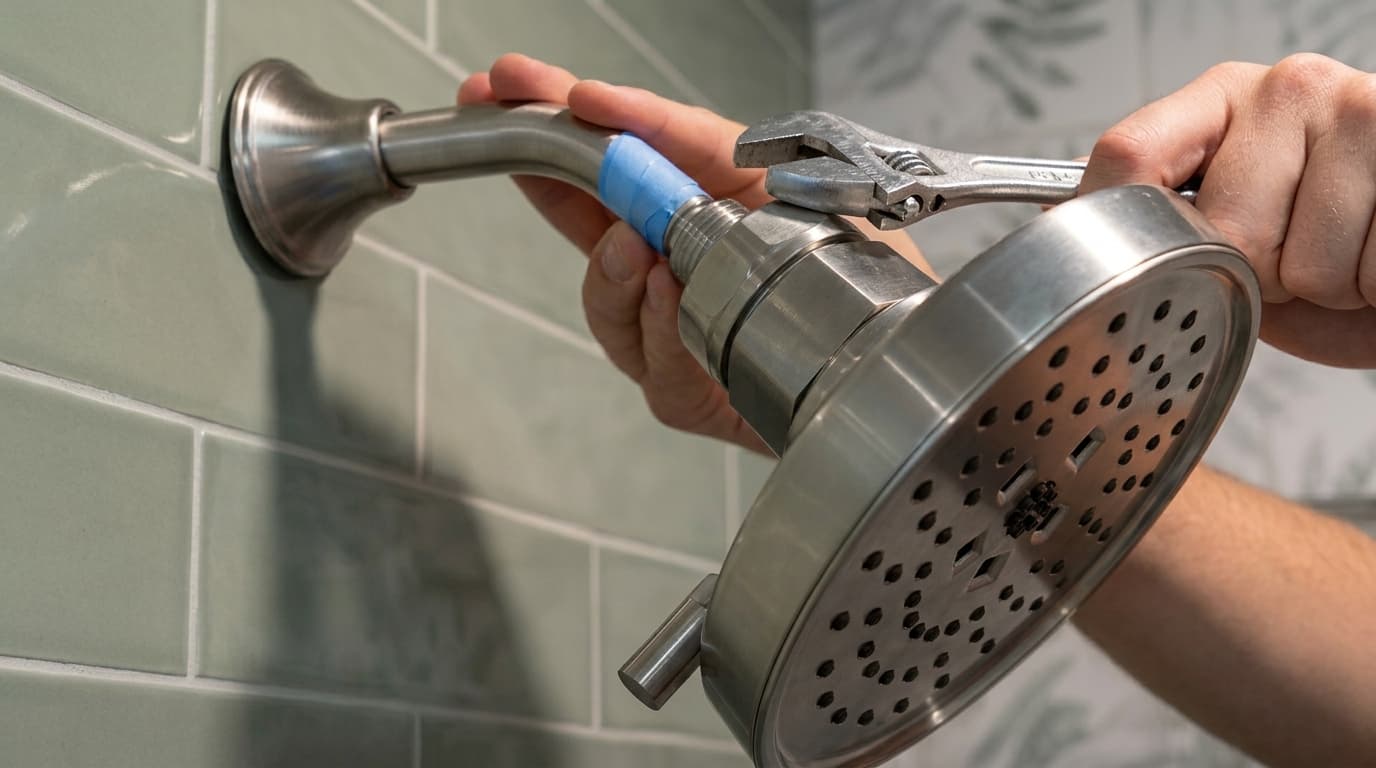
Once hand-tight, use a wrench to give the connection a final quarter turn for a firm seal.
Wrap a cloth around the nut first to protect the finish from scratches. Stop as soon as you feel resistance.
Overtightening can crack fittings or damage the tape underneath, so a firm, snug fit is the goal here, not maximum force.
Step 4: Test for Leaks and Adjust the Angle
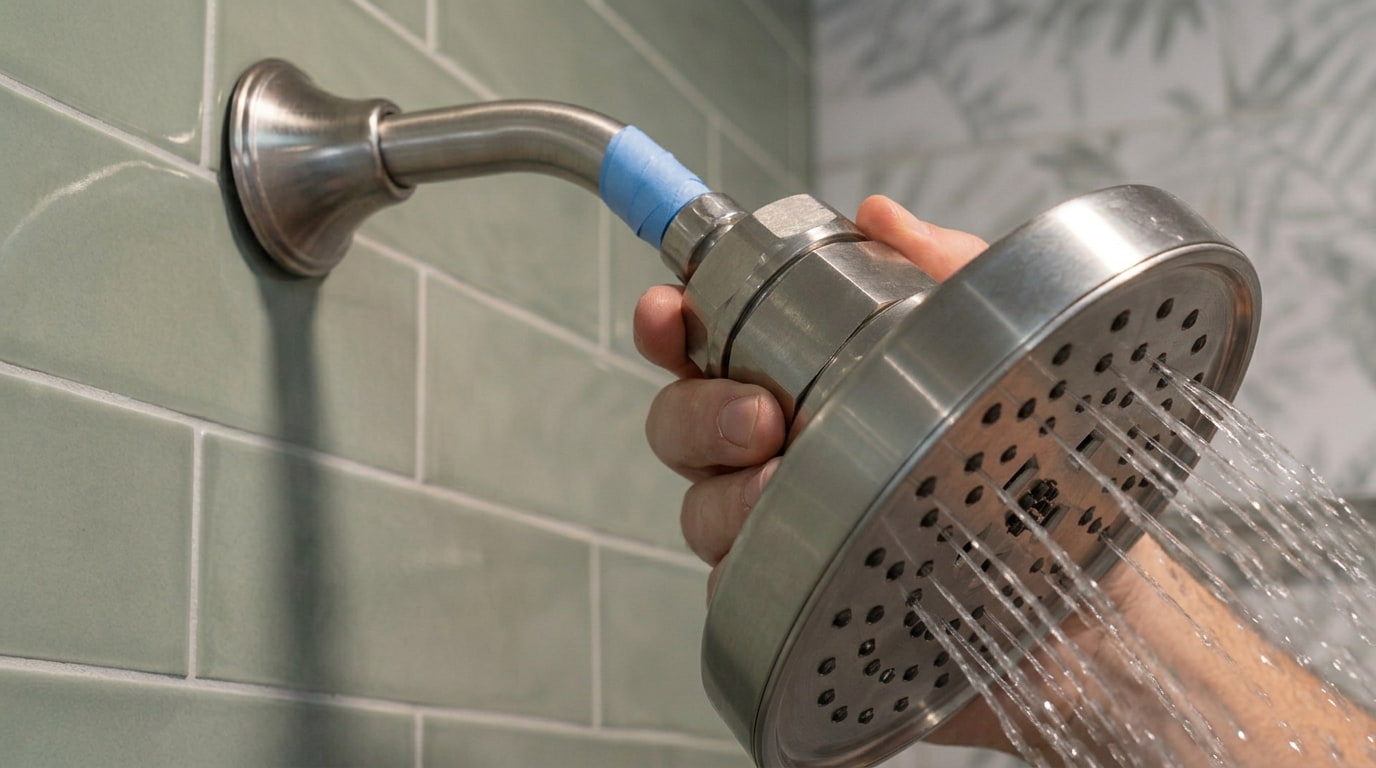
Turn the water on briefly and watch the base of the shower head closely for any dripping.
If everything looks dry, adjust the head’s angle to your preferred spray direction.
Some models twist or swivel at the connection point for this. If you spot a leak, turn the water off and add another wrap of tape before testing again.
Slip-Ups That Can Cost You a Trip to the Hardware Store
A few small missteps during removal or reinstallation can turn a quick, straightforward job into an unplanned repair bill.
Most of these mistakes happen when you are rushing; watch out for these:
- Skipping the vinegar soak on a stuck head and forcing it instead
- Using too much muscle, which can snap threads or crack fittings
- Forgetting to wrap a cloth around the connection before gripping it with a wrench
- Reinstalling without checking whether the washer is worn or cracked
- Using too little or too much plumber’s tape, both of which cause leaks
- Turning the wrench the wrong direction and stripping the threads by mistake
- Not turning off the water supply before starting the removal process
Slow down and prep right, and you can skip that extra trip to the store.
When to Call a Plumber Instead?
Most shower heads come off with a vinegar soak, a wrench, and some patience.
Call a licensed plumber if the shower arm itself spins loose inside the wall, if you see water staining on the ceiling or wall around the fixture, or if the connection is soldered rather than threaded.
Forcing a fitting that won’t budge after a proper soak risks cracking pipe hidden behind tile, which turns a small job into a much bigger repair.
This is general guidance, not a substitute for an on-site inspection. If you are not confident about what’s behind the wall, a licensed plumber can check it before you start twisting.
Frequently Asked Questions (FAQs)
Do You Need to Turn Off the Water Before Removing a Shower Head?
You usually do not need to shut off the main supply. Just turn off the shower itself so water doesn’t spray while you work.
Can You Remove a Shower Head Without a Wrench?
Many shower heads loosen by hand, especially ball-joint styles. For stuck ones, a rubber strap or gloves can add grip without tools.
What is a Ball-Joint Shower Head?
It’s a fixture attached through a rounded joint, letting you angle the spray direction. These usually twist off easily without any tools.
Can Penetrating Oil Help Loosen a Stuck Shower Head?
Yes, spraying a penetrating oil on corroded threads works similarly to vinegar. It breaks down rust, making stubborn metal connections easier to turn.
Final Words
A clean shower arm and a fresh wrap of tape make all the difference once the new head goes on.
No drips at the base, no wobble at the joint, just a steady spray right where you want it. That is the whole payoff for taking it slow instead of forcing a stuck fixture.
Keep the old head around if the seals still look good. It works fine as a spare for the next place you live, or for a guest bathroom that doesn’t get much use.
Either way, you have got a fixture that seals tight and a bathroom back in working order.
Got a shower head that gave you trouble, or a trick that worked for you? Drop it in the comments below.