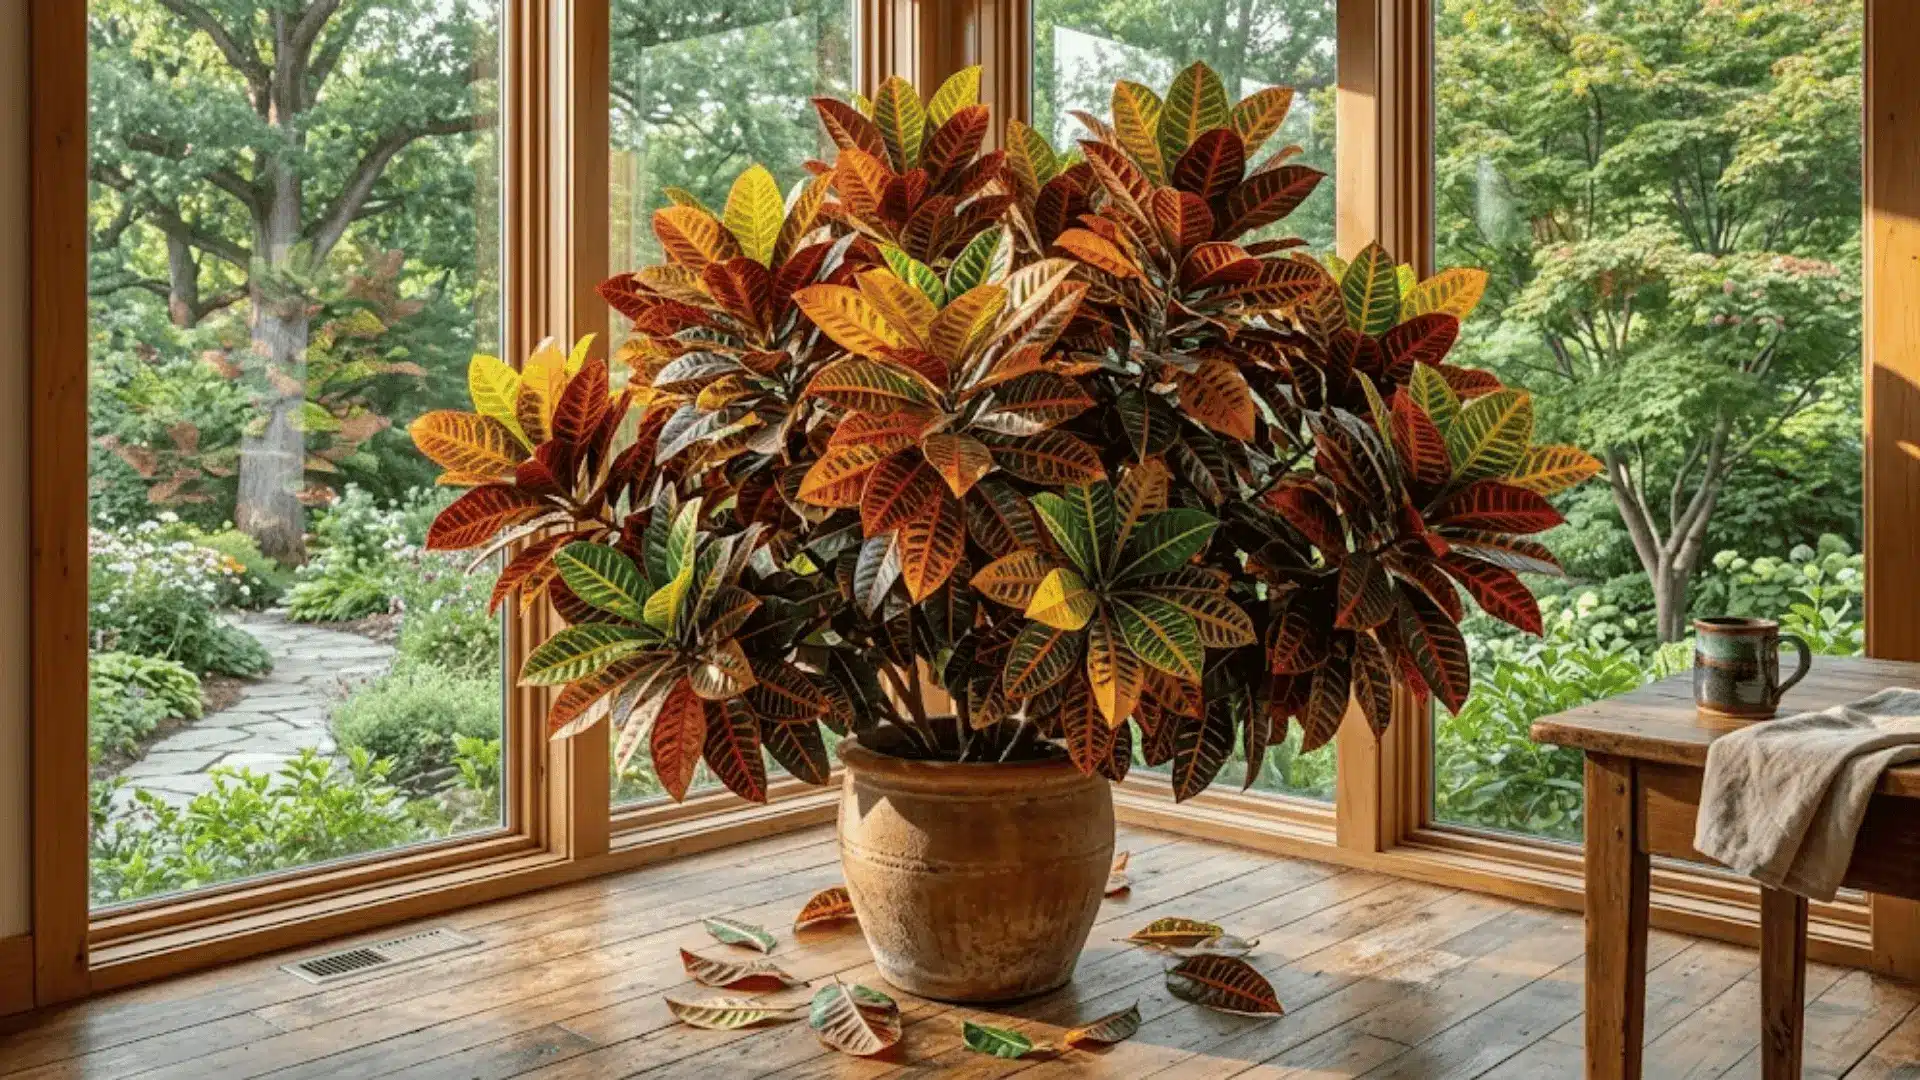
If you have ever walked past a croton (Codiaeum variegatum) and done a double take, you already know what makes this plant so hard to ignore.
Those leaves, splashed in gold, crimson, orange, and deep green, look almost painted. It is one of the few houseplants that genuinely earns the word dramatic.
And while croton care has a reputation for being a little finicky, it is really more about understanding what it loves than anything complicated.
Get the light and watering right, and this plant rewards you with color that keeps intensifying over time.
Why Croton Care Feels Tricky?
Croton’s biggest quirk is that it notices everything. Move it across the room, crank up the heat, skip a watering, and it will let you know, usually by dropping a few leaves.
That sensitivity trips up a lot of plant parents early on, but it is not a sign that something is permanently wrong.
Croton care really comes down to balancing three things: light, water, and humidity.
Get those right, and the plant settles into a rhythm that practically runs itself. The goal here is to break each one down so it actually feels doable, not overwhelming.
Light Requirements for Croton
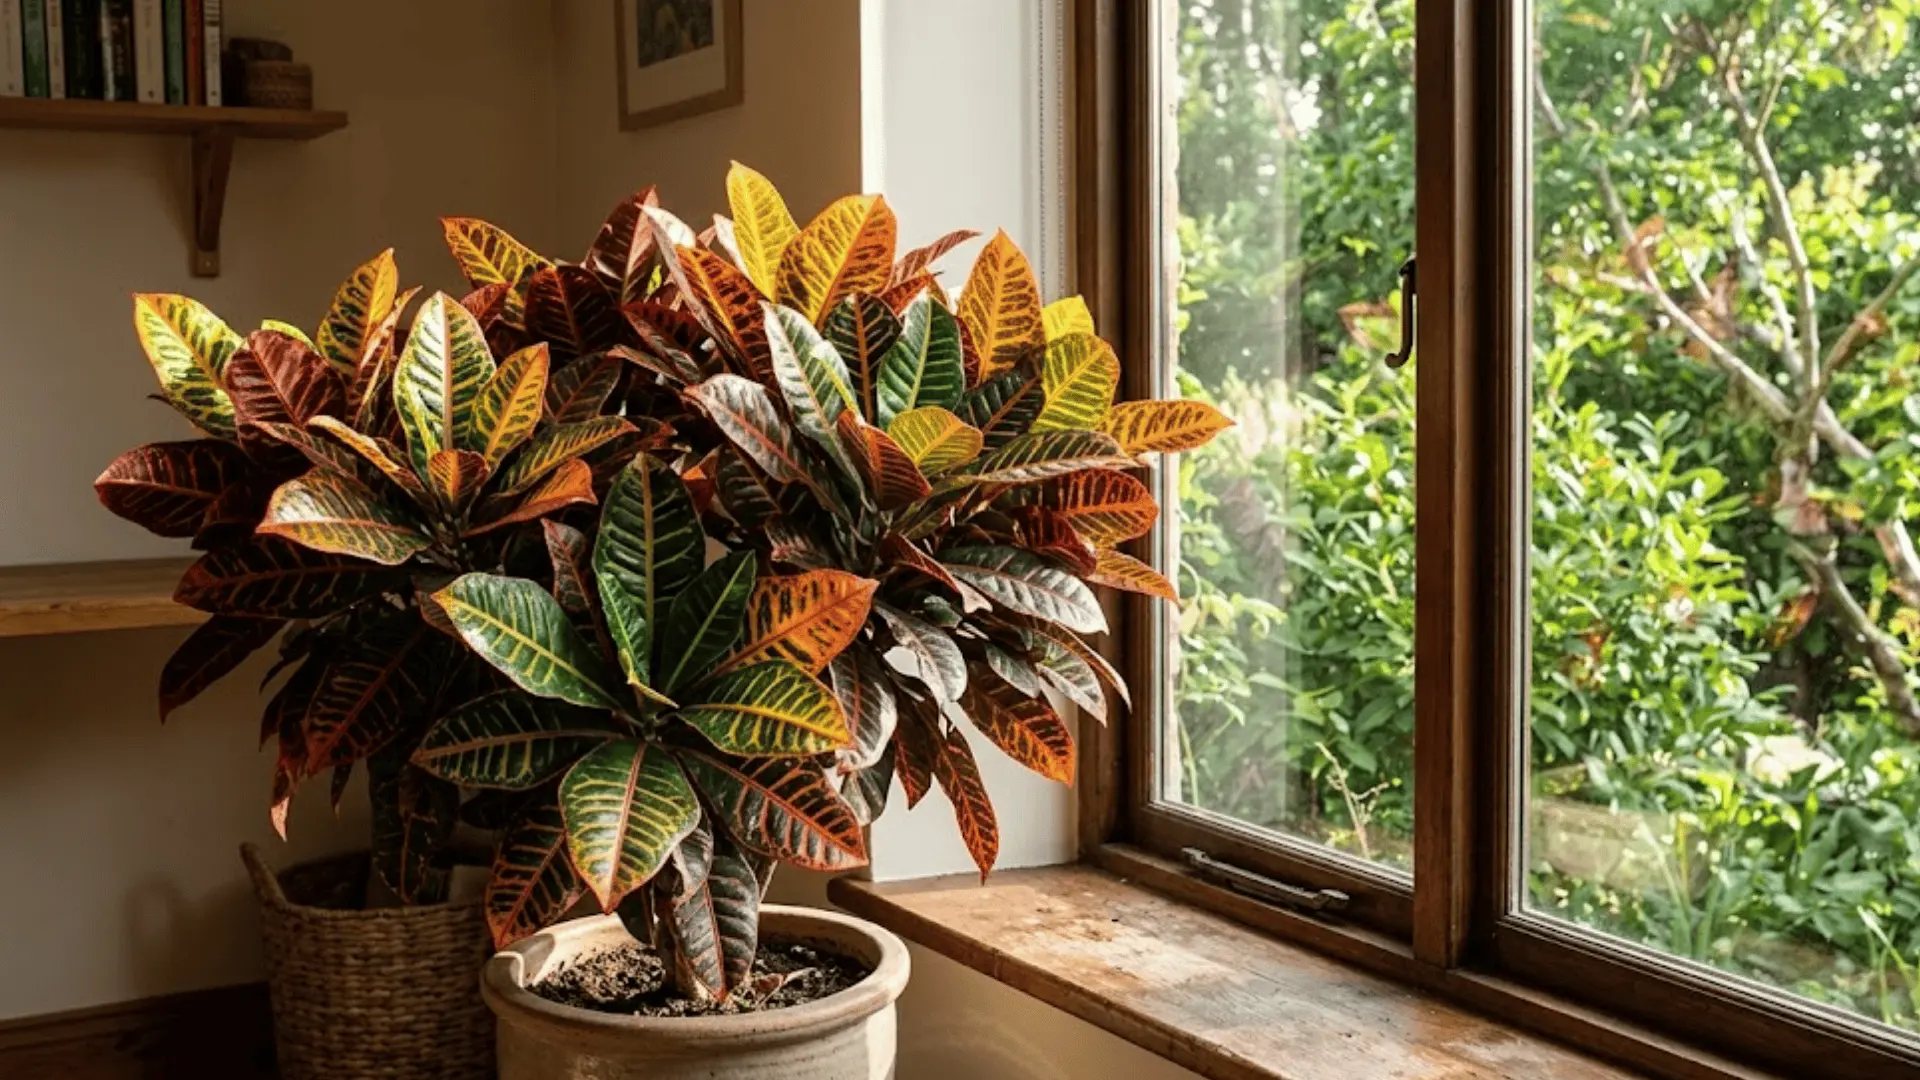
Croton is not shy about what it wants, and light is at the top of that list. Bright, indirect light for a good part of the day is what keeps those leaf colors saturated and bold.
Pull it too far from a window, and the plant essentially starts fading, like a photograph left in the sun too long, except the opposite problem entirely.
Signs Your Croton isn’t Getting the Right Light
When the light is off, the leaves say it first:
- Dull, greening leaves mean the plant isn’t getting enough brightness to hold its pigment.
- Leggy, stretched stems signal it’s reaching toward a light source it can barely find.
- Sudden leaf drop can follow prolonged low-light exposure, especially in winter.
- Washed-out color near the center of leaves often points to light that’s too harsh and direct.
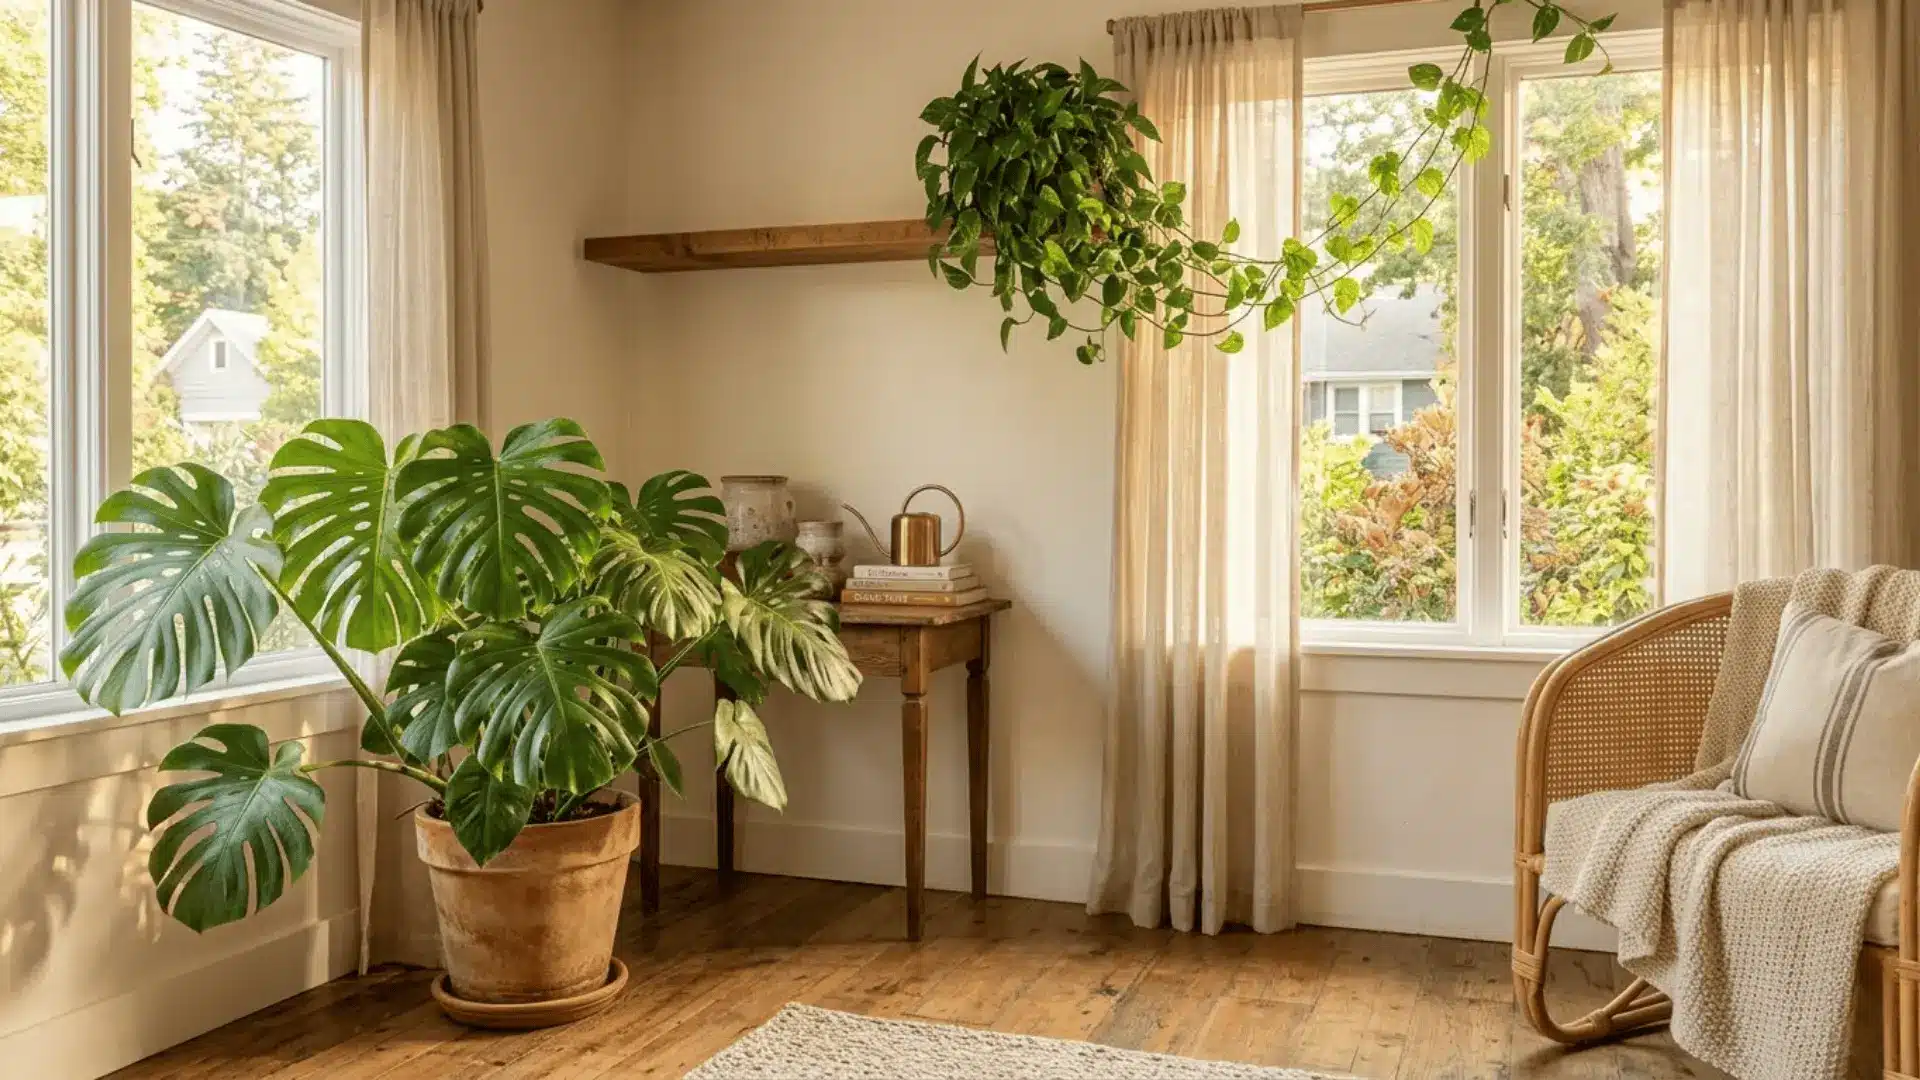
Best Placement for Your Croton
Getting the spot right from the start saves a lot of back-and-forth:
- East or west-facing windows offer the gentlest bright light without the intensity of full afternoon sun.
- South-facing windows work well in winter when light levels naturally dip.
- A few feet back from a south window in summer protects leaves from scorching.
- Avoid dark corners entirely, even temporarily, as crotons adjust poorly to sudden low-light shifts.
Watering Croton the Right Way
Croton does not want to sit in soggy soil, but it does not appreciate going bone dry either. The easiest way to stay on track is to check the top inch or two of soil before reaching for the watering can.
If it still feels damp, wait. If it is dry, water thoroughly.
That one habit alone prevents most of the common issues, overwatering being the bigger culprit of the two, often showing up as yellowing leaves or, worse, root rot quietly developing below the surface.
Best Practices to Water Croton Without Overthinking It
Once you find the rhythm, watering becomes second nature:
- Always let the top inch or two dry out before watering again; no fixed schedule is needed.
- Water thoroughly until it drains from the bottom, then empty the saucer so roots never sit in standing water.
- Cut back in winter when growth slows, and the soil holds moisture longer.
- Use room-temperature water to avoid shocking the roots, especially in cooler months.
Soil and Potting Needs
Getting the soil right is less about finding a perfect formula and more about avoiding the two things croton genuinely dislikes: compacted mix that holds too much moisture and pots that trap water with nowhere to go.
Everything else is fairly forgiving once those two boxes are checked.
| Factor | Ideal Choice | Why It Matters |
|---|---|---|
| Potting mix | Well-draining blend with perlite | Prevents waterlogging |
| Soil pH | Slightly acidic (4.5–6.5) | Supports nutrient uptake |
| Pot type | Any material with drainage holes | Avoids root rot |
| Repotting | When the roots outgrow the pot | Keeps growth healthy |
Temperature and Humidity Requirements for Croton
Croton is a tropical plant at heart, and its comfort zone reflects that. It wants warmth, moisture in the air, and zero exposure to chilly drafts or sudden temperature swings.
Keeping Temperatures in the Right Range
Croton is happiest in consistently warm conditions, anything below sixty degrees Fahrenheit, and it starts to protest, usually through leaf drop.
Keep it away from air conditioning vents, cold windowpanes in winter, and exterior doors that let in bursts of cold air.
Drafts are one of the most overlooked reasons a croton suddenly sheds leaves, so stable warmth matters more than hitting a perfect number.
Managing Humidity for a Thriving Croton
Coming from tropical origins, croton genuinely appreciates moisture in the air; average indoor humidity often falls a little short.
A pebble tray filled with water beneath the pot is one of the easiest fixes, as is placing a humidifier nearby during dry winter months.
Light misting works too, just avoid overdoing it in poor air circulation, as sitting moisture on leaves can invite fungal issues.
Feeding and Fertilizing Croton
Croton is not a heavy feeder, but a little nutrition during the growing season goes a long way toward keeping those colors rich and the growth steady.
A balanced liquid fertilizer once a month through spring and summer is plenty.
Dilute it to half strength if you want to play it safe; croton is more sensitive to overfeeding than underfeeding.
Too much fertilizer builds up salts in the soil and shows up as scorched leaf edges or dull foliage, which is the opposite of what you are going for.
Pruning and Maintenance Tips for Croton
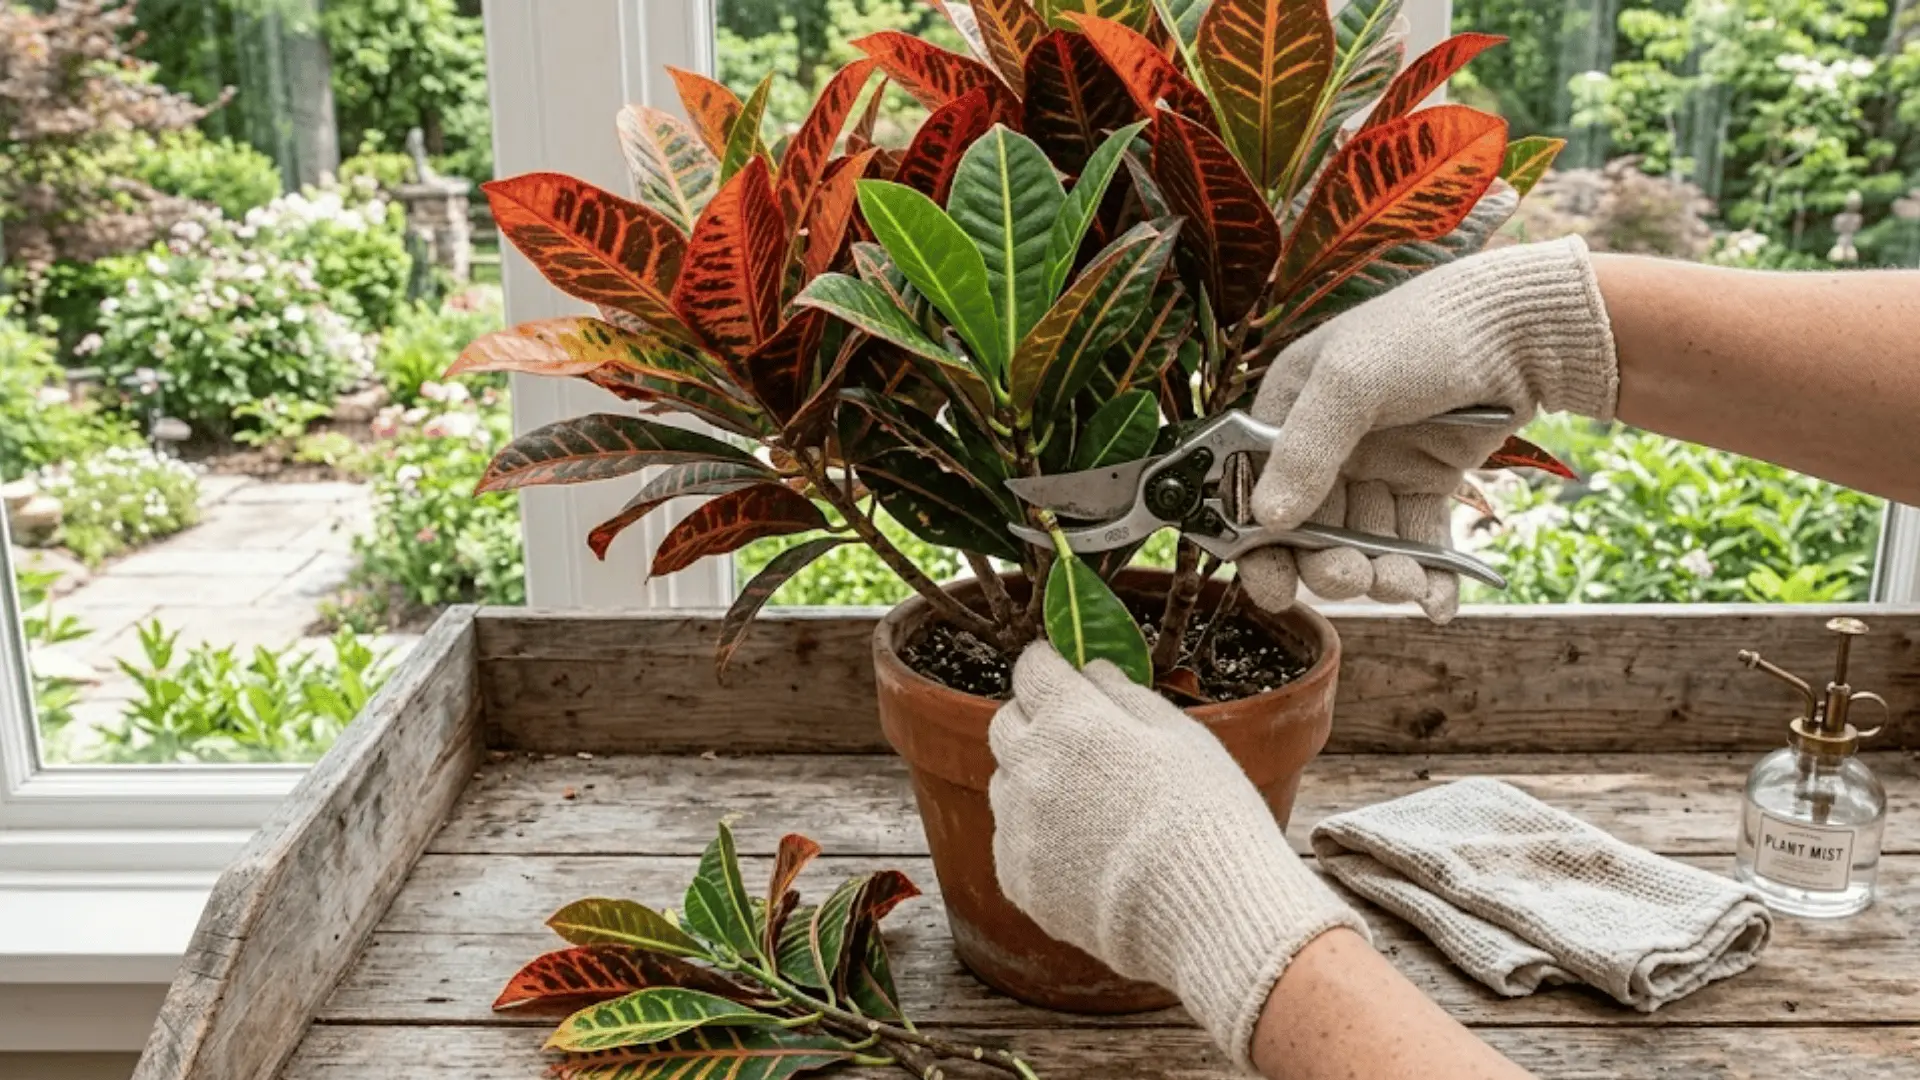
Croton does not demand much upkeep, but a little routine attention keeps it looking full, clean, and evenly shaped. Left completely untouched, it can get leggy or lopsided over time.
How to Prune Croton?
Pruning is straightforward and takes minutes once you know what to look for:
- Step 1: Wait until spring or early summer when the plant is actively growing.
- Step 2: Use clean, sharp scissors or pruning shears to avoid tearing the stems.
- Step 3: Cut just above a leaf node to encourage branching and bushier growth.
- Step 4: Remove any yellowing, damaged, or dead leaves at the base as you go.
Routine Maintenance Tips
Small habits done consistently make a bigger difference than occasional deep care:
- Wipe leaves down with a damp cloth every few weeks to clear dust and help the plant absorb light properly.
- Rotate the pot a quarter turn every week or two so all sides get equal light exposure.
- Check for pests while wiping leaves. Croton can attract spider mites and mealybugs if conditions get too dry.
- Wear gloves when pruning, as croton’s milky sap can irritate skin.
Common Croton Problems and Fixes
Even a well-cared-for croton throws a curveball occasionally. Most problems trace back to one of a few root causes, and once you know what to look for, the fix is usually simpler than the symptom suggests.
Problem 1: My Croton Keeps Dropping Leaves
The Fix: This almost always comes down to a change in environment, a new spot, a temperature shift, or a drafty corner. Give it a few weeks in a stable, warm location with consistent light, and the shedding usually slows on its own.
Problem 2: My Croton’s Leaves are Turning Yellow
The Fix: Yellow leaves on a croton point to overwatering more often than not. Let the soil dry out a little more between waterings and check that the pot is draining freely with no water pooling at the bottom.
Problem 3: My Croton’s Colors Look Dull and Washed Out
The Fix: Faded, greening foliage is a light problem. Move the plant closer to a bright window, an east or west-facing one works well, and the pigment typically starts returning within a few weeks.
Problem 4: My Croton Has Brown, Crispy Leaf Tips
The Fix: Dry air or inconsistent watering is usually the cause here. Boost humidity with a pebble tray or humidifier, and make sure you are watering thoroughly rather than just dampening the top layer of soil.
Latest Insights and Trends in Croton Care
Croton has quietly become one of the more talked-about statement houseplants, and the conversation around caring for it has gotten more nuanced.
Grow lights are increasingly popular for maintaining leaf color in low-light homes, while filtered or distilled water is gaining traction as an easy way to prevent the brown tips that tap water minerals often cause.
Humidity control is another area getting more attention, especially for tropical varieties.
A recurring piece of advice across plant communities sums it up well: wait for the soil, not the calendar. Observation-based care consistently outperforms any fixed watering schedule.
For current community discussions, r/crotons on Reddit is an active and genuinely helpful space.
Indoor vs. Outdoor Croton Care
Croton can thrive in both settings, but what it needs from you shifts depending on where it lives. The core requirements stay the same; the variables you manage just change.
| Care Factor | Indoor Croton | Outdoor Croton |
|---|---|---|
| Light | Bright indirect light near a window | Handles more direct sun; morning light is ideal |
| Humidity | Needs active management via misting or pebble trays | Naturally higher humidity outdoors |
| Temperature | Keep away from drafts and AC vents | Thrives in warm climates, bring in below 60°F |
| Stability | Sensitive to being moved or repositioned | Adapts better to gradual environmental shifts |
Final Thoughts
Croton asks for attention, not perfection. Once you understand its language, the dramatic leaf drop, the color shifts, the humidity cravings, it starts to feel less like a fussy plant and more like one that is simply communicating.
Get the light right, water mindfully, and keep the environment stable, and Croton genuinely takes care of the rest.
The payoff, those saturated, painted leaves brightening up a corner of your home, is absolutely worth the learning curve.
Tried something that worked surprisingly well for your croton? Drop it in the comments below.