If you’ve ever tried cooking something on high heat—say, a big pot of chili—and ended up with splatters all over the wall, you know why heat-resistant tiles matter.
When I first redid my kitchen, I had no clue that regular tiles might not hold up behind the stove. It wasn’t until a year later, when I noticed a cracked tile and some discoloration that I realized: you need the right tile for this job.
Why Heat Resistance Is a Big Deal (From Someone Who Learned the Hard Way)
The wall behind your stove takes a beating. It gets hit with steam, oil, and bursts of heat that can wear down regular tiles fast. The last thing you want is to see your backsplash fading, cracking, or coming loose.
That’s why I started looking into heat-resistant options—and honestly, my only regret is not doing it sooner.
How I Chose the Best Heat Resistant Kitchen Stove Tile
After some trial and error, I found that the best heat resistant kitchen stove tile is the one that can handle daily cooking challenges while also matching your style. For me, that meant looking for something tough, easy to clean, and, let’s be honest, good-looking.
My Top Picks (and Why They Work)
- Porcelain Tiles: These are my go-to. They’re tough, don’t mind the heat, and come in every color and pattern you can imagine.
- Natural Stone: I love the earthy vibe of slate and granite. They’re naturally heatproof and look incredible.
- Glass Tiles: I was skeptical, but my neighbor used glass tiles behind her stove and they’re holding up beautifully—plus, super easy to clean.
What I Wish I Knew Before Buying
- Get tiles that are labeled as “heat-resistant.” Trust me, it’s worth checking.
- The right adhesive and grout matter just as much as the tile itself.
- Glossy tiles clean up fast, but matte finishes hide fingerprints better. Depends on your cooking style!
Here’s How I Did My Own Heat-Resistant Backsplash
- Clean the Wall: Wipe off every bit of grease. Adhesive won’t stick otherwise.
- Pick the Right Adhesive: My local hardware guy recommended a high-temp option—and he was right.
- Layout the Tiles: I dry-fitted everything first (saved me from some weird cuts).
- Set Tiles and Use Spacers: This part was almost relaxing—just put on some music and go slow.
- Let It Dry: I promise, the waiting is the hardest part.
- Grout and Seal: Don’t skip sealing the grout, especially if you’re a messy cook like me.
Main Things You Shouldn’t Forget
My Takeaways
- Go for tiles and adhesive made for high temperature zones.
- Sealing grout makes cleaning up way easier and keeps things looking new.
- Don’t stress if your first row isn’t perfect—imperfections add character!
A Few Extra Tips
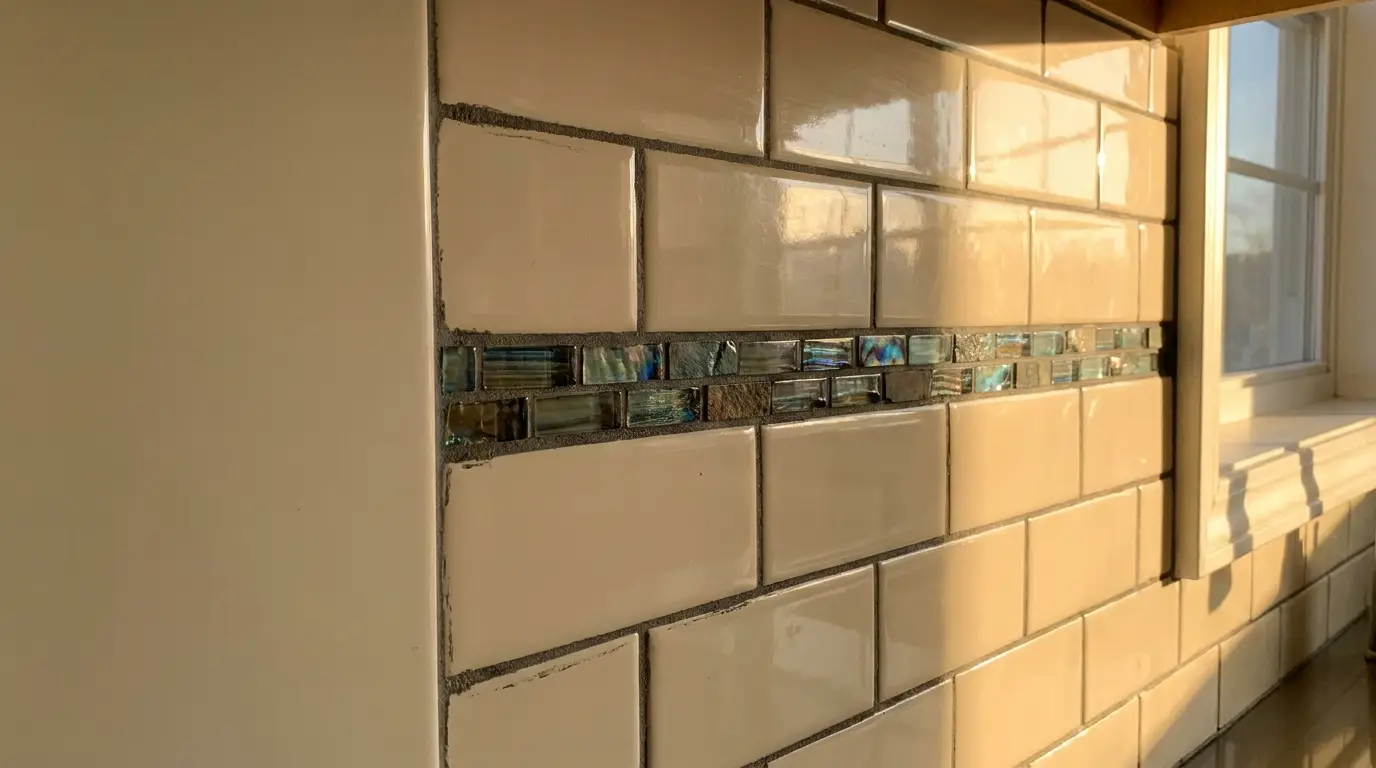
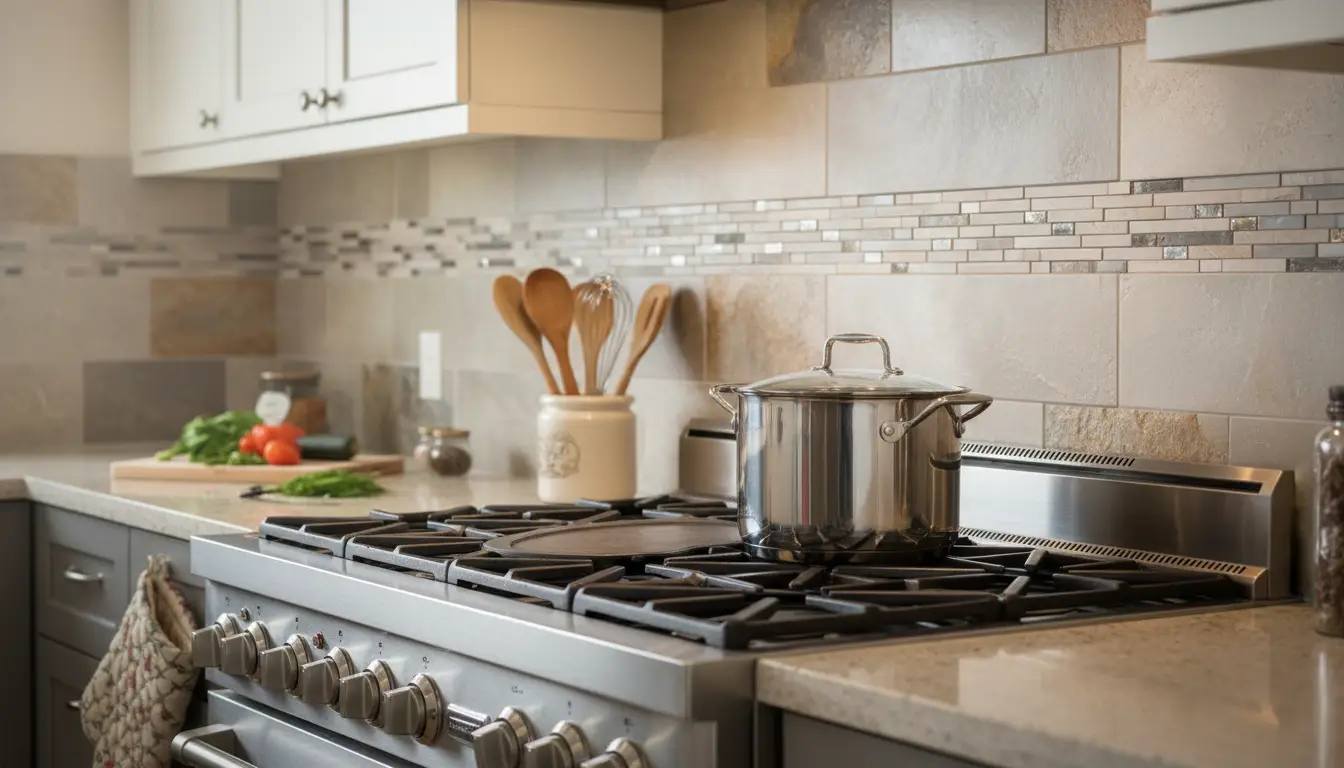
I learned that using a darker grout around the stove helps hide little stains. If you want a pop of color or style, try adding a mosaic strip right above the range. And if you cook a lot, glossy tiles are your friend—they wipe right off.
FAQs
Q1: Is porcelain really worth the extra cost?
Honestly, yes. It’s tough, heat-proof, and looks great for years.
Q2: How about stone tiles behind a gas stove?
No problem, as long as you seal them. I’ve had slate behind mine for years, and it still looks new.
Q3: Will glass tiles crack from heat?
High-quality glass is surprisingly durable. Just be careful during installation.
Q4: How do I prevent grout stains?
Seal it well and clean up spills quickly. Been there, learned that the hard way.
Q5: What’s easiest to keep clean?
Glossy porcelain or glass—grease just wipes right off.
Conclusion
Switching to heat-resistant tiles behind my stove was one of the smartest updates I made in my kitchen. It’s about protecting your space, but it’s also a chance to get creative with colors and patterns. Whether you cook every night or just want a worry-free, stylish kitchen, these tiles are worth it.