Knowing when to prune crepe myrtle helps you protect its flowers, shape, and long-term health. The right timing also reduces weak growth and cold damage. Most crepe myrtles need light, careful pruning instead of harsh yearly cutting.
You should remove only branches that create a clear problem. Late winter is usually the safest period because the tree is dormant. Bare branches also make damage and crowding easier to see.
You will learn the best pruning time, the right cutting steps, and how much growth to remove. You will also learn which tools work best and which mistakes can harm the tree.
With a simple plan, you can keep your crepe myrtle strong, balanced, and ready for steady, healthy summer growth.
What to Know Before You Start Pruning
Crepe myrtles respond best to light pruning that keeps their natural shape. Heavy cutting can lead to weak shoots, large wounds, and uneven growth.
Before you make any cuts, look at the whole tree from several angles. Check for dead wood, rubbing branches, crowded growth, and limbs that look damaged or unsafe.
Your goal is not to reduce every branch. Instead, remove only the growth that affects structure, airflow, or safety.
Where you plant the tree in the first place also shapes how much correction it needs later, so reviewing safe planting distances for crepe myrtles before you prune can help you understand why certain branches grew crowded or misdirected in the first place.
Use clean, sharp tools that match the branch size. Make each cut just outside the branch collar, and avoid leaving long stubs.
It also helps to step back often while working. This makes it easier to keep the canopy balanced and prevents you from removing more growth than the tree needs.
When to Prune Crepe Myrtle?
Knowing when to prune crepe myrtle also means knowing when to leave the tree alone. Pruning at the wrong time can expose new growth to cold, add stress, or affect the tree’s normal growth cycle. The exact timing depends on your local climate and winter conditions.
| Climate | Usual Pruning Time | Signs to Look For | What to Keep in Mind |
|---|---|---|---|
| Mild winter areas | January to February | Branches are bare, and buds remain closed | Prune after the coldest part of winter. Avoid cutting if a hard freeze is still expected. |
| Cooler winter areas | February to early March | Severe freezes have passed, but spring growth has not started | Waiting longer lowers the risk of cold damage to freshly cut branches. |
| Areas with late freezes | Late winter to early spring | Branches remain bare, and buds have not started opening | Follow weather conditions closely instead of pruning on a fixed date. |
| Warm southern areas | Mid to late winter | The tree is dormant even though temperatures may be mild | Prune before warmer weather causes buds and new shoots to develop. |
Avoid major pruning in fall because new shoots may be damaged by winter cold. Clemson University’s Home and Garden Information Center notes that pruning while the plant stays dormant gives the best results, since cuts made during active growth heal more slowly.
The safest approach is to use the calendar, local weather, and the tree’s growth stage together.
Tools Needed for Pruning
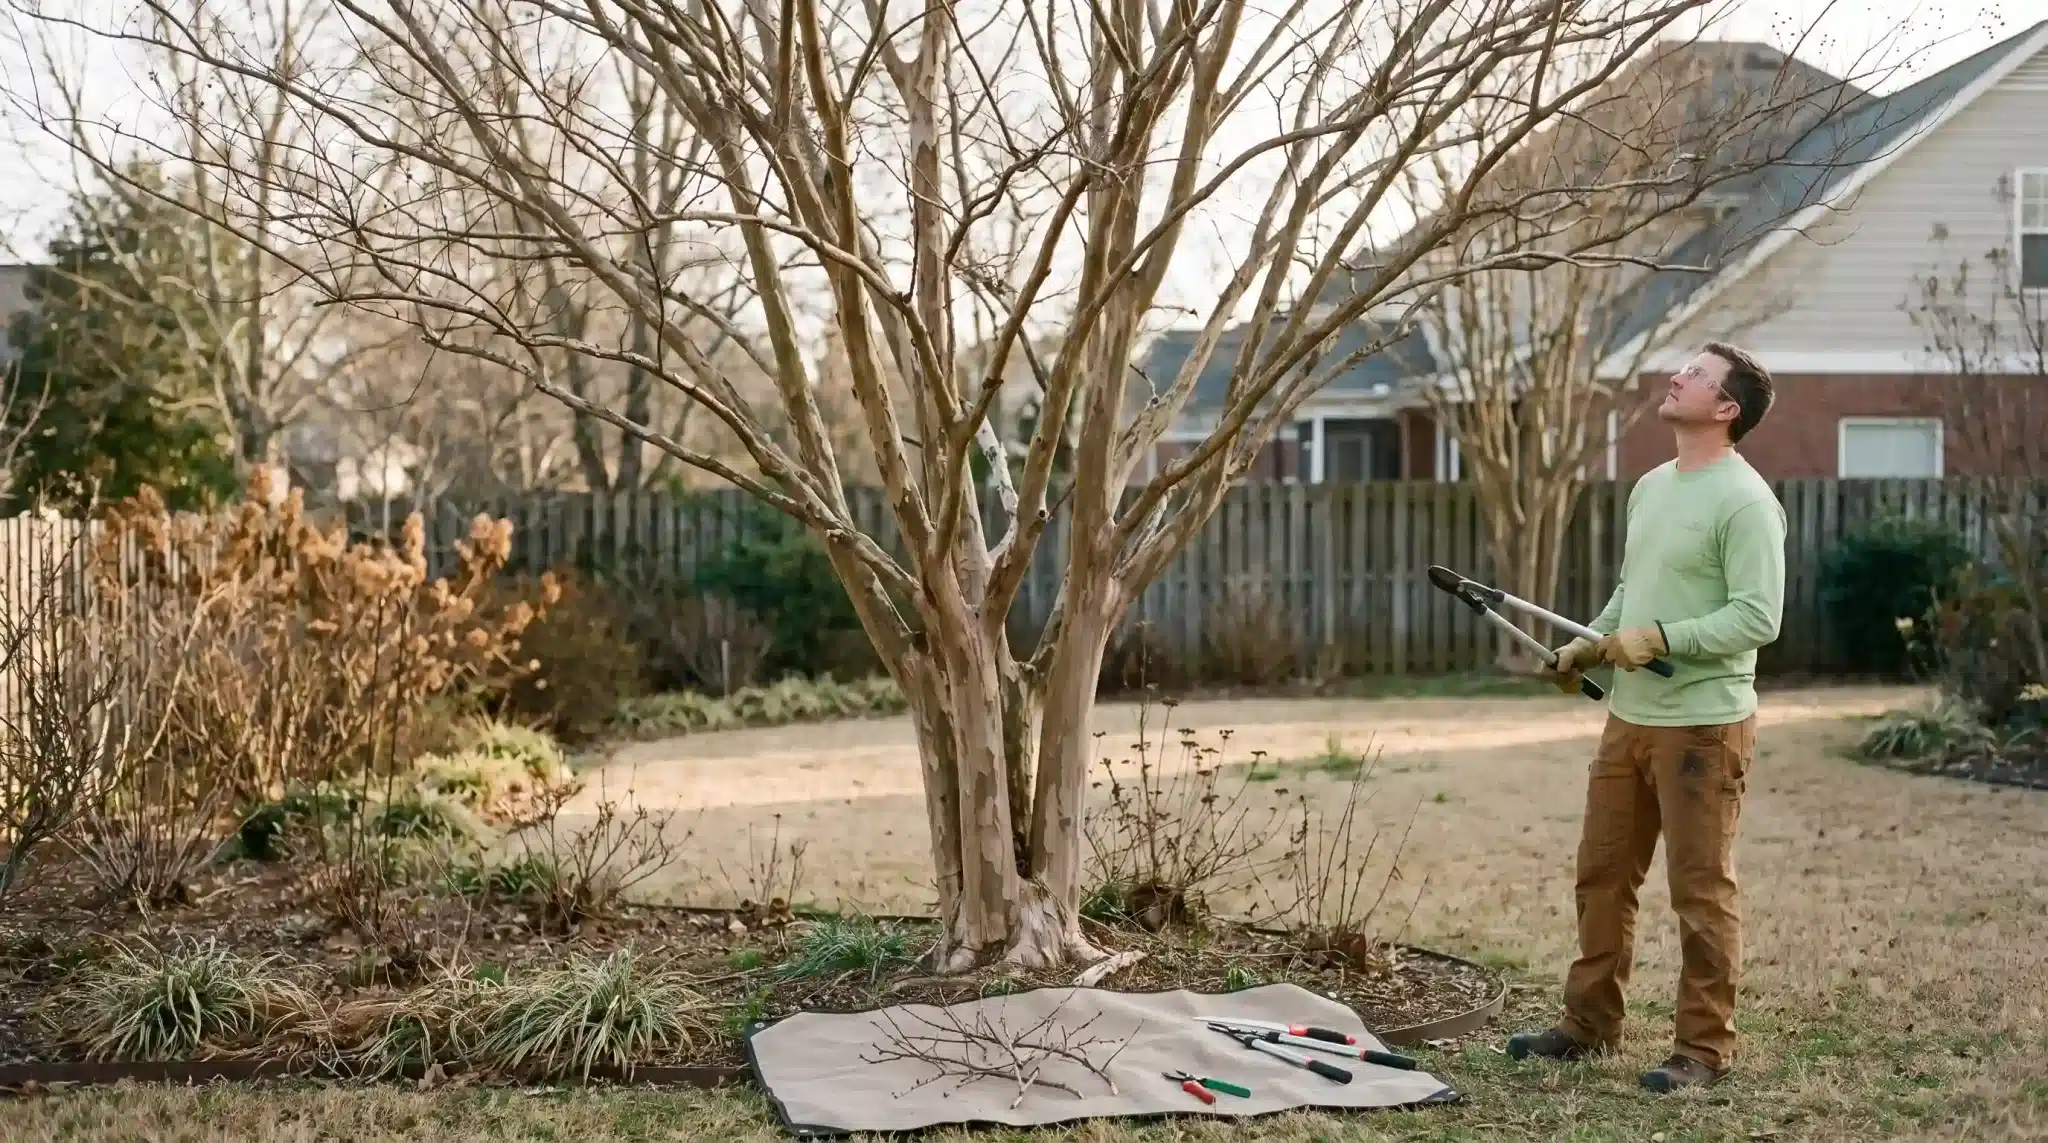
You only need a few clean, sharp tools for most crepe myrtles. Match each tool to the branch size and task. The list below covers the basic equipment for safe, controlled cuts.
- Hand pruners: Use them for thin stems, seed heads, and small suckers.
- Loppers: Use them when a branch is too thick for hand pruners.
- Pruning saw: Use it for larger limbs that need slow, supported cuts.
- Gloves: Wear them for grip and protection from rough bark.
- Disinfectant: Clean blades after cutting diseased or damaged wood.
- Eye protection: Use it when cutting branches above shoulder level.
Check every blade before starting and replace damaged tools. Sharp equipment needs less force and causes less bark injury.
How to Prune Crepe Myrtle: Step by Step
Learning how to prune crepe myrtle becomes easier when you follow a clear order. Start with damaged growth, then improve spacing and shape.
Step 1: Inspect the Tree First
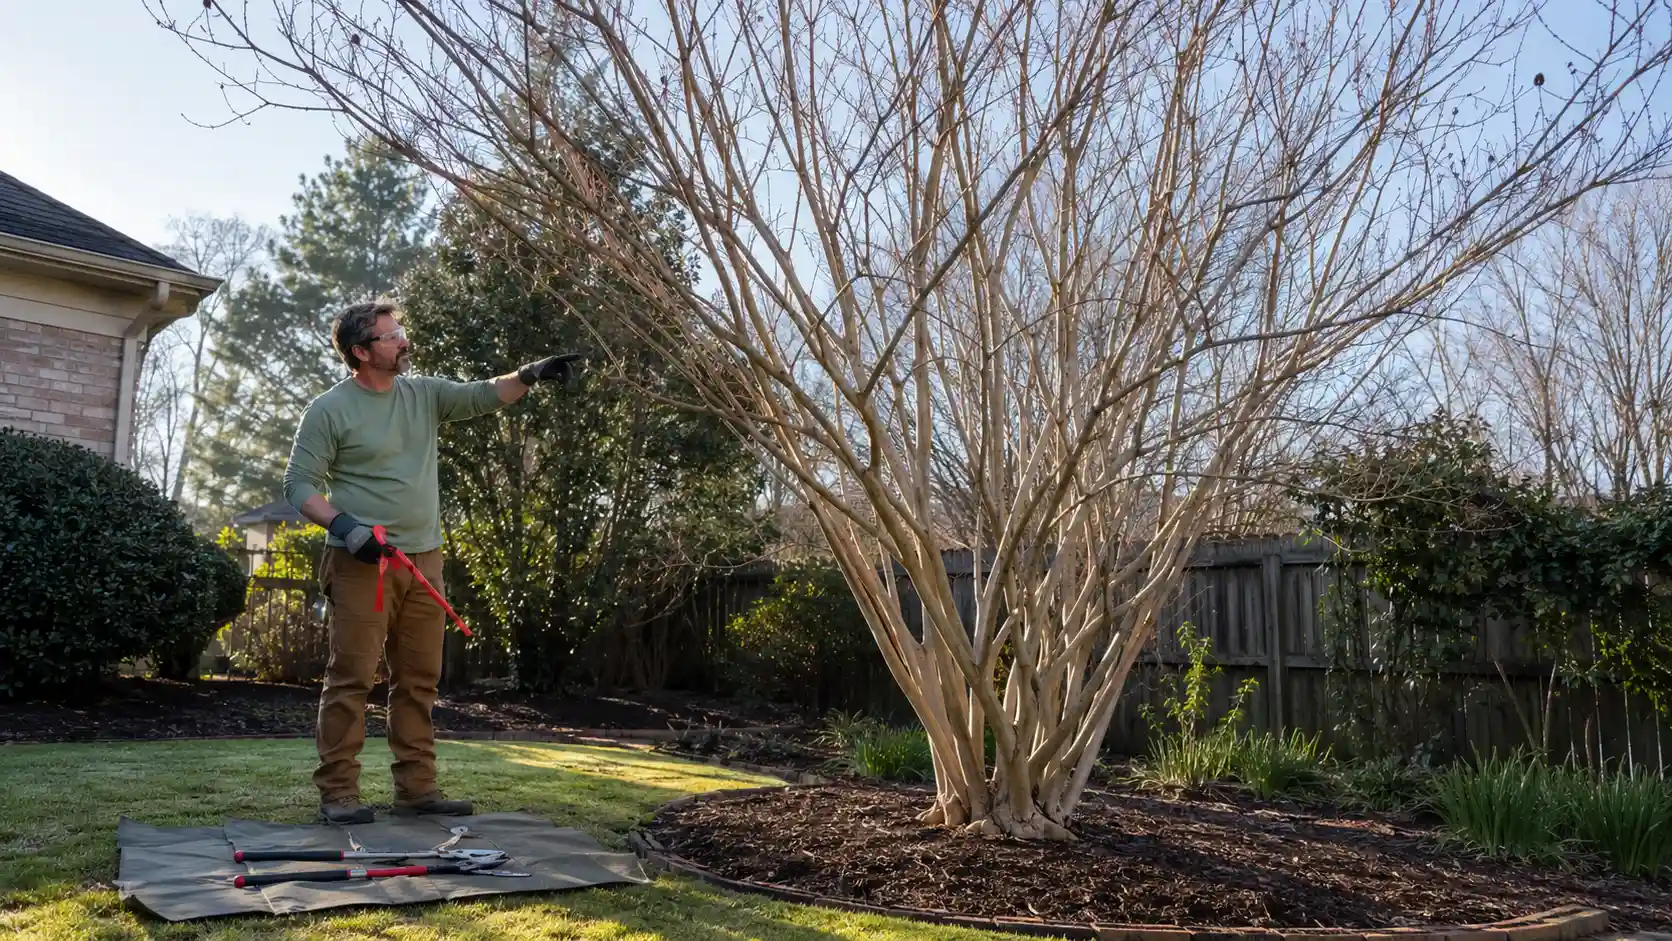
Stand several feet away and study the whole tree before cutting. Look for dead, broken, rubbing, crowded, or inward-growing branches.
Check whether the main trunks are healthy, evenly spaced, and free from cracks. Mark branches that block paths, roofs, or nearby plants.
This pause helps you avoid cuts that solve no real problem. Marking planned cuts ahead of time prevents random trimming and over-pruning. Your goal is to solve clear problems without changing the natural outline.
Step 2: Remove Suckers and Low Growth
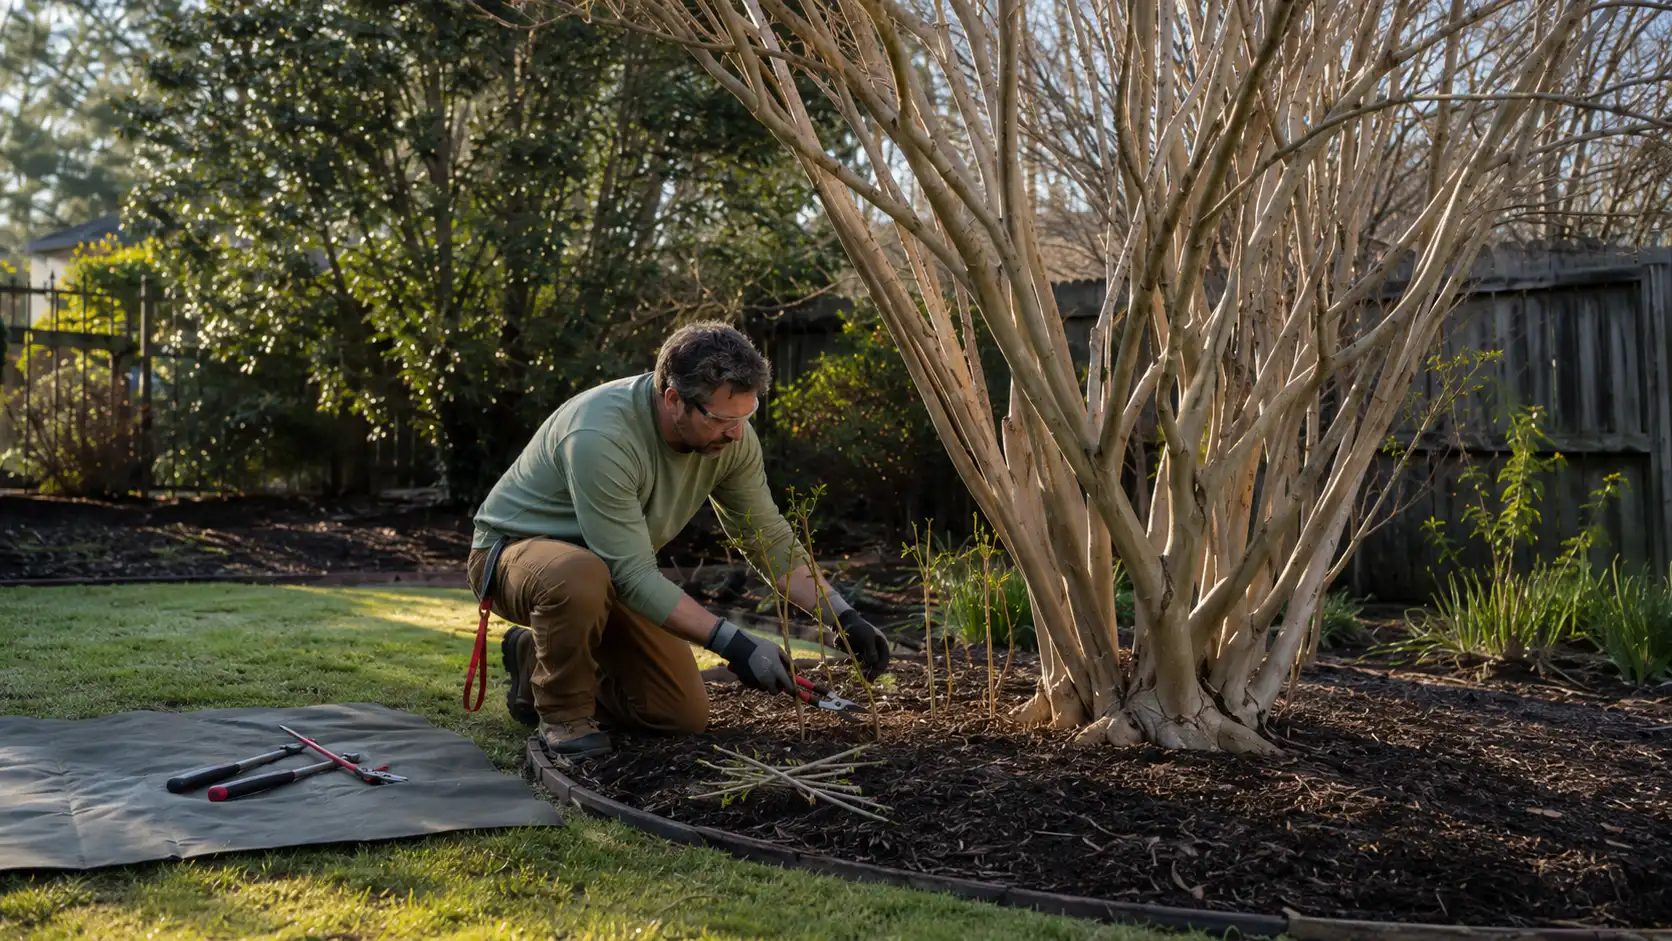
Begin with suckers growing from the roots or around the trunk base. Cut them close without damaging nearby bark.
Remove weak shoots growing along the lower trunks, especially those that crowd the main structure. Keep useful lower branches on young trees.
These branches help young trunks build strength and steady growth. A clean base looks neat, but removing everything leaves the tree unbalanced. This balance also supports a fuller canopy as the tree matures.
Step 3: Cut Dead and Crossing Branches
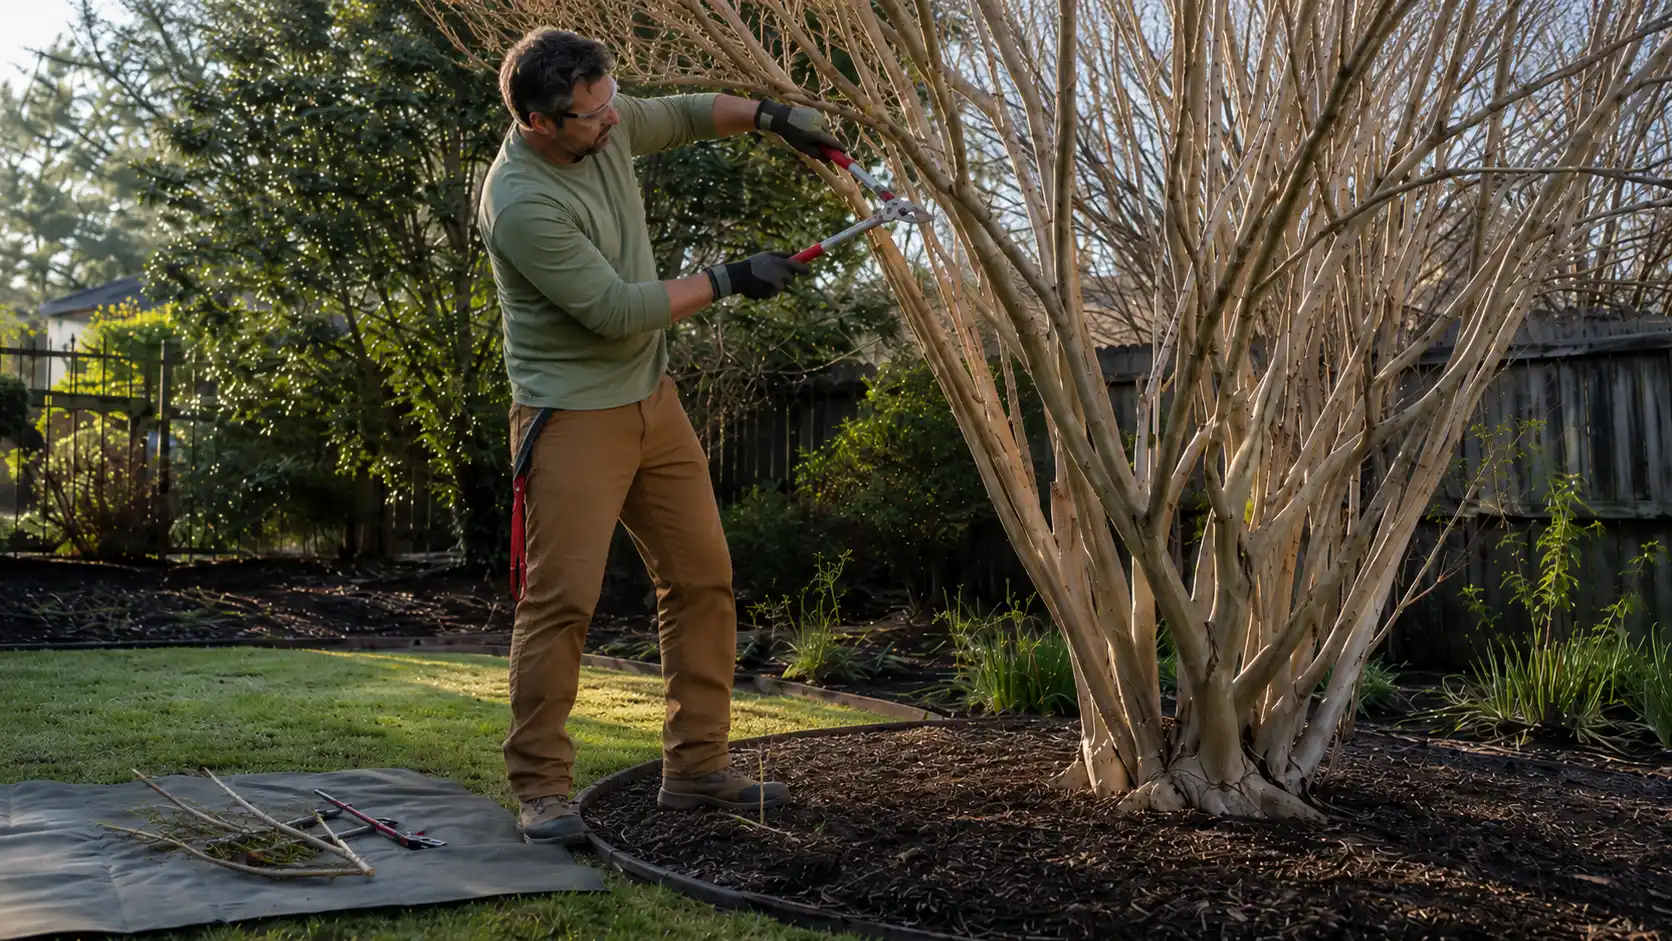
Remove dead, cracked, diseased, or storm-damaged wood first. Then remove branches that rub, cross, or crowd healthy growth.
Keep the stronger, better-placed branch and remove its weaker partner. Cut inward-growing limbs that reduce airflow through the center.
Remove weak, narrow forks or overloaded branches, working slowly and stepping back after several cuts. Careful removal helps prevent torn bark and crowded growth later.
Step 4: Thin the Canopy Carefully
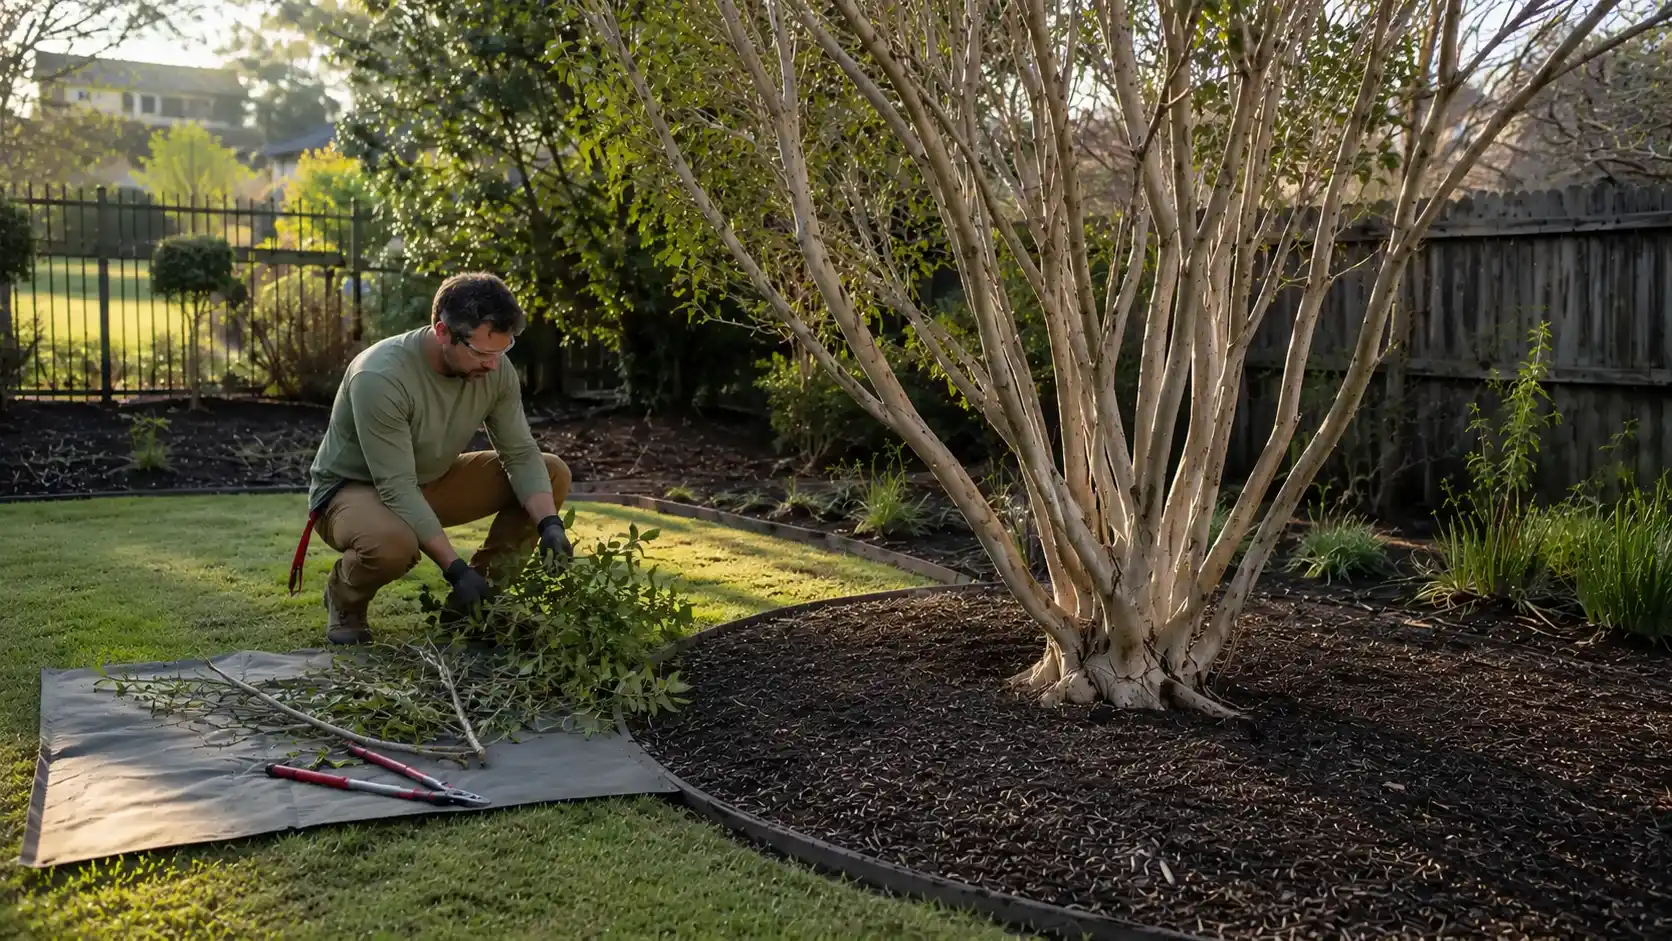
Thin selected branches instead of shortening every stem across the top. Keep strong limbs that grow outward in balanced directions.
Remove smaller stems that crowd the center, block light, or press against stronger branches. The canopy should look open, but never bare. In routine pruning, gradual thinning keeps its shape longer than heavy cutting.
Keep enough foliage to feed the tree through spring. Stop when light passes through without exposing every main branch.
Step 5: Make Clean Pruning Cuts
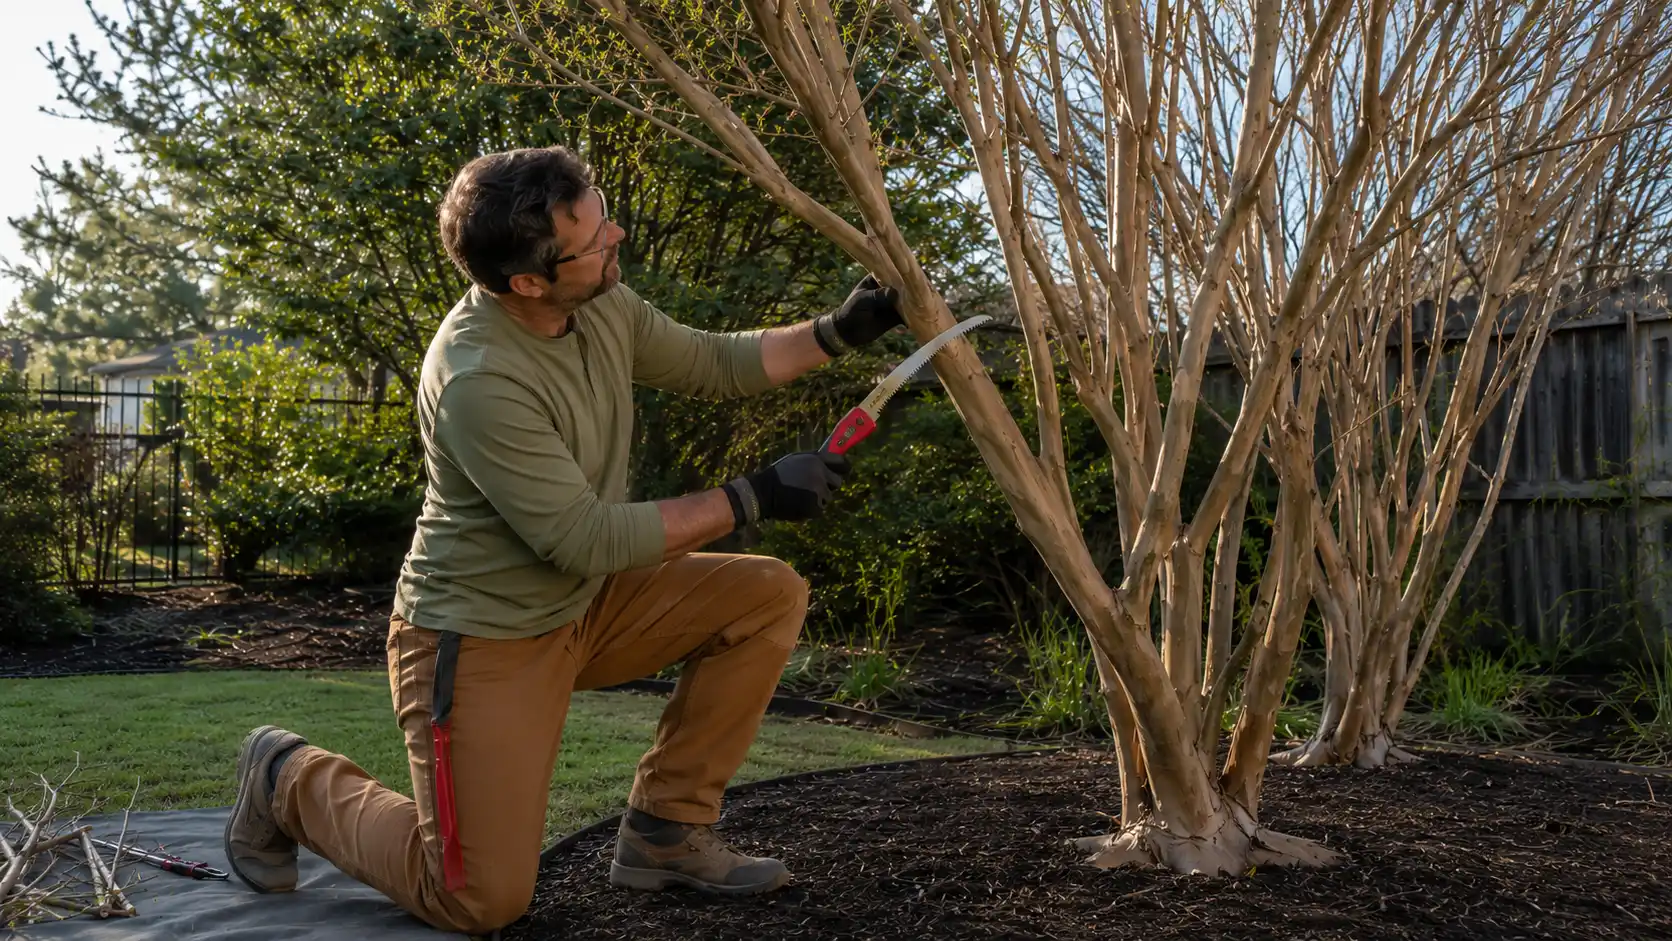
Make each cut just outside the raised branch collar where the limb joins a larger branch or trunk. Avoid cutting flush against the trunk or leaving a long stub.
Support heavy limbs before making the final cut so their weight does not tear the bark. Work slowly and keep each cut smooth and controlled.
Clean blades after cutting diseased wood before using them on healthy branches. Proper cut placement lowers the chance of unnecessary bark damage and leaves the tree with cleaner wounds.
Pruning Techniques for a Crepe Myrtle
Good technique matters when learning how to prune crepe myrtle without damaging its structure. Focus on controlled cuts, proper branch selection, and gradual thinning rather than shortening limbs at random.
- Selective thinning: Remove chosen branches from crowded areas instead of shortening the whole canopy.
- Proper cut placement: Cut just outside the branch collar without cutting into the trunk.
- Structural pruning: Keep healthy limbs that grow outward and support the main framework.
- Gradual removal: Take out only the amount needed to correct a clear problem.
- Height control: Avoid cutting all upper branches to the same level.
These techniques help control branch density and size without causing large wounds or weak regrowth.
How to Prune a Crepe Myrtle at Any Stage
Crepe myrtles need careful pruning based on their age and size. Young trees need light shaping to build a strong frame, while overgrown trees need gradual correction over several seasons. In both cases, the goal is to keep the tree healthy, balanced, and natural-looking.
Stage 1: Pruning a Young Crepe Myrtle
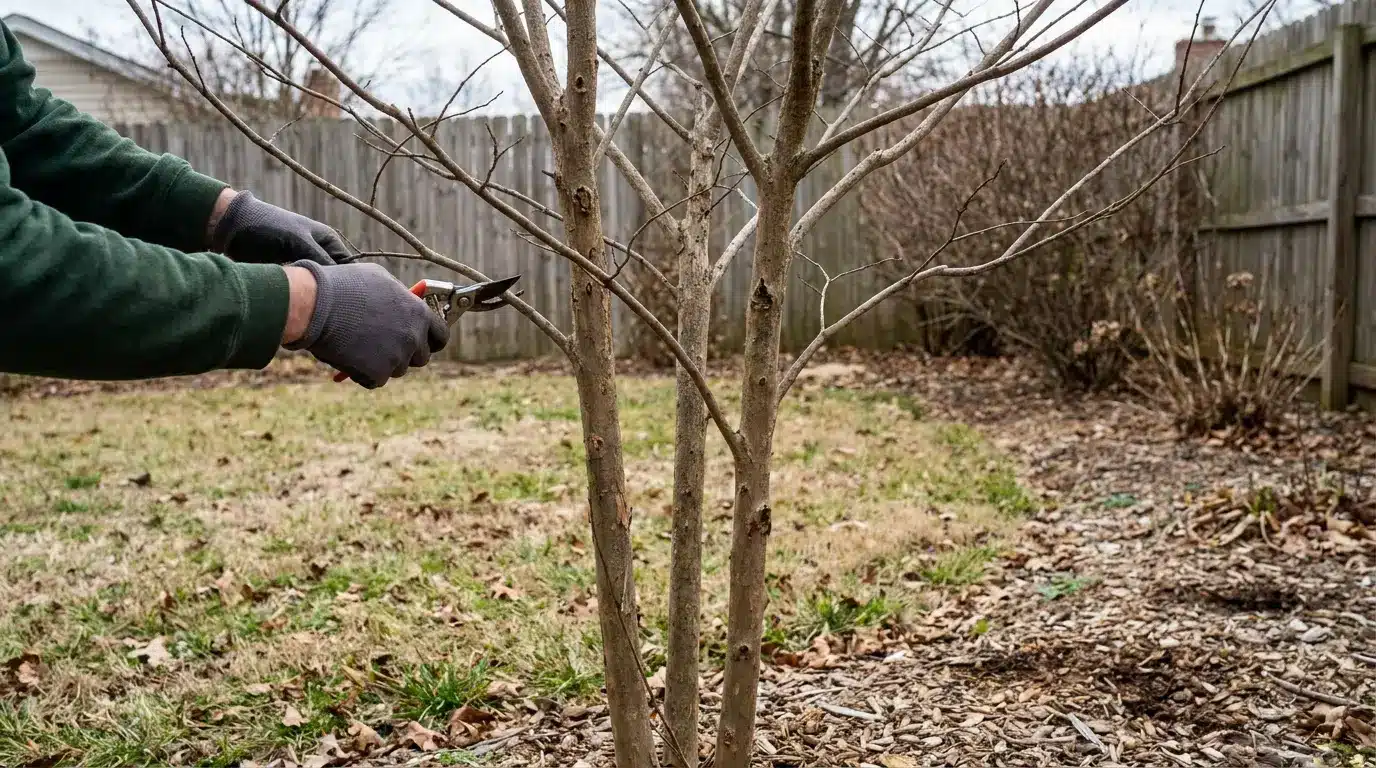
Young crepe myrtles need light pruning to build a strong, balanced shape. Keep three to five healthy main trunks and remove weak, damaged, crowded, or rubbing stems.
Leave some lower growth so the trunks can thicken naturally. Keep well-spaced branches that grow in different directions, and make small cuts during the dormant season.
Avoid cutting the top just to reduce height. Gentle shaping helps the tree develop a strong structure and natural form as it grows.
Stage 2: Pruning an Overgrown Crepe Myrtle
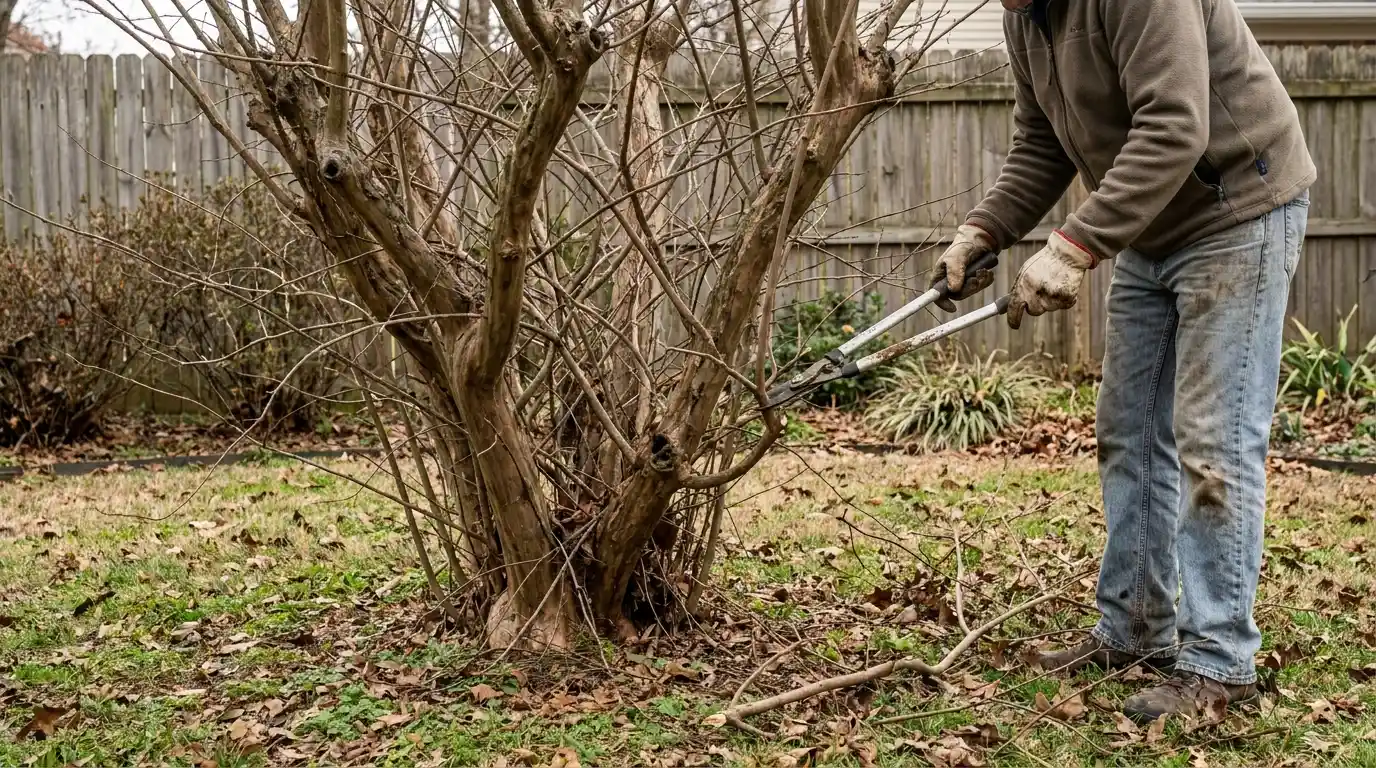
An overgrown crepe myrtle needs selective pruning that improves structure without stripping the canopy. Start with dead, damaged, diseased, rubbing, or inward-growing branches.
Keep healthy structural limbs that support the main framework. Check the tree from different angles as you work so one side does not become too open.
Avoid cutting the top simply to reduce height. Large, heavy, or difficult-to-reach limbs should be handled by a trained arborist.
How Much Should You Remove?
Remove only branches that affect health, safety, airflow, or shape. A mature tree rarely needs one-quarter of its canopy removed. Use the table below to judge whether a branch should stay or go.
| Branch Condition | Best Action | Why It Matters |
|---|---|---|
| Dead, Broken, or Diseased | Remove completely | Prevents decay, pests, or disease from spreading to healthy wood |
| Rubbing or Crowded | Remove the weaker branch | Rubbing bark creates open wounds that invite insects and rot |
| Healthy and Well Placed | Keep it | Supports the tree’s natural shape and long-term structure |
| Too Tall but Healthy | Do not top it | Topping triggers weak, fast-growing shoots and stresses the tree that the tree cannot recover from easily |
| Growing Toward the Trunk | Remove it | Inward growth blocks airflow and light to the tree’s interior |
| Low or Overhanging a Walkway | Prune for clearance only | Keeps the area safe without removing more canopy than needed |
Spread major corrections across two or three winters. This slower approach limits stress and reduces the burst of weak shoots. Never cut every upper branch to one height.
North Carolina State Extension warns that this severe form of topping, often called crepe murder, results in shorter bloom time, delayed flowering, weaker branching, and more insect and disease problems.
When Not to Prune a Crepe Myrtle
Crepe myrtles do not need major pruning in every season. Choosing the wrong time can expose new growth to cold, add stress, or affect the tree’s normal growth cycle.
- Fall: Avoid heavy pruning because fresh growth may be damaged by winter cold.
- Active spring growth: Skip major cuts once leaves and new shoots begin to develop.
- Hot, dry periods: Avoid severe pruning when the tree is already under heat or drought stress.
- Before hard freezes: Delay large cuts if very cold weather is expected.
- First season after planting: Remove only broken or damaged branches while the roots become established.
- Summer: Limit pruning to dead, broken, diseased, or unsafe growth.
Waiting for better conditions helps the tree recover more evenly and reduces unnecessary stress.
What to Do After You Prune a Crepe Myrtle
Proper aftercare matters just as much as timing when you prune a crepe myrtle. In the weeks that follow, check soil moisture regularly and water during dry spells, but avoid soil that stays constantly wet, since this stresses the roots.
Maintain a light layer of mulch over the root zone to reduce moisture loss, and leave a few inches of space between the mulch and each trunk to protect the bark from rot. A full crepe myrtle care routine for watering, feeding, and seasonal maintenance will help the tree recover fully once new growth resumes.
Keep an eye on new growth for unusual dieback, weak shoots, or other early signs of stress that might signal a problem. Hold off on heavy fertilizer right after pruning, since it often causes weak, fast growth that will not hold up well.
After storms, walk the tree and check for any newly broken or damaged limbs. Careful timing paired with steady aftercare gives a crepe myrtle the best chance at a strong, healthy recovery through the following growing season.
Common Crepe Myrtle Pruning Mistakes
Most pruning problems come from poor cut placement or removing more healthy wood than needed. Check for these mistakes before and during the job.
- Topping: Cutting upper branches to one height can lead to weak shoots and large wounds.
- Flush cuts: Cutting against the trunk damages the branch collar.
- Long stubs: Leaving extra branch material can slow normal wound closure.
- Dull tools: Poor blades may crush or tear bark instead of making clean cuts.
- Removing too much: Heavy thinning can leave the canopy uneven and add stress to the tree.
Selective cuts are usually safer than trying to force a mature crepe myrtle into a fixed size.
Frequently Asked Questions
Should I use pruning paint on cuts?
Pruning paint is usually unnecessary on a healthy crepe myrtle. Clean cuts close on their own within a season, and thick coatings can trap moisture against the wood, which slows natural healing and may encourage rot underneath the sealed surface.
Can I prune a newly planted crepe myrtle?
Limit pruning to broken or damaged branches during the first growing season after planting. The roots need time to settle into the soil, and removing healthy wood early can slow establishment and delay the tree from reaching its mature shape.
How can I tell whether a branch is dead?
Scratch a small patch of bark with a clean blade near the tip of the branch. Green tissue underneath suggests the wood is still alive, while dry, brown tissue usually means that section has died and should be removed.
Should I prune before heavy rain?
Choose a dry day whenever possible for any major pruning work. Dry conditions make tools easier to handle and give fresh cuts enough time to close before long stretches of rain or heavy moisture settle in.
Can a crepe myrtle grow as a shrub?
Yes, several varieties naturally grow as broad, multi-stemmed shrubs rather than single-trunk trees. Prune these lightly to preserve their natural rounded form instead of forcing every plant into a tall tree shape it was never meant to hold.
Final Thoughts
Deciding when to prune crepe myrtle comes down to patience and timing. Late winter, after the hardest freezes but before new leaves open, gives the tree its safest window to recover and rebloom.
Careful technique matters as much as timing. Remove only dead, damaged, rubbing, or crowded branches while leaving healthy structural limbs in place, and always cut just outside the branch collar with sharp, clean tools.
Small, selective cuts protect the tree far better than heavy topping, which leaves large wounds and forces weak regrowth.
A yearly check keeps most healthy trees in good shape, though a trained arborist should handle branches that feel unsafe or hard to reach. Start planning your next pruning season today. Drop a comment below and share your questions.