Your driveway takes a beating year after year. Freeze-thaw cycles, UV exposure, oil drips, and the constant weight of vehicles all add up over time.
When you start seeing fading, surface cracking, or rough patches spreading across the slab, that’s your driveway telling you it’s time to do something about it. The encouraging part is that you don’t necessarily need to rip everything out and start over.
A properly planned reseal or resurface job — done with the right product, in the right conditions, and with the right preparation — can add years back to the life of your driveway and leave it looking sharp.
This guide covers the full process from start to finish: choosing the right material for your surface type, timing the project correctly, doing the prep work that actually determines how long the job holds up, applying the product, and protecting the surface while it cures. Whether you’re dealing with asphalt or concrete, this walkthrough gives you what you need to do the job right the first time.
Resurface or Reseal — Know Which One Your Driveway Actually Needs
These two terms get used interchangeably by homeowners all the time, but they describe different approaches to different problems. Using the wrong one for your situation is a common mistake that wastes both money and effort.
Sealing is a protective treatment. It’s applied over a surface that’s still structurally sound but has started to fade, oxidize, or show early signs of surface wear.
Think of it as scheduled maintenance — the same way you change the oil in your car before something breaks. A fresh coat of sealer every couple of years keeps water from penetrating the surface, slows UV degradation, and gives the driveway a clean, finished appearance.
Resurfacing goes deeper. It involves applying a new layer of material over the existing surface — filling shallow cracks, leveling minor depressions, and creating a fresh working surface that bonds to the old one.
This is the right call when the damage is more than cosmetic but the underlying base is still structurally solid. If sections of your driveway are crumbling, heaving, or have a failed base beneath them, no amount of resurfacing will fix that. Replacement is the only real solution at that stage.
A useful rule of thumb: if the surface looks rough and tired but holds its shape without crumbling, sealing is likely enough. If you’re seeing widespread shallow cracking or surface texture that’s deteriorated beyond cosmetic, you’re looking at a resurface. When sections are breaking apart or shifting independently, you need a contractor.
Choosing the Right Material for Your Driveway
The material you choose depends on what your driveway is made of, what condition it’s in, and what kind of finish you want. Using a product on the wrong surface type — or expecting a sealer to fix structural problems — is one of the most reliable ways to end up redoing the whole project the following season.
Asphalt Sealer
Asphalt is by far the most common residential driveway material, and regular sealing is the single most effective maintenance step you can take to extend its life. The two main types you’ll find are coal tar sealer and asphalt emulsion sealer.
Coal tar is more resistant to oil and fuel penetration and tends to be more durable, but it carries environmental and health considerations that have led some municipalities to restrict or ban it — check your local regulations before purchasing. Asphalt emulsion is the safer and more widely available DIY option, and for most residential driveways in good condition, it does the job well.
Asphalt driveways should be sealed every two to three years. Seal too infrequently and the surface oxidizes, becomes brittle, and starts cracking. Seal too often and you build up thick, unstable layers that peel. Thin, even coats applied on schedule are always better than thick applications done reactively.
Concrete Overlay
For concrete driveways that need more than a protective coat, a polymer-modified concrete resurfacing compound — often called a micro-topping or concrete overlay — is the right product.
These mixes bond chemically to the existing concrete and create a fresh, hard-wearing surface layer that hides minor surface damage and gives the driveway a clean appearance.
Some formulations are self-leveling, which helps with shallow unevenness. Others require more active spreading with a squeegee tool.
For concrete driveways that are still in good shape and just need protection, a penetrating concrete sealer is the better choice. Silane-siloxane sealers soak into the pores of the concrete and protect from within rather than forming a surface film.
This is especially important in climates where freeze-thaw cycles are common, since water that gets into unsealed concrete expands when it freezes and causes spalling over time.
Acrylic sealers are another option — they sit on the surface rather than penetrating, are easier to apply, and provide a subtle sheen, though they need reapplication more frequently.
Epoxy Coating
Epoxy is most familiar as a garage floor coating, but it can be applied to concrete driveways where a durable, long-lasting decorative finish is the goal. It creates a hard, chemical-resistant surface that holds up well to heavy use and looks sharp.
The tradeoff is that epoxy is less flexible than other options — in climates with significant temperature swings, it can crack or delaminate as the concrete beneath it expands and contracts. It’s also the most demanding product when it comes to surface preparation, and it doesn’t forgive shortcuts.
If you’re going with epoxy, plan to spend the majority of your project time on prep, not application. Contamination, moisture, or incomplete etching of the concrete are the main reasons epoxy jobs fail, and they almost always come down to what was (or wasn’t) done before the product went on.
When to Do This Project — Timing Makes More Difference Than Most People Realize
You can choose the right product, prepare the surface correctly, and still end up with a poor result if you apply it in the wrong conditions. Temperature and moisture are the two variables that matter most, and both need to be right at the same time.
Most sealers and concrete resurfacers require surface temperatures between 50°F and 90°F during application. Late spring through early fall covers that window for most of the country.
On hot summer days when temperatures are pushing into the upper 80s and the sun is hitting the driveway directly, early morning application is usually better than waiting until midday — a surface that’s too hot can cause the sealer to dry before it bonds, leaving a brittle, uneven finish.
You also need dry weather on both sides of the project. Plan for at least 24 to 48 hours of no rain before you apply anything, and at least 24 hours of dry conditions after.
Fresh sealer or overlay material that gets rained on before it cures is effectively ruined — the surface will look mottled, and the protective qualities will be significantly reduced.
Check the forecast carefully, and if there’s any meaningful chance of precipitation within 24 hours, move the project to another day. It’s not worth the risk.
Prep Work: The Step That Determines How Long Everything Holds Up
If you talk to any experienced driveway contractor, they’ll tell you the same thing: the prep work is where the job is won or lost. The actual application is straightforward.
The preparation is where most DIY projects fall short — and where the results, good or bad, are locked in before the first drop of sealer hits the surface.
Start by clearing the driveway entirely. Move vehicles, potted plants, garden tools — anything that’s been sitting on or near the surface. Then pressure wash the entire driveway, including the edges. A standard garden hose doesn’t generate enough force to properly clean a driveway surface.
You need at least 3,000 PSI to remove embedded dirt, biological growth, and surface contaminants that would prevent the sealer from bonding. Pay close attention to the edges where the driveway meets grass or planting beds, as those areas tend to accumulate the most debris.
Oil stains are a specific problem. An oily surface prevents sealer adhesion, so treat any stained areas with a dedicated degreaser before pressure washing. Apply it, let it dwell per the label directions, scrub, and rinse. Stubborn stains may need a second treatment.
Once the surface is clean, inspect every crack carefully and fill anything wider than a hairline using the appropriate product for your surface type — asphalt crack filler for asphalt driveways, polyurethane or epoxy-based filler for concrete. Let the filler cure completely before moving on, typically at least 24 hours.
The most important thing after cleaning and crack repair is patience: let everything dry fully. Applying sealer or overlay to a damp surface traps moisture beneath it, which causes adhesion failure and leads to peeling, bubbling, or delamination. In most conditions, a full day of drying time after cleaning is the minimum. If there’s been recent rain or the weather is humid, give it more time.
Before you get started, make sure you have everything on hand:
- Pressure washer (3,000 PSI or greater)
- Degreaser and stiff-bristle scrub brush
- Crack filler appropriate for your surface type
- Sealer or resurfacing product in sufficient quantity for your square footage
- Squeegee applicator, brush roller, or mixing paddle (depending on product)
- Painter’s tape or edging strips for clean border lines
- Rubber gloves and eye protection
Measure your driveway before you buy materials. Running out of product mid-application means stopping, which almost always creates a visible seam in the finished surface. Buy slightly more than the calculated coverage suggests.
How to Apply the Sealer or Resurfacer
Read the product instructions completely before opening the container. Application methods, mixing requirements, recommended coverage rates, and dry times between coats vary by product — sometimes significantly. What applies to one brand doesn’t necessarily carry over to another, even within the same product category.
For asphalt sealer, most products are applied with a long-handled squeegee applicator or a stiff brush. Pour the sealer in a line across the upper portion of the driveway and work it toward the street in overlapping passes, maintaining a wet edge to avoid lap marks and uneven coverage.
Apply thin, uniform coats — two thin coats will always outperform one thick coat. Thick applications stay soft too long, pick up footprints, and can crack as they set. Let the first coat dry to the touch before applying the second, and always follow the manufacturer’s recommended wait time between coats.
For concrete overlay products, dampen the surface lightly before application — the surface should be damp, not wet, to improve chemical bonding. Mix the resurfacing compound per instructions and work in manageable sections, spreading with a long-handled squeegee. Keep a wet edge as you move across the surface.
Before it fully sets, many products allow you to apply a light broom finish by dragging a stiff-bristle broom across the surface to create a subtle texture that improves traction. This is especially worth doing on a driveway with a grade or in areas that see significant rain.
For epoxy, the two components — resin and hardener — need to be mixed just before application. Mix only what you can apply within the product’s stated pot life, because once the two components are combined, the clock starts on a chemical reaction you can’t stop. Work in sections, rolling in a consistent direction to minimize bubbles, and maintain a wet edge. Don’t go back over areas that have already started to set.
On any product, protect adjacent surfaces — garage floors, sidewalks, lawn edges — with painter’s tape or edging strips before you start. Sealer running off the edge of an asphalt driveway onto a concrete walkway is difficult to remove cleanly after it sets.
Protecting the Surface While It Cures
Getting the application right is half the job. The other half is protecting what you’ve just done while the product cures. This is the step homeowners most consistently underestimate, and the one that most often leads to preventable damage.
Curing and drying are not the same thing. A surface can feel firm to the touch within a few hours and still be vulnerable to pressure damage from vehicle tires. The full strength of the sealer or overlay develops over time as the chemical bonding process completes.
For most asphalt sealers, foot traffic can resume after 24 hours, but vehicles should stay off the surface for at least 48 to 72 hours — and longer in hot weather, since elevated temperatures keep asphalt soft and pliable.
Concrete overlays typically require 24 hours for foot traffic and 72 hours before driving on them. Epoxy-coated surfaces generally follow a similar timeline, with vehicle traffic held off for at least 72 hours in most conditions.
The practical challenge is that driveways are access points. Family members, delivery drivers, and visitors don’t always know there’s a freshly treated surface waiting for them. All it takes is one slow turn onto fresh sealer to leave permanent tire impressions that can’t be corrected without redoing the section.
While the sealer or overlay cures — which can take 24 to 72 hours depending on the material — it may be worth getting traffic barriers for sale or rent to temporarily block off the apron and prevent anyone from accidentally driving onto the surface too soon.
Set up something visible at the driveway entrance. Temporary barriers, sawhorses with caution tape, or even traffic cones placed across the opening will stop most accidental entries. Post a note on the garage door for household members.
If you’re expecting deliveries, let the carrier know in advance. It sounds like overkill, but a single vehicle driving across a surface at 14 hours into a 48-hour cure can mean tearing out that section and starting over.
Also watch for debris landing on the fresh surface during the cure period. Leaves, windblown dirt, and bird droppings can all leave marks that become permanent once the product sets. Check the surface periodically and remove anything that lands on it as carefully and quickly as possible.
How Long It Lasts and When to Plan the Next Application
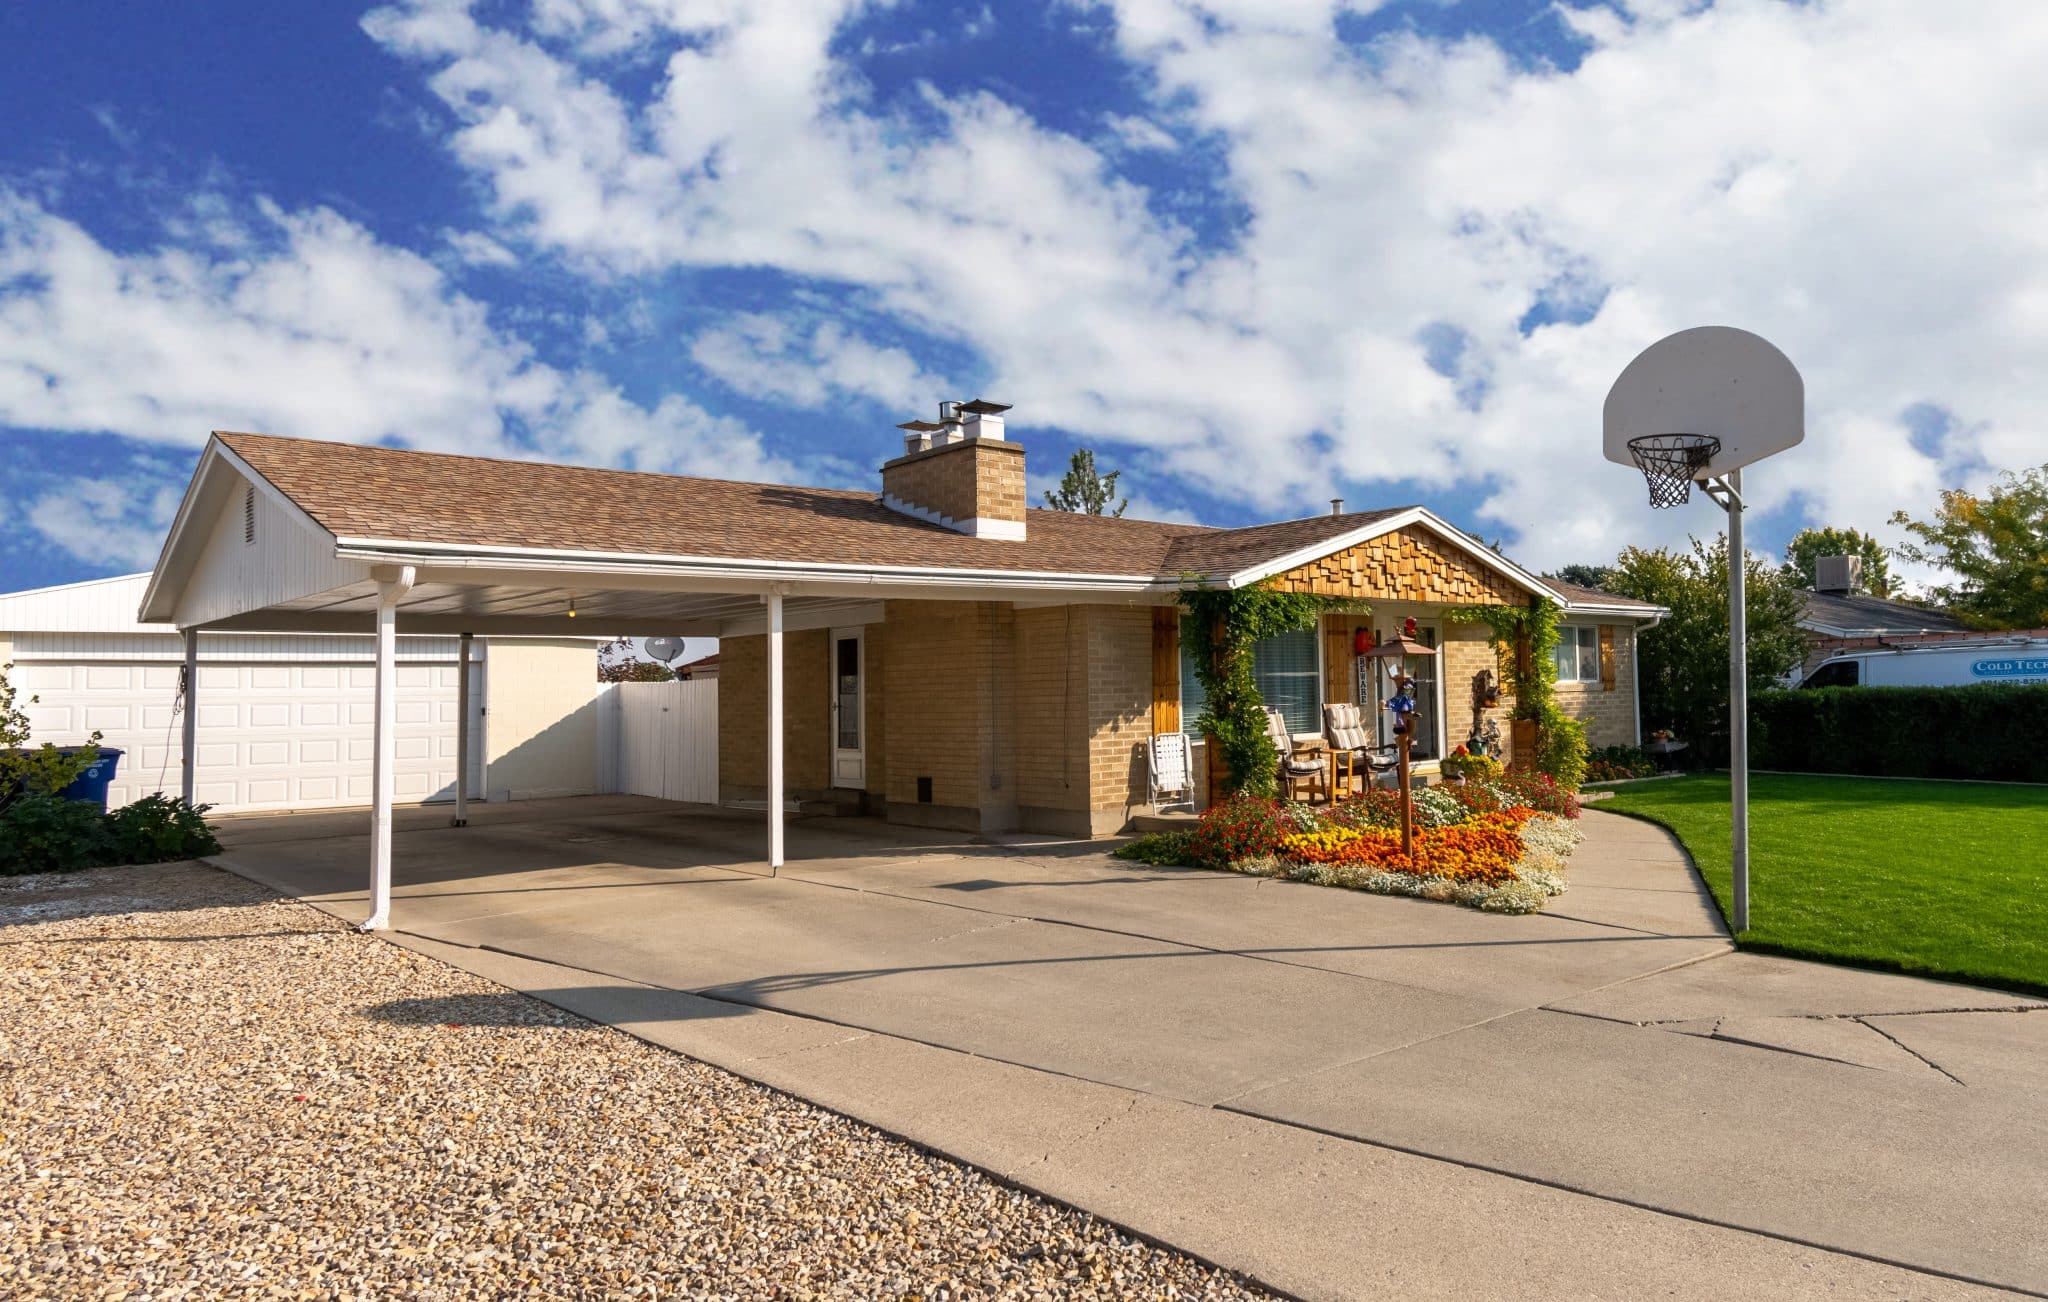
A well-executed asphalt seal job — good prep, right product, proper application — should hold up for two to three years before it needs to be refreshed. Some premium products push that closer to four or five years in moderate climates, but driveway traffic levels, sun exposure, and temperature extremes all affect how quickly the sealer wears.
In high-heat climates or on driveways that see regular heavy-vehicle traffic, two years is a realistic expectation rather than a pessimistic one.
Concrete overlays last considerably longer when applied correctly and followed up with a topcoat sealer after initial curing. A properly bonded overlay can perform well for five to ten years before it needs attention, though the surface may benefit from a fresh sealer coat before the overlay itself wears through.
Epoxy-coated concrete driveways can last five to ten years in mild climates. In regions with hard freeze-thaw cycles or extreme summer heat, the lifespan is often shorter due to the stress that thermal expansion and contraction places on the bond.
Regardless of which material you used, the best thing you can do between applications is straightforward:
- Fill any new cracks as soon as they appear, before water gets into them
- Keep oil, fuel, and chemical spills cleaned up promptly
- Avoid using metal-edged snow shovels directly on sealed surfaces in winter
- Rinse the surface periodically to remove road salt and debris buildup
A little routine attention between major treatments consistently extends the life of the surface and pushes back the timeline on your next full application.
A Few Practical Notes Before You Start
If your driveway is brand new asphalt, wait at least six months to a year before applying any sealer. Fresh asphalt needs time to fully cure and off-gas light oils before a sealer will bond to it properly. Sealing too soon can actually trap those oils in the surface and create adhesion problems down the line.
Wear old clothes and closed-toe shoes throughout this project. Asphalt sealer and concrete resurfacer are difficult to remove from fabric once they dry, and both can irritate skin on contact.
Rubber gloves are worth wearing, and eye protection is a good idea — especially when mixing concentrated products or working with two-part epoxy systems.
If you’re working on a long driveway solo, consider doing it in sections on back-to-back days rather than trying to cover the whole surface in a single push. Rushing the application leads to uneven coverage and missed spots, both of which show up clearly once everything dries.
Driveway resurfacing and sealing is one of the more satisfying exterior home projects you can take on yourself. The results are immediate and visible, the investment is reasonable, and when the prep work and application are done correctly, you’ll get years of solid performance from a single weekend of effort.
Take your time on the prep, choose the product that matches your surface and condition, apply it in the right weather window, and protect the finished job while it cures. That’s the whole formula — and it works reliably every time.