A kitchen sink clogged with standing water is something I’ve seen start small and quickly turn into a full drainage issue.
In my experience, grease, food scraps, and residue slowly collect near the drain until water begins to sit in the basin instead of flowing out.
I focus on what I personally check first when a sink starts backing up, how I identify the cause, and the step-by-step methods I use to clear it safely at home.
I also explain when simple fixes work and when deeper tools or professional help become necessary.
What Causes a Kitchen Sink to Clog
A clogged kitchen sink is easier to fix when the cause makes sense. The blockage usually starts with daily kitchen habits, not one big mistake.
- Grease Buildup: Cooking oil and grease slide down the drain as liquid but cool and harden inside the pipe. This is also why a clogged household grease trap can cause more serious kitchen drainage problems over time.
- Food Scraps: Rice, pasta, coffee grounds, vegetable peels, and eggshells collect inside the drain. These scraps often settle in the P-trap or pipe bends.
- Soap and Residue: Dish soap, minerals, grease, and food film stick together over time. This buildup narrows the pipe and slows water drainage.
- Small Objects: Bottle caps, produce stickers, sponge pieces, twist ties, and small utensils can block the flow of water. These clogs often need plunging or pipe cleaning.
- Deeper Drain Line Clogs: If more than one drain is slow, the clog may sit farther inside the plumbing line. Bad smells and repeated backups are warning signs.
Matching the fix to the cause saves time. The rule is simple: start gentle, then move to tools.
How to Fix a Clogged Kitchen Sink (DIY Methods)
A clogged kitchen sink can often be fixed at home using simple tools and natural methods before calling a plumber. These DIY solutions target grease, food buildup, and minor pipe blockages using safe, readily available household ingredients.
Method 1: Use Hot Water for a Light Kitchen Sink Clog
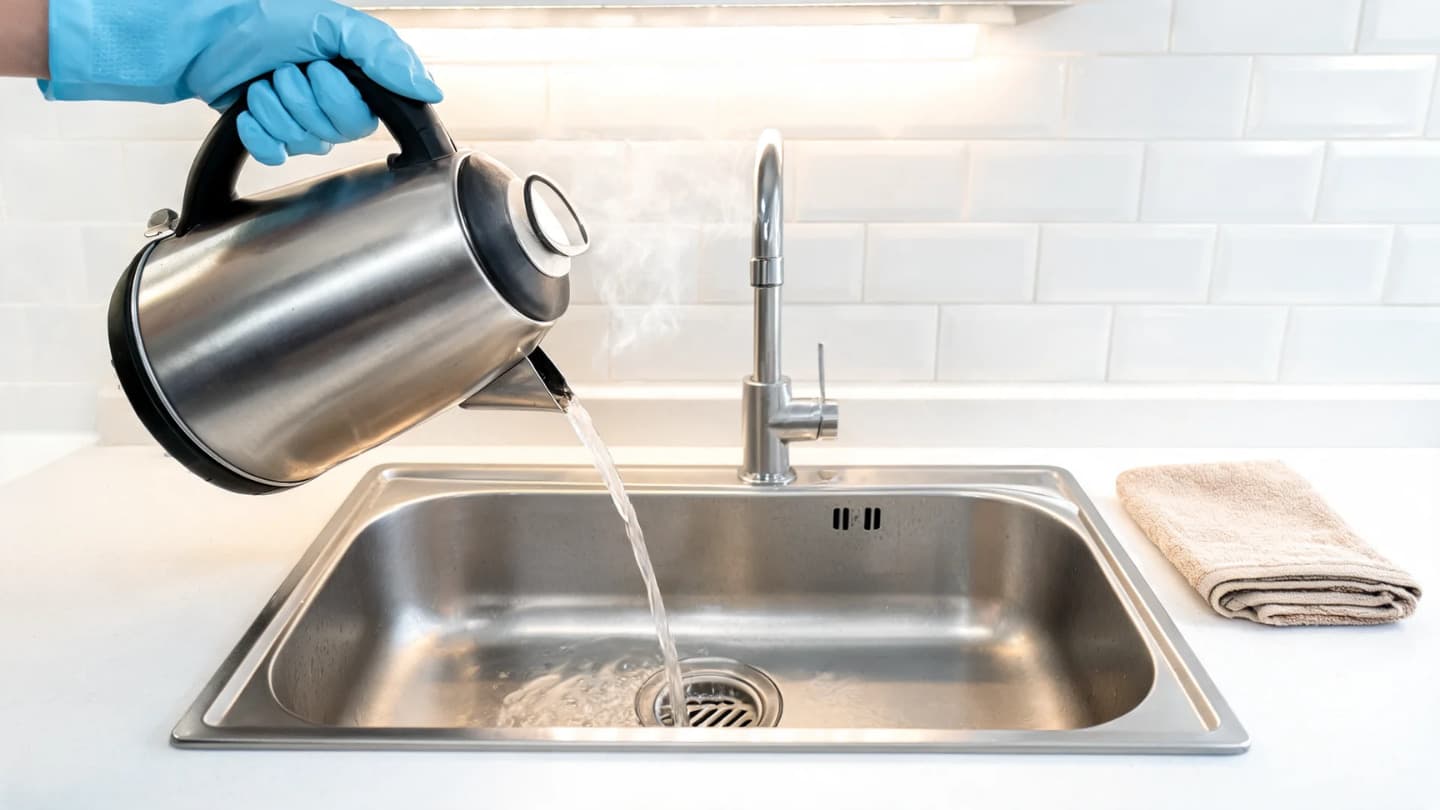
Hot water is the easiest first step when the drain is slow, greasy, or lightly blocked. It works best before the buildup becomes packed. Start here when water still moves, and the problem follows a round of oily dishes.
Requirements: Hot Water|Cup or Bowl|Gloves|Towel
How to Do It:
Step 1: Scoop out any standing water from the sink basin using a cup or bowl, so the hot water you pour in goes straight down the drain instead of mixing with cold water already sitting there.
Step 2: Heat a full kettle or pot of water on the stove until it is very hot but just below a rolling boil, then carry it carefully to the sink without splashing.
Step 3: Pour the hot water into the drain opening slowly and steadily, breaking it into two or three separate pours rather than dumping everything at once, so the heat has time to work on the grease.
Step 4: Wait one to two minutes after each pour and watch the water level in the sink, if it starts dropping or you hear the drain gurgling, the grease is beginning to move.
Step 5: Repeat the process one more time if drainage has clearly improved, but stop after the second round if the sink remains fully blocked and move on to the next method.
Method 2: Clear Mild Grease With Salt and Hot Water
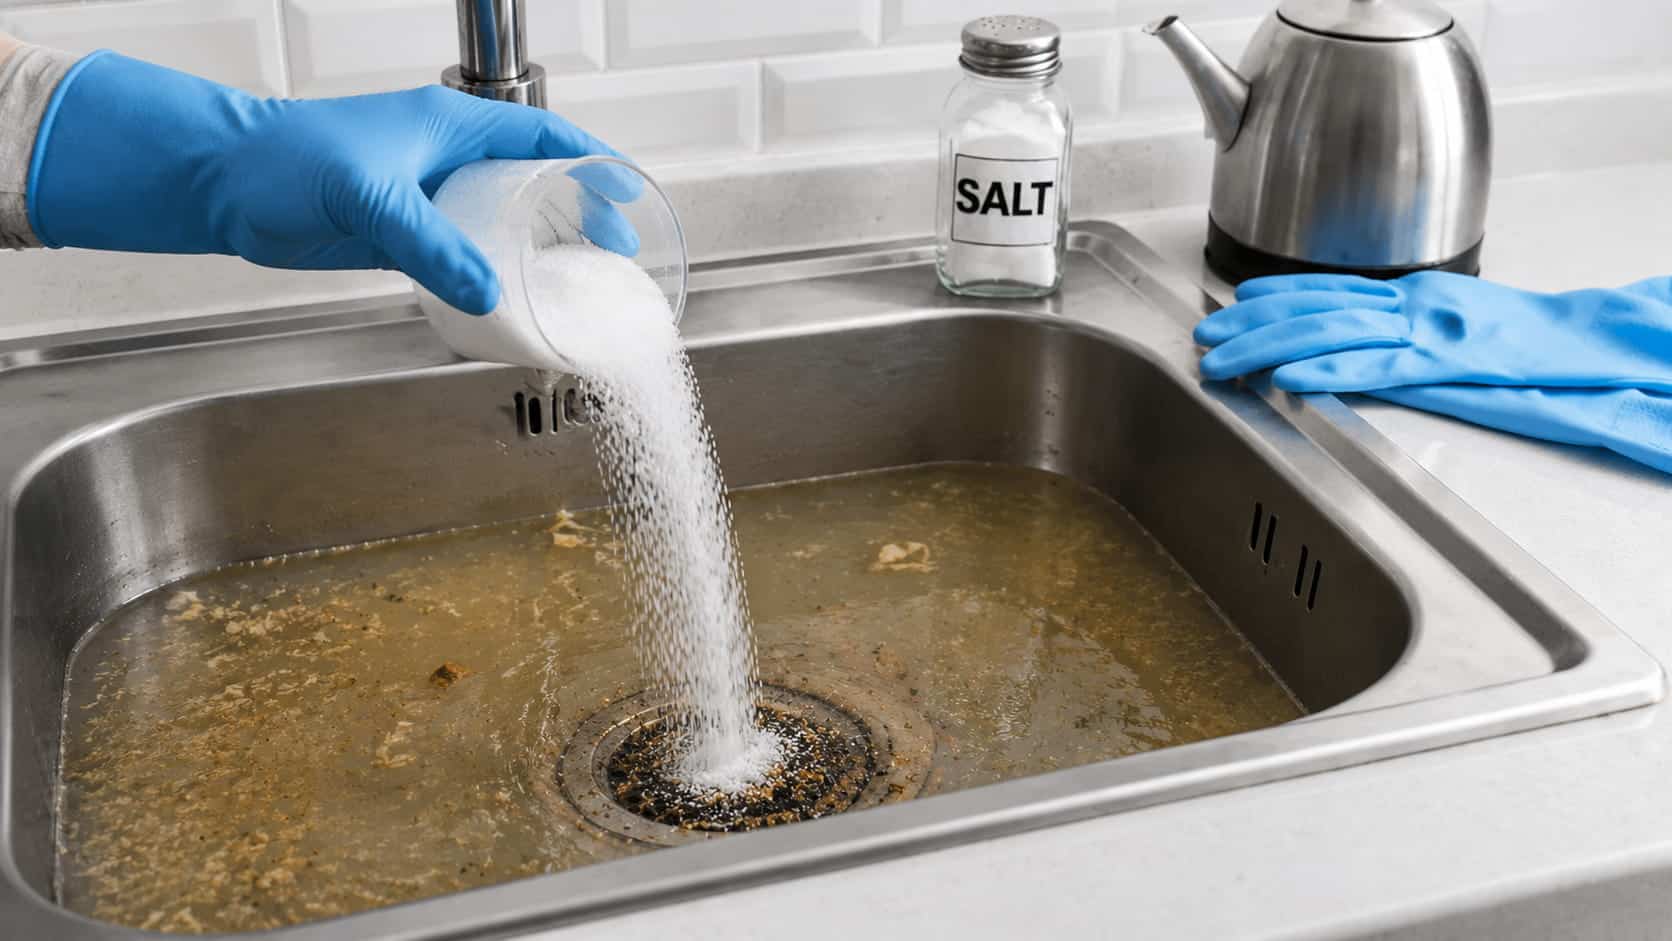
Salt adds light abrasion against greasy residue while hot water moves what loosens. This combination works well for early clogs and mild odors when the drain still allows some flow.
Requirements: Table Salt|Hot Water|Measuring Cup|Gloves
How to Do It:
Step 1: Scoop out any standing water first so the salt lands directly at the drain opening rather than dissolving in pooled water before it reaches the buildup.
Step 2: Measure exactly half a cup of plain table salt and pour it evenly into the drain, do not use too little or the grit will not make contact with enough of the pipe surface.
Step 3: Leave the salt sitting undisturbed in the drain for five to ten minutes so it has time to settle against the greasy residue coating the inside of the pipe.
Step 4: Pour a full kettle or pot of very hot water slowly into the drain to flush the salt and any loosened residue down through the pipe and away from the sink.
Step 5: Run the tap briefly and check how quickly the water drains, then repeat the salt and hot water process once more, only if you notice a clear improvement in flow speed.
Method 3: Use Baking Soda and Vinegar for Soft Buildup
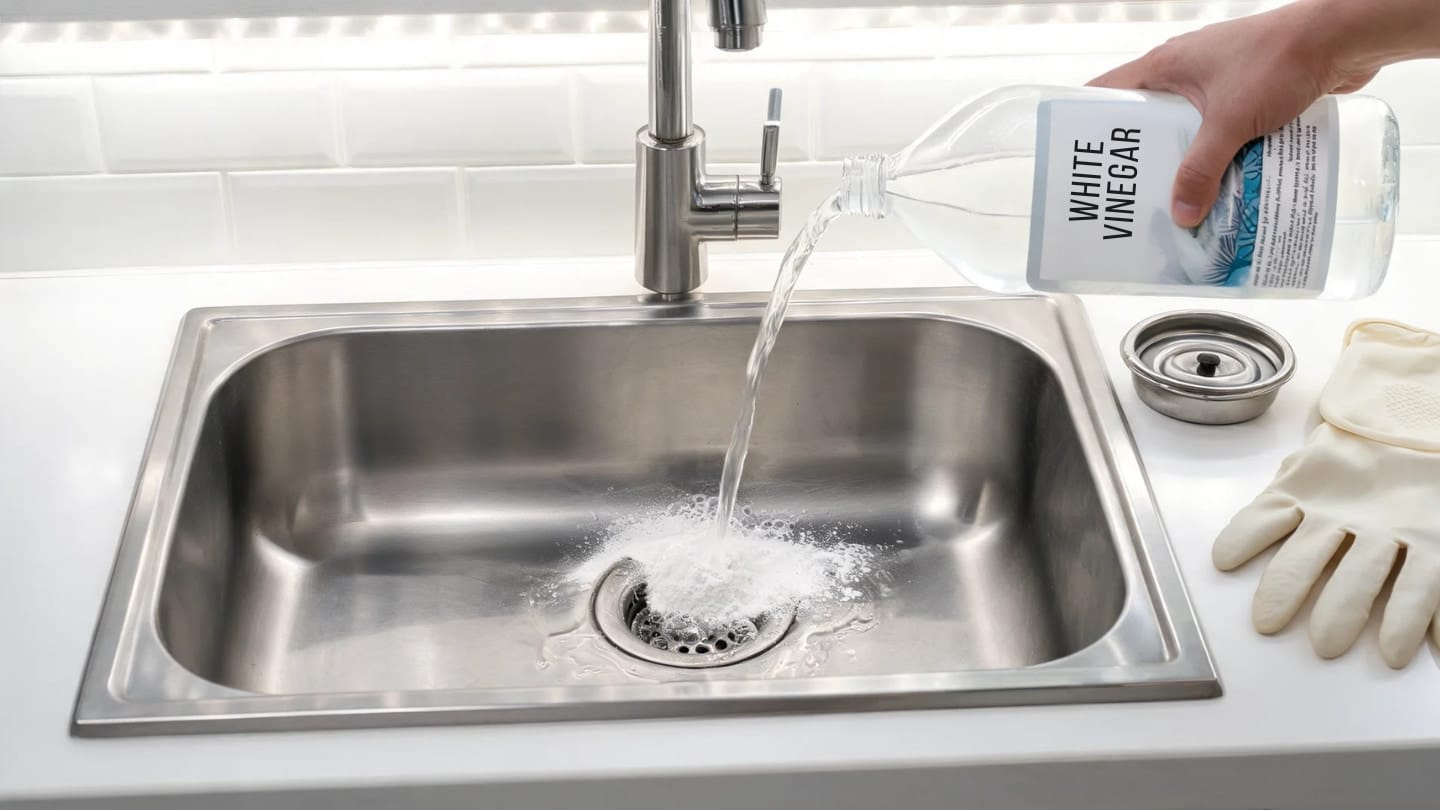
Baking soda and vinegar are a reliable starting point for fixing a clogged kitchen sink when the problem seems light. The fizzing reaction disturbs soft residue and film near the drain opening, though it will not reach a packed or solid blockage.
Requirements: Baking Soda|White Vinegar|Drain Stopper|Hot Water|Gloves
How to Do It:
Step 1: Scoop out all standing water from the sink so the baking soda drops straight into the drain opening and does not dissolve or clump before reaching the buildup inside the pipe.
Step 2: Pour one full cup of baking soda evenly into the drain, then follow it immediately with one cup of white vinegar poured in slowly. You will see and hear fizzing start right away.
Step 3: Cover the drain opening quickly with a stopper, a cloth, or even a flat plate to trap the fizzing reaction inside the pipe rather than letting it push back up and out of the drain.
Step 4: Leave the mixture sitting covered for a full 15 minutes; do not remove the cover early, as the reaction needs time to work against the soft residue coating the pipe walls.
Step 5: Remove the cover and slowly pour a full kettle of hot water down the drain to flush any loosened buildup through the pipe, then check whether the water now flows freely.
Method 4: Try Baking Soda and Salt for an Overnight Drain Fix
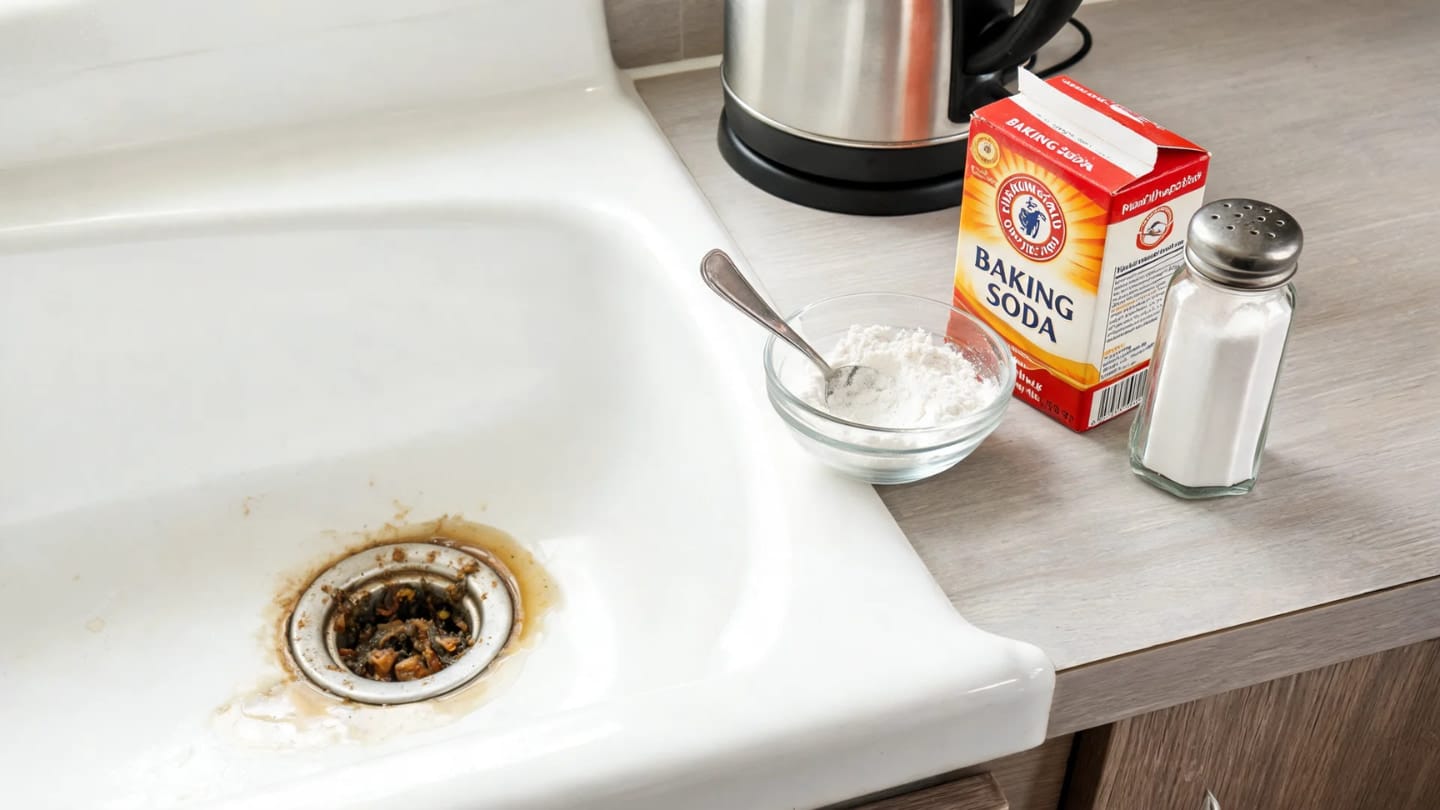
This slower method gives dry ingredients more contact time inside the drain. It works better for a gradual kitchen drain clog than for urgent standing water that will not budge.
Requirements: Baking Soda|Salt|Small Bowl|Spoon|Hot Water
How to Do It:
Step 1: Scoop out any standing water sitting in the basin so the dry mixture falls directly into the drain and settles against the buildup rather than dissolving in pooled water on the surface.
Step 2: Measure one cup of baking soda and half a cup of table salt into a small bowl, then stir them together with a spoon until the two ingredients are evenly combined throughout the mixture.
Step 3: Pour the entire dry mixture into the drain opening and leave it completely undisturbed. Do not run water or use the sink at all for several hours, or ideally overnight, so it has maximum contact time with the buildup.
Step 4: When you are ready to flush, heat a full kettle or pot of water, then pour it slowly and steadily down the drain to push the mixture and any softened buildup through the pipe.
Step 5: Run the tap to see if water drains faster. If it still drains slowly or is clogged, use a tool like a plunger.
Method 5: Use a Plunger When the Sink Still Holds Water
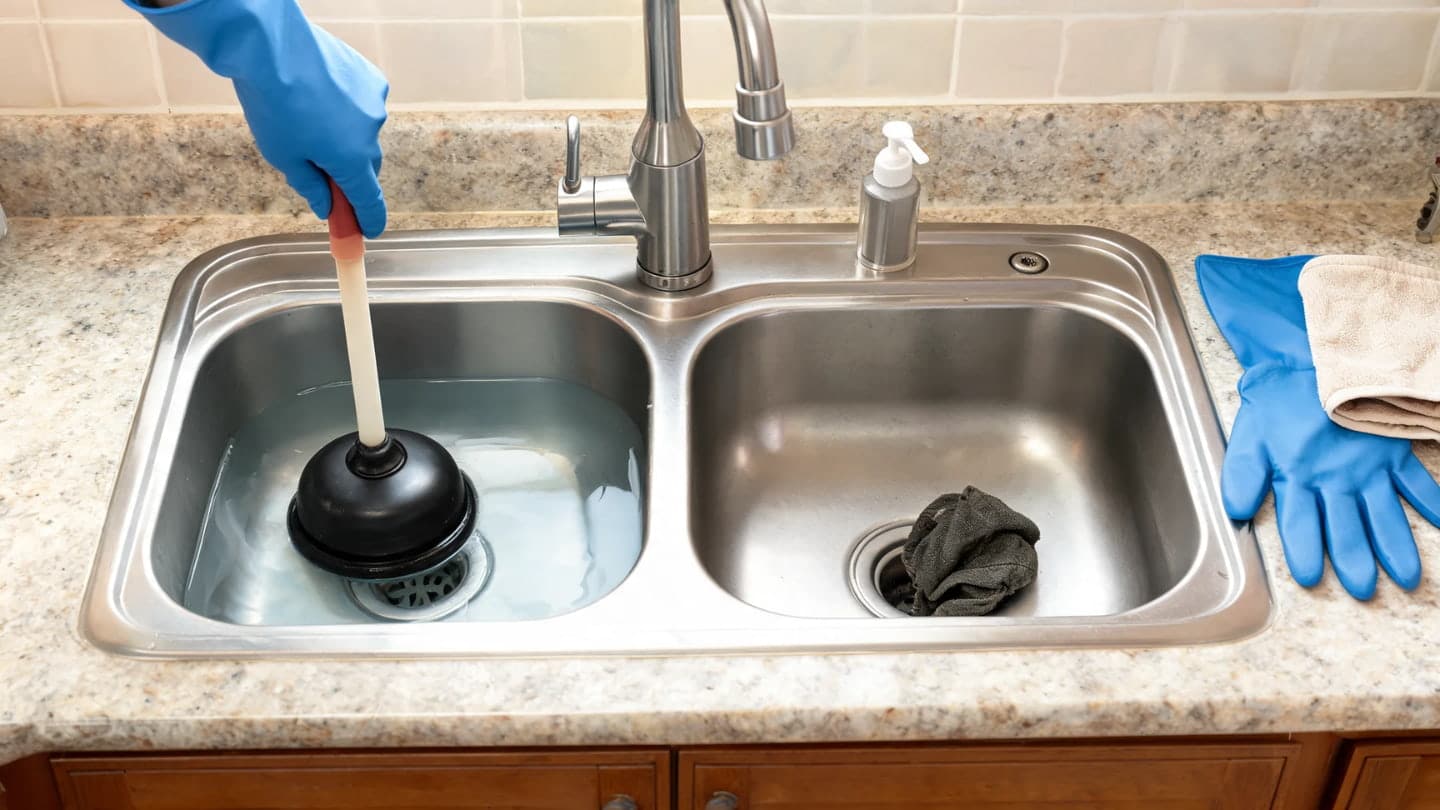
A plunger creates pressure to shift clogs that no-rinse methods can’t reach. On older plastic pipes, especially in homes built before the 1980s, aggressive plunging can stress worn joints. Keep the motion steady, not forceful. The key is a tight seal and enough water to drive pressure downward.
Requirements: Sink Plunger|Wet Cloth|Standing Water|Gloves|Towel
How to Do It:
Step 1: Ensure the sink has enough water to fully cover the plunger’s rubber cup; add tap water if needed until submerged over the drain.
Step 2: If you have a double sink, stuff a wet cloth into the second drain before plunging; otherwise, pressure will escape through that opening instead of pushing the clog down.
Step 3: Center the plunger cup over the drain, then press down firmly and slowly to push out trapped air and create a tight seal.
Step 4: Push and pull the plunger steadily for 10-15 strokes, keep the cup sealed against the drain, and focus on consistent pressure instead of plunging aggressively.
Step 5: Lift the plunger and watch if water drains. If yes, run the tap to confirm the clog’s gone, and repeat up to two times if water remains. Stop immediately if you hear dripping under the sink.
Method 6: Use a Plumber’s Snake for a Deeper Clog
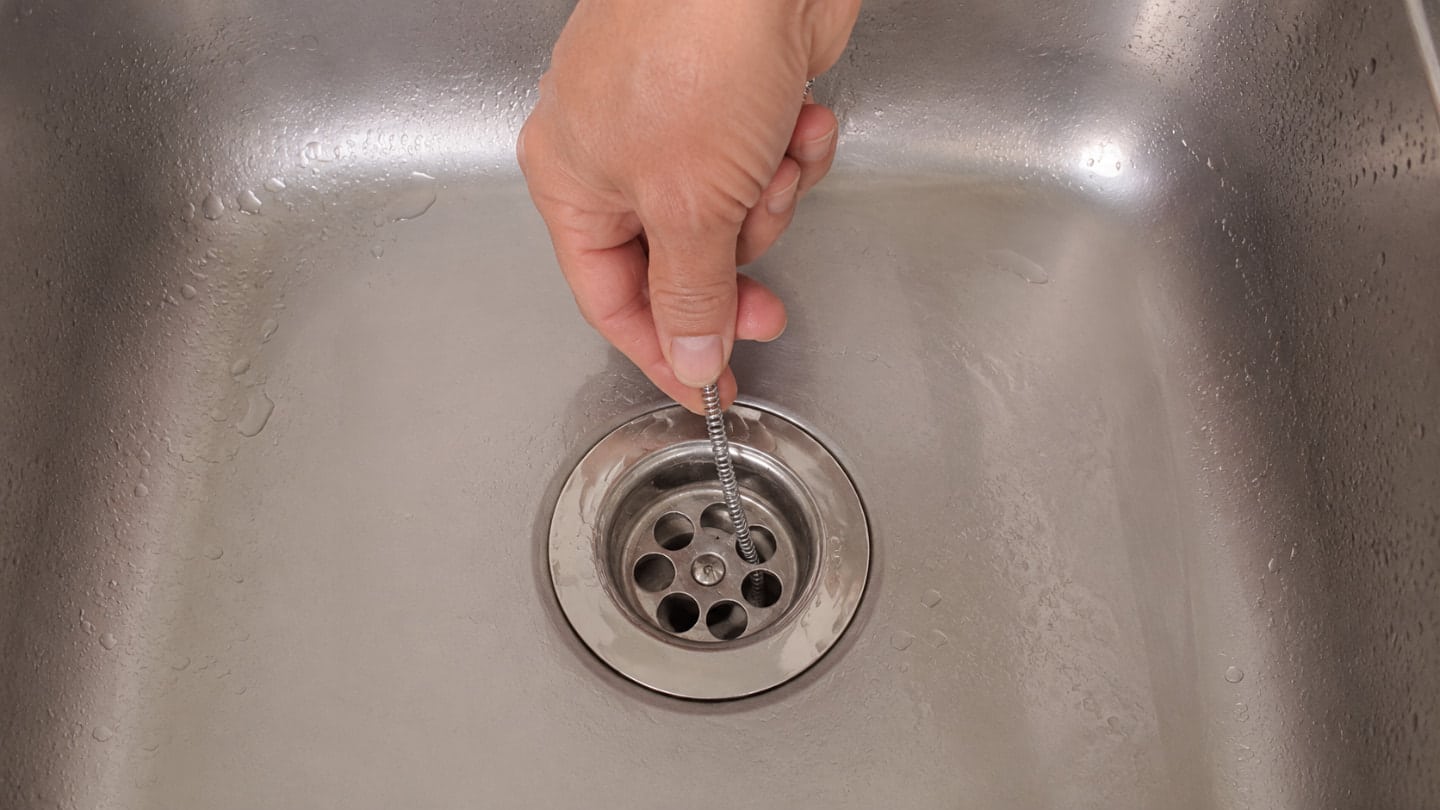
A plumber’s snake reaches clogs beyond the drain opening and trap. Use it when easier methods do not restore normal flow. If you need to unclog a kitchen sink that keeps resisting every other method, this is usually the right call before involving a professional.
Requirements: Drain Snake|Bucket|Gloves|Towels|Flashlight|Pliers or Wrench
How to Do It:
Step 1: Scoop water out of the sink, lay towels on the floor, and place a bucket under the pipes. If the P-trap is attached, remove it first to gain clear access to the wall pipe.
Step 2: Feed the tip of the snake cable into the drain pipe opening that leads into the wall, guiding it in gently with one hand while keeping the snake body steady with the other so it does not kink or coil up behind you.
Step 3: Turn the handle clockwise slowly while pushing the cable forward. You are feeling for resistance, which signals that the cable tip has made contact with the blockage somewhere inside the pipe.
Step 4: When you feel resistance, turn the handle steadily and apply gentle pressure to break the clog or hook into it. Don’t force the cable if it stops hard, as this can damage the pipe.
Step 5: Pull the cable out slowly while turning the handle, remove debris from the tip, reconnect pipe sections if removed, then run water slowly and check for leaks at all sink joints before finishing.
You can check out the YouTube video to learn more about these methods.
When to Stop DIY and Bring in a Technician
DIY work is useful only when the risk stays low. Some signs point beyond the sink, and pushing harder can create leaks or damage.
- Several Drains Are Slow: If the kitchen sink, bathroom sink, tub, or toilet all drain slowly, the issue may be farther down the line.
- Water Backs Up Elsewhere: Stop if plunging the kitchen sink makes water rise in another fixture. That is not a simple sink clog.
- Sewage Smells Appear: A strong sewer-like smell can indicate a deeper drainage problem, a venting issue, or a waste backup.
- Leaks Start Under the Sink: Stop if plunging, cleaning the trap, or reconnecting pipes causes dripping. Water damage can grow quickly under cabinets.
- The Clog Keeps Returning: A sink that clears briefly and blocks again may have buildup farther down the line.
- The Snake Gets Stuck: Do not force a stuck cable. Pulling or twisting too hard can damage the pipe or wedge the clog tighter.
If the sink backs up again quickly, gurgles, or affects another drain, treat it like one of those unexpected plumbing emergencies where forcing tools can make the problem worse.
How to Keep Your Kitchen Sink From Clogging Again
Prevention works best when it becomes part of normal cleanup. A few small habits can keep grease, food scraps, and residue out of the drain.
| Habit | What to Do | Why It Helps |
|---|---|---|
| Grease disposal | Pour grease into a container, let it cool, and throw it away. | Grease hardens inside pipes and catches food scraps. |
| Plate scraping | Scrape plates into the trash or compost before rinsing. | Less food enters the drain and P-trap. |
| Sink strainer use | Keep a strainer over the drain while washing dishes. | It catches scraps before they slide into the pipe. |
| Coffee ground cleanup | Throw coffee grounds in the trash or compost. | Grounds clump together and settle in pipe bends. |
| Hot water rinse | Run hot water after washing greasy pans. | It helps move fresh residue before it sticks. |
| Drain checkups | Watch for slow draining, smells, and gurgling sounds. | Early signs are easier to fix than full clogs. |
A clear drain does not need a complicated routine. Better habits reduce what enters the pipe and help explain why drains frequently get blocked in the first place.
Frequently Asked Questions
Can I use a wire hanger instead of a drain snake?
A wire hanger can scratch pipes, get stuck, or push the clog deeper if used roughly. If you try it, use it only near the drain opening and never force it. A small hand auger is safer because it is made to bend through drain lines.
What should I do if water leaks after cleaning the P-trap?
Turn off the faucet, dry the area, and check that the slip nuts are straight and hand-tight. If the washer looks twisted, cracked, or missing, the connection may not seal. Do not run water through a leaking trap, as cabinet damage can occur quickly.
Does it matter whether my pipes are plastic or metal when using hot water or a drain snake?
Knowing this helps before starting. PVC pipes handle hot water briefly, but older CPVC or thin plastic pipes soften with repeated boiling. Plastic pipes can scratch easily with a drain snake; feed slowly and avoid forcing. Metal pipes like copper or galvanized steel tolerate heat and tools better, but corroded galvanized pipes may be fragile at joints.
Can a garbage disposal cause kitchen sink clogs?
Disposals grind food but don’t eliminate it; ground material travels in the drain. Using too little water or fibrous foods like celery or corn husks can cause residue buildup in pipes or P-trap. Running cold water for 30 seconds after use helps flush out buildup.
Is a slow kitchen sink drain always a clog?
Not always. A slow drain can come from buildup, a partial clog, poor venting, pipe slope issues, or a problem farther down the drain line. If the sink drains slowly after several safe fixes, look for other signs like gurgling, odors, or backups in other fixtures.
Conclusion
A kitchen sink clogged with standing water is usually the result of buildup that develops gradually over time, something I’ve dealt with many times in real situations.
I start with simple methods like hot water flushes or a baking soda mix before moving to plunging when flow doesn’t improve. For tougher blockages, I rely on checking the P-trap or using a drain snake to reach deeper buildup.
Following this order has helped me resolve most clogs without dismantling pipes or causing extra damage.
I’ve also noticed that recurring issues usually point to deeper drainage problems that need expert attention. If you’ve faced similar clogs, I’d recommend trying these steps first and sharing what worked for you.