That plant looked fine last week. Now the leaves are yellowing, and the soil smells foul. Chances are, it is not neglect. It is water going to the wrong place, in the wrong amount, at the wrong time.
Most people water their plants from the top out of habit. They pour, it drains, and they hope for the best.
But hope is not a great watering strategy. Bottom watering plants works differently. The pot sits in water, the roots pull up exactly what they need, and the rest stays out.
No soggy topsoil. No rotting roots. No guessing. If watering has always felt like a coin flip, this method changes that for good.
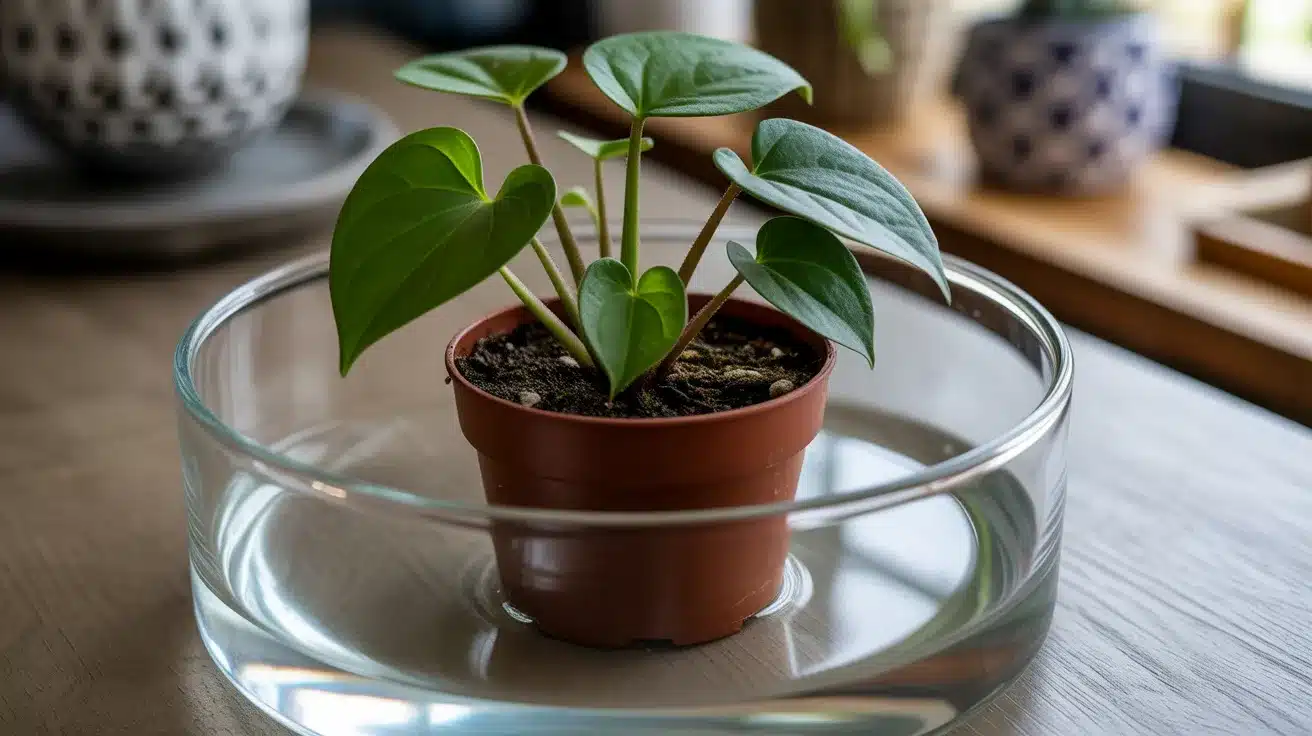
What Is Bottom Watering Plants?
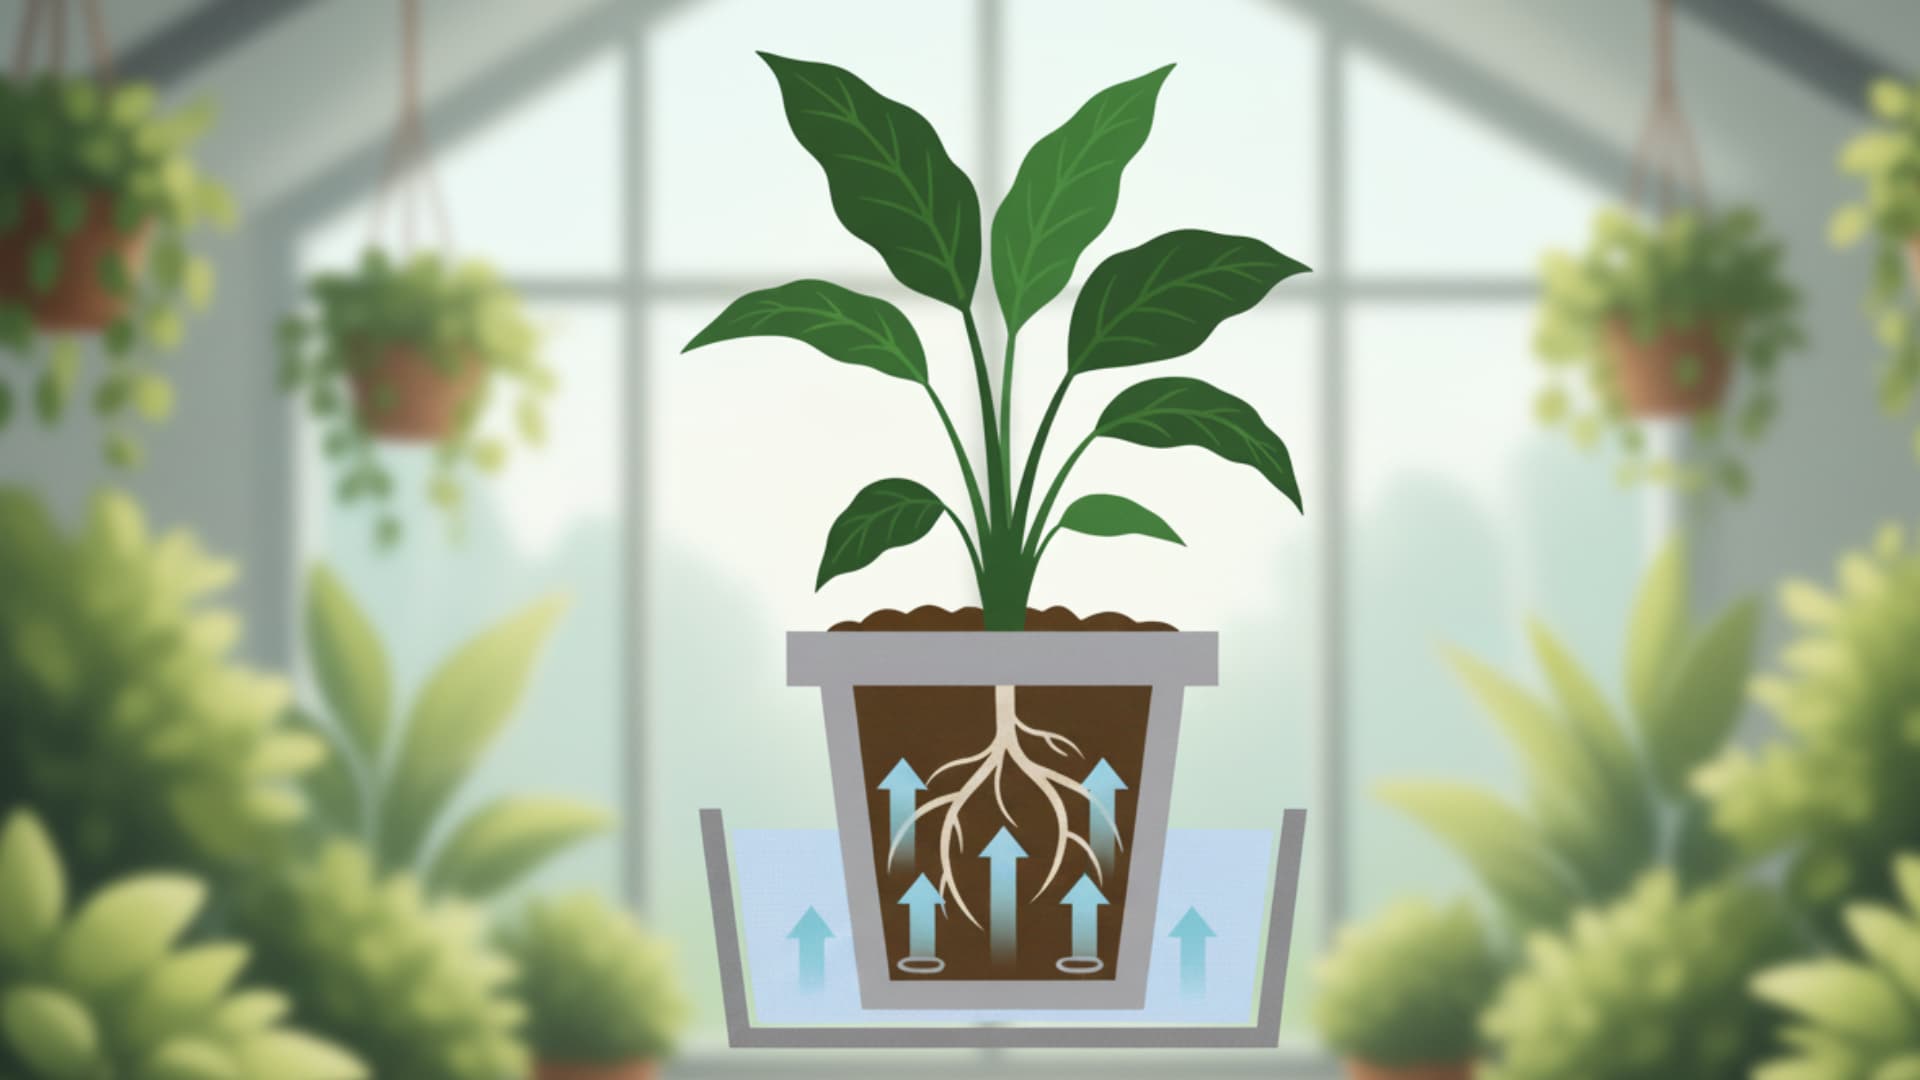
Bottom watering is a method in which you place a potted plant in a container filled with water. The soil pulls that water upward through the drainage holes at the bottom of the pot.
The roots absorb only what they need, and the rest stays in the tray. It is also called reverse watering, and it is one of the simplest ways to keep houseplants well-hydrated without overdoing it.
How Bottom Watering Works: The Science Behind It
You might wonder why water moves upward through soil at all. The answer lies in a natural process that happens at a very small level.
- Capillary action: Water molecules attract each other and pull moisture upward through tiny air spaces in the soil.
- Even soil saturation: Water continues to rise until the entire soil column maintains a consistent moisture level.
- Root behavior: Roots follow the water source downward, growing deeper and stronger over time.
- Plant control: The plant draws in only what it needs and stops once the soil is full.
Bottom Watering vs. Top Watering: What Is the Difference?
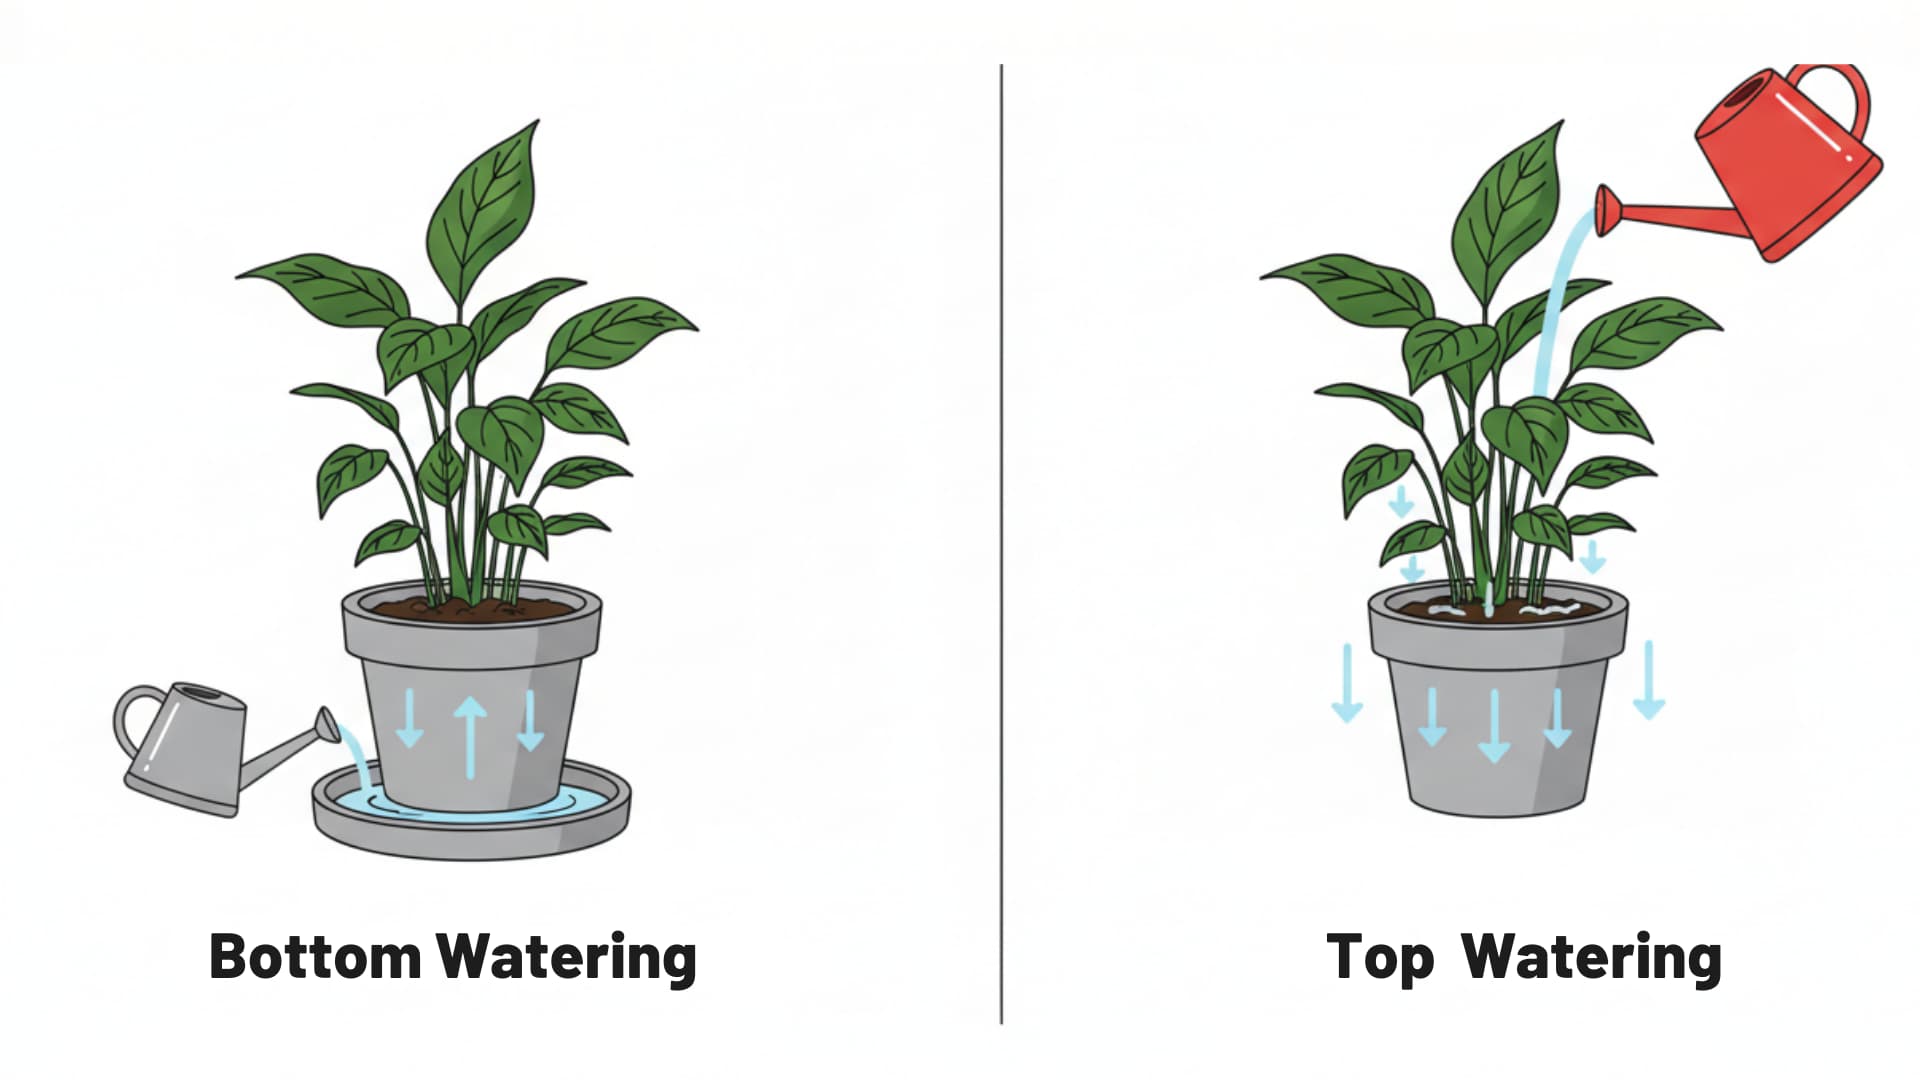
Both methods get water to the roots, but they do it in very different ways. Knowing the difference helps you choose the right one for each plant.
| Feature | Bottom Watering | Top Watering |
|---|---|---|
| Water direction | Bottom up through drainage holes | Poured down from above |
| Risk of leaf damage | Low | Higher, especially with splashing |
| Root growth direction | Deeper and stronger | Often shallower |
| Overwatering risk | Lower | Higher |
| Soil saturation | Even throughout the pot | Can leave dry patches below |
| Salt and mineral flush | Does not flush naturally | Flushes salts out with each pour |
| Time per session | Longer | Faster |
| Best suited for | Sensitive leaf plants, seedlings, dense root balls | Large pots, orchids, bromeliads |
Benefits of Bottom Watering Plants
People who switch to bottom watering plants often say they wish they had started sooner. Here is a look at what makes this method stand out.
- Promotes stronger root growth: Roots grow downward toward the water source, building a deeper and more stable system. This makes the plant better at drawing up nutrients over time.
- Reduces the risk of root rot: The plant absorbs only the water it needs, so the soil stays moist but never waterlogged. This alone removes the leading cause of houseplant death.
- Keeps fungus gnats away: Fungus gnats breed in moist topsoil. Since bottom watering keeps the surface dry, it deprives them of the conditions they need to survive.
- Protects leaves from damage: Water never splashes onto the leaves, which means no spots, no rot, and no discoloration on plants with sensitive foliage.
- Takes the guesswork out of watering: The plant decides how much it needs. You just add the water and let the process do the work for you.
Which Plants Grow Best with Bottom Watering?
Not every plant has the same watering preference. This table gives you a clear look at which plants do well with bottom watering and which ones are better left to top watering.
| Plant | Bottom Watering? | Why |
|---|---|---|
| African Violets | Yes | Leaves spot and brown when water touches them directly |
| Snake Plants | Yes | Prefer dry topsoil and are prone to center rot from overhead watering |
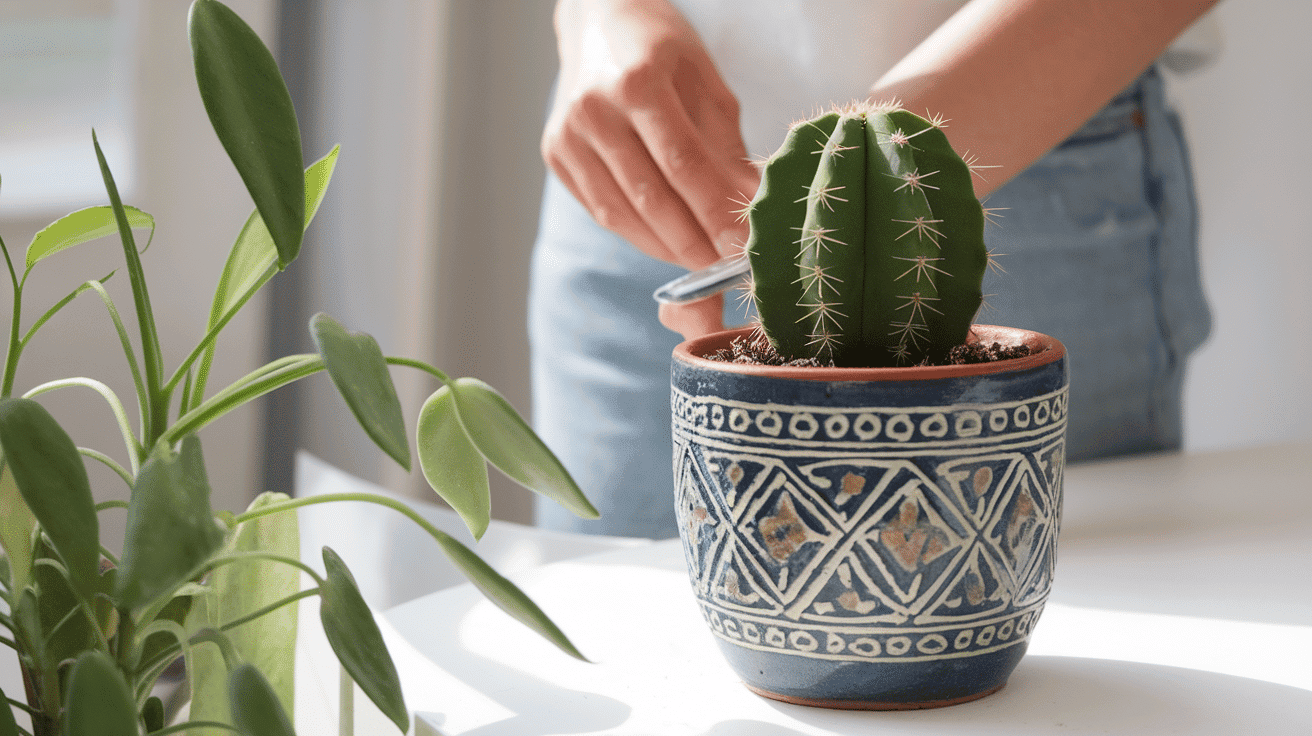
| Succulents and Cacti | Yes | Water pooling at the rosette base causes rot to quickly |
| Pothos | Yes | Dense root balls absorb moisture well from the bottom |
| Philodendrons | Yes | Even root saturation supports steady, healthy growth |
| Spider Plants | Yes | Works especially well when the soil has become very dry |
| Peace Lilies | Yes | Leaf spotting is common with overhead water contact |
| Peperomia | Yes | Often grows too full to reach the soil from the top |
| Tomato Seedlings | Yes | Deep roots need even moisture from the ground up |
| Orchids | No | Aerial roots need air and absorb moisture from above |
| Bromeliads | No | Require their central water tank to be filled from the top |
| Plants in very large pots | Partial | Capillary action may not fully reach the upper soil layer |
What Type of Pot Do You Need for Bottom Watering?
The pot must have drainage holes at the bottom. Without holes, water cannot enter the soil from below, and the method simply will not work.
Terracotta pots are a popular choice because their porous walls let you see how far the moisture has traveled. Plastic pots with drainage holes work just as well.
The water tray or bowl should be wide enough to hold the pot steadily without tipping. Your kitchen sink, a baking dish, or a standard plant saucer all do the job.
Pro Tip: If you see a white crust forming on the top of your soil, that is mineral buildup. It is a sign that you need the monthly top-water flush (more on that in the mistakes section below).
How to Bottom Water Plants: A Step-by-Step Guide
The process is straightforward and does not need any special tools. Follow these steps, and you will get it right from the start.
Step 1: Check If Your Plant Needs Water
Push your finger about one inch into the soil. If it feels dry, it is time to water. Never water on a fixed schedule. Let the soil guide you. You can also lift the pot. A very light pot almost always means dry soil.
Step 2: Pick the Right Container
Use a tray, basin, bowl, or your kitchen sink. It needs to be wide enough for the pot to sit without tipping. A shallow container works fine as long as the drainage holes stay submerged. Your kitchen sink works perfectly for watering multiple plants at once.
Step 3: Add Room Temperature Water
Fill the container with one to two inches of water. Cold water can stress roots. If you use tap water, let it sit out for a few hours first to let the chlorine clear. The water level just needs to cover the drainage holes at the base.
Step 4: Place the Plant in the Water
Set the pot into the container so the drainage holes are fully in contact with the water. The water should touch the base of the pot but not rise above the pot’s rim. Never force the pot down. Just let it sit naturally.
Step 5: Wait and Check the Topsoil
Leave the plant in the water for 10 to 20 minutes. Press the topsoil lightly after that time. When the surface feels moist, the plant has had enough. If the top still feels dry after 20 minutes, give it another 10 and check again.
Step 6: Remove and Drain Fully
Lift the pot out and set it on a dry surface. Let all extra water drain out before placing the plant back. Do not let water sit in the saucer underneath after draining. Standing water left under the pot is one of the fastest ways to invite root rot.
How Long Should You Leave Plants in Water?
Timing matters more than most people expect. Leave the plant in too briefly, and the roots stay dry. Leave it too long, and you risk oversaturation.
- Small pots: 10 to 15 minutes is typically enough for full absorption.
- Medium pots: Allow 20 to 30 minutes for even moisture throughout the soil.
- Large pots: Up to 45 minutes may be needed. Check the topsoil regularly.
- Very dry soil: Give the plant up to an hour, as parched soil absorbs water more slowly.
- Maximum time: Never leave a plant soaking for more than a few hours to avoid root stress.
- Quick check signal: When the water level in the tray drops noticeably, and the topsoil feels moist, the plant is done.
Mistakes to Avoid When Bottom Watering Plants
Even a simple method has room for error. These are the most common slip-ups people make with bottom watering plants, and how to fix each one quickly.
| Mistake | What Goes Wrong | Fix |
|---|---|---|
| Leaving the plant in too long | Roots get oversaturated | Set a 20-minute timer |
| Using cold tap water | Roots go into shock | Use room-temperature water |
| Skipping the monthly top flush | Salt builds up and burns roots | Top water once a month |
| No drainage holes in the pot | Water cannot enter the soil | Repot into a draining container |
| Only bottom watering of large pots | Upper soil stays dry | Mix in occasional top watering |
| Compacted soil | Water cannot travel upward | Loosen the top layer before watering |
| Same method for every plant | Orchids and bromeliads suffer | Check each plant’s preference first |
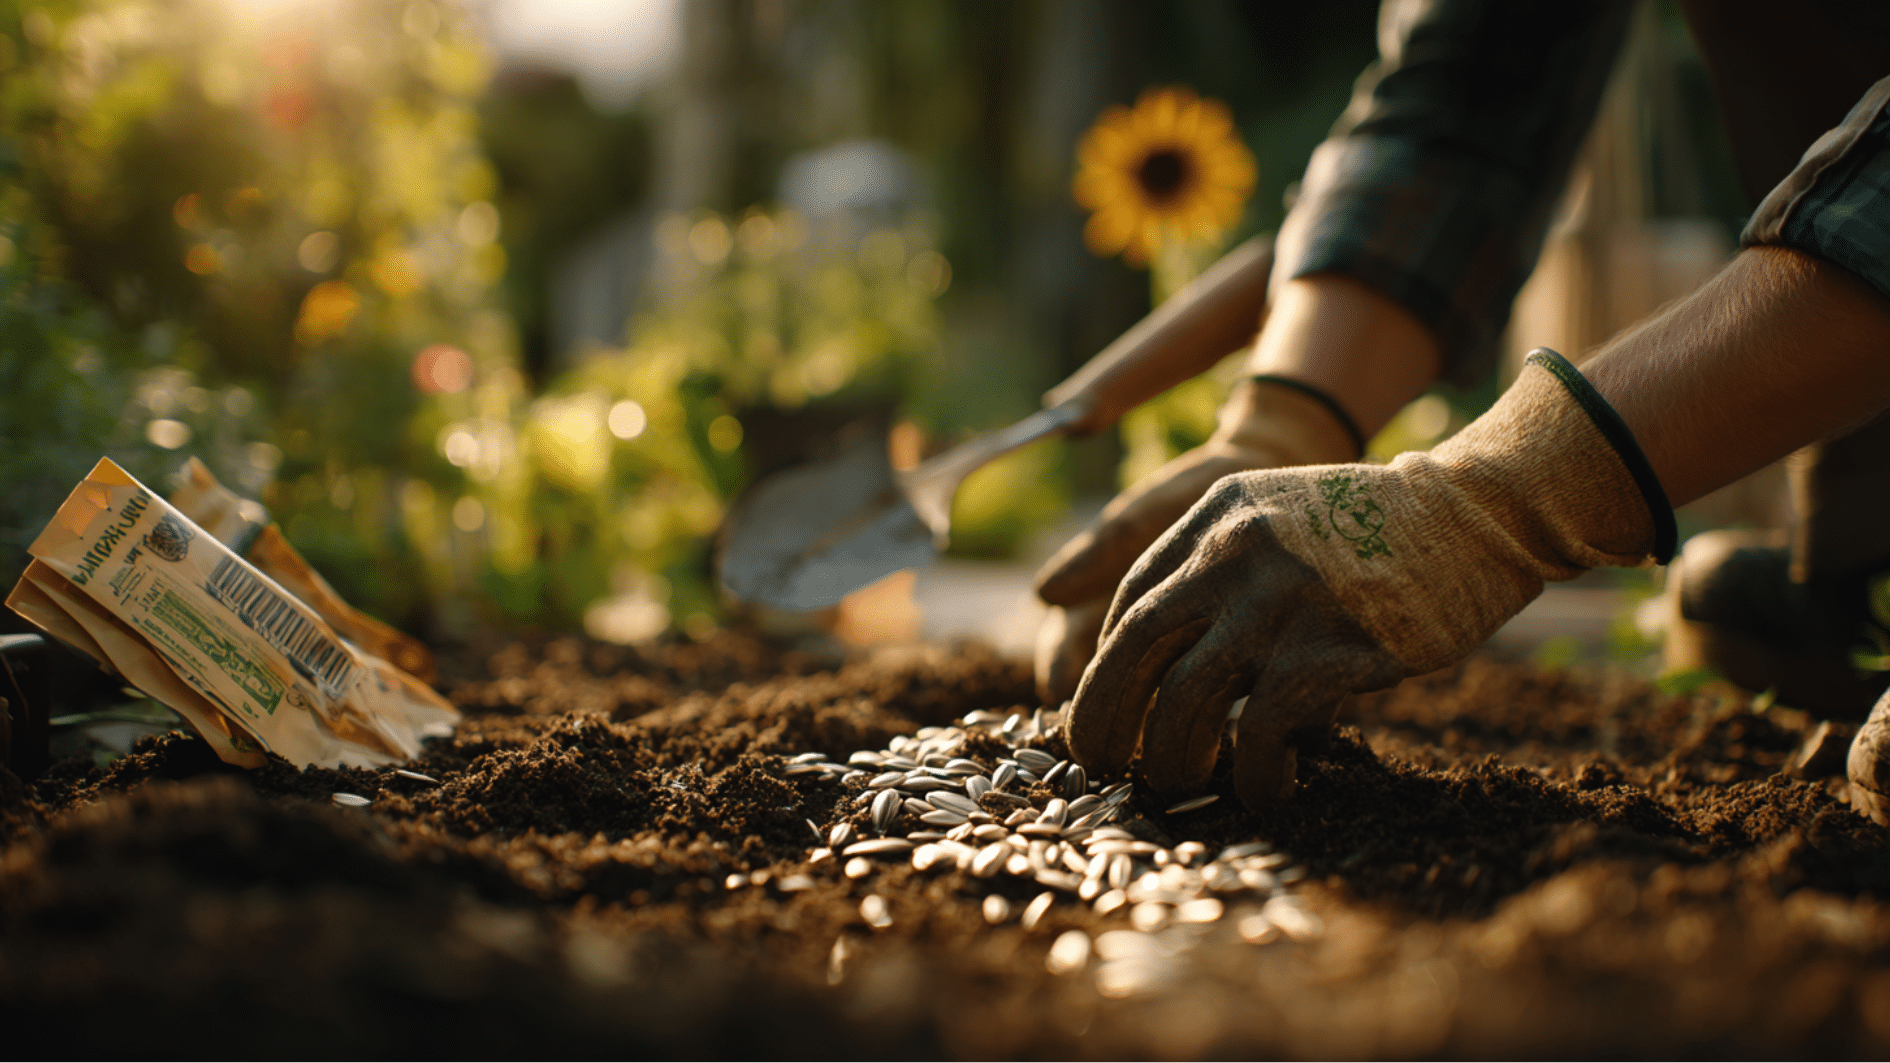
Bottom Watering Seedlings: Does It Work?
Yes, and it is actually one of the best methods for seedlings specifically. Watering from above with a can can knock over tiny sprouts, wash seeds out of position, or create uneven holes in the soil.
Placing a seedling tray in a shallow water tray lets the fragile new roots drink without any disturbance.
Gardening experts note that seedlings grown with bottom watering tend to build deeper root systems, which helps them stay strong after being moved to outdoor beds.
Use a solid 1020 tray as the water reservoir under your seedling tray with drainage holes. It is a clean, low-risk setup that works well from the very first sprout.
Conclusion
Bottom watering plants is one of those methods that just makes sense once you try it. The plant drinks what it needs. The roots grow deeper. The topsoil stays dry enough to keep pests away.
You stop second-guessing every watering session. It does take a little more time than pouring from a can, but the results speak for themselves. Healthier roots, fewer pest problems, and far less risk of root rot.
Start with one plant this week. Check the soil after a few days and see the difference for yourself. Tried it already? Comment down below and tell us how it went for your plants.
Frequently Asked Questions
Which Plants Should Be Bottom Watered?
Plants with sensitive leaves, like African violets, snake plants, succulents, pothos, and peace lilies, do best with bottom watering. Avoid it for orchids and bromeliads.
How Long Should You Let Plants Sit in Water When Bottom Watering?
Small pots need 10 to 15 minutes. Medium pots need around 20 to 30 minutes. Remove the plant as soon as the topsoil feels moist.
What Are the Disadvantages of Bottom Watering?
It takes more time than top watering, and it does not flush out salt and mineral buildup. A monthly top-water rinse fixes that second issue.
What’s It Called When You Water Plants From the Bottom?
It is called bottom watering or reverse watering. Both terms refer to the same method of letting a pot absorb water through its drainage holes.